When you click on links to various merchants on this site and make a purchase, this can result in this site earning a commission. Affiliate programs and affiliations include, but are not limited to, the eBay Partner Network.
The stock bypass valve/throttle body allowed the engine to run under vacuum and much more efficiently than without. When the bypass was open, the engine only used about 1/3 of a HP to drive the blower. If it did not have the bypass, it would cause the engine to run hot and consume more fuel.
Nice job on the welds and thanks for the update. Keep them coming.
working on getting the last of the parts I need to finish this build... in the meantime I�ve been working on porting the heads and the turbos... I still have some work to do finishing the passenger side turbo manifold... but we are getting closer to the goal
Before exhaust porting, notice the two large and useless �bumps� on each side below the exhaust valve seat... not too mention directly under each valve seat are some pronounced ridges from the factory casting Getting a lot better, still some work to do... Porting the turbine housings as well... there is a lot of material that can be taken off of these turbine housings even just to gasket match the port Another angle of the turbine housing porting in progress Finally got both turbos in the mail... Here�s a mock-up of the intake manifold idea... more to come soon
edit: added some more photos of exhaust porting
Exhaust gasket versus exhaust port before porting Exhaust gasket versus ported exhaust port nearing completion
Last edited by ctravis595; 02-07-2021 at 07:59 PM.
Here�s my first aluminum welding project mostly wrapped up. Here you can see the m113k intercooler was modified to have a throttle body mounted directly, and then the intercooler will mate with one half of the n/a intake manifold and we have one of the few true m113 turbo intake systems out there rather than just re-using the massive n/a intake as a whole, or using the m113k supercharger housing as an intake manifold.
I have nearly everything I need for the engine build now, just need to buy connecting rod bearings and debating whether to replace the main crank bearings because they are in really good shape surprisingly
Here�s what your cylinder 6 piston may look like if you boost a high compression m113 without taking the time to get it dyno tuned.
In other news I�ve finally sourced every last part needed for the rebuild, it was not cheap or easy even with an employee discount, stuff like the crankshaft bearings will show up as �not available� depending where you look in the Mercedes parts system
re-finishing my garage floor currently so that I have a clean environment to build the motor, and need to pick up the materials to do a quick hone with felt pads on the cylinder walls. Should have more news soon
Here�s a copy paste from another thread I posted in
�recently I was very interested to tear down a m113 55 n/a motor from a 2002 cl55 recently to find no stamping on the nose of the crank, indicating which bearings are needed. Luckily the top side bearing is stamped into the block (every top side I have seen so far has called for yellows) but there is a color stamping on the side of the crank bearings to tell you which color you need, unfortunately my color standings also faded away after almost 20 years lol
the same technical documents I�ve seen throughout this thread also imply that you should be able to find the stamping on the nose of the crank in any 113 engine
some more fun info, when the 113k crank bearings are unavailable you can use the normal 112/113 bearings in a pinch, I compared them side by side, the main difference is the K bearings seem to be made of a slightly different alloy. On a digital scale, a pair of K bearings weighs about 69 grams, where the comparable 112 bearings weigh about 65 grams. There is also a noticeable difference in the coating used on the K bearings, it�s dull but seems to scratch off quite easily even with just a fingernail, I think this coating may just be for break-in? Not too sure
parts catalog for my 55 n/a amg motor actually tells me to use the aforementioned 112 bearings, and my old bearings even after 20 years of abuse looked quite great, more than one person told me they were fine to re-use in my rebuild but I ended up spending over $600 even with employee discount to get new m113k crank bearings and rod bearings just for peace of mind. �
below are photos comparing m113k bearings (dull finish) and 112/113 standard crank bearings
Things are beginning to gain speed again with the engine build. I decided to refinish my garage floors to have a cleaner area to assemble the engine in. I also bought a 2003 s55 AMG a couple weeks ago so I have been, and will be, distracted with that during the engine assembly. The photos below depict what I have been working on lately with the build.
Today I finished polishing the crankshaft, and have officially started measuring clearances for crank and rod bearings. I have also started balancing the rods and pistons, as well as thoroughly cleaning everything. I was considering ceramic coating on the pistons but I fear the change of an uneven application can lead to premature engine wear.
the pistons and rods were all within .05% weight difference from each other. I may balance them further but I�m not sure if it�s worthwhile considering I planned on skipping having the crankshaft professionally balanced anyways
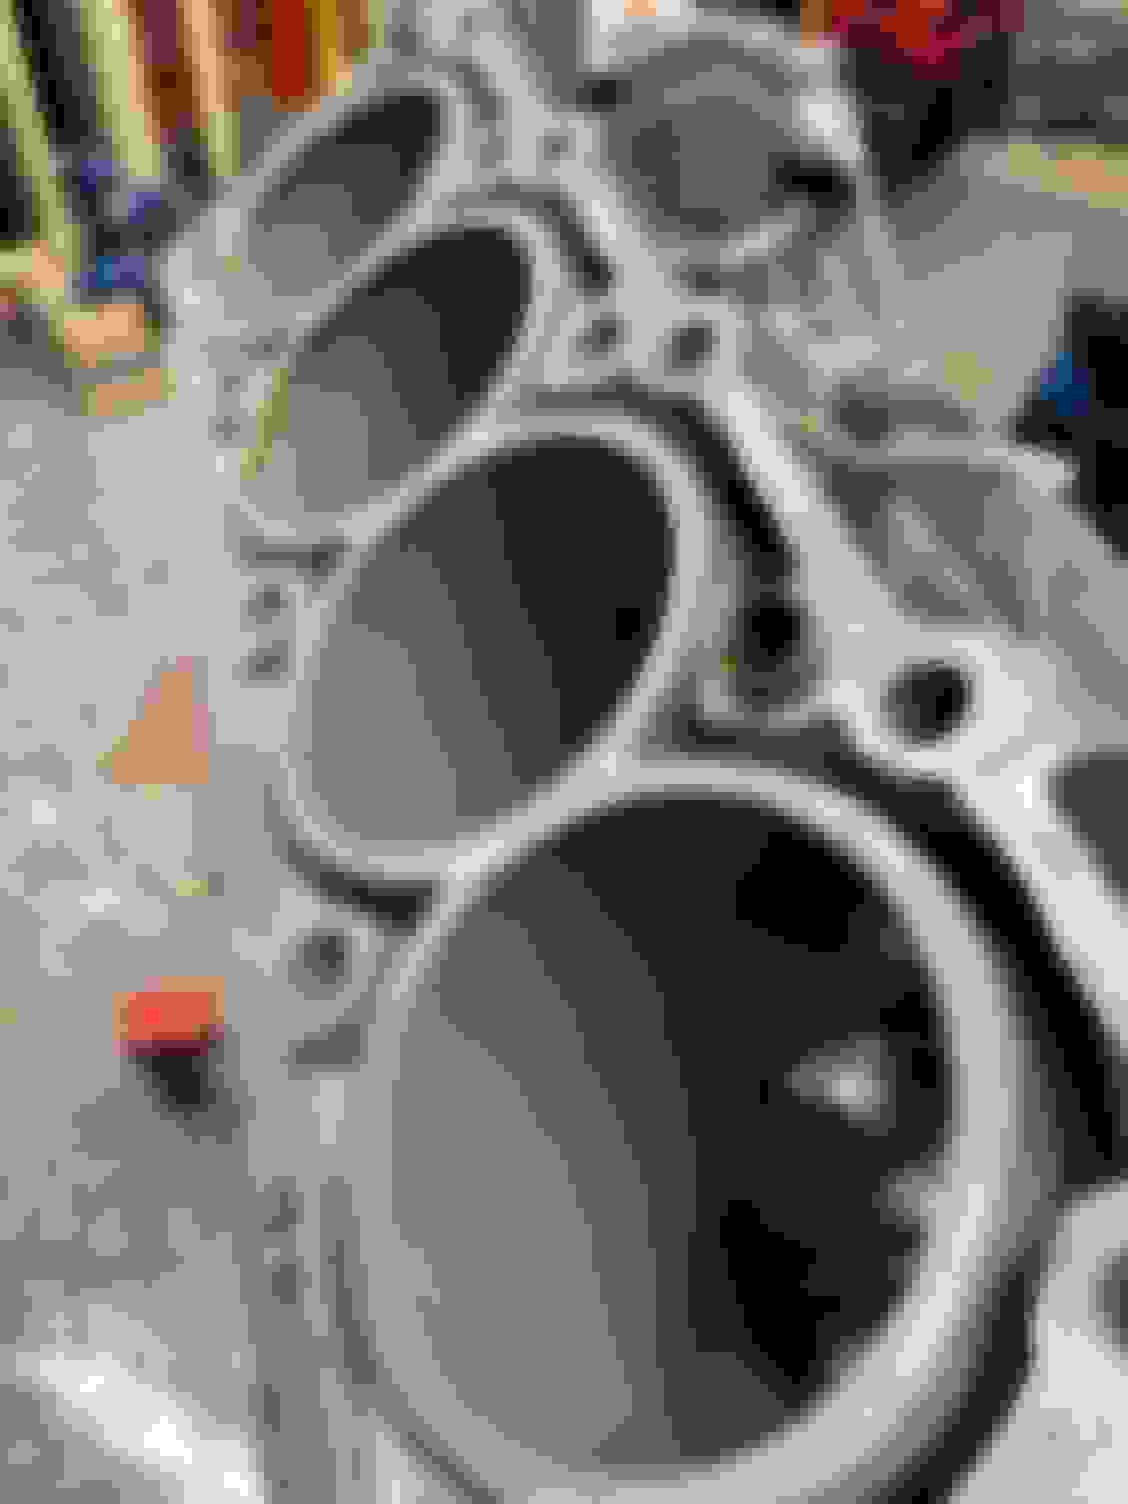
besides that, one of the more lengthy processes was lapping the cylinder walls. The process of putting together a cheap DIY alusil hone was a time consuming process. However I don�t see it being worthwhile to invest in any more costly equipment seeing as I�ll only likely �hone� a few alusil engines in my lifetime. It was rewarding to see how smooth the cylinder walls could be with some inexpensive equipment and patience.
in the photo of the engine, You can see there are two cylinders that have been lapped and two that have not. This was the before/after difference after only about 45 seconds of lightly lapping each cylinder wall. After this, I performed another 60-75 seconds of lapping with engine oil mixed into the alusil paste. Finally I wiped clean the walls with a lint-free rag, which I believe helps to further polish the walls.
afterwards it was a very time consuming process cleaning all of the alusil paste out of the engine block. But the results so far have been very worthwhile
Before and after example of polishing the crankshaft journals, on the left is wet-sanded up to 1500 grit, with wd40, on the right is after being pulled from the engine and cleaned with gasoline and then citrus degreaser Another angle/example of before and after polishing Here is a photo meant to depict a before and after example of lapping the aluminum engine block cylinder walls. The aluminum actually has 30% silicon content and a process using felt pads on a hone coated with alusil honing paste(the cylinder walls also get coated with the paste and regular engine oil in the process) brings forth the silicon for the piston rings to slide on. The silicon is much more durable than the aluminum alone which is part of the reason m113�s typically last a long time
Crank bearings gauged and installed with assembly lube, the assembly lube smells like mint interestingly enough, im not sure what the purpose of that is. All crank bearing caps torqued to spec with new hardware. I used some loctite on the side (bolts 5 and 6) bearing cap bolts. Another view of the crankshaft installation. The crankshaft spins very freely and smoothly when I tested oil clearances with the factory 5-40 Mobil 1 oil. With the thicker assembly lube, the crankshaft still spins beautifully but with a noticeable �drag� which gives me great confidence in the break-in protection of the contact surfaces of the bearings during engine break-in procedure Crankshaft top side bearings installed and coated with assembly lube. Went with the m113k specific crank bearings to utilize the coating they come with compared to regular m113 bearings. In this view you can also see the piston oil squirters, torqued to spec with loctite on the fastener. I went with the m113k squirters over the 55 n/a squirters which have a slightly different firing angle. I hope these squirters better compliment the underside of m113k piston, which has a different location for the ring oiling ports AMG crankshaft after polishing
Since I am at that point, I am considering whether or not to ceramic coat the domes of the pistons, in theory it should help push through the warmer gas of the combustion cycle. This is, in theory, even more beneficial for a turbocharged engine as the hotter exhaust gases help spool the turbos faster and harder
Last edited by ctravis595; 07-04-2021 at 07:27 PM.
The bearing bridge and rockers from the m113k junkyard motor are seen here with some clk430 bridges and rockers from a $100 engine I picked up. Luckily the rockers and shafts are interchangeable, the bearing bridges from the 55k engine are able to be saved along with the cylinder heads. However the rockers, shafts and lifters are shot An example of the blueing of the bearing bridge shafts after the 55k engine was in a fire, this shaft was actually really difficult to retrieve from the bearing bridge
Found something out the hard way last night that I haven�t seen mentioned anywhere else before, everything was coming along great with the re-assemble and gauging of crank and rod bearings� but it turns out the n/a 55 crank and the 55k crank are not interchangeable.
when attempting to keep my 55 n/a crank with my 55 n/a block(but with 55k pistons and rods, I wanted to keep the pieces together (crank and block combo) as they had performed very well together over 100k miles), I found out the 55 n/a crank actually binds up on the 55k pistons!
the counterweights of the crank actually hit the 55k pistons. The 55k crank has this area shaved away on the counterweights when you look more closely. I thought since both crankshafts weighed exactly 45lbs that they were identically machined pieces but I was incorrect
not a huge hassle but this lack of forethought has cost me 1x set of crank bearing bolts and one pair of con rod stretch bolts since I refuse to re-use the stretch bolts for a rebuild
Here is an overhead view of what I am talking about, notice the crankshaft counterweights come very close to the pistons on the stroked 55 AMG engines Here is the 55k crank we will be using for this build now instead of the 55 n/a crank that originally came in this engine block. Ironically my 55 n/a crank will end up on a 55k engine now Thankfully the 55k crank shows very nice oil clearances for a high horsepower rebuild Again, great measurements found at the top side crank bearing after trying the 55k crank in this block In this photo you can see the markings where the 55k crank is shaved to clear the 55k pistons Here you can see through a window on the front of the block, where the pistons want to come into contact with the crank on this stroked motor
Pistons, rods and crank installed in the engine so far. After installing all rods and pistons, I noticed the pistons making contact with some of the oil squirters unfortunately. It even looks like I�ve bent two of the oil squirters I was planning on using in this engine rebuild�luckily I have an extra m113k sitting in the driveway (also waiting for a rebuild, more on that later) with m113k oil squirters to spare.
I was able to bend the �bad� squirters back into position, I also tried bending some of my good n/a 55 amg squirters into position but I was not comfortable re-using those �fixed� squirters considering the crankcase may see excessive temperatures due to my increased piston ring gap on this build, and considering the metals are surely weakened after being bent back into a suitable position
Did the factory cylinders have crosshatch? When you hone the cylinders I would think you'd want some crosshatch or the rings won't seat and piston and ring oiling will suffer.
As a racer myself, I am glad you decided to ditch the rear turbos. Nothing good comes from having to pump oil there and back and turbo lag is terrible.
these engines have a special aluminum/silicon mixture (about 70/30% mix) and the honing process is not only to true the cylinders but it�s largely responsible to develop a strong layer of only silicon on the cylinder walls. The silicon is supposed to be stronger than the steel piston rings apparently, as you�ll find high mileage m113 engines with virtually no cylinder wear but the rings will be worn
the ideal cylinder wall finish is a matte, smooth finish compared to the cross hatch you�d typically see on most engines
i liked the uniqueness and quick installation of the rear mount idea, but to be optimized to its fullest potential I would expect the budget to be similar to a proper front mounted setup. I�ve seen quite a few fast rear mounted corvettes and such but there�s no denying that turbos like heat.
i really like the newest twin turbo amg v8�s, with the hot V setup, who knows maybe one day I will find someone to build cylinder heads for a hot V m113 engine
Last edited by ctravis595; 08-18-2021 at 09:20 AM.
Spending a bit of extra time on the heads, and doing a lot of research on airflow characteristics in regards to valves and heads. I felt I went too large when porting the n/a 55 heads I originally started working on. So I will save those for a supercharged setup in the future. Exhaust gas velocity is not something I would like to lose on a turbo setup. Quicker exhaust gases should equate to quicker turbo spool and response
I opened up the intake and exhaust ports while maintaining a nice 93-95% throat diameter to valve diameter ratio to get some quick air velocity underneath the valves. In the intake ports I also knife-edged the wall between the intake valves as to not impede any airflow into the chambers.
in the chambers I mostly spent time taking down the machining/casting ridges around the valve seats. Afterwards I did what I could to smooth out the chambers without spending excessive time on the matter. The less material removed from the chambers the better, to keep consistency amongst the other chambers.
I found good results while lapping the valves, a nice 1.85Mm+ contact patch between the valve and head should expand nicely with heat and keep a nice seal in the chamber.
I was pleasantly surprised to find while cleaning my 2006 CLS55 valves, that apparently the 05-06 113k engines seemed to be equipped with special 155 engine McLaren SLR exhaust valves. As I was sanding down the valves I was eventually able to see the part number on the top of the valve.
the slr valve compared to a dirty standard issue 113 amg exhaust valve as seen in the photo, surprisingly weighs 89grams compared to the seemingly lesser grade exhaust valve that weighs around 86grams. Adding weight to the assembly is never really ideal. The metal used in the valve seems different when polished. More reflective/shiny. My research indicates when switching to a more exotic metal like titanium or iconcel for valves, they should weigh less
i believe the slr valves weigh more because they have a smaller internal cavity for the sodium pocket, to increase structural strength of the valve. Much like how the m113k rods lack the oiling port the early amg rods used, in order to increase strength
the margin on the exhaust valves seems a bit small when compared to what most engine builders recommend, which in theory should increase the risk of burned valves. However, issues from burned exhaust valves seems pretty rare on 113�s so I am ignoring this matter for the time being
here are some examples of the exhaust valves after cleaning, pictured is a 2002 cl55 exhaust valve compared to a 2006 CLS55 valve for reference
the valves are supposed to have a special coating on them to resist wear and heat, much like the pistons. However with both pieces I decided to clean them and make sure there were no cracks or damages in any of the parts for re-assembly. Ideally I would�ve liked to have the pistons and valves re-coated but am worried about ruining clearances and introducing foreign matter to the chambers and moving parts
Here�s what your cylinder 6 piston may look like if you boost a high compression m113 without taking the time to get it dyno tuned.
In other news I�ve finally sourced every last part needed for the rebuild, it was not cheap or easy even with an employee discount, stuff like the crankshaft bearings will show up as �not available� depending where you look in the Mercedes parts system
re-finishing my garage floor currently so that I have a clean environment to build the motor, and need to pick up the materials to do a quick hone with felt pads on the cylinder walls. Should have more news soon
im gathering parts for a rebuild myself of a m113 na 5.5 where can I tell parts people
to
look when ordered the bearings!! Thank you in advance and infinite blessings
I hope everyone understands that you NEVER boost a high compression engine. It is a recipe for disaster every time. No more than 9 to 1 unless you run E85 should be attempted. Boost is where the power is, not compression ratio.
I hope everyone understands that you NEVER boost a high compression engine. It is a recipe for disaster every time. No more than 9 to 1 unless you run E85 should be attempted. Boost is where the power is, not compression ratio.
With the exception of GDI engines. For example, the M157 runs 10:1 CR from the factory.
I have some cool updates, mostly build plan updates(changes). Mostly with the intake manifold plan
the motor itself is still not finished (neither one), I would like to take this chance to blame Covid (isn�t everybody?) for not having the engine finished, but more realistically I have multiple projects going on at all times and not the concentration to quickly finish any of them. I think doctors call it ADHD. Usually whichever project is most interesting to me that day, gets the labor energy I have left after work and daily tasks. I did catch Covid around Christmas time, that put a large damper on energy/productivity levels, although the illness itself was not bad. One upside was I put a good amount of time into getting my tig welding up to speed
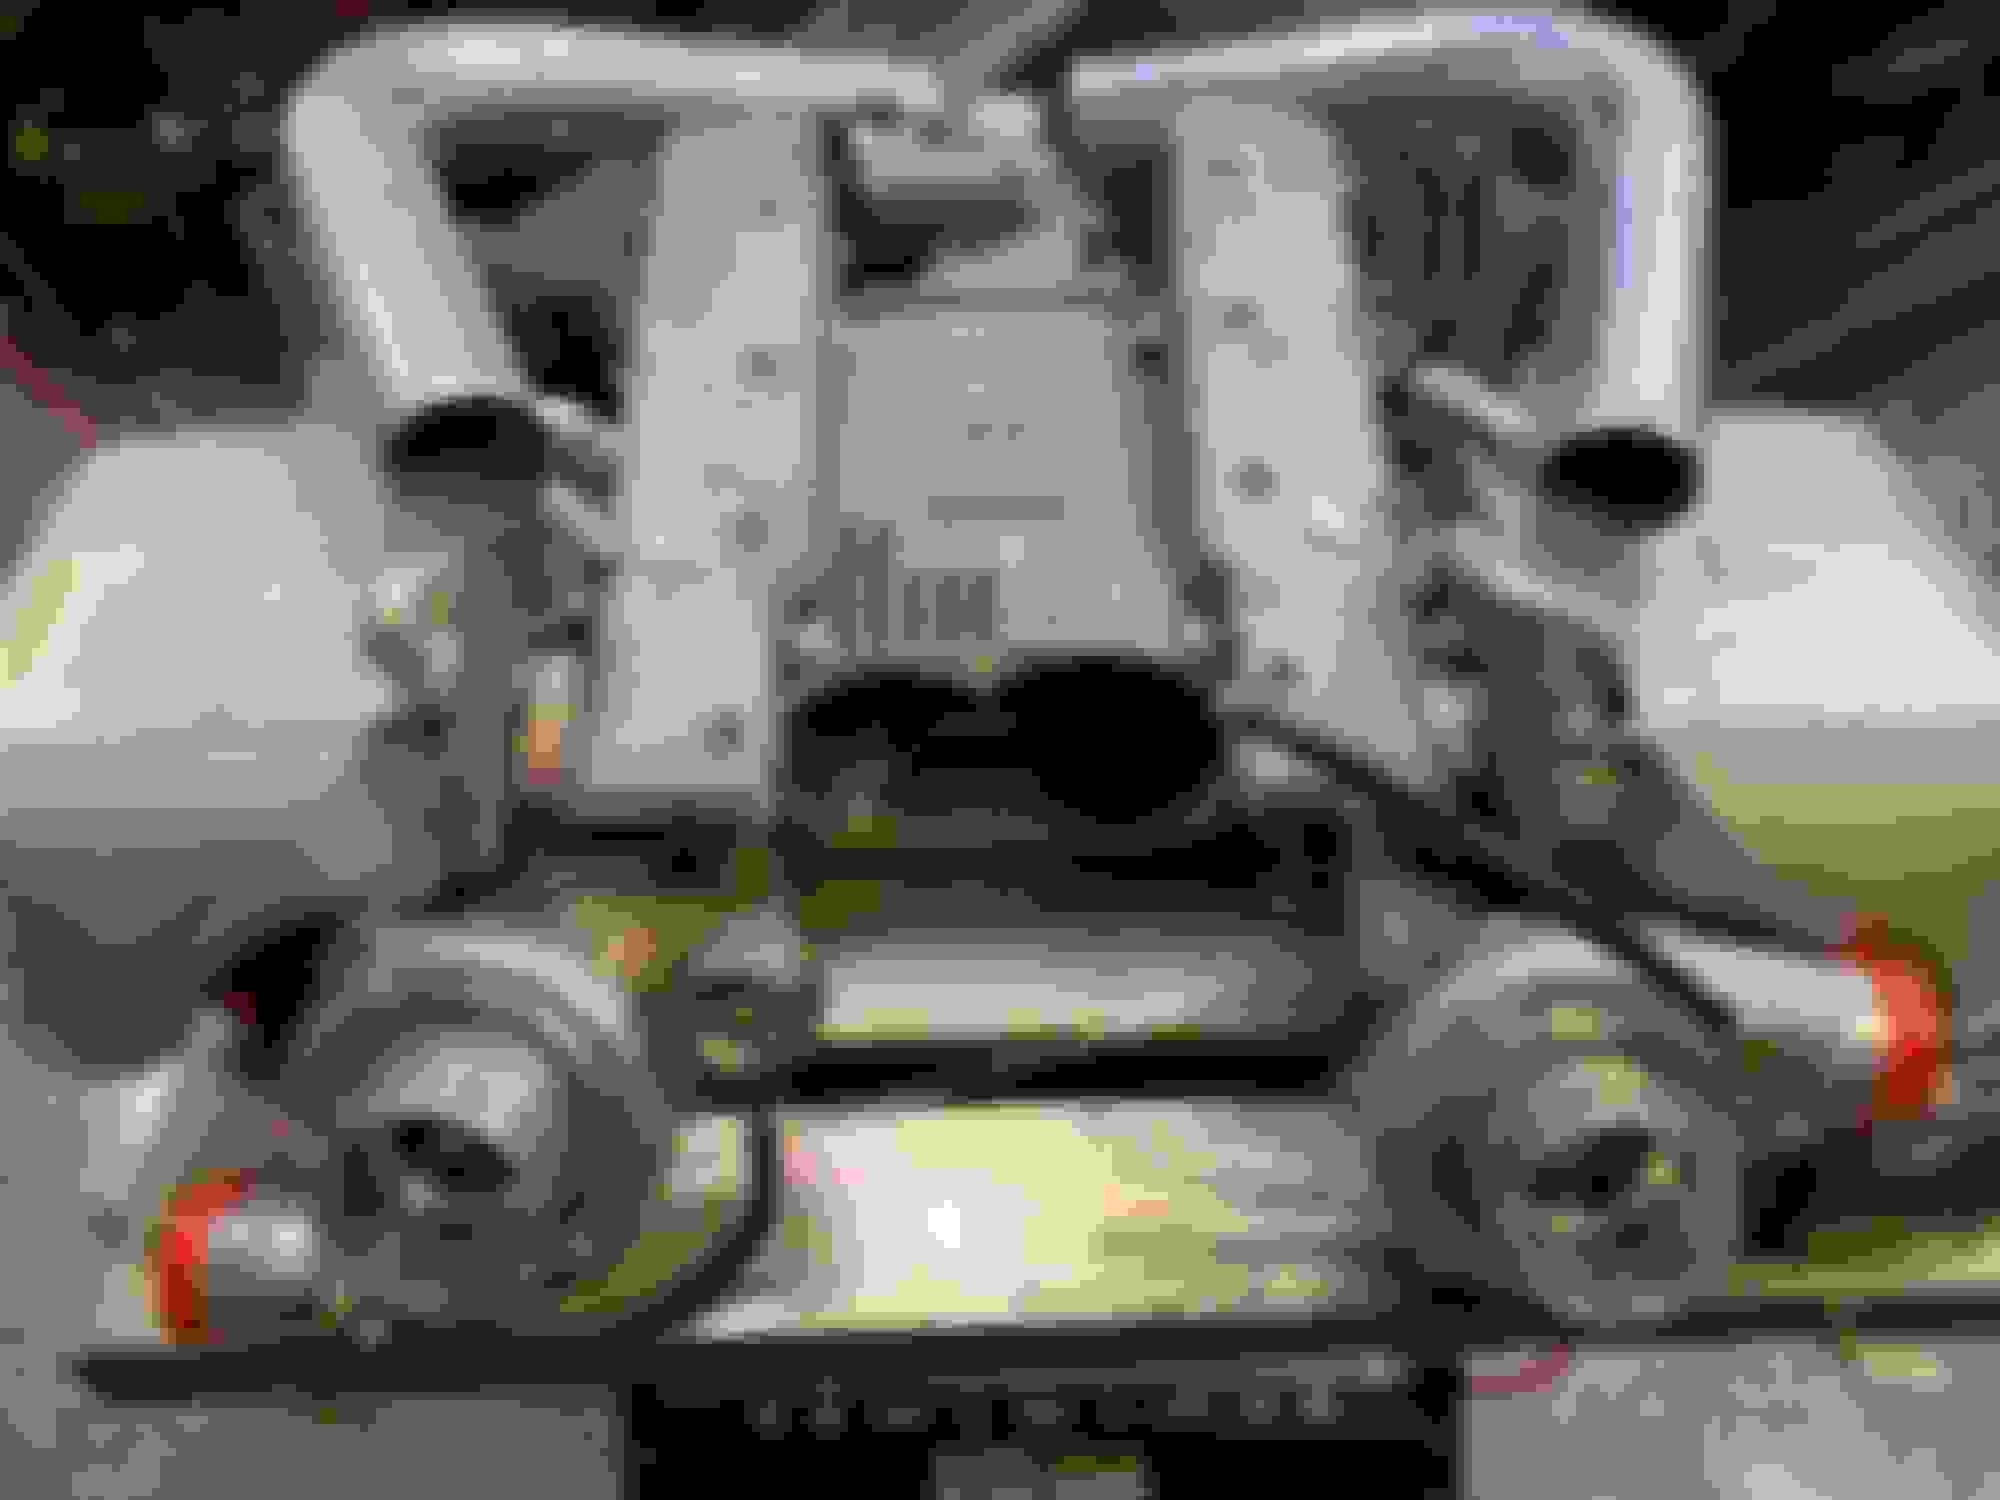
here�s a photo with a 2017 s65 v12tt I recently finished servicing for our Certified Pre-Owned system. I took a lot of time admiring how the intake system was designed, with a seemingly small plenum and the top mount intercoolers. It really made me want to move away from re-purposing the n/a m113 intake manifold idea, paired with the m113k intercooler placed in the trench of the V of the engine. Another distaste for re-purposing the magnesium manifold was reminded when I tried to make any weld repairs to any deterioration in the manifold itself. It just wants to burn away instead of welding nicely like other aluminums/magnesiums. I believe over time the boost pressure would eventually blow a hole in the manifold (they already naturally deteriorate and fall apart) and I want a more long-term solution
I found a good deal on a m113k supercharger core. I like that of course, it already has the proper fitment to bolt right into my m113�s, and I like that the surge tanks look pretty good sitting on both sides of the supercharger shell. I decided to re-purpose the K blower to act as a manifold. Notice the block-off plate between the blower snout and the body of the blower itself. The blower itself is more of an aesthetic �frame� for the intake runners/manifold. The charge air will enter the throttle body snout and immediately exit into the surge tanks instead of passing through the blower and m113k intercooler
here�s the rough mock-up of some m275 style v12 intercoolers with the new intake idea. I think I may leave the front end of the blower shell open, I think it looks kinda cool
notice the intercooler is gone, only the Y pipe of the intercooler was re-used to weld together a snout for the throttle body/common plenum for the twin turbos to build boost, before they are separated into each surge tank
hoping to have the engine finished soon, I am very glad now that I decided to use engine break-in lube for the rebuild instead of just engine oil, now that the engine has sat for a few months. Typically you are not supposed to use regular engine oil when an engine will not immediately be put into service after being built
I have been sidelined waiting on camshafts for a couple of months now
I installed the streetbeast camshafts during the head assembly/installation and found the driver side cam did not spin as freely as I desired. The cam would spin but had a spot in the rotation where it always seemed to want to stop, as if there was a bit of resistance.
I ended up buying a dial indicator, and found the driver side cam was bent. I tried straightening the camshaft with some techniques I found on YouTube, but whenever I straightened a large section of the cam, it seemed another section of the cam was no longer true.
I took out the passenger side cam and found this cam also had a very slight bend in it. I found out apparently it�s not uncommon for re-ground cams to need straightening. However it was very apparent these cams were damaged in shipping
I ended up sending the cams to Delta cams in Washington. They advised that the lobes were too scored to be repaired, I believe they mentioned the cams being hollow make them more difficult to build up weld material on the old lobes for regrinding
i have since bought a pair of 113k cams and sent them to be re-grinded, and unfortunately have yet to hear back about an eta of when they would be finished. I plan on calling tomorrow about an update
Really hate to hear you are having issues. Billet is the way to go but very expensive so it is understandable you would go a different route. Hope it all works out for you.
spoke with the cam shop and the cams should be done soon
in the meantime I decided to start putting together the second engine, the original junkyard CLS55 block and crankshaft that�s been mentioned through this thread.
here�s a nice before and after photo� after some odd miles and a car fire, then to me lapping the cylinder walls, cleaning the block and getting some paint on it.
so far on the second engine I have gapped the piston rings much wider, cleaned the rods and pistons, balanced the lightest rods to the heaviest pistons, installed the crank bearings and I have to get ready for the piston oil squirters. I have about 8 piston squirters I�ve found so far, from different 113 engines. Not all of them match, some are slightly damaged from previous install attempts, but these squirters are no longer available to buy so I have no choice but to make something work
 12-24-2020, 06:09 PM