When you click on links to various merchants on this site and make a purchase, this can result in this site earning a commission. Affiliate programs and affiliations include, but are not limited to, the eBay Partner Network.
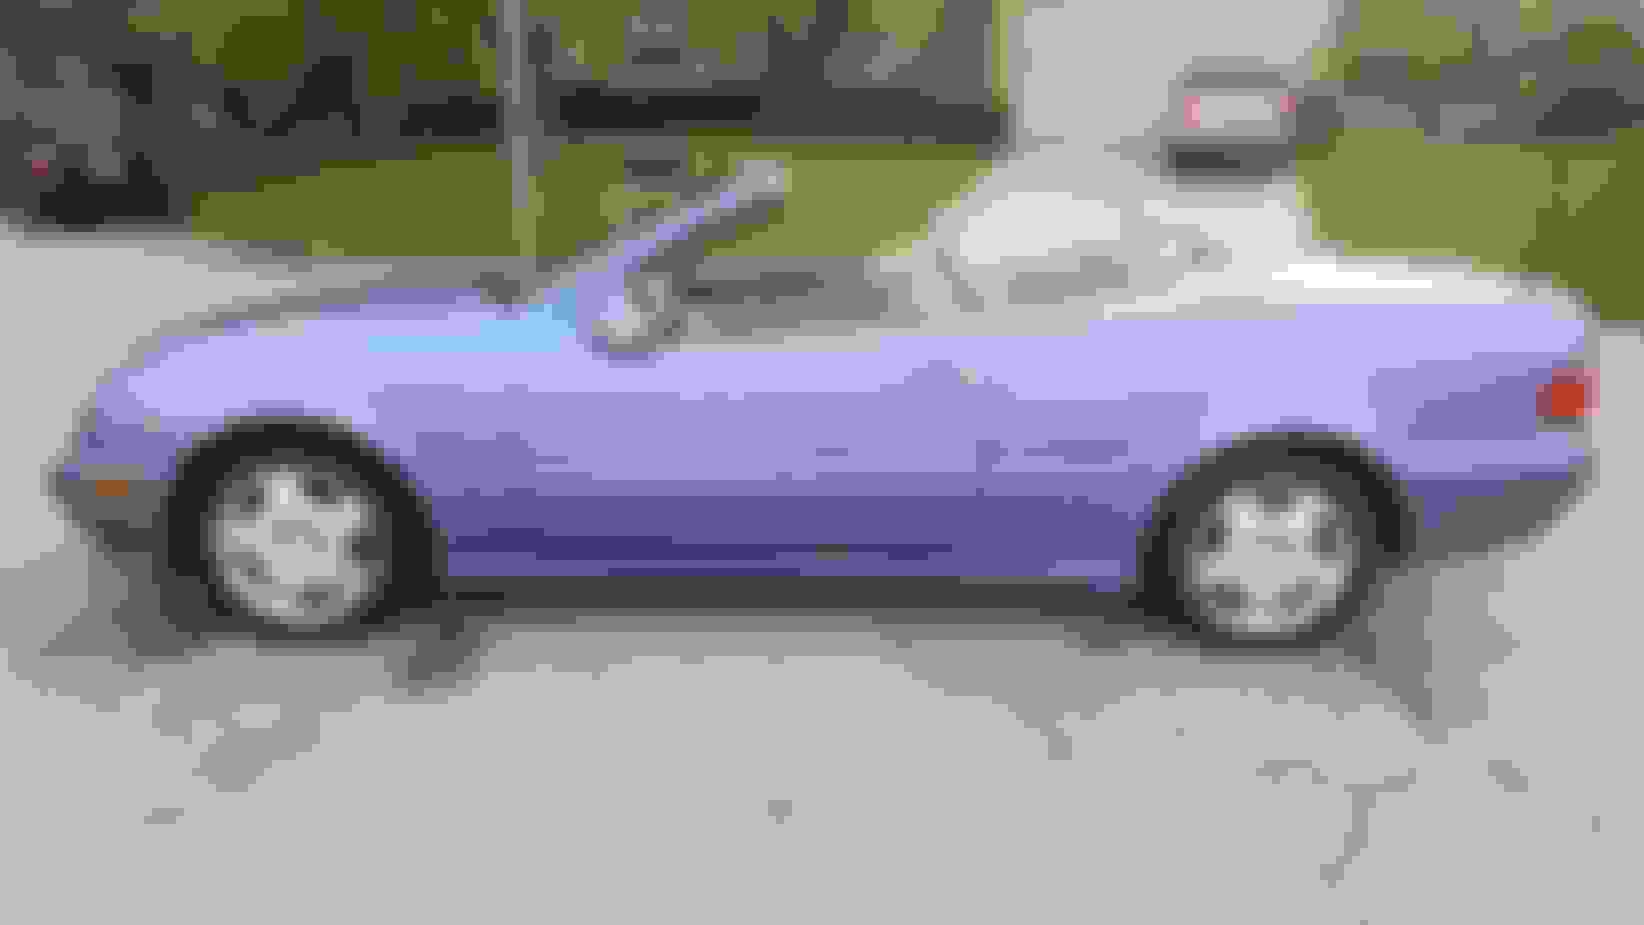
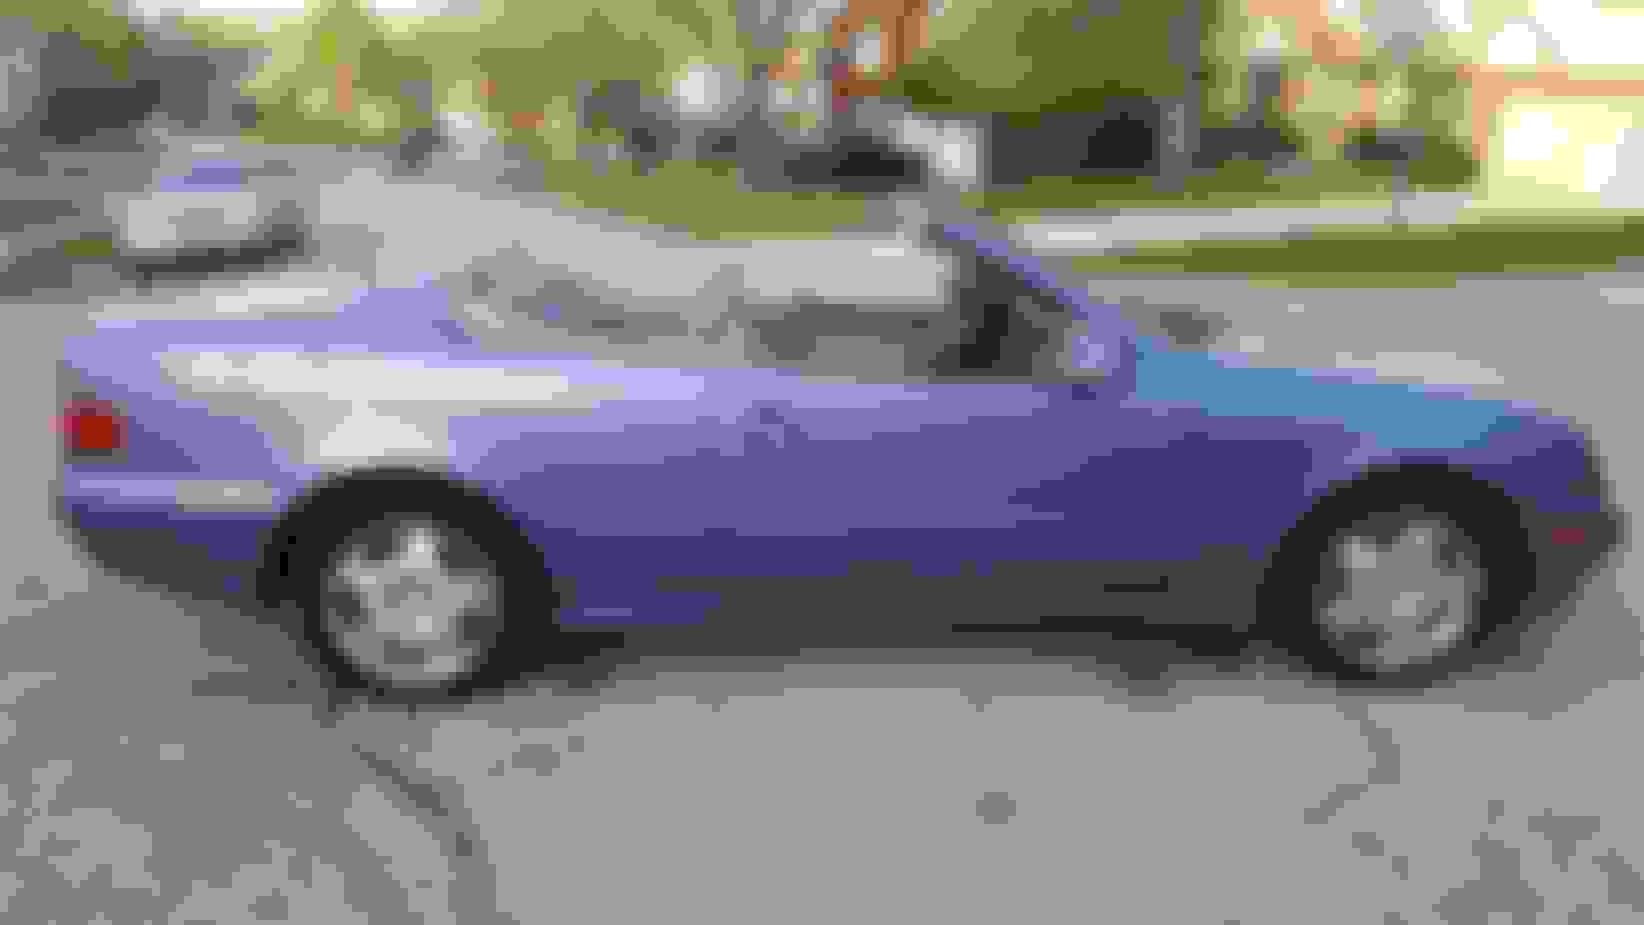
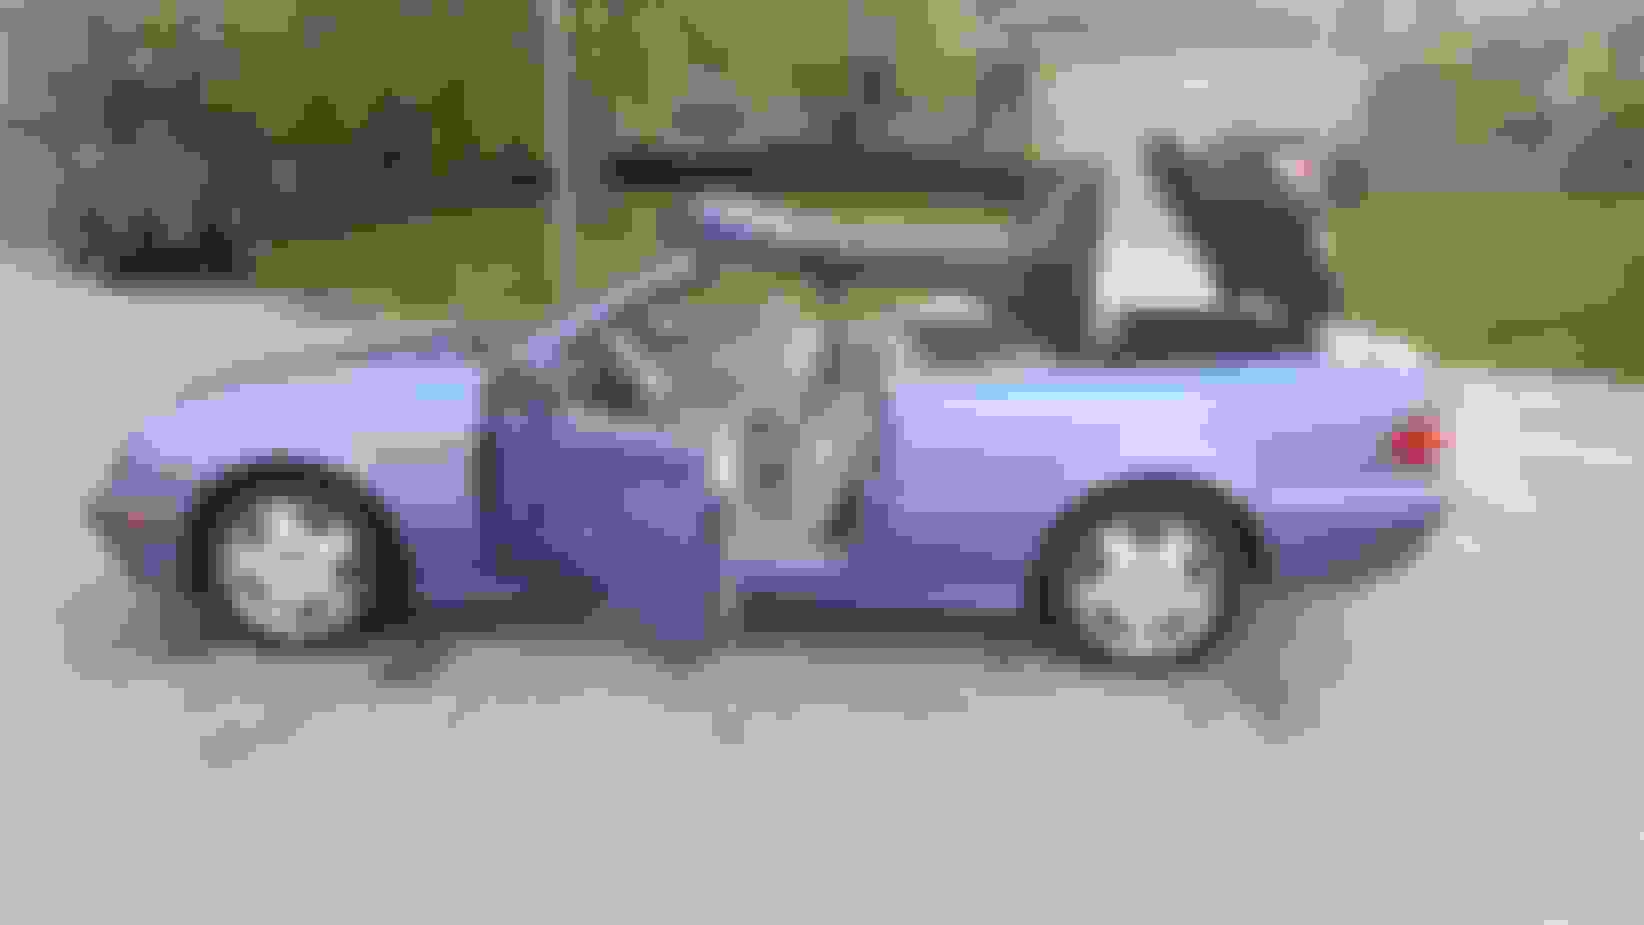
I bought the CLK at an auction for $500 with only seeing pictures. I knew it didn't run but had no idea why. When it showed up I popped the hood to find out the motor was locked up and had been removed, the AC compressor and the catalytic converters were missing, everything else was in the trunk. The car had been sitting for a while but had brand new Michelin tires all the way around and a new battery (but was completely drained). The car is a grey market car that was bought new by a woman in the military, she was the only owner until she locked the motor up and donated it to a local school. When they imported it they removed the leveling HID and front parking sensors . I looked into replacing them but it was out of the budget since I could only find the parts in Europe.
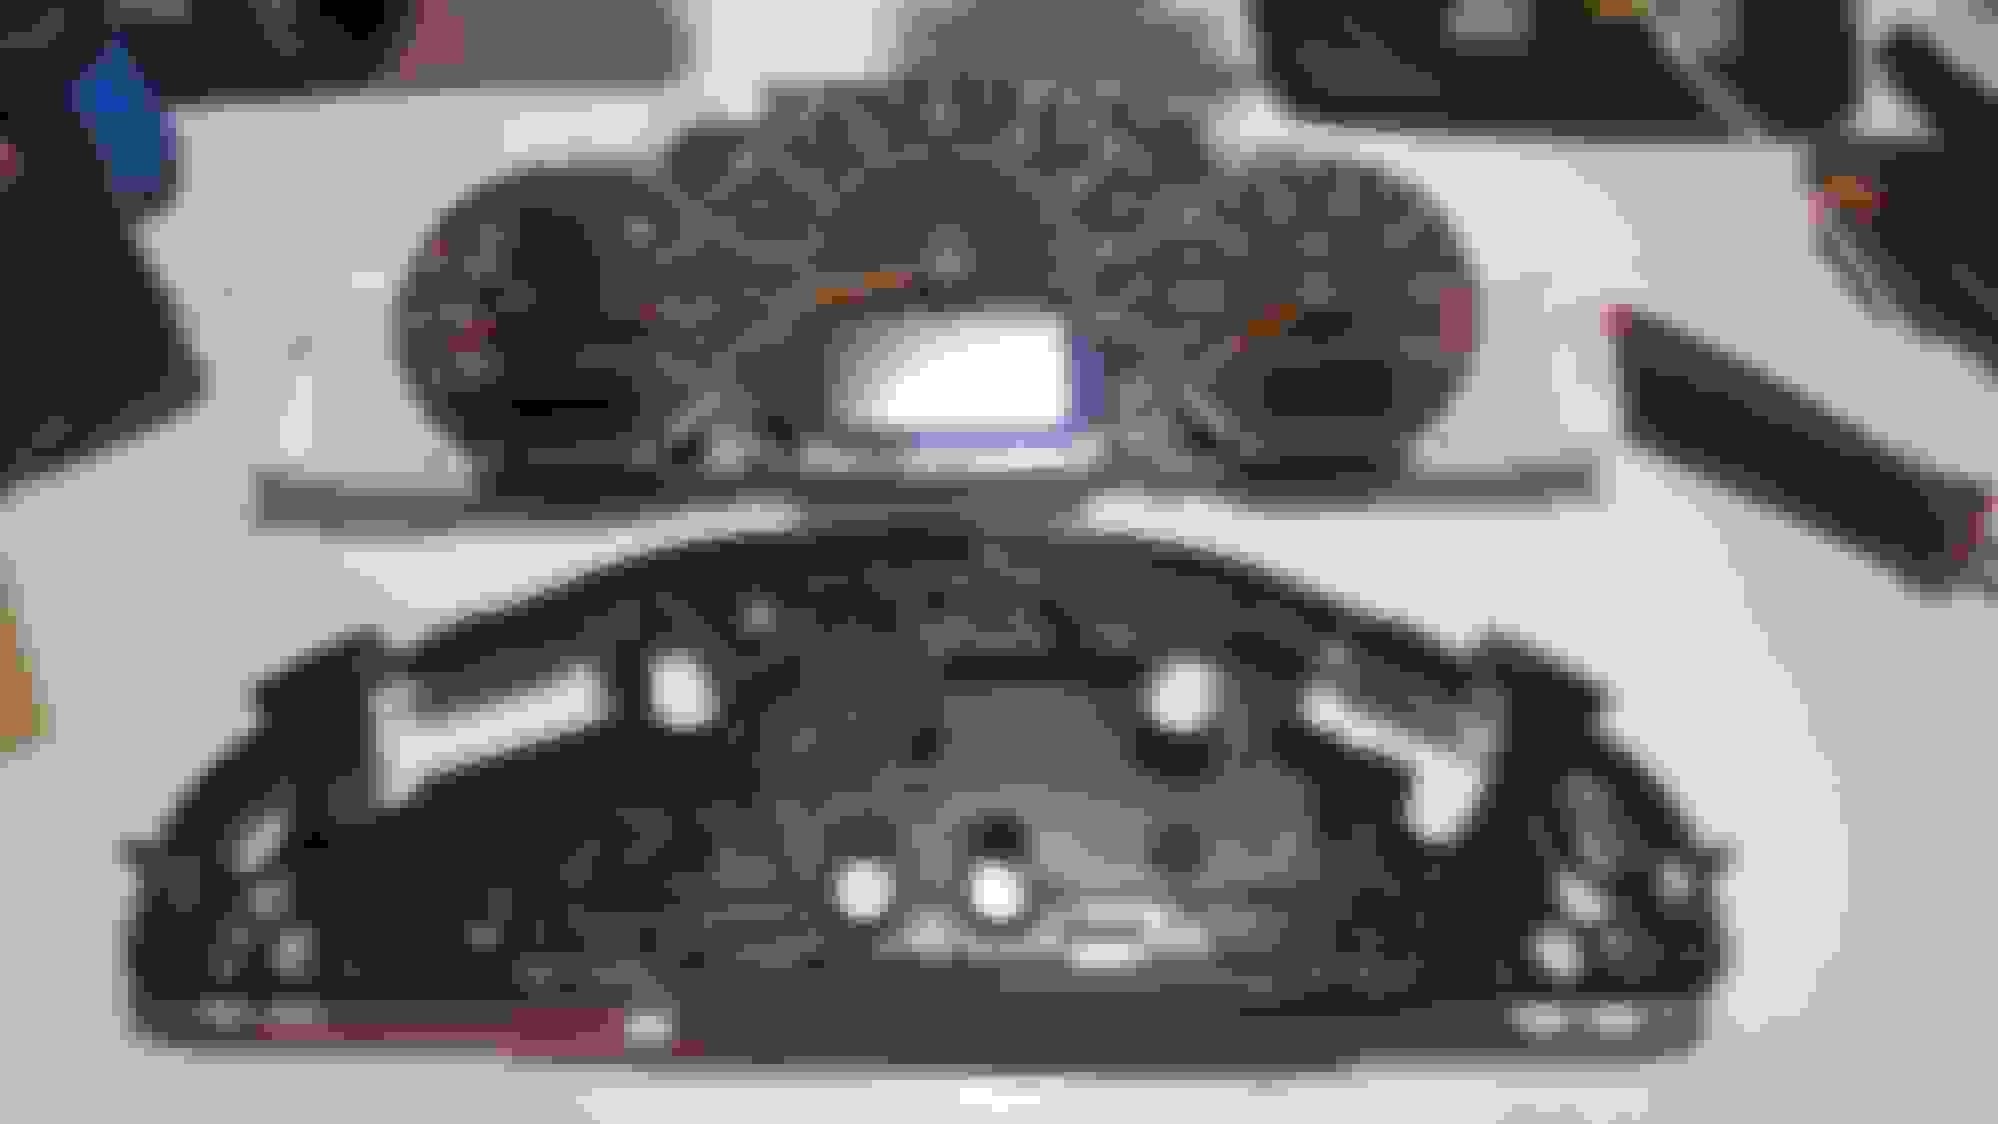
For the resto I replaced the motor with a used one with similar mileage. This is a list of what I replaced. The rear main seal, valve cover gaskets and breather seals, some vacuum lines, exhaust gaskets (when switching manifolds), intake gaskets, AC compressor and drier, trans pan gasket & 13 pin connector, new catalytic converters, new front/rear pads and rotors, cluster ribbon cables, 5 hydraulic cylinders for the top (have not replaced the rear headrest/roll bar cylinder), oil & filter, trans fluid and filter, coolant, new floor mats. I steam cleaned the interior, had dents removed and polished the car.
The car runs and drives very nicely. There are a few small things left to do. I need to replace the drivers front door window seal, the fuel sending unit went out on a long drive, the keyless entry does not work with rf but does with the ir. Trunk key cylinder need lubed and freed up. Cosmetically the drivers seat seams are ripped and the rear bumper could use a repair and paint but those will have to wait. I am currently trying to sell the car because baby #2 came into this world after this project started and a vert is not a very useful car with 2 little kids.
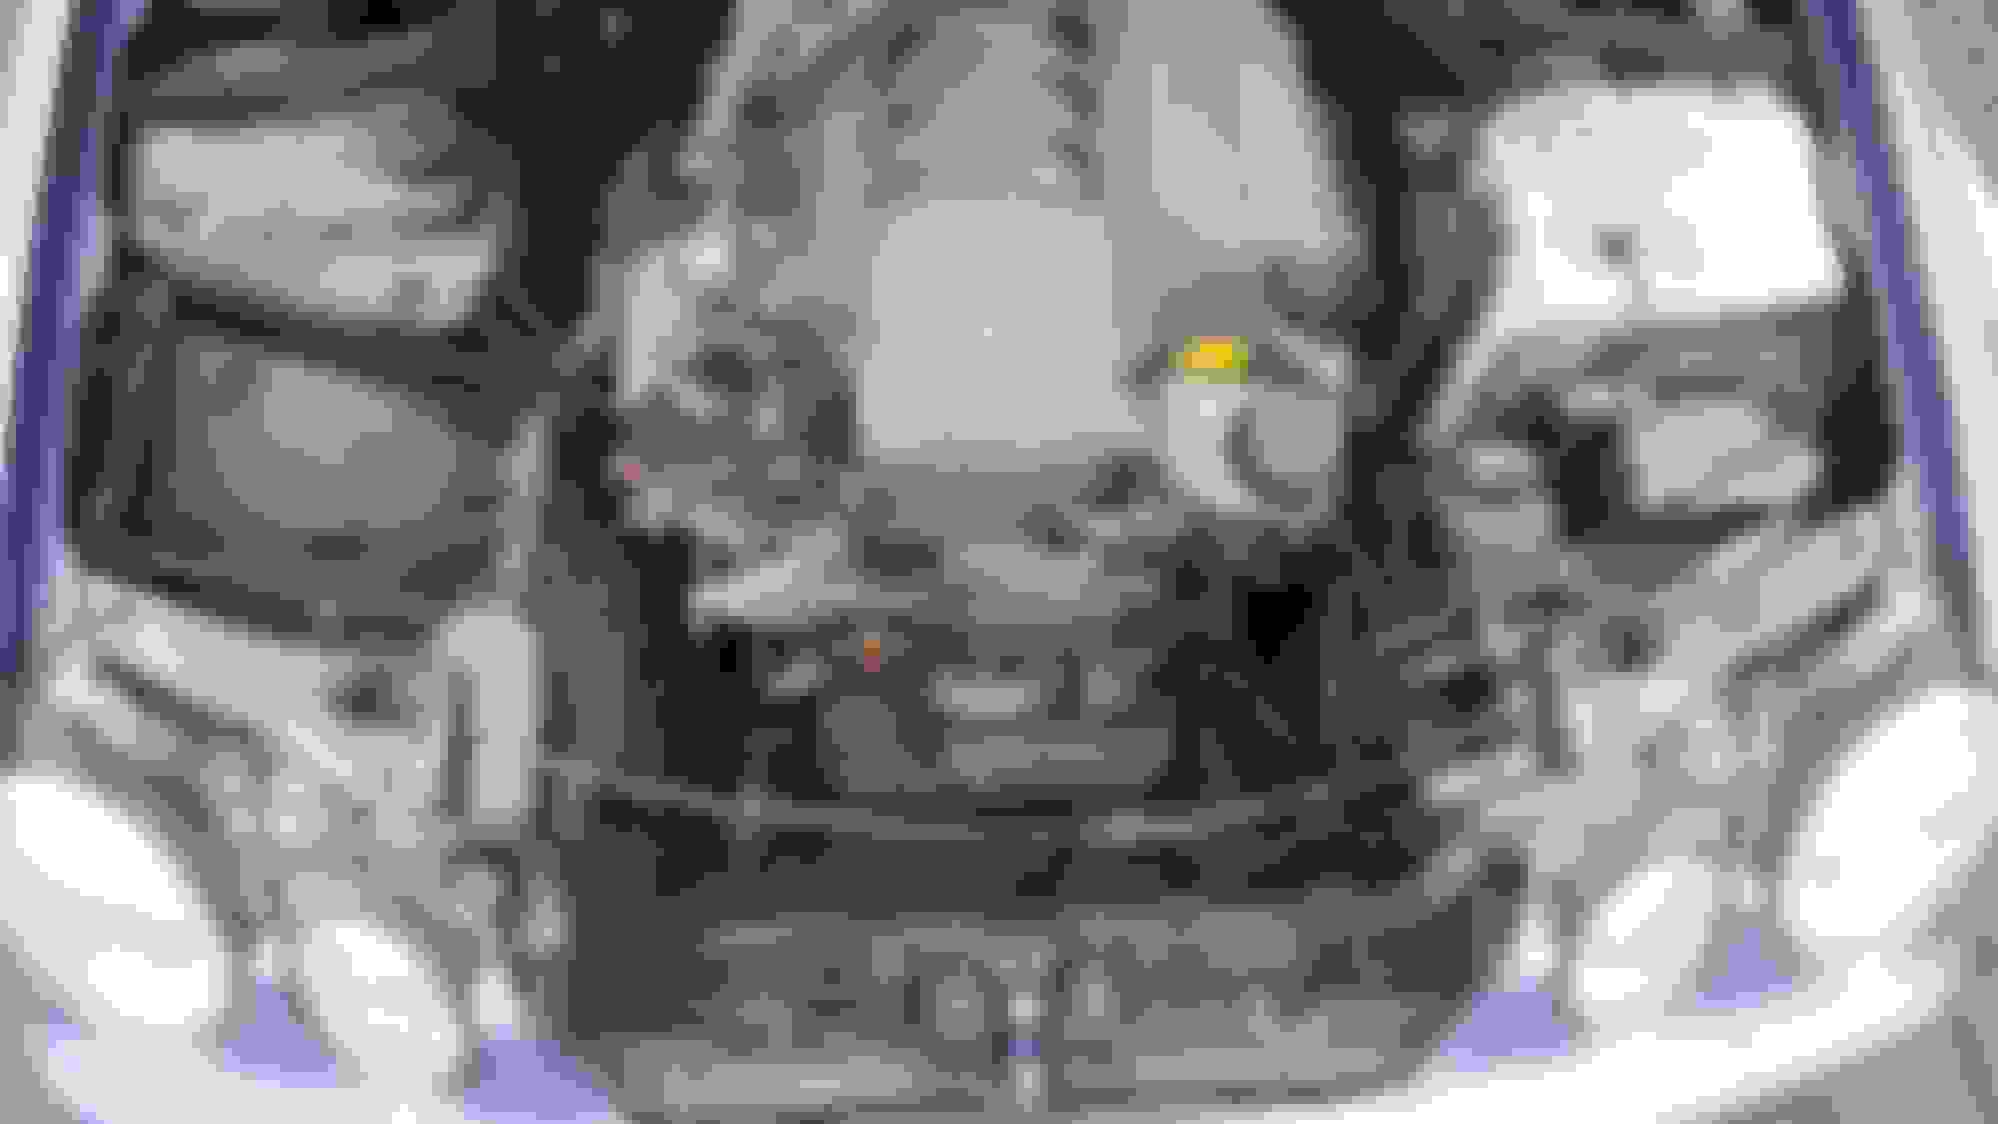
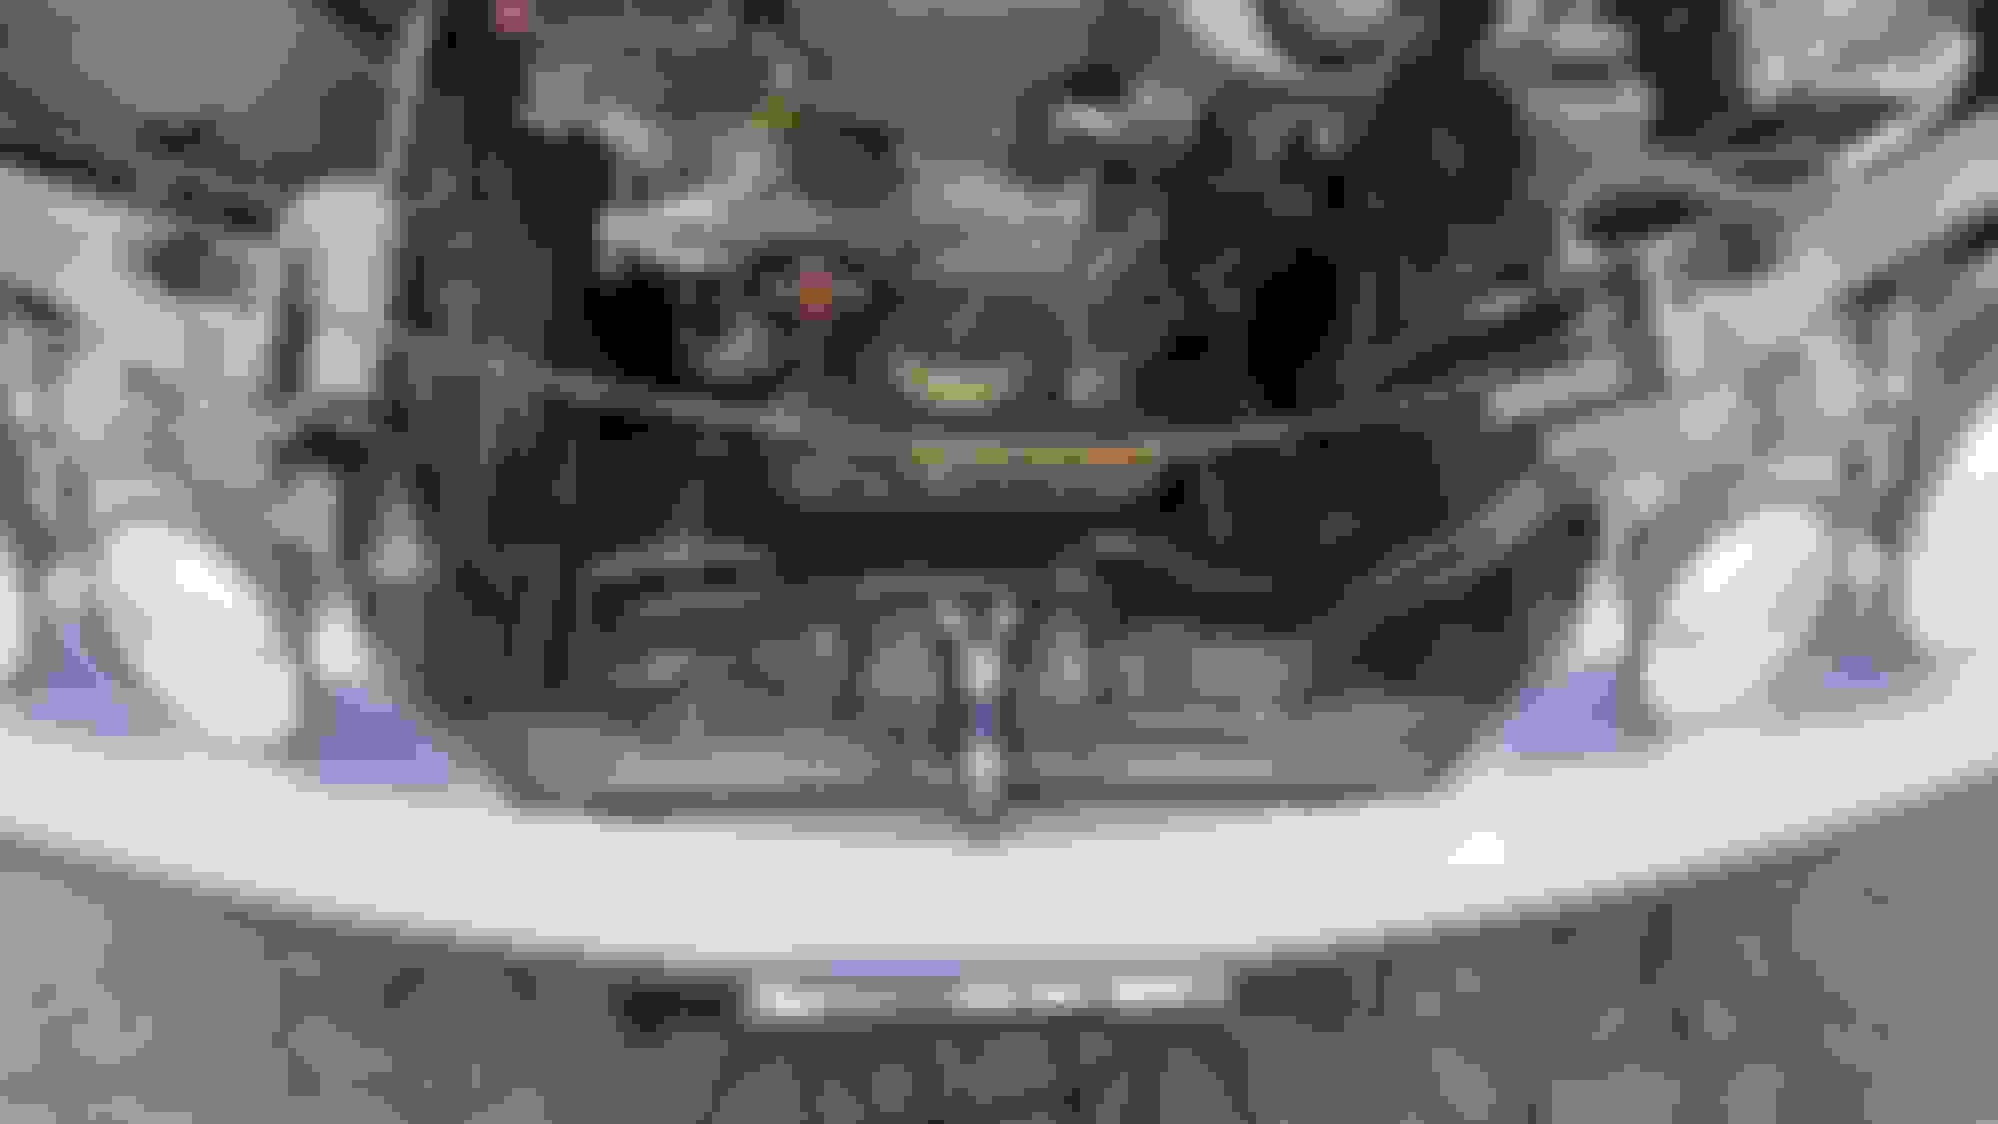
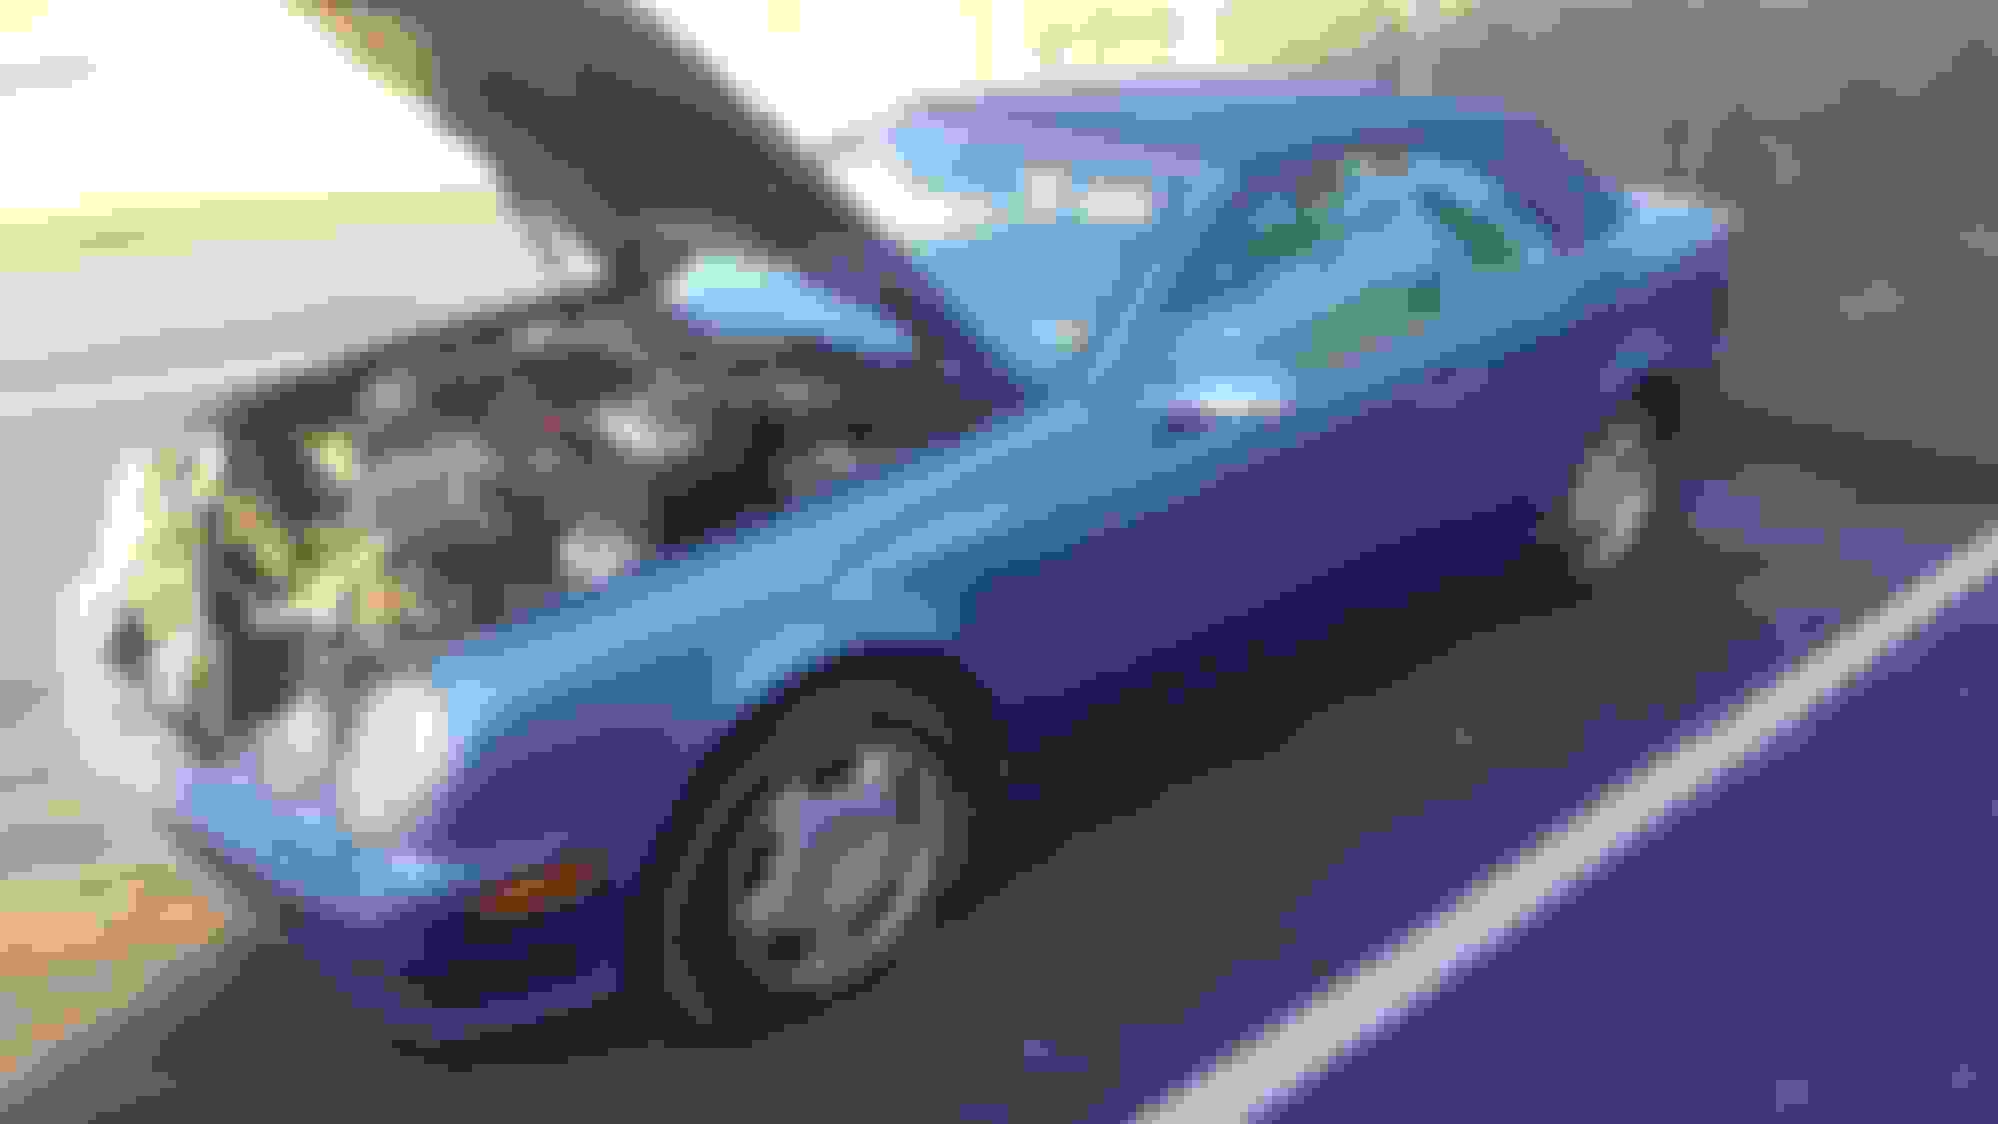
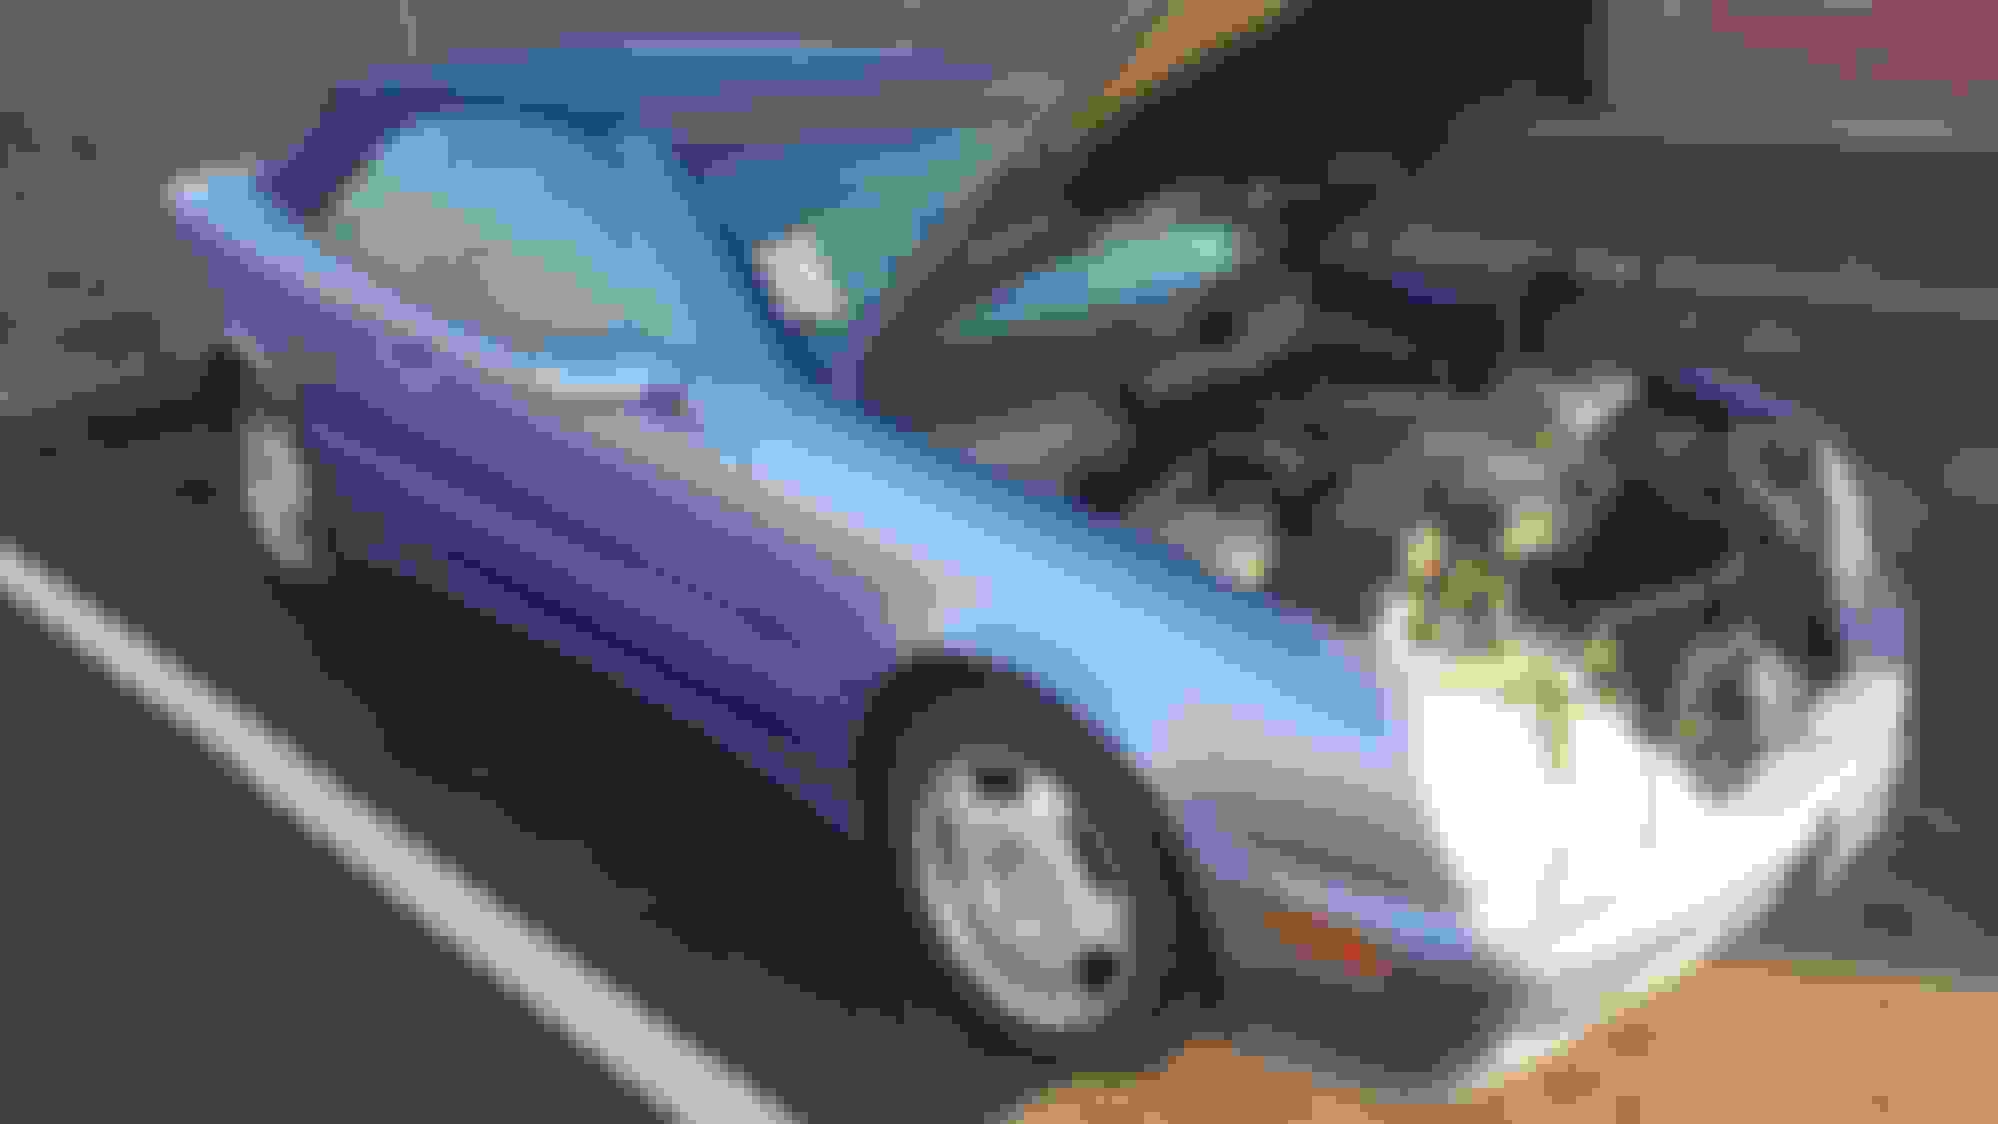
I am probably missing a few things but here are some pics.
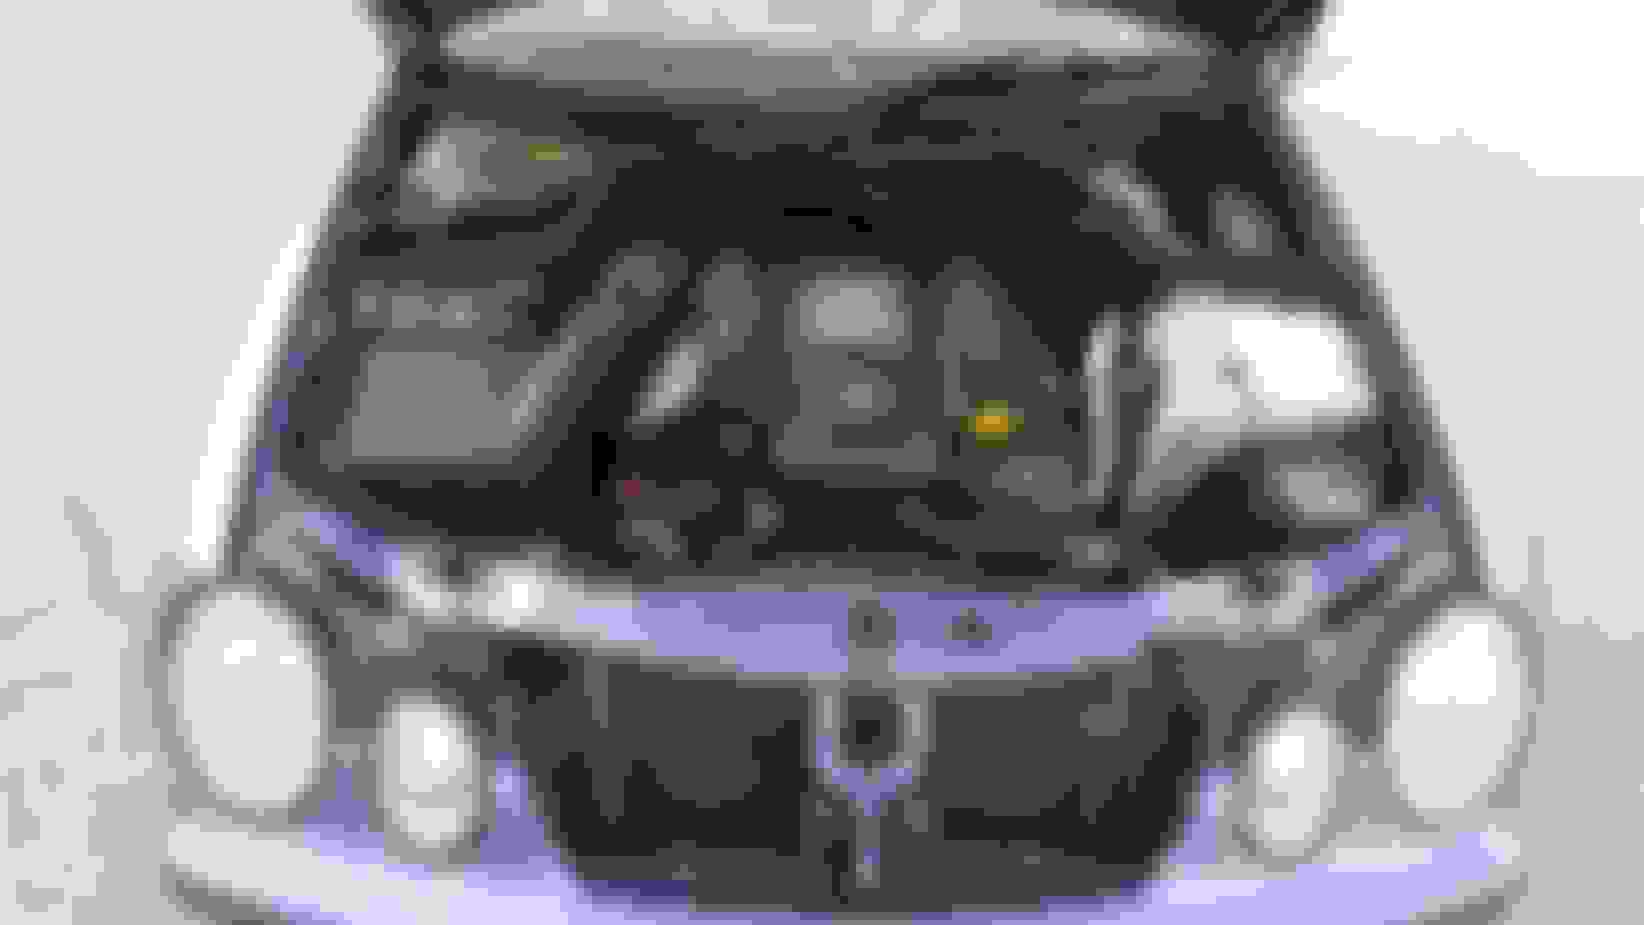
Motor when car arrived
When car arrived
Motor out.
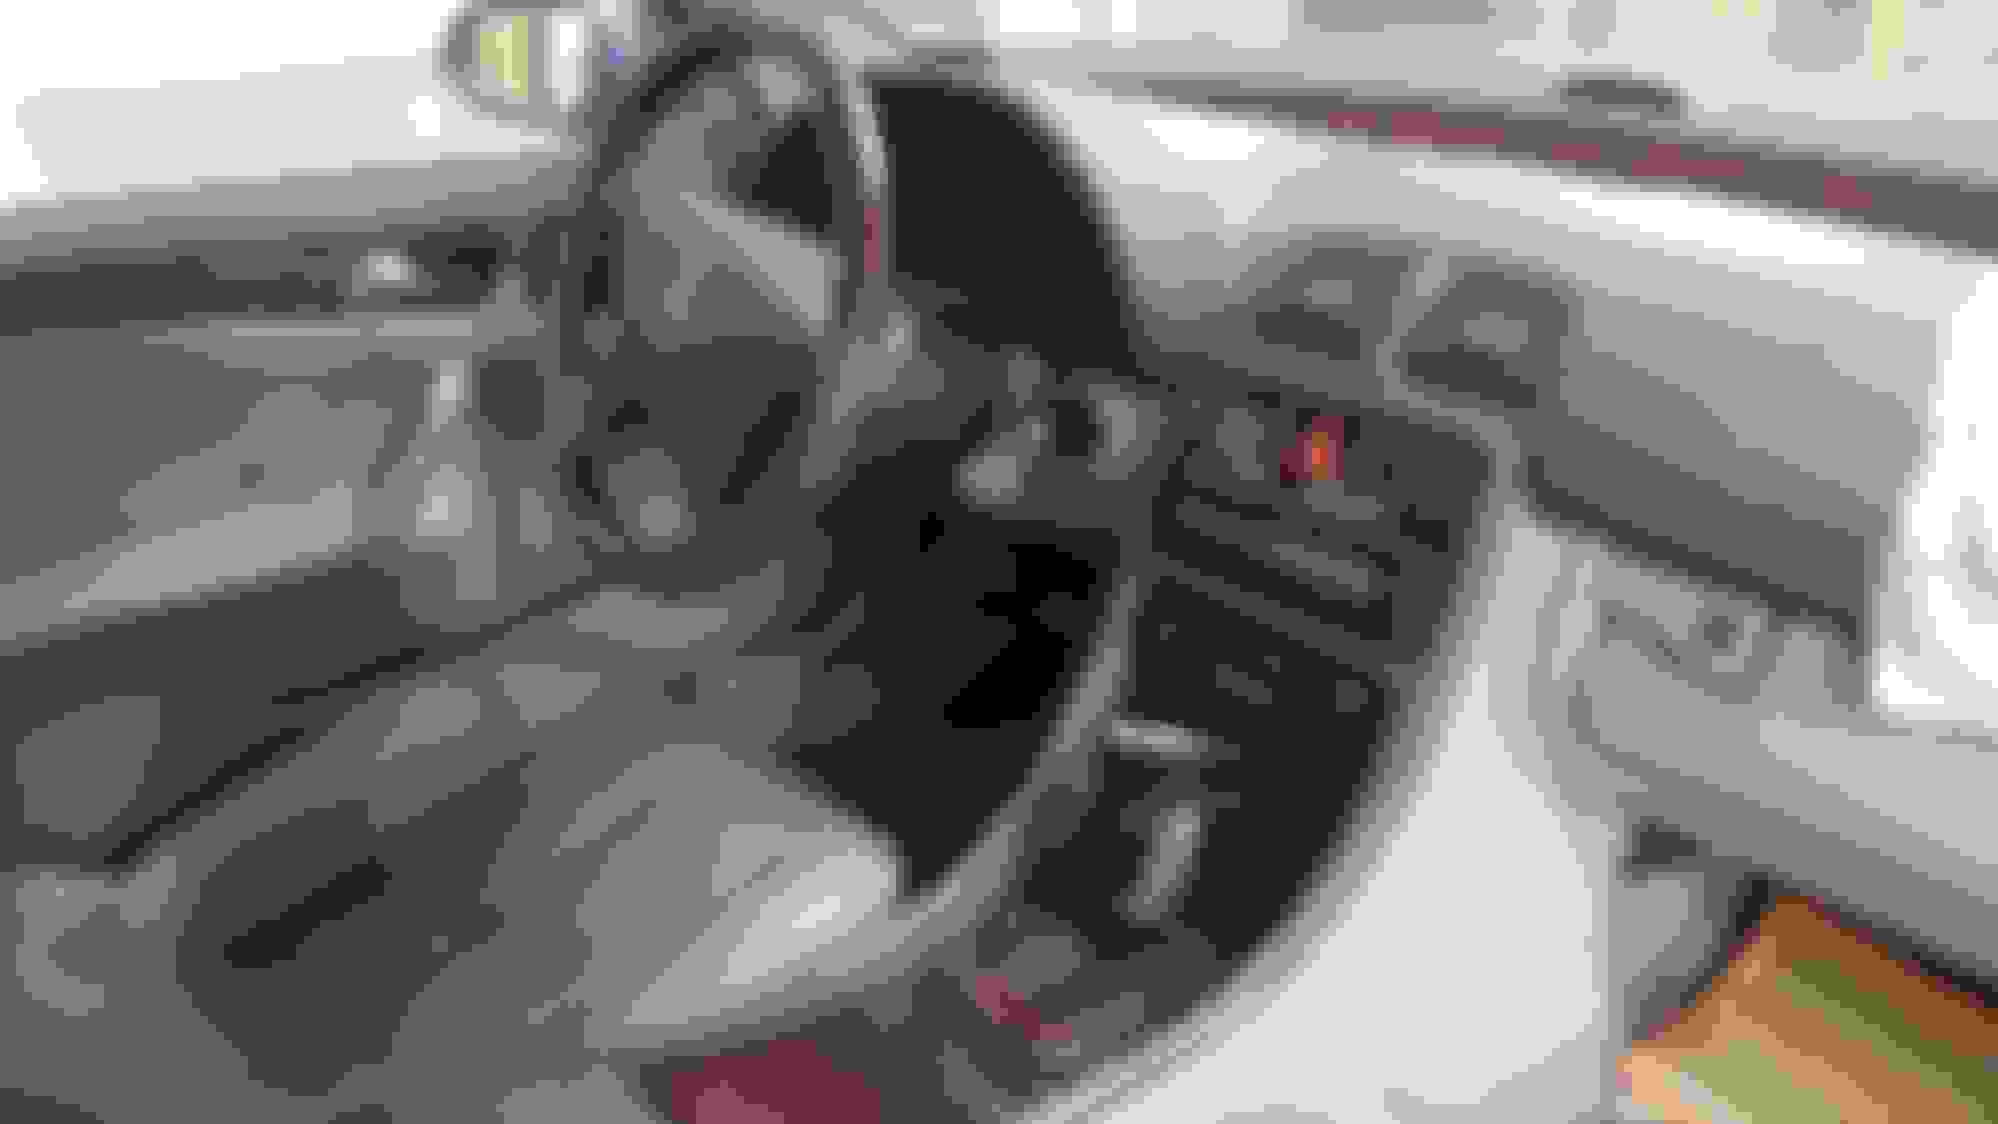
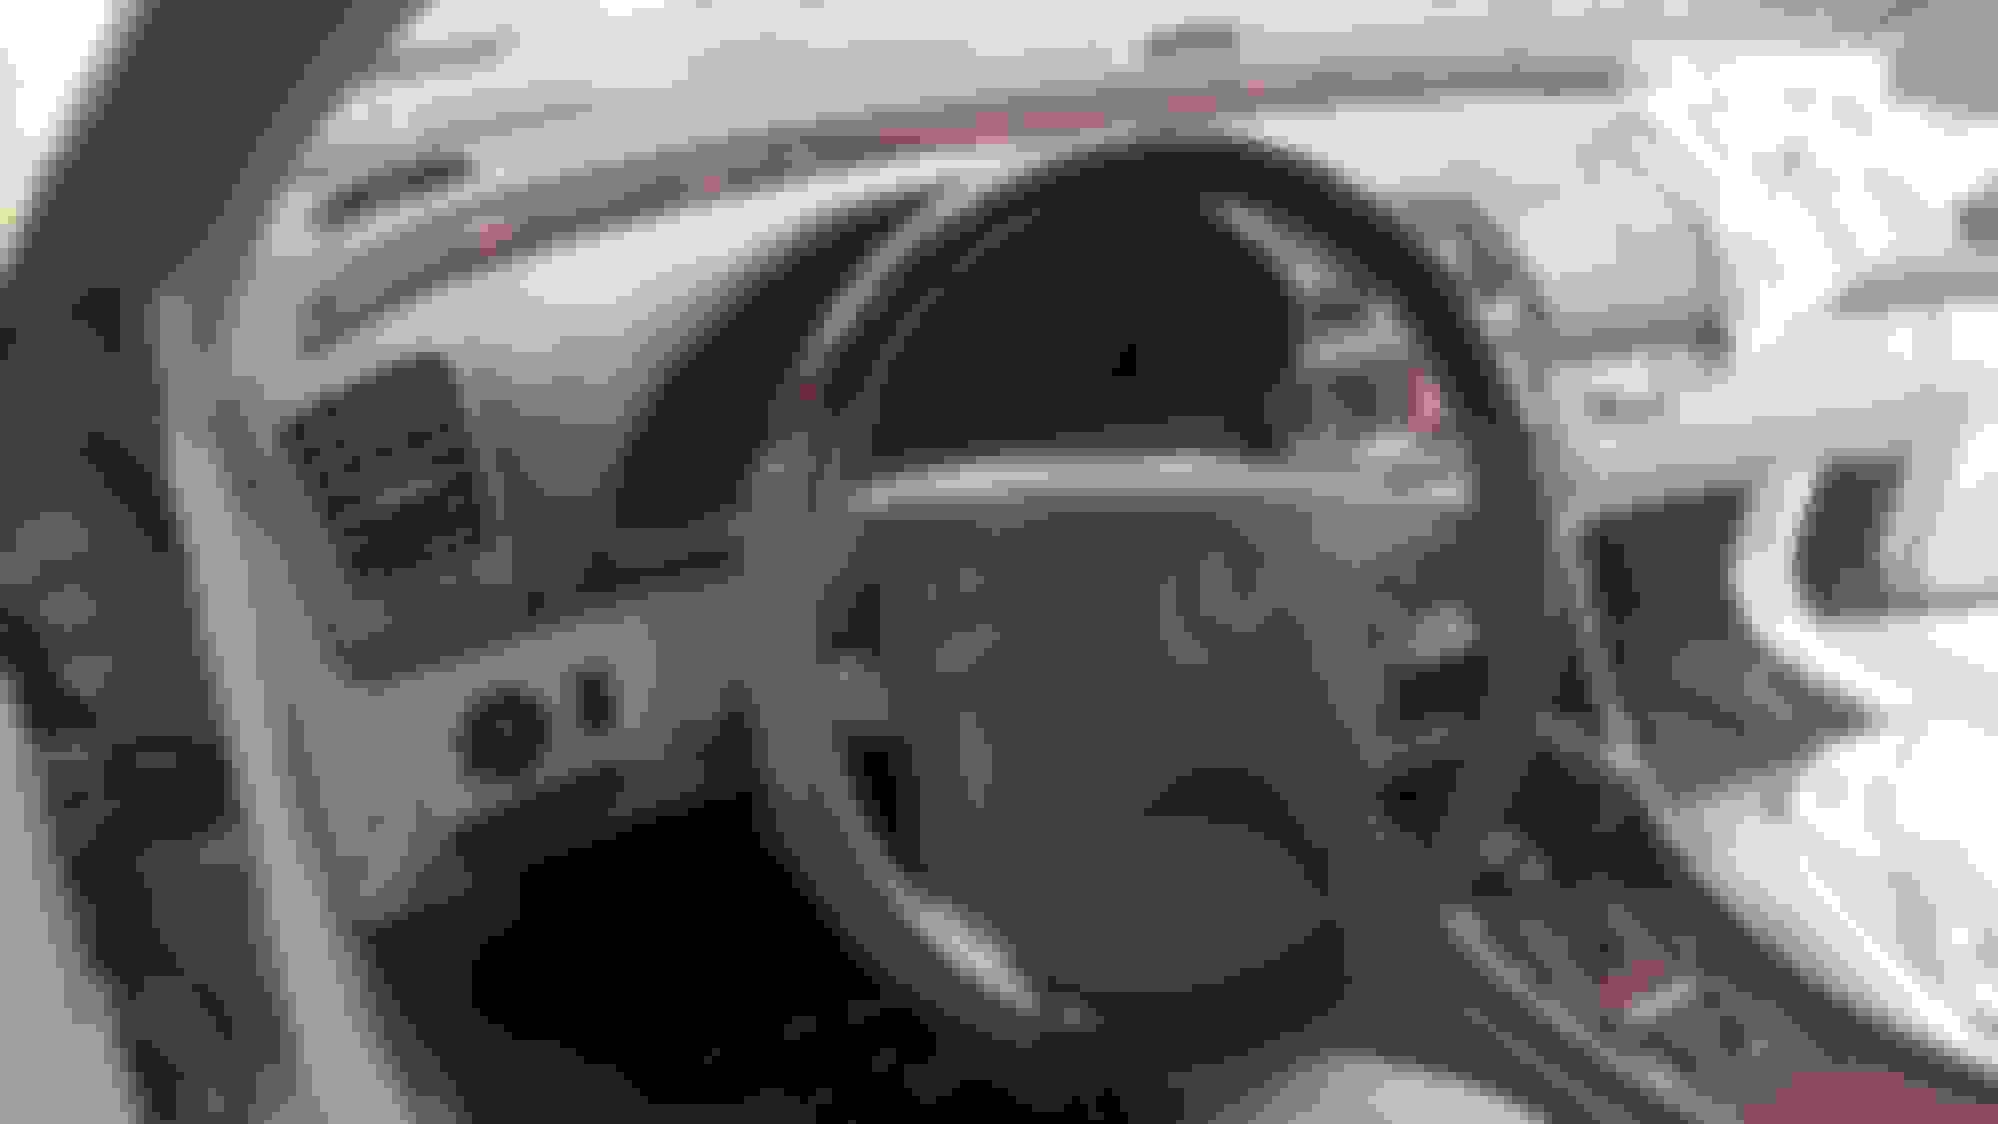
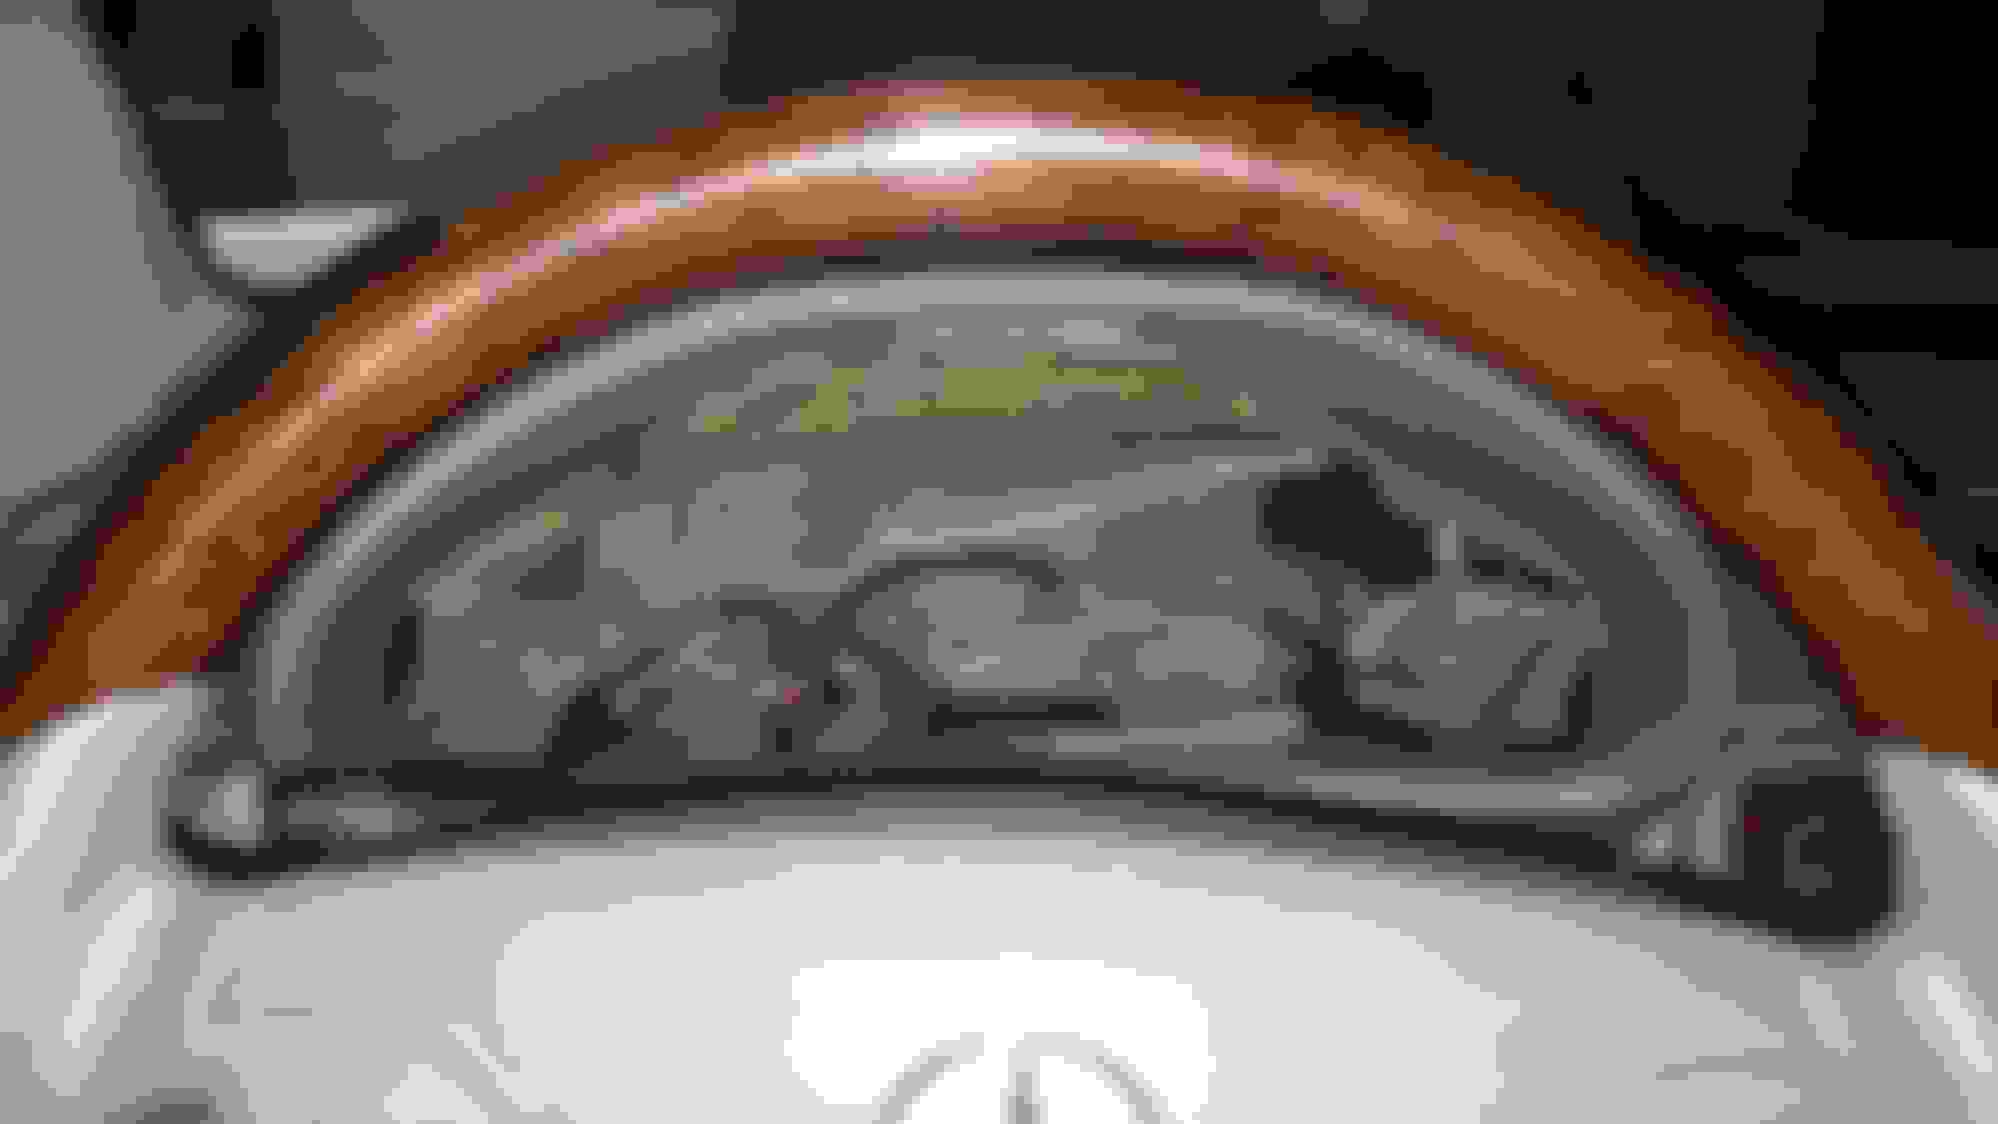
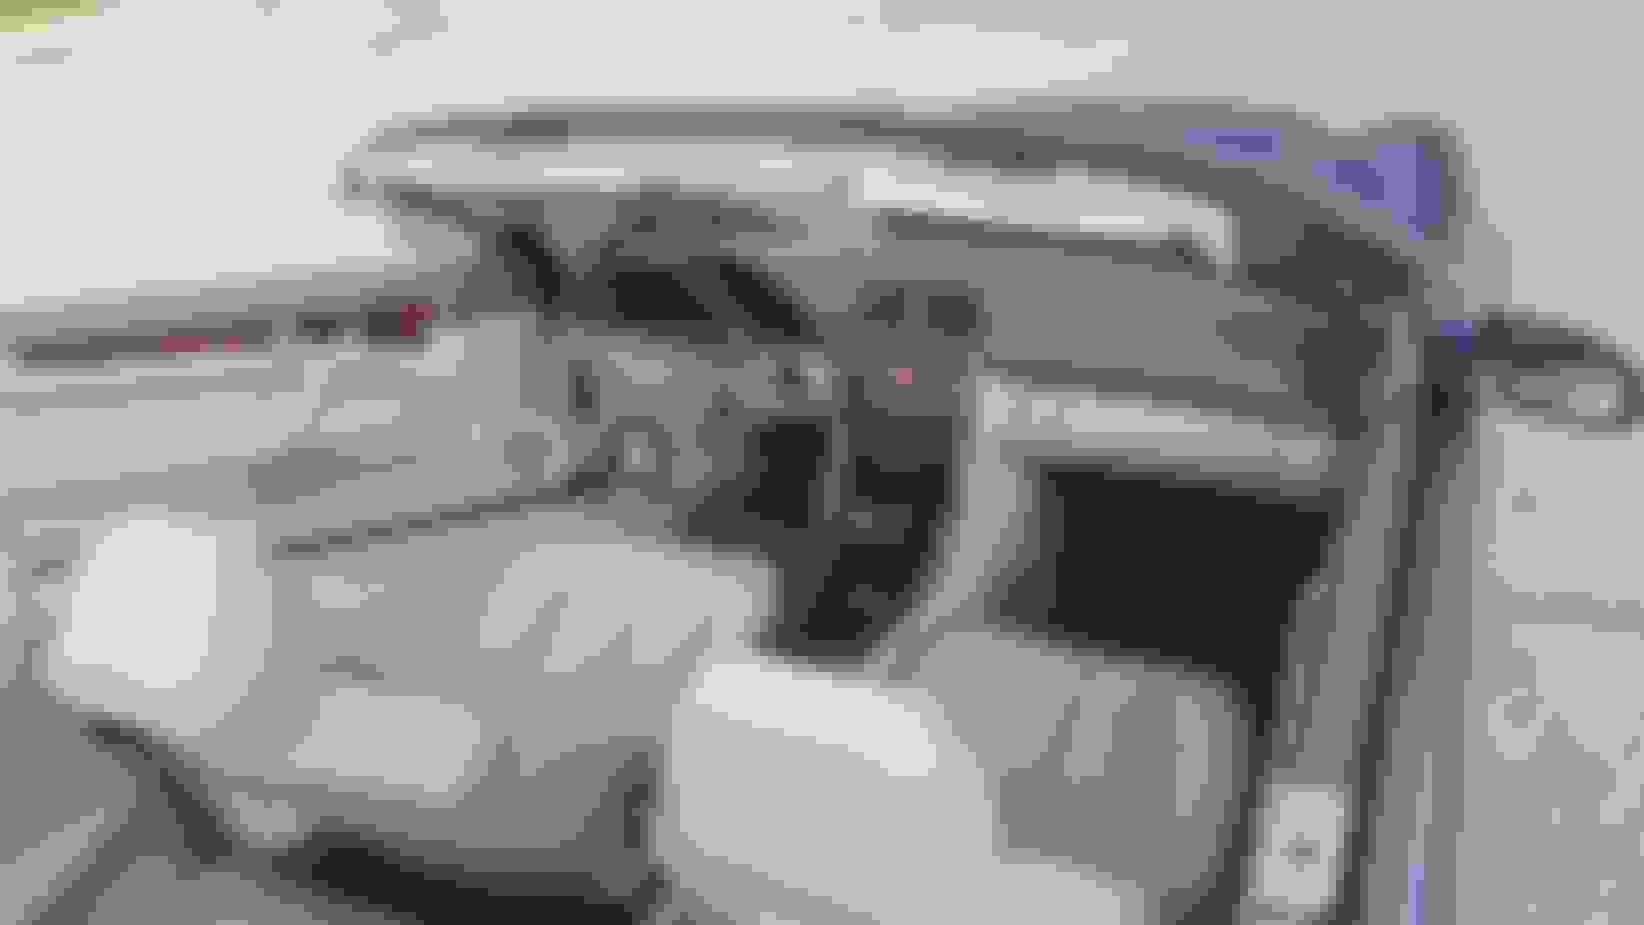
Very dirty interior.
Taking interior apart to clean all switches, seats, carpets and vents.
You have my total respect. Question, I need to get my inner rear side panels off in order to fix a broken rear window stop. How do you get the panels off (armrest panels for back seats).
Thanks!
Last edited by PKSlice; Nov 18, 2016 at 09:38 PM.
Reason: fix typo
You have my total respect. Question, I need to get my inner rear side panels off in order to fix a broken rear window stop. How do you get the panels off (armrest panels for back seats.
Thanks!
They are pretty easy to remove. They lower seat cushion lifts up from the front edge, pull up and remove. Then there are I believe 4 10mm or 13mm nuts that hold down the back rest of the back seat and 2 screws behind the armrest cover. Then lift up the rear back rest. On the top edge of the side panel there is a oval piece of plastic that the windscreen sits in, you have to push down the little cover and use a pic tool to release the tabs on the inside then there will be a screw there. Remove the l&r door scuff plates the fabric door seal, and the rubber gasket at the top. Then all that holds the panels on are 4 panel clips.
I had to fix the broken stop too. Its a stupid design with a plastic edge that breaks, I made my own bracket to fix the issue. Heads up, unless you are super lucky you will probably drop the bracket a few dozen times, it does fall in to lower quarter and can be a ***** to get back out, I had a few choice words for that bracket by the end of the day. It helps to remove the upper window seals and belt moldings. I checked but did not take any pics of that part of the resto, i should have but was just wanting to get this thing done.
Thanks very much. I am still impressed by the resto. When I saw the first few pics I thought uh-oh, but you pulled it off nicely.
Anyway I went to my local MB dealer and asked about the window stops, but they could not find it in the parts diagrams. Maybe it's called something else other than "window stop"?
I'm wondering why you had to tear the whole interior apart?
Because I am a bit OCD when it comes to cleaning cars.
The dirt, dog hair, coffee stains and anything else you can imagine was every where. That stuff was in the switches keeping them from moving, console doors wouldn't open/close, just nasty between panels. Much easier to take it all apart and clean every piece. It also made sure I didn't miss anything and didn't have to worry about weird odors.
Hey I got the rear seat out, although the 2 screws behind the centre armrest was a mystery until I yanked away the inner cover. How did you ever figure that out?
Anyway I am stuck with the interior side panel and it's secured at the top edge somewhere... where is that oval with the hidden screw? Is it the 10mm nut hiding inside where the seat belt retracts? Very hard to get at it and I was nervous about undoing it in case it was the wrong one and stuff would let go flying... or is it the little flip cover hole that the rooftop clicks into when closing? I tried prying everywhere but don't see the retaining tabs and was nervous about breaking the part. I will send a pic next. Thanks for any help...!
Last edited by PKSlice; Nov 27, 2016 at 10:48 AM.
Reason: adding pic
Wow, simply incredible! Glad to see that people are starting to rebuild these...they're certainly a future classic!
I have a question: Could you provide more detail on rebuilding the convertible top hydraulic cylinders? Did you do it yourself? If so, where did you source the seals? I have a couple that are leaking...
Hey I got the rear seat out, although the 2 screws behind the centre armrest was a mystery until I yanked away the inner cover. How did you ever figure that out?
Anyway I am stuck with the interior side panel and it's secured at the top edge somewhere... where is that oval with the hidden screw? Is it the 10mm nut hiding inside where the seat belt retracts? Very hard to get at it and I was nervous about undoing it in case it was the wrong one and stuff would let go flying... or is it the little flip cover hole that the rooftop clicks into when closing? I tried prying everywhere but don't see the retaining tabs and was nervous about breaking the part. I will send a pic next. Thanks for any help...!
I was a car audio installer for ~5 years and work as a service adviser at a MB dealer for 8 years, and currently work at a body shop so I have a few tricks up my sleeve.
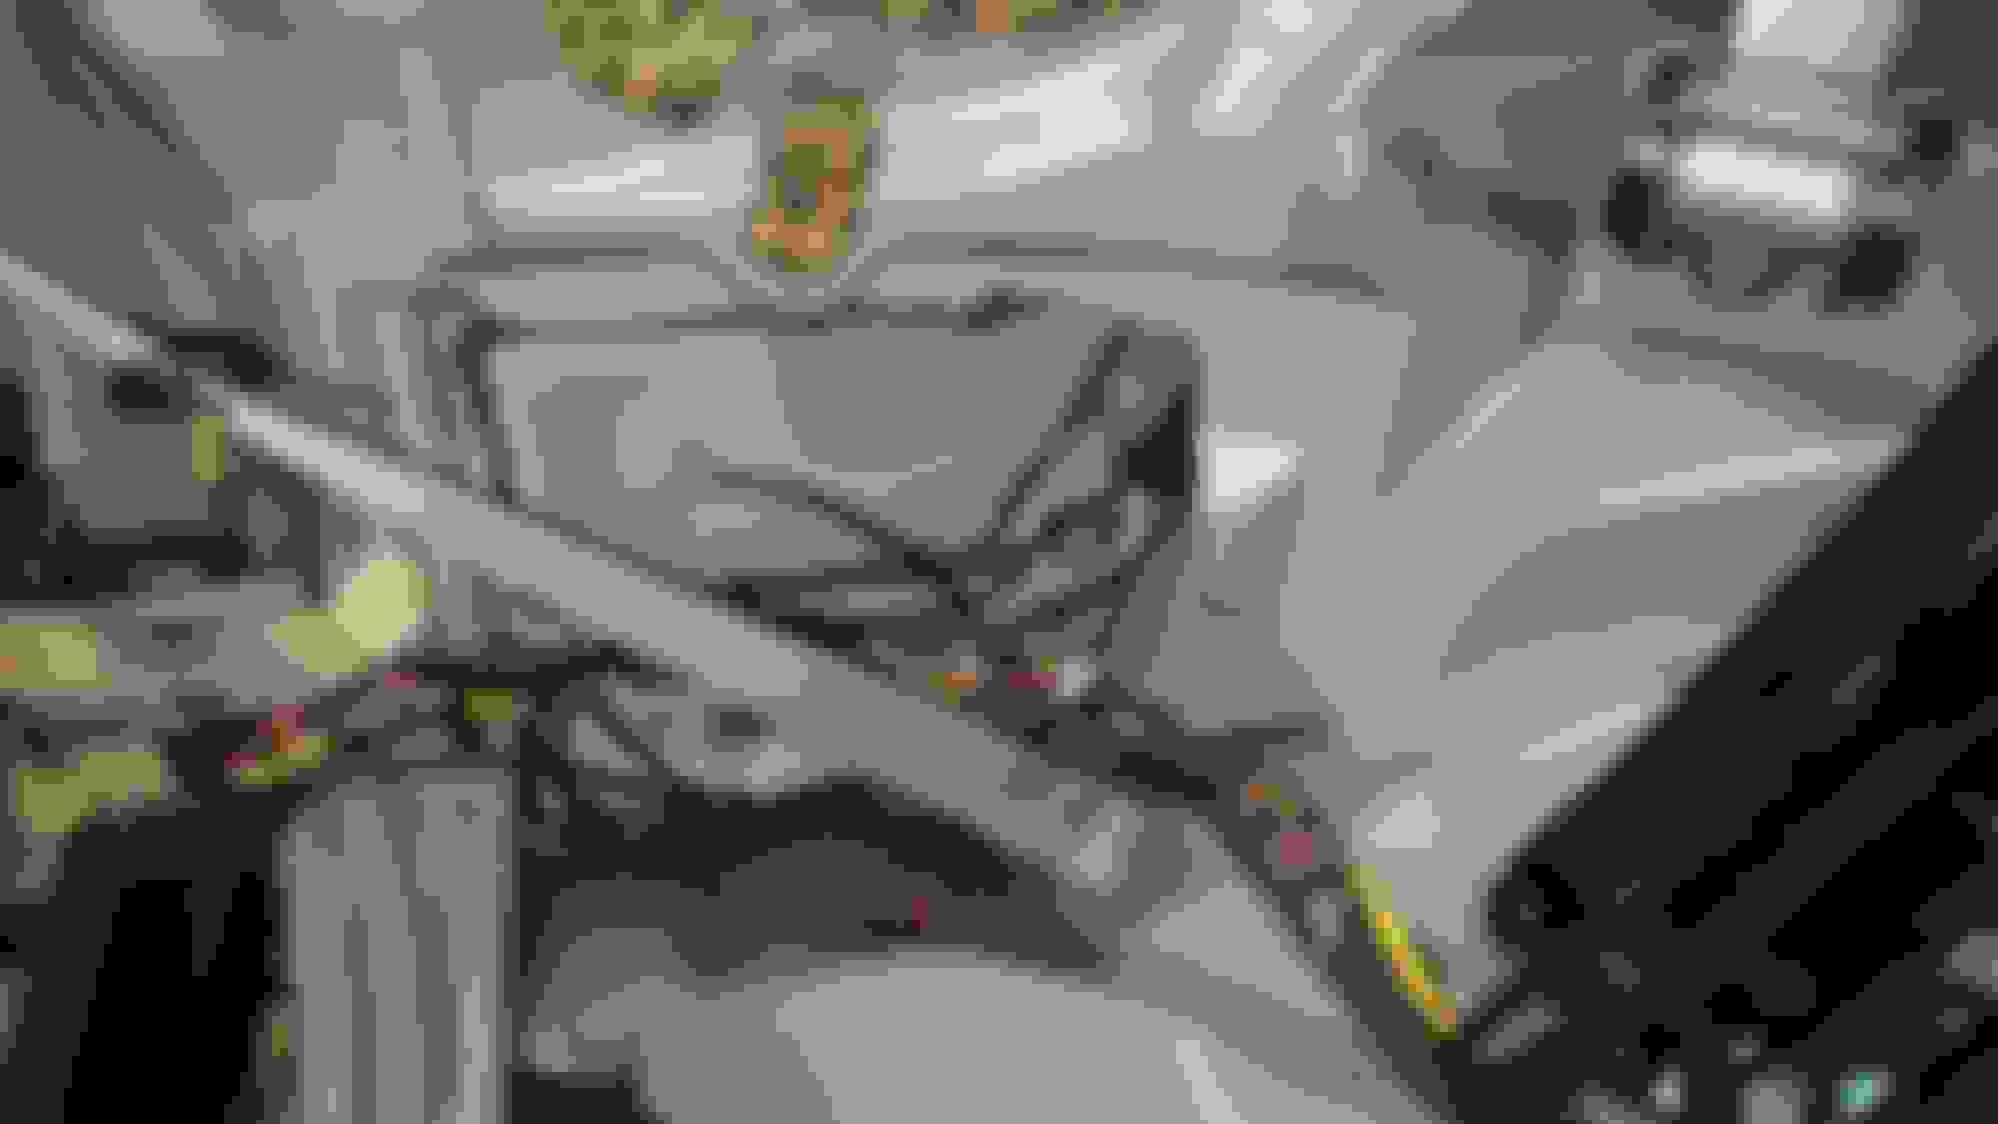
The piece circled has the hidden screw. Push down the oval and you will see tabs on the left and right side. You will have to pull the tabs inward to get the cover off to expose the screw.
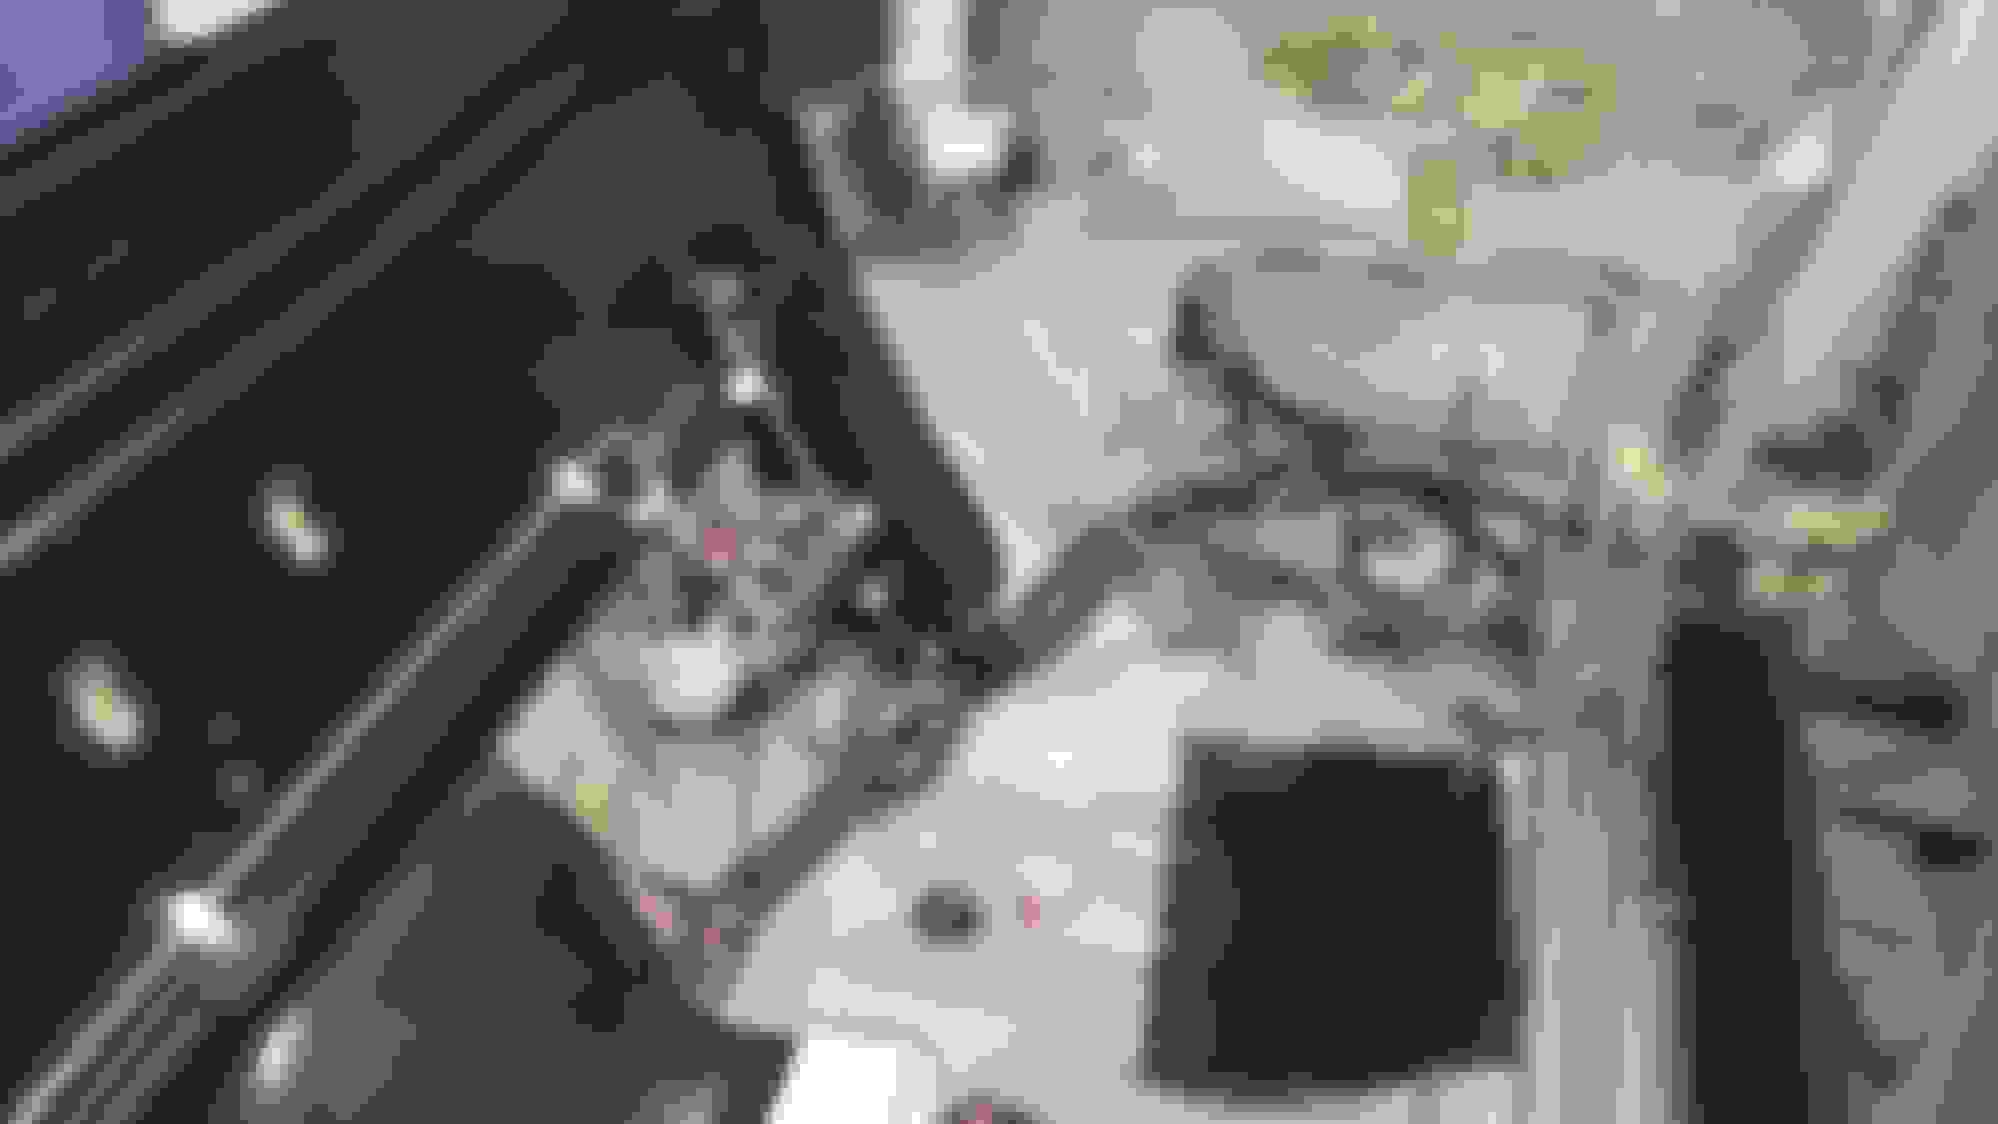
There is a 10mm nut under the trunk carpet by the red arrow.
Wow, simply incredible! Glad to see that people are starting to rebuild these...they're certainly a future classic!
I have a question: Could you provide more detail on rebuilding the convertible top hydraulic cylinders? Did you do it yourself? If so, where did you source the seals? I have a couple that are leaking...
Thank you!
I had Top Hydraulics rebuild the 4 cylinders that move the top and I had Steve at MB hydraulics (he lives about 15 min from me) repair the cylinder on the top cover. Both were easy and great to deal with. Now the removal and install of the 4 cylinders for the top... not easy to deal with.
Last edited by BryanW203; Nov 28, 2016 at 09:49 AM.
Thanks for the tip on the oval trim removal. I tried hard and gave up because I was unsure, but now I will go back and get that side panel off. Do you know what MB calls the window stop? The could not find it in their parts diagrams and there did not seem to be a listing for "window stop".
BTW, do you know anything about setting the side windows so they drop about 1/2" when opening the doors? Mine only drop about 1/32" - almost nothing at all. The do go up&down upon exiting, but they don't move much. Resyncing did not help. All other window operations work proper.
Thanks for the tip on the oval trim removal. I tried hard and gave up because I was unsure, but now I will go back and get that side panel off. Do you know what MB calls the window stop? The could not find it in their parts diagrams and there did not seem to be a listing for "window stop".
BTW, do you know anything about setting the side windows so they drop about 1/2" when opening the doors? Mine only drop about 1/32" - almost nothing at all. The do go up&down upon exiting, but they don't move much. Resyncing did not help. All other window operations work proper.
That is one of the small issues I need to fix.
I have heard it may be the control unit. I have access to a salvage car so I might go steal all the door electronic parts and see if I can get mine to work.
Ill let you know what I come up with if it gets fixed.
BTW how did you attach the pixel ribbons? I bought a cheap set from China but I don't think it's pressure sensitive sticky. Some people use heat? Others just use Scotch tape?
BTW how did you attach the pixel ribbons? I bought a cheap set from China but I don't think it's pressure sensitive sticky. Some people use heat? Others just use Scotch tape?
Managed to get the left pixels working by burnishing down the ribbon contact points and sliding in a piece of credit card to press it down. The right side got partly fixed (gear selection perfect, clock about 50% good) with cheap Chinese ribbons but they are only carbon wires not silver. Will order silver ribbon and try again. I might have messed up the pixel display though, when I scraped the old ribbon glue off the panel, I used acetone, might have washed off contact points...?
Okay I ordered these from MB up here in Canada. Also I got the interior side panel off, thank you. Those retainer clips for the over hide-a-nut are tricky to unclip. Now... I am looking everywhere but cannot see where the rear window stop is located. Can you help?
Mercedes SLR McLaren 722 S Is Extremely Rare Example Modified by McLaren
Slideshow: A one-of-one U.S.-spec Mercedes-Benz SLR McLaren Roadster became even rarer after a factory-backed transformation at McLaren's headquarters.






 . I looked into replacing them but it was out of the budget since I could only find the parts in Europe.