


New Jamesbbh's CLK500 cab thread
Thread Starter
Super Member
Joined: Nov 2010
Posts: 702
Likes: 0
From: Pensacola, FL.
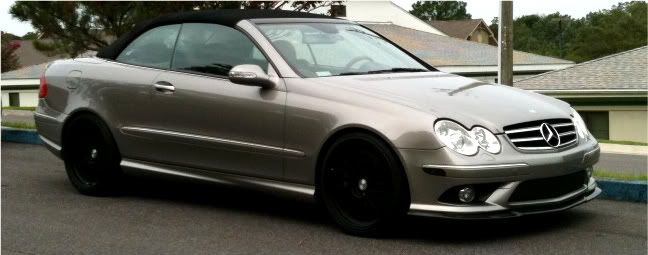
2006 Facelift CLK500 Cab-
ok:
Before
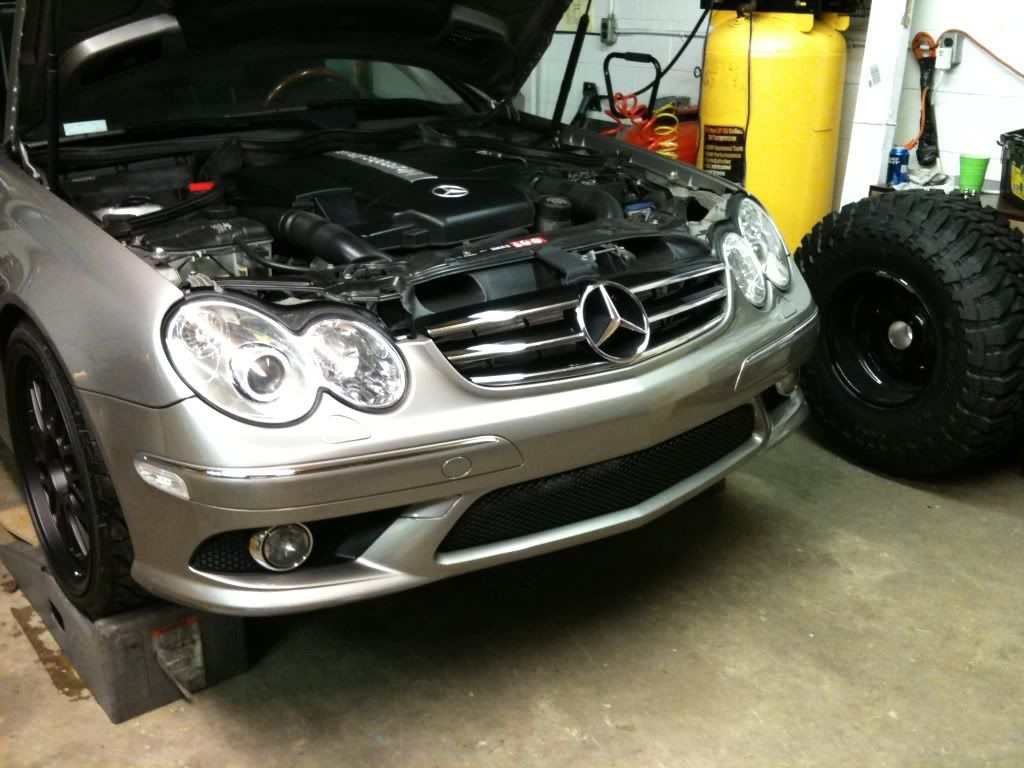
Corners

The instructions say it helps to have 3 people (which I totally agree with) but I usually work on things by myself so I had to improvise. I spent probably 30 minutes just making sure everything was perfectly lined up.
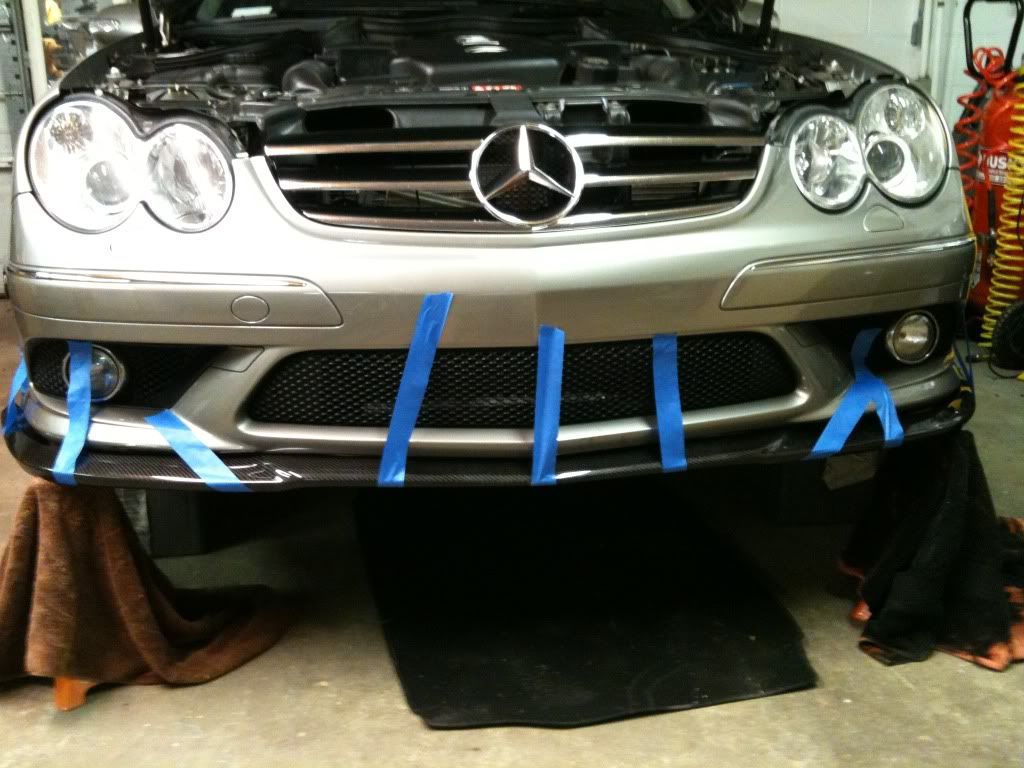
Started drilling holes and inserting screws with lip still taped and took tape off as progress was made
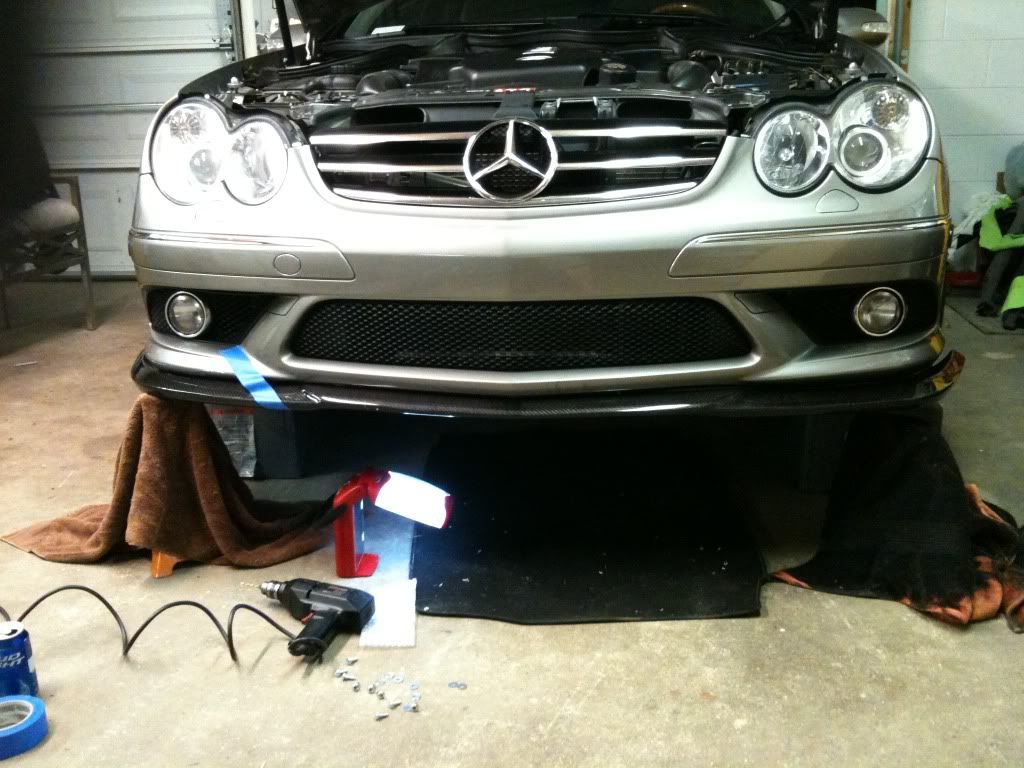
TA-DA
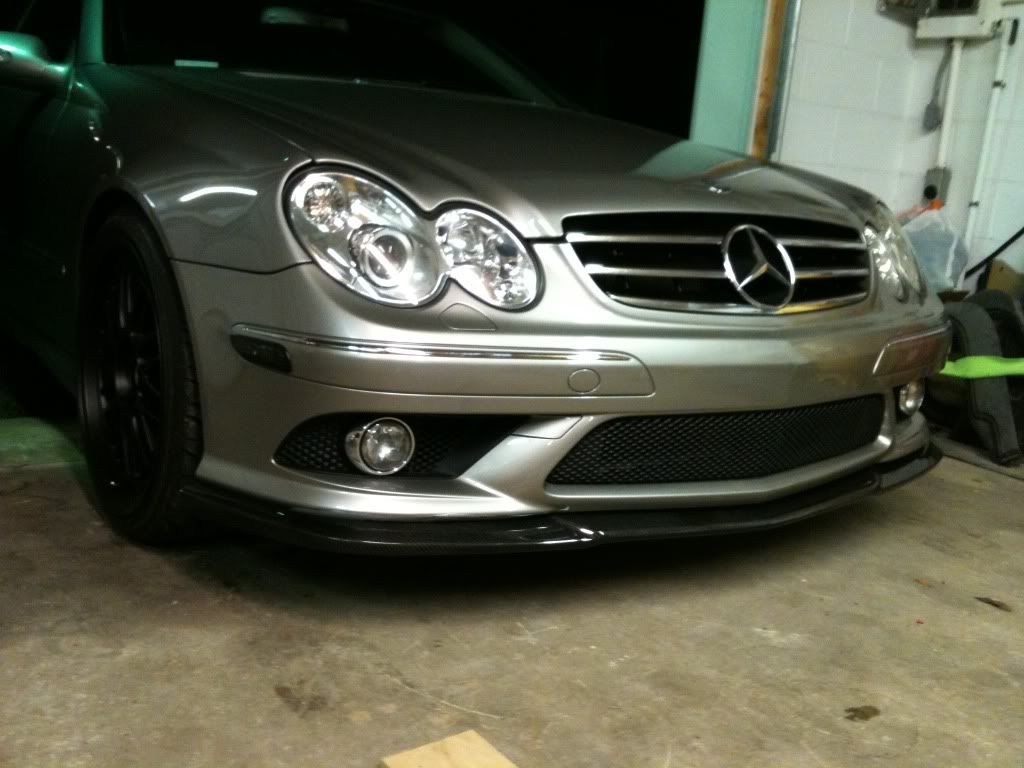
Before
Corners
The instructions say it helps to have 3 people (which I totally agree with) but I usually work on things by myself so I had to improvise. I spent probably 30 minutes just making sure everything was perfectly lined up.
Started drilling holes and inserting screws with lip still taped and took tape off as progress was made
TA-DA
Thread Starter
Super Member
Joined: Nov 2010
Posts: 702
Likes: 0
From: Pensacola, FL.
2006 Facelift CLK500 Cab-
MBWorld Fanatic!
Joined: Jun 2010
Posts: 1,368
Likes: 3
From: Mesa, AZ
2011 E550 Sedan
MB World Stories
The Best of Mercedes & AMG

Manual Mercedes? 6 Times Sindelfingen Let Drivers Have All The Fun
Verdad Gallardo
Mercedes SLR McLaren 722 S Is Extremely Rare Example Modified by McLaren
Verdad Gallardo
8 Classic Boxy Mercedes Designs That Have Aged Like Fine Wine
Verdad Gallardo
Flawlessly Restored Mercedes 190E Evo II Heads to Auction
Verdad Gallardo
Electric Mercedes C-Class Unveiled: 11 Things You Need to Know
Verdad Gallardo
Mercedes EQS Gets A Major Update: Everything You Need to Know
Verdad Gallardo
5 Underrated Mercedes-Benz Models That Don't Get the Love They Deserve
Verdad Gallardo
Mercedes 300D Has Pushed Well Past 1 Million Miles and It Ain't Stopping
Verdad Gallardo
10 Most Reliable Mercedes-Benz Models You Can Buy Used
Verdad Gallardo
Thread Starter
Super Member
Joined: Nov 2010
Posts: 702
Likes: 0
From: Pensacola, FL.
2006 Facelift CLK500 Cab-
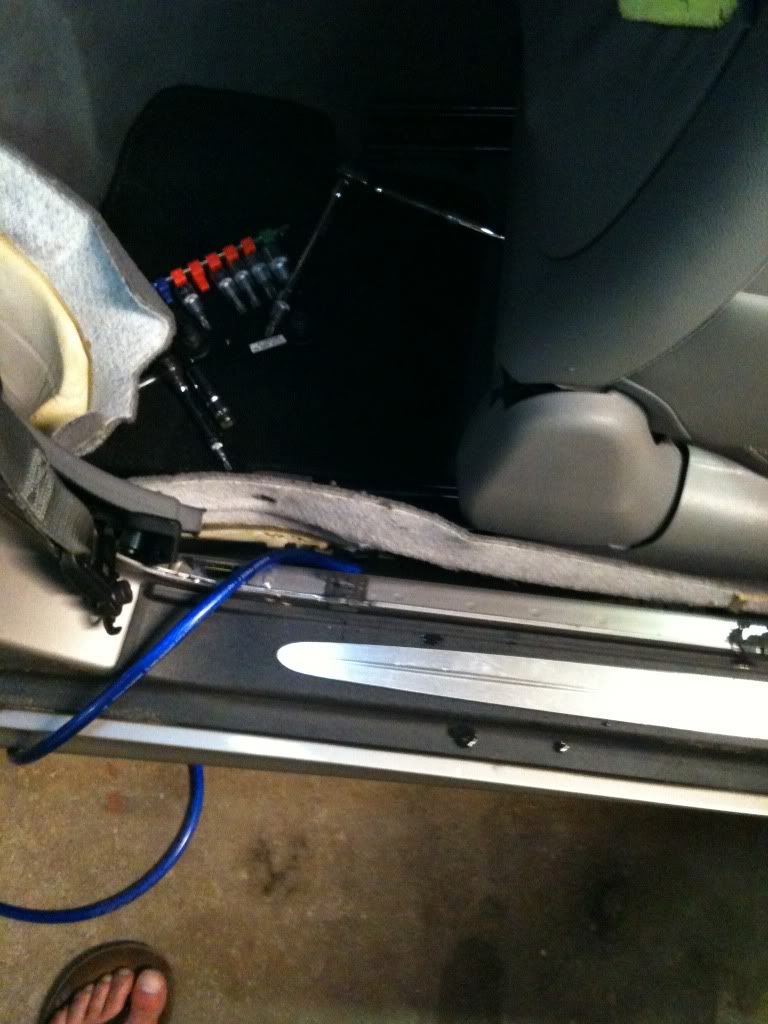
N/M I got it figured out, I re-ran my power wire for the amp through all of the factory wiring routes so you can't even tell there is a power wire at all even with the backseat out now. It just took some wire coat hanger magic and of course:
Thread Starter
Super Member
Joined: Nov 2010
Posts: 702
Likes: 0
From: Pensacola, FL.
2006 Facelift CLK500 Cab-
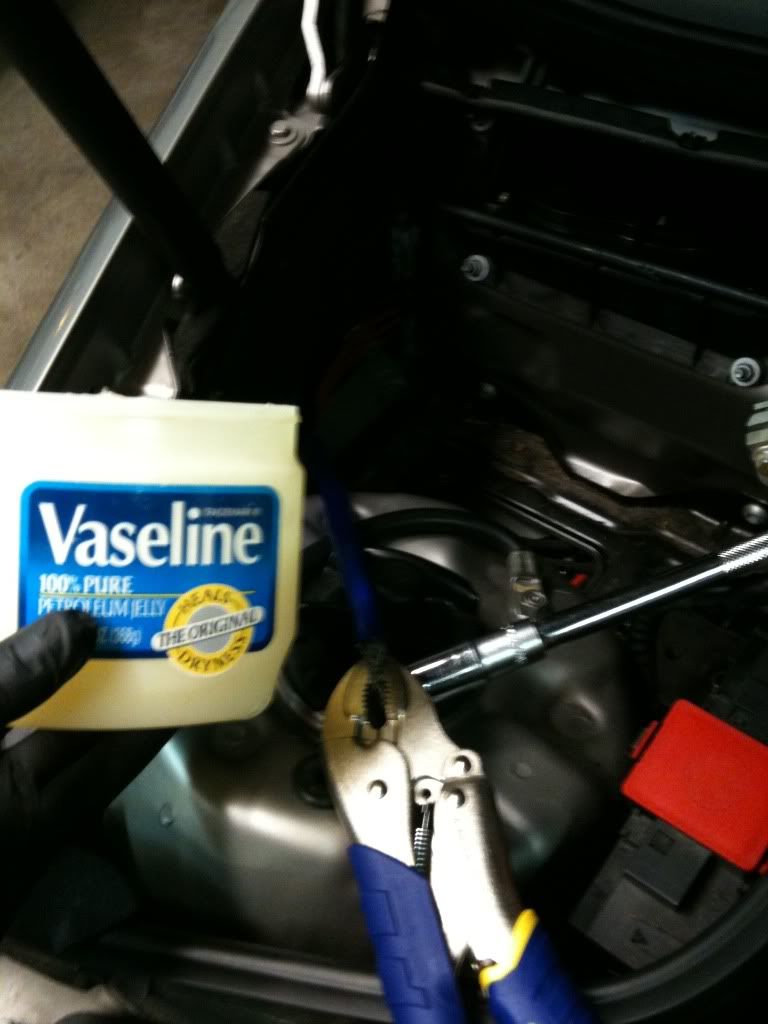
Found this plug and took it out of the firewall
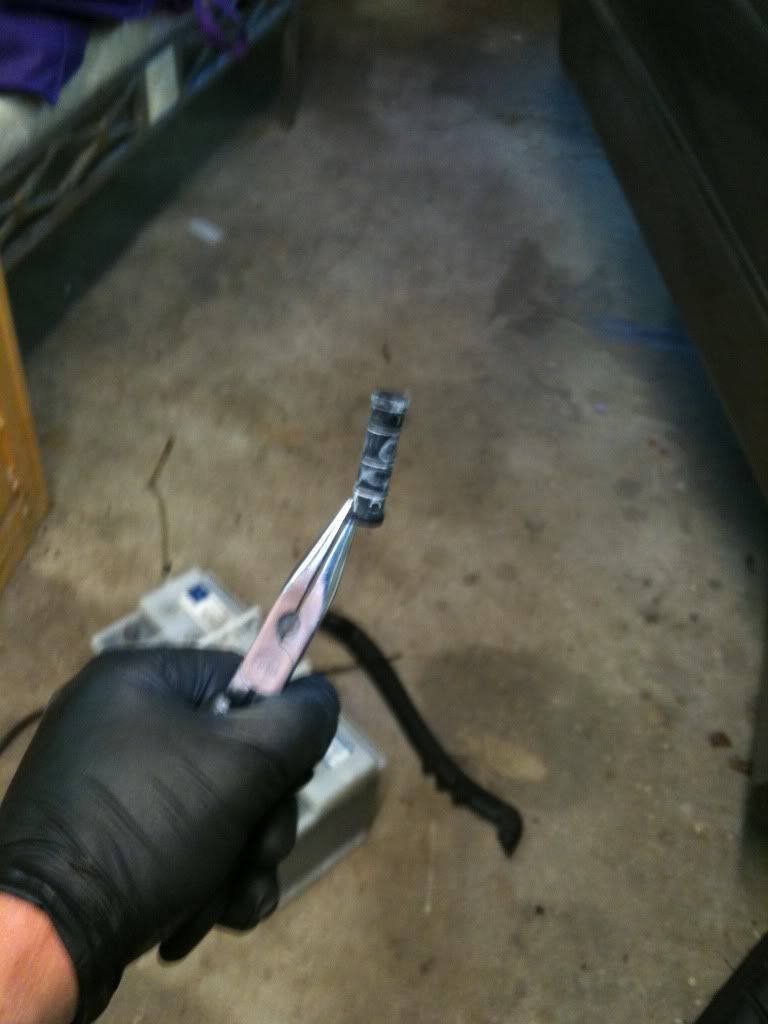
Crammed 2 gauge through via vaseline (I felt like I was violating the car a little)
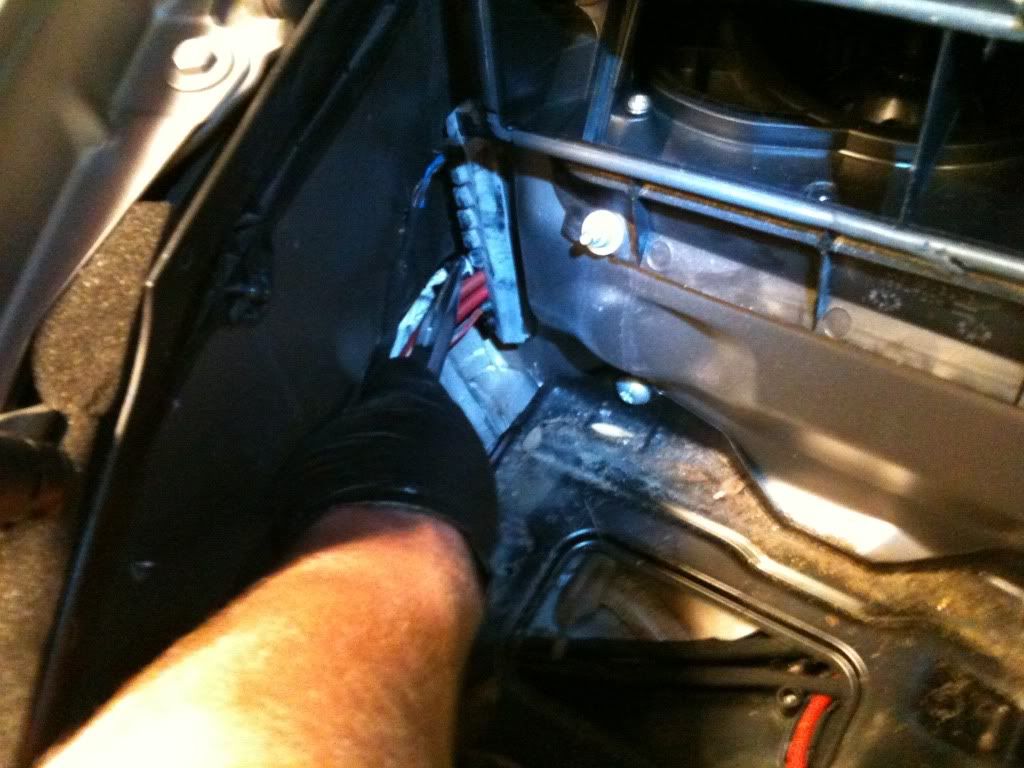
Removed seatbelt/side panel/backseat and followed the factory plastic "tunnels" all the way into the trunk. The power wire is invisible unless you know it's there now.
Crammed 2 gauge through via vaseline (I felt like I was violating the car a little)
Removed seatbelt/side panel/backseat and followed the factory plastic "tunnels" all the way into the trunk. The power wire is invisible unless you know it's there now.
Thread Starter
Super Member
Joined: Nov 2010
Posts: 702
Likes: 0
From: Pensacola, FL.
2006 Facelift CLK500 Cab-
Oh and the reason I was wondering is because the factory wires go through a metal box of some sort in the trunk that I think protects the hydraulic motors/lines for the top and I was wondering the location of whatever was inside it lol.
Thread Starter
Super Member
Joined: Nov 2010
Posts: 702
Likes: 0
From: Pensacola, FL.
2006 Facelift CLK500 Cab-
So this weekend included the following:
- Got my compressor motor fixed (ended up being the start Capacitor)
- bought and re-wired a cutmaster 42 plasma cutter to be operated by hand instead of the cnc table the guy had it on
- semi- plumbed a temporary air system (it meets my demands right now but if it starts falling short I'll do everything bigger)
Dessicant dryer-->oil/water seperator-->filter/regulator-->another filter-->plasma

It works!!
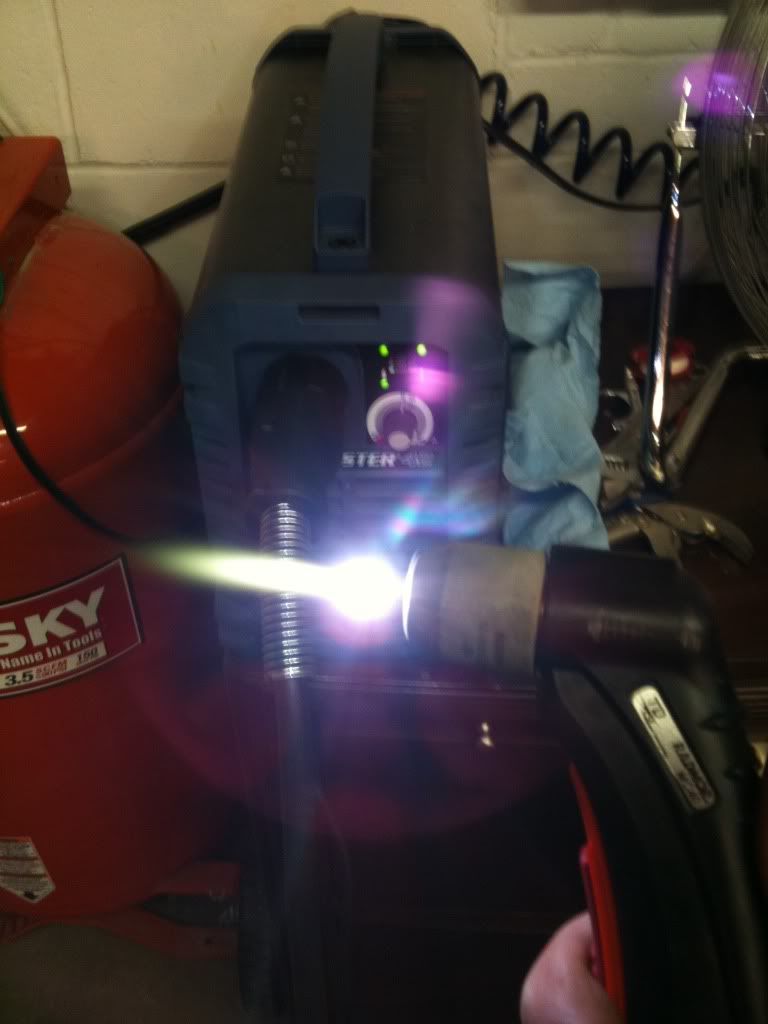
I officially love this thing by the way.
- Got my compressor motor fixed (ended up being the start Capacitor)
- bought and re-wired a cutmaster 42 plasma cutter to be operated by hand instead of the cnc table the guy had it on
- semi- plumbed a temporary air system (it meets my demands right now but if it starts falling short I'll do everything bigger)
Dessicant dryer-->oil/water seperator-->filter/regulator-->another filter-->plasma
It works!!
I officially love this thing by the way.
Thread Starter
Super Member
Joined: Nov 2010
Posts: 702
Likes: 0
From: Pensacola, FL.
2006 Facelift CLK500 Cab-
If you look at the "T" I have one regulator filter followed by a shut off valve then an inline oiler for air tools that require oil and the other way I have a shut off valve leading to another filter/regulator with no oiler for the plasma.


MBWorld Fanatic!
Joined: Jul 2010
Posts: 1,595
Likes: 1
From: Sweden
Mercedes CLK 320 W209


Thread Starter
Super Member
Joined: Nov 2010
Posts: 702
Likes: 0
From: Pensacola, FL.
2006 Facelift CLK500 Cab-
Thread Starter
Super Member
Joined: Nov 2010
Posts: 702
Likes: 0
From: Pensacola, FL.
2006 Facelift CLK500 Cab-
Thanks Wes! Last night I plumbed the extra 30 gallon air tank I have into the system getting fed from the bottom of the tank and out throught he top to help with catching water as much as possible. So now the compressor fills up the 60 gal-then the 30 gal- then you have more of a "working" time worth of compressed air without the compressor trying to catch up.
Thread Starter
Super Member
Joined: Nov 2010
Posts: 702
Likes: 0
From: Pensacola, FL.
2006 Facelift CLK500 Cab-
My buddy Joey came in for the weekend and wanted to see how the plasma worked and I wanted to try out my new magnetic ground clamps I got for the plasma/welder so naturally we killed a bunch of beers and this ensued
3/16" steel
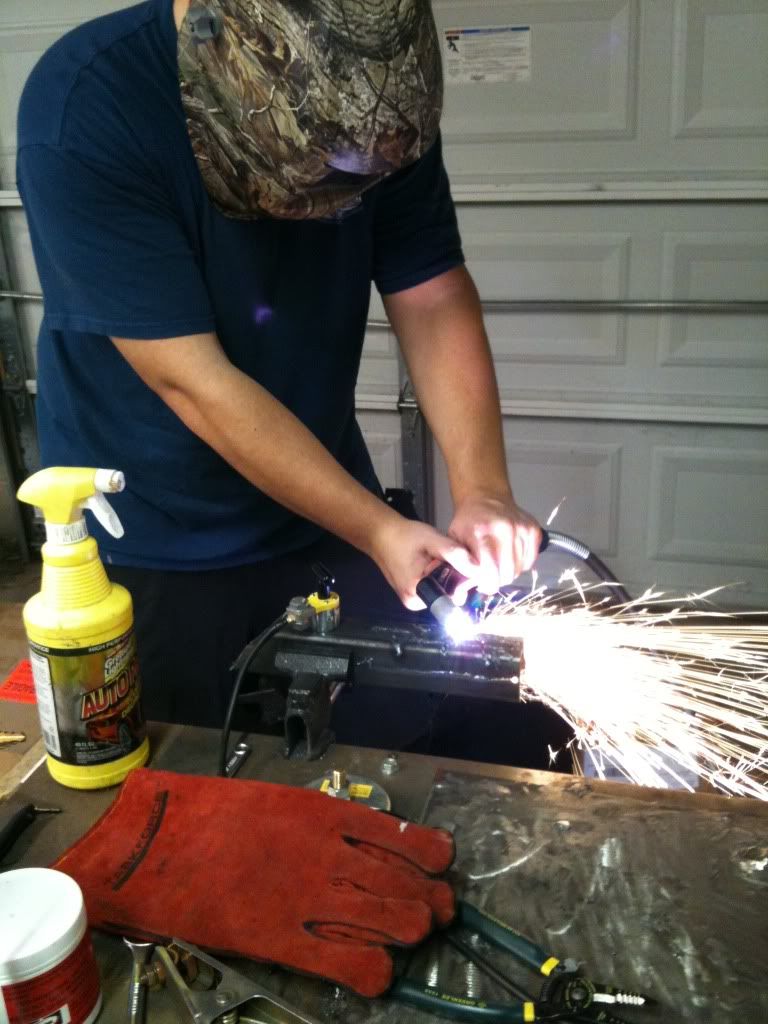
3/16" steel
Thread Starter
Super Member
Joined: Nov 2010
Posts: 702
Likes: 0
From: Pensacola, FL.
2006 Facelift CLK500 Cab-
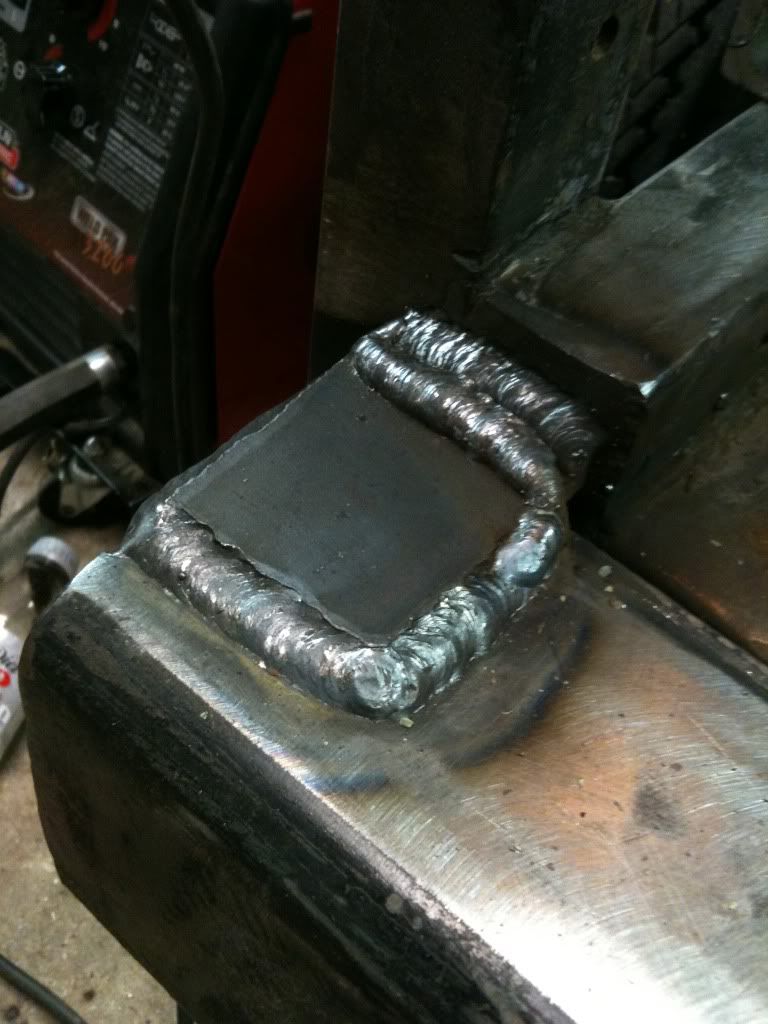
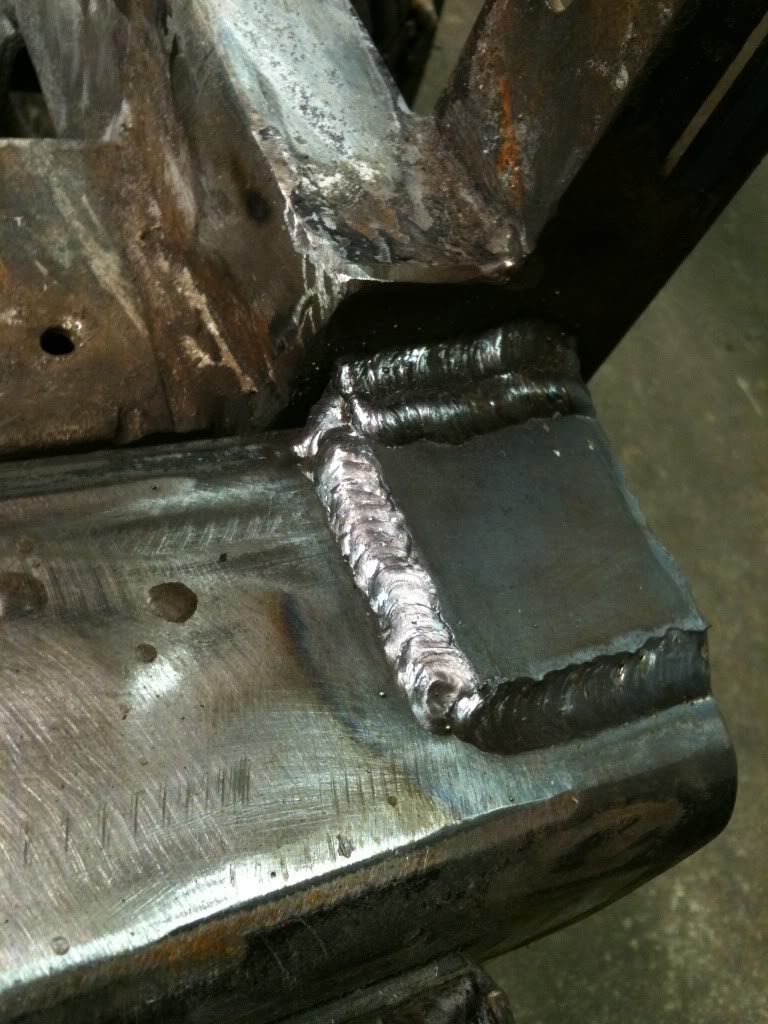
Did a little work on the mini-trailer. Got the jeep rear bumper mounted and some "just in case" plates welded to it.
Oh and tyrone had a stare down with my buddy's chihuahua
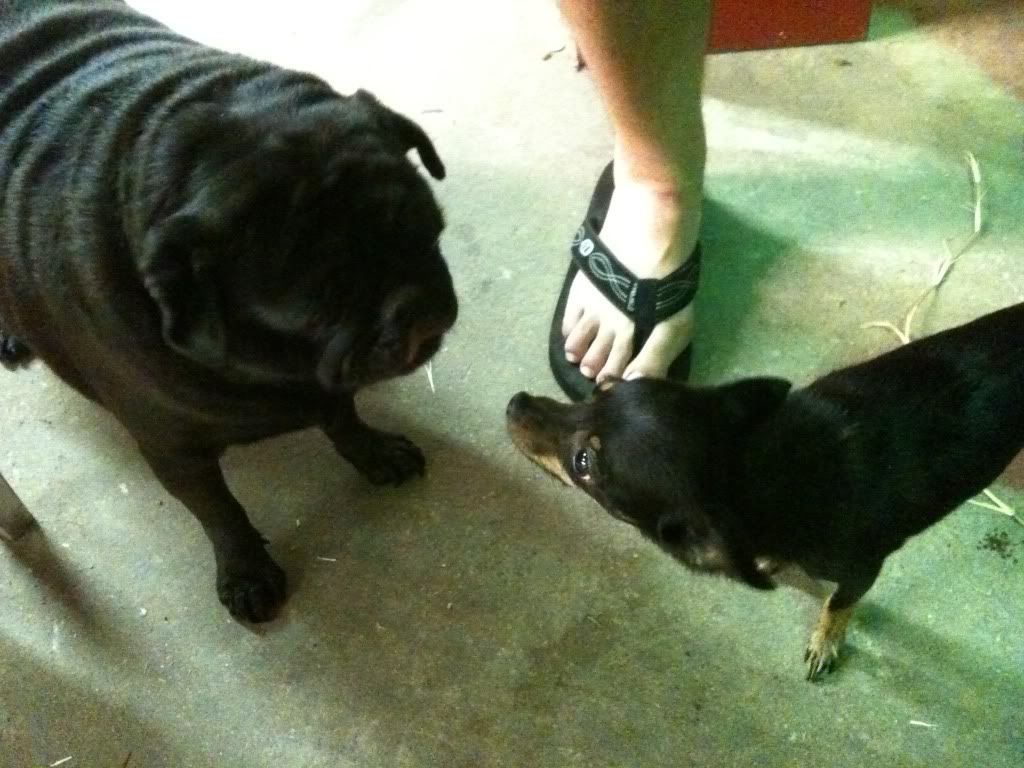
It's obvious who won that one
Oh and tyrone had a stare down with my buddy's chihuahua
It's obvious who won that one
Thread Starter
Super Member
Joined: Nov 2010
Posts: 702
Likes: 0
From: Pensacola, FL.
2006 Facelift CLK500 Cab-
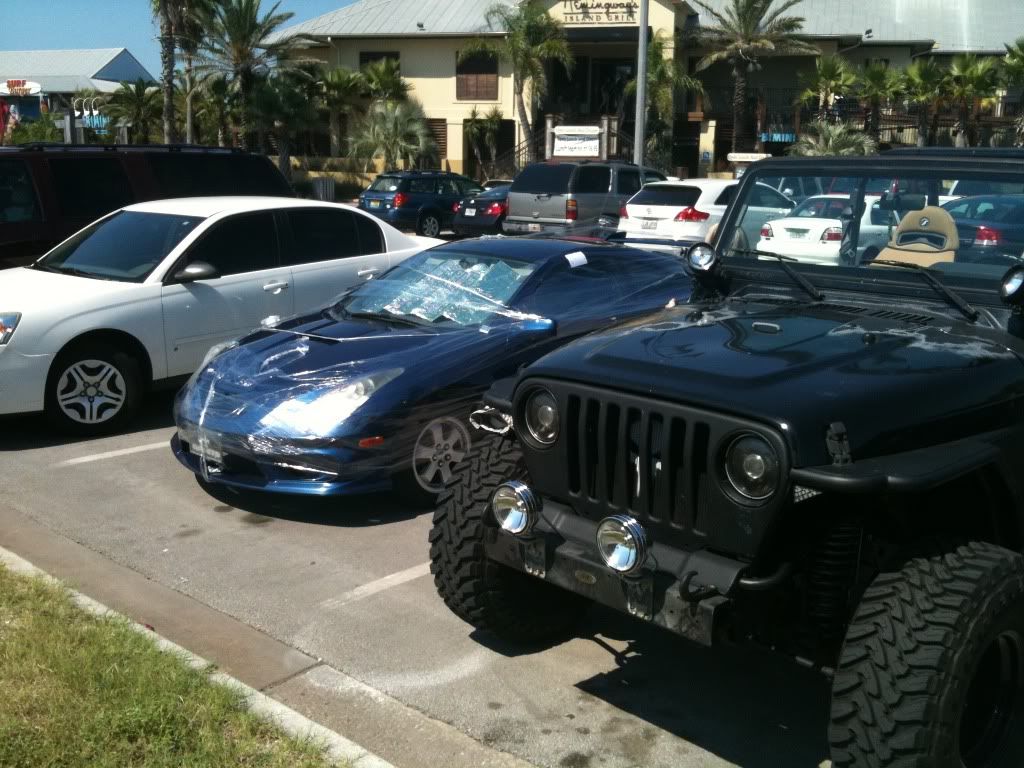
Got soem KC daylighters for $20 on C/L (normally around $200)--made some brakets--mounted them (still need to paint the bumper though) and went to the beach and parked next to this celica haha