Wes_R + SLK 55 [109 pics]
 03-07-2010, 03:13 AM
#1
Member
Thread Starter

Join Date: Feb 2009
Location: Toronto
Posts: 117
Likes: 0
Received 0 Likes
on
0 Posts
batmobile
Wes_R + SLK 55 [109 pics]
Hi everybody,
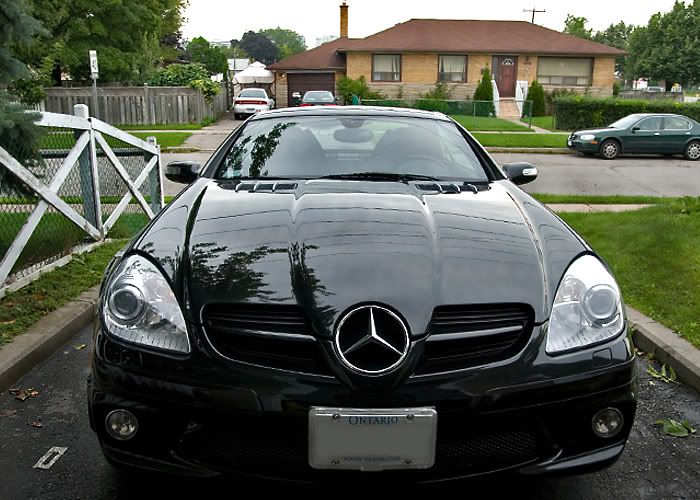
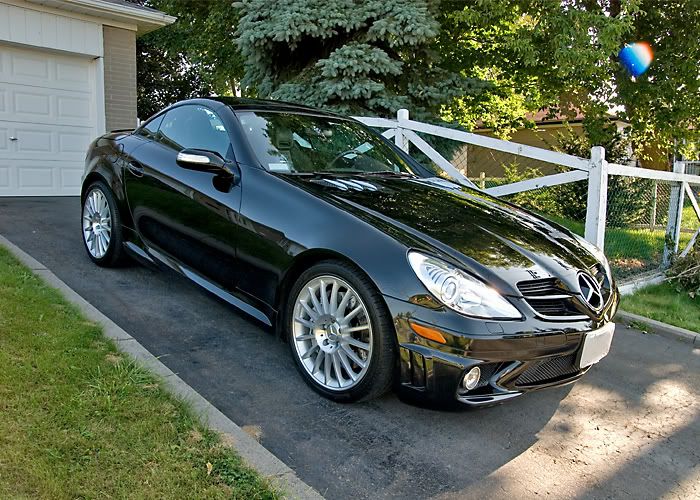
Todays write up is on a Slk 55. I did a full interior on this one minus a carpet shampoo and a 2 stage polish on the exterior. The owner had just bought the car and wanted to get it looking as close to new as possible plus treat a scratch on the trunk.
I must say the styling on the new Slk is gorgeous and I really like the Slr style hood and nose plus a V8 in this smallish car is insane. I was definitely admiring the car while working on it.
Anyways on to the surgery.
Here she is on arrival
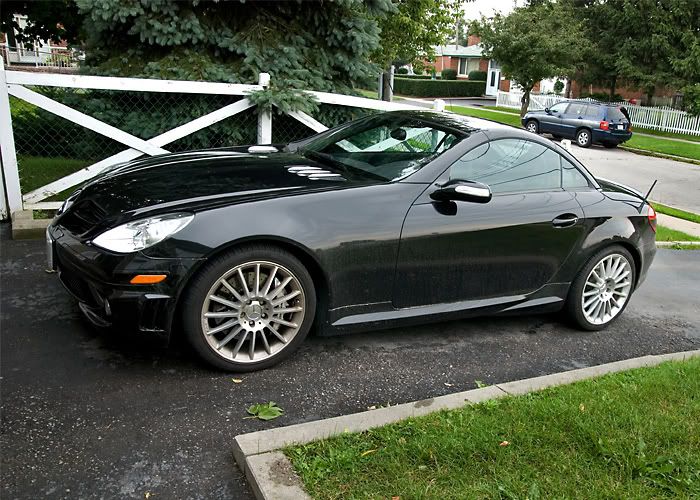
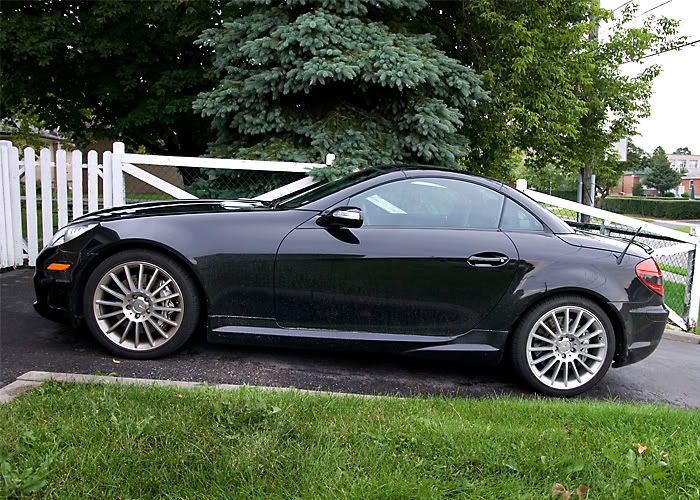
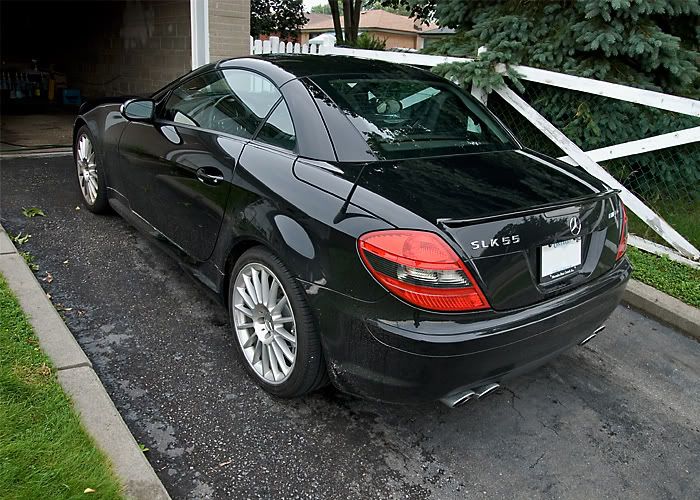
Some dirty before shots
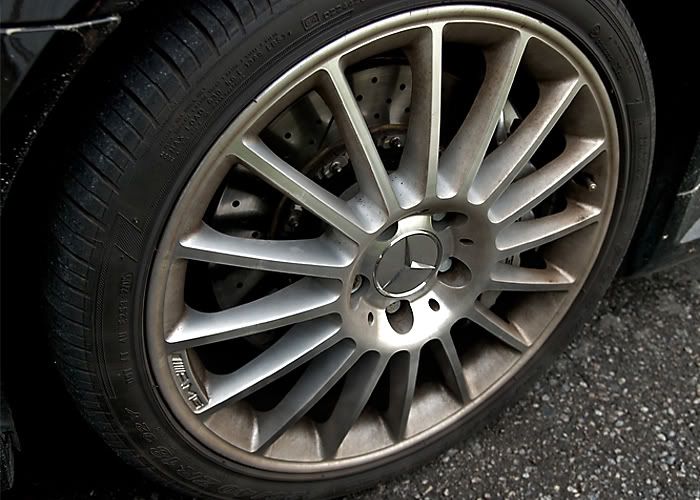
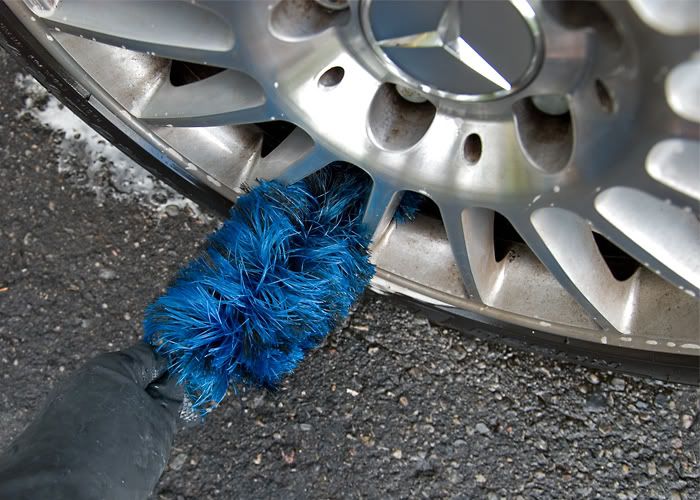
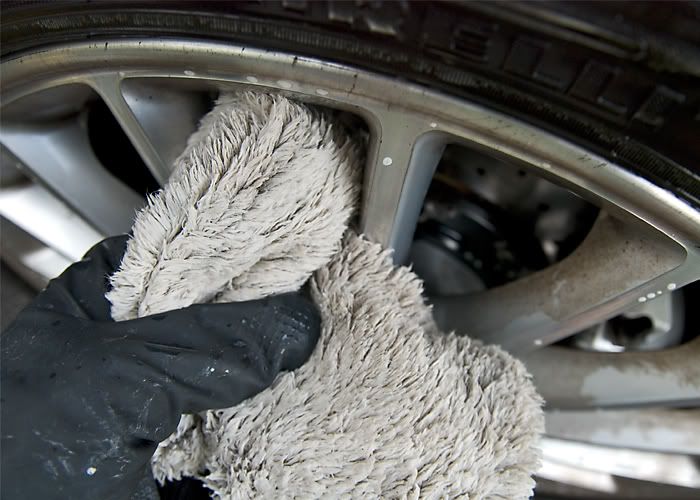
Typical caked up Mercedes rims
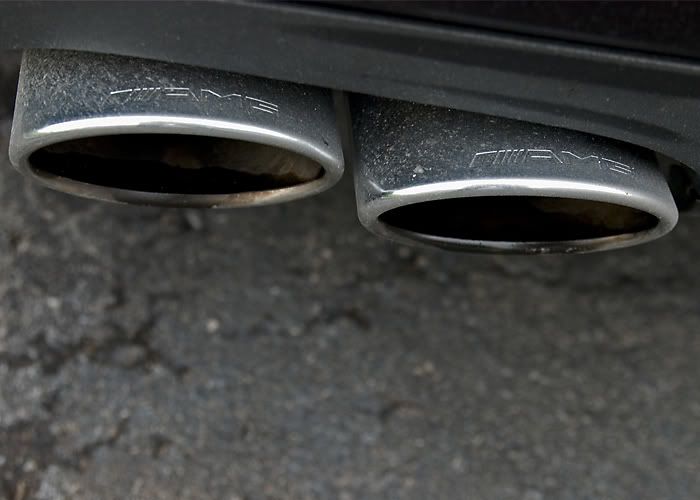
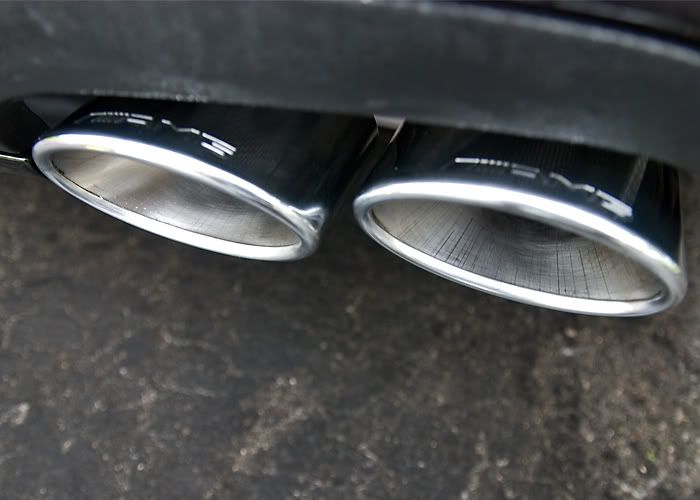
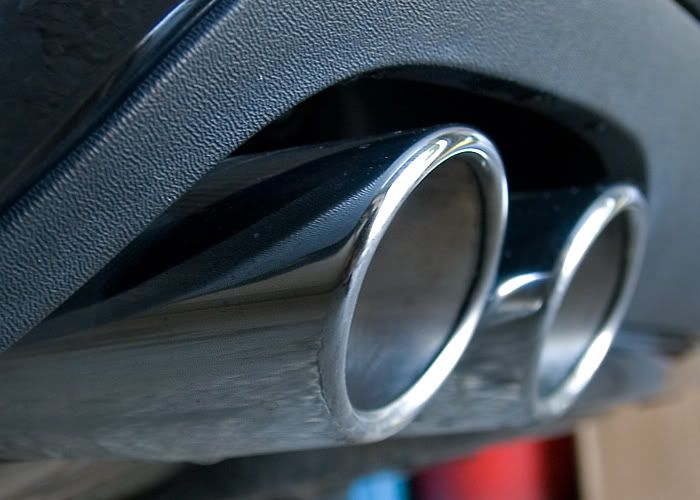
Dirty exhaust
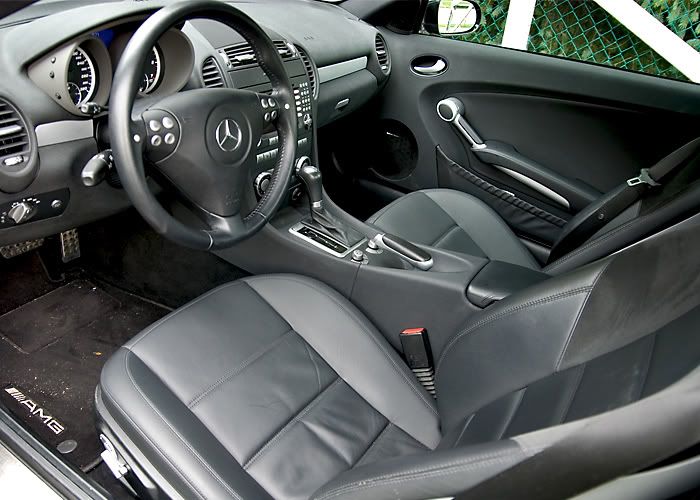
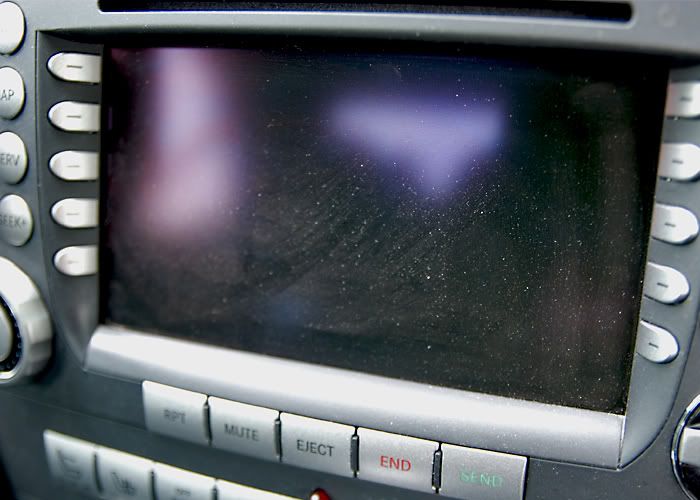
Interior was really not that bad just dusty etc and just needed a thorough cleaning in all the tight spaces
I soaked the rims in P21s Wheel Cleaner to break things down while I cleaned the inside

I also soaked the wheel well with Megs All Purpose Cleaner to loosen up the dirt
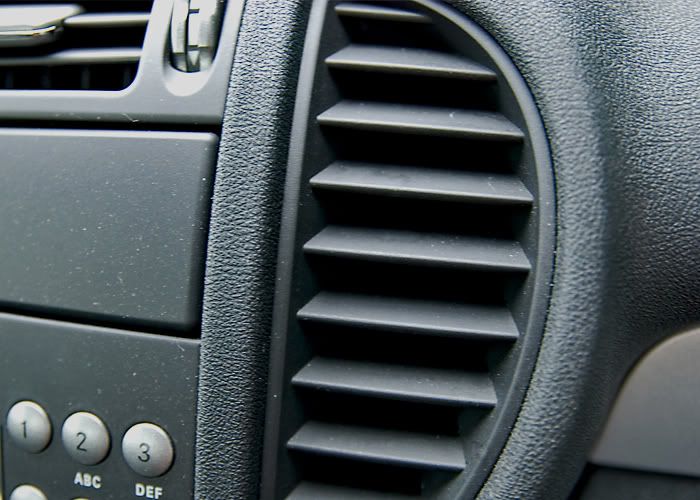
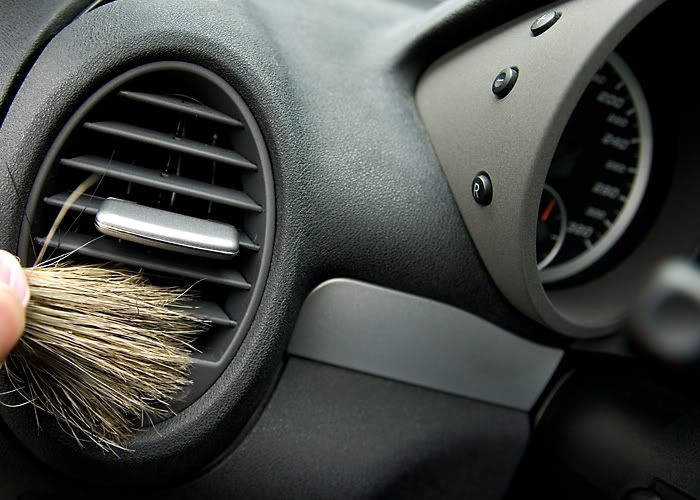
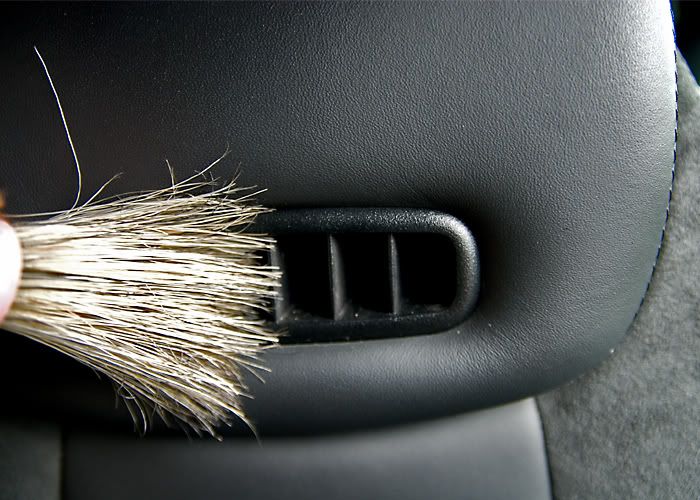
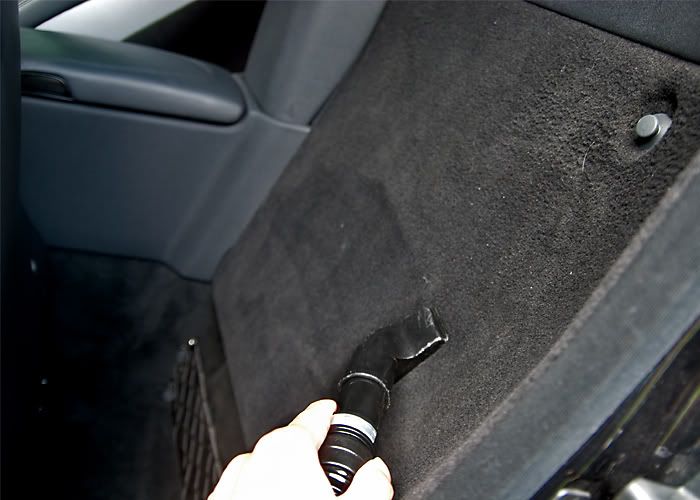
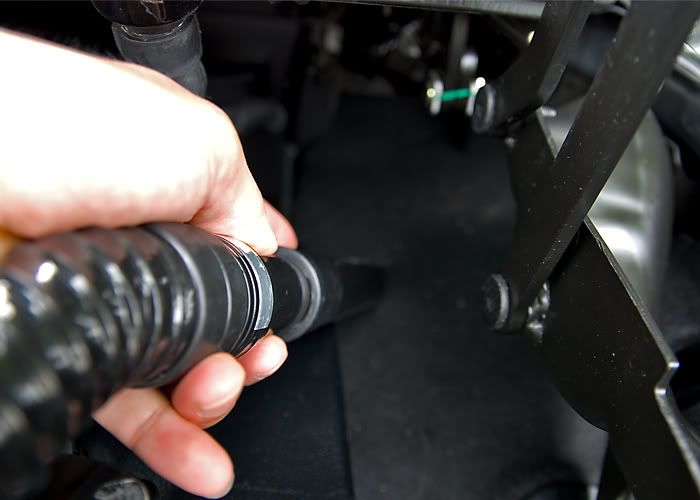
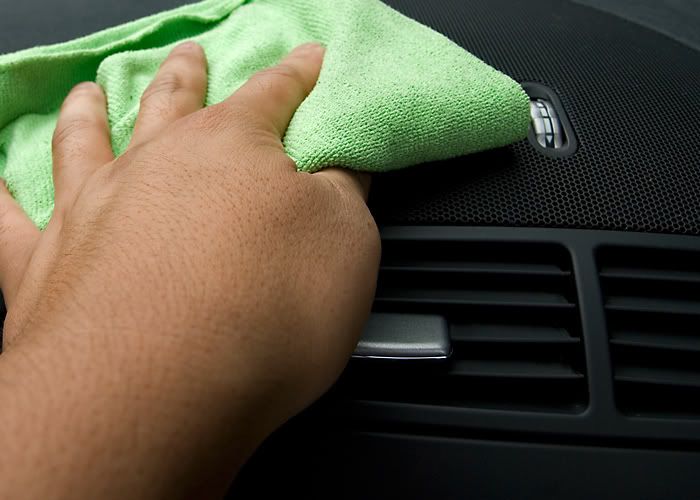
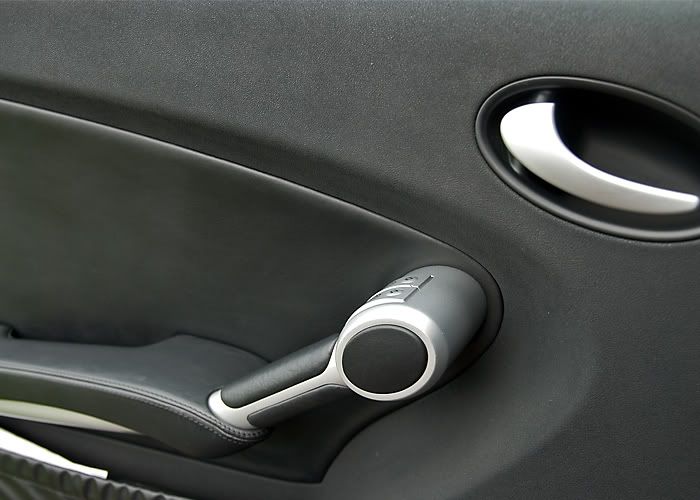
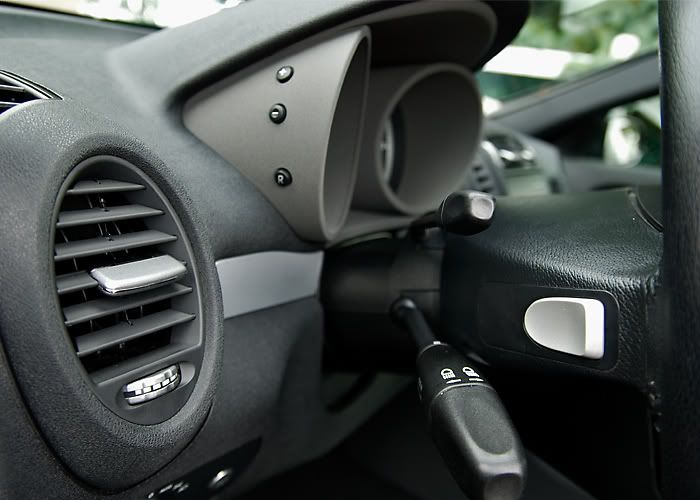
Moving onto the interior I started first by dusting out all the tight crevices and spaces
Please forgive my bootleg brush, my Megs Slide Lock Brush gave out on me so I had to take the left over bristles and wrap them up in a rubber band. Thankfully they still did the job.
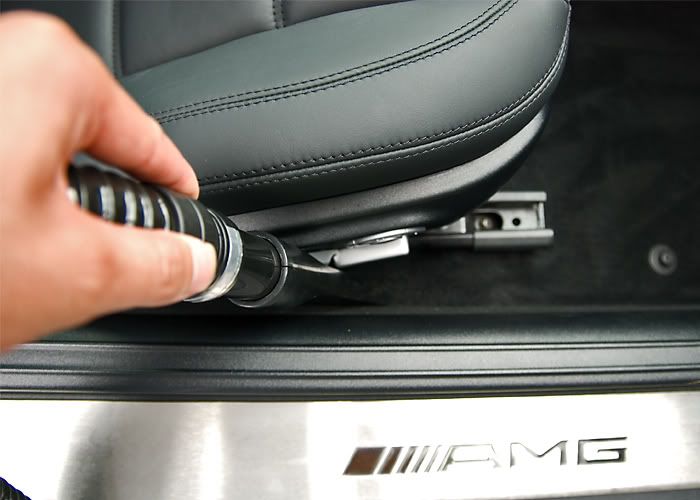
I used my Megs Triple Duty Brush to get in between the cracks of the seat

After the dusting I cleaned up the pedals with Megs All Purpose Cleaner. No dressing though as I don't want them to be slippery
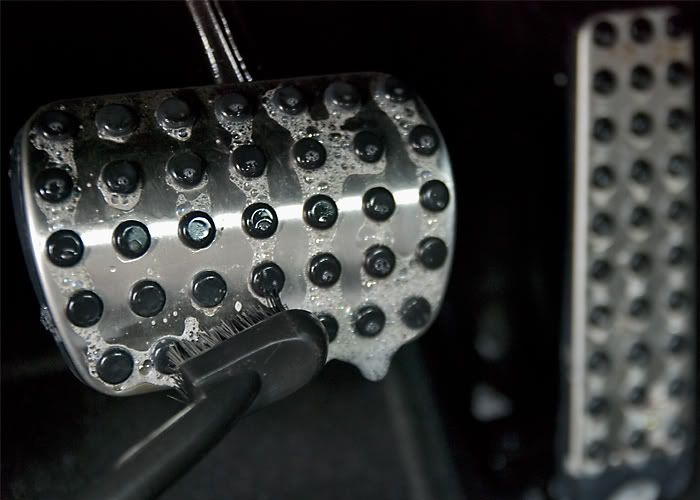
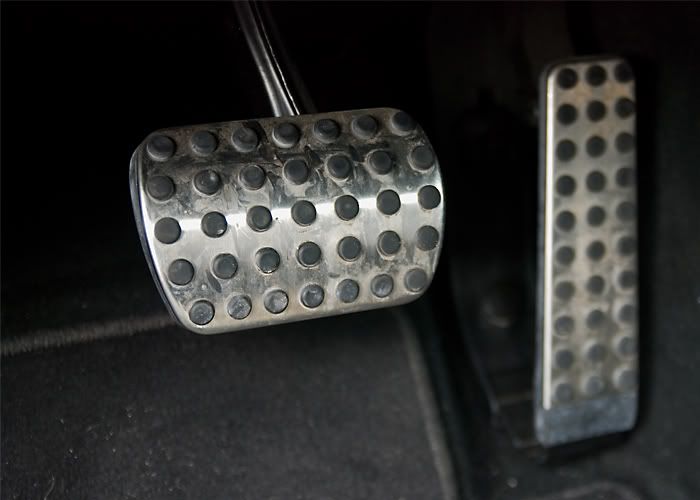
Here is a before and after of them
Before
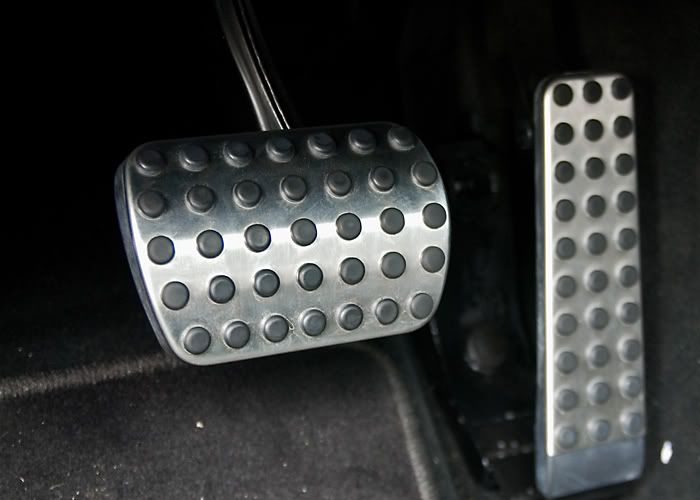
After
Started vacuuming

Todays write up is on a Slk 55. I did a full interior on this one minus a carpet shampoo and a 2 stage polish on the exterior. The owner had just bought the car and wanted to get it looking as close to new as possible plus treat a scratch on the trunk.
I must say the styling on the new Slk is gorgeous and I really like the Slr style hood and nose plus a V8 in this smallish car is insane. I was definitely admiring the car while working on it.
Anyways on to the surgery.
Here she is on arrival
Some dirty before shots
Typical caked up Mercedes rims
Dirty exhaust
Interior was really not that bad just dusty etc and just needed a thorough cleaning in all the tight spaces
I soaked the rims in P21s Wheel Cleaner to break things down while I cleaned the inside
I also soaked the wheel well with Megs All Purpose Cleaner to loosen up the dirt
Moving onto the interior I started first by dusting out all the tight crevices and spaces
Please forgive my bootleg brush, my Megs Slide Lock Brush gave out on me so I had to take the left over bristles and wrap them up in a rubber band. Thankfully they still did the job.
I used my Megs Triple Duty Brush to get in between the cracks of the seat
After the dusting I cleaned up the pedals with Megs All Purpose Cleaner. No dressing though as I don't want them to be slippery
Here is a before and after of them
Before
After
Started vacuuming
 03-07-2010, 03:13 AM
#2
Member
Thread Starter
Join Date: Feb 2009
Location: Toronto
Posts: 117
Likes: 0
Received 0 Likes
on
0 Posts
batmobile
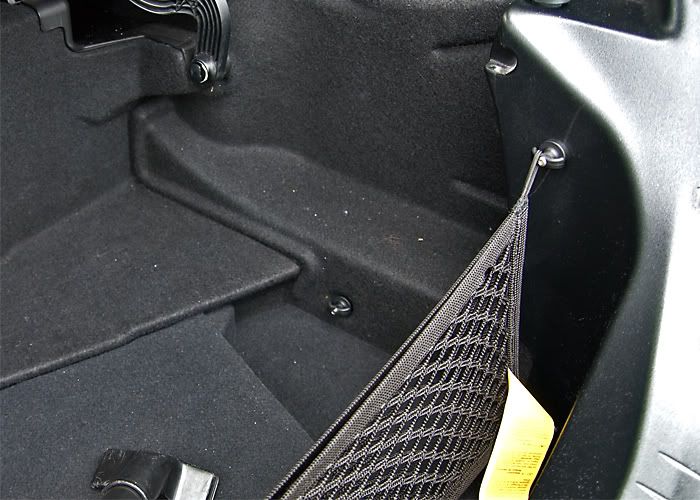
I hate seeing dirty in between the seats
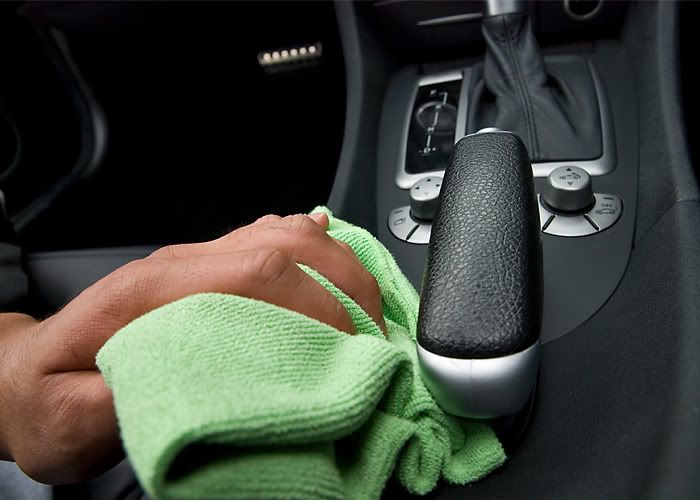
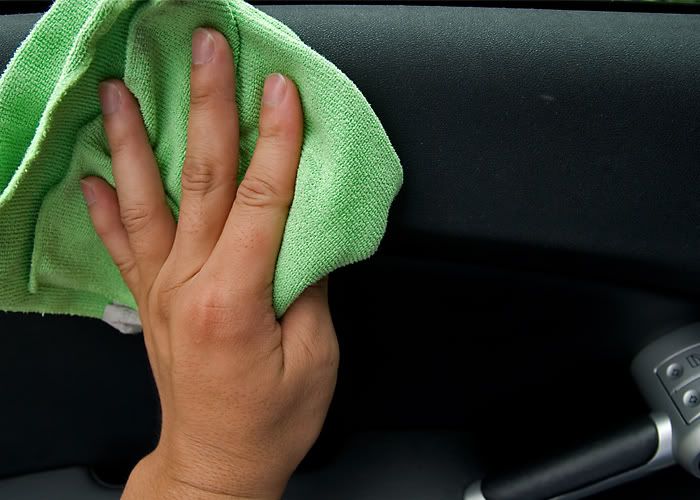
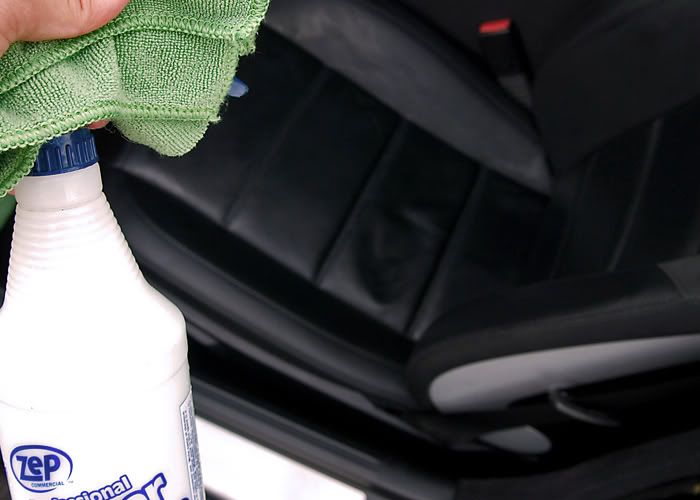
I wiped down the interior with Megs All Purpose Cleaner. Generally the reason I do this rather then going straight into dressing the interior is 1) I would like to have a clean surface to dress and 2) I look at it as sort of an anti bacterial cleaning of the surface(think about it how many times has some one coughed or sneezed in your car and no wipe down)
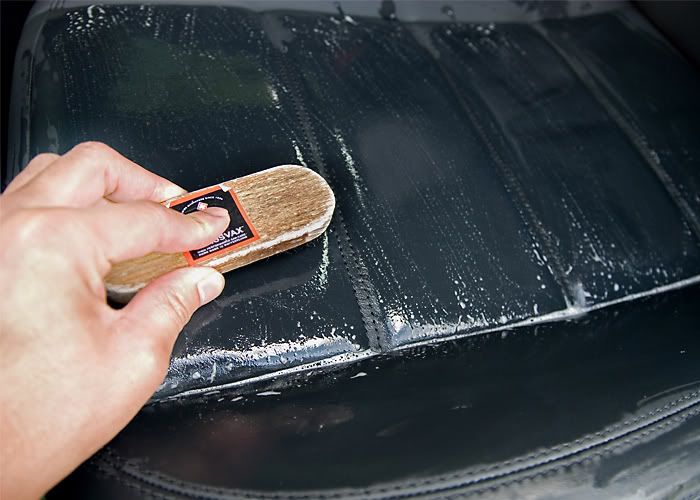
I leather cleaned and conditioned the seats with Gliptone Leather Cleaner and Conditioner. I have to confess this WAS the best leather treatment to me until I came across Leatherique this winter and experimented with it on my leather coat.
Scrubbing the leather seats with my Swissvax Leather Brush and Gliptone Leather Cleaner each seat broken down section by section.
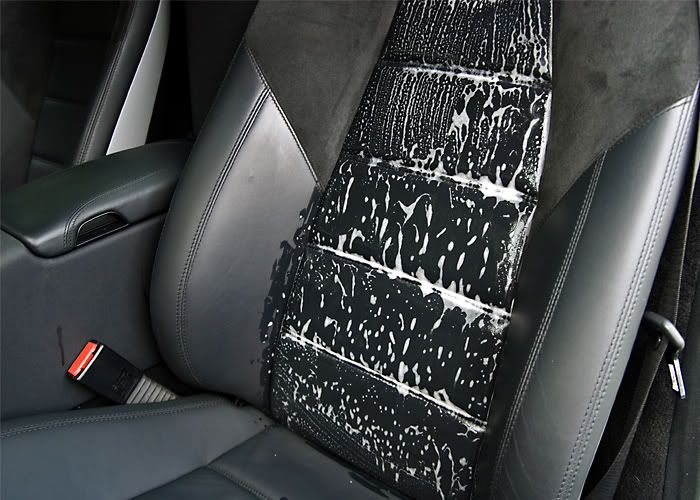
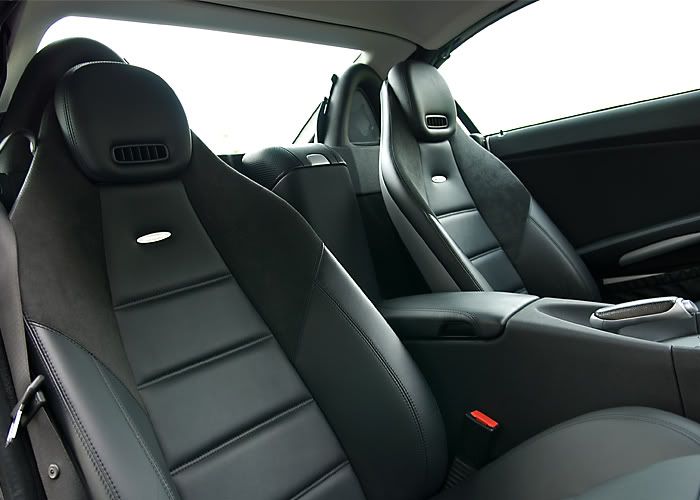
Here they are after.
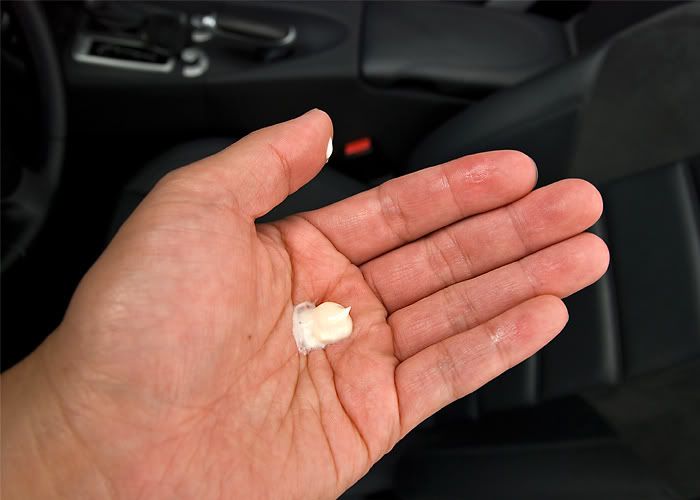
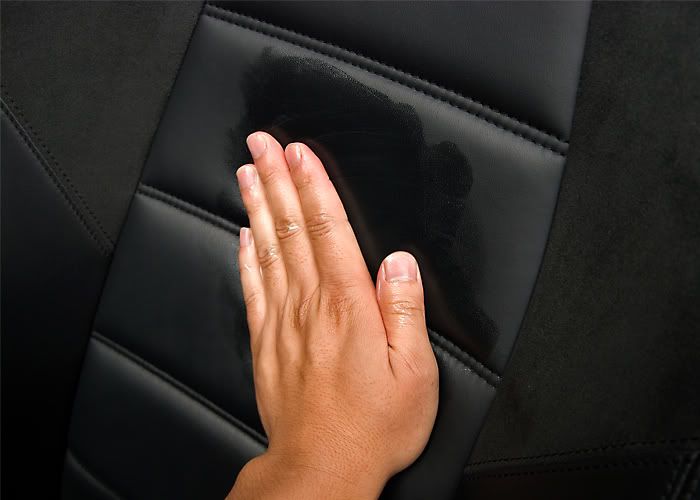
Applied Gliptone Leather Cleaner by hand, especially on perforated leather breaking it down in my hands first makes it so much more easier to deal with it because it doesn't build up in the tiny holes. As well applying it by hands allows me to work in the full conditioner into the seats rather then have it soak and waste into a microfibre cloth or any other applicator.
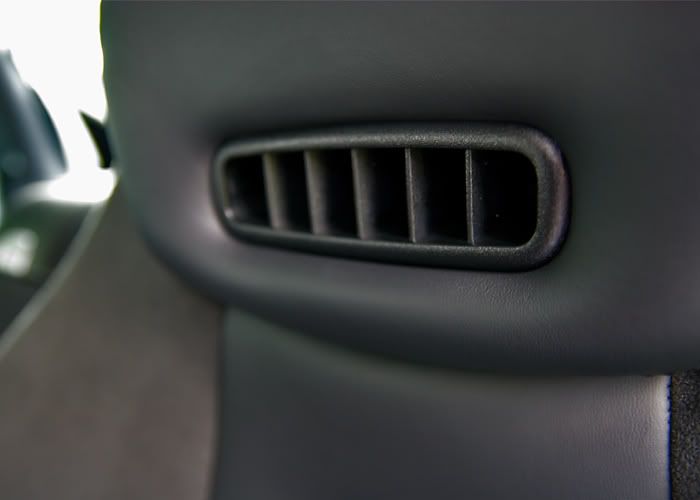
Finally after everything I applied the interior dressing which was Megs Hyper Dressing. I honestly do not like shiny interior dressings(not gonna name any brands you know who you are lol) and one thing I like about Hyper Dressing is it is water based and can be cut with water for different levels of shine. You can have high gloss, medium gloss, satin finish, and natural finish. I like to have it cut somewhere in between satin and natural finish.
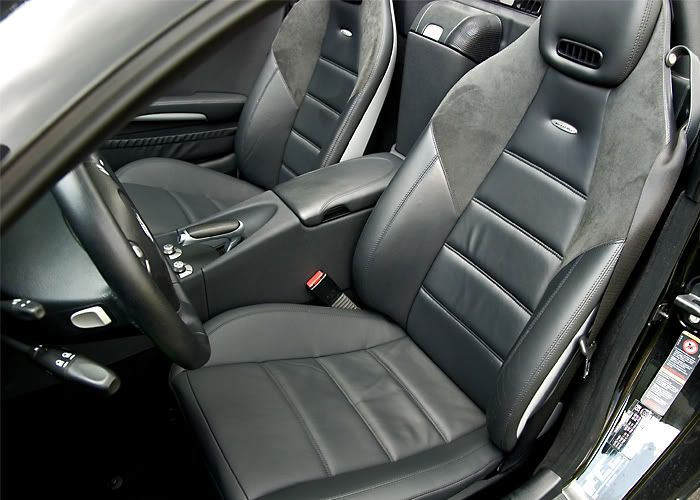
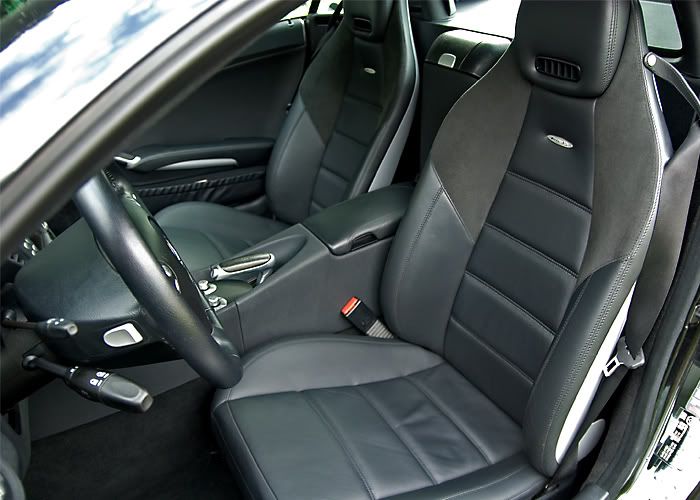
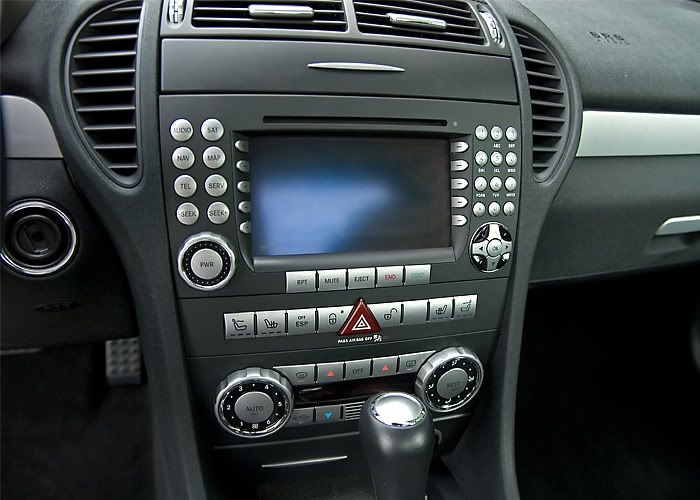
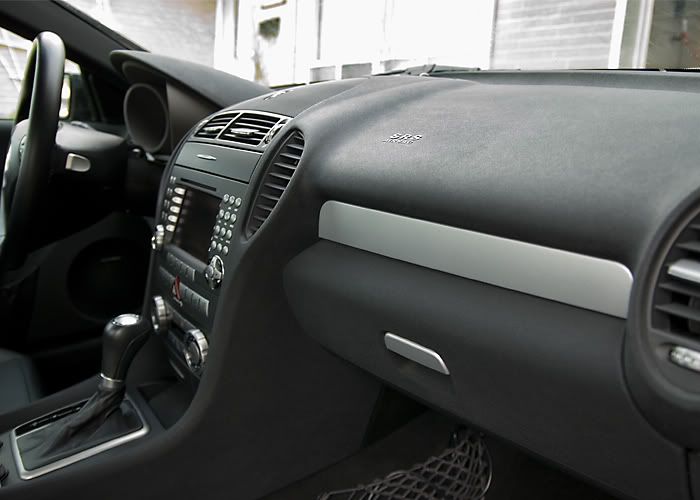
I cleaned the windows with Stoners Invisible Glass and my Glass Master Pro. Wiped off the remaining conditioner that didn't absorb into the seats and now here are the afters of the interior.
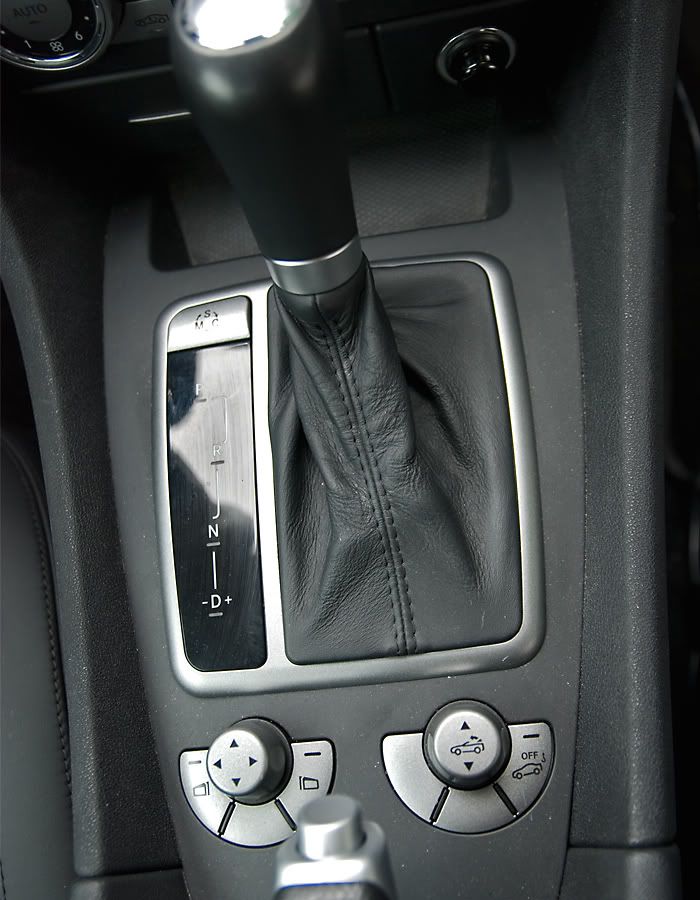
No shiny here everything has a nice natural glow

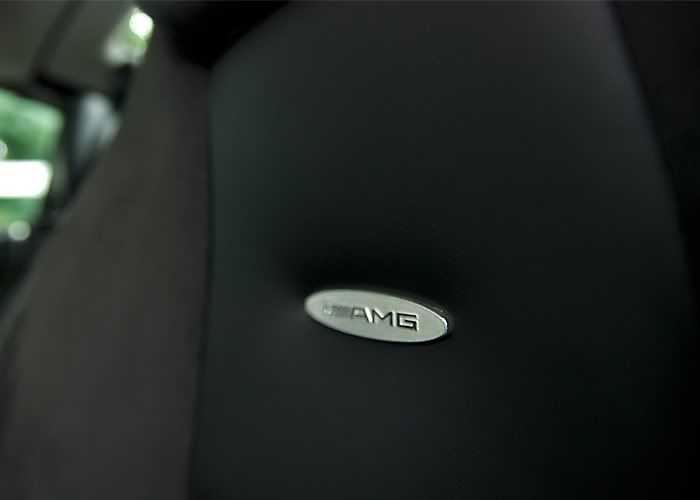
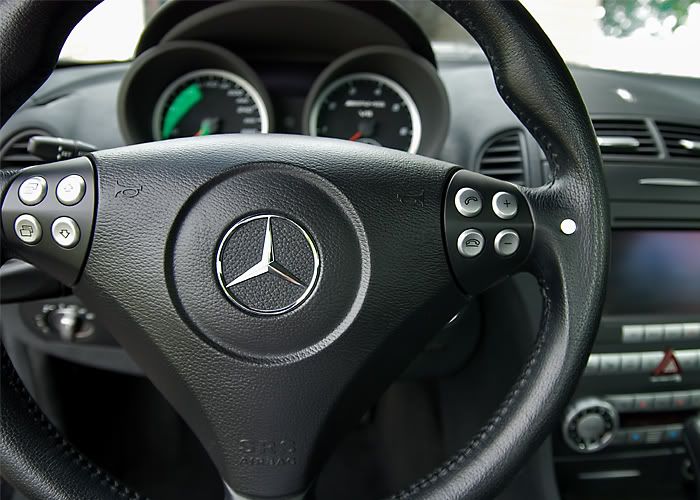
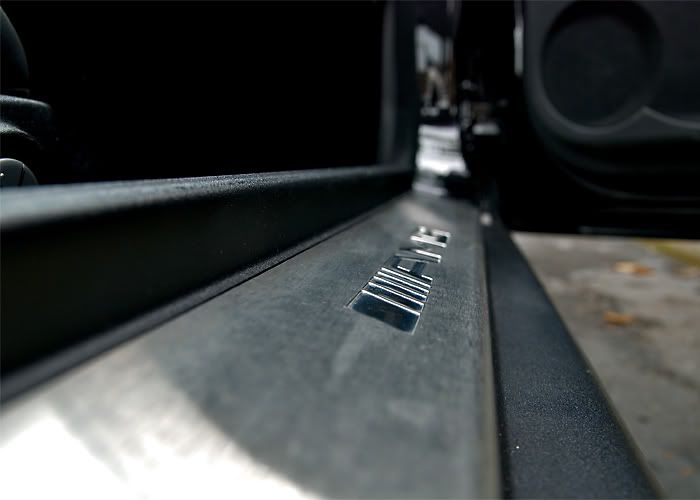
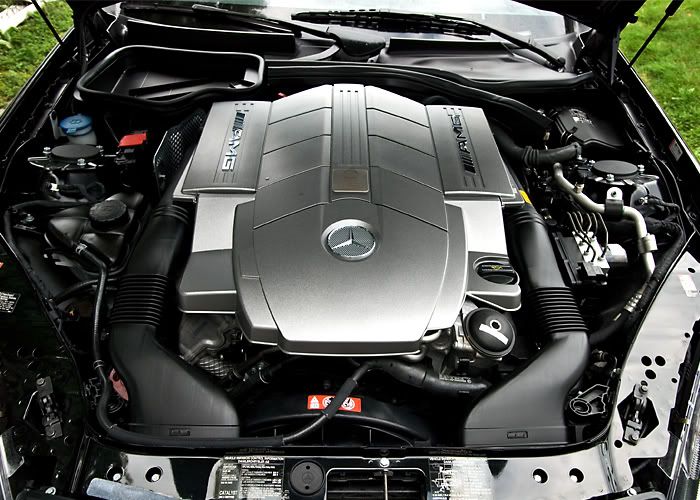
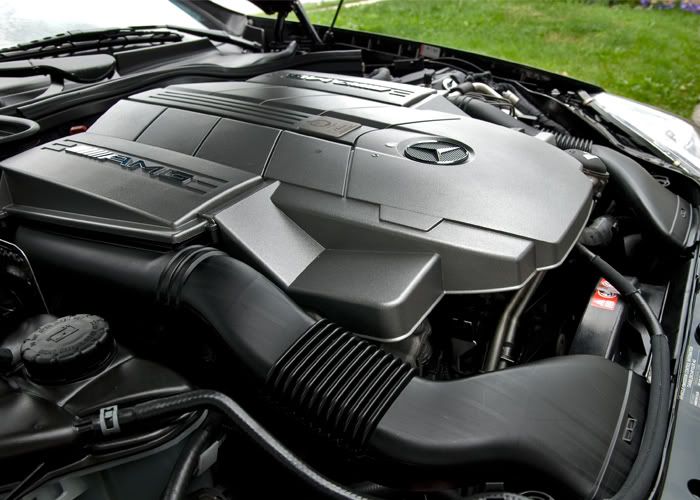
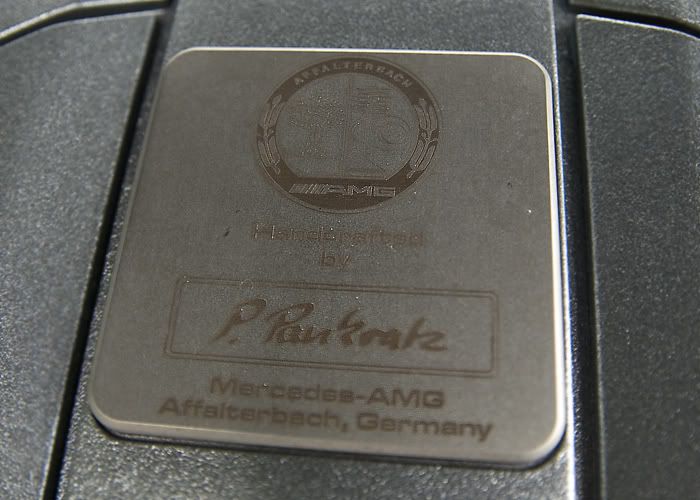
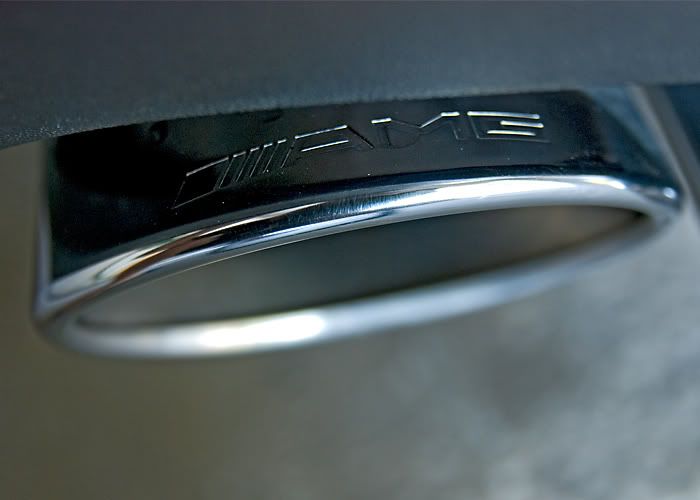
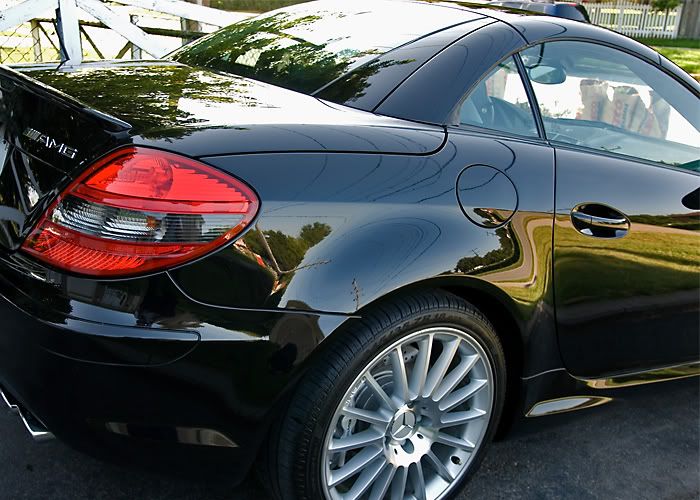
Complimentary AMG shot
I wiped down the interior with Megs All Purpose Cleaner. Generally the reason I do this rather then going straight into dressing the interior is 1) I would like to have a clean surface to dress and 2) I look at it as sort of an anti bacterial cleaning of the surface(think about it how many times has some one coughed or sneezed in your car and no wipe down)
I leather cleaned and conditioned the seats with Gliptone Leather Cleaner and Conditioner. I have to confess this WAS the best leather treatment to me until I came across Leatherique this winter and experimented with it on my leather coat.
Scrubbing the leather seats with my Swissvax Leather Brush and Gliptone Leather Cleaner each seat broken down section by section.
Here they are after.
Applied Gliptone Leather Cleaner by hand, especially on perforated leather breaking it down in my hands first makes it so much more easier to deal with it because it doesn't build up in the tiny holes. As well applying it by hands allows me to work in the full conditioner into the seats rather then have it soak and waste into a microfibre cloth or any other applicator.
Finally after everything I applied the interior dressing which was Megs Hyper Dressing. I honestly do not like shiny interior dressings(not gonna name any brands you know who you are lol) and one thing I like about Hyper Dressing is it is water based and can be cut with water for different levels of shine. You can have high gloss, medium gloss, satin finish, and natural finish. I like to have it cut somewhere in between satin and natural finish.
I cleaned the windows with Stoners Invisible Glass and my Glass Master Pro. Wiped off the remaining conditioner that didn't absorb into the seats and now here are the afters of the interior.
No shiny here everything has a nice natural glow
Complimentary AMG shot
Last edited by Wes_R; 03-07-2010 at 11:16 AM.
03-07-2010, 03:14 AM
#3
Member
Thread Starter
Join Date: Feb 2009
Location: Toronto
Posts: 117
Likes: 0
Received 0 Likes
on
0 Posts
batmobile

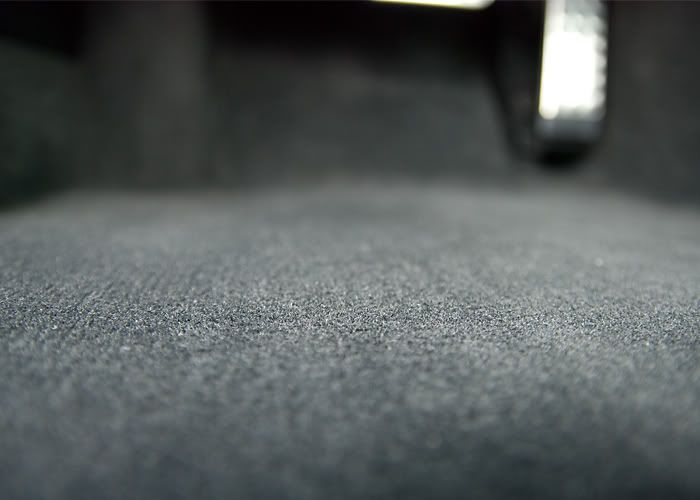
Artsy fartsy carpet shot. It is looking clean though
Moving on to the exterior I started with the engine
All of these are just after shots
Cleaned the wheels with my EZ-Brush
Did the rim face with my microfibre mitt
I usually clean exhausts with Chemical Guys Grime Reaper but I ran out so I applied the P21s Wheel Gel to the exhaust and scrubbed it with 0000 steel wool. I must say that I was pretty impressed with the out come using the wheel gel and as I think about it now I may use this on some after market exhausts that come my way seeing as it is ph balanced and non acidic making it safe for all finishes
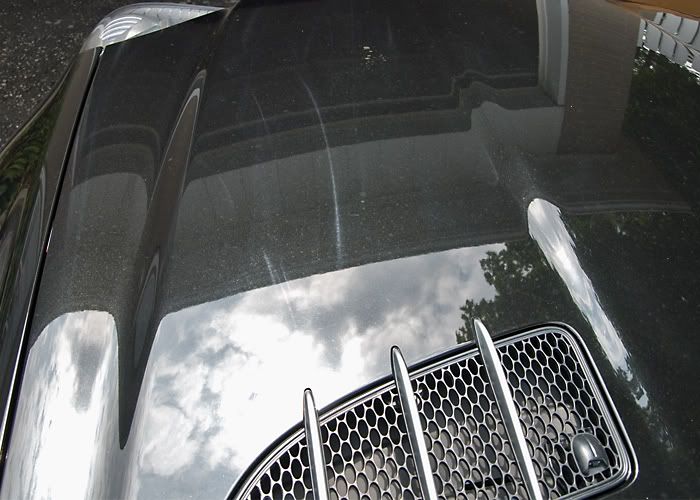
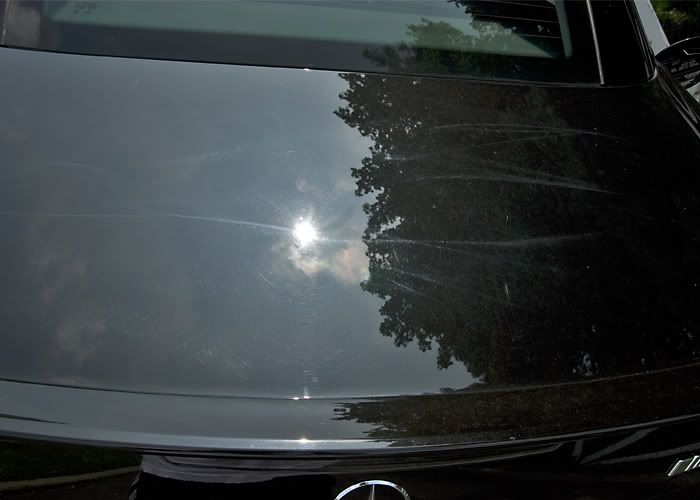
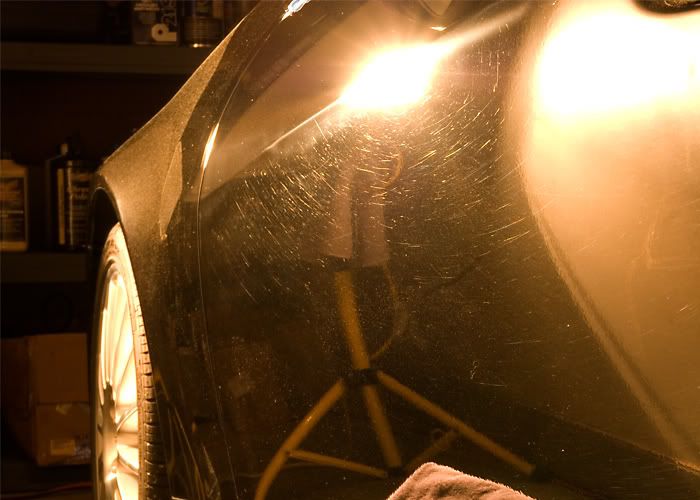
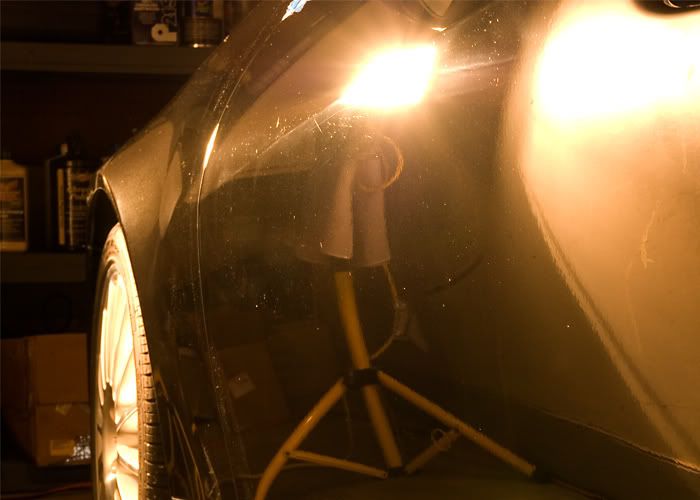
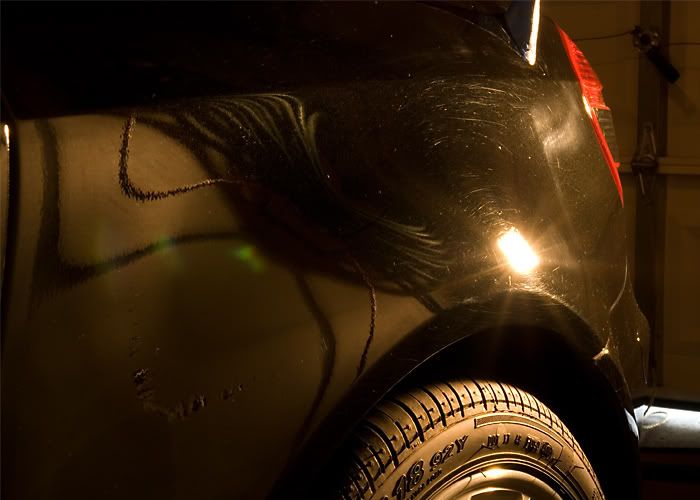
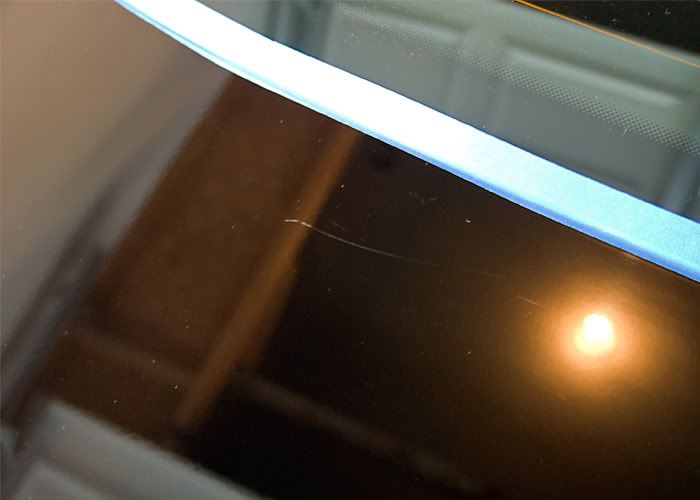
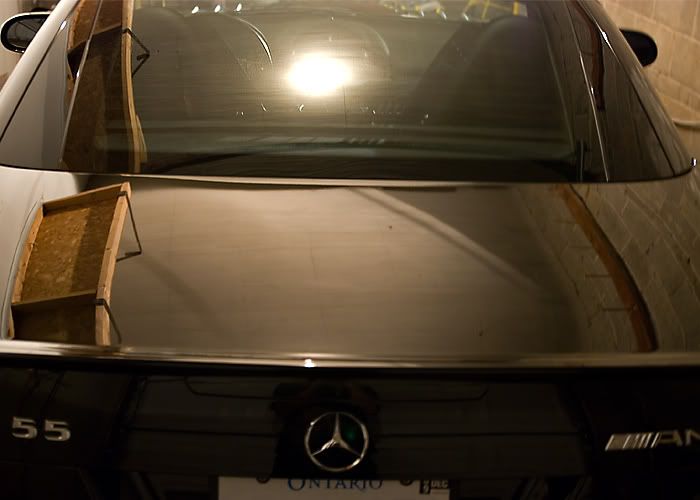
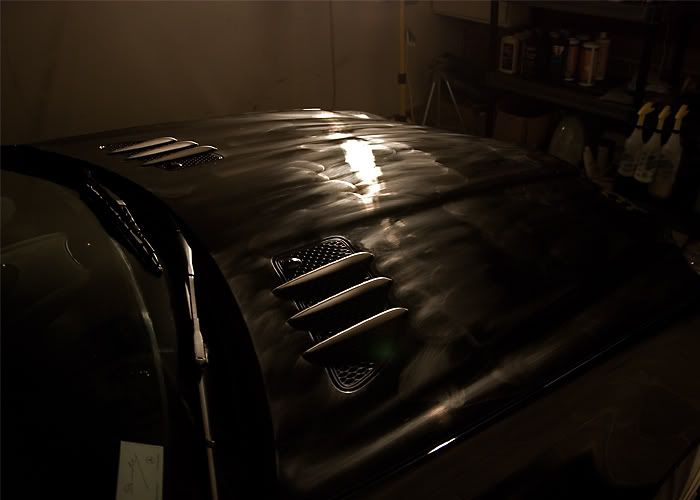
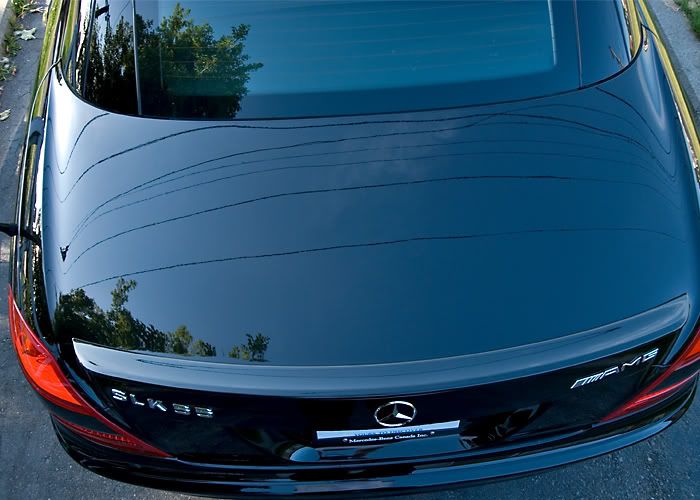
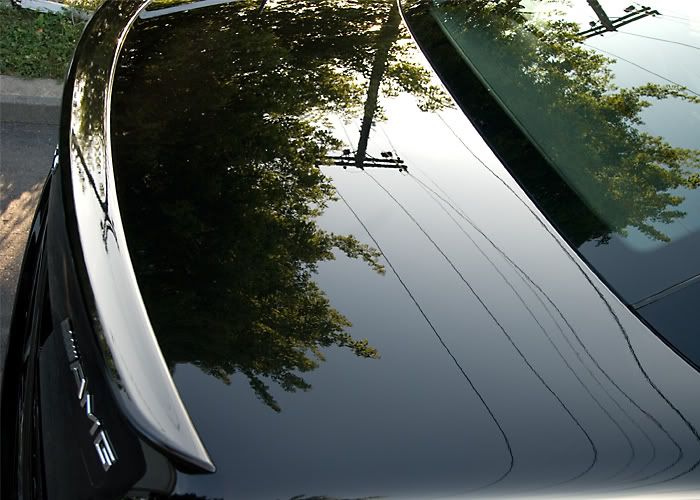
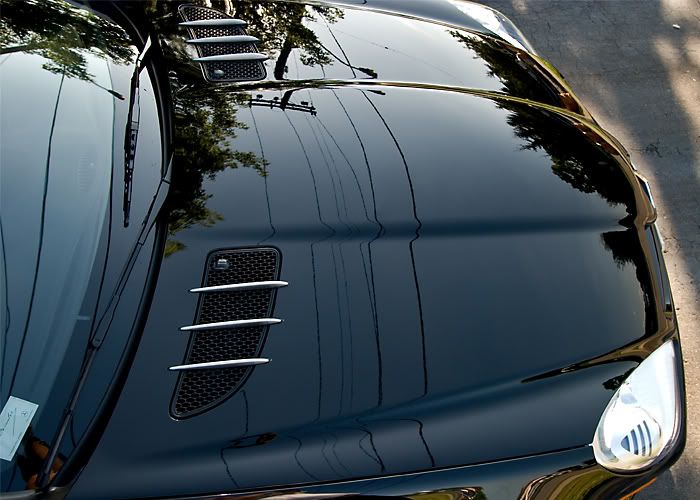
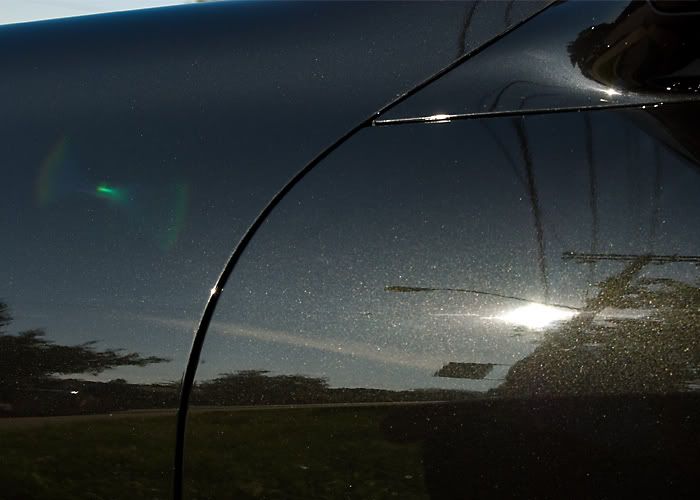
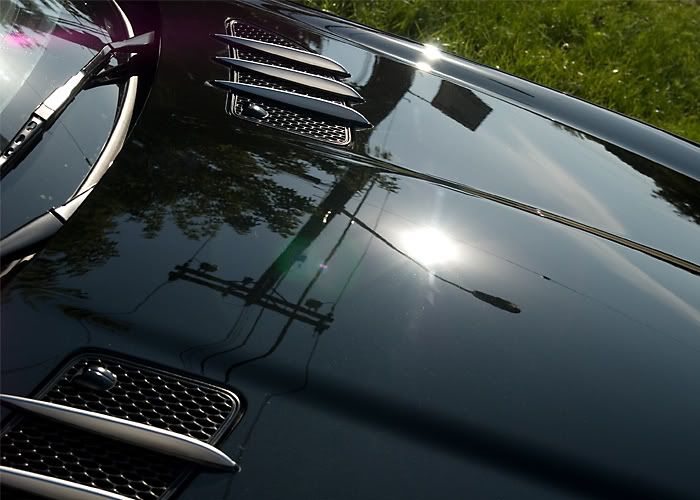
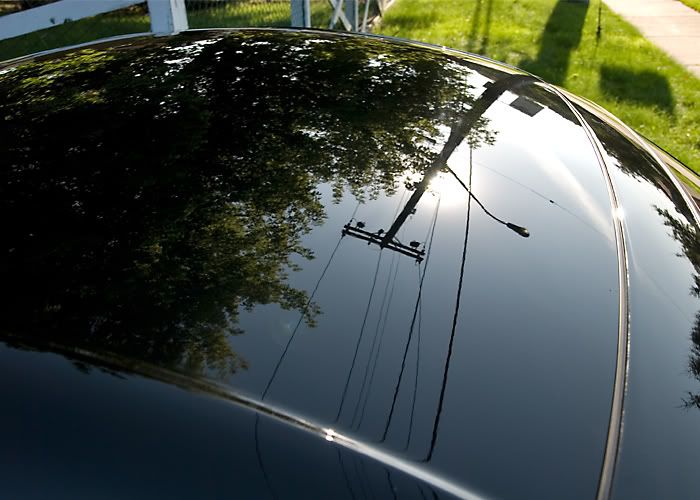
It was a cloudy day to begin with but when the sun peeked out for a bit I found some surprises on the hood, roof, and trunk
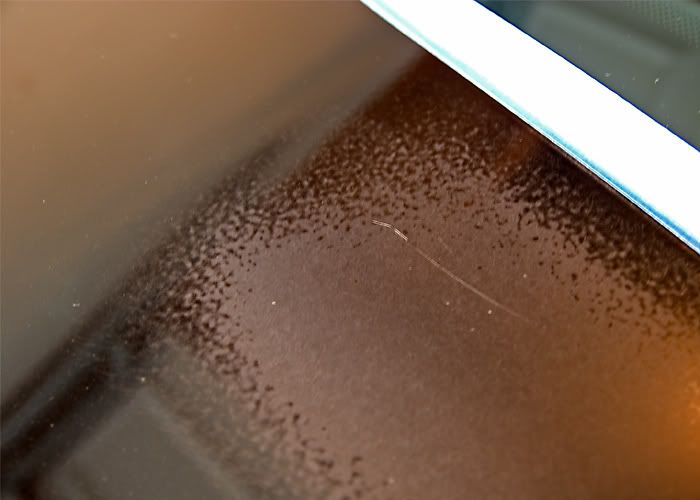
This is an example of bad polishing and the perils of putting a rotary polisher in the hands of the non experienced. Buffer trails all over the top end of the car and what a hack style to. Instead of polishing the whole car they just tried to get away with polishing the hood, roof, and trunk but I guess it is better they not polish the whole car anyways
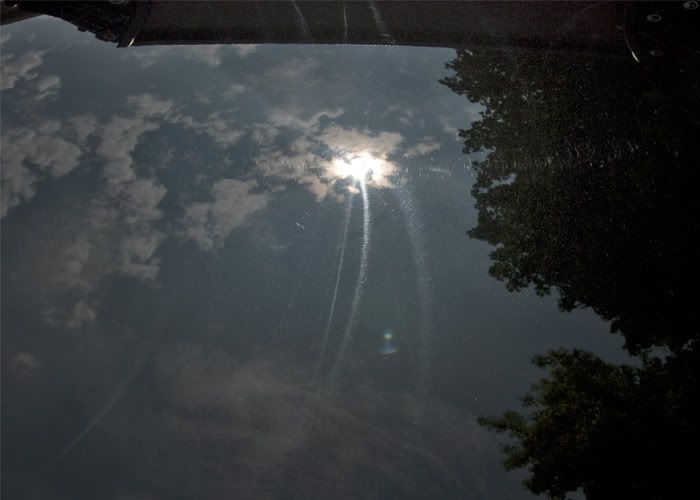
This is just terrible, it looks like they just went wildly back and forth with the polisher
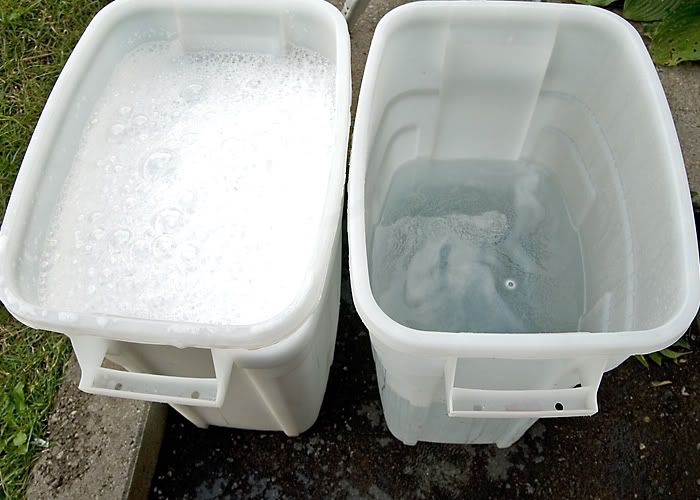
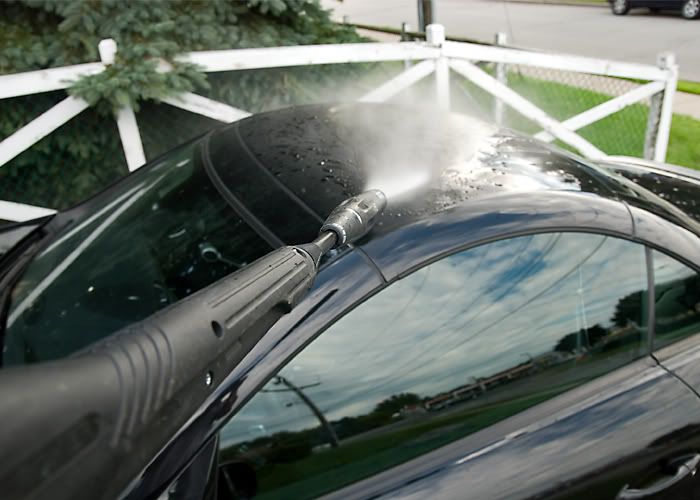
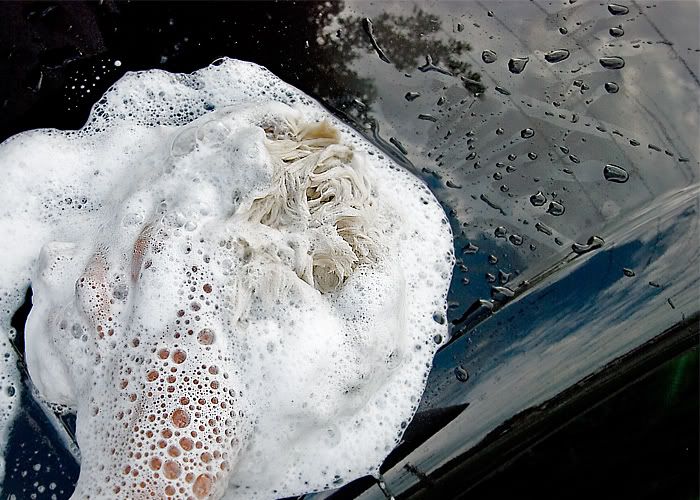
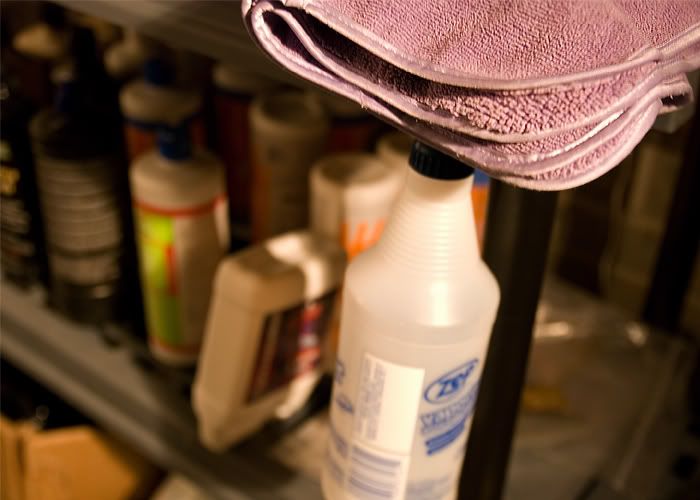
Anyways on to the washing using the two bucket method and a lambswool mitt. Soap was Chemical Guys Citrus Wash and Gloss mixed with Prep Wash to strip anything that was on the paint wither it be wax, glaze, etc so that I could have a clean bare surface to work with.
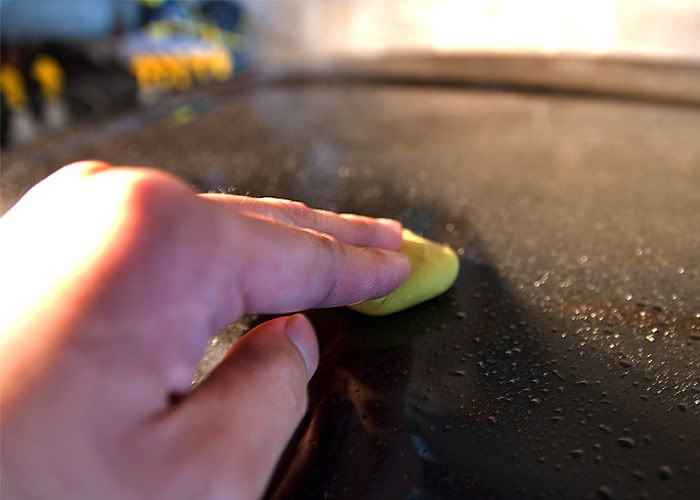
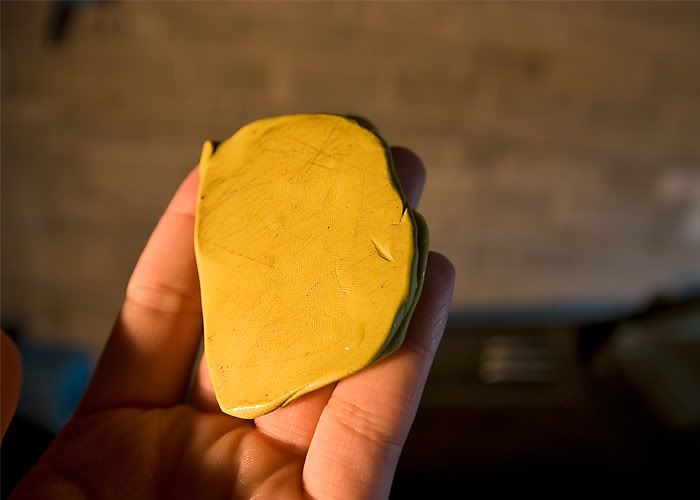
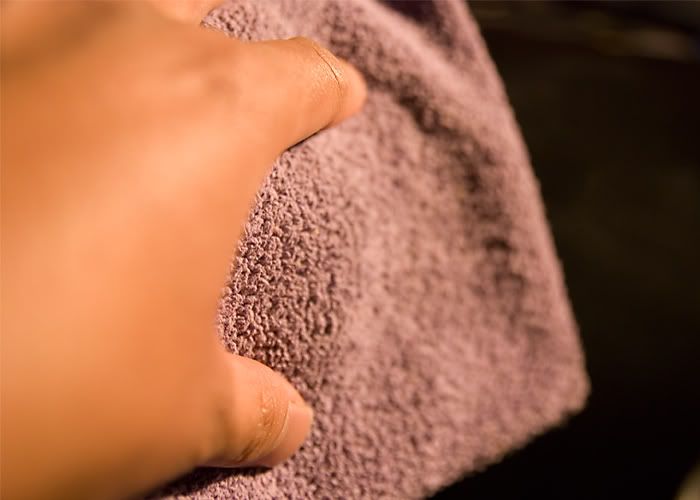
Dried the car with my waffle weave towel and brought it in to clay. Clay was Riccardo yellow clay and lube was Megs Last touch diluted 25 lube 75 water.
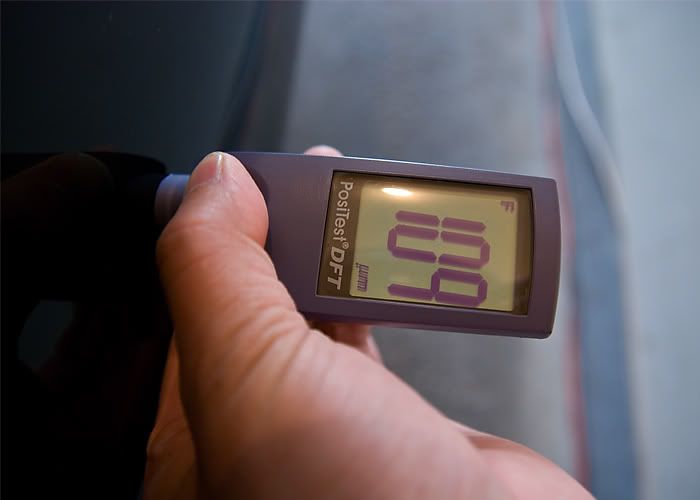
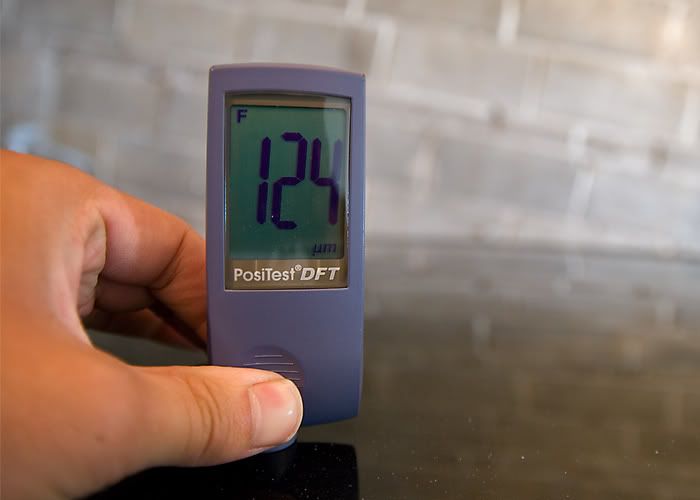
Measured the paint to look out for any low spots and to inform the owner of any repaints that they might not have known about prior to purchase
 03-07-2010, 03:15 AM
#4
Member
Thread Starter
Join Date: Feb 2009
Location: Toronto
Posts: 117
Likes: 0
Received 0 Likes
on
0 Posts
batmobile

Masked up all the trim etc

And began to polish with a black lambswool pad and Menzerna Super Intensive Polish using the Zenith Point Technique
Here are some befores and afters
Before
After
Before
After
Before
After
Before
After

Here is a shot of me polishing
This is the deep scratch that was on the trunk
I wetsanded it out with a 2400 grit sanding disc and my Porter Cable then passed over it again with a 4000 grit disc
And finally polished it all out. I was not able to completely remove the scratch but definitely improved it
I put a little arrow to show what was left

My camera died but I did the second stage of polishing with a white Lake Country pad and Menzerna PO85rd
After the jeweling stage I wiped down the paint with a plush microfibre cloth and ipa alcohol to clean off the polishing oils and clean up any left over dust
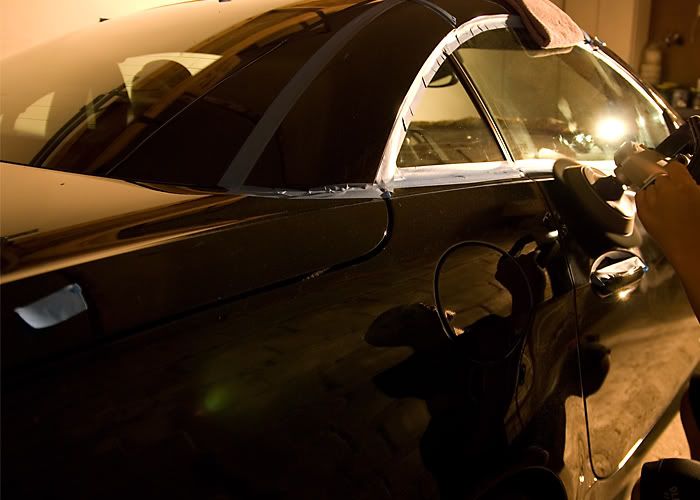
I checked over my work with my 3M Sun Gun(I hate the battery life on this thing)
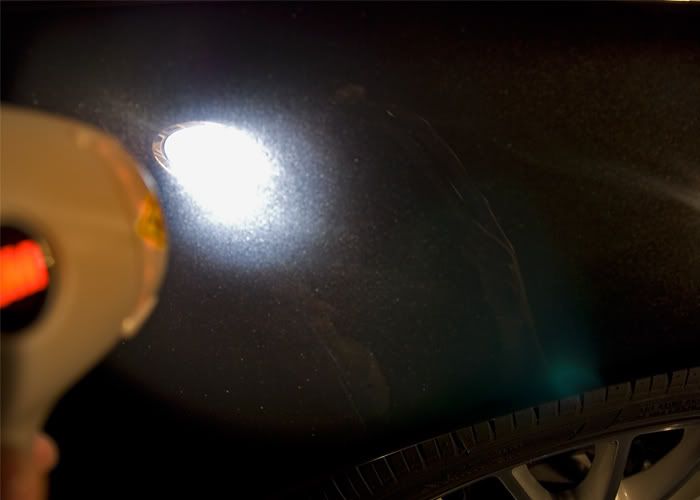
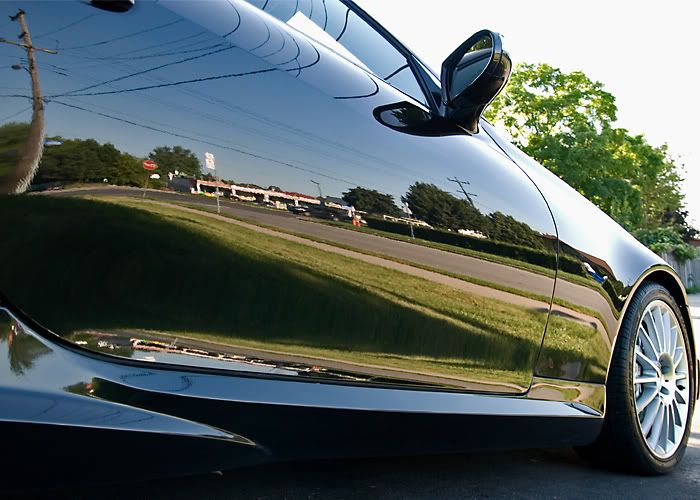
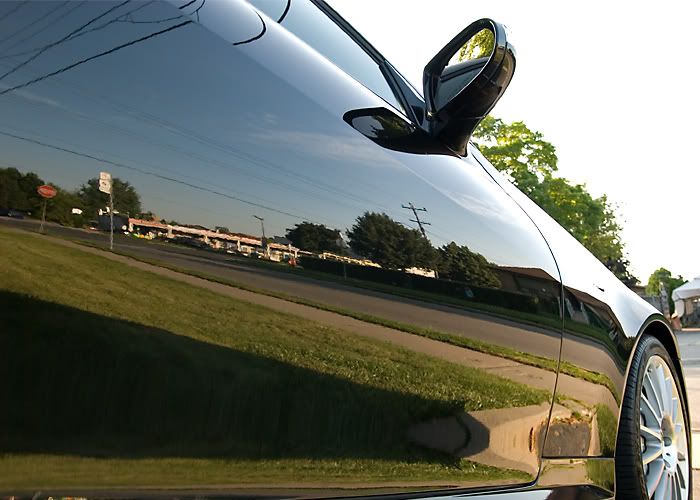
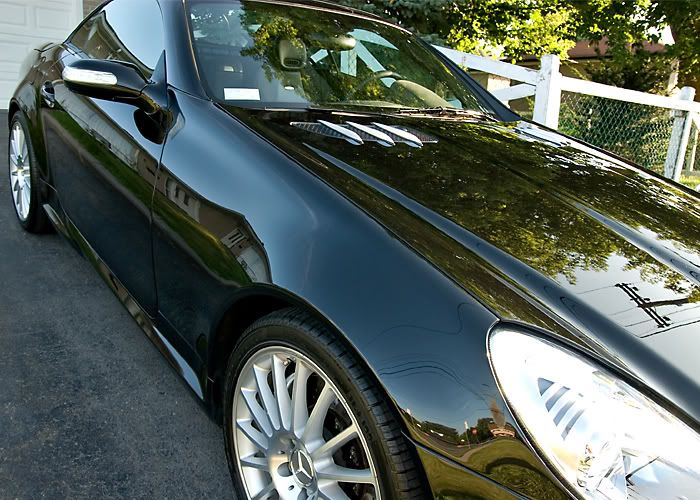
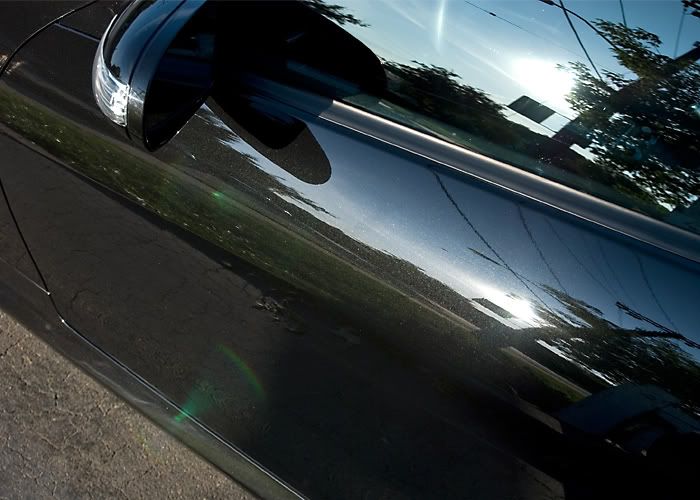
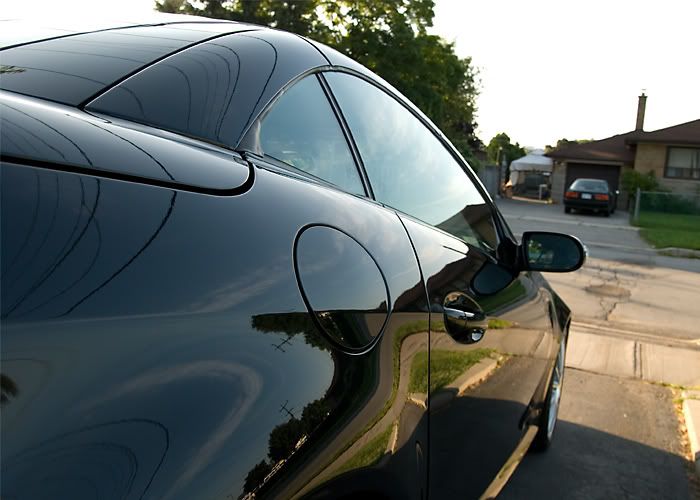
Here are some after of the jeweling process and just before wax. I don't know if it is the ceramic clear coat or just me but the shine was looking really crazy to me, you be the judge
 03-07-2010, 03:16 AM
#5
Member
Thread Starter
Join Date: Feb 2009
Location: Toronto
Posts: 117
Likes: 0
Received 0 Likes
on
0 Posts
batmobile
Applied Swissvax Concorso
In the meantime while the wax was curing I dressed the tires with Blackfire Long Lasting Tyre Gel, cleaned the outside windows, and polished the exhaust with Megs NXT metal polish
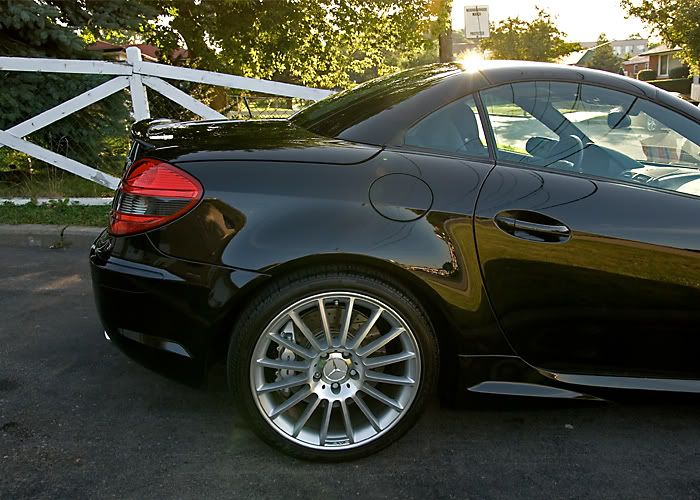
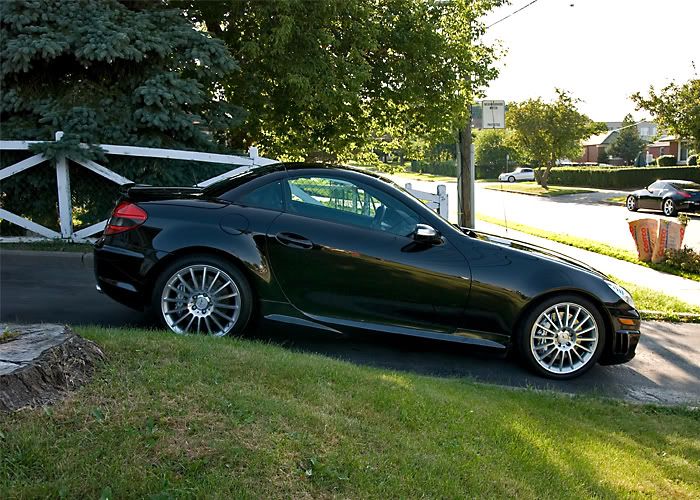
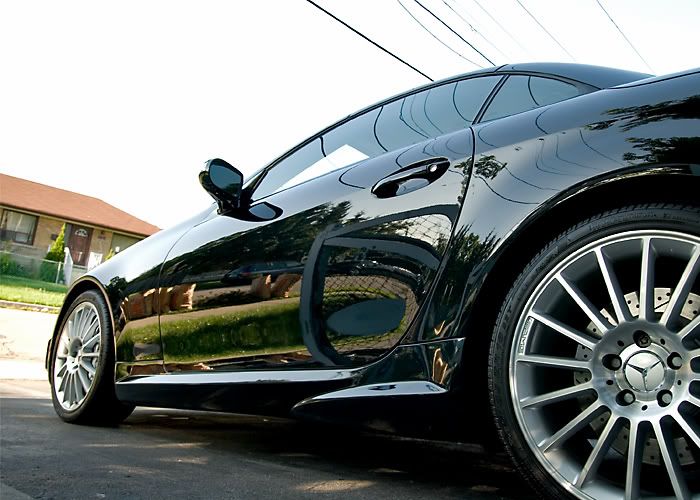
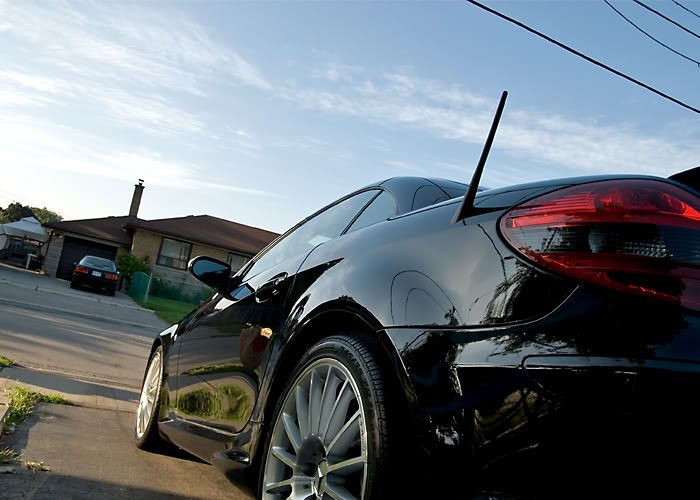
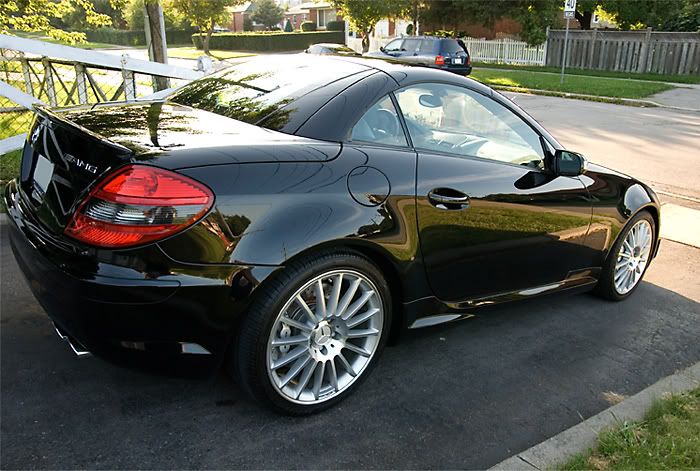
Now after 2 days of work here are the money shots... drum roll please
 03-07-2010, 03:16 AM
#6
Member
Thread Starter
Join Date: Feb 2009
Location: Toronto
Posts: 117
Likes: 0
Received 0 Likes
on
0 Posts
batmobile
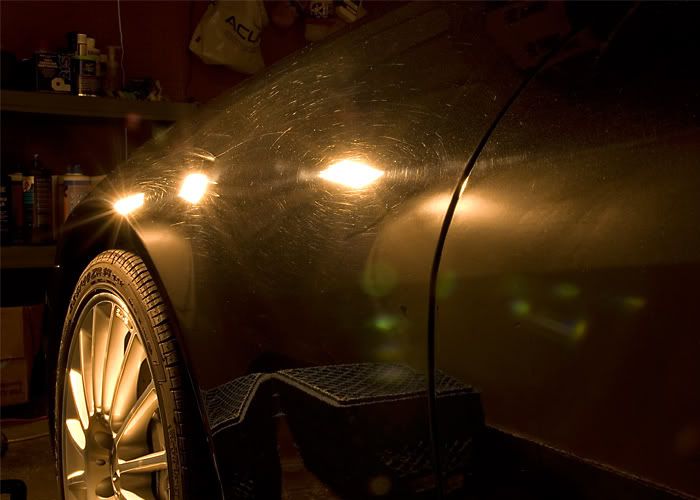
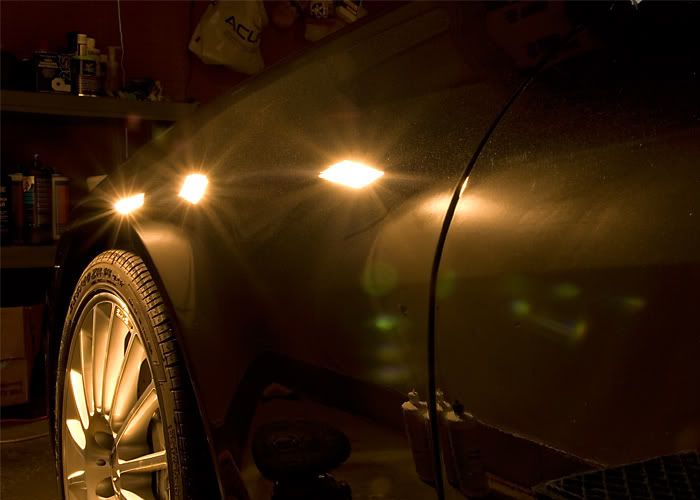
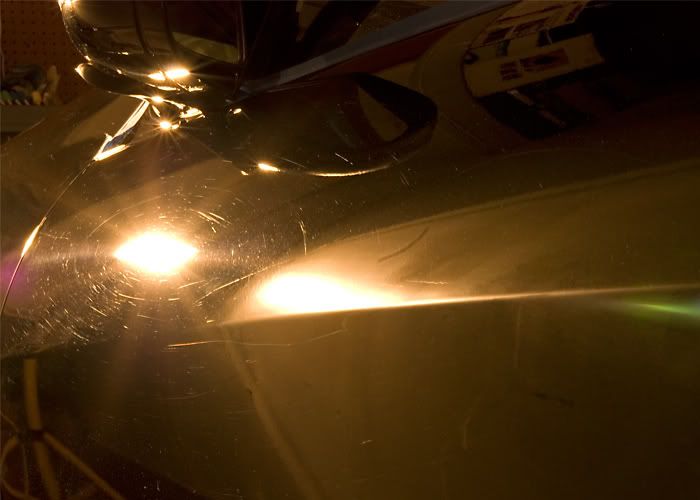
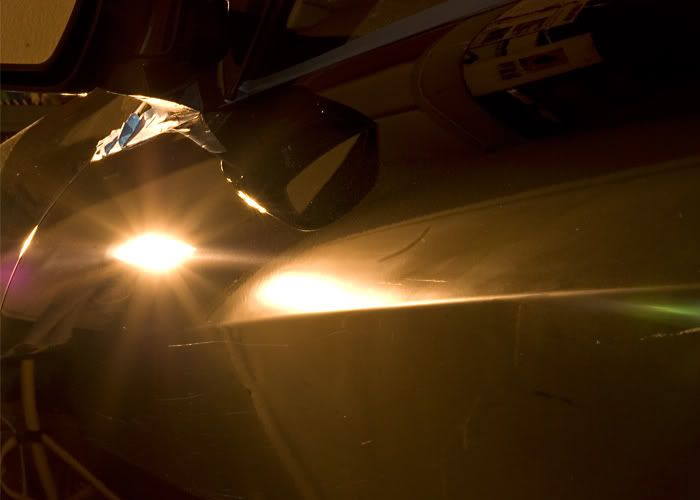
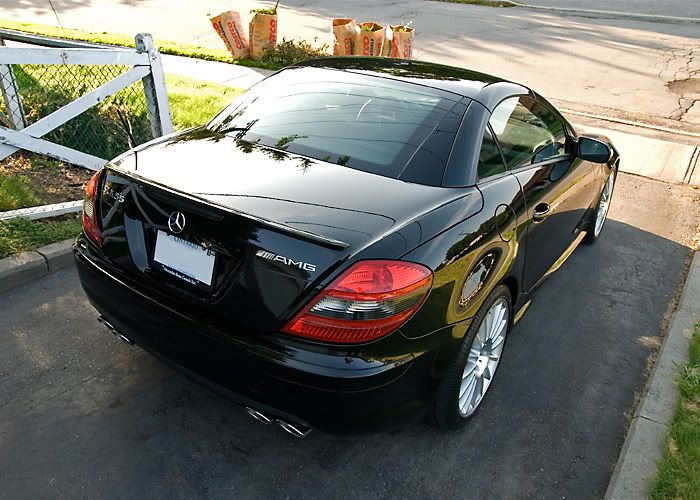
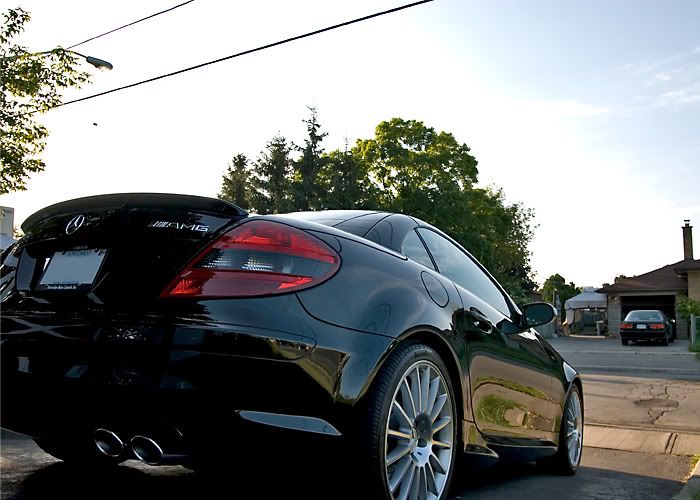
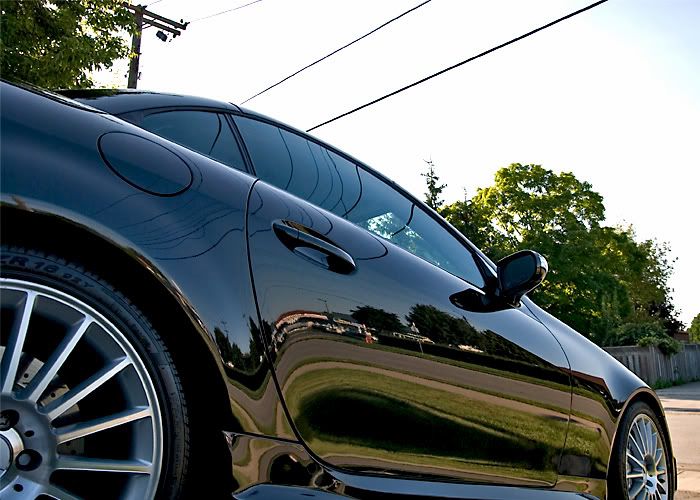
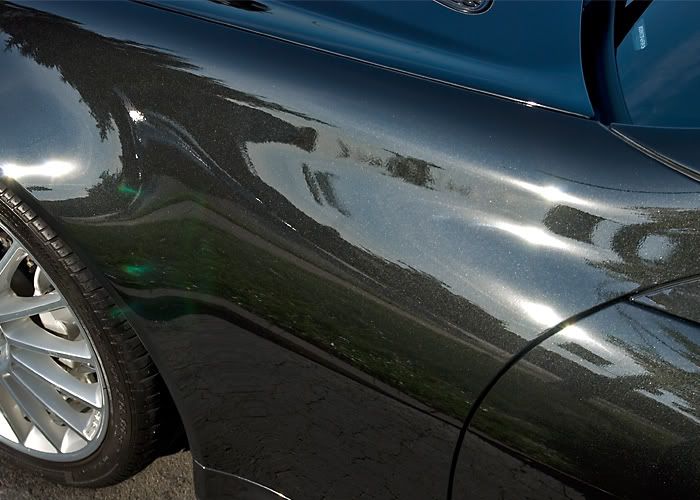
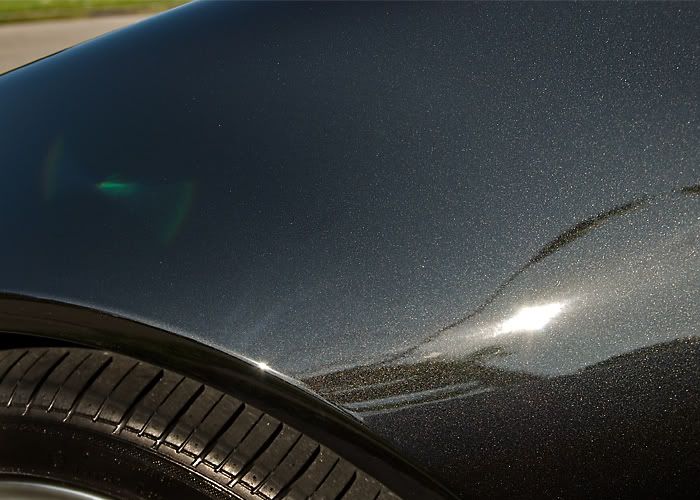
Here are some sun shots to show the condition of paint under the light of truth. The metallic flake was looking beautiful to if I might say
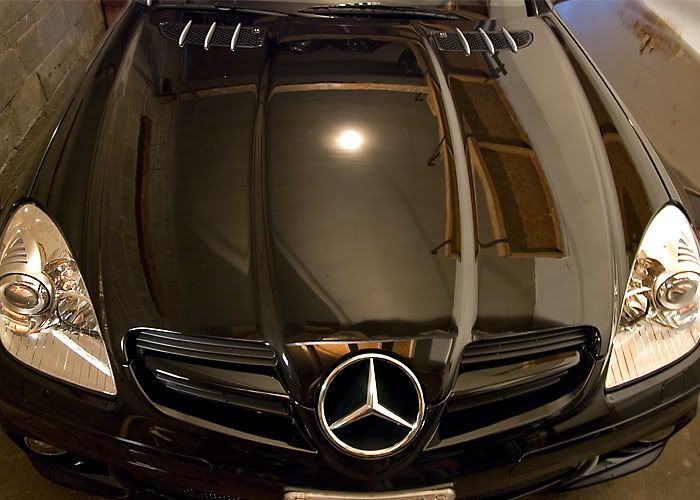
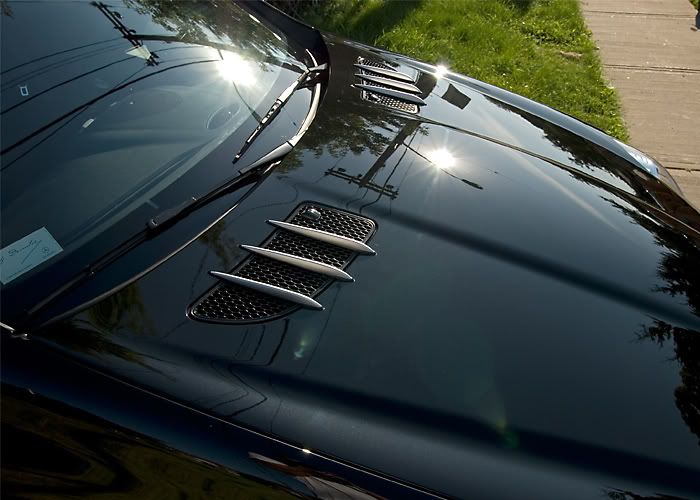
Remember how the hood looked under the sun with all those buffer trails
And how the roof looked with all those buffer trails
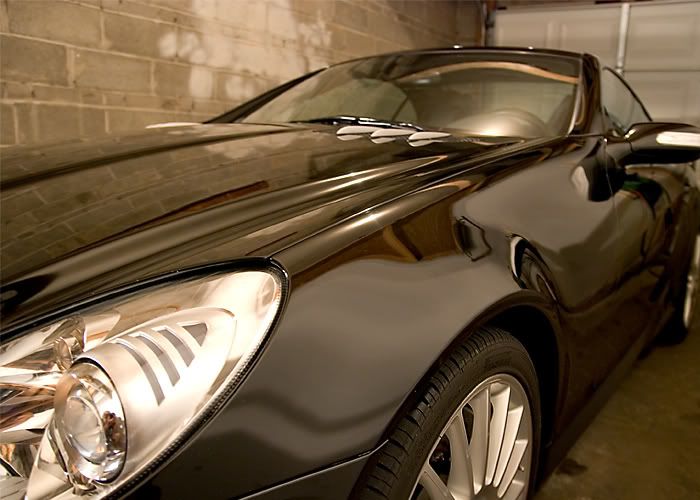
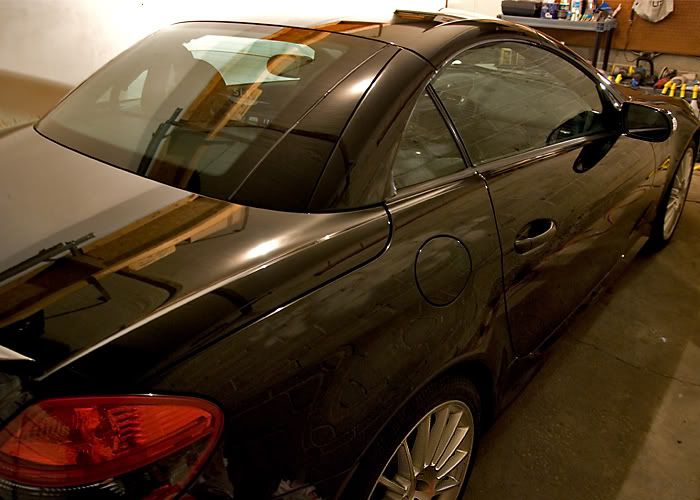
Finally my two favorite shots
3:09am here in Toronto and finally finished my write up
Thanks for reading I hope you enjoyed it and any comments or questions are more then welcome
Cheers,
Wes
Remember how the hood looked under the sun with all those buffer trails
And how the roof looked with all those buffer trails
Finally my two favorite shots
3:09am here in Toronto and finally finished my write up
Thanks for reading I hope you enjoyed it and any comments or questions are more then welcome
Cheers,
Wes
Last edited by Wes_R; 03-07-2010 at 11:17 AM.

Trending Topics

 03-23-2010, 06:35 PM
#11
Member
Thread Starter
Join Date: Feb 2009
Location: Toronto
Posts: 117
Likes: 0
Received 0 Likes
on
0 Posts
batmobile
I believe there is someone in Chicago, let me look around and see if I can find out there contact info.
Danke sch�n!
Depends but anywhere from $360-$600
Thank you!
Danke sch�n!
Depends but anywhere from $360-$600
Thank you!

 07-16-2012, 06:40 PM
#14
Member
Join Date: Mar 2012
Location: Toronto, ON
Posts: 121
Likes: 0
Received 0 Likes
on
0 Posts
2012 C63 Coupe. Eurocharged, Charcoal Filters Removed, R-S3 Tires
I love how you put the images there. You start scrolling down image by image and see this dirty car and you think WHY??? And then it's all begins... 
 .
.


