When you click on links to various merchants on this site and make a purchase, this can result in this site earning a commission. Affiliate programs and affiliations include, but are not limited to, the eBay Partner Network.
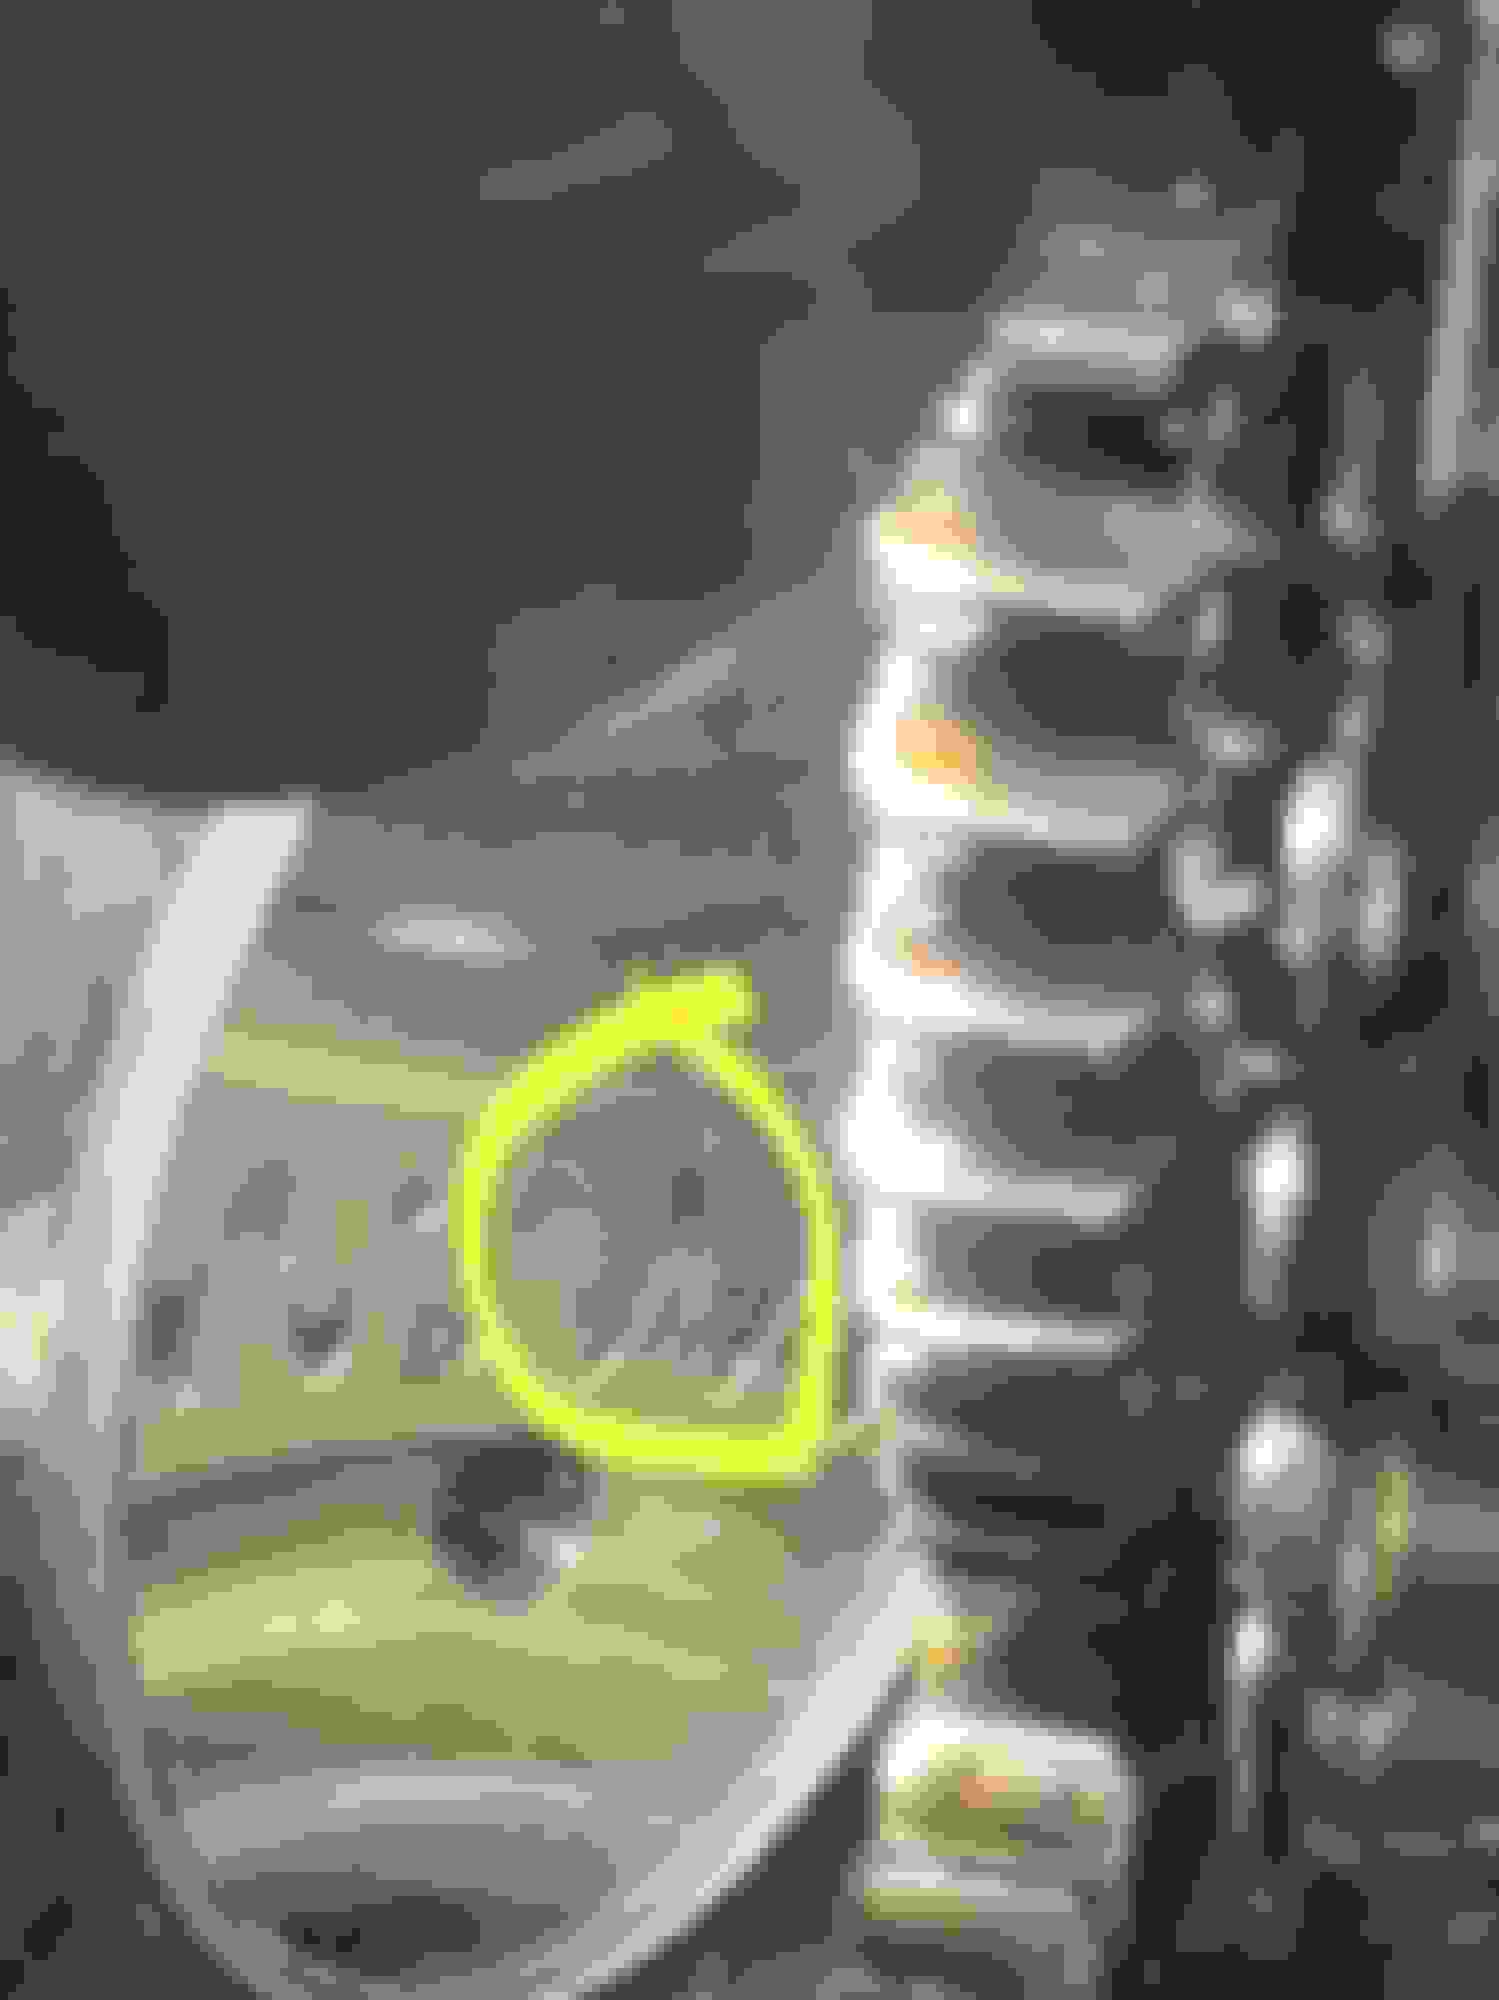
@sak335@TxRzrBk Just removed camshaft cover. Have not broken chains. Rotated engine clockwise to view timing marks as you recommended. Looks my timing is one tooth off being that I’m 20 degrees ATDC (after top dead center) to have my camshaft timing marks align. First set of pics is camshaft marks at TDC on crank. Camshaft obviously not yet aligned. Second set of pics is camshaft marks aligned and crank at 20 degrees ATDC. Planning on advancing camshaft one tooth forward.
Well, since my timing was off on the right side I’m not convinced that the timing on the left is correct either. So I’m going to take off the timing cover and left camshaft cover and time the whole damn thing. And since I’m in there I’ll probably replace the timing chain guides as well. Here we go...
@sak335@TxRzrBk Just removed camshaft cover. Have not broken chains. Rotated engine clockwise to view timing marks as you recommended. Looks my timing is one tooth off being that I’m 20 degrees ATDC (after top dead center) to have my camshaft timing marks align. First set of pics is camshaft marks at TDC on crank. Camshaft obviously not yet aligned. Second set of pics is camshaft marks aligned and crank at 20 degrees ATDC. Planning on advancing camshaft one tooth forward.
I'm in the process of pulling my engine apart to correct the issue of high oil consumption.
It's interesting that my timing marks were off like yours are. I'm wondering if my chain could be stretched by that much?
I'm in the process of pulling my engine apart to correct the issue of high oil consumption.
It's interesting that my timing marks were off like yours are. I'm wondering if my chain could be stretched by that much?
Had your timing chain ever been replaced? It could be a skipped tooth (not saying you did it). That’s what we’re trying to determine with my GL. Stay tuned...
Had your timing chain ever been replaced? It could be a skipped tooth (not saying you did it). That’s what we’re trying to determine with my GL. Stay tuned...
I don't know what the previous owner did (former Police vehicle). It surprised me enough to question if the timing was set that way on purpose or had the chain stretched that much. I've ordered a new chain and will compare it with the old one to see if there's any difference in length.
I'm in the process of pulling my engine apart to correct the issue of high oil consumption.
It's interesting that my timing marks were off like yours are. I'm wondering if my chain could be stretched by that much?
It may be a combination of your tensioner and chain stretch. Here’s the after picture of the timing with a new chain and tensioner.
@sak335 Ok. My timing chain is in. Cams and crankshaft are aligned and time perfectly. My concern is the balance shaft. Has anyone experienced the balance shaft being out of time after changing the timing chain? If so, what should I expect to feel in the car? Thank you in advance.
Well, since my timing was off on the right side I’m not convinced that the timing on the left is correct either. So I’m going to take off the timing cover and left camshaft cover and time the whole damn thing. And since I’m in there I’ll probably replace the timing chain guides as well. Here we go...
My timing was not off. I just needed a new chain and tensioner. Ha ha. Once installed the timing was dead on (see pics in previous post). Also, I started to worry about the chain skipping on the balance shaft when the valve springs released as you draw in the timing chain. The valve springs release three or four times during the process. Just keep tension on the chain. @TxRzrBk has a great method of drawing in the chain that keeps tension on it the entire time and can be done by one person. I DIDN’T do it this way which cost me some sleep thinking the chain had skipped on the balance shaft. So, I took the sprocket off the camshaft and timing chain (I used zip ties to mark where the chain linked together) and just looked inside to see if there was anything noticeable that would put me at ease. And there was. There seems to be a little lip or ledge on the inside of the timing shaft cover that keep the chain from falling off the balance shaft teeth. You can see this is the picture. Anyway, I’m way more certain that the balance shaft timing is fine as is the left camshaft.
Now I’m going to cleaned the surface of the camshaft cover and the cylinder head and prepare it for the RTV gasket. I’m using Permatex’s RTV silicone dissolver (NOT their gasket remover, although I AM using that to remove the vacuum pump gasket). Permatex’s gasket remover is not intended for use of RTV. I guess I could use it but I’m not willing to risk any mistakes at this point so I’m using Permatex’s silicone dissolver. Also, do NOT scrape the RTV gasket off with a razor or scraper. You’ll mar the aluminum and possibly damage the head or cover. I like the silicone dissolver because it makes the RTV a little sticky and will wipe off with a rag or shop towel vs having little hard pieces that might fall into any gaps. You can see I’ve packed the head with shop towels. After I clean the head surface I’m going to carefully vacuum everything.
I couldn’t find Loctite 5970 locally. I found it on eBay and FCP Euro’s site, but I didn’t want to wait for it to be shipped (plan ahead).
The MB part number is 003-989-982-010. I called my local MB dealer’s parts department. They had plenty of it for about $25 USD.
NOTE: I tried to find a Permatex alternative but I could find an exact match. I suppose you could use their high temp RTV silicone sealant, but it’s not an exact match and I felt more comfortable using the MB OEM solution.
I used loctite 5699 ordered from Amazon, this worked fine and I'm confident many rtv products would work fine, the prep is the key.
When I aligned the timing marks before replacing the chain I was at almost 30° atdc, with the new chain in it was dead ***** on zero. I didn't bother to pull the driver's side valve cover.
Ok. All done. My 320 is perfectly timed, dead nuts and purrs like a euro diesel should. Thanks to @sak335 and @TxRzrBk for the adds to the post. Very helpful. If I were to do this again (and I would even knowing what I know now) I would draw the new chain in exactly as @TxRzrBk shows in his YouTube video. The chain breaker I used didn’t have the correct size part for putting on the final master link correctly so I had to improvise. I’d buy the right tool for that part. Confirm and double confirm. Lots of learning. Take lots of pictures, at every step. It’ll save you the headache of wondering how things were positioned. Mostly take your time and make sure you clean your parts and PREP PREP PREP the head and camshaft cover before putting them back together.
Wrong tool. The master link faceplate doesn’t fit even though the information in the ad listed it as compatible with the 642.
Head prepped for cleaning. You DO NOT want to get anything into the head or timing chain cover. That’ll be a wrap if you do.
Get the right chain link tool. Spend the money. You don’t want to do this.
The video is what it sounds like now. The air filter isn’t on yet because I was bleeding the fuel rail and checking for leaks. It’s even more quiet with the air filter back on.
I have a couple of stupid questions:
1. Which way does the engine rotate (from front of car looking at front of engine). I'm assuming clockwise for some reason.
2. Is the camshaft hold down tool needed? Would a piece of wood bolted down work? I can't seem to find a camshaft holder at a reasonable cost.
Thanks.
1. Rotates clockwise
2. No. You don’t need a camshaft hold down tool. I thought I might too but you don’t.
I have a couple of stupid questions:
1. Which way does the engine rotate (from front of car looking at front of engine). I'm assuming clockwise for some reason.
2. Is the camshaft hold down tool needed? Would a piece of wood bolted down work? I can't seem to find a camshaft holder at a reasonable cost.
Thanks.
Originally Posted by alive19
Thanks for all the awesome descriptions.
I have a couple of stupid questions:
1. Which way does the engine rotate (from front of car looking at front of engine). I'm assuming clockwise for some reason.
2. Is the camshaft hold down tool needed? Would a piece of wood bolted down work? I can't seem to find a camshaft holder at a reasonable cost.
Thanks.
Read my post regarding the cam shaft hold down. If I had to do it again I would make a cam shaft hold down with a piece of wood.
Measure the distance between the cams, Take a 1x4 or 2x4 and drill a pair of approx 3/4" holes spaced to match the cams, cut the wood splitting horizontally across the holes, drill to line up with valve cover bolts.
I'm not sure why I am the only one who seems to have had this problem but it added a significant amount of uncertainty to the process.
@TxRzrBk thanks. I had read your post with interest. As far as I could tell you are the only one who had an issue and I don't think I've seen anyone else use the hold downs. I think I'll know some up out of wood as you suggested. It should be pretty easy to do and then guarantee that I don't need it.
Pretty hard to get wrong if you take your time. I did this with out a helper.
A few things I'd do differently or wish I'd thought about:
1. It's a 4 stroke engine, so the for each crankshaft rotation the cams only rotate half a turn. Not crucial, but would be one less thing to thing about on the fly.
2. You are likely going to have to take both cams out. Just accept it early, do it and then clean the rtv off with them out. So much easier than getting everything done and then cleaning.
3. There is a lot of tension from the valve springs at TDC. I couldn't reset the cams so had to rotate 1/4 of a turn. Initially I was worried about messing up the timing, but see below.
4. It is really hard to screw this up. The timing chain socket has a locator on the cam shaft, the cam shafts are marked so you can pretty easily realign the two dots. Just mesh it up and rotate as you drop them in.
5. Keep the tensioner in. It makes you feel better that the four hidden cogs won't slip.
Things went well until I pulled the chain through and had a one cog gap. The chain had slipped, although no idea where. I guessed which side had slipped, joined the chain and continued up. My timing marks didn't line up and I slept on it. I decided no wishful thinking was going to make it right, so took both cams back out, dropped the socket down and rotated the chain on one cog. Marks now align perfectly. Struggled to reseat the cams, so had to rotate crank to reduce spring tension. Note that this is without socket on cam, so need to make sure you mesh the dots on the cam and then drop it in as you rotate to get sprocket cog lined up with the cam.
It took a lot of effort to shift the chain one cog. Both times. With cable ties it's a relatively simple one person job.
I didn't measure the new chain, but 9.525mm pitch and 190 links, meant my old chain was about 7mm longer. I'll upload pictures of the tensioner, but significantly reduced how much it was sticking out.
Sigh....facepalm~roughly 20k miles since I replaced the chain and the problem is back again. It's making a brutal metallic knocking, clicking noise at startup exactly like before. But wait, there's more...this time around there is a persistent ticking noise at idle, the noise can be heard faintly even at higher rpms. It honestly sounds like a spun rod bearing but I am hopeful that's not the case.
last night I pulled the chain tensioner hopeful that was the problem. The tensioner wasn't over extended like the OE tensioner and there was not anything obviously wrong with it. I'm not aware of any official test I could do on the tensioner so if anyone has suggestions please chime in.
I have a few theories: 1) the tensioner simply doesn't have enough travel to account for this engines propensity to stretch chains 2) the true problem is actual low oil pressure and the engine is basically scrap 3) the chain itself is compromised, perhaps the link is partially loose.
Fyi I used a febi-bilstein timing chain kit
Perhaps you could borrow the OM642 timing chain stretch tool to see if chain is the problem? Its not cheap. Attaching file for instructions.
and with that ticking sound, perhaps injector seal is gone so check all injectors?
Perhaps you could borrow the OM642 timing chain stretch tool to see if chain is the problem? Its not cheap. Attaching file for instructions.
and with that ticking sound, perhaps injector seal is gone so check all injectors?
I'm 99.9% sure the noise at startup is the timing chain. I just can't rationalize the chain being stretched after only 20k miles but it's clearly possible.
This would be a good time to drain the oil and send sample for analysis. I would also inspect oil filter for any particles. Perhaps one of the guides failed.
inspect your plastic oil filter holder stem closwly as apparently they can fail over time and cause lubrication issues.
@TxRzrBk Could it be that the guides are worn? I read on a sprinter forum someone saying that the guides should be replaced at the same time. The level of effort in replacing the guides vs just chain makes the chain replacement worth the risk.
However the tensioner then should show a large extension.
Can you post up a photo of the tension position. I'll try and grab a photo of mine.
The tension measuring tool would be nice, but it's pretty much as expensive as a chain. May as well replace the chain and measure the old one. At least you can recheck the timing and ensure that isn't the issue.
Would be good to record the sound also. Just incase it is the worst outcome. I have NFI what a spun bearing sounds like.
Mine is currently making some noises, that I'm hoping are belt related. The tensioner bearing seemed a bit noisy, so hoping to give them all a check when I have time. I'm also due an oil change, so filter inspection will happen - it may be worth pulling your oil filter. You don't have to dump the oil to get to them, so worth buying a new one to carefully check for metallics. Spun bearing should be dropping deposits in the oil.
This would be a good time to drain the oil and send sample for analysis. I would also inspect oil filter for any particles. Perhaps one of the guides failed.
inspect your plastic oil filter holder stem closwly as apparently they can fail over time and cause lubrication issues.
lol, I should of read this before posting. Same but less words.
Oil is changed at 6-8k intervals using MB approved oil.
I did not take a picture of the tensioner but it is definitely not over extended like the OE tensioner was before I replaced the chain.
The only thing I can imagine wrong with the tensioner itself would be a weak spring or simply not holding oil pressure.
I have very little faith this will make a difference but ...I'm going to try replacing the tensioner with an OE tensioner and see if that helps. I will update once I get the part and get it installed.
regarding the guides, I have a new set of guides that came with the febi timing chain kit. I'm not familiar with the replacement procedure but I would imagine it's quite difficult and might even require pulling the engine.


 04-14-2021, 01:37 PM