When you click on links to various merchants on this site and make a purchase, this can result in this site earning a commission. Affiliate programs and affiliations include, but are not limited to, the eBay Partner Network.
The thing that stands out the most, that I would correct however is the rear bumper. Aesthetics aside, would you have there is a parachute, you have to keep in mind that in the rear you want upswept bodywork and the under body to approach the look of an upside down wing to hopefully cause a venturi effect and keep you planted while speeding up the air from underneath the car, as well as filling the vacuum behind the vehicle to reduce drag. The other thing is that it does not look very good. But all in all I am very impressed with the outcome.
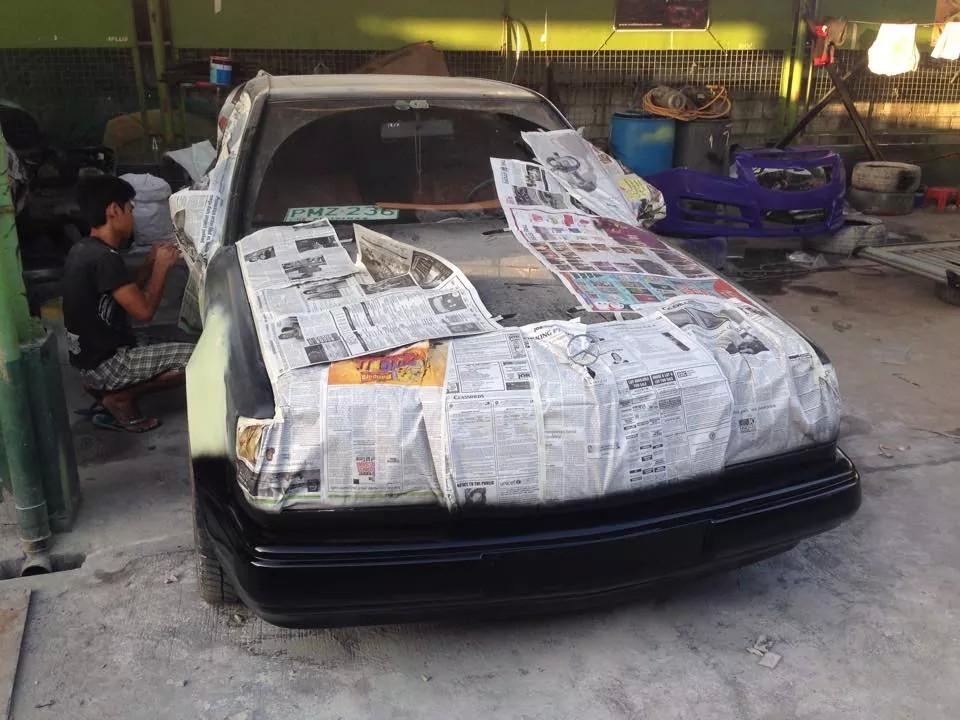
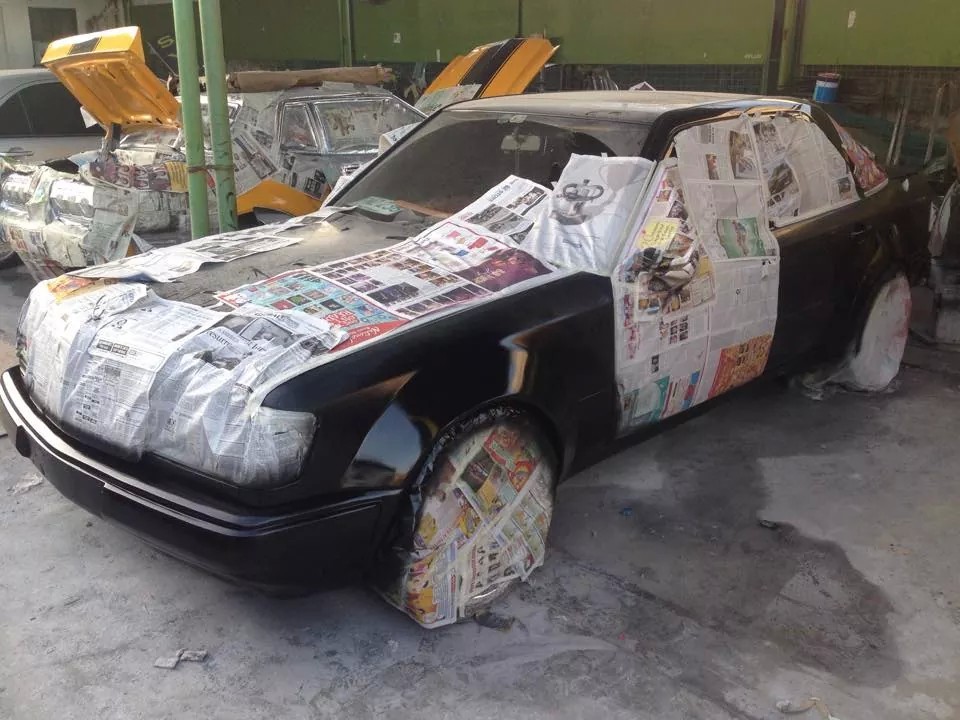
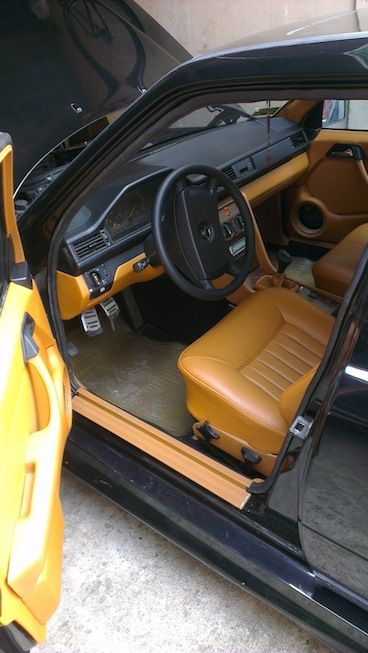
Hey Guys! I am sorry for leaving you guys hanging for a long time. I havnt found the time to update this post. but here it is finally! The close to the final product update!
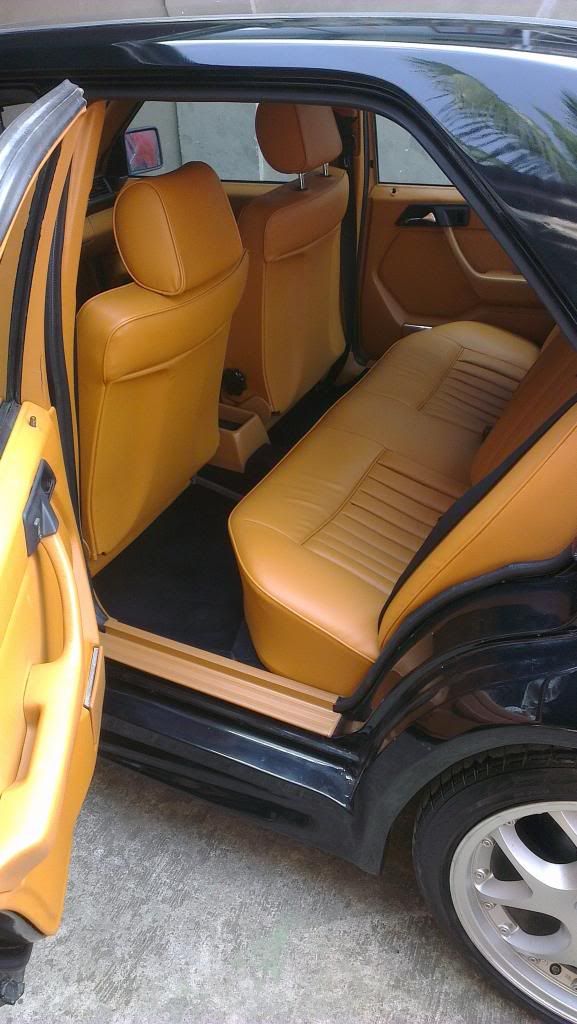
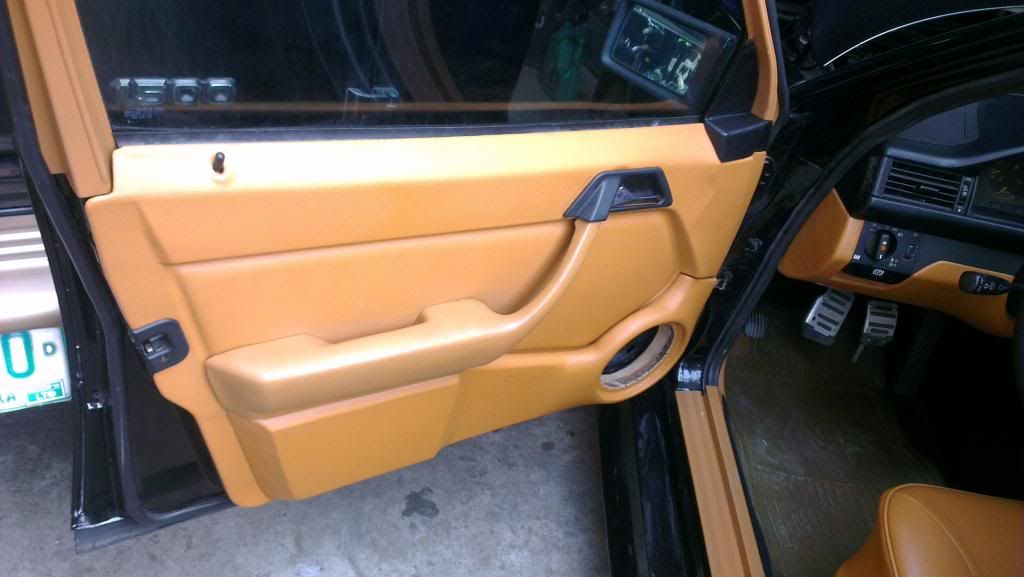
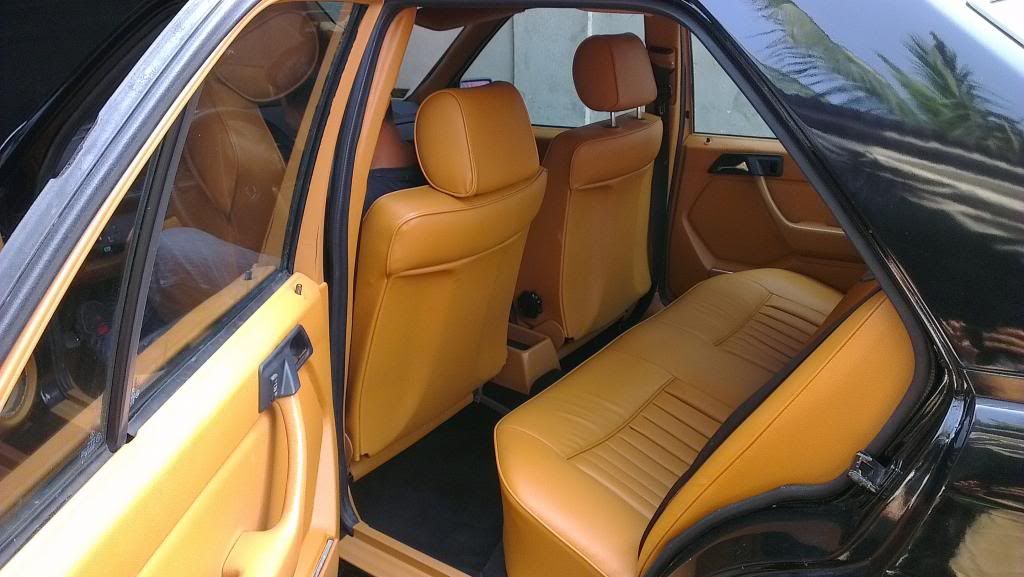
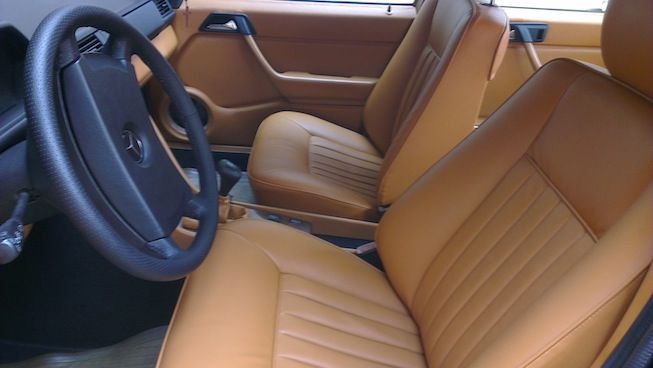
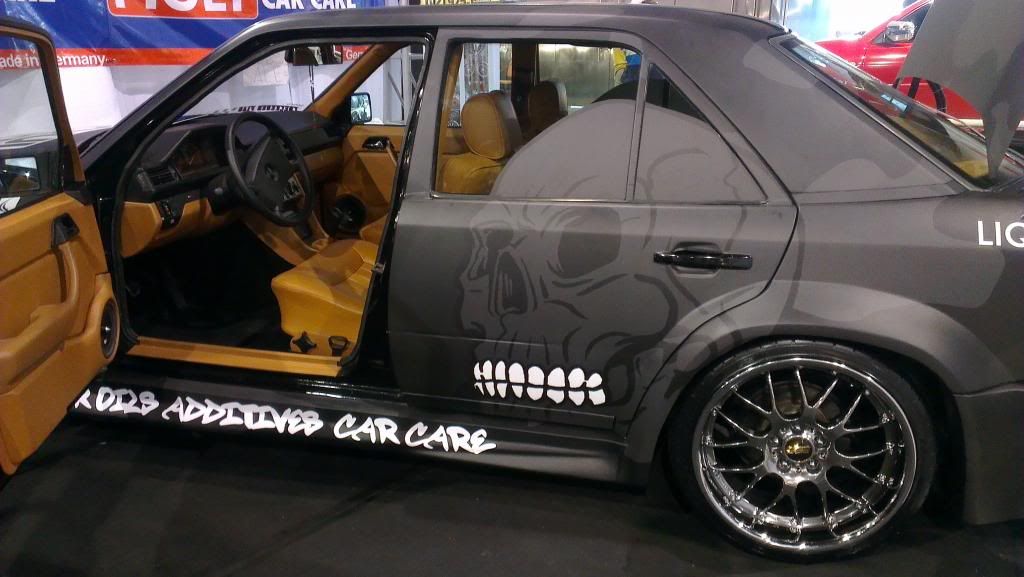
So here are the pictures of the interior! Its looks orange on some of the pictures because of the sunlight.
but if you look at these photos, you can see the real color of the leather. its actually Tan. So the whole interior including the roof seats panels everything is covered in that tan colored leather. The dashboard is covered in black leather. Some plastic parts were painted the same color as the seats because they couldnt be wrapped with leather.
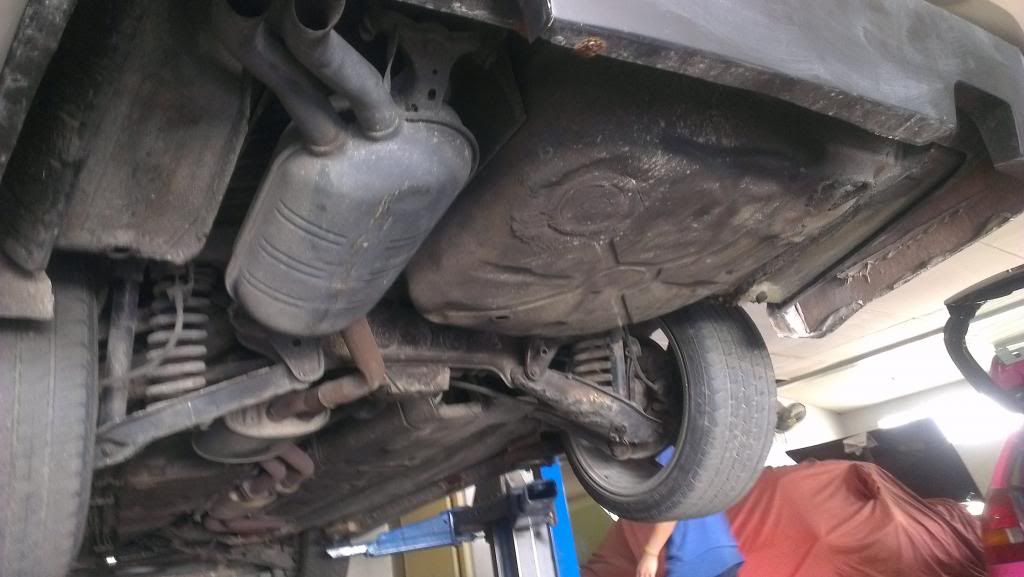
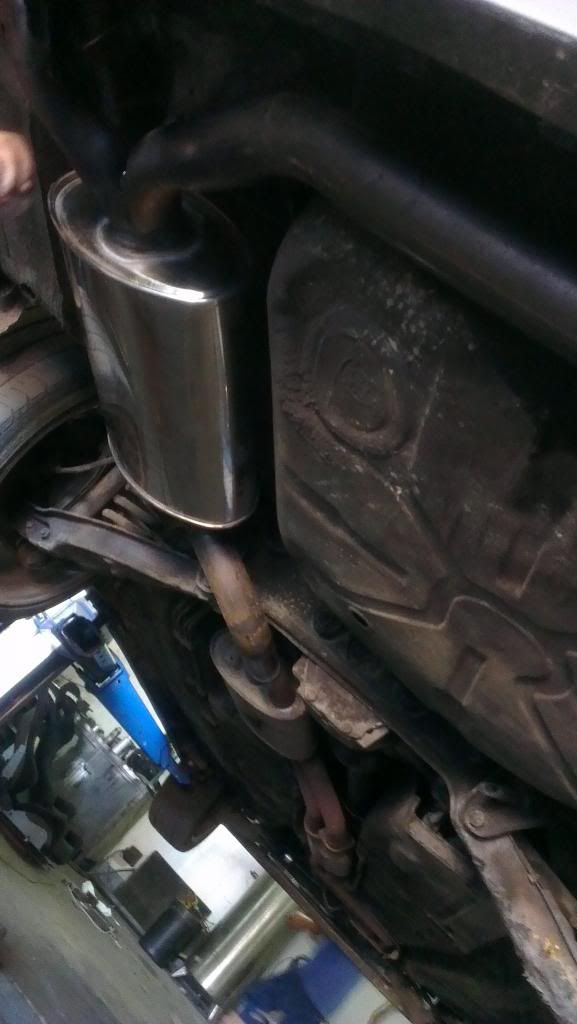
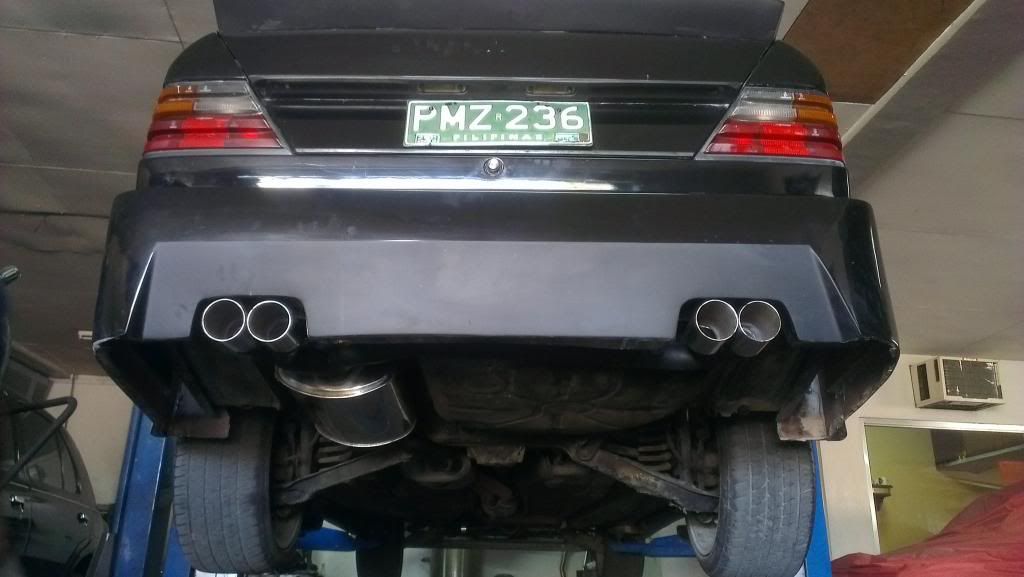
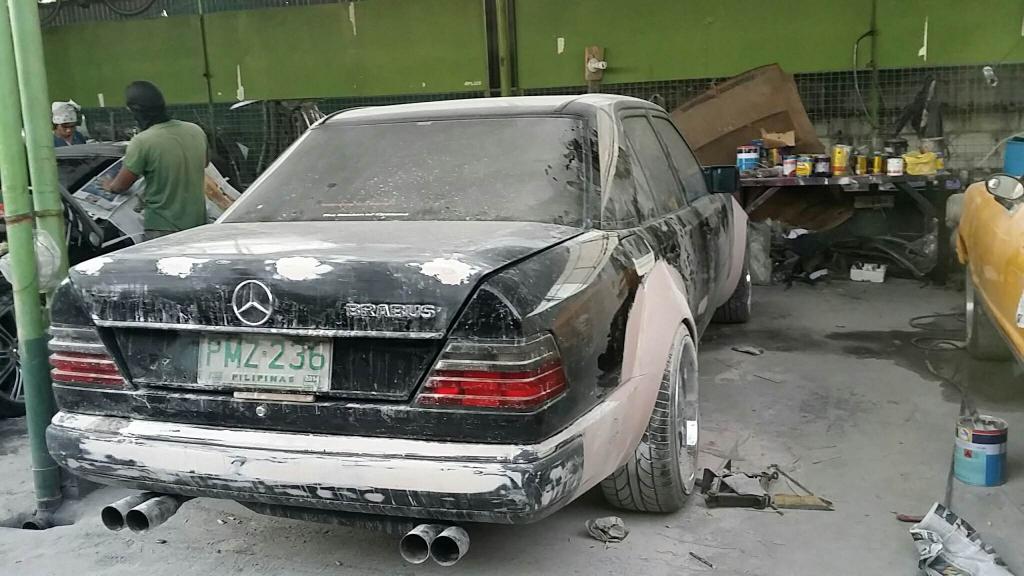
Then I got the exhaust done. I removed the muffler and the second resonator and replaced it with a free flow muffler and had a dual exhaust fabricated with dual stainless tips. I like the look and sound of it! Sounds Beefy and sexy hehe
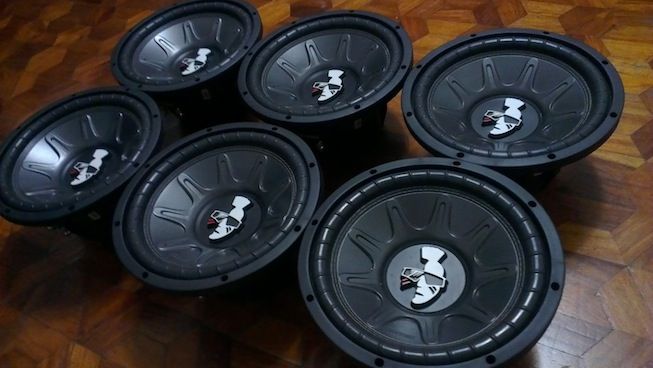
Aaaand here's the subs that i will be putting in the trunk! 6 10" Mohawk subwoofers. hehe thats gonna be a lot of fun!
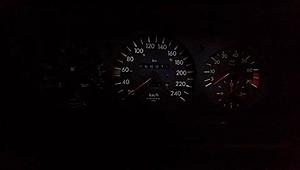
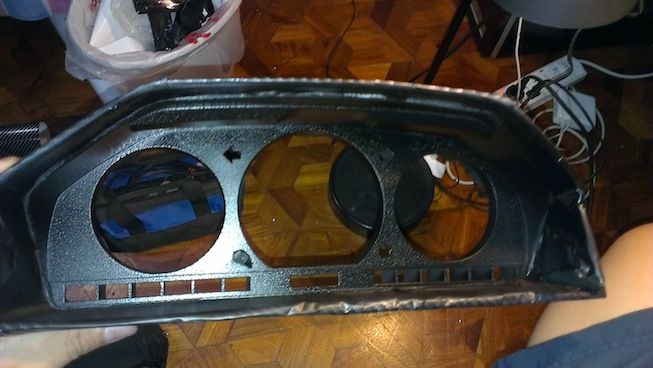
Also i decided to restore the cluster gauge because it doesnt light up anymore and it was ugly as hell. I painted it black then retrofitted a strip of LED lights to give it some life.
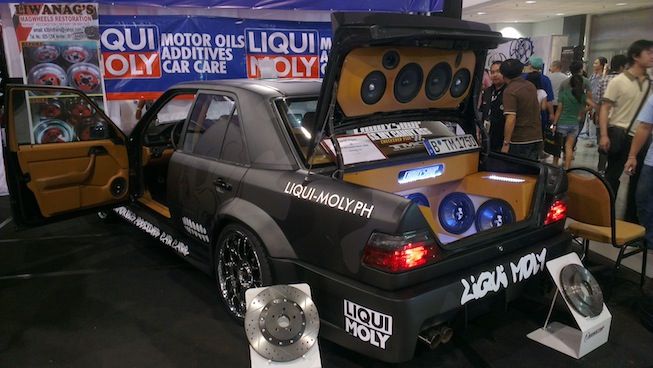
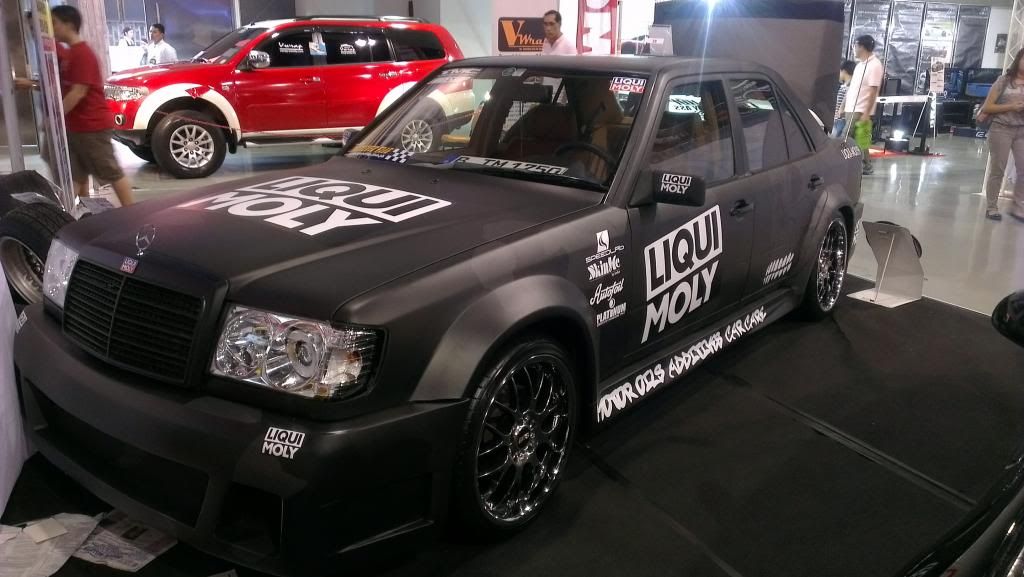
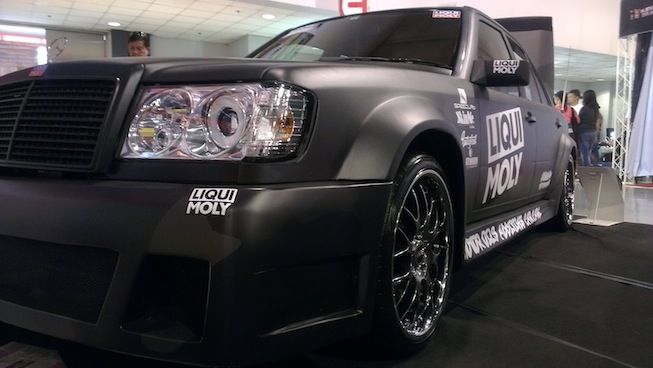
Then i got sponsored by Liqui-Moly for the Manila Auto Show or MAS for short. Its one of the biggest carshows in Manila, Philippines and i was invited! I was sooooo happy and excited about this! its a 4-day event and it was awesome! So my benz was wrapped in a matte balck camo design with a bad-*** skull. hehe i liked the look of it. Also, I had my rear bumper redone because it was too plain. I added some fins to make it more sporty and nicer.
And the sound system is finished!
heres whats inside:
-JVC Headunit with ipod dock
- Cadence 3 way raw drivers(trunk)
- Cadence 6KN Seps (doors)
- Sound magus 160.4 amplifier for seps
- RE XT1600.4 amplifier for raw drivers
- Sound Magus V1500.1 mono amp for the subs
hope you'll like it!
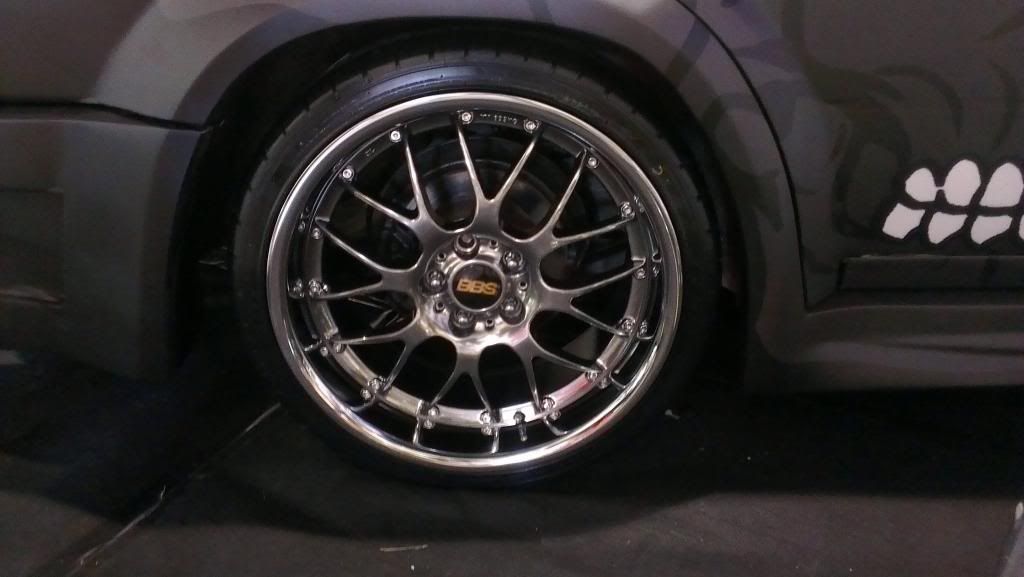
Also, checkout the BBS LM rims! it looks so good on the benz! Unfortunately, its not mine. A company just sponsored me for the show. tskk.
I didnt win any award but its all good! Just being there is good enough to me!
So crazy dude! Excellent seeing it finished. I love how much care you put into it. Not my style, but you certainly worked hard and made something unique
Then i got sponsored by Liqui-Moly for the Manila Auto Show or MAS for short. Its one of the biggest carshows in Manila, Philippines and i was invited! I was sooooo happy and excited about this! its a 4-day event and it was awesome! So my benz was wrapped in a matte balck camo design with a bad-*** skull. hehe i liked the look of it. Also, I had my rear bumper redone because it was too plain. I added some fins to make it more sporty and nicer.
And the sound system is finished!
heres whats inside:
-JVC Headunit with ipod dock
- Cadence 3 way raw drivers(trunk)
- Cadence 6KN Seps (doors)
- Sound magus 160.4 amplifier for seps
- RE XT1600.4 amplifier for raw drivers
- Sound Magus V1500.1 mono amp for the subs
hope you'll like it!
Also, checkout the BBS LM rims! it looks so good on the benz! Unfortunately, its not mine. A company just sponsored me for the show. tskk.
I didnt win any award but its all good! Just being there is good enough to me!
I just read this thread. Good job on your "one of a kind" project. I'm amazed at the detail and determination to complete this car in such a short time frame.
A really impressive work you have put in. I admit that I'm not a fan of the design but I definitely appreciate the hard work that has gone in to the project!
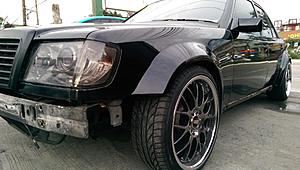
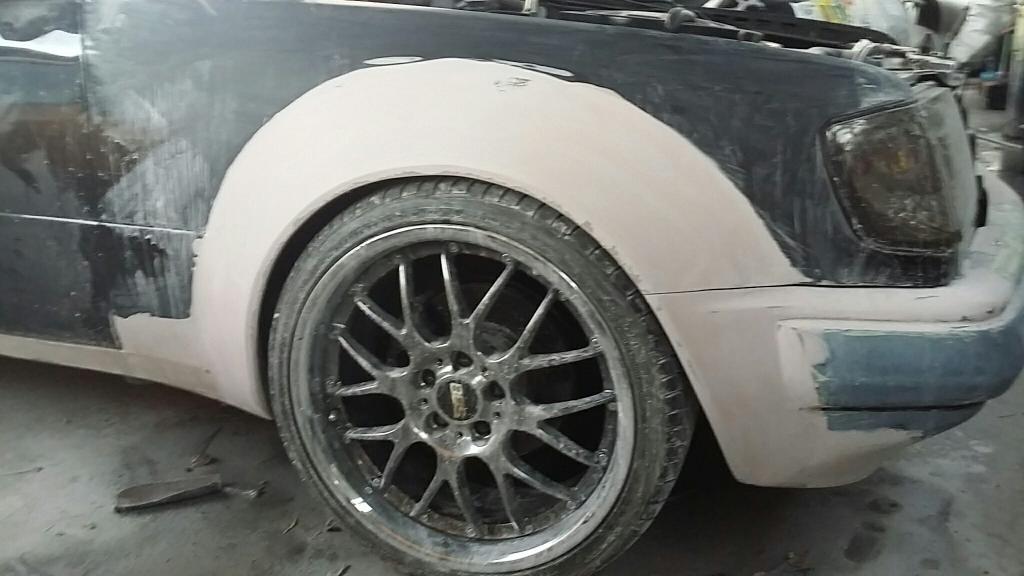
New rims! I decided to replace the old Brabus monoblock 18s when someone wanted to buy them for a good deal. I got these 19" BBS LM-Rs 8.5 front and 9.5 rears. Wrapped with achelles tires 235-35-19 up front and 245-35-19 for the rear. Slight stretch at the back but I think it's perfect 👌
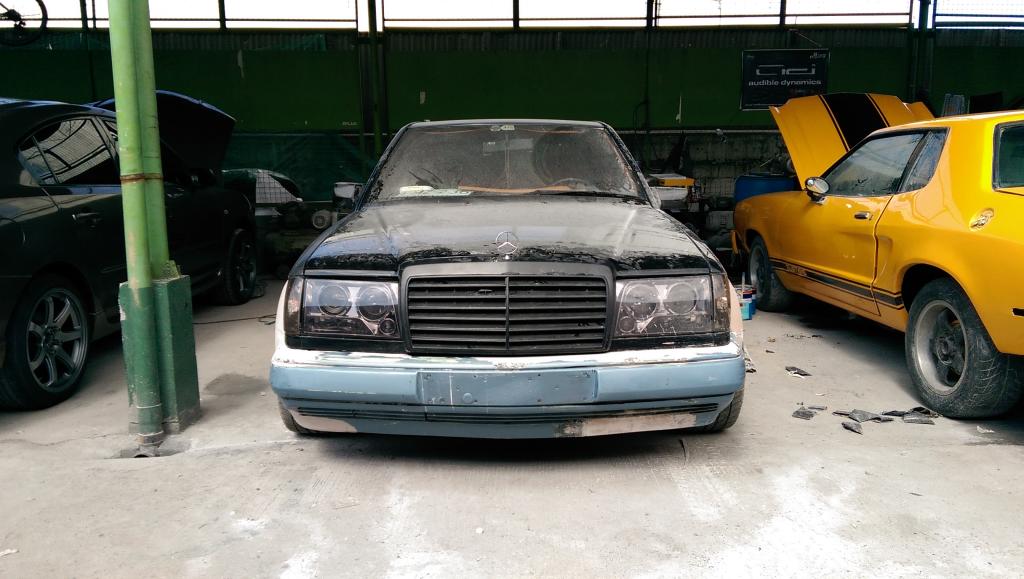
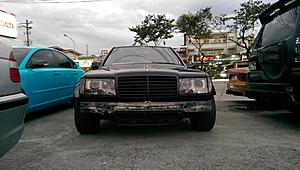
Here's the front. I changed the front bumper and copied the one from the C63. Also updated the grille to the avant garde. I'm planning to blackout all the chrome much like zorroAMG'S sexy w124. Also smoke the headlights. I really regret these headlights. I'm looking for one's similar to zorroamg's. Or the original with clear lenses. Gotta save up for it tho. Maybe in the future.
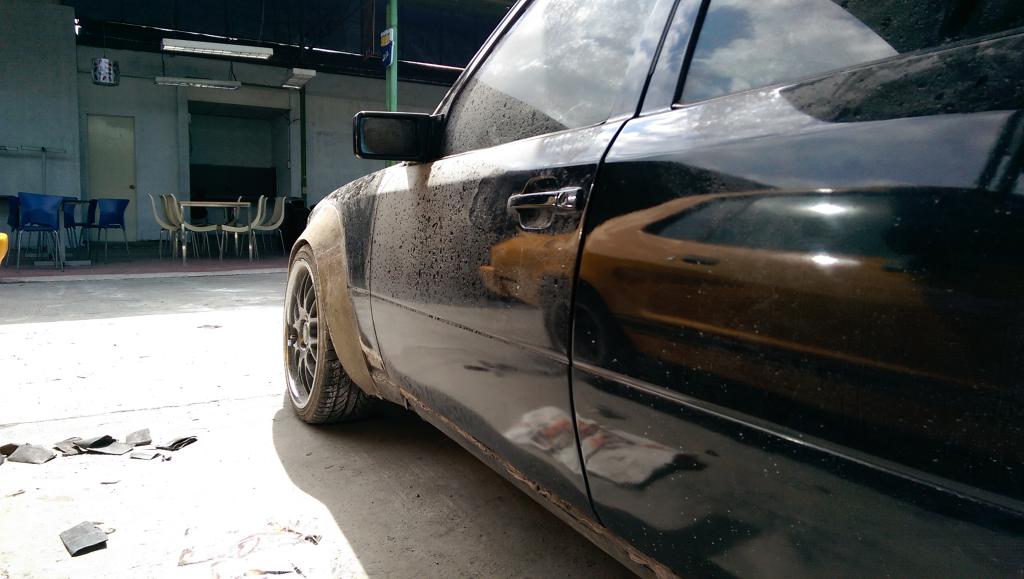
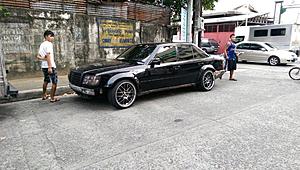
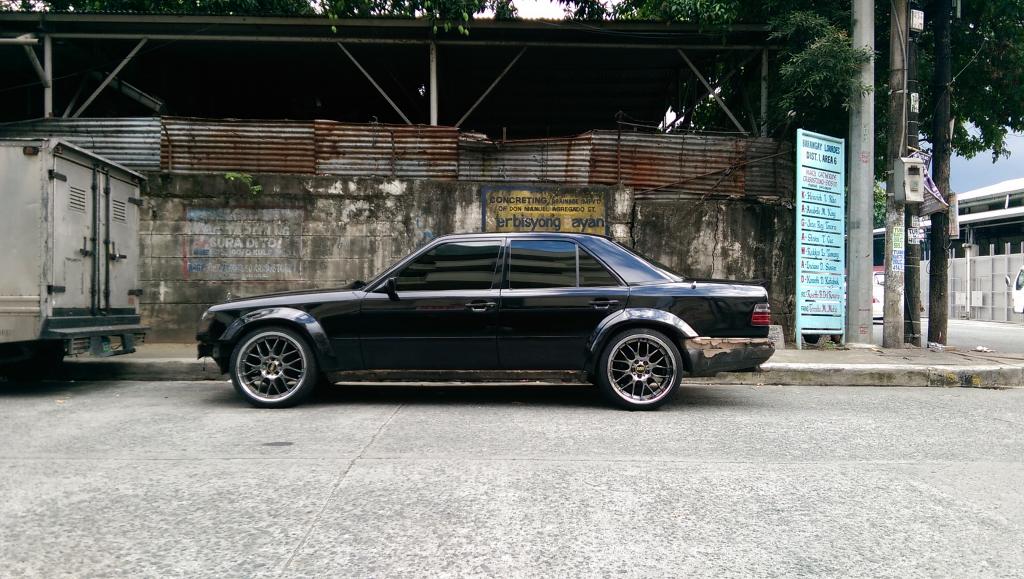
Here's the side view. Lookin good! Thinking of dropping them an inch or two. Let's see.
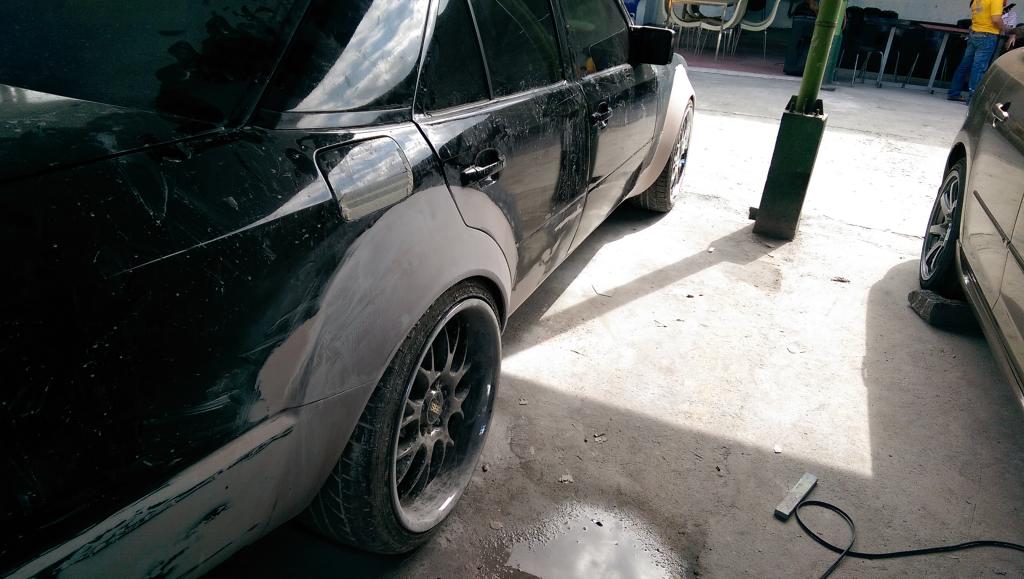
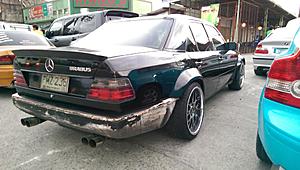
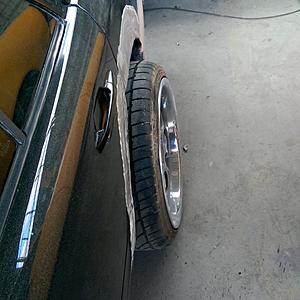
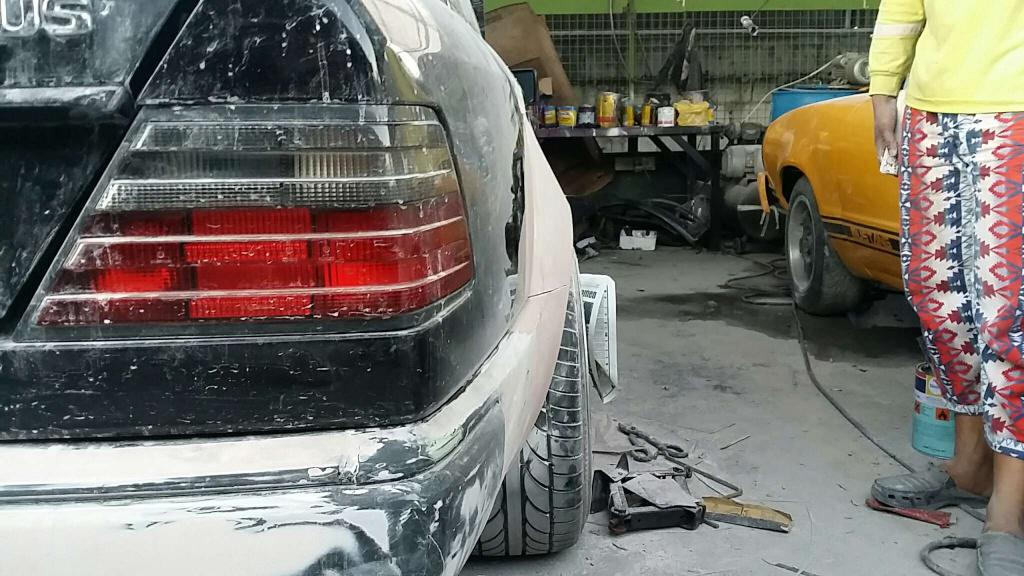
Here's the rear. Check out the fitment of the rims! I like it a lot. thanks to the 2" spacers back there. I moved the 1" up front and now I'm happy.
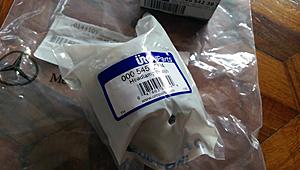
Also my wiper decided to die on me the other day. luckily I was able to find a replacement right away. Any tips on installing them?
the car turned out bad *** keep up the work whats next for the car??
Thank you! Well...the car is still a long way from being a completed project. I'm still planning to do a lot of upgrades but I still have to save up a lot. Here are the things I'm planning to do next:
Interior:
1. Get new A-pillars
2. Get some covers for the side mirror
3. Buy sunvisors and clips
4. Buy A/C louvers left and center
5. Get new power window mechanism for driver side window.
6. Fix the leak from the windshield
Exterior:
1. Smoke the headlights and blackout chrome parts of grille
2. Drop the car about 1-2 inches
Performance(engine,suspension,brakes, etc)
1. Get new stainless exhaust system starting from the headers all the way back. The pipes are starting tibrust and small holes are starting to appear:/ not good.
2. Get new air filter (I'm keeping the stock air filter housing cause everyone is saying it's a perfect CAI system already)
3. New Bilstein B6 shock absorbers 👌
4.tune the engine well
5. Get new tie rods and center link.
6. Upgrade/overhaul brakes.
Wishlist($$$$$$$😭😭😭:
1. Twin turbo kit 😂
2. Coilovers/air suspension
3.Engine swap to a V8
4. Redo whole bodykit and repaint everything. 😅
5. Get Mercedes amg style bucket seats
Too much. :/
Anyways, any one has ideas on how to improve braking at a budget? My brakes seem to suck really bad and they're not biting very well. What should I do?
Decided to fix up the engine bay. It needed some cleaning and new paint.
I started off with the air filter housing. it was rusty and ugly. The paint was horrible.
Here's how it looked like before repainting it.
I decided to strip it to metal using some paint stripper. The paint came off real quick with this stuff!
Then some primer:
Then finally, the paint. I Decided to keep it stock looking so I stuck with the gloss black finish. Looked great! Would look better with the yellow sticker tho. I'll try to look for one of those.
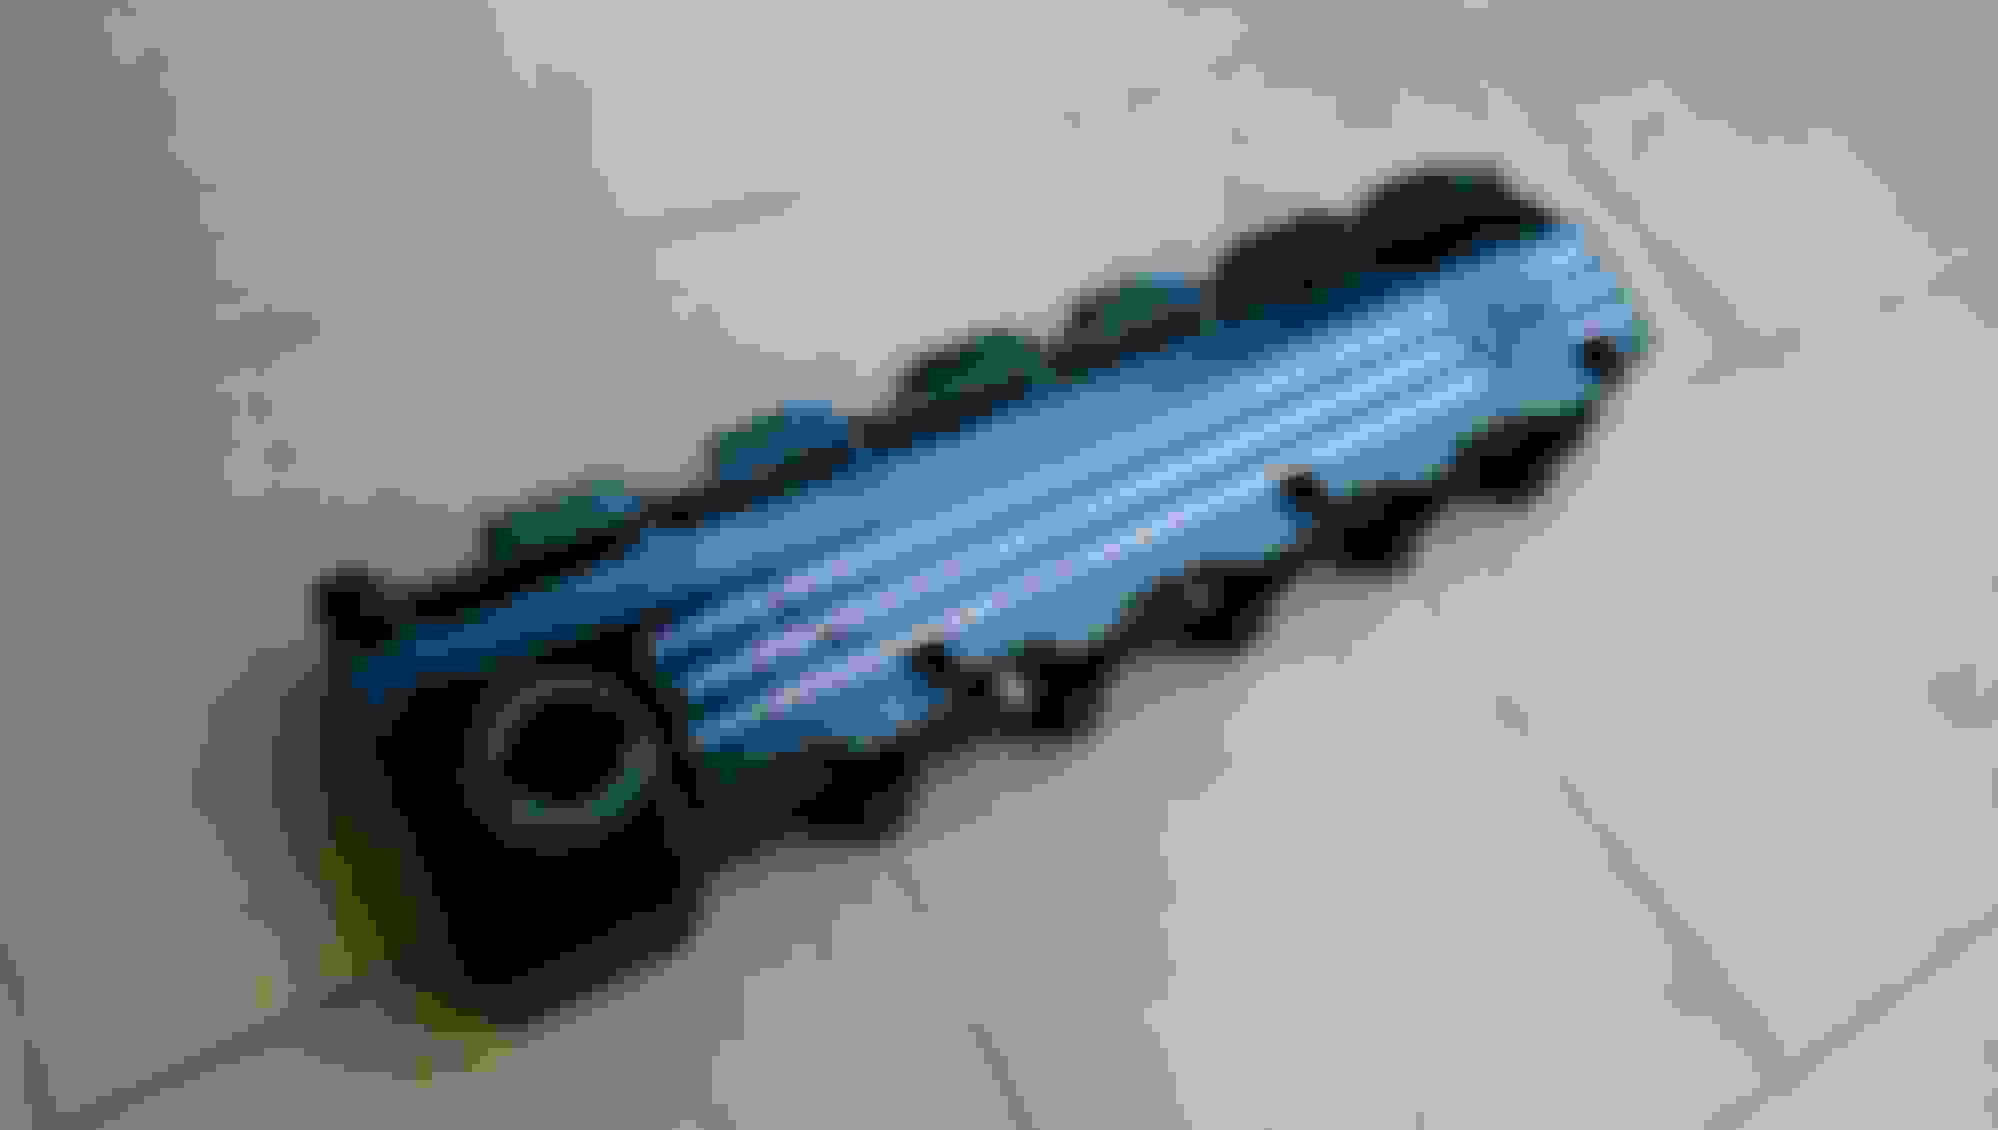
After painting the air filter cover, I decided to repaint the valve cover. It was old and ugly anyways so I did.
I removed it and didn't think about replacing*the gasket cause it was newly replaced some time Ago.
Here it is while applying the paint stripper:
Forgive the mess. Haha
After stripping the paint, I realized that there were so many imperfections on it. I was sure that it was like that from the factory cause we never replaced it or repaired it. I then desicded to sand it down to bare maetal and found that there were fillers everywhere. I didn't want to sand it all the way down because it was a lot of work so I decided to just try to even it out. I tried my best....
Here's what it looked like after the paint remover:
It looks like a badly paved road. So many uneven surfaces and pot holes..
Here's what it looked like after my attempt of evening it out:
Here's what it looked like. I used a dremel and a sanding block to even it out. It's not perfect but it will do.
I then painted it gloss black to make it look clean and to compliment the air filter, I also decided to shave the ridges to add contrast.
Here's the finished product!
Here's the finished engine bay: I tried cleaning it up a little to make it look more presentable. I also painted the headers silver because it was rusting already. All paint used was VHT high temp engine paint. So it's all good.
**yes the tube from the headlight to the air filter is missing. It cracked and disintegrated a long time ago, I tried to look for a replacement but still no luck..**
Headers looking gooood! Hopefully, nexttime,these would be stainless already �� and maybe a little turbo somewhere in there hahaha
Brought my car to the shop a few days back to get my tie rod and center link replaced and ended up replacing a whole lot more! It's been more than 5 years since this car had a checkup under there and I think it's about time!
Here are the things that were replaced:
1. Tie rods
2. Center link
3. Ball Joints
4. Stabilizer link
5. Idler
6. Bushings for front and rear
$$$ down the drain!
But she now drives like a charm!
I was also able to replace the speedometer cable and get new air vents for my aircknditioning system. Now my dashboard looks complete and I am very happy!
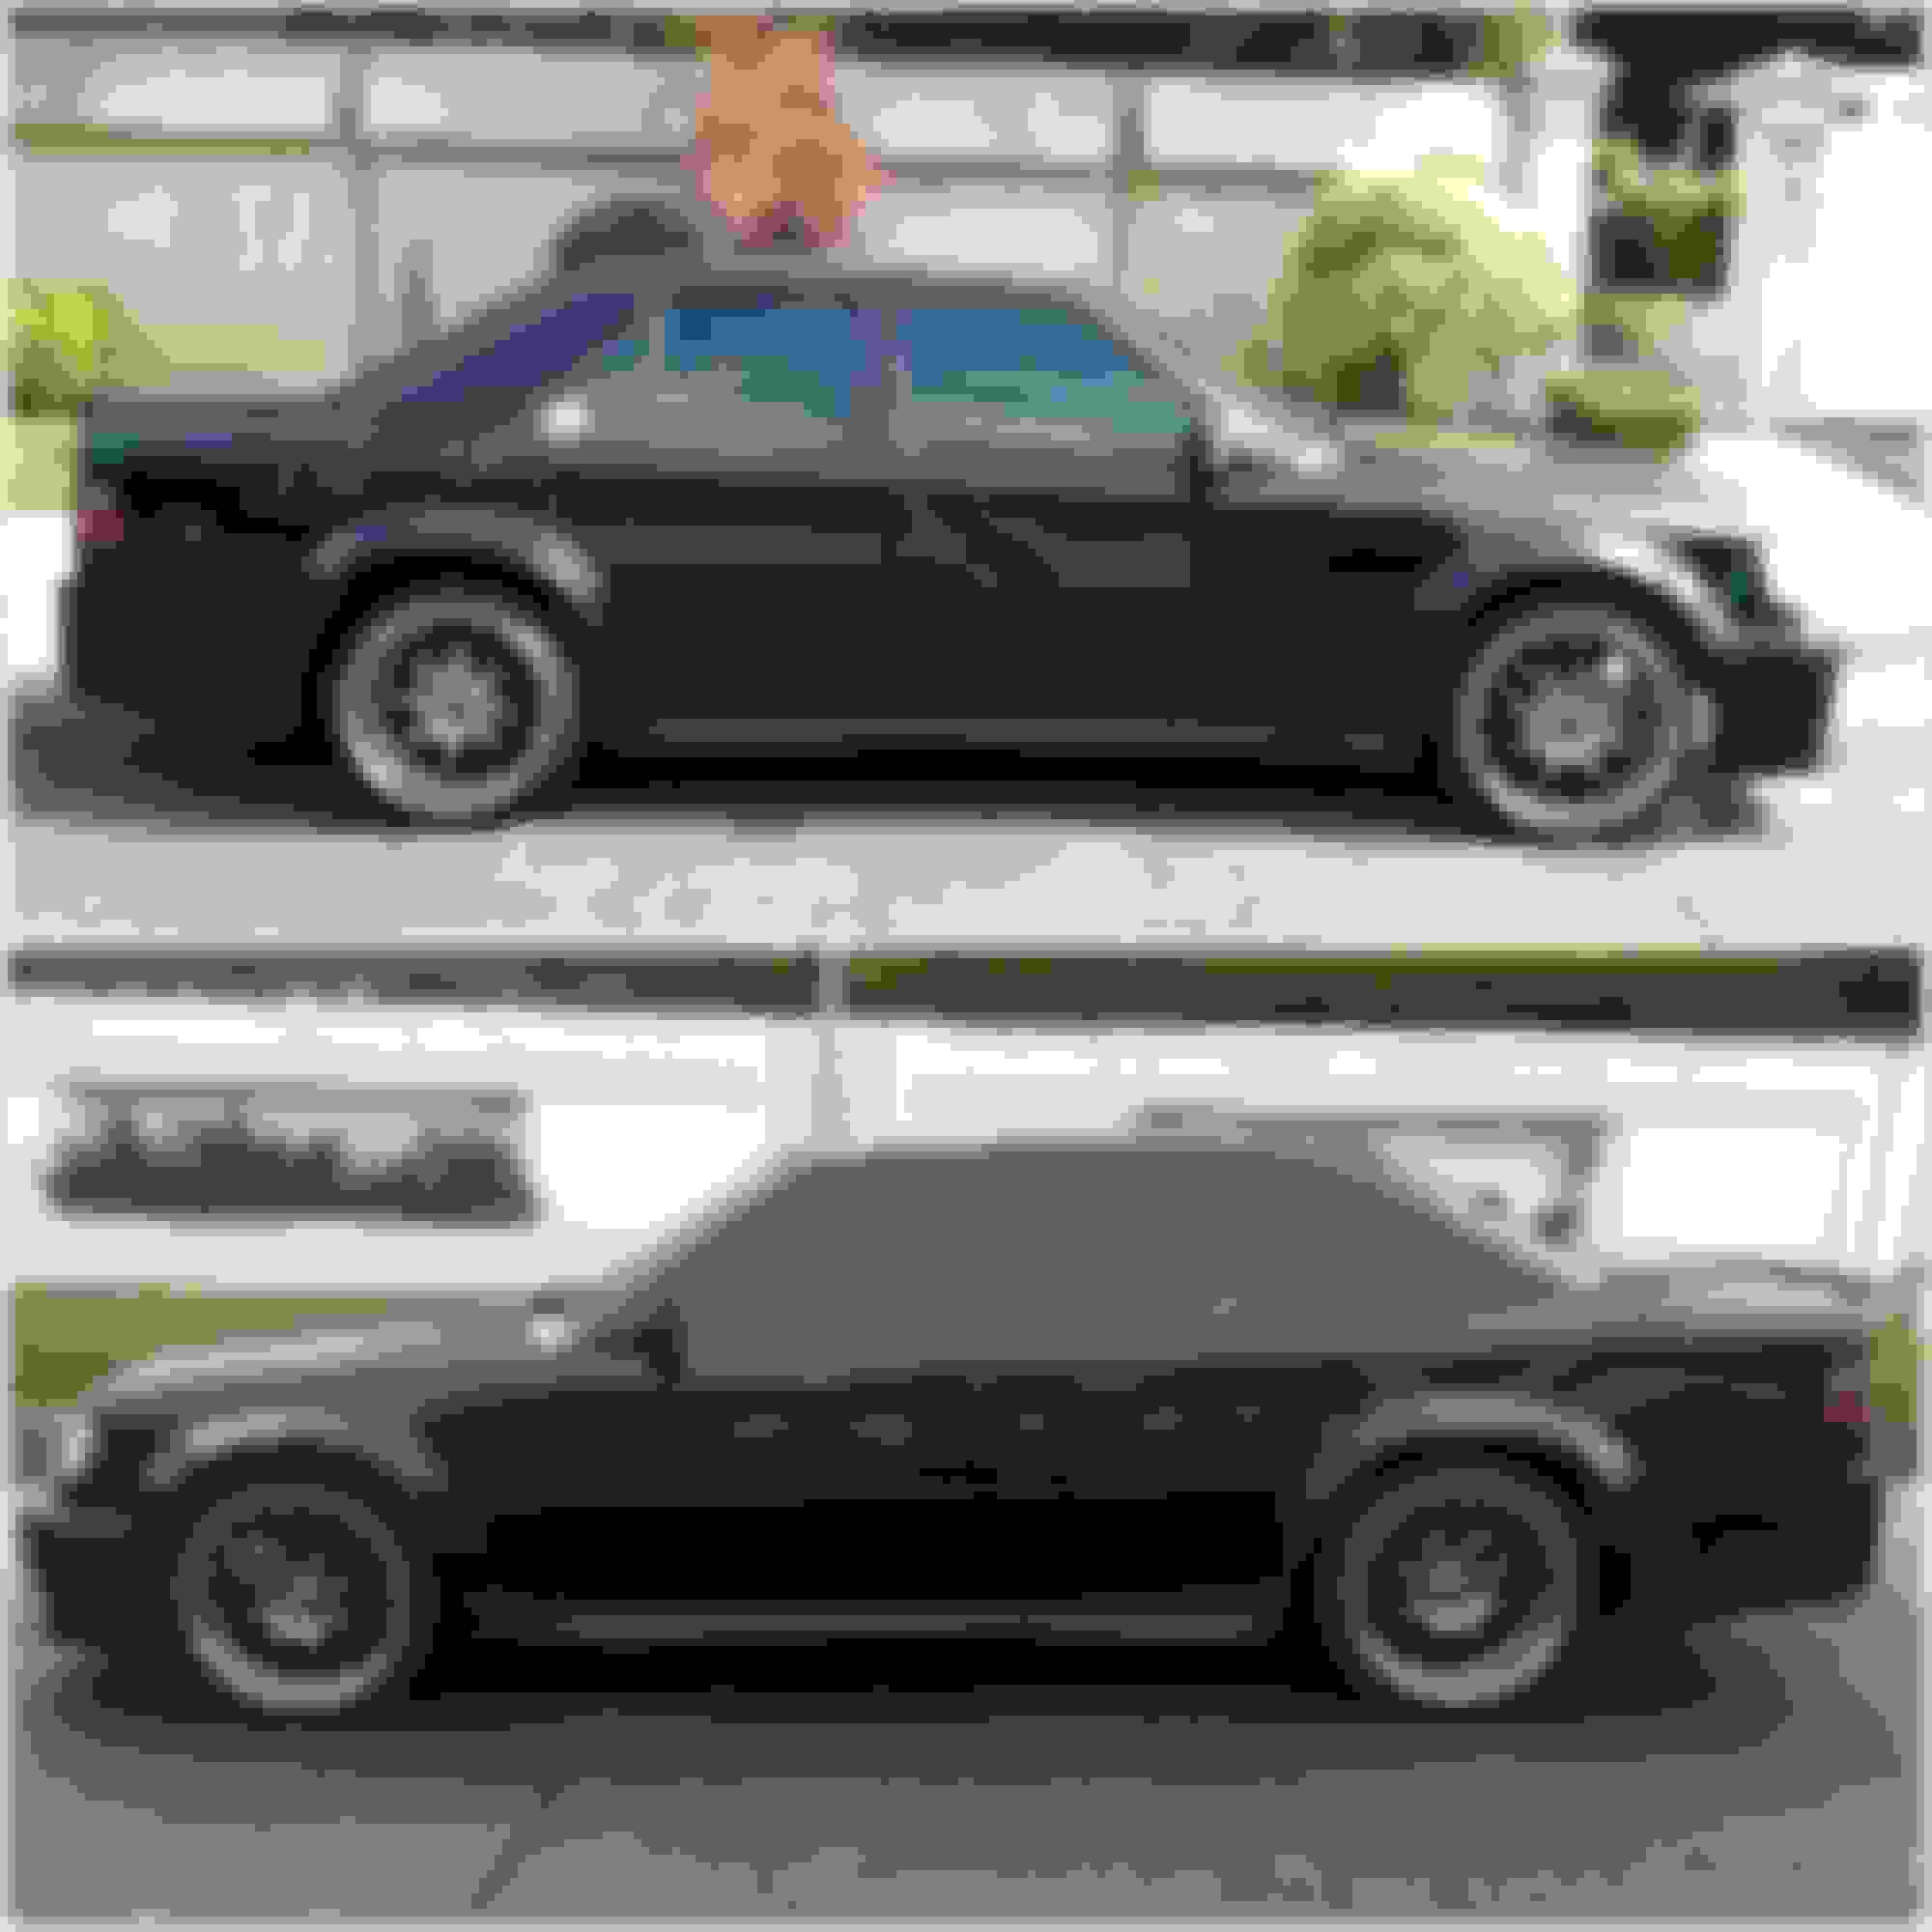
While replacing the suspension parts, I asked the shop to remove the bump pads I had on. I had bump pads #4 on the front and back and that lowered the car a little but noticeably. I like it but I think I need to lower it abit more!
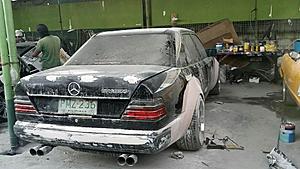
Here are the before and after shots of the car.
W124 from bump pads #4 to none!
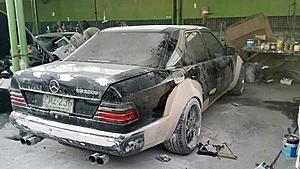
Looking good! I am now looking for a stock bumper so I can lower the car even more. It's the only thing stopping me from going lower because the front bumper I created was way too low.
Don't mind the body work, it's not done yet. It will probably be finished by around the first or second wee of January! Flares will also be rebuilt!*
Btw. I just cut the springs to lower it. It won't be slammed because it is on 19"s but it's fine. I just wanted to have a 1 finger gap between the tires and fenders. *cut 1 coil up front and 1 and 3/4 coils at the back! Rides perfectly normal, a bit stiffer which is perfect. Gotta replace the front shocks tho. Already replaced the rears with Bilstein shocks.*
Thinking if getting the E36 coilover setup for this. We will see by next year!*
Things still to be done:*
-Rear ducktail will be removed
- front and rear bumpers repaired
- fender flares will be remade to look cleaner*
- repaint trunk*
- get new shocks/coilovers*
- get proper Mercedes trunk star (it's currently too big)*
- remove brabus logo lol
- replace quad exhaust with amg style exhaust or brabus style or remus, we shall see.*
Tell me what you guys think! and Merry Christmas!!
New pentiometer! This is the instrument cluster light dimmer, located behind the cluster gauge.*
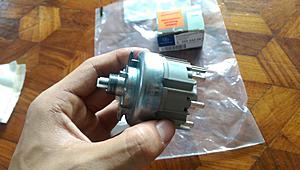
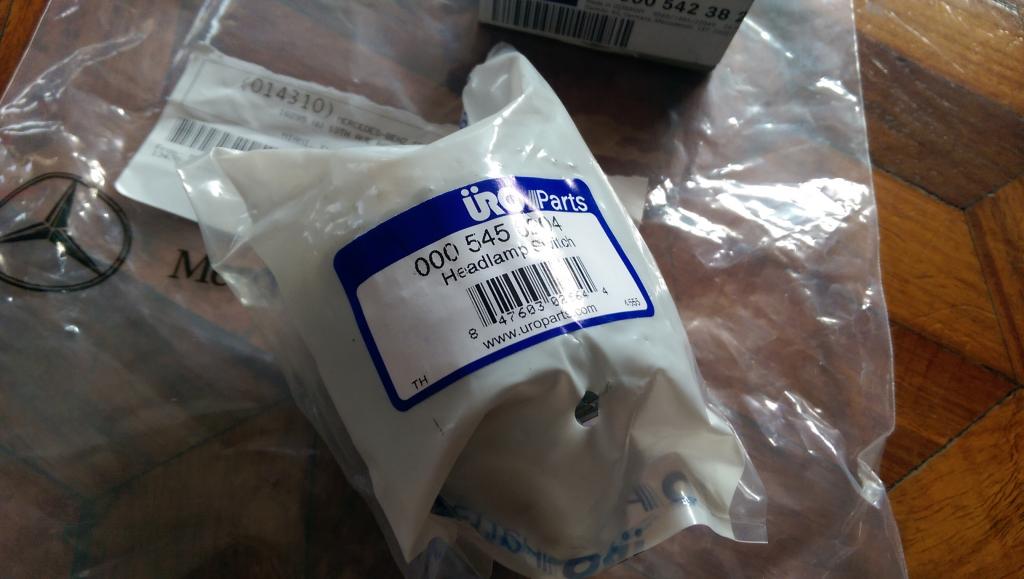
And I finally got a new headlight switch (oem ones tend to beak inside after 20 years and the car is about 25 years old already)*
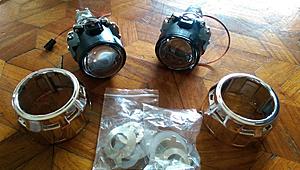
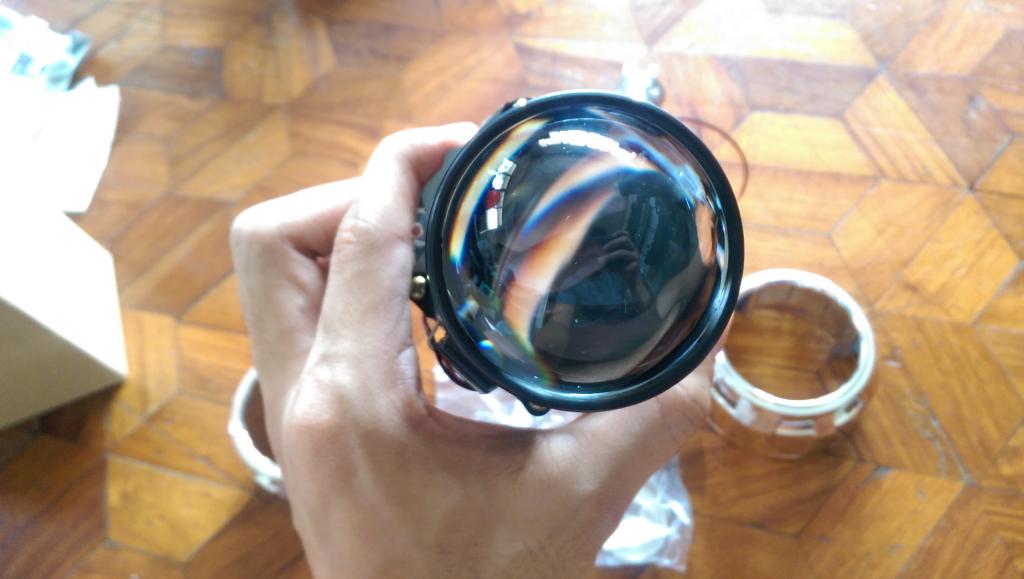
And I got the projectors I ordered that I will retrofit in the existing headlights that I have(much like what zorroamg did with his on his amazing w124). I will use them for a while then sell it afterwards and use the OEM ones I bought. 😄*
That's all for now!*
I should be able to get my car already by Monday nextweek. I can't wait to drive her home already!!*
very impressive in every way, keep up the good work Archie!!!
Originally Posted by NeezeBeeze
Holy ****!!!!, you've come such a long way. in the beginning i was like wtf, he's not even lowering it?!?!?!? AT ALL? but now im looking at it and im mad jealous. the new widebody looks really ****ing awesome. cant wait to see it painted. very impressive work.
Thank you so much guys! It's gonna look sick for sure! Here are some updates:
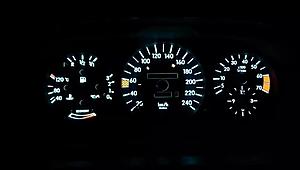
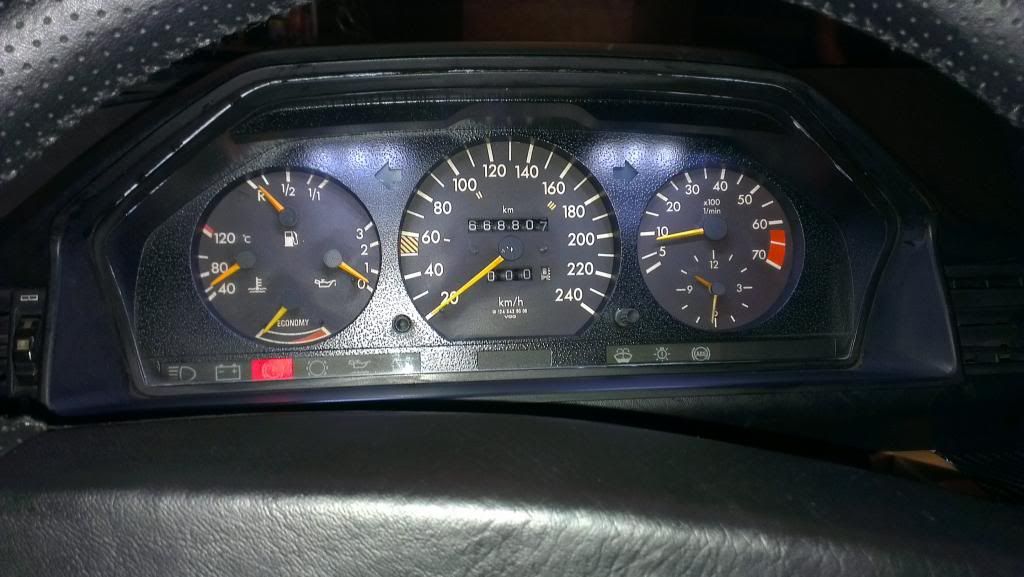
For owners of w124, I'm pretty sure you know how bad the lighting of the instrument cluster is on our cars.
Here is a sample of mine:
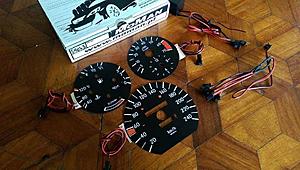
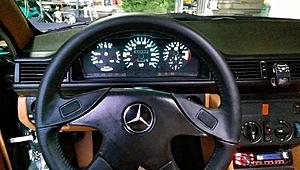
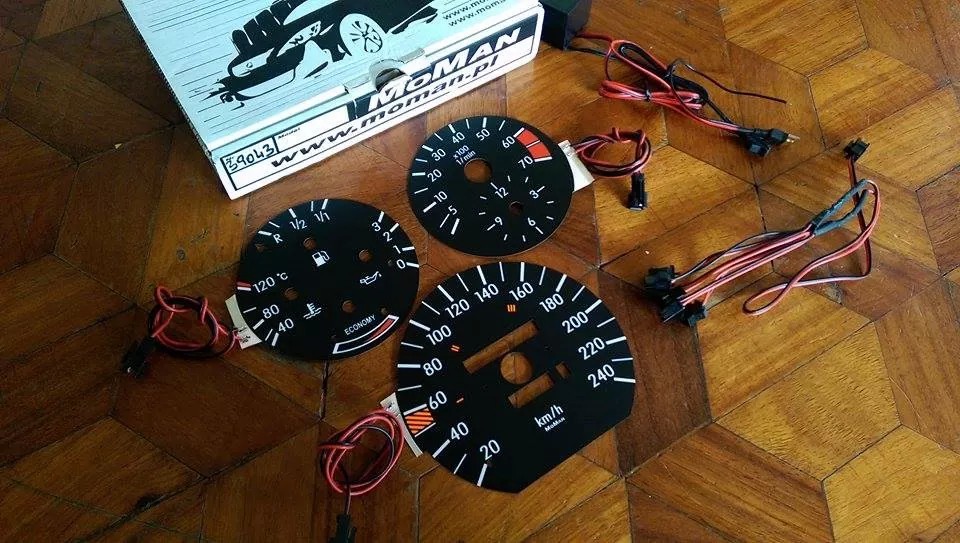
And so I decided to get the mo man indiglo gauges and I chose the original look. Here it is!
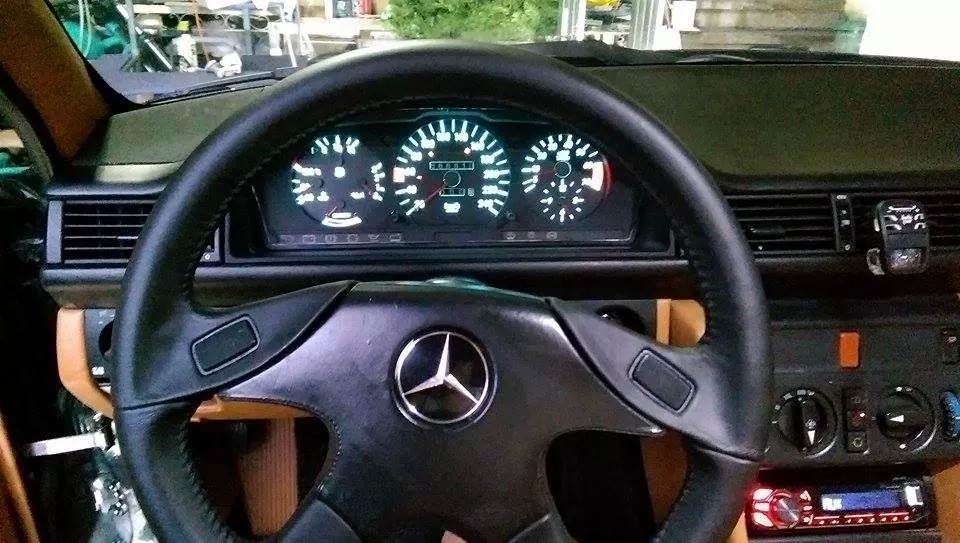
Here it is installed:
L
And there you can see the amg steering wheel that I got for FREE! WOOT! it's worth over $300 but I managed to get it for free. Swapped it out for my own steering wheel! Hehe
Also, if you notice when it's dark, you can't see the needles because there's no light. I'm planning to do the fluorescent paint mod on the needles and the uv lights so it would light up at night.
 02-22-2013, 09:58 AM


 :
: 


 ]
]

 ]
]