When you click on links to various merchants on this site and make a purchase, this can result in this site earning a commission. Affiliate programs and affiliations include, but are not limited to, the eBay Partner Network.
Just replaced a water pump on a 2003 E320 with 205,000 miles. The bearing was almost destroyed (very loose when wiggled by hand) and it made a terrible rattling noise because of this. It was also leaking coolant badly out of the weep hole.
Parts Required:
• New water pump. But check to make sure you get the correct one. Some have a third coolant hose connection, at the end of the long, skinny section on the driver's side (LHD) of the pump. This car had just two.
• Water pump gasket. The pump should come with one.
• Coolant. I used Zerex G-05 mixed 50/50 with distilled water. I refilled about 6 quarts of the 50/50 mix, so one gallon of full strength coolant should do it.
• Drain coolant
• Remove serpentine belt.
• Remove pulley above the pump.
• Remove water pump pulley.
• Remove the small metal carrier above the pump. It's the one with a few electrical bits attached. No need to disconnect any electrical connections, I just held it out of the way (towards the passenger side - LHD) with a stiff wire.
• Remove the small u-clip from the coolant temp sensor. It's above the idler pulley that you removed earlier. Remove coolant temp sensor; you can leave the electrical connection untouched.
• Remove the two coolant hoses.
• Start removing the (13!) additional pump bolts, plus the one alternator bolt.
• Gently and carefully remove the pump.
• Remove the old gasket. This was a steel gasket (I believe, I didn't look too close at it) and was easily removed in one piece. Carefully clean up the gasket surface with a razor, degreaser and a clean cloth.
• Reinstall.... The new pump came with a rubberized paper gasket. I used a thin film of Permatex Ultra Grey on both sides of the gasket. The extra, black rubber gasket it came with does not get used. Not sure what applications it does get used in, but certainly not this job.
I used an "A1Cardone" remanufactured pump from O'Reilly for $128. Part number 57-1595 with a lifetime warranty. This pump is a "real" Mercedes part by the way; meaning the housing - at least - is an original MB part, MB logo cast into it and all.
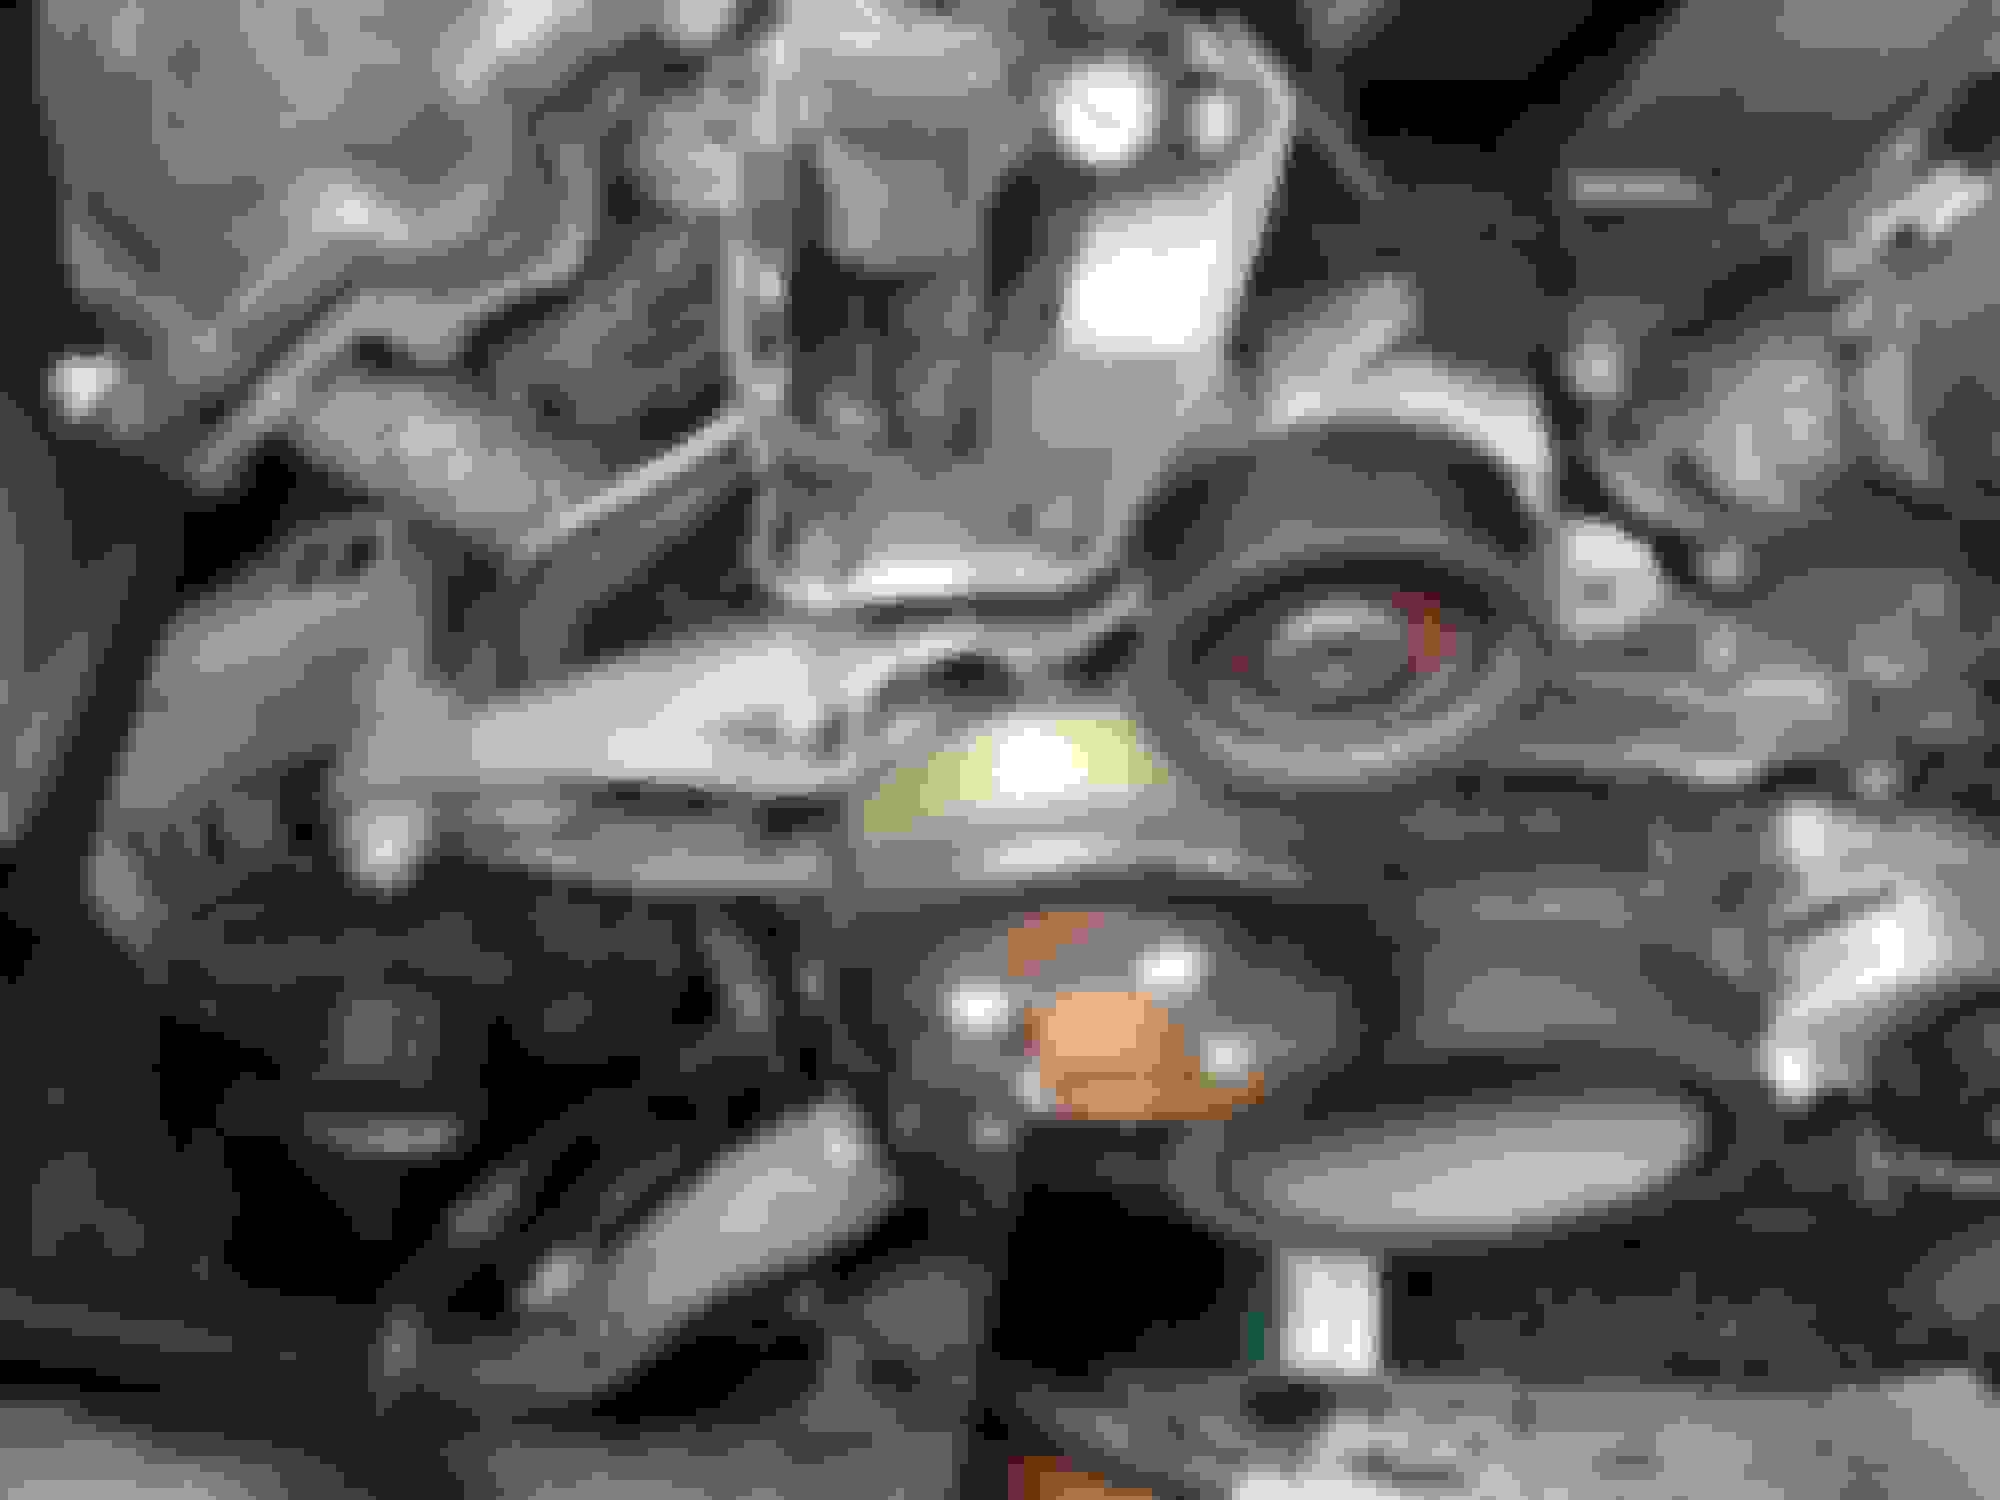
Some pics.
Old vs. New.
You can see the housing is cast slightly different, but they are both real MB housings. The impeller design is different too. Not sure if the reman. pump still used the original MB impeller or if that was new as part of the reman. process.
Old pump gone.
New pump in.
Bolts laid out in generally the proper orientation to where they go.
And a belt routing picture. These are always helpful to me!
if u dont want to get confused with where each bolt goes then when u taking them of put it on new pump in same place as u took it off once you have old pump of the car then transfer them on old pump this way you will not get bolts mixed
FYI - on my 2000 W210 estate I used the replacement rubber gasket that fits in the recessed groove which was how it came from from the factory for my car. I did not use the other flat gasket that came with the replacement water pump. I had a leak after I reassembled the new pump. The reason for the leak is that I didn't do a good enough job cleaning the corrosion off the surface on the block where the gasket seals. I ended up using a mototool with an EZ lock abrasive wheel followed by green Scotch Brite pad. Keep a Shopvac handy for clean up.
I also had a P0105 CEL code after reassembly. This was from the MAF sensor that I had disconnected when removing the water pump. The rubber boot behind the sensor facing the engine block that the hard vacuum line connects to had a crack in it. You can't easily see the boot unless you unbolt the mounting bracket for the sensor.
on my 03 e320 the gasket on the original was the flat one, with no groove for the rubber one to be used. I put the bolts one by one into the new waterpump as I removed them from the engine, then used the old waterpump to hold the bolts in the correct order as I replaced them during install, made for less wondering if I had the correct bolt in the right hole, as they seem to all be slightly different. No issues during this job, very easy, very do-it-yourself friendly.
I had taken the car into the dealer to find out if a noise I had not been able to find was the timing chain (that would have put me in the market for a replacement ride). That noise turned out to be the serp. belt tensioner tapping at the end of it's adjustment due to belt stretch. (on a fairly new belt, no less) While they were in there, they told me they found the original water pump was not yet leaking, but had some "wobble" in the shaft. When I asked how much to install a replacement, I was quoted 1040.00 for the job. I elected to do this myself.
Draining antifreeze into container
old pump in place
moved bolts from new pump to old pump to facilitate correct placement
no groove on face of block
finger tight bolt in. surprisingly, the alternator did not shift at all, and the bolt that hold it in place through the waterpump slid right into home easily.
 05-08-2011, 12:01 PM