
DIY: Changing Xenon lightbulbs on W211


Thread Starter
Member
Joined: May 2010
Posts: 218
Likes: 0
03 E320, 03 Lexus RX300
DIY: Changing Xenon lightbulbs on W211
Morning/Afternoon all.I just swapped my headlamps out because they were looking a little dim. The process should take about 30 minutes each side, but can take you alot longer if a few things aren't done properly!I felt like doing a DIY guide because all my searches had sorta vague directions. So here is a step by step guide to removing and installing new lightbulbs.First you need to grab a pair of D2S bulbs, I ordered 2 Philips bulbs part number 85122+ (These are the ones that don't colorshift overtime and have the highest lumens rating of 3400lm)The OEM bulbs that came out of the car are the older 85122's that will colorshift overtime and lose intensity.I have an 03 E320 RWD
Step 1: Grab a beer(well this is optional but I always grab a cold one before doing anything car related)Step 1: Start out on the passenger side because its easier, now you will have either one of two types of headlamp covers, they both have a twist-counterclockwise motion to remove them. One is abit easier since its got a nice tab you can grab and rotate left.
Step 2: Grab the black igniter with the big "" yellow sign on it push in slightly while twisting it open towards to the driver side. Eventually it will fall out of the grooves and come right out, a green wire will also be disconnected while opening it. (CAREFULL NOT THE BRAKE THE BLACK TABS!)Step 3: Slide out the small two metal clips that groove in which holds the bulb in place. Carefull not to brake them.
Step 4: Remove the bulb-----------------Now the tricky part is the correct way of putting the new bulbs in. Take a quick ****, drink, etc
Step 5: First insert the new bulb back into the headlamp socket, move the small metal clips all the way so they rest on the socket if you have too. The bulb can only be inserted ONE way, you have to aim the bulb where the two notches are facing right and left and the brownish tube on the bulb that holds the metal wire must be facing DOWN not up! With a bit of force, just rotate the bulb in that position until it sits flush in there. Put the metal clips back in the tabs that hold the bulb in there.
Step 6: Grab the Igniter and place it so the tabs grab the socket, it should be in the same "open" position as when you removed it. With a little bit of force push in and rotate to the close position or towards the passenger side.
Step 7: Lastly connect the green wire to the igniter until it clips into place.
Step 8: Put the cover back on and slide it clockwise until its tight on there.DONE!
Note: the driver side will be cramped with the coolant tank on there. just grab a phillips head screwdriver and pop it off.If you want a good price on the bulbs get them from here.
http://cgi.ebay.com/ebaymotors/Genui...5fAccessoriesI will take pics of the lights tonight and a video if I can, they do not appear yellow to my eyes and I have 20/20 with contacts on, just bright white with no blue. They are ALOT brighter than my old stockers!Hope this thread helps.
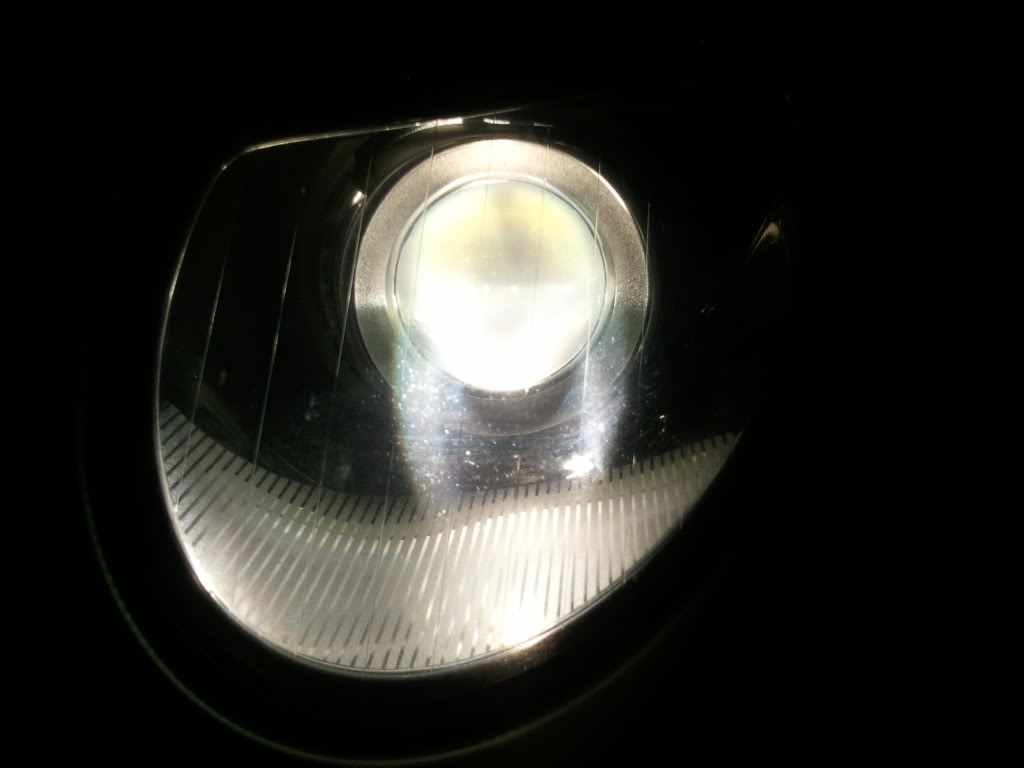
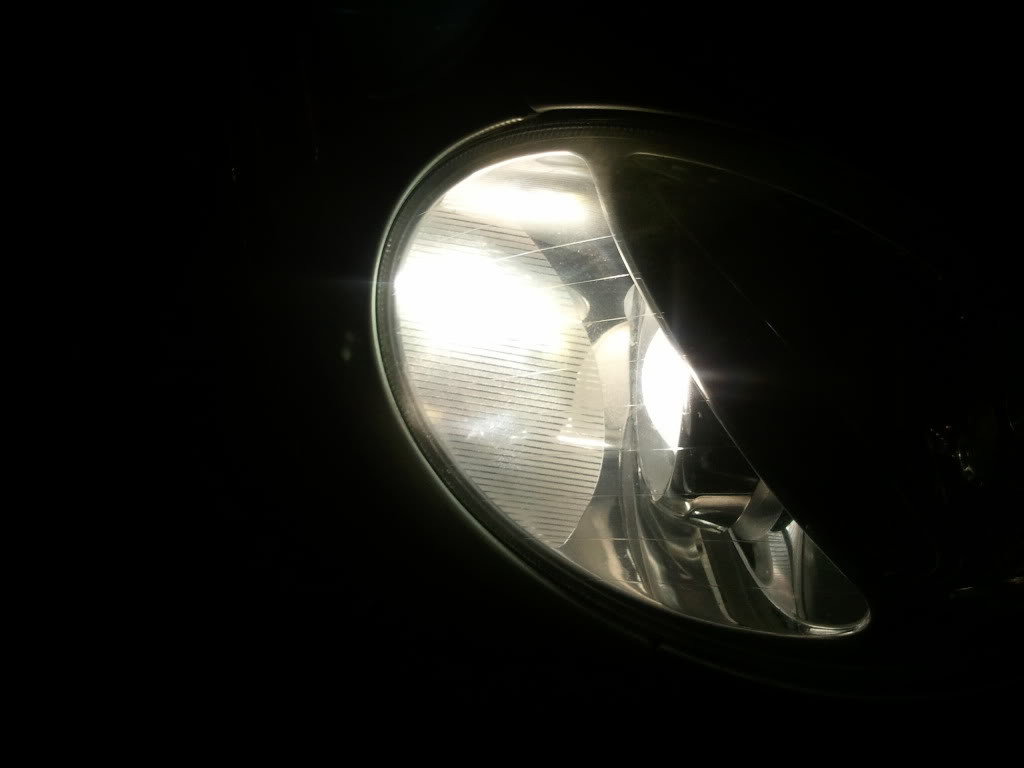
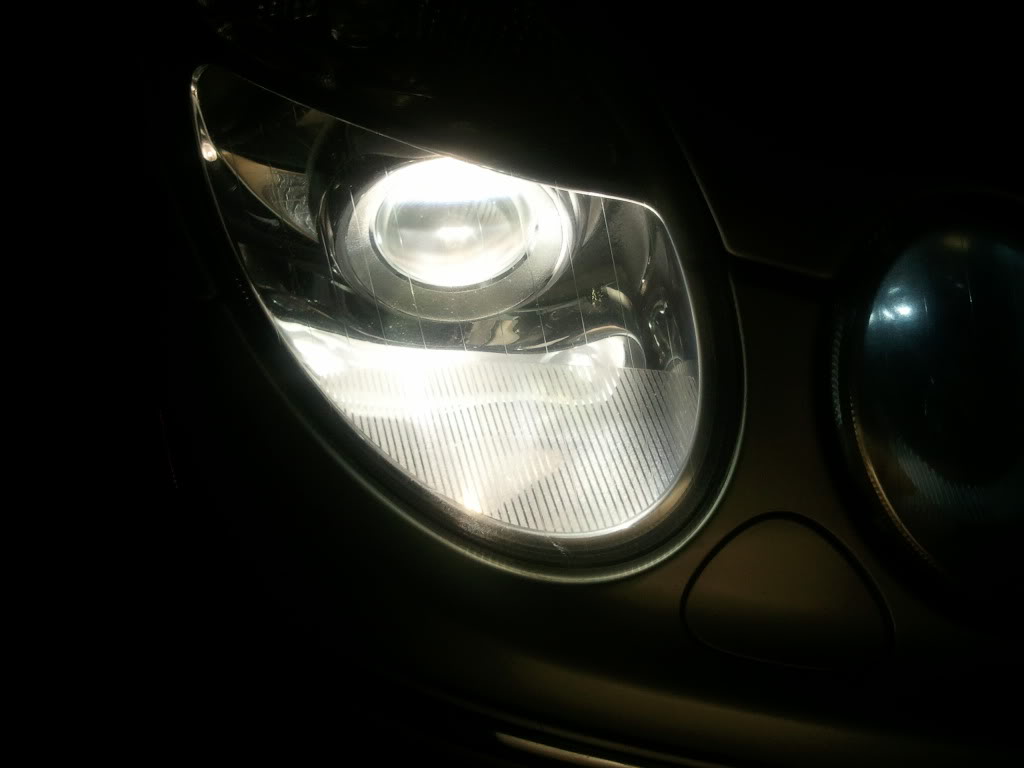
PICS: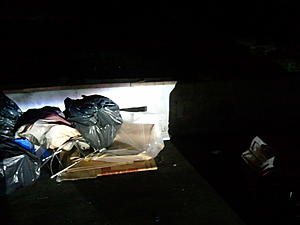

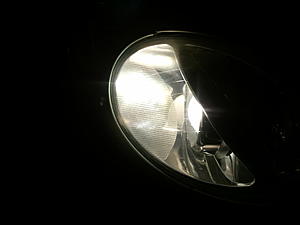
Shot with 5000k city light bulb
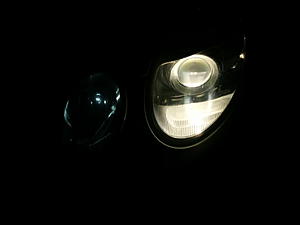
My Cellphone camera shuts out alot of the light so you can get a clearer picture. However they have an "offwhite" color.
These bulbs start out in this color and then turn to pure white after about 50ish hours but don't continue to turn blue like the stock bulbs
Step 1: Grab a beer(well this is optional but I always grab a cold one before doing anything car related)Step 1: Start out on the passenger side because its easier, now you will have either one of two types of headlamp covers, they both have a twist-counterclockwise motion to remove them. One is abit easier since its got a nice tab you can grab and rotate left.
Step 2: Grab the black igniter with the big "" yellow sign on it push in slightly while twisting it open towards to the driver side. Eventually it will fall out of the grooves and come right out, a green wire will also be disconnected while opening it. (CAREFULL NOT THE BRAKE THE BLACK TABS!)Step 3: Slide out the small two metal clips that groove in which holds the bulb in place. Carefull not to brake them.
Step 4: Remove the bulb-----------------Now the tricky part is the correct way of putting the new bulbs in. Take a quick ****, drink, etc
Step 5: First insert the new bulb back into the headlamp socket, move the small metal clips all the way so they rest on the socket if you have too. The bulb can only be inserted ONE way, you have to aim the bulb where the two notches are facing right and left and the brownish tube on the bulb that holds the metal wire must be facing DOWN not up! With a bit of force, just rotate the bulb in that position until it sits flush in there. Put the metal clips back in the tabs that hold the bulb in there.
Step 6: Grab the Igniter and place it so the tabs grab the socket, it should be in the same "open" position as when you removed it. With a little bit of force push in and rotate to the close position or towards the passenger side.
Step 7: Lastly connect the green wire to the igniter until it clips into place.
Step 8: Put the cover back on and slide it clockwise until its tight on there.DONE!
Note: the driver side will be cramped with the coolant tank on there. just grab a phillips head screwdriver and pop it off.If you want a good price on the bulbs get them from here.
http://cgi.ebay.com/ebaymotors/Genui...5fAccessoriesI will take pics of the lights tonight and a video if I can, they do not appear yellow to my eyes and I have 20/20 with contacts on, just bright white with no blue. They are ALOT brighter than my old stockers!Hope this thread helps.
PICS:

Shot with 5000k city light bulb

My Cellphone camera shuts out alot of the light so you can get a clearer picture. However they have an "offwhite" color.
These bulbs start out in this color and then turn to pure white after about 50ish hours but don't continue to turn blue like the stock bulbs
Last edited by Dexion; Jun 26, 2011 at 12:43 PM.

Newbie
Joined: Jul 2016
Posts: 1
Likes: 0
2003 E500
thanks
I was successfully able to swap xenon bulbs on a 2003 E500 W211 using these steps. I'd read a few things elsewhere that made me hesitant:
- owner's guide saying to just have a dealer do it
- warnings about high voltage
- warnings about beam alignment
- some folks saying they had to take off the bumper, headlight assembly, etc. (!?)
I disconnected the battery, black negative first (it's in the trunk), then spun the light switch through all the settings just to confirm they wouldn't light up, then set it back to 0 (off).
The passenger side one is definitely easier, and I recommend starting with that if you haven't done this before, since the ignitor box (the little black box that twists onto the back of the bulb) on that side is oriented with the place where the green wiring harness plugs in on top, so you can see it. The drivers's side one is 180 degrees flipped, so you have to plug it in by feel when you are done.
Disconnecting the philips screw holding the high-pressure coolant reserve on the drivers' side also helped get a bit more wiggle room, though only a few inches (it has a hose attachment on the bottom so you can't move it very far).
Total time < 30 minutes: going pretty slowly. I'll think about this next time the dealer asks for a couple grand to replace the engine mount...


