When you click on links to various merchants on this site and make a purchase, this can result in this site earning a commission. Affiliate programs and affiliations include, but are not limited to, the eBay Partner Network.
Edit: Car has about 145K miles, the covers appear to have never been done. At post bottom you will find the WIS instructions - in particular is the picture showing exactly what you want to glue on the cover.
2003 E320 valve covers are leaking - both sides. Enough that it drips down, makes a mess on the 2nd and 3rd bottom covers and can't tell if the rear seal is leaking or not due to the mess. Finally getting to the point of drips in the driveway if it has been sitting for a few days. The car is subject to sub 0F temps part of the year outside making it slowly get worse. Time to clean it up.
Start off with an air hose and blow away from the cylinder head any stuff you can (maybe have a shop vac going at the same time to suck stuff off). The goal is to make it so once you remove the covers you minimize the chance of stuff falling into the open cover and to help minimize the cleaning you need to do on the cylinder matting surface.
Remove the 6 coils (three per side). Each cylinder has two sparks plugs, a front one and a rear one. Notice the the upper coil connector goes to the front spark , the lower coil connecter goes to the back spark plug per cylinder. Those bolts are T27 head. The electrical plug connector to the coils have a plastic lever tab, but these will be very brittle and most likely they will break. Try as carefully as possible to remove them. If you break them, MB sells a pig tail if you want to fix it properly or you can use very small zip ties during installation to hold them in place.
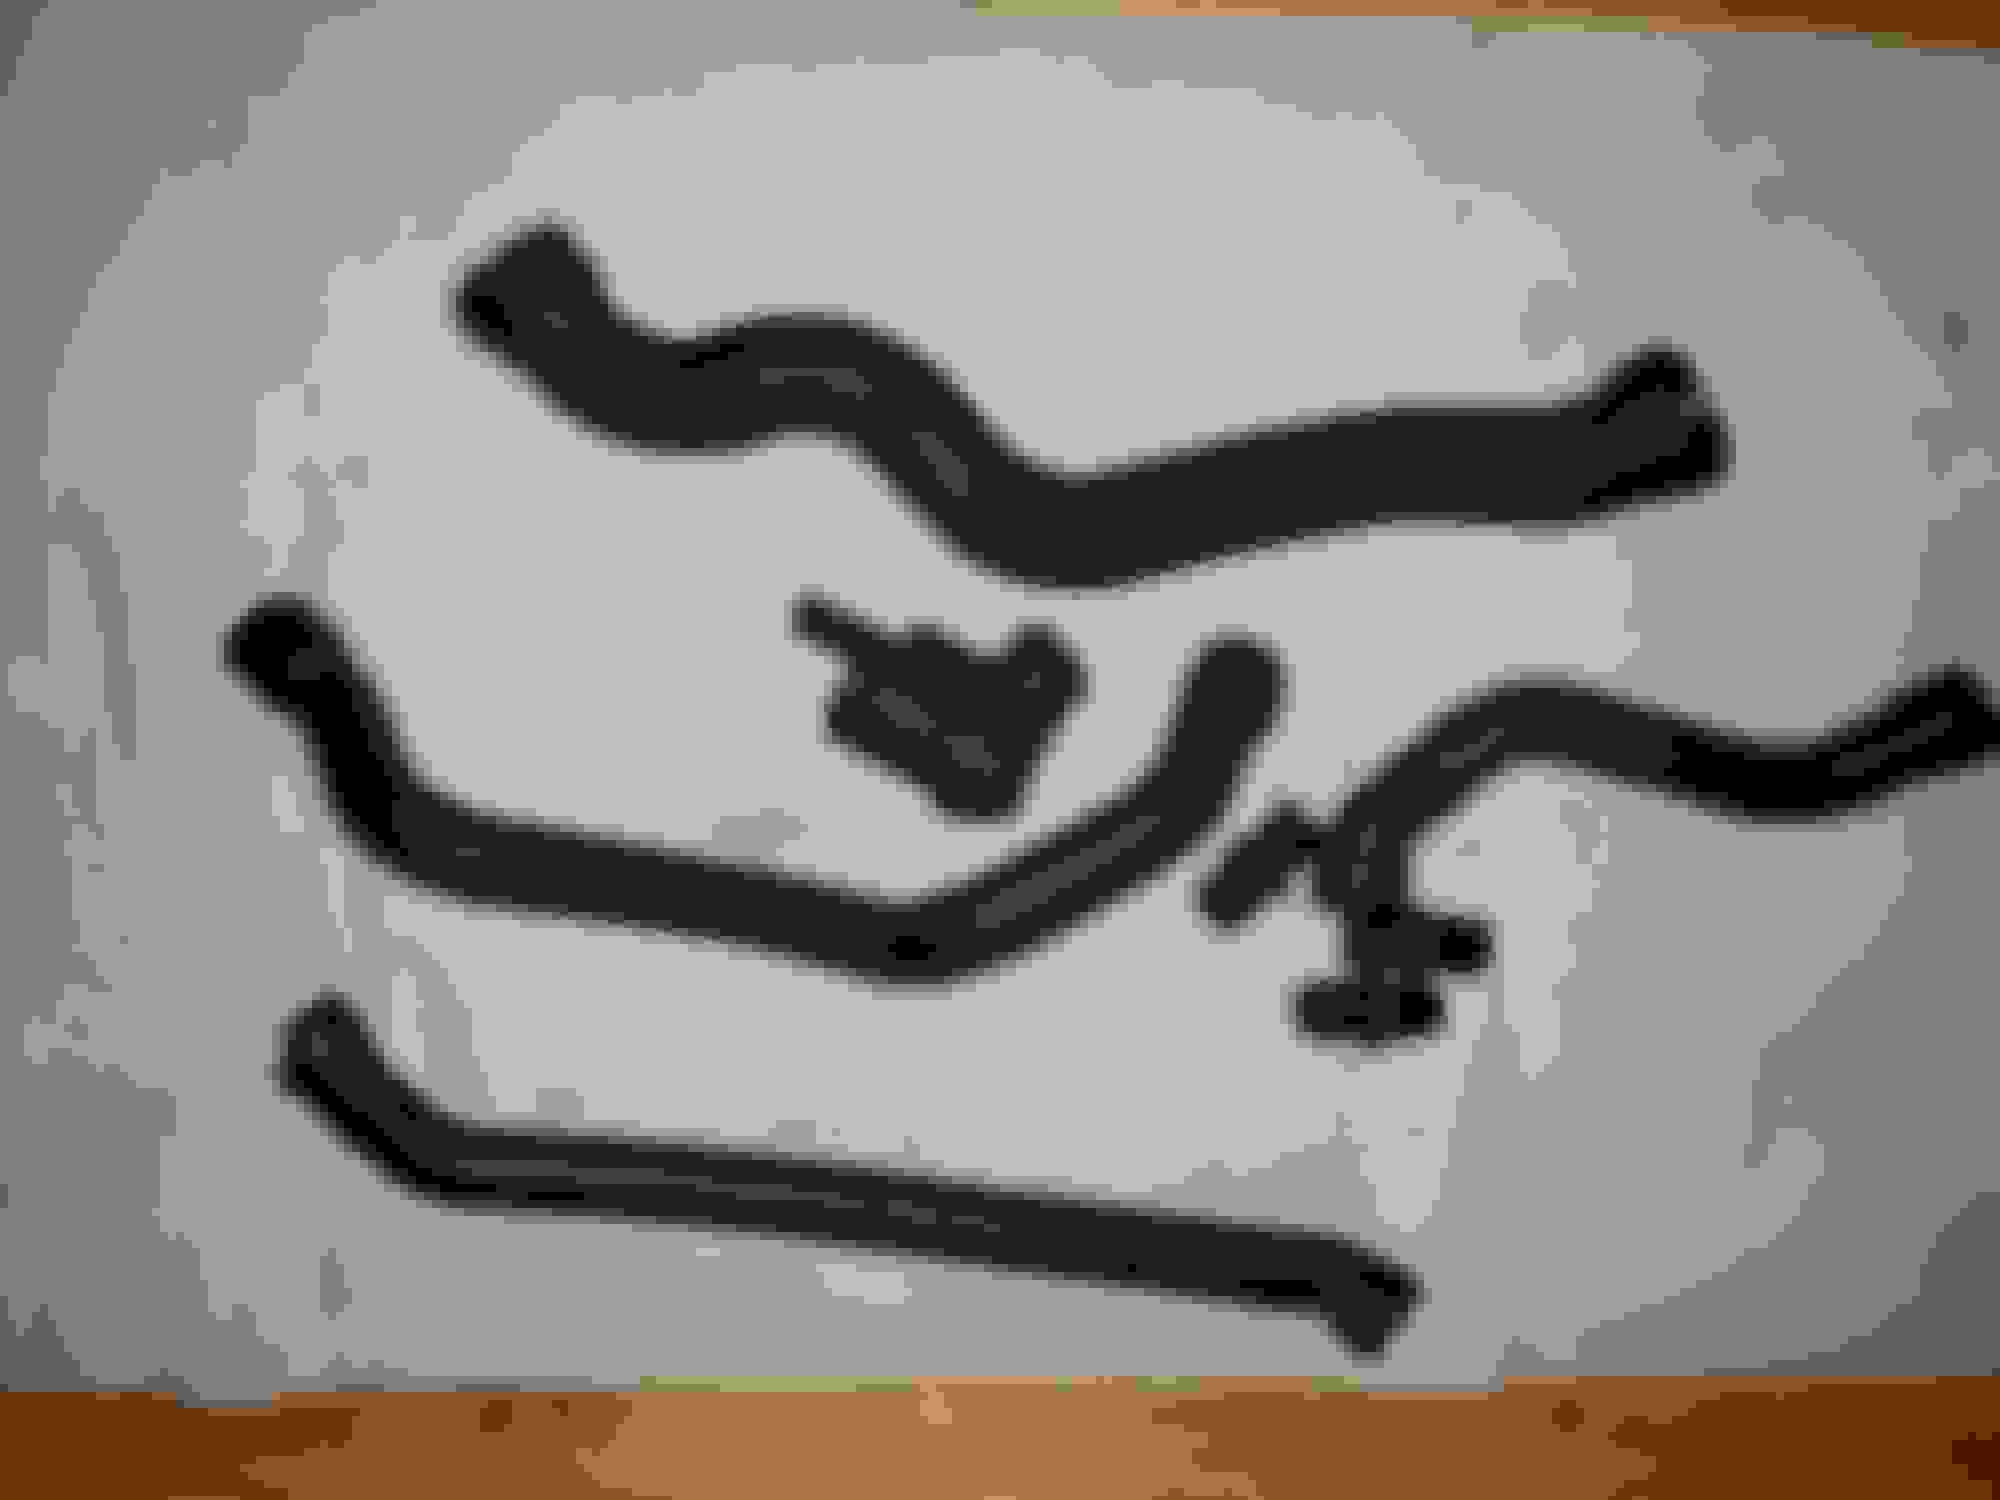
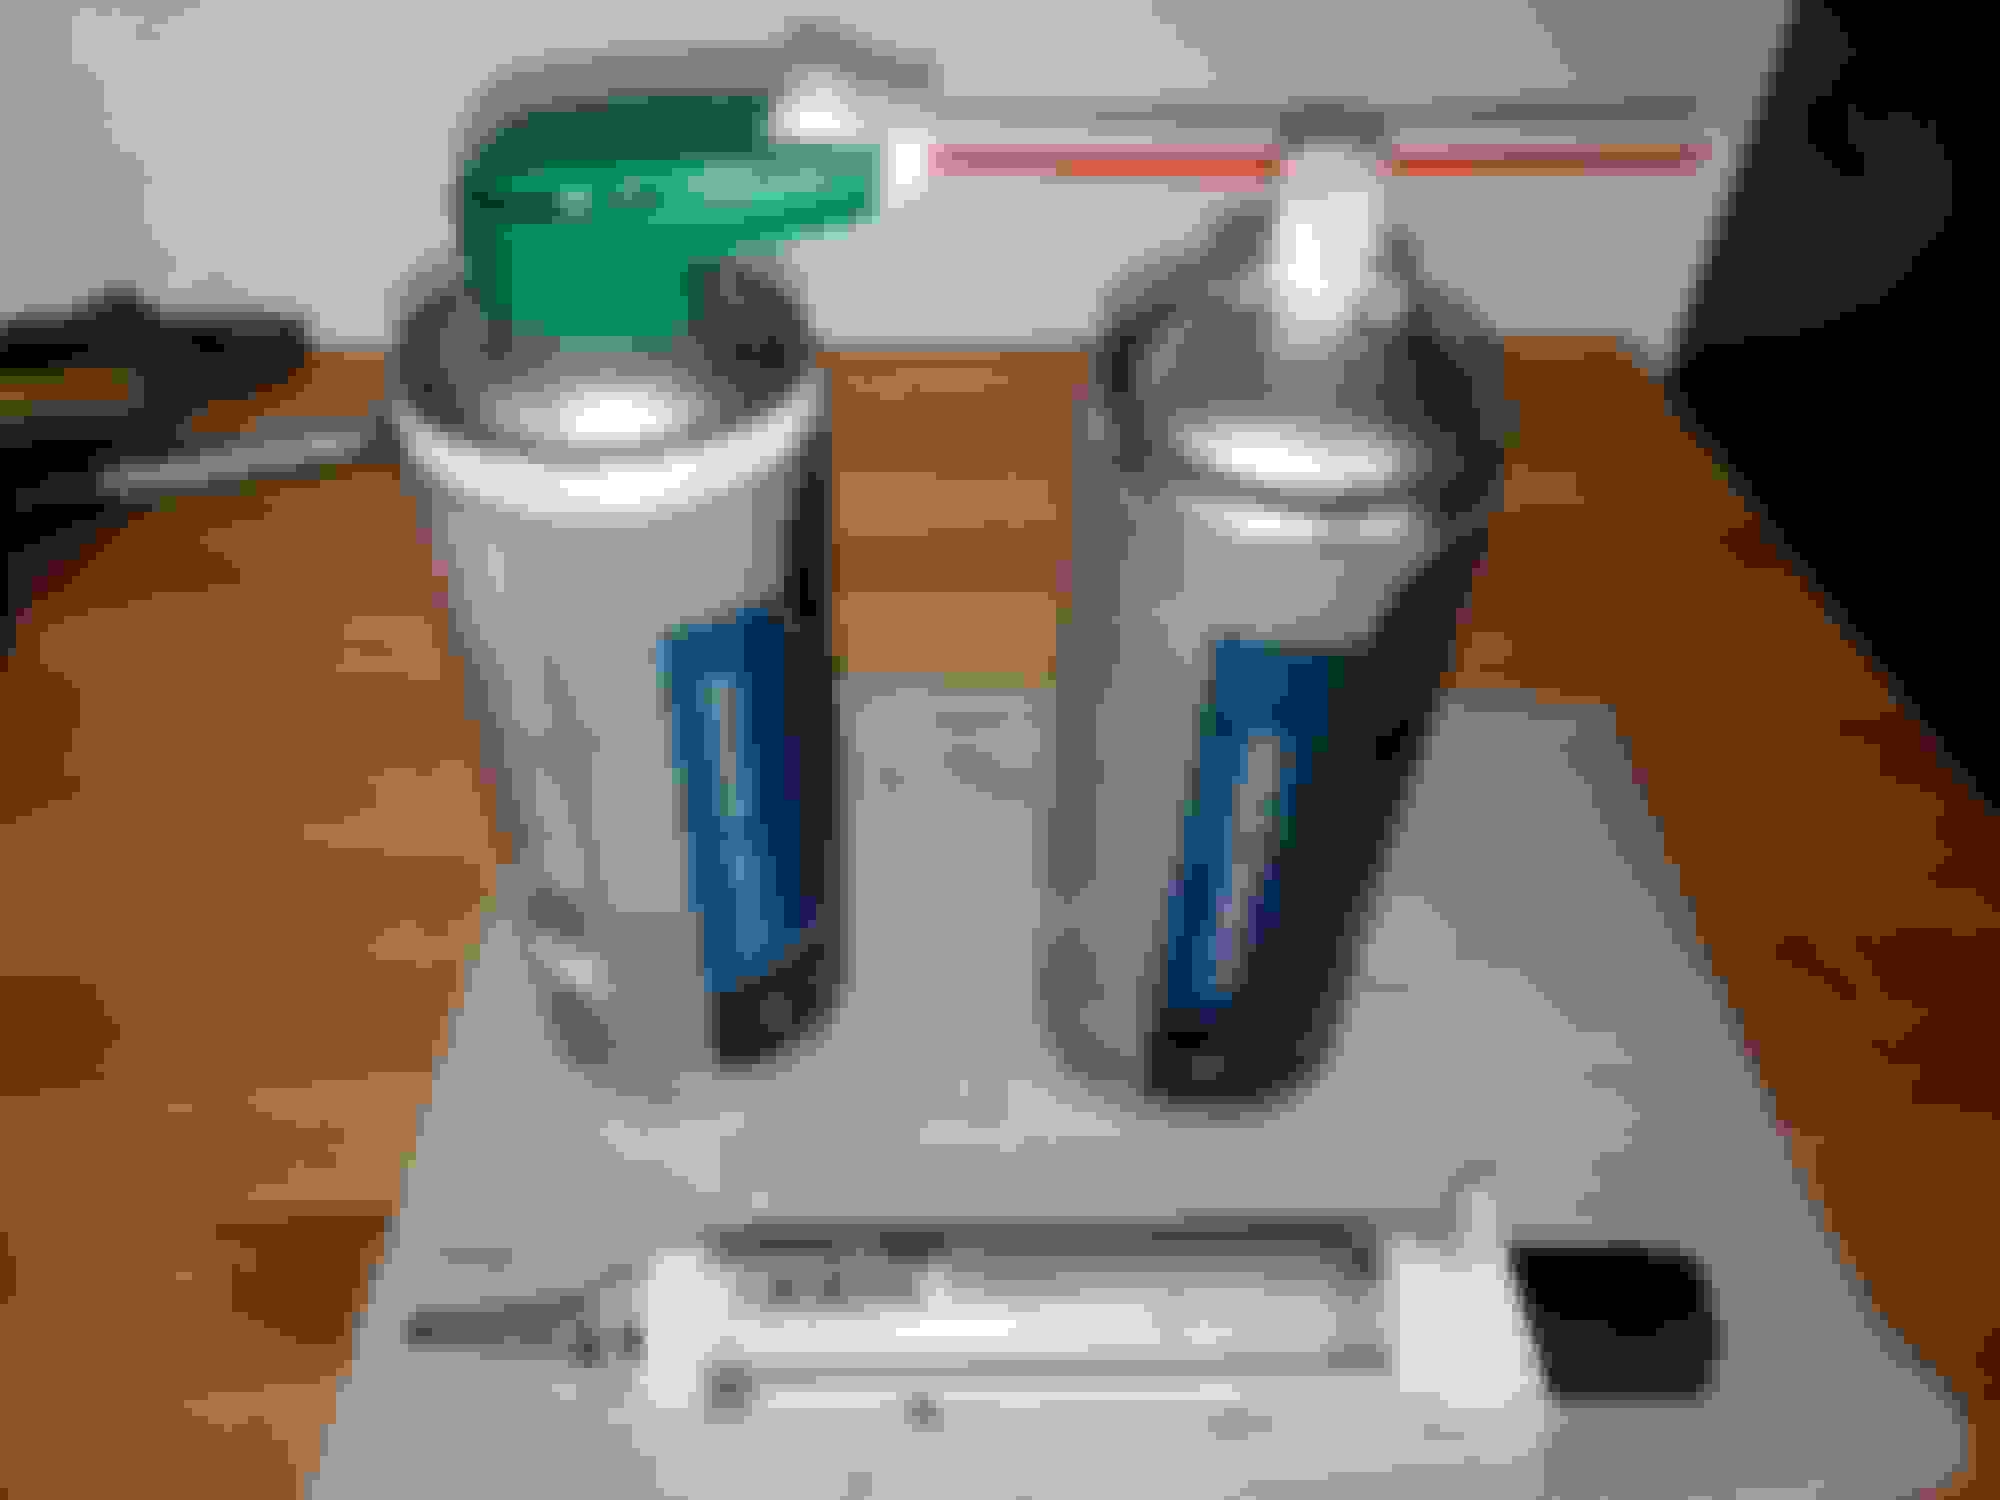
Remove the PVC hose connectors. On the left side you have two, on the right side just one. Be prepared - if these are original hoses - odds are they will split when you remove then even with hose pliers. The tips where the hoses go over the nipples will be hard and brittle. Just replace them. To replace the hoses you will need to remove the MAF sensor. All total you have 4 hoses, three male/male connectors, and a Y looking adapter. One of the hoses is thicker and goes below the MAF sensor. These are the hoses (pic does not really show the split ends - these are the old ones).
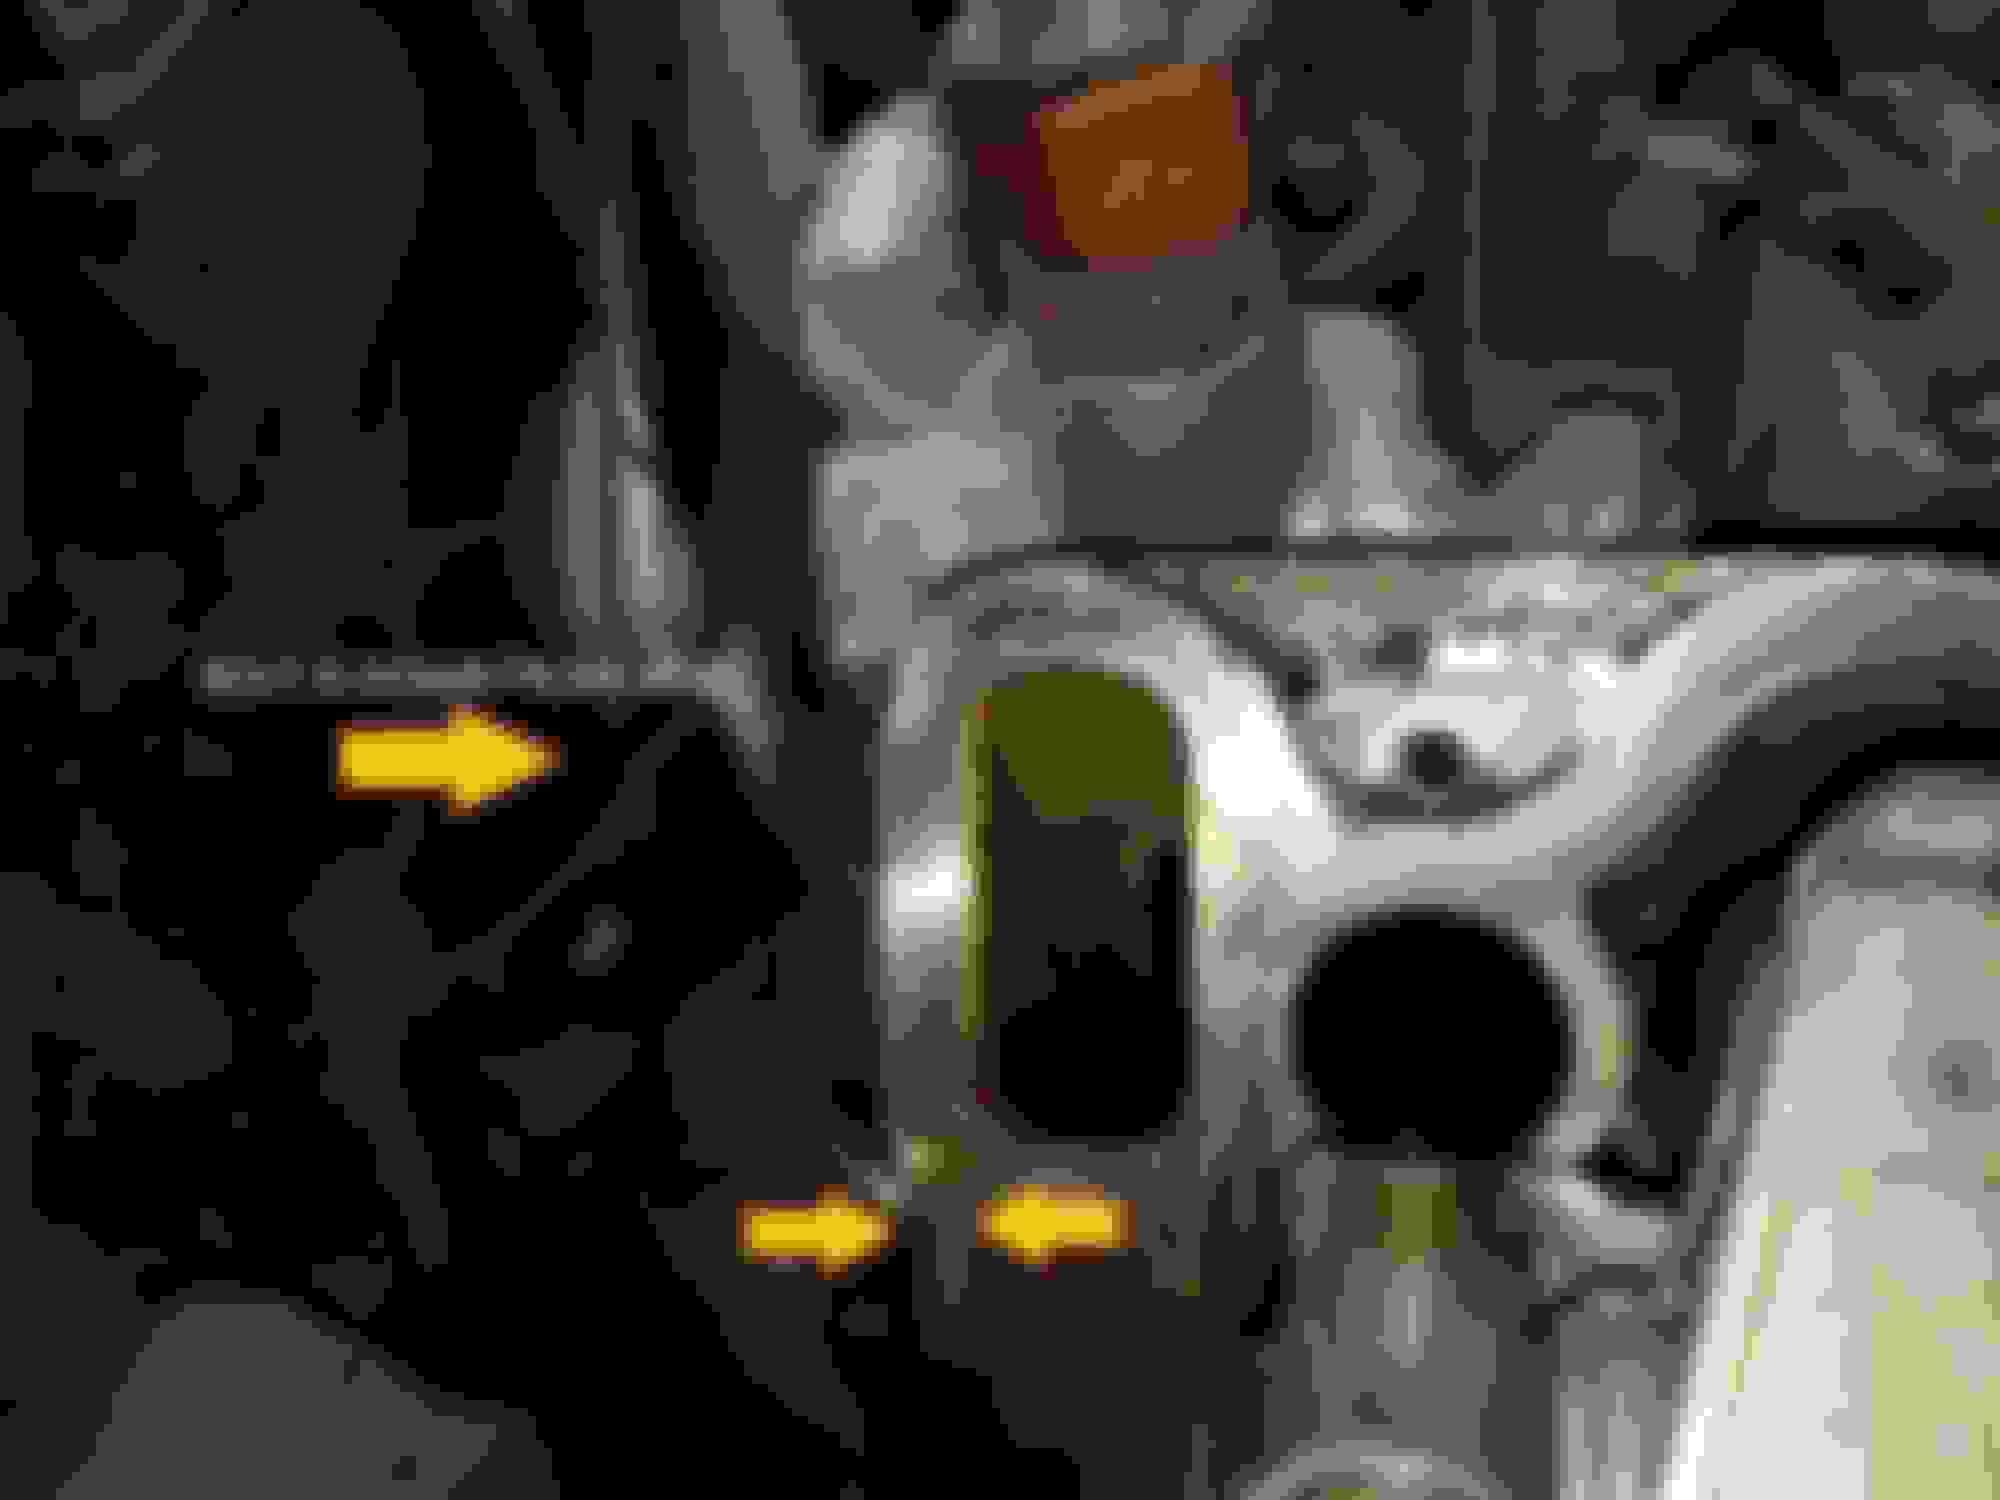
On the right side (US passenger) there is a bracket that holds the transmission check tube. There is a E10 head bolt on the back side of the engine near the cover, the WIS is very clear that needs to be loosen enough so the bracket no longer touches the cover. At the tip of the bracket is a bump that goes into that small lip on the cover - holding the bracket in place. You must move the bracket back enough to clear the lip to allow easy removal and installation. No need to remove the bolt, just loosen it enough so the bracket falls away from the cover lip.
The fuel line (left side) needs to be disconnected. You can use the valve to relief any pressure built up. Have plenty of towels and soak up any fuel that drains. Once down, push it out of the way and cover both sides of the line to keep them clean. Small sandwich bags with rubber bands will keep them clean.
The cover bolts are all E10 - remove them all. On the vent cover you will have 2 or 3 longs ones (left is 3, right is 2), and 6 short ones. Don't remove the T25 vent cover bolts (yet)
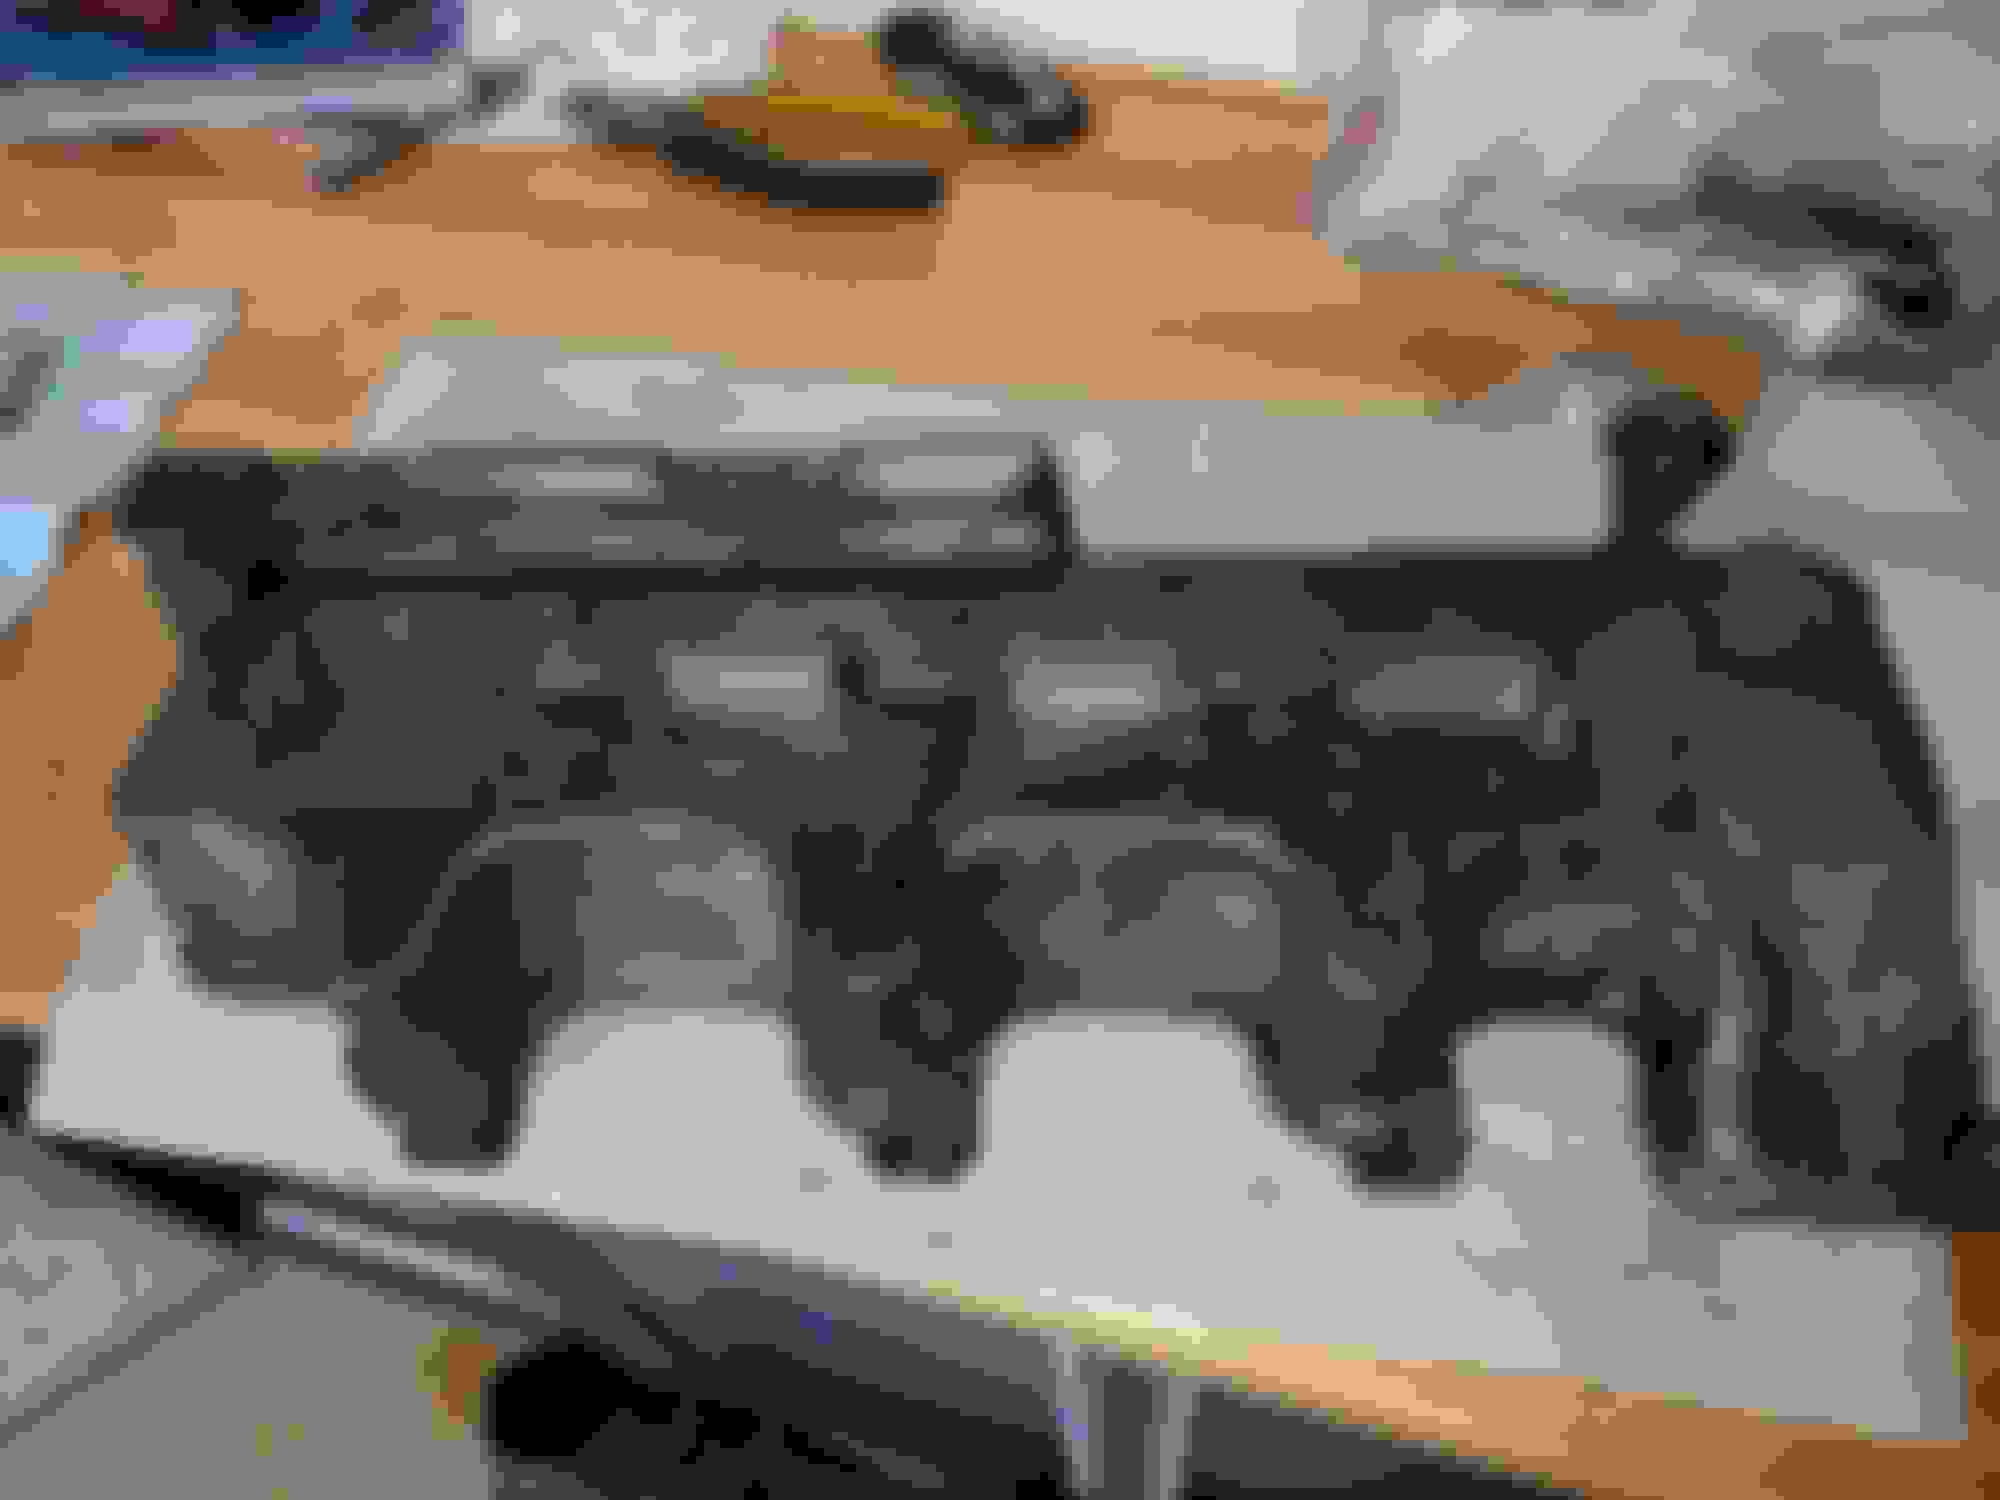
This is the right side (passenger) cover and it is leaking the worst. This is before removing the vent cover that is glued in addition to the small bolts holding it to the main cover.
Left side vent cover has three T25 bolts holding it in place, right side has two bolts. These are single use - you need to replace them so you need 5 new ones. Remove them, and using a nylon trim tool pry the small cover away . You may need a heat gun if a plastic type of pry tool is not working. DO NOT USE ANY METAL TOOLS TO SEPARATE THEM.
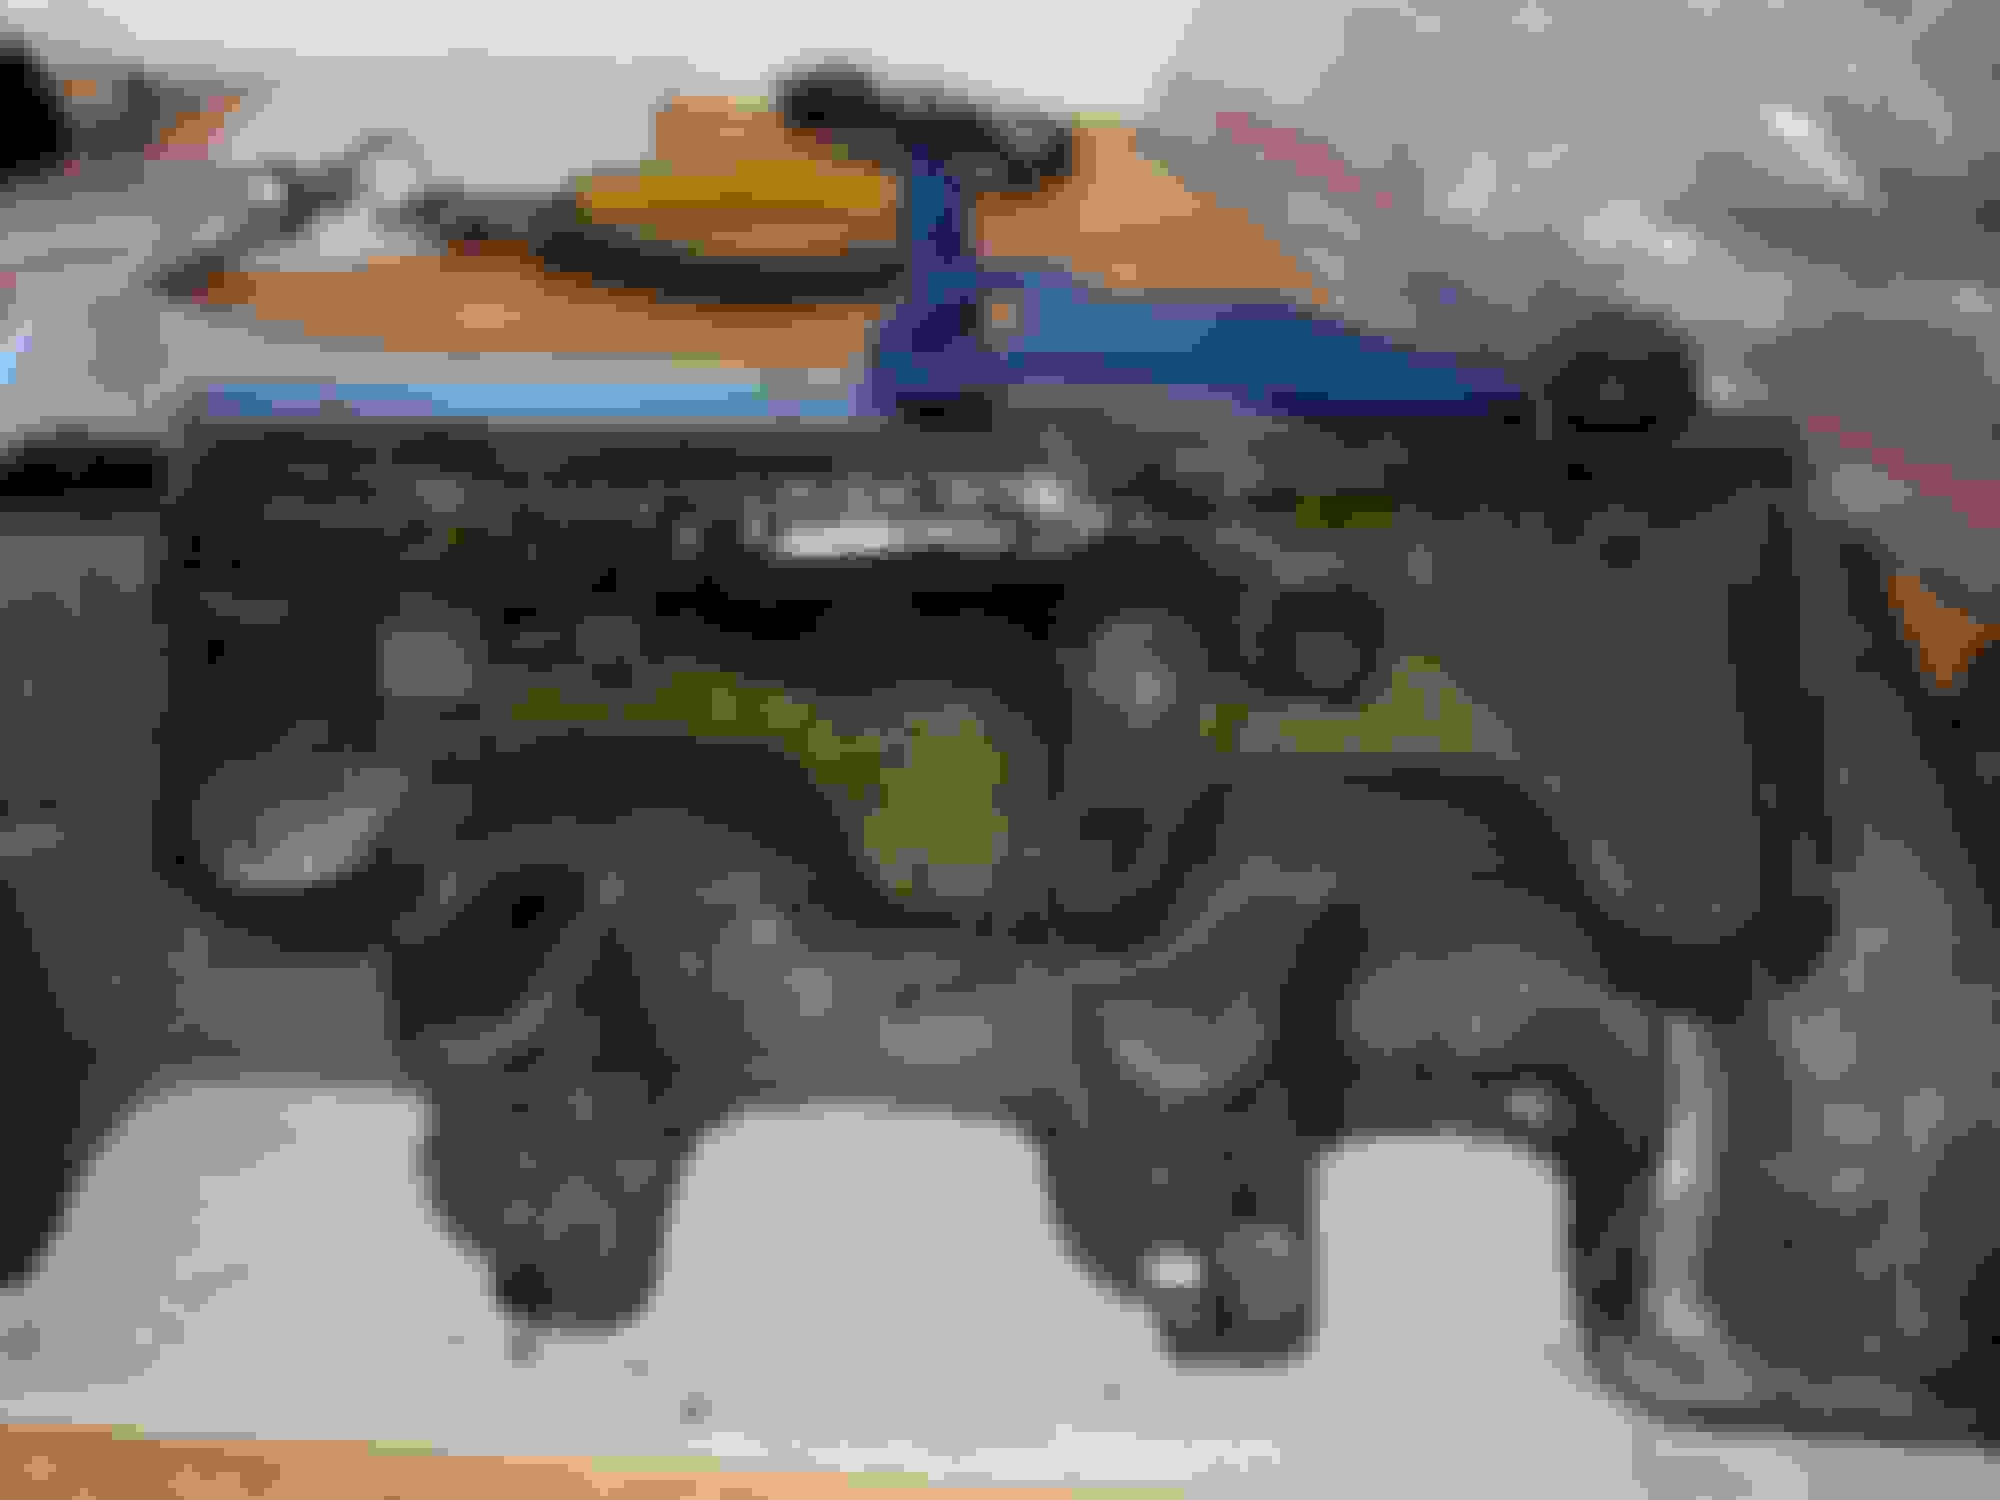
When you get it apart it will look like this:
The left cover has the oil filler assembly attached to it. Inside the cover is a single screw, remove it you will be cleaning everything. There is a flat rubber washer inside, remove it and replace it - now is the only time you have access to that ring. Get two and use the other on on the oil filler cap.
The left cover has two long brass oil pickup tubes. Be careful and do not damage them. They need to be cleaned inside with air hose - they have tiny holes in the cover.
Now comes the fun part. You need to clean these. There is quite a bit of rubber sealant in the grove of the vent cover and on the matching ridges of the valve cover. All of the big holes in the vent cover will have this same sealant gunk in them. It all must come out. You cannot use any metal tools - scratches will leak. I started by getting rid of the oil and oil gunk with multiple passes with brake cleaner, nylon scrub brush, and degreaser. Once most of the oil gunk is gone, you will still have that sealant. And there is a special sealant removal spray - Loctite 7200. Resold by MB/BMW/Audi dealers (and online). Use it. It work. Spray it on, wait 10 mins, and nylon brush the old sealant away. May have to do a few times. It sort of dissolves it. I used plastic toothpicks to get anything around the holes and groves that would not come off. This took the larger chunk of time. Use an air compressor to blow out the groves, holes etc. Notice that there are a couple of super tiny holes in the covers on each side. They must be clean to allow oil flow and vent pressure.- air nozzle is the way to ensure that.
When you have them clean enough where all of the old sealant is gone, there is another product to use - Loctite 7063 cleaning spray. Spray it all around the groves and ridges and holes where you will put new sealant. It leaves everything really clean and degreased. Use air hose to re-dry. Set covers aside on clean towels while they finish air drying. Here are the three products you are using - new sealant, sealant remover, sealant cleaning.
Make sure to clean the cylinder head matting surface. What I did was carefully use shop towels wet with brake cleaner all around the matting surface. Try as much as possible to prevent any gunk from falling into the cylinder head when cleaning. You do want these as clean as possible.
Get everything ready for installation. New PVC hoses installed, you cleaned the cylinder head, you have the 5 new T25 head bolts. You will need a low torque wrench to torque the vent covers to the main cover - these bolts are only 4NM. I have a really small Tekton 1/4" that handles low values like this. The valve covers have the new gasket pushed into ridges and are ready for installation.
On the left cover you need to reattach the oil filler assembly. Its all clean and dry, and it has a new rubber gasket. You will see that it is designed to use the single spring inside to hold it in place and it rotates to a stop. Install it so its on the stop with the matching tab on the filler. Tighten the screw. I don't know the torque spec so I tighten it so it was snug but not so much that I risked stripping it out from the plastic it is screwing into. The rubber seal is installed dry.
I highly recommend doing a single cover at time. Read on.
Using the Loctite 5970 sealant, squeeze a 2mm bead into the groves on the vent cover. WIS says to not spread - it should stay as a bead just as it comes out of the tip. Also do a circle around the bolt holes. The WIS gives a picture of every thing you want to glue. You only put the sealant on the vent cover - do not put it on the main valve cover ridges. This sealant has a 10 min working time - enough time to do a single cover. Then carefully flip the small vent cover over and place it in position on the main valve cover. Insert the brand new T25 bolts and tighten them to 4NM. DO NOT OVERTIGHTEN or you risk damaging the cover. You may hear a pop sound as you start tightening - that is just the cover dealing with slight misalignment when you place it down. Double check the torque - do not over tighten.
The WIS is very specific - do not wipe up any sealant that beads up on the outside of the cover. Leave it. Wiping it can pull some from the joint leading to a leak point in the future. My left side looked perfect, but the right side I must have had a bit too much and it beaded up - I left it as is per the WIS instructions.
Take that cover and carefully position it onto the cylinder head. Insert the long E10 bolts into the vent cover and get them hand tight. Go around and insert the shorter E10 bolts hand tight. Using a crossing pattern slowly bringing all of the bolts to 9NM. This will take multiple passes. You really want to do this while the cover sealant is not yet dry so it helps compress the cover into position.
Now do the other cover.
Make sure the new PVC hoses are all installed and snug. Make sure the MAF is installed (and you cleaned it with some MAF cleaner while it was out) and its electrical connector installed and the larger PVC tube is connected to the body under the MAF.
Make sure the transmission tube bracket is tighten back down so its little tab is now over the valve cover lip indentation. Torque to 9NM.
Make sure fuel line is reconnected. I just used a wrench, not sure of torque.
Install the coils, they are T27 and torqued to 8NM. Remember the front spark plug goes to the upper coil, the back spark plug goes to the lower coil per cylinder. I recommend a small amount of dielectric grease (small amount) on the spark wires.
Install the coil electrical connectors. I used some electrical cleaning spray - waited for them to dry and then install them. If you have any broken tabs and you have not repaired with new pig tails, use very small zip ties to hold them in place.
Here it is all completed - compared to the big greasy oily mess it was before they look nice.
I let the car sit overnight before we ran it and checked for leaks. Nothing visible. Did an oil change and added some dye now that this leak is fixed to see if there is any others we missed - we will check that in a few hundred miles with the UV light.
Congrats...You saved roughly $400.00 to 700.00 maybe more on that job! Very detailed and to the point...and those breather hoses are a PITA! lol
R,
2Merks
Mercedes SLR McLaren 722 S Is Extremely Rare Example Modified by McLaren
Slideshow: A one-of-one U.S.-spec Mercedes-Benz SLR McLaren Roadster became even rarer after a factory-backed transformation at McLaren's headquarters.