When you click on links to various merchants on this site and make a purchase, this can result in this site earning a commission. Affiliate programs and affiliations include, but are not limited to, the eBay Partner Network.
I've been mulling over wrapping the trim on the car to take a bit off of the chrome look but yet not to go to a blackout extent.
I'm planning to use 3M brushed titanium wrap as it seems to harmonize with the body color and the wheels yet still has some shine to it. I did not want to go the plasti-dip route as I did not like final texture or appearance even with a glossifier.
Car color is tenorite gray and I've had the wheels refinished.
Here's a film sample, note that the grain is directional so it will need to be kept horizontal with the body lines.
The film also meets my criteria of providing some contrast as well, more subtle than the chrome but not going body color either.
I'll post results as this gets done in case someone out there in MB Land is considering an alternate color trim wrap.
I'll wrap them, I like that lower contrast on the car. The grill will be a challenge but I happened to find ckwraps on YouTube that showed how to wrap my same grill 👍
Its about $70 for all of the wrap so if it all goes South at least not a lot invested.
Having wrapped my grill and trim myself, I can say that using the directional material is going to be tough. Perhaps a very experienced installer would be able to make it work, but the way you stretch the material it's going to be tough to conform the the shape of the grill. The window trim will be interesting as you'll either have to waste a ton of material to keep the striations horizontal. otherwise it will follow the shape and direction of the trim. I'm not sure how that will look. Nice vs scraped up will remain to be seen.
I love this product. It is amazing for flatter applications such as interior trim. I'm just not too confident it is going to be ideal for these items.
I'm not trying to be a troll. Just speaking from experience on having wrapped the same items and sharing thoughts before you drop the money!
So while waiting for some application tools to get here, I decided to do a few quick test fits of the wrap on the trim. Apologies for the pics, I realized as I loaded them that real life looked 100% better, the brushed finish and sheen shows well.
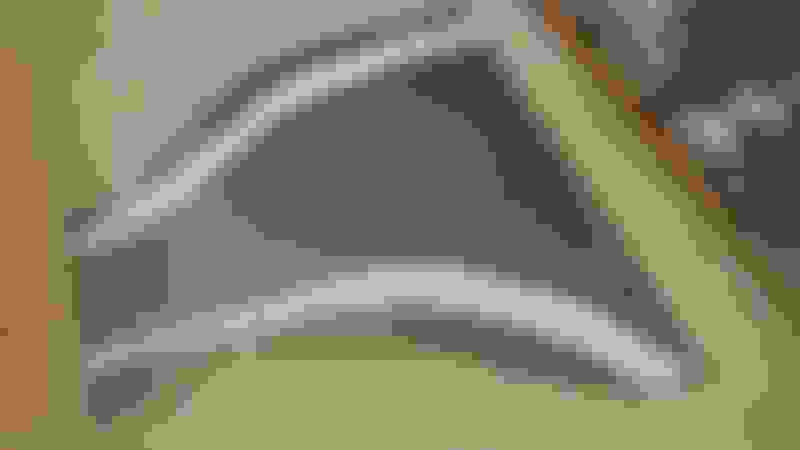
This is the roof rail trim. As long as I get the brush direction correct, this seems pretty straightforward. Due to the limited length of the material it can't be a single continuous piece front to rear. But with some care the wrap seam can align with that pillar joint and I can get the brush finish to line up.
This is the upper door trim. There's a rubber seal that is part of the trim but I was able to line up the vinyl exactly to the edge of the rubber. The picture seems to show the vinyl overlapping the seal a bit but that's not the case at all.
The lettering was more of challenge and I needed a sharper blade as well. I really did not want to remove the lettering so I thought what if I faced the lettering with the vinyl to help diffuse the chrome look. I did the M and I know I can get the cuts straight and clean, so I just need to decide if the look will work.
The star was easier than I thought. Disregard the brush direction as I only wanted to test the fit and application method on a section of the emblem. I think this will work out ok.
As mentioned the front grill will be the challenge but I'm up for it. This is intended to be a fun project and if I don't like it then it gets pulled. Back in some younger days I did a lot of vehicle graphics, pinstriping, and airbrushing/final paint. That doesn't make me a wrap expert but I've always had an interest in changing appearance if it looked good.
Some slow progress, maybe some info to anyone considering doing the brushed wrap. It is decidedly more fiddly than doing a solid color wrap and does take more material.
I decided to lay out the roof trim to ensure the brush grain pattern alignment is correct. First pass was to draw it out on paper.
I then cut out vinyl larger than needed and I'm glad I did, as final positioning is needed. I noted that "horizontal" on this car is actually referenced from the beltline trim as that is what the car lines (and your eyes) are focused on.
I am using the door pillar joint as the seam locator for the roof trim, so what I did was to align the vinyl edge at this point perpendicular with the beltline trim. That means that at this location the brush direction is parallel with the beltline trim. Then as the trim extends to the back and to the front the brush direction will look right to your eye and to the trim lines of the car. Hope I explained that ok.
I then cut out the opposite side roof trim, remembering that the sides need to be "bookends".
Unfortunately, this does create waste, there is no getting around it. What is frustrating is that the rolls are 5 ft wide but the grain runs perpendicular to the 5 ft length. The means that if I need a piece that has horizontal grain pattern on it (like trim) I have to get 5ft x whatever trim length I need. In this case the pieces fit within 4 ft length. So I have to buy 5x4 size of material. I bought a 5x4 piece but it was chewed up with the roof trim curve shapes. It did leave me some extra but not quite enough so I need to get another 5x4 piece to finish. Its' not because I need the 5 ft width, it's because I need the 4 ft length of grain for some remaining trim. But it is what it is and I want to get this applied, I think it will look nice.
About the material, the 3M 1080 is excellent. I'm biased to 3M though as I spent 5 years doing contract work in their St. Paul and Cottage Grove locations. This gave me a chance to be embedded on both their engineering and mfg sides. World class vinyls and adhesives, along with a huge array of products. Ok, the commercial is over, I just wanted to note that it's good to work with a quality product.
I'm not yet installing any wrap as I want to get the remaining material here in order to do the car all at one time. I used an outfit called metro restyling on ebay, great vendor and the material is shipped in sturdy tubes.
Looks good so far. I used 3M 1080 Brushed Black Metallic to wrap the interior wood trim on my E500 and I agree with you the product is top notch. There's probably cheaper alternatives out there but why bother to save a few pennies. Good luck with the rest of your wrap.
It might be easier to remove the trim to wrap them. The upper trim pops right off. The lower at the bottom of the windows requires taking off the mirror for the front pieces.
Thank you for that info, I think I'm ok to apply on the car. One reason I can see for leaving the roof trim in place is that the brush grain needs to align with the belt line. If it's removed I lose the reference line. Also in dealing with removed trim before ( for painting) it gets kind of squirrelly to work with, bends and flexes.
I'm not trying to be a know it all and I appreciate your info. Was just expressing some observations for the next poor soul that decides on a brushed trim finish 👍
edit: another thought is that this 3M wrap is designed so that it has low initial tack and embedded air channels within the adhesive. Meaning that final install needs some moderate pressure for final installation. Leaving trim in place allows something to push against.
I did the trim wrap today, tomorrow I'm planning to wrap the grill. Overall it wasn't really too bad. I'm really happy with the results.
The 3M material is amazing. It doesn't curl and stick to itself when cut and has an initial tack that easily allows repositioning. Zero air bubbles and easy to stretch when needed. Top quality and that always makes the job go better.
My pics aren't the best, there is a significant difference between the original chrome and the brushed steel appearances. In the sun the wrap has a nice sheen to it that brings out the grain. In shade it darkens up a bit and looks more muted. It also matches up to the wheels nicely.
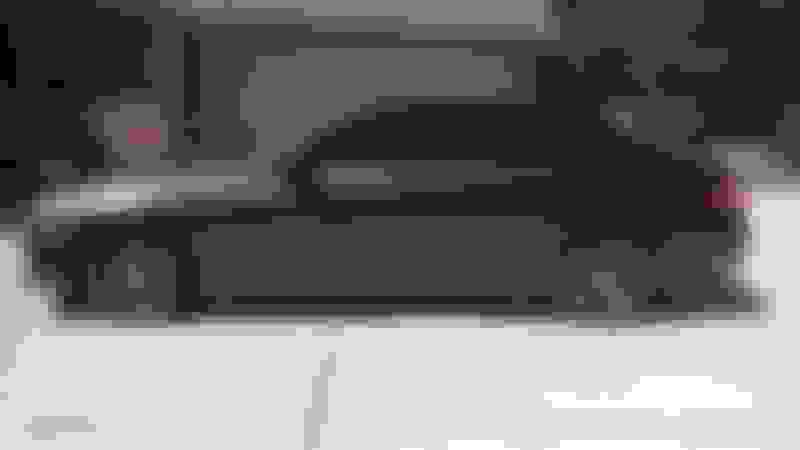
Here's what I wound up with:
Matches the rims so there's a relation from wheels to trim.
Man I take crappy pics, this is before I wrapped the passenger door lower trim. The other pieces on fender and rear door have been wrapped. Real life there is a significant difference.
We talked about the brush grain running horizontally, especially on the trim running over the doors. That turned out perfect.
Here's the back.
I applied the wrap to the letter faces to mute the chrome a bit.
Thinking about the lettering faces with brush finish I did the center of the emblem only. I can easily do the ring if I decide I don't like it.
I'm happy, the material itself exceeded expectations and the application went well. There is an understated look that shows something is different but still has some brightness/contrast which is what I wanted. I'll try to get some better pics, I have the phone camera on auto, maybe I can learn how to use it in manual mode. The grain finish is really nice to look at and different from the original smooth chrome.
Glad I saved the grill for last, took about 3 hrs for me to apply the wrap. I think if I had started with it I may have called off the whole project lol. Very tedious.
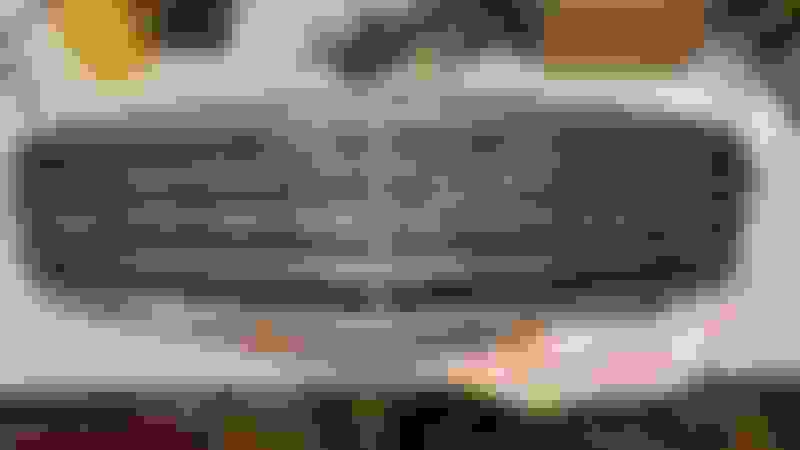
OEM grill.
Same grill with the wrap.
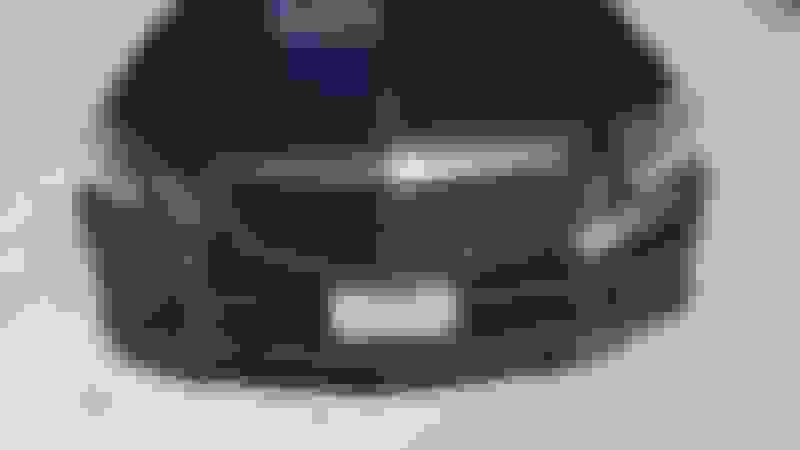
So here's the final result, I like it a lot. The brushed sheen comes up nicely in the sun yet to me the overall look is muted as I was hoping for.
Grain picked up in the sun. I noticed some imperfections in the wrap surface caused by dings in the grill. Not that noticeable and I wasn't going to buy a new grill.
Mercedes SLR McLaren 722 S Is Extremely Rare Example Modified by McLaren
Slideshow: A one-of-one U.S.-spec Mercedes-Benz SLR McLaren Roadster became even rarer after a factory-backed transformation at McLaren's headquarters.