When you click on links to various merchants on this site and make a purchase, this can result in this site earning a commission. Affiliate programs and affiliations include, but are not limited to, the eBay Partner Network.
Good to know! I may try to add some materials there in the final �aftermarket� phase of my project. Is the front wheel well liner easy to remove?
I am trying to understand the orientation of your last image, the one with �Firewall� and �Acoustic� drawn on it. What angle was it taken from? Where is the �Acoustic� body cavity area in relation to the passenger compartment?
Wheel well easy to remove, but you must buy those V shaped plastic clip/nail puler like these :
You must jack up the car for working clearance for your body, because one of the self tapping screw on car bottom for rear portion of this wheel-well plastic liner, shared same mounting hole with one of the
undercariage cover.
Dang, I love my photo archive when it come handly for others : The shared screw mounting hole is below
My photo orientation where I showed the firewall and door cavity is exactly 6 o'clock heading eye view, while the car front bumper is 12 o'clock reference.
That acoustic green zone I suggested is actually exactly under car A pillar until start of wheel fender, as below :
Wow, different engine different rear wheel liner, interesting CCWW. Rear is hairy/felt like material.
I was thingking about this sound thingy when I removed front wheel-well/house hard plastic liner.
Why would MB waste money making vent like shape, but there are actually no holes in this vent like shape ??
Front wheelhouse liner has 2 portions. Front facing and rear facing. Front facing one has the vent like moulding. Why no air holes ???
I suspect this is about reflecting noise....somehow.
It cost a lot of money for an injection moulding for plastic, to have these vent like shape but not serving air flow. It has to have some STRONG technical reason.
In a car industry savings money per unit of a car no matter how small is a big MUST, why waste $$ here ?
two guesses of other possible reasons for closed louvering, one is for wet weather hydroplaning -designed to help keep water from flowing back in front of the tires - the second, MB may use the same mold to produce the shields for the models with oil coolers with mold tooling inserts that produce the shield with air holes
All very interesting ... saw something similar on my Porsche 928. In the 90s Porsche was supposedly trying to position the car as competition to the SL, so they got religion and started adding sound deadening. One thing they did was a thick molded foam rear fender liner that became notorious for crumbling and falling apart and being wildly expensive to replace. People say it did cut down some road noise and made the car a little more 'luxurious'. I thought at times about putting these in but they were (then) over $300 each and Porsche parts prices have only gone up since then.
On the C350 I had all four of the liners out when I changed shocks and so I put a layer of foam insulation on the backs before putting them back in. Can't say it made a huge difference, but seems the wheel wells would be the 'first line of defense' against tire noise..
Last edited by Tom in Austin; 08-26-2020 at 09:42 AM.
Thank you very much for the clarification, @S-Prihadi . Excellent photos and that does look like a very good candidate area for reduction of noise from the front tires! And thanks for the tip on the tools, I couldn't live without my set of those!
Can you tell if the area is well sealed against moisture? One concern with adding aftermarket materials is that they can retain and trap water against the metal, promoting rust and corrosion and possible mold/mildew. If it is well protected against moisture, I would likely damp the sidewalls to prevent vibration and then fill it with absorbing insulation. Perhaps 3M Thinnsulate, but as the area is totally separate from the cabin, fiberglass might be sufficient and quite a bit cheaper.
two guesses of other possible reasons for closed louvering, one is for wet weather hydroplaning -designed to help keep water from flowing back in front of the tires - the second, MB may use the same mold to produce the shields for the models with oil coolers with mold tooling inserts that produce the shield with air holes
Very interesting thoughts. I also was pondering if it could be aerodynamics. Perhaps fast flowing air above the wheel creates an area of low pressure and the louvering breaks up the fast laminar airflow, which would prevent lift at high speed from the low pressure.
Anyone try Dynamat? Supposed to work and be lightweight.
Some members have reported lining the spare tirewell area with similar materials with decent results.
Dynamat is a vibration damper - it is supposed to reduce vibration and resonance in panels. This does help with noise, but it doesn't really block noise and it doesn't absorb it either. Also, on a solidly-built car like the W212 the effects will be less than in a car plagued with thin and resonant panels.
I'm using a combination of Dynamat-like damping materials as well as absorbing and sound blocking materials. All are necessary for a high level of improvement.
I'm hoping to edit my first post in this thread into a thread directory soon which will hopefully make finding answers to specific questions easier without wading through all the posts.
All very interesting ... saw something similar on my Porsche 928. In the 90s Porsche was supposedly trying to position the car as competition to the SL, so they got religion and started adding sound deadening. One thing they did was a thick molded foam rear fender liner that became notorious for crumbling and falling apart and being wildly expensive to replace. People say it did cut down some road noise and made the car a little more 'luxurious'. I thought at times about putting these in but they were (then) over $300 each and Porsche parts prices have only gone up since then.
On the C350 I had all four of the liners out when I changed shocks and so I put a layer of foam insulation on the backs before putting them back in. Can't say it made a huge difference, but seems the wheel wells would be the 'first line of defense' against tire noise..
I agree about the "first line of defense". It will be interesting to see just how different the 839-associated tirewell liners are from the standard ones. I think the potential for a substantial difference in noise is significant if they are much better insulated.
How thick was the foam insulation you used inside your liners? Was there lots of room?
I'm happy to report that I've successfully installed all four laminated acoustic side windows. I could never have done it without the very kind assistance of @konigstiger who provided the instructions for replacing the windows, so many thanks!
The front windows are not terribly difficult. Probably the worst part is simply unhooking the electrical connectors, especially on the midrange speaker, without breaking anything. The rears are quite a bit more involved. The entire one-piece seal that spans the top of the door and seals around both sides of the crank window and the quarter pane must be removed and done without crimping the top section of the seal. Reinstalling it is quite tricky and absolutely requires the special Mercedes evaporative antifriction agent prescribed by the instructions. You could never get the seals back in the channels inside the door otherwise. Thankfully managed to get everything put back together without breaking anything! Took about 8 hours for both rears.
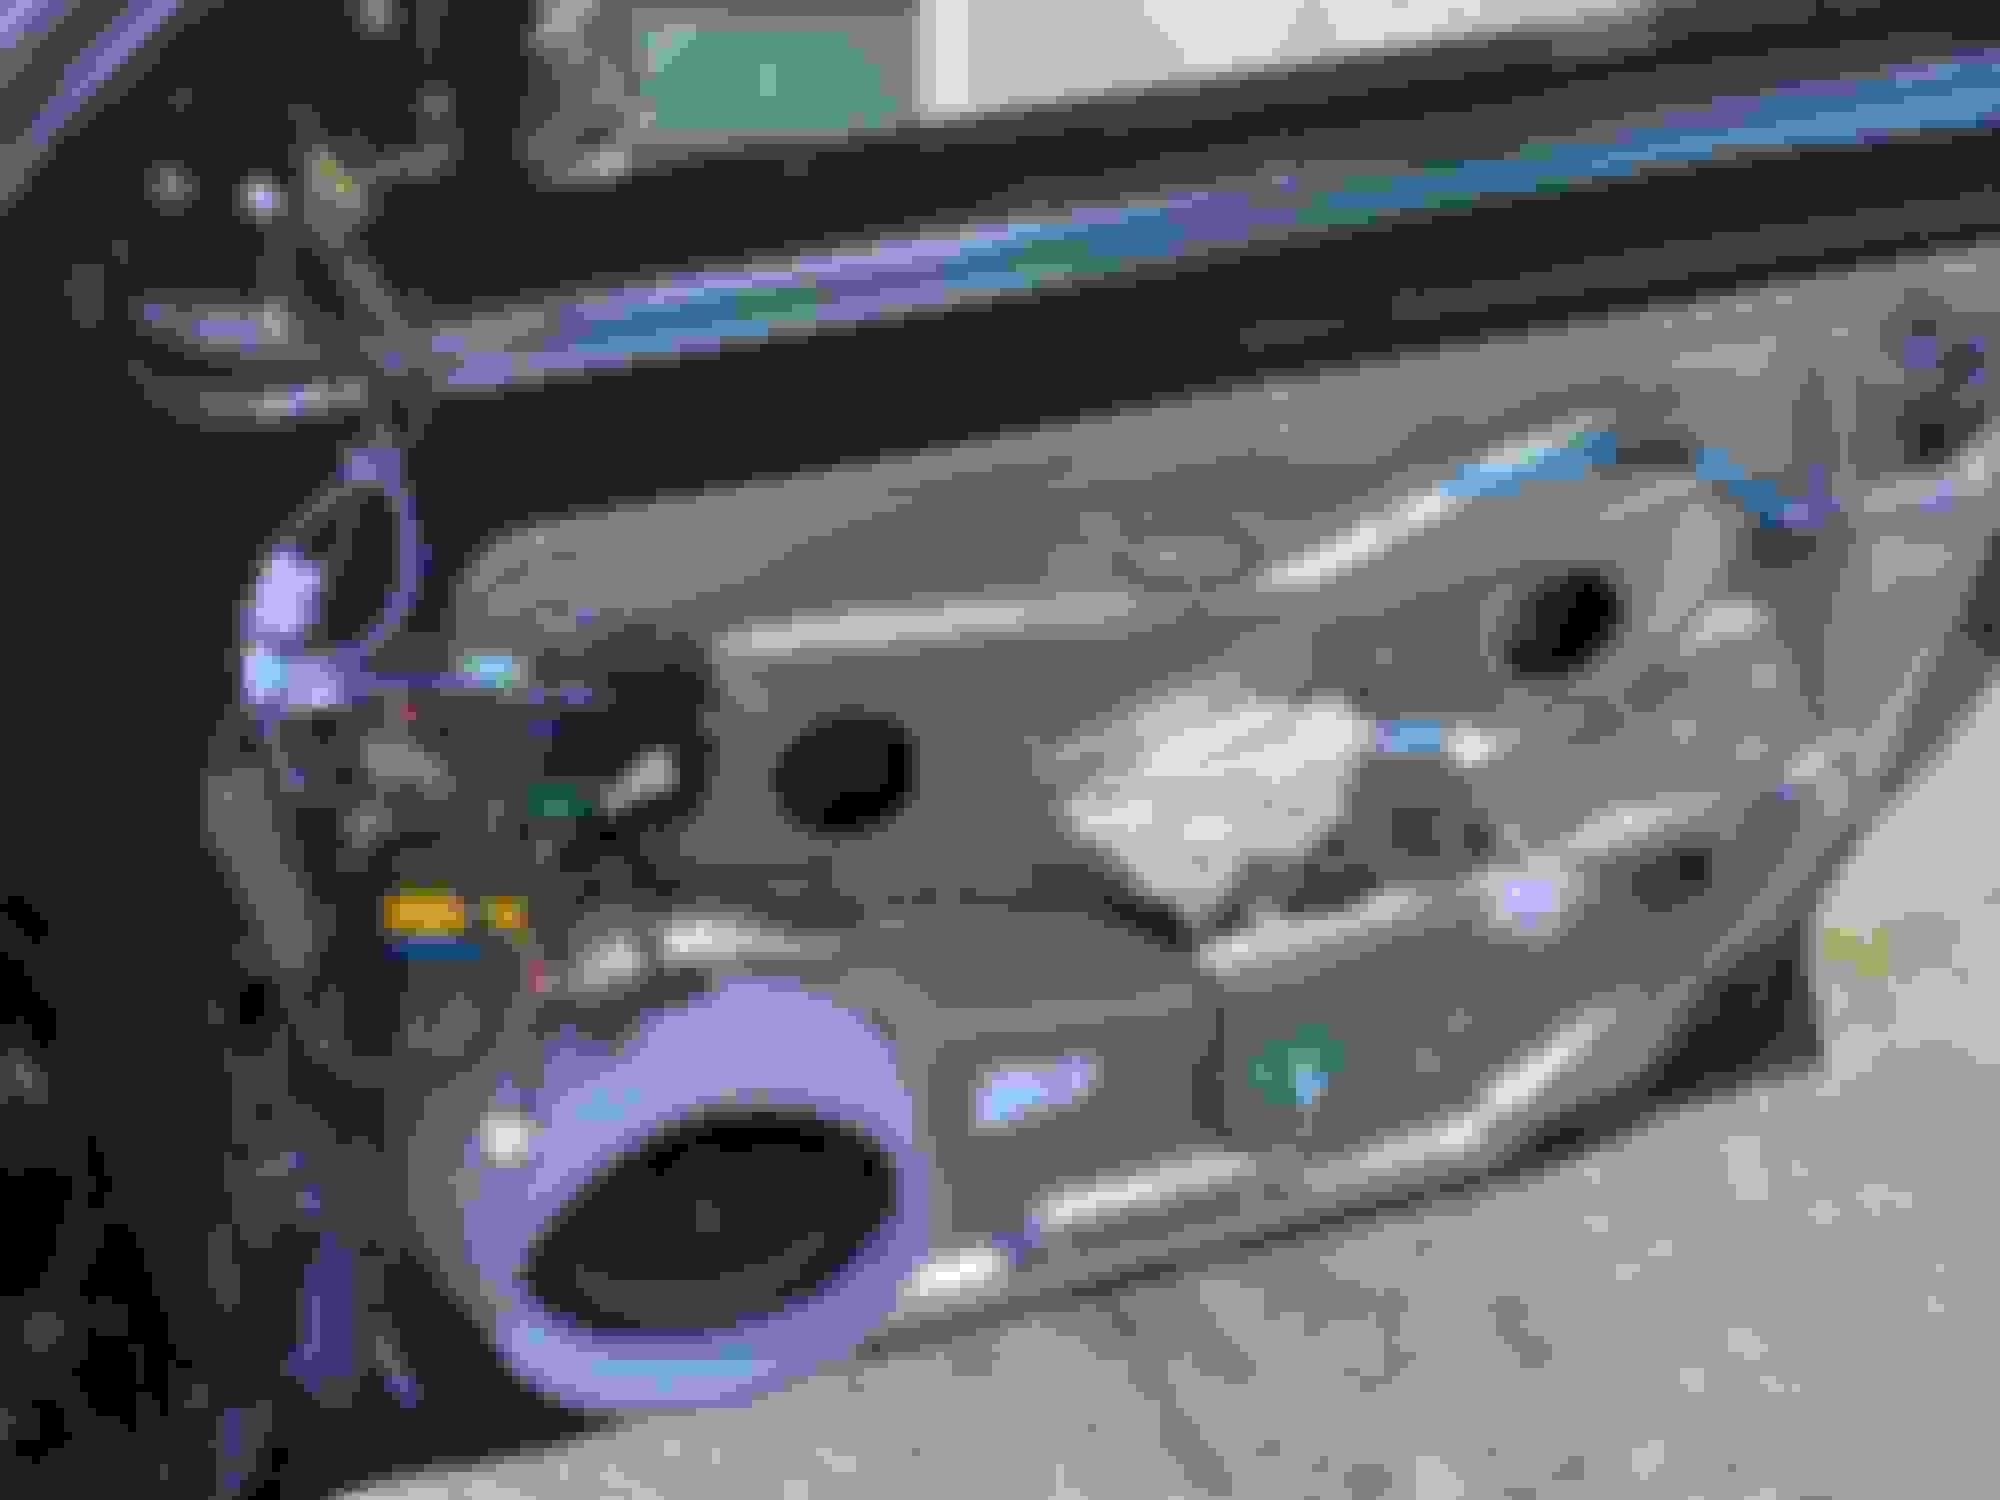
The 839 Laminated Acoustic Windows options package also prescribes foam rings that surround the woofers on each door and seal them against the speaker grilles in the door cards. I think that this serves multiple purposes - it keeps noise from inside the door card from coming out of the speaker grills and it also helps prevent rattles. It might also keep noise from the speaker from getting inside the door card and resonating. Anyway, I added all four, you can see before and after in the pictures below.
I also added a little bit of constrained layer butyl rubber and aluminum foil (Second Skin Dampifier) damping material to the metal door panels behind the door cards. The intention was not so much to reduce cabin noise levels, but to help the stereo sound better. The metal door panels are the enclosure for the woofers and other members have reported that damping this area improves the audio. And while I wasn't expecting much reduction in noise, it's easy insurance to make the door panels a bit deader. 20-25% coverage gets about 90% the damping benefit of full coverage. I used 1 sqft per door which only adds 1.4lb total to the car for all four doors together. See below for before and after pictures of the front and rear doors.
I also plugged the rubber tubes that run the wiring harness from the doorframe into the doors with little pieces of 3M Thinsulate to help prevent any exterior noise from getting inside of the door skins. Any absorptive material that you can push firmly into the tubes near where the wires exit the door would work fine.
I'm happy to report that the stereo does indeed sound much better. Bass and midbass are tighter and cleaner and there is more definition throughout the entire frequency spectrum. A lovely side effect of this project and an easy modification for anybody seeking better audio. I would highly recommend a similar damping scheme and adding the woofer isolating foam pieces.
I have not had a chance to measure the improvements in SPL from the windows and door treatments yet, however the difference is clearly audible now that all four windows are installed. There is essentially no wind noise left in the car, only the tiniest hint around the windshield, even at 75mph. The feeling of a slight whistling/wind around my left ear at speed is totally gone. It now seems that all noise (except the AC fan and tiny diesel growl) in the car clearly comes from around the rear seat - which means rear tires. This is excellent news as the entire rest of the project focuses on reducing rear tire noise!
Even if others aren't interested in removing the rear carpet, trunk lining, and wheel wells to add further 839 materials I can say, even in the absence of measurement, that retrofitting the laminated windows is worthwhile for those sensitive to noise. The improvement makes me even more excited to move forward with the project and see how much noise I can eliminate from the car!
Front Door before constrained layer damping. Note that the 839 foam woofer isolator ring is present (grey).
Front door after constrained layer damping installed. For some reason I removed the woofer isolator ring for this photo.
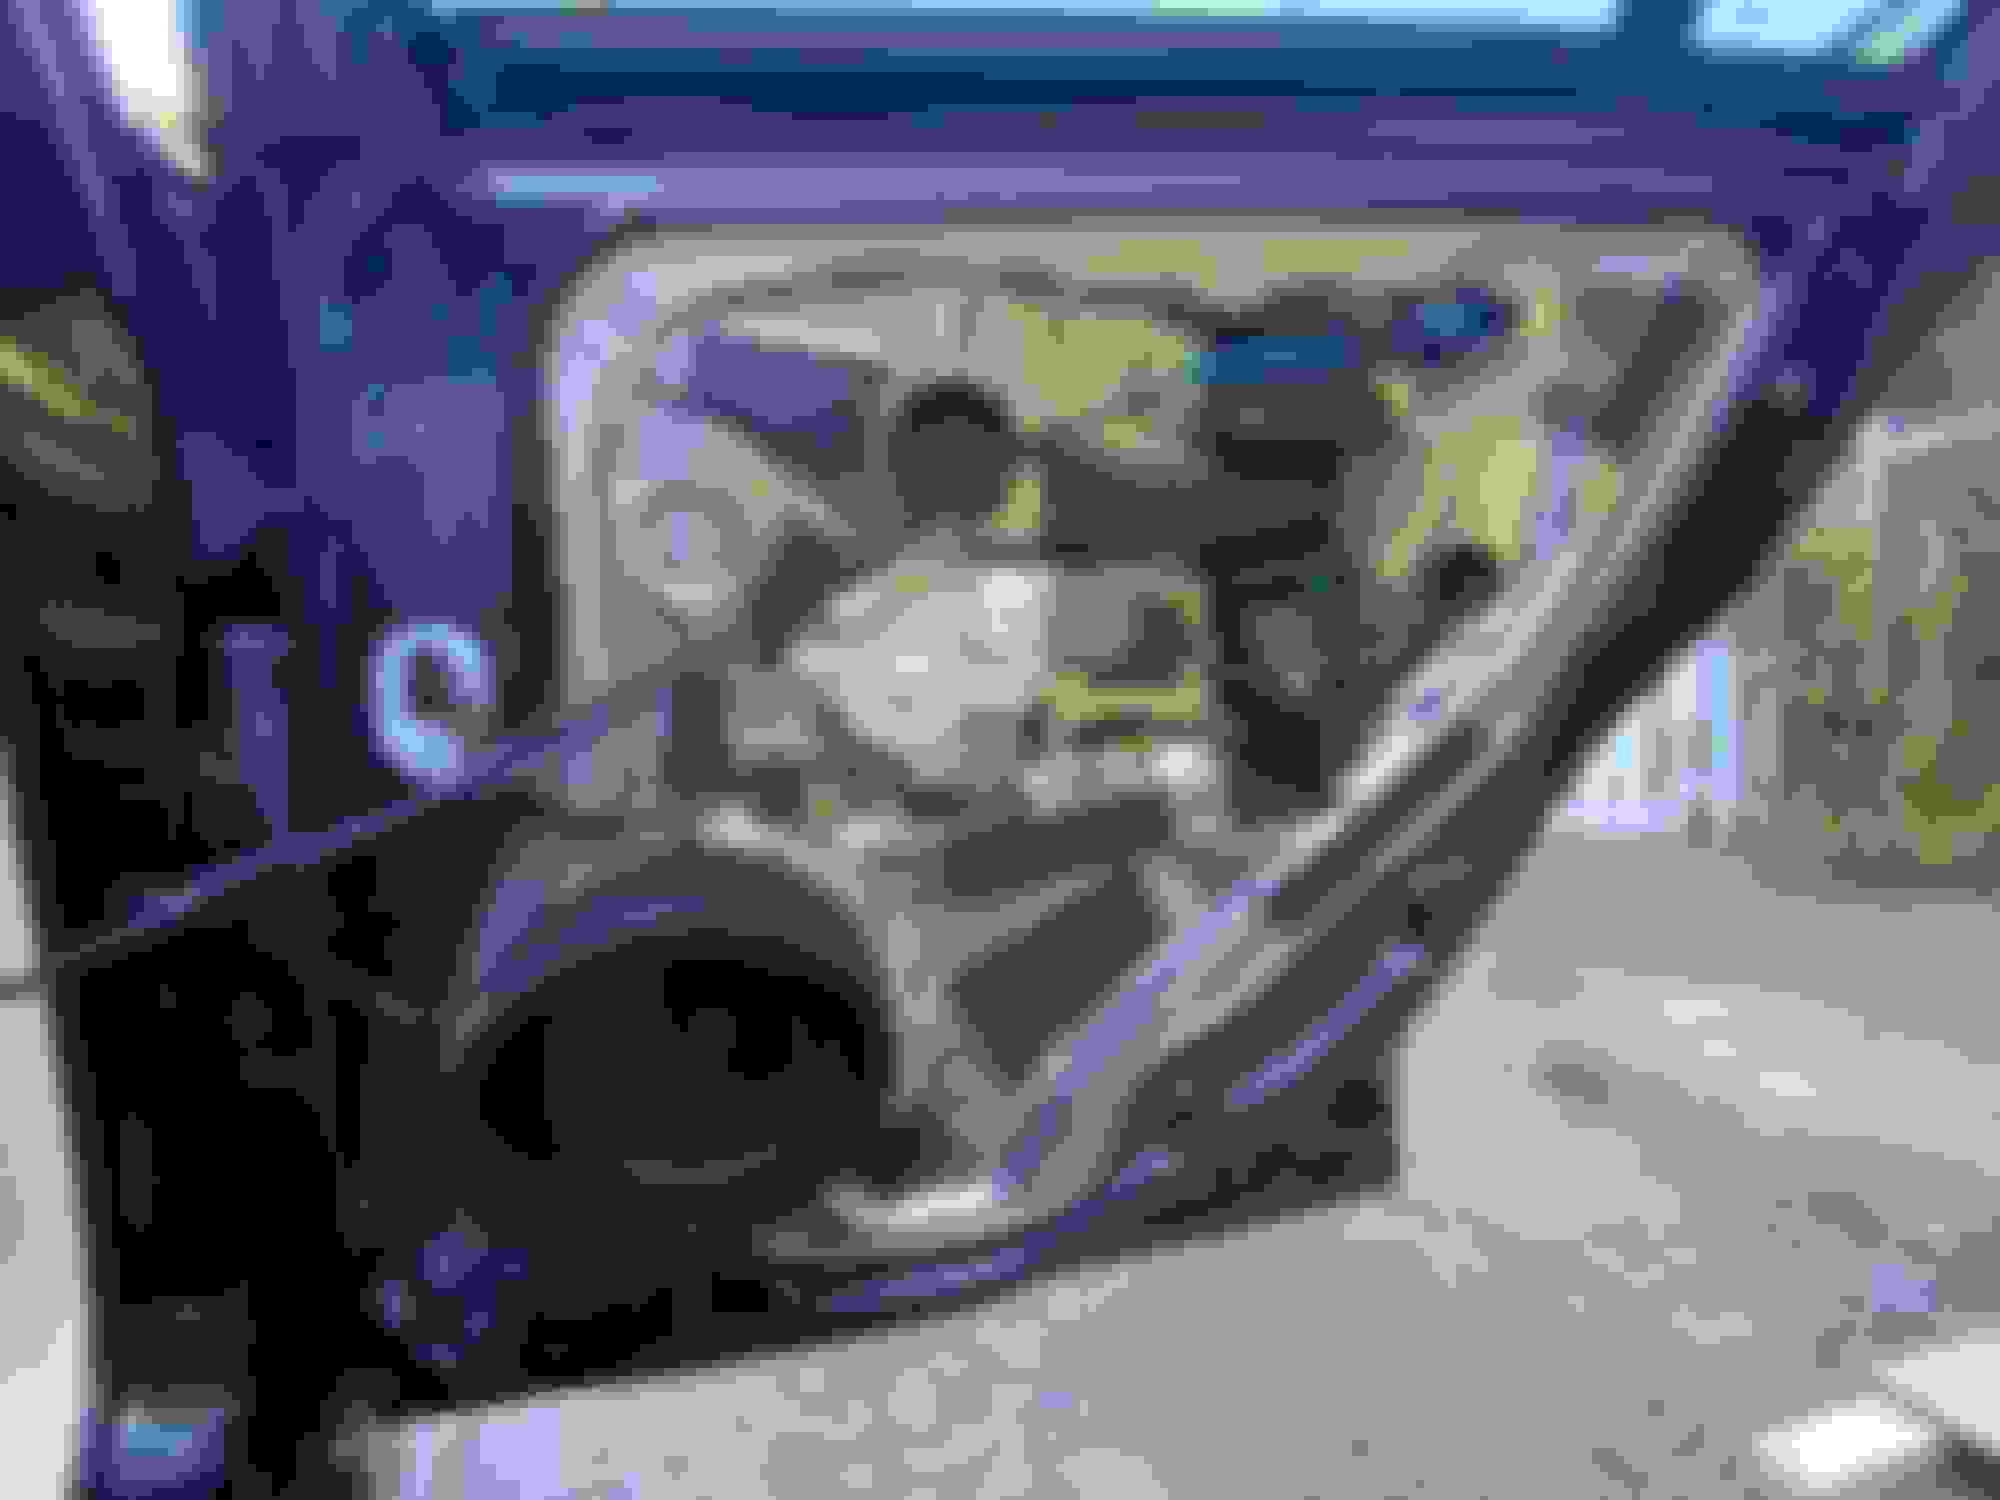
Rear door before woofer isolator and damping installed.
Rear door with woofer isolator and damping installed.
You had to have removed the rivets to the door metal panel (not sure what those are called) to replace the windows correct?
Inside the door themselves, was there room to say, add the deadening material to the door? I wonder if that would be more beneficial than the little strips added to the metal panel?
Thankfully no riveting is required to replace the windows. The window clamp bolts are accessible through the small round access holes that are covered with the removable black seals. The windows then lift upward and out of the door frames, although the seals do have to be removed for the rear windows. Looking inside the doors with a flashlight, MB already has some damping material on the outer door skin. The damping that I applied on the inner door skin is mostly to reduce resonance from the woofer mounted in the door. The coverage that I used of 20-25% delivers about 90% of the benefit of 100% coverage, so I didn�t feel the need to use more. Think about how just your finger can damp the ringing of a cymbal, you don�t have to cover the entire thing. Also, the inner door panel is closest to the cabin, so damping that will have the most effect on what reaches the cabin.
A more extreme installation, like a full stereo upgrade, could definitely go further. The installer in the thread I link above did remove the drivers and replace them with aftermarket units. He also added absorptive materials between the door panels to absorb the woofer backwave and more damping on the outer door skin to get that last few percent of benefit.
I specifically wanted to avoid drilling out any rivets for this project. I almost had to after I lost a torx bit in a rear door, but thankfully half an hour of magnet fishing managed to retrieve it.
T
Can you tell if the area is well sealed against moisture? One concern with adding aftermarket materials is that they can retain and trap water against the metal, promoting rust and corrosion and possible mold/mildew. If it is well protected against moisture, I would likely damp the sidewalls to prevent vibration and then fill it with absorbing insulation. Perhaps 3M Thinnsulate, but as the area is totally separate from the cabin, fiberglass might be sufficient and quite a bit cheaper.
If it rain very heavy and often and road has high water level and you pass such water at high speed, this green zone can be wet because the plastic wheel well liner is two piece and opening for mchperson strut.
Super wet no, but damp is certain. At least first 15cm from bottom of this cavity will be wet.
Yes, agree if the acoustic material can retain water moisture, it is not good in the long run.
Good to know, thank you. Oregon is very wet in the winters. Not lots of standing water, but constant drizzle and plenty of rainstorms.
Perhaps I can restrict the area in which the materials are installed or seal them off with some plastic... lots to think about. This area would be last chronologically in my project since so much more noise seems to be coming from the rear end.
Purpose was better sound quality as I actually enjoy the hearing the road / exhaust.
Upgrading the speakers, amp, and sub.
Still in the middle of the project.
No noticeable difference in road noise thus far.
Significant gains in audio quality.
Much more mid bass.
Replaced stock speakers with 6.5 inch components.
2nd pic is the rear deck.
Excellent! Your work looks very neat!
If audio quality is a goal, you should purchase the four foam rings that Mercedes specifies to surround the woofers and seal them again the grills in the door cards. They are specified for both 839 Laminated Acoustic Glass and for 811 High End Sound System (B&O): Front "Absorbing Door" A 218 682 02 08 and Rear "Elastomer Fitting" A 204 722 08 42. They have significantly improved my bass and mid-bass at minimal expense and effort if your door cards are already removed.
Can you install the rings around the four door woofers without removing anything other than the door cards? Or do you also have to remove the woofers?
Only the door cards need to be removed. The foam rings go around the plastic mounts for the woofers that are riveted into the metal inner door panels. My photos in the earlier post show the doors with and without the foam rings. Installation takes about 10 seconds once the door cards are off
 08-26-2020, 12:24 AM


 : The shared screw mounting hole is below