When you click on links to various merchants on this site and make a purchase, this can result in this site earning a commission. Affiliate programs and affiliations include, but are not limited to, the eBay Partner Network.
Good thing my traveling laptop has HPFP scoped measurement.
Max allowed attachment is only 20MB, so I give you page 16 to 20 only.
Here is what I been measuring.
IDLING
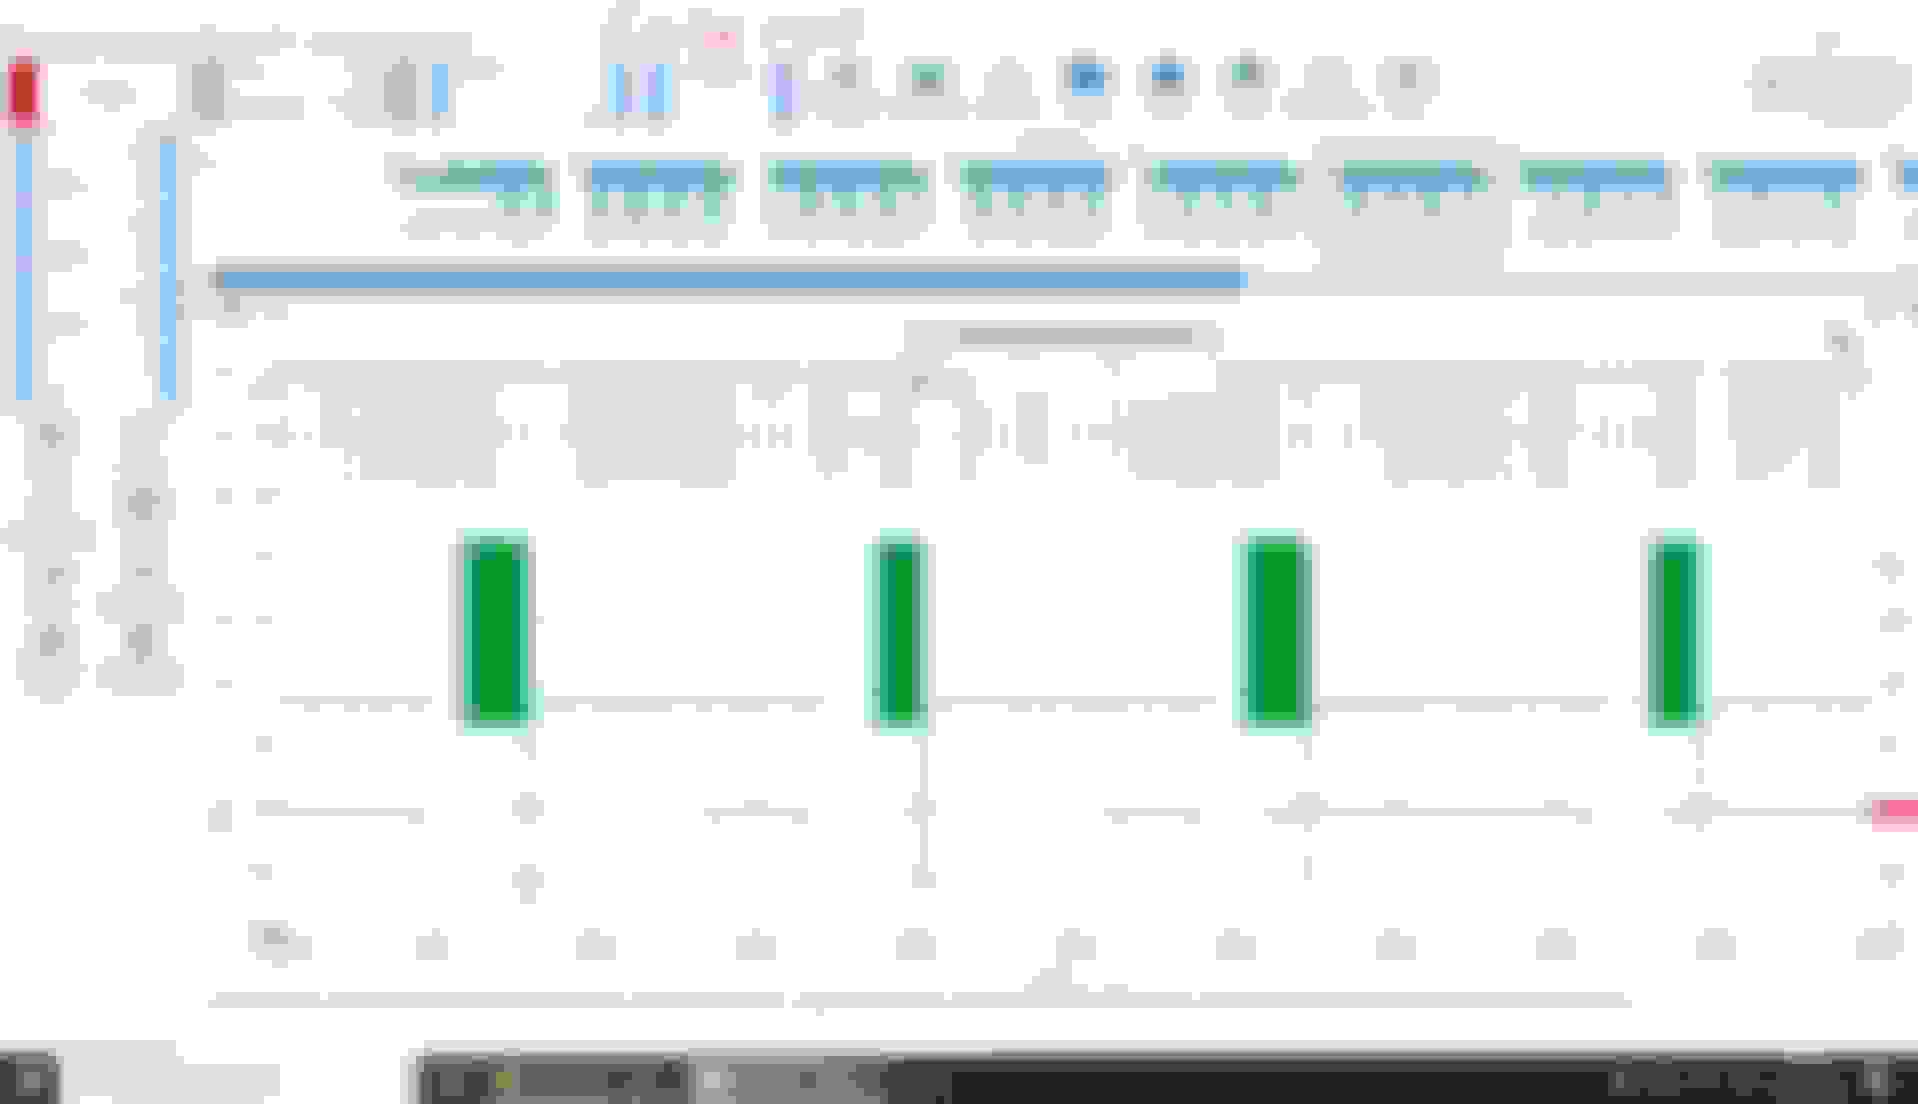
M276.820 3.0 Turbo 4 fuel lobes on Bank 1 intake camshaft RPM is 624
Degrees shown is CRANKSHAFT at 720 degrees, complete 4 cycle.
Using CRANK start 1st tooth as "zero", the 1st activation of Y94 is at 130.9 degrees crankshaft.
Start of 1st to 2nd activations are 179.4 degrees apart.
2nd to 3rd activations are 180.7 degrees apart.
3rd to 4th activations are 179.4 degrees apart.
4th to next one are 180.1 degrees apart.
Duration of 1st Y94 activation is 88.31 degrees crankshaft or 44.15 degrees camshaft.
In page edited 20MB pico file attachment, page 17 above then becomes page 2 when you want to see it. Above shows 312 RPM because I use 720 degrees of the ruler
to represent 1 complete 4 cycle, and not 1 complete crankshaft 360* revolution.
.
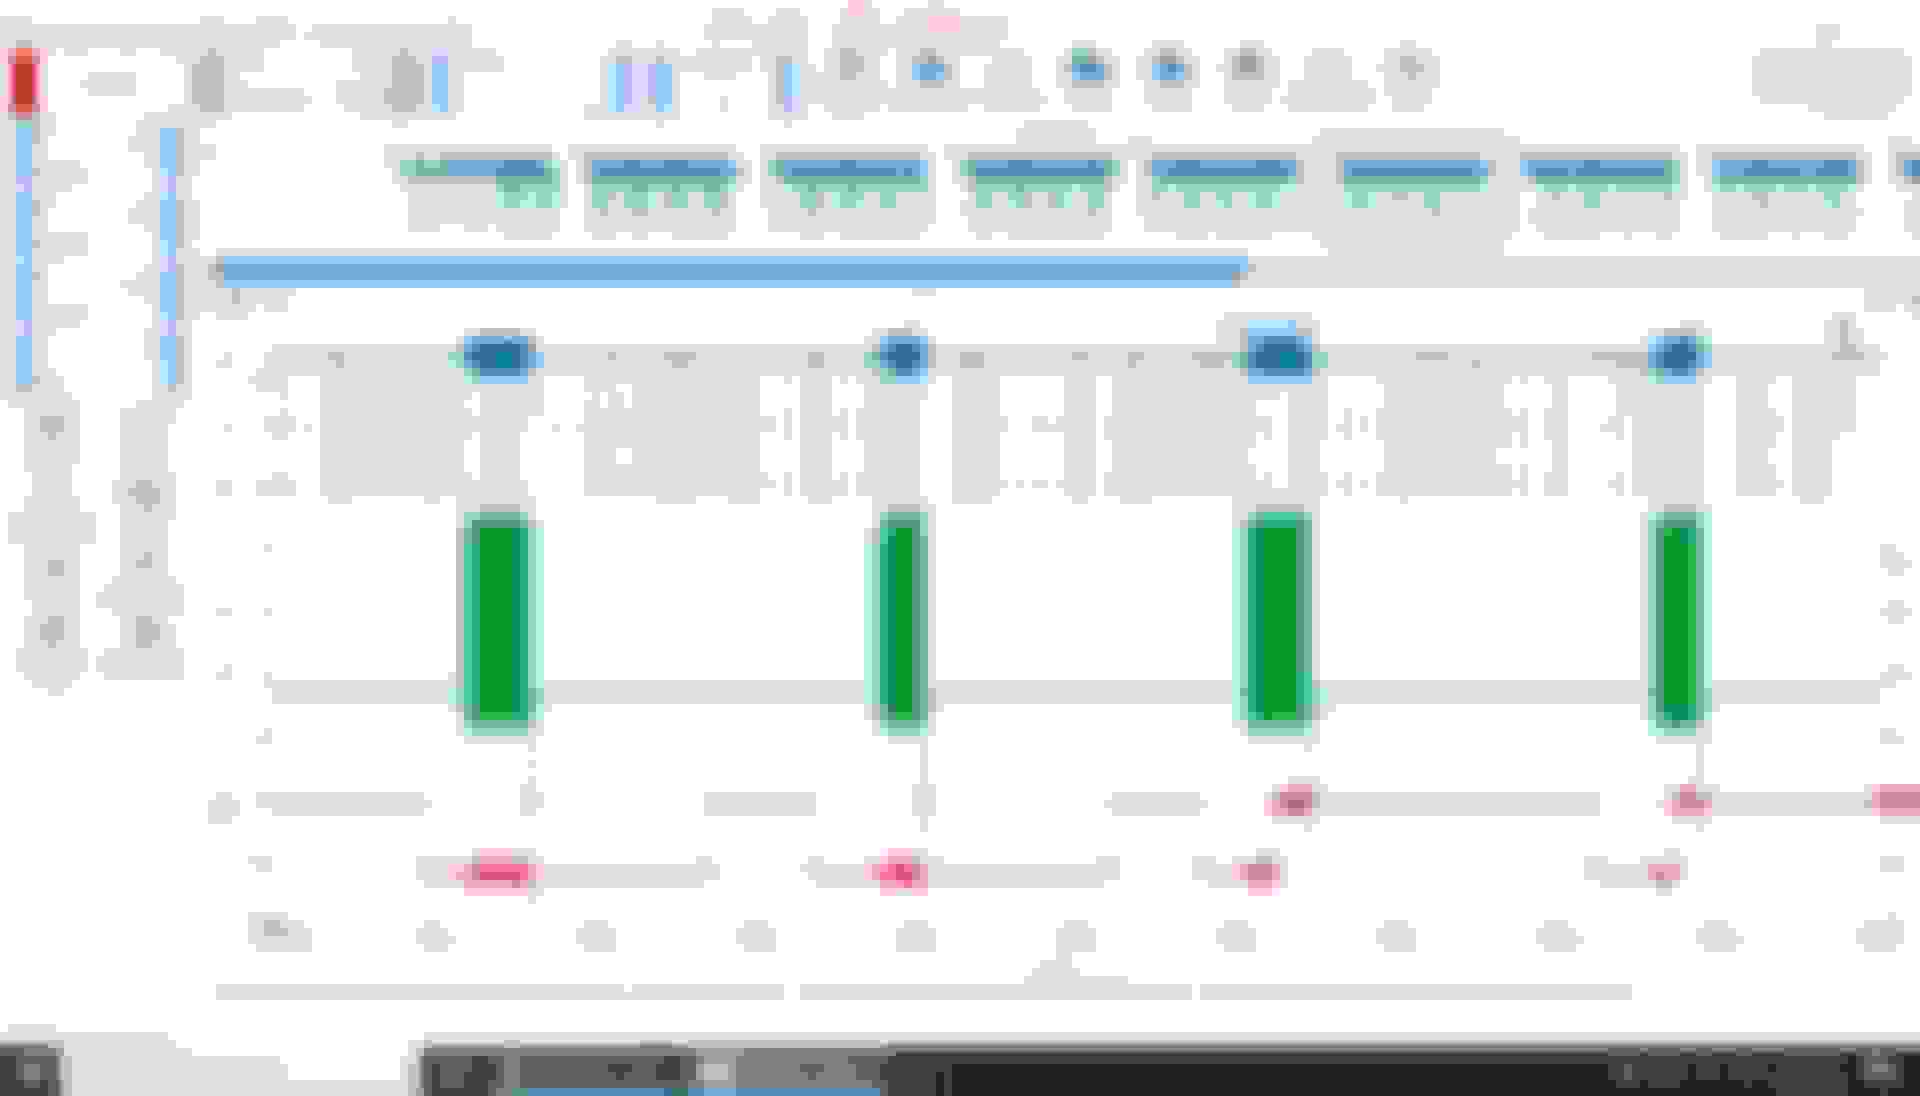
Below : Using CRANK start 1st tooth as "zero", the 1st activation of Y94 is at 130.9 degrees crankshaft.
.
Below : The ruler start point for activation of Y94 is after the first signal rise. CLOSE UP of.............Using CRANK start 1st tooth as "zero", the 1st activation of Y94 is at 130.9 degrees crankshaft.
.
Below : Duration of 1st Y94 activation is 88.31 degrees crankshaft or 44.15 degrees camshaft, when measured end to end as seen below.
Here I am asuming the ECM define Y94 actuation angle is end to end of the signal, like below. We know 90 degrees CRANK ( or 45 degrees CAM) is the max limit for my engine.
============== END OF PAGE 17 of master file ( or page 2 of attached slimmed down file )==========================
Now is page 19 of master file or page 4 of attached slim down file.
RPM 2,658 VVT would be dynamic at this point in time.
Degrees shown is CRANKSHAFT at 720 degrees. Using CRANK start 1st tooth as "zero", the 1st activation of Y94 is at 91.97 degrees crankshaft.
Start of 1st to 2nd activations are 183.8 degrees apart.
2nd to 3rd activations are 178.8 degrees apart.
3rd to 4th activations are 196.5 degrees apart.
4th to next one are no activation by Y94
Duration of 1st Y94 activation is 39.66 degrees crankshaft or 19.83 degrees camshaft.
You can google about pico 7 and use its math channel to see RPM is rising or decreasing during capture of page 19.
This test I was revving up the engine, but at standstill and neutral. So there is not much fuel burn required.
If you see the mini pages 19, 20 and 21 , you can see that the Y94 is totally not activated by ECM by page 20 when I let go of the throttle by middle of page 19.
So throttle pedal at zero input, will de-activate the Y94.
By page 20 beginning of capture, RPM is already slowing down to 2,100 ish. 1 Page on these total 32 captures is worth only 0.5 seconds or 500millisecond per page.
Last edited by S-Prihadi; Nov 18, 2023 at 09:15 AM.
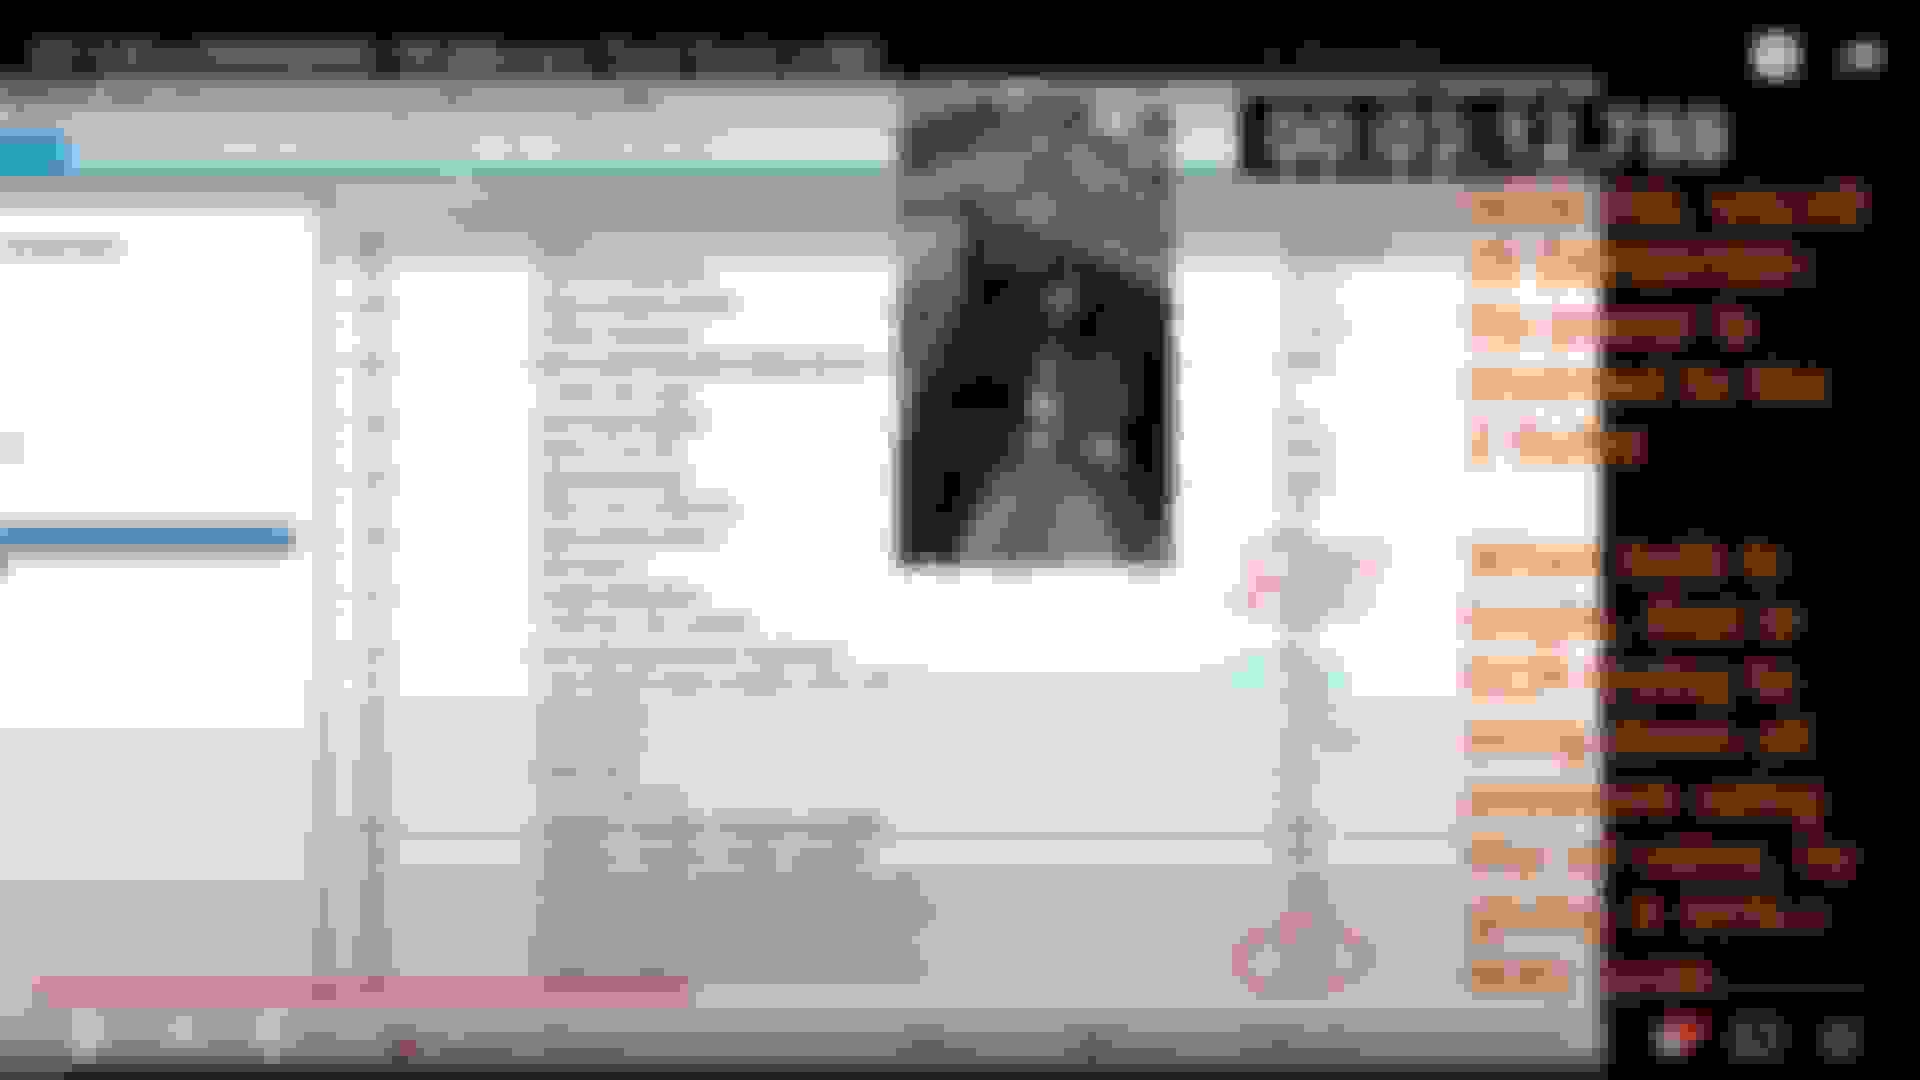
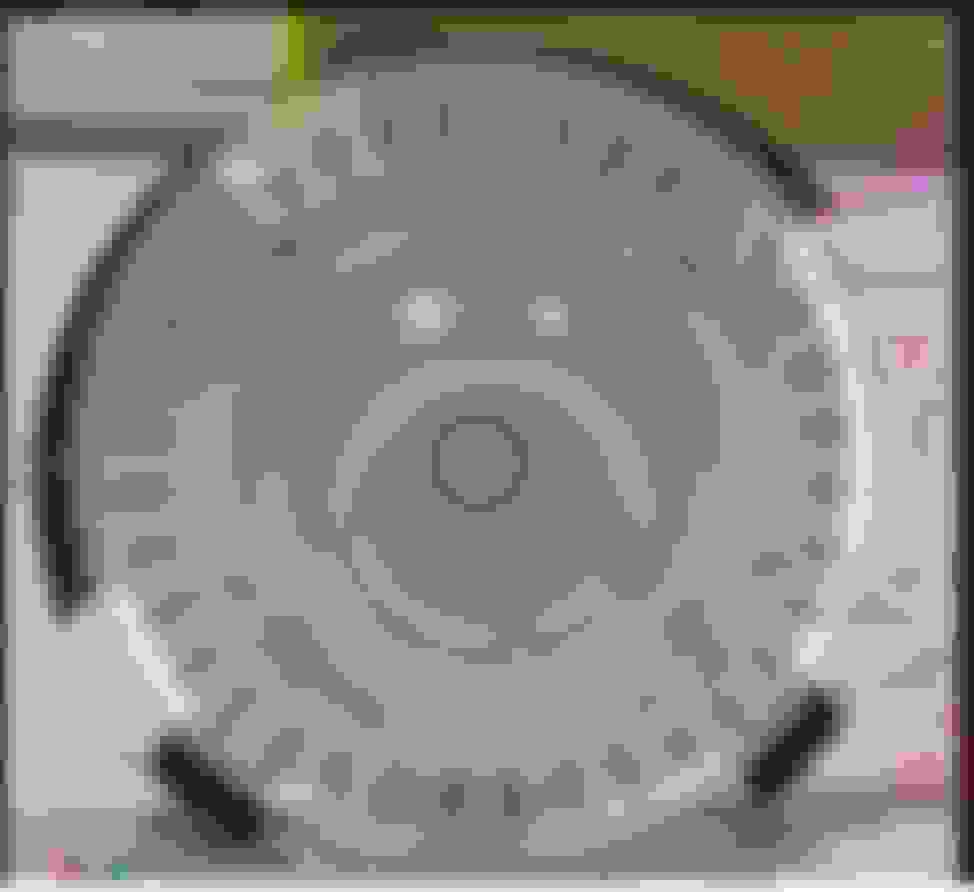
I want to throw up , need to visually inspect the 4 peaks position of the lobes to really learn. I am getting migrain now.
The total angle of actuation between page 17 and 19 is way exceeding 45 degrees camshaft ( mine 4 lobes )....weird.
For my engine. 4 lobes.
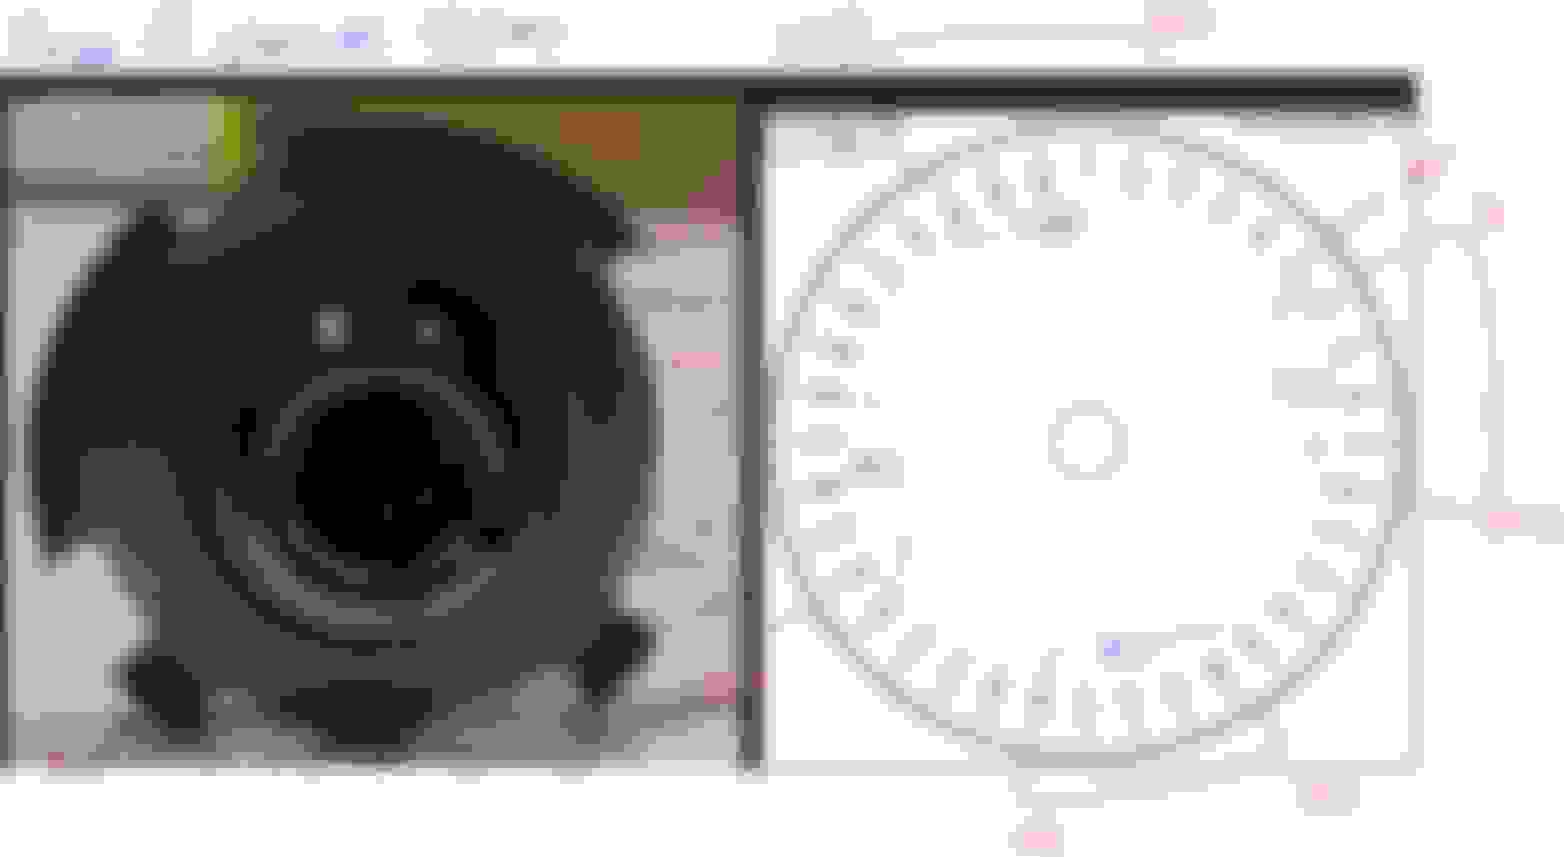
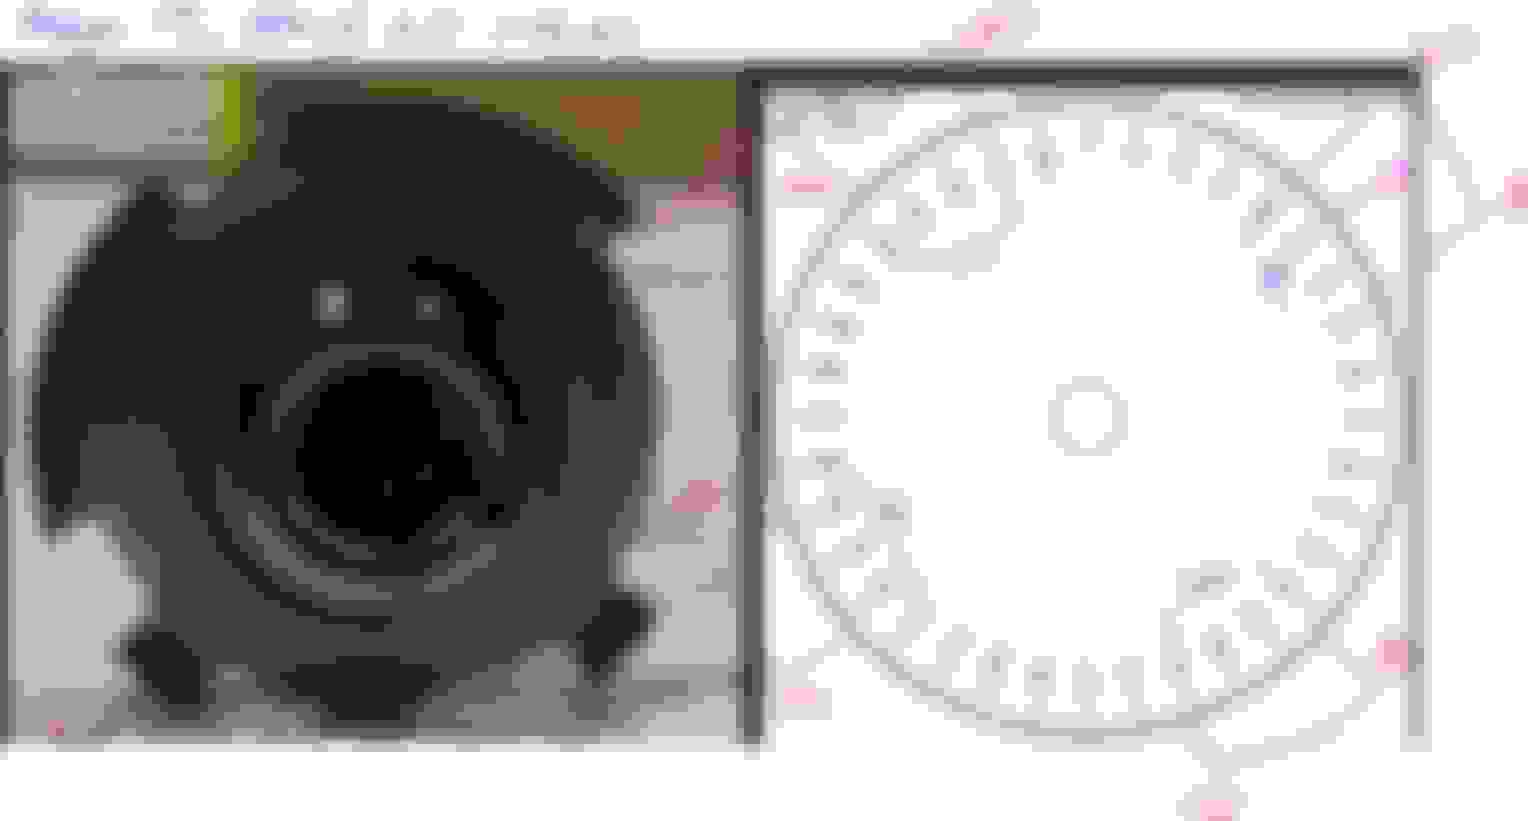
My laptop does not have image editor which can spin/rotate the printed circular template to make its ZERO matched the Camshaft tone wheel assumed zero.
.
Page 17
.
=========================
.
Page 19
.
.
The range of 55 - 58 camshaft degrees as region of Y94 actuations between page 17 and 19 is 10 to 13 degrees more than the available window of 45 degrees,
if we assume Y94 activation is to not exceed camshaft valley to peak only.
The Y94 PWM pulsing also looks different at lower RPM of 624 on page 17 , compared to higher RPM ( 2,658 ) of page 19.
Last edited by S-Prihadi; Nov 18, 2023 at 02:20 PM.
Reason: typo
On that last image 'why in the middle', there seems to be a decrease of PWM duty cycle after the very short pause. From what I've been reading so far, the first long, high pulse is to get the solenoid moving in the first place, then the PWM signal should hold it steady. Not sure how advanced the Bosch system is, but in theory it would be possible to pause for a very short duration (as you've shown, it's only a 0.3ms gap), to partially open the valve and hold it in that position.
I've also read some document (I think it was a patent), talking about very carefully PWM pulsing to decrease the noise of the solenoid opening and closing, thus increasing comfort of the car. So there can be a lot going on in the actual control, it's nigh on impossible to get a complete understanding from just the scope signal. If someone from Bosch could chime in, they can probably explain the exact chosen implementation on this system.
Oh, and then there is this thing in adjusting values to get the required fuel pressure. This should be a closed-loop system with some hysteresis control as well. This then probably linked to the cam phasing read from the camshaft hall sensor. And as everything is moving all at once (input from temperature sensors, air flow sensors, lambda sensors, hall sensors, throttle sensor, rail pressure, control of ignition timing, cam phasing, injector timing and duration, throttle valve opening, EGR flow, turbo pressure), there will be continuous variations in the PWM signal to Y94.. Very hard to get the full picture.
Now that the various signals are properly readable, I first captures the intake cams with the solenoids disconnected. The cam signals are identical, maybe 0.5% deviation between the two. So that's okay. Then I captured crank versus one of the intake cams, this gives below relation. It seems that this timing is identical to the 3.0 TT engine from yours, S-Prihadi. Next step is disconnecting the HPFP solenoid.
Just did the test with the solenoid connector removed. Weird results so far.
As a confirmation, the solenoid sound from the HPFP is absent without the PWM signal. So that confirms that the solenoid valve is active and working. That was expected, but important to rule out.
Then I checked the rail pressure without the solenoid, basically making sure the HPFP is inoperable. I was expecting to see the same initial pressure buildup during cranking, but no:
The dip on the left side is the startup, the steady rise on the right side starts after switching off the engine.
I had a manual pressure gauge connected to the Schrader valve during this time, that kept reading a steady 5 bar. Of course, the rail pressure reading roughly 1 bar during idling can be misleading, I don't think these piezo sensor are really that accurate in absolute readings. I interpret the steady rise after shutoff as a similar effect on higher pressure, due to some heat soak combined with the check valve in the HPFP.
Compared to the graph with the solenoid connected, it's not exactly the effect I expected. Below the graph with HPFP operational:
Does this confirm partial operation of the HPFP? Would that make sense?
Now that the various signals are properly readable, I first captures the intake cams with the solenoids disconnected. The cam signals are identical, maybe 0.5% deviation between the two. So that's okay. Then I captured crank versus one of the intake cams, this gives below relation. It seems that this timing is identical to the 3.0 TT engine from yours, S-Prihadi. Next step is disconnecting the HPFP solenoid.
Where is your Y94 activation waveform ?
Maybe if you worry of noise or possible negative effect of shared ground of the scope, capture it alone single channel, no need CamPos-Sensor
Here's one, singled out. Just after startup, so duty cycle is pretty low. Takes another second to go to wider signals.
BTW, I think the negative spike at the end is the collapse of the magnetic field in the solenoid, confirming the solenoid to be in good state. This might be of use for others, if this negative spike would not be there, it would indicate a defective solenoid I would say.
Just did the test with the solenoid connector removed. Weird results so far.
As a confirmation, the solenoid sound from the HPFP is absent without the PWM signal. So that confirms that the solenoid valve is active and working. That was expected, but important to rule out.
Then I checked the rail pressure without the solenoid, basically making sure the HPFP is inoperable. I was expecting to see the same initial pressure buildup during cranking, but no:
The dip on the left side is the startup, the steady rise on the right side starts after switching off the engine. Surya Writes in blue : ABOVE pressure drop/dip (LOWER THAN 6 BAR ) can be because injector tried to fire , while HPFP get disconected.? The rise could be low pressure fuel pump do not immediately turn off, it may want to maintain the 6 BAR for next cranking.
I had a manual pressure gauge connected to the Schrader valve during this time, that kept reading a steady 5 bar. Of course, the rail pressure reading roughly 1 bar during idling can be misleading, I don't think these piezo sensor are really that accurate in absolute readings. I interpret the steady rise after shutoff as a similar effect on higher pressure, due to some heat soak combined with the check valve in the HPFP. Did you already remove the check-valve ( if the hose has it ) in your fuel pressure test kit ? Some may have the check-vave installed and maintain that pressure till you depress the venting valve.
Compared to the graph with the solenoid connected, it's not exactly the effect I expected. Below the graph with HPFP operational:
Does this confirm partial operation of the HPFP? Would that make sense?
Hmm, took 8 seconds of cranking ( or engine idling ? ) to hit 40 BAR ? I saw it as at 52 seconds pressure starts to rise and peak at 60 seconds before dip down to 6 bar at approx 64 seconds
Surya Writes in blue : ABOVE pressure drop/dip (LOWER THAN 6 BAR ) can be because injector tried to fire , while HPFP get disconected.? The rise could be low pressure fuel pump do not immediately turn off, it may want to maintain the 6 BAR for next cranking.
During the dip the engine is idling, so yeah, injectors are firing. I don't think the pressure is accurate enough to compare it to the manual gauge. Low side pressure is stable all the time on the manual gauge during this graph.
Did you already remove the check-valve ( if the hose has it ) in your fuel pressure test kit ? Some may have the check-vave installed and maintain that pressure till you depress the venting valve.
I don't think there is a check valve in the gauge, it loses pressure the moment I unscrew it. So it shows actual low side pressure.
Hmm, took 8 seconds of cranking ( or engine idling ? ) to hit 40 BAR ? I saw it as at 52 seconds pressure starts to rise and peak at 60 seconds before dip down to 6 bar at approx 64 seconds
Not sure on the timescale here. If I check the rail pressure on mu scope, the rise takes only 0.5s, the drop takes roughly 1.5 seconds.
By any means necessary, before you remove your HPFP fuel pump for fuel lobe peak location inspection, you must scope the waveform of Y94 with the intake cam-pos-sensor AT THE SAME TIME/CAPTURE
to know when/where the Y94 pulsing occurs in respect to cam-pos-sensor tone wheel....which later your HPFP fuel pump removal will confirm the fuel lobes 3 peak location in respect to tone wheel.
Y94 pulsing at the wrong time can produce not enough high pressure
or crazy case Y94 pulsing electrical wise ( the induction coil ) but no movement of the mechanical valve to do the actual valve-close............ is possible too, albeit very unlikely from a new genuine
correct HPFP part number.
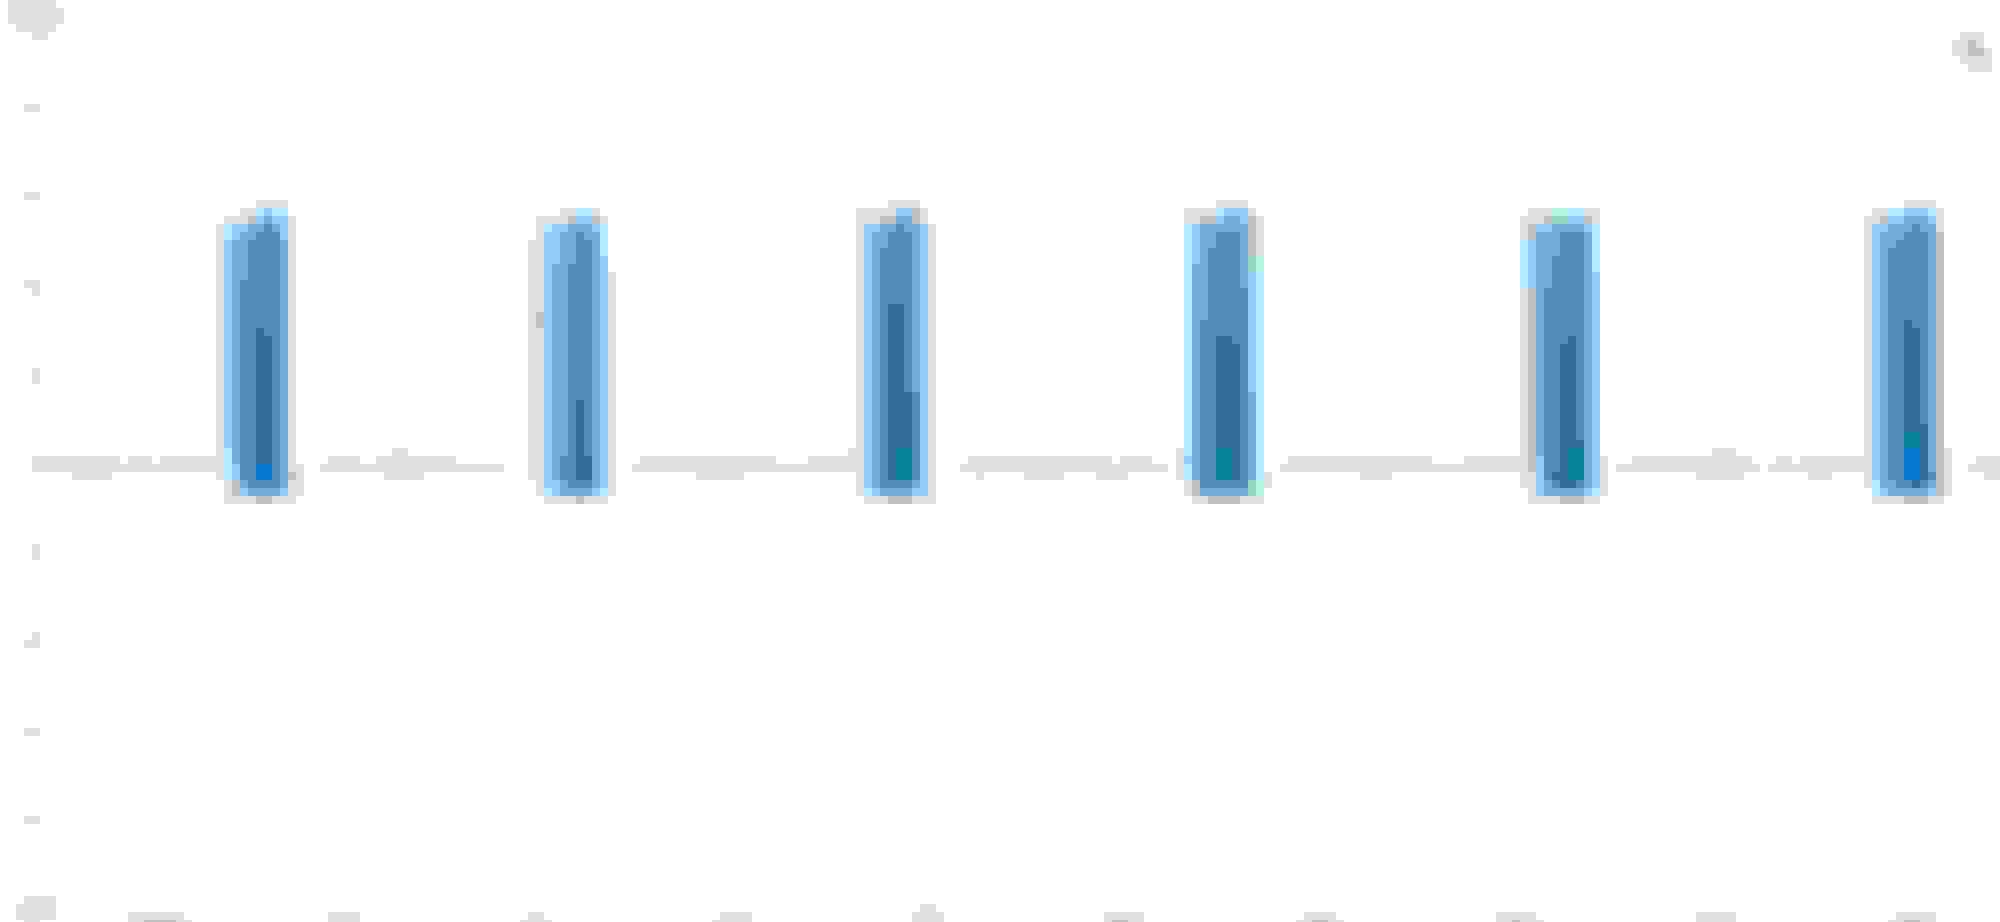
Here's the relation between right intake cam and PWM signal:
While the engine was idling pretty ok with Y94 disconnected, I was able to get some more data from my launch. I'm specifically looking for differences between banks/cylinders that might point at either fuel delivery issues in the rail and lines, or issues with the injectors.
Of particular note, I found specific differences in lambda and 'smooth operation of cylinder x'. As follows:
'Smooth operation of cylinder' 1,2,3: -7.08, -6.06, -5.17
'Smooth operation of cylinder' 4,5,6: 6.96, 6,74,6.75
edit: found a video, showing these have to be in the range -10…10 and units to be 1/min.
Uniformity of lambda of left cylinder bank: 0.66
Uniformity of lambda of right cylinder bank: 0.46
Voltage Of Left Oxygen Sensor Downstream of TWC: 0.11V
Voltage Of Right Oxygen Sensor Downstream of TWC: 0.38V
These are probably narrow-band sensors, and both indicate a lean condition, which would make sense to me for a situation with way too low fuel pressure.
Without a known-good reference, do these values stand out as ok, or are they indicating an issue at a specific bank? Values for injector voltages and injector timing across the cylinders/banks are pretty uniform.
Wow, on your non-floating ground scope it is as though as the noise the Y94 made during its pulsing, injects supression voltage to the intake cam-pos-sensor and its pushing down voltage like 0.3V or more ?
I forgot something :
In the ECM schematic, the wire to the Y94 is supposedly to be twisted one, to reduce EMI. Is your wire still a twisted one ? Just in case previous owner or garage made some repair
and use non twisted wire. It is simple, we can twist it ourself like the CAN BUS and INJECTORS wire.
============ J wrote================== Of particular note, I found specific differences in lambda and 'smooth operation of cylinder x'. As follows:
'Smooth operation of cylinder' 1,2,3: -7.08, -6.06, -5.17
'Smooth operation of cylinder' 4,5,6: 6.96, 6,74,6.75
edit: found a video, showing these have to be in the range -10…10 and units to be 1/min.
Uniformity of lambda of left cylinder bank: 0.66
Uniformity of lambda of right cylinder bank: 0.46
Voltage Of Left Oxygen Sensor Downstream of TWC: 0.11V
Voltage Of Right Oxygen Sensor Downstream of TWC: 0.38V
These are probably narrow-band sensors, and both indicate a lean condition, which would make sense to me for a situation with way too low fuel pressure.
=============================
I honesty do not know a 100% certainty to the values the SMOOTH RUNNING is using.
I believe it is based on crankshaft speed deviation of each cylinder. If the unit is 1/min it is probably RPM value
If using Xentry compression test it shows each cylinder speed deviation. Read here : https://mbworld.org/forums/e-class-w...operation.html
What I can't understand is, what is the reference value or the zero, when the reporting wrote : 'Smooth operation of cylinder' 1,2,3: -7.08, -6.06, -5.17
'Smooth operation of cylinder' 4,5,6: 6.96, 6,74,6.75
Let say cylinder 1 at -7.08 RPM or 1/min , slower by 7.08 RPM compared to what ?
These values are bad, usually 0.9x , but one can only read fair lambda value when engine is running properly and has warmed up too in close loop mode. Uniformity of lambda of left cylinder bank: 0.66
Uniformity of lambda of right cylinder bank: 0.46
Above are the front Lambda sensors or wide band one. If 1.0 = AFR 14.7 gasoline
Your HPFP with pressure so low, its difficult to shift focus to other component at thism point in time, let say injectors.
The lambda front and 02 sensor rear need to be at 400C to get proper reading. Usually in a normal running engine it will take like 10 seconds or so to hit 400C supported by the heater.
However, I notice on my engine, if we play around with ignition to start and stop engine often, the heater of the lambda/02 sensor will be on purpose no more activated by the ECM, even though
the temperature has not reach 400C. This I read in bosch Lamda sensor document, is the condensation protection. Condensation can kill 02/lambda sensor fast if the heater strategy
is not manage to account for it. Our engine front lambda is a wide band and the rear one is the cheapo 02 sensor narrow band.
Voltage Of Left Oxygen Sensor Downstream of TWC: 0.11V
Voltage Of Right Oxygen Sensor Downstream of TWC: 0.38V
These are probably narrow-band sensors, and both indicate a lean condition, which would make sense to me for a situation with way too low fuel pressure.
Yes, above is the rear 02 sensor narrow band. Unit is always voltage 0.1V to approx 0.9V
Last edited by S-Prihadi; Nov 19, 2023 at 11:49 PM.
I scoped my HPFP today, but I was scoping it during a crank-no-start on purpose, which in Xentry we can use COMPRESSION TEST mode.
I tried updating my Baby Launch today, hoping it can have this compression test feature...NOPE, still does not exist.
So I wanted too see Y94 is activated or not during such test, where the engine is not expected to run anyway .
ECM still is pulsing Y94.
Find attached. The signal is a bit filtered, you can turn it OFF, choose DSP.
I also use only the grounds at each sensor and not sharing at engine block. So it is very clean and flat one for the CamPosSensor
Very nice filtering, that really makes for a clean signal! Too bad I cannot directly compare it to my 3-lobe cam, otherwise that would probably give (another) confirmation of correct timing from the ECU.
Strange that there is still a signal to the HPFP in this no-start scenario. Meanwhile I found a local car diagnostic specialist willing to assist in the diagnosis of my car. I've forwarded all findings etc to the guy and I'm awaiting his call.
I'll await this before moving forward. Next step would be to remove the HPFP and measure the timing of the cam lobes. However there is a limit to how many times the high pressure lines can be re-used, so if the guy comes up with any other (non-destructive) tests I can do first, that would be preferred.
The noise which is only there when Y94 is pulsing, that can be filtered out using DSP function.
However, the straightness of the horizontal line of Intake CamPosSensor that is from the ground chosen ...which is the sensor own ground pin number 3.
This makes a big difference compared to using battery ground at battery or engine metal ground. The pin 3 of Intake CamPosSensor is a ground from ECM pin 70.
The last capture I posted was a 2022 capture and I was using shared ground at usually W10, the cable for battery negative post stud at suspension tower.
I have always remembered Bernie Thomson the designer of E-scope and a very smart guy telling his viewer to use battery negative ground. https://automotivetestsolutions.com/products/
The reason is actually E-Scope is a common shared ground and not an up to 30V floating ground Automotive Pico 4425A I am using.
When I was or is using the same series 2000 scope like yours, I got no choice but to use only a common ground, the battery negative and with the limitation I have to keep in mind
to not blow my scope or damage the module I am scoping.
In fact our GDI injector its pulsing voltage, even pico floating ground 4425A can't handle it and will distort other channels ( when more than 1 channel is used ).... so I needed to use Differential Probe, buy it separately .
===========
Lets hope the new guy can assist you and solve this mystery...
Got feedback from the diagnostics guy. All things considered, he also thinks it's probably an issue with the cam driving the HPFP. But before I take the HPFP and housing off, he suggested to crank the car with all injectors disconnected, as a final step to validate if there are no leaks anywhere. Probable outcome would be that there is still not enough pressure buildup.
However, reading the engine manual etc, I noticed several warnings regarding disconnecting the injectors. Is it safe to disconnect all injectors and then crank the engine, or will I damage the drivers in the ECU doing this?
For piezo injector, you can not disconnect the wire to injector when engine is running.
This is because it will make a piezo injector stay open. Piezo need circuit or take power from its piezo stack in order to shrink/close the pintle.
Piezo is both a power generator and a power consumer, depends which direction one want it to expand.
If you remove all injectors and then crank, the ECU will detect the fault and should not do any harm to your ECU.
Perhaps Ignition ON Engine Off a few times to make sure ECU detect open circuits on all 6 injectors.
Not much of an update due to a busy schedule. So far I've only be able to test things with all injectors disconnected.
Interestingly, even with disconnected injectors, there is still roughly the same pressure over time effect while cranking the engine. So the new pump, with the new follower, just isn't creating any usable pressure. Next step is to unmount the pump (already done) and unmount the pump housing (pending) to be able to check the cam lobe position driving the pump.
I've got the fuel pump and fuel pump housing off, bit fiddly with fuel lines in the way and the bolts for the housing a bit hidden:
First check shows the cam to be in about the expected position, compared to various eBay pictures I was able to find. I have not been able yet to find any visual marking like a laser etching to check if it hasn't moved. I can however now get a good reading of the position compared to the tone wheel and check for valid timing of the pump.
While pondering on the cam, my eyes wandered over the top of the engine. I stared at the injectors for a while, then realisation kicked in. All injector plugs where attached, all coil plugs where disconnected. Sigh, my 'check engine cranking with disconnected injectors' seems to have failed miserably :-(
Short version: the car suddenly decided to work again, with fuel pressure at 200 bar (idle), smooth as silk. Not done a full test-drive yet, so not sure if the problem really has disappeared.
Long version: After the festive weeks, I found some time to work on the car. I carefully examined the timing of the lobes on the cam driving the fuel pump. As far as I can see, my cam is identical to various pictures I found online. There really seems to be no timing marking of any kind on the lobe driving the pump, so just to be sure I made a small mark myself with some scratches.
The timing is correct compared to the manual, which states that at 40° crankshaft position, the lobe should be at BDC from the position driving the pump. Of course, as the cams run at 0.5 speed of the crank, it can also be at TDC at 40° camshaft. But at least this gives a good datum to check things from. And of course, in my case, the cam checks out okay.
After this step, I mounted the pump housing and high pressure pump, ran the fuel pump for a while and disconnected the connectors to the injectors. With the inlet manifold still removed, I cranked the engine to check the high fuel pressure with disconnected. It took about 7 seconds for the pump to get to full pressure (probably due to air in the lines), but it got all to way to 220bar! That was good news, so I started to think there might be an injector leak after all. So I connected all injectors again, expecting the pressure to drop during cranking. However, it still got to ~200bar during cranking. That was unexpected. I took into account, with the intake manifold removed, a lot of actuators and sensors are disconnected, so the ECU might not control the injectors in this situation. So next was to quickly slap on the manifold and connect the various things.
Then I tried a crank with startup of the engine. And surprise surprise, the engine just ran find, with fuel pressure at a steady 200 bar. I tried revving the car a bit and all was fine. I did not perform any further tests at that time, as a lot of bits under the hood where not tightened up properly, completely missing (brackets, shields etc) or disconnected (e.g. lambda sensors).
I'm now properly remounting everything to the engine so I can (hopefully) take the car for a test drive.
For now, this is of course pretty inconclusive. I must have triggered something while removing the pump, pump housing and refitting everything. Could be the injector connectors, could be the connector to the quantity valve, could be something to do with the fuel lines. Or something completely else that somehow influences the fuel rail pressure.
Anyway, all this is pretty good news, as the fact that it ran smoothly for a while proofs that at least most bits on the engine work properly!
I'll report back after a testdrive, get your votes in now whether the car will drive fine or whether it will stall and bog down..
2015 SL400 (M276 Turbo), 2014 C350 Sport (M276 NA), 2004 SL500 (M113), 2004 Audi TT225 (BEA)
Originally Posted by Jeedie
The new ECU has arrived, it looks indeed to be a brand new unit, which is good news. Next step is cloning or programming the unit, I'm looking into my local options to see which route to take.
Meanwhile, I've managed to install WIS in a Windows 11 ARM VM on my Macbook M1 (phew) and I found this interesting snippet:
So it seems that the corrupt crank signal would automatically disable the high pressure pump. That would explain the exact behaviour I'm seeing, where there is pressure building during craning, but a sharp drop on ignition. Still good hope that the new ECU fixes it all!
The part you found in WIS about fuel shutoff with an absent crank sensor signal was actually covered in the document @S-Prihadi posted in #6. (Yes, I read pretty much the whole damned thing!)
Mercedes SLR McLaren 722 S Is Extremely Rare Example Modified by McLaren
Slideshow: A one-of-one U.S.-spec Mercedes-Benz SLR McLaren Roadster became even rarer after a factory-backed transformation at McLaren's headquarters.

















 , need to visually inspect the 4 peaks position of the lobes to really learn. I am getting migrain now.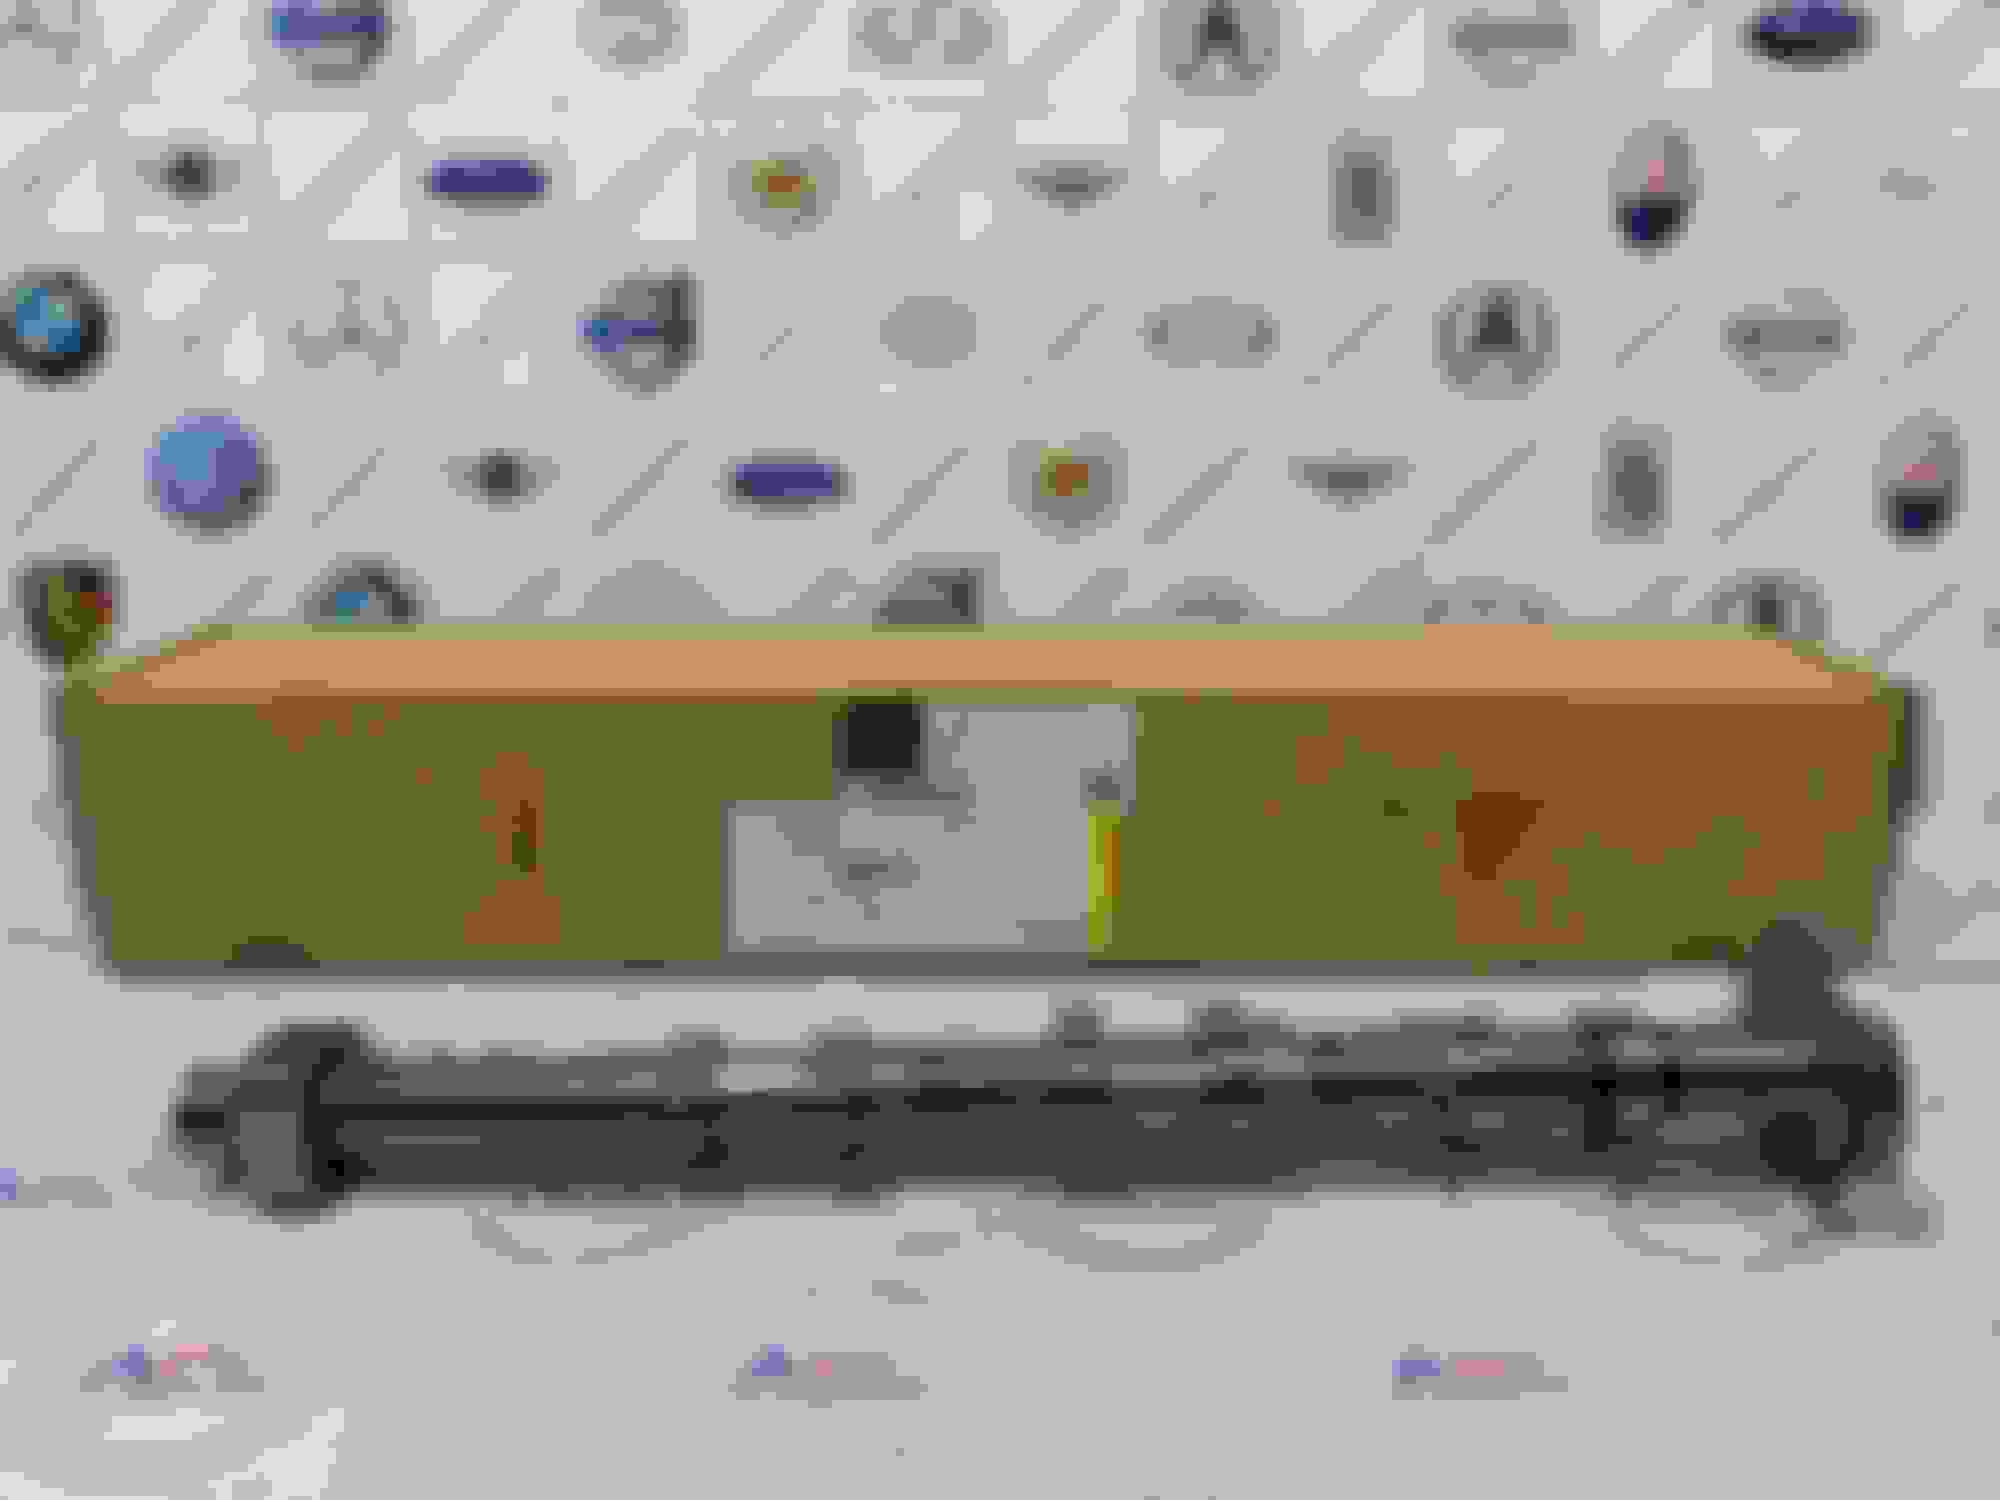









































 feel like a movie sequel


