When you click on links to various merchants on this site and make a purchase, this can result in this site earning a commission. Affiliate programs and affiliations include, but are not limited to, the eBay Partner Network.
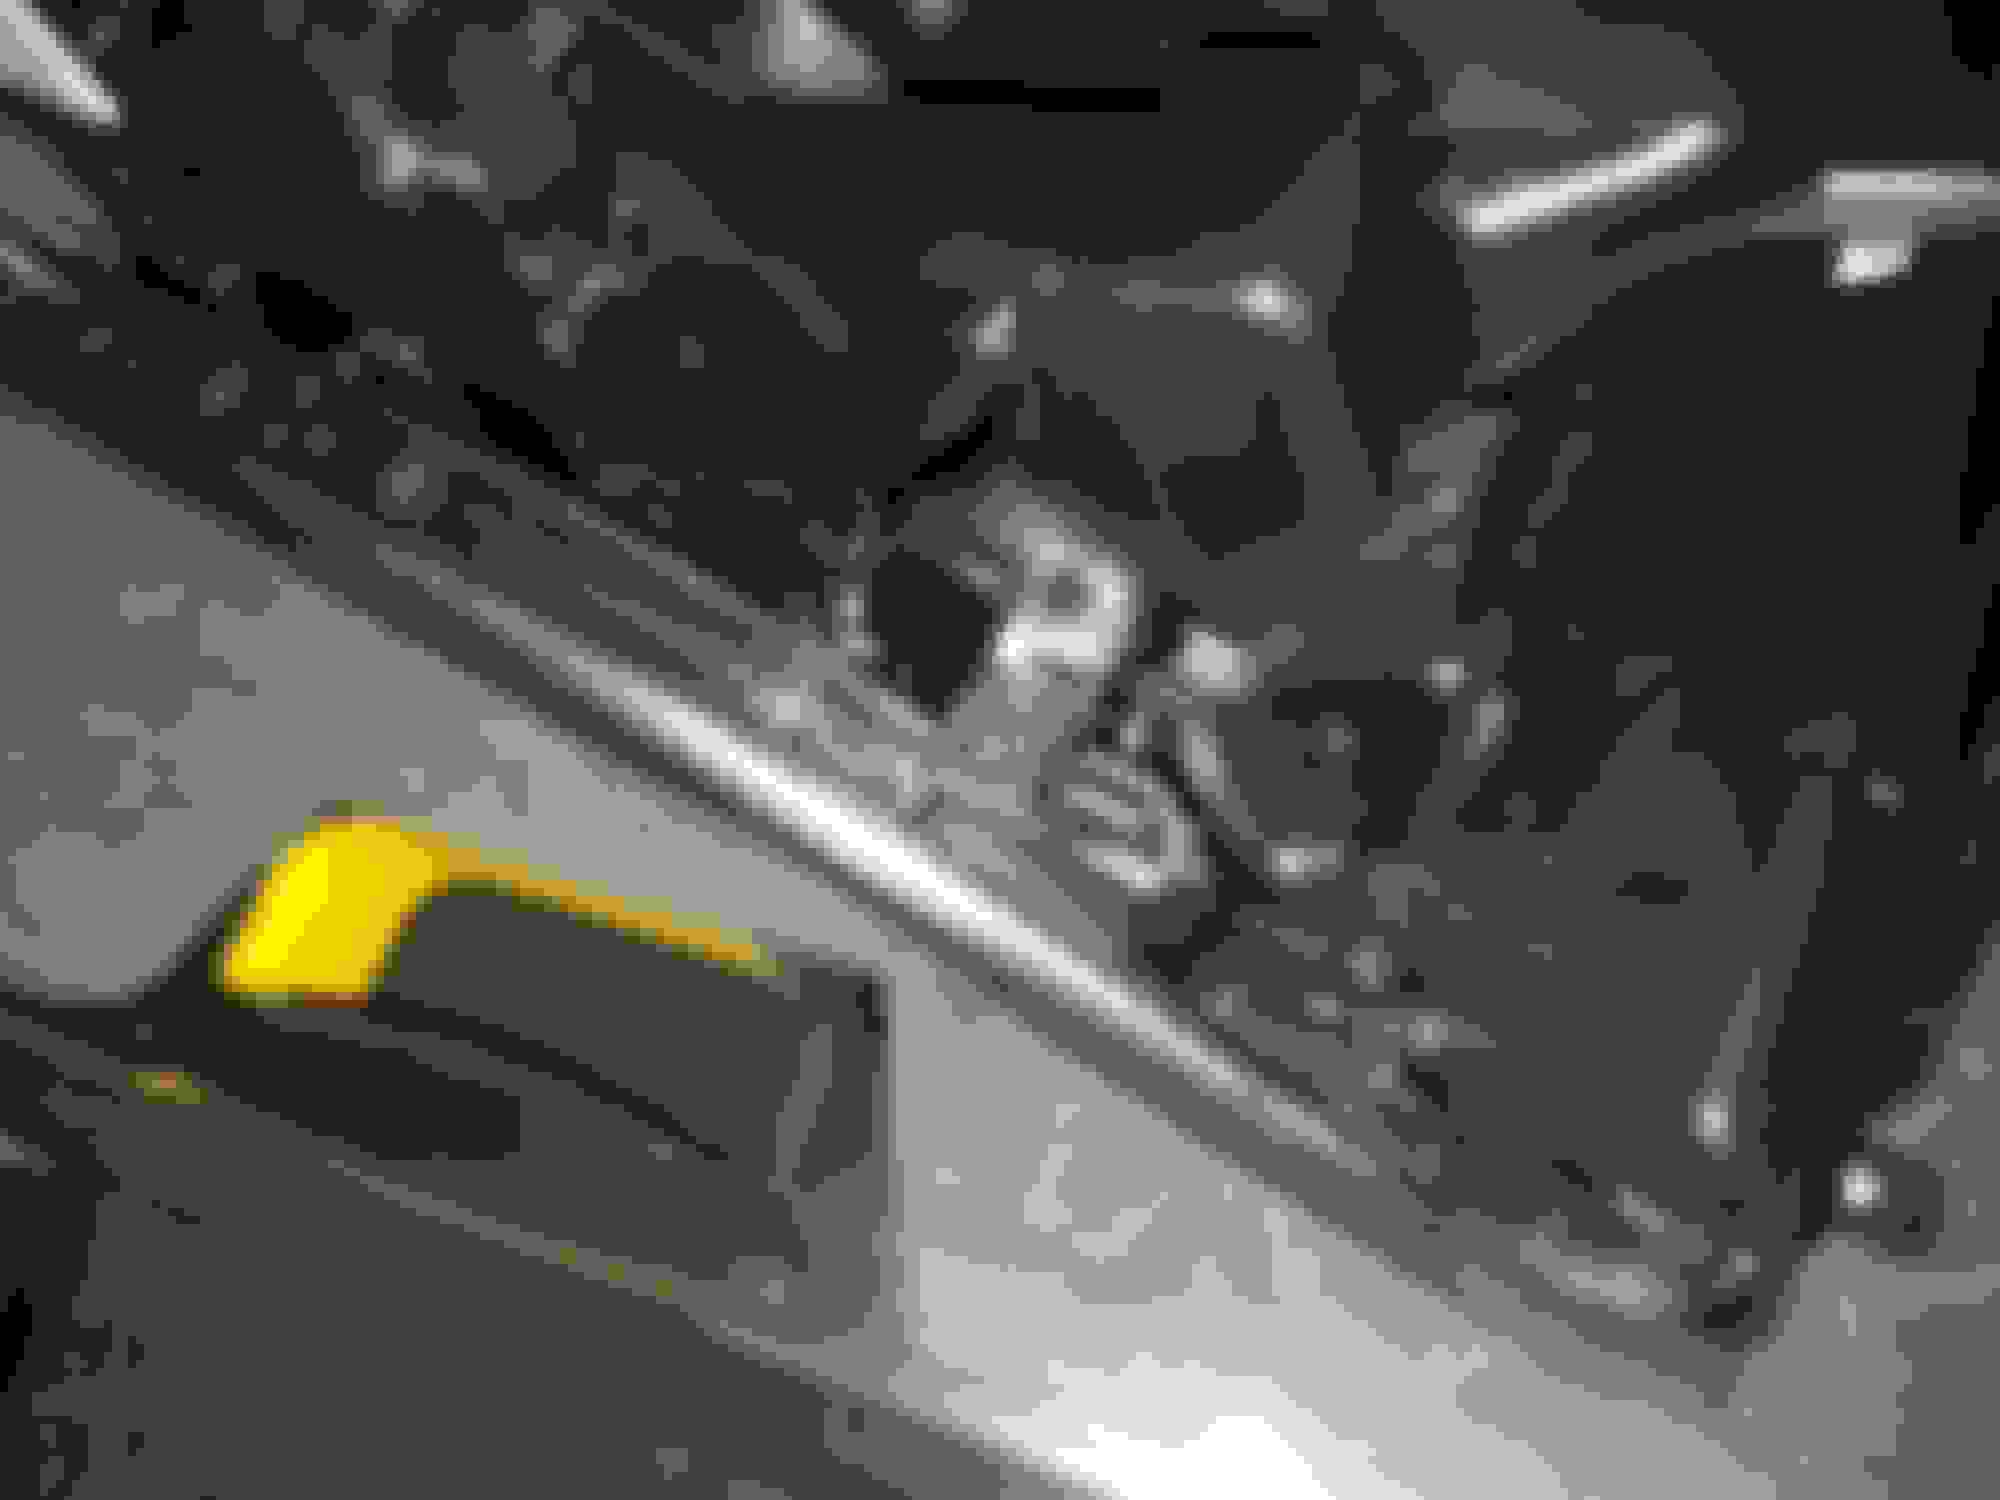
Guy I need help, I was able to replace the center console however I have one connector that i can�t seem to figure out where it goes, can you guys help me out, I took the entire thing apart trying to find where it would fit but can�t find it. It�s the green one. Thanks
Just picked up the E300 and would love to do this swap, have searched this thread but cannot find a part number for the replacement dash for Burl Walnut Walnut wood, anyone done that exchange and can let me know the part number/cost? Thanks!
2017 Mercedes E400 wagon (formerly 1995 Honda Accord EX sedan)
Does anyone know if MB eventually plans to make the remaining wooden console parts available to match the wooden trims they have offered on the W213, including the designo magnolia?
Hey guys, great thread. I just picked up a 2017 E43 AMG and was wondering if this part could be replaced.
My question: Is there a different part number needed to get the AMG badge on the cup holder? Since mine is an AMG, thought it would be nice to have that if I�m going to replace it anyway. Looks like MB doesn�t put that on the 43 AMG models, just the 63 AMG versions. I have the black wood by the way as well.
Sure the gloss black looks classy, but I was a bit shocked when I was told that gloss black is the only option for the sedan and estate 213.
Coming from a S205 with the open pore black ash center console I also wanted it in my E.
A few months ago the E-Coup� arrived and the problem was solved, I ordered a panel immidiately and it arrived today.
Here is how you do it
Tools needed, small flat head screwdriver and a Torx 20 screwdriver
Remove the rubber grommets hiding the two screws, remove them and pull the armrest locking mechanism backwards.
Remove the two exposed screws, then lift and fold the panel upwards
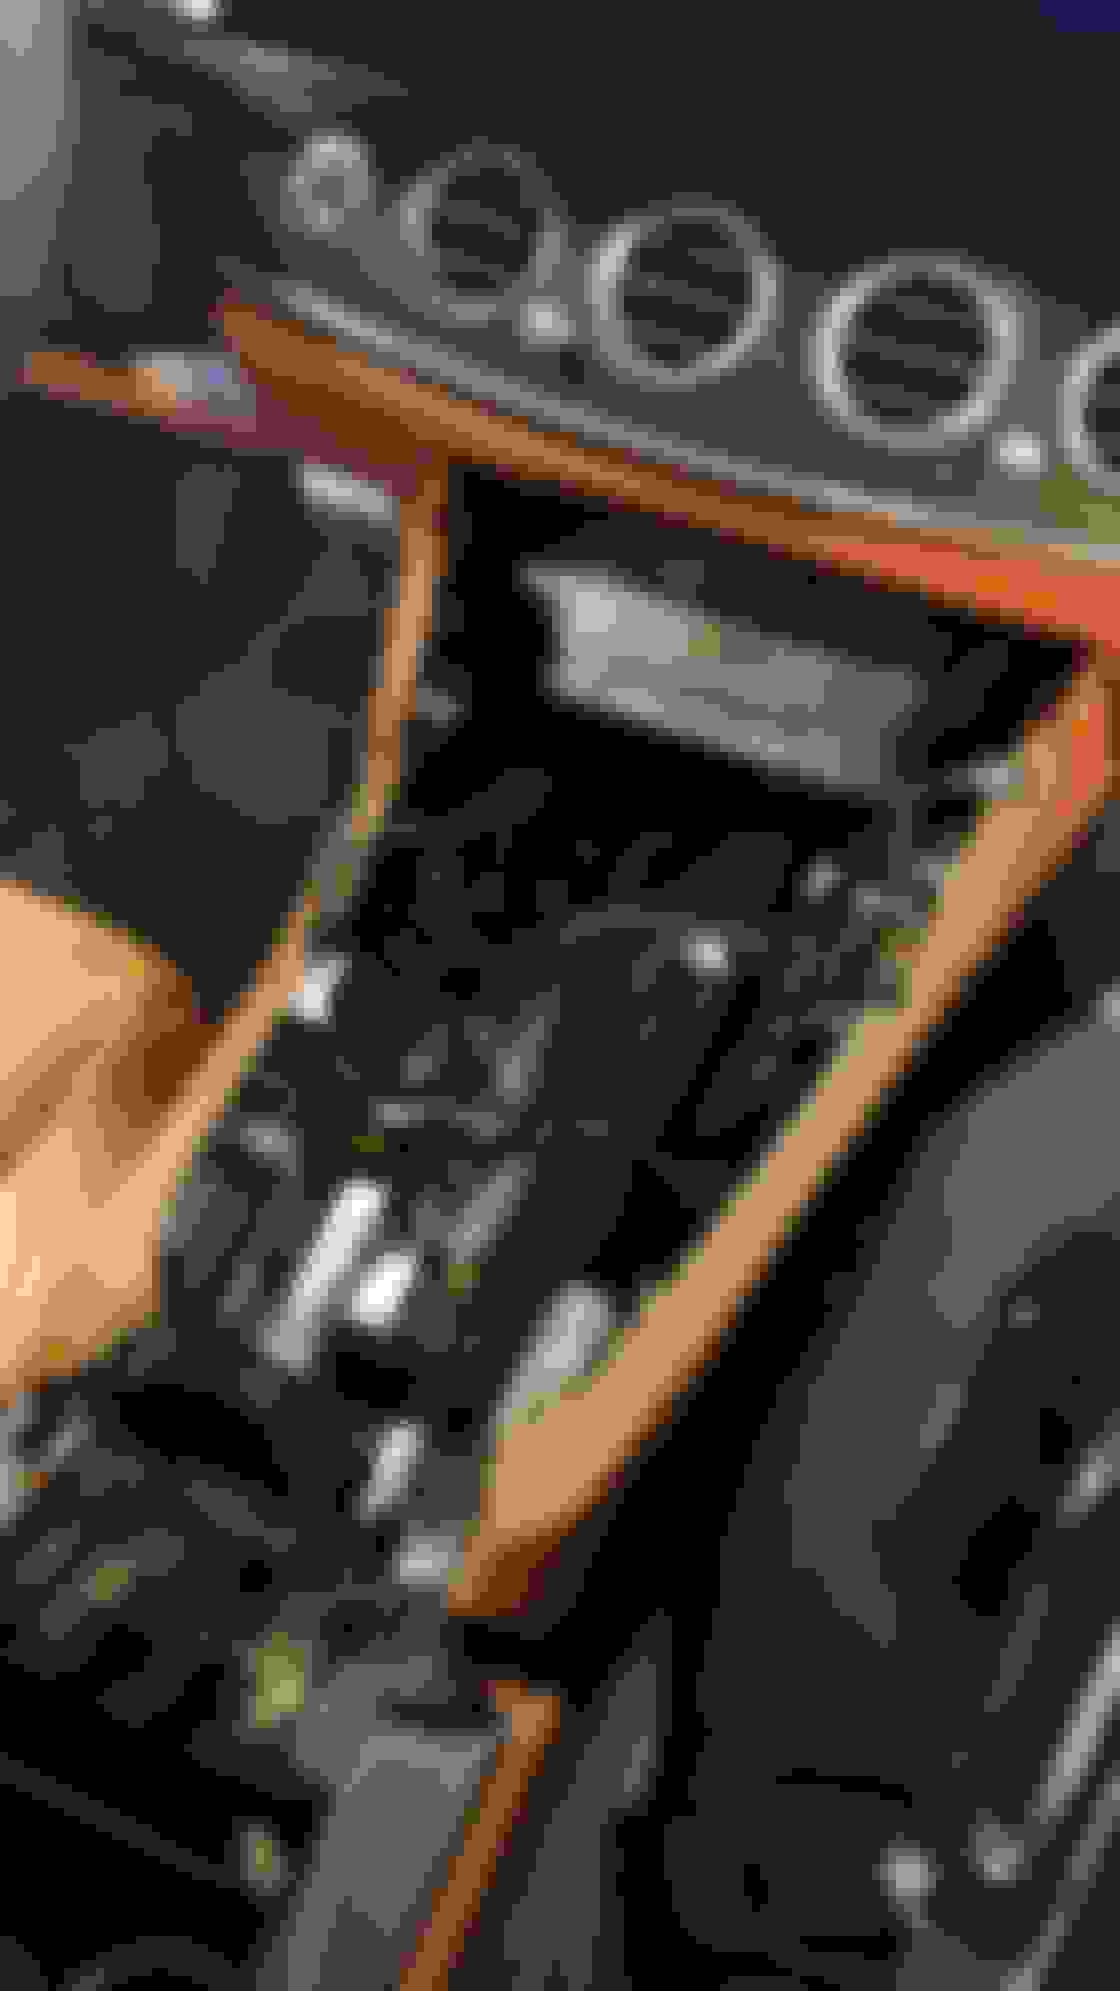
Unplug the black and the white connectors below
Now pull the panel slightly down and backwards from its top fitting, lift the entire panel and place it to the side on your lap.
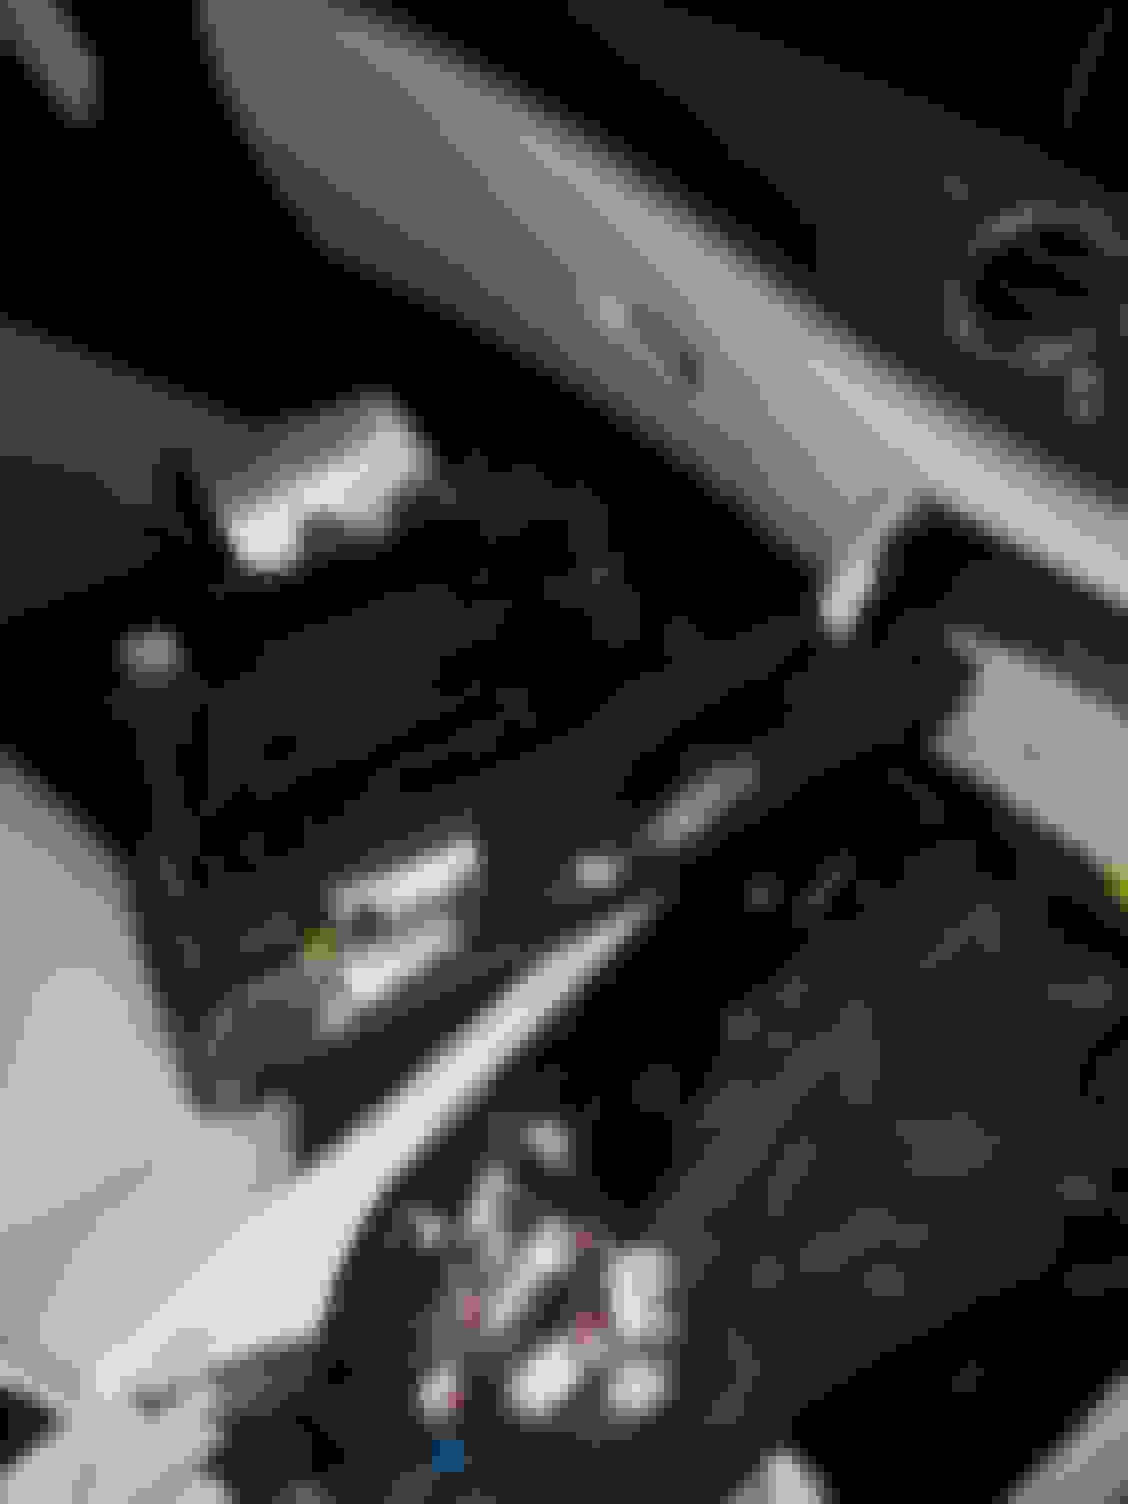
Disconnect the connectors to the 12V socket, media panel, AC-panel, keyless antenna module, analog clock and the two LED-modules for the ambient lighting, they just snap right out.
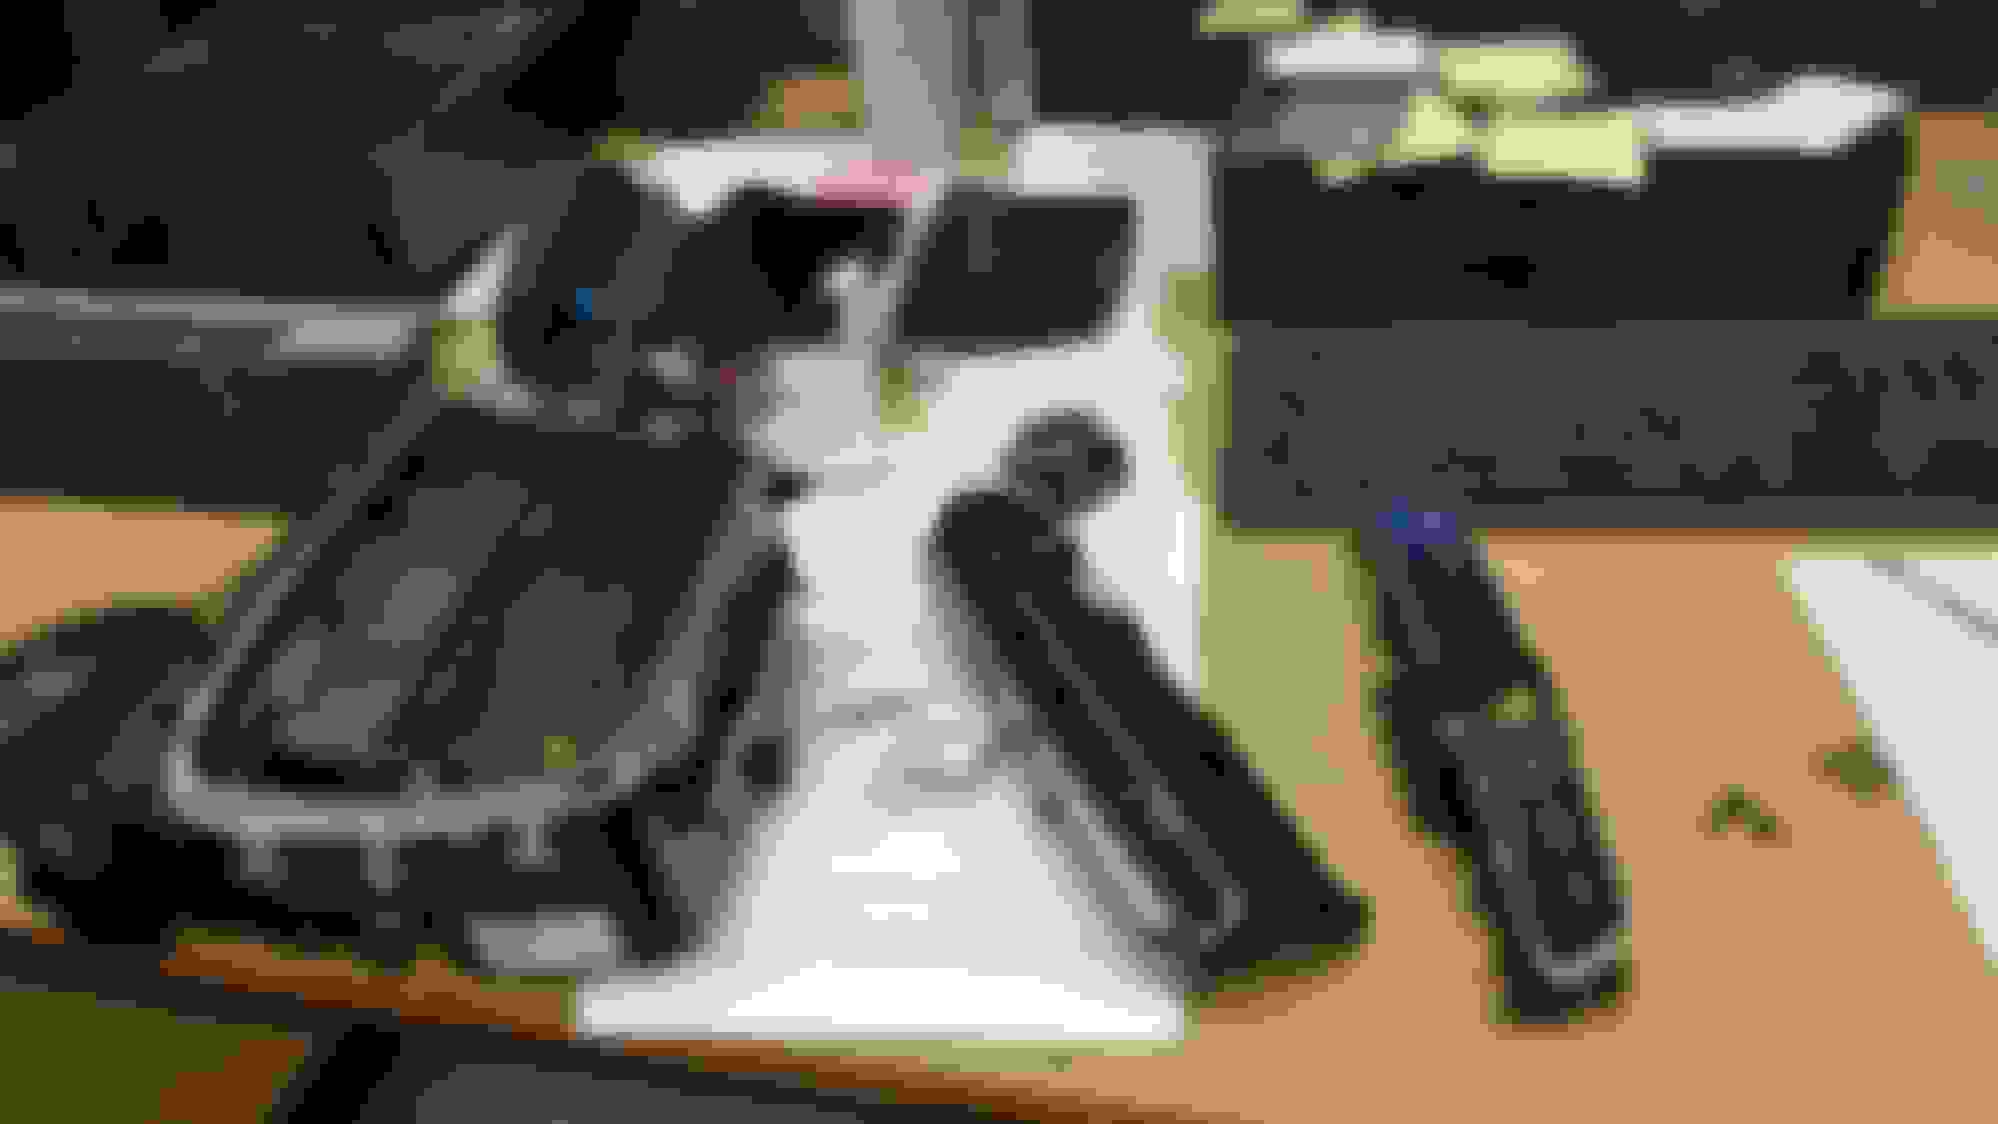
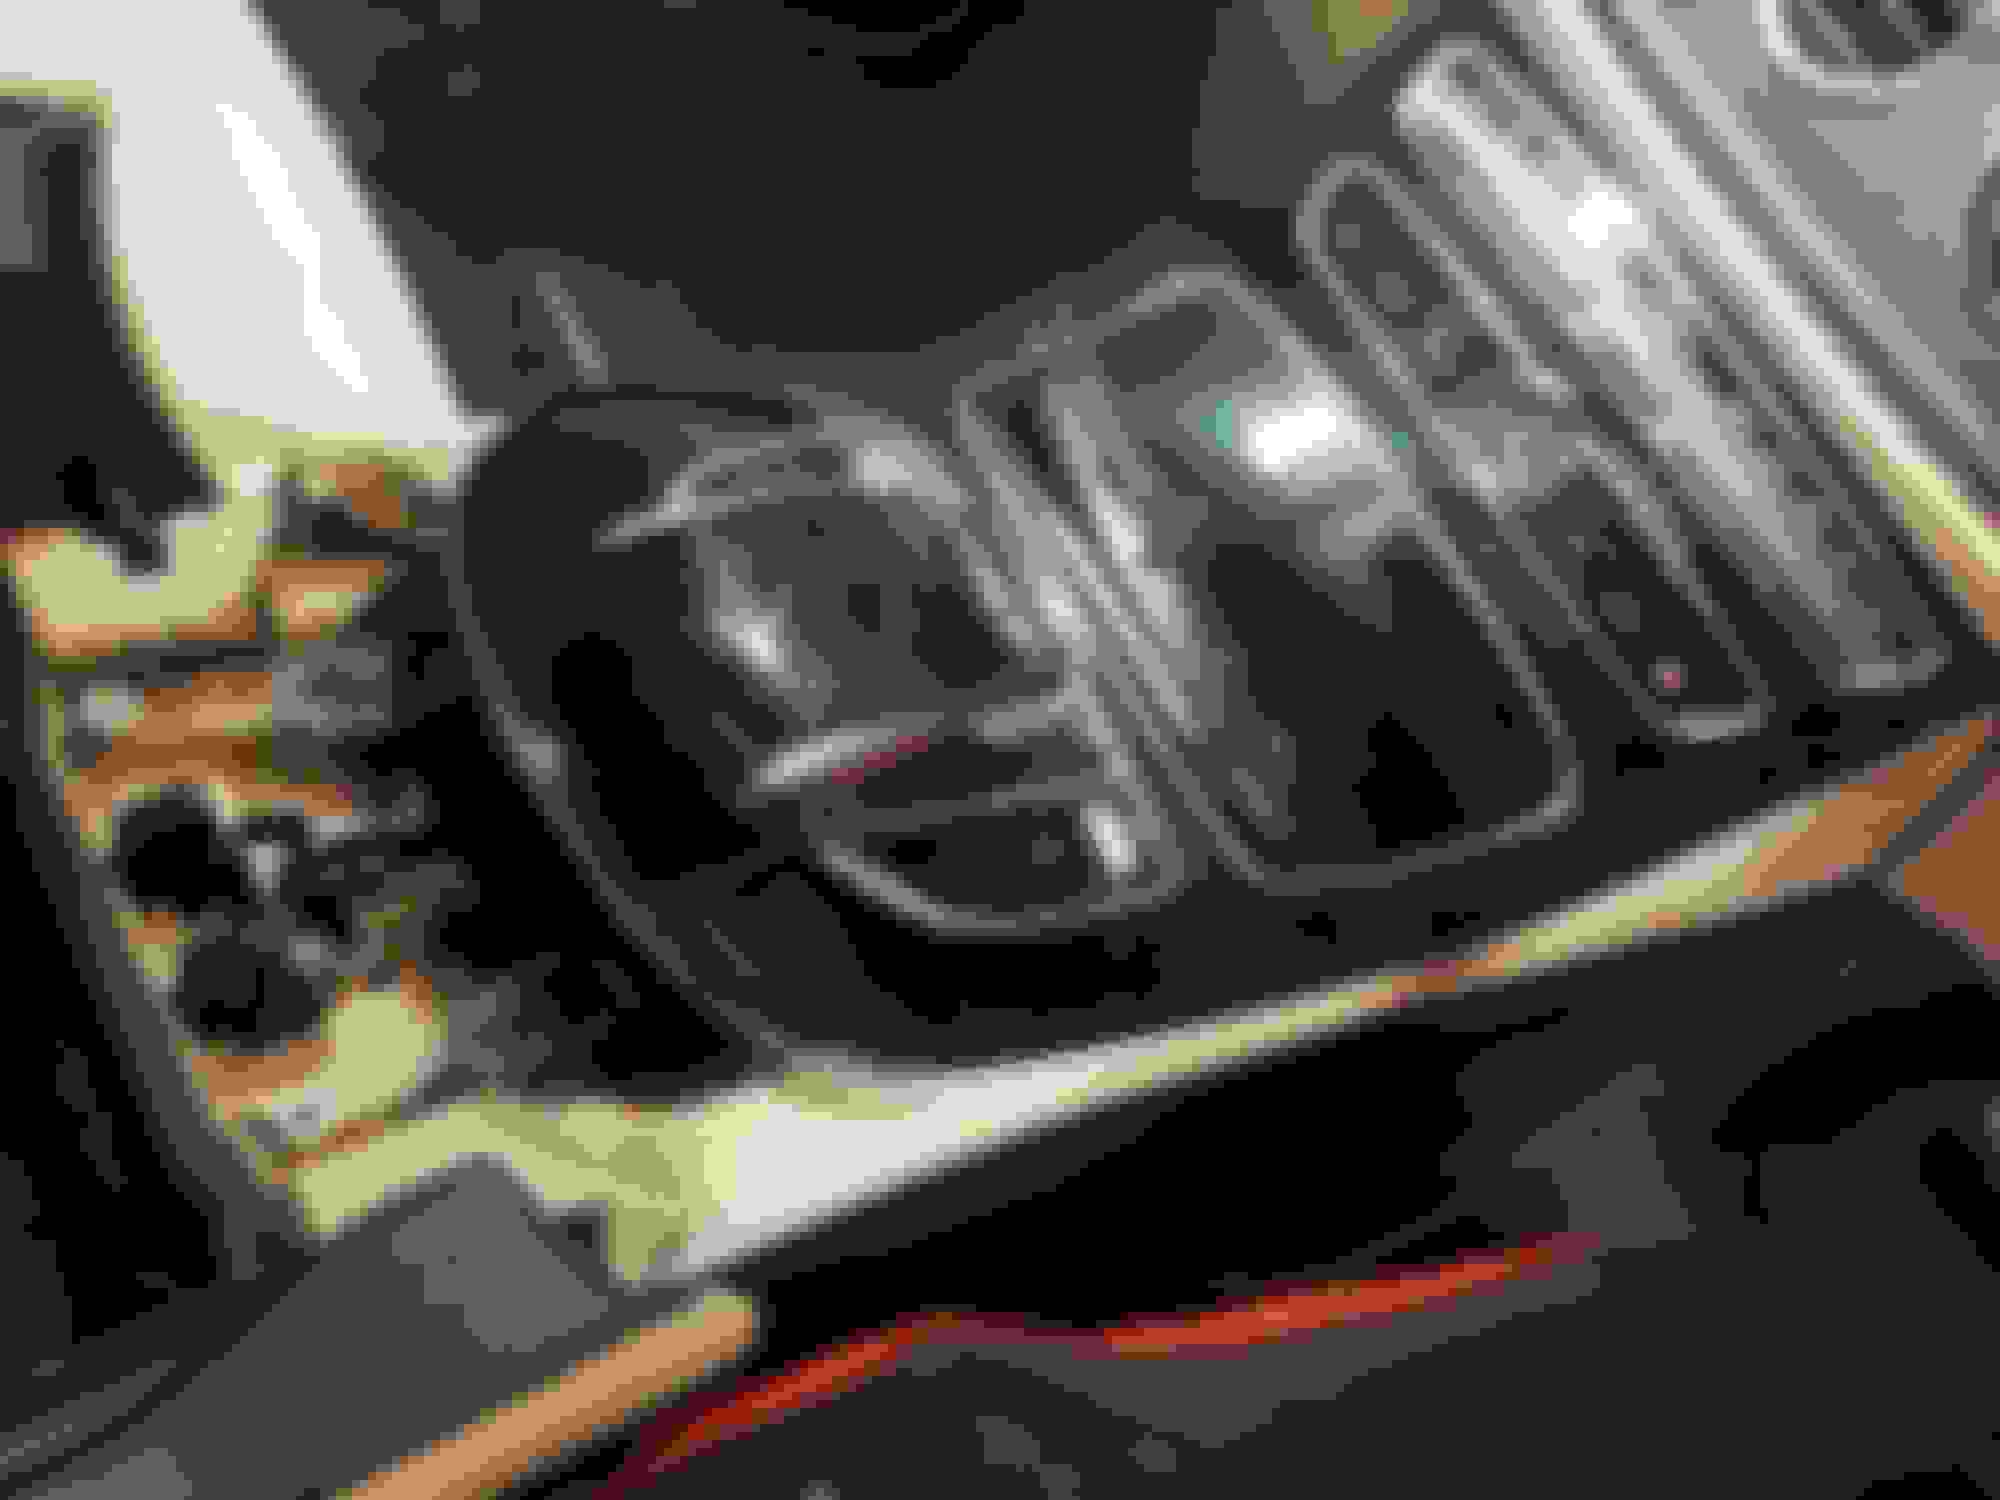
Now remove all the stuff from the old panel, touch pad module, ashtray compartment, media panel and the AC-panel
The touch pad is fastened with four screws, the ashtray compartment with just two, they are easy to spot and remove.
The AC and media panels are just snapped into place, use the flat head screw driver to bend the tabs holding the units, then remove the units from the back.
The lid to the ashtray compartment is just slid onto place, pull it firmly backwards and it snaps off.
Assemble in reverse order and it should look something like this, note the Mercedes-Benz microfibre cloth
Part number for this specific panel is A238 680 15 03, that is open pore black ash with ambient illumination,
they should exist in all the other different finishes, however I am not sure of this, remember that panels without ambient illumination, analog clock and so on has different part numbers.
Reviving this thread.
So I have a new '17 E300 Sedan (yes, non-coupe), can you tell me what is the exact part number for a Sedan? Thanks! - yes, same color with yours, the black ash wood.
Had both the parts manager and service advisor at my dealership insist today that the piano black console pieces on my 2017 E300 are lacquered wood, and not plastic. Anyone able to confirm this? And does anyone have the part numbers for brown natural ash pieces?
Had both the parts manager and service advisor at my dealership insist today that the piano black console pieces on my 2017 E300 are lacquered wood, and not plastic. Anyone able to confirm this? And does anyone have the part numbers for brown natural ash pieces?
ok so I followed everyones posts and managed to get my console changed.
Special shout out to mickhoog for PMs about the parts supplier in Australia.
I was very nervous about DIY on my car so it took me a while. I also took a heap of photos to make sure I could put everything back together. Hopefully these step by step pics help people who want to do this in the future
Hopefully this is useful for someone else when they change their console
remove these screws
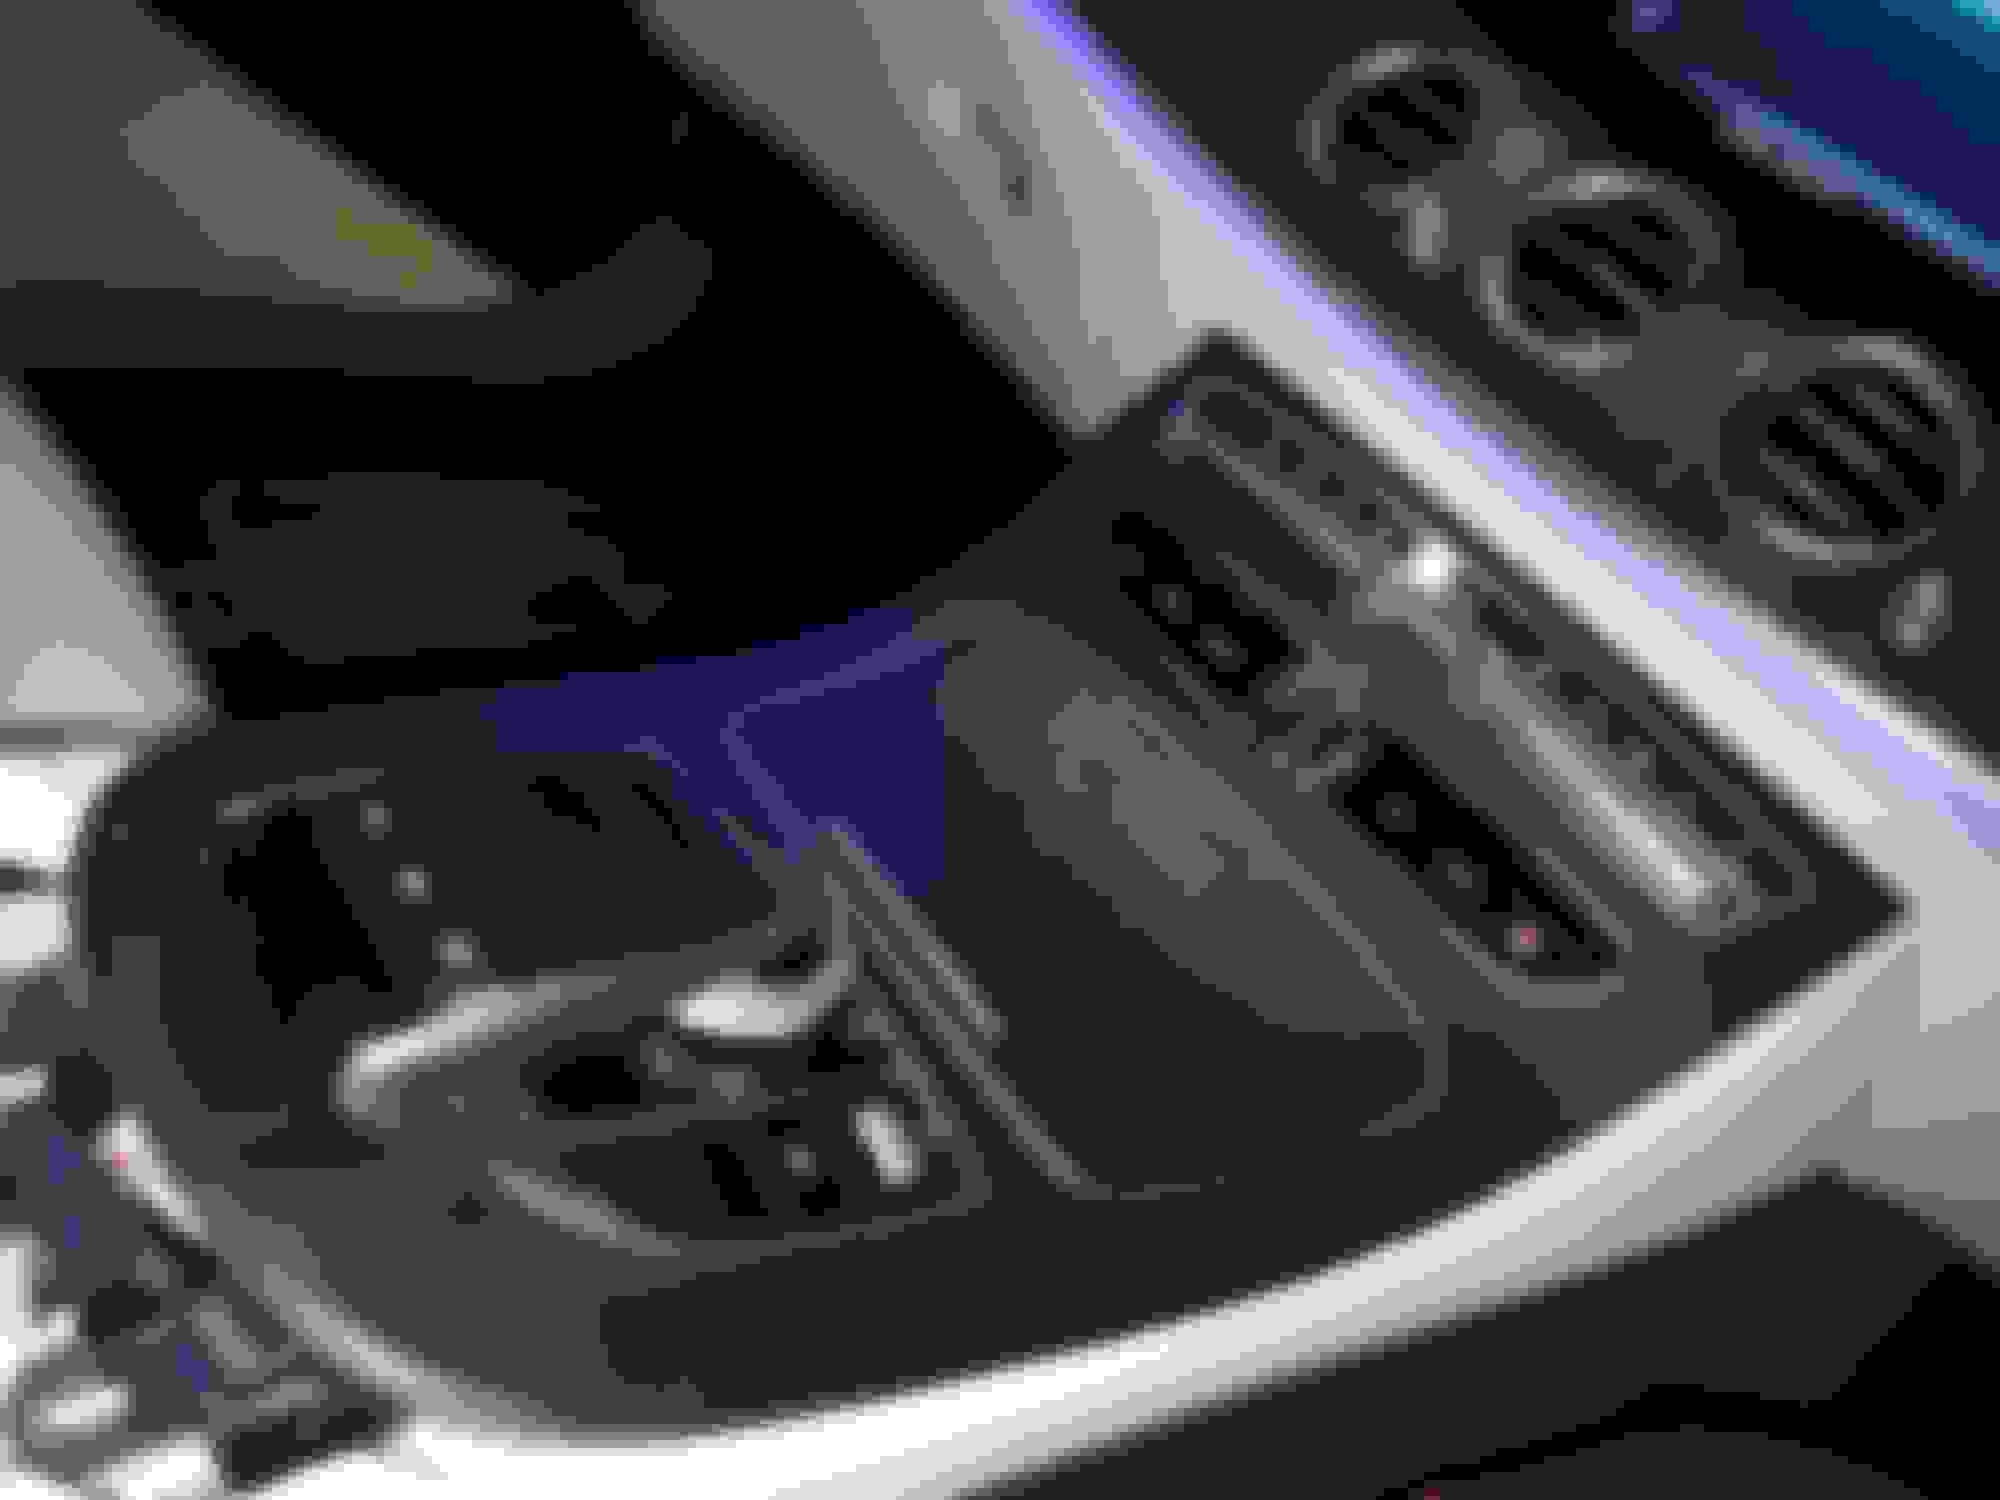
big white connector is released by moving the grey part to the side
This was really hard to get out. Was worried it was a type of connector I hadn't seen before. It just pulls out
easier to work with if your lift the led strip up out of the groove
Console removed
slide cover towards the back seats to release it. The hooks point towards the engine when installed
pay attention to the tabs and use a small flat screwdriver to release these parts. Do the aircon controls first.
2 screws hold the cup holder ash section in place
The front slots into these holes. Then screw the back in
Thanks for the detailed write up, How tricky/difficult was it to remove the A/C panel and Command short cut panel?
Pretty easy. No screws juat some tabs and it pops out. Use a small flat head screwdriver and it is much easier to lift the tabs
I did the command panel first. Not a huge issue but there are one or two bits from the A/C panel in the way that make it easier to do the A/C panel first
I'm from the UK and have an S213 (SE, avantgarde) arriving in March. It's coming with machiatto beige and the brown ash trim.
Some time late last year, the UK configurator changed so that you could not only specify the two open pore wood dash options and the centre console trim independently, but when you did, the centre console trim automatically changed from black gloss to match the dash.
Yes thats true
unless you do a custom order but still they sort of restrict what you can have with what.
Oh I tried doing a custom order, they still wouldn't allow it, I tried to get the factory order wood trim for the lower console but it isn't available according to Mercedes Australia. I also tried getting designo interior trim but was not able to. Gone are they days where you can pick and chose the exact car you like. Such a shame.
Hey guys, stupid question, but it seems that I can't pull out the middle panel after taking off 2 sets of screws using the T20. How do I "pull out" the middle panel?
I tried pulling in backwards, upwards, and tried searching for some knobs.
Hey guys, stupid question, but it seems that I can't pull out the middle panel after taking off 2 sets of screws using the T20. How do I "pull out" the middle panel?
I tried pulling in backwards, upwards, and tried searching for some knobs.
Thanks!
Do you mean the 1st part with the button that opens the console under the armrest?
If so just wriggle it backwards and upwards and it will pop out.
If you are talking about the actual console lift it up from the middle and pull it back towards to rear of the car. This won't come loose until you detach all of the wires
Check out my pics and you'll have a better idea of both parts
Mercedes SLR McLaren 722 S Is Extremely Rare Example Modified by McLaren
Slideshow: A one-of-one U.S.-spec Mercedes-Benz SLR McLaren Roadster became even rarer after a factory-backed transformation at McLaren's headquarters.