When you click on links to various merchants on this site and make a purchase, this can result in this site earning a commission. Affiliate programs and affiliations include, but are not limited to, the eBay Partner Network.
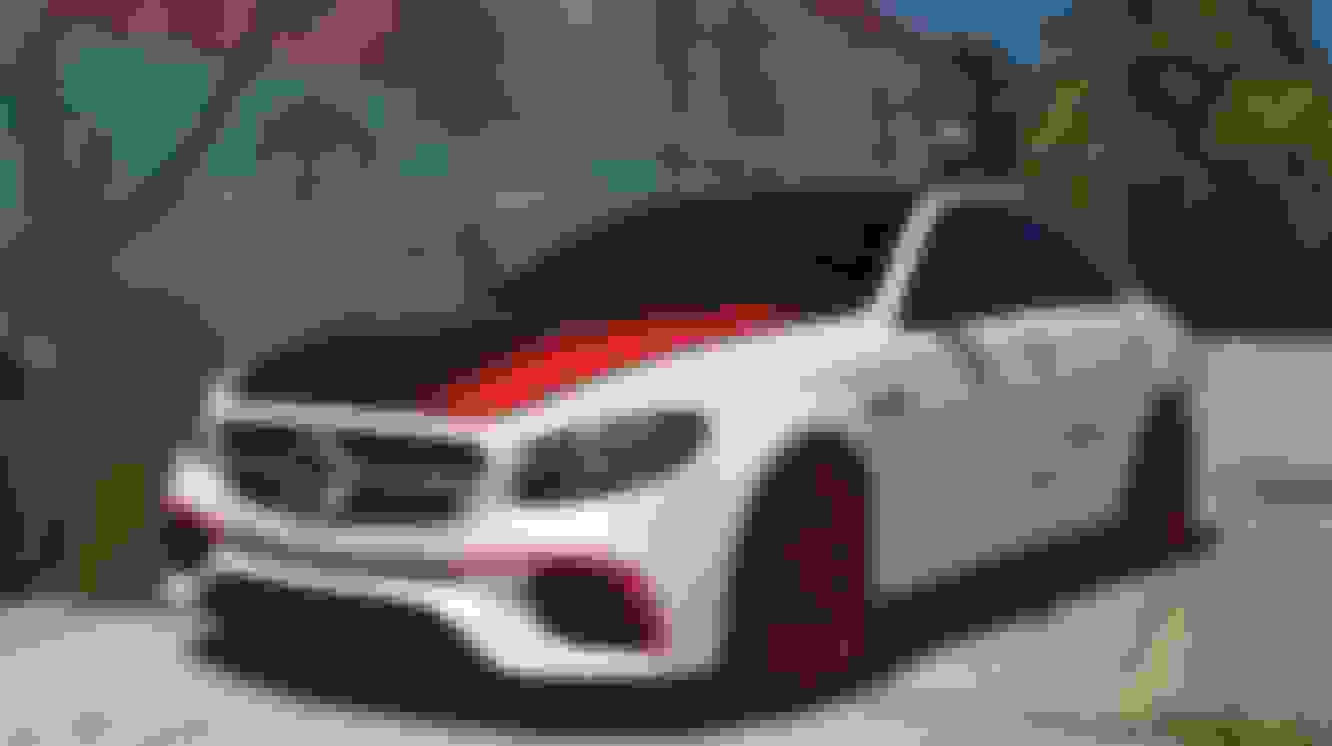
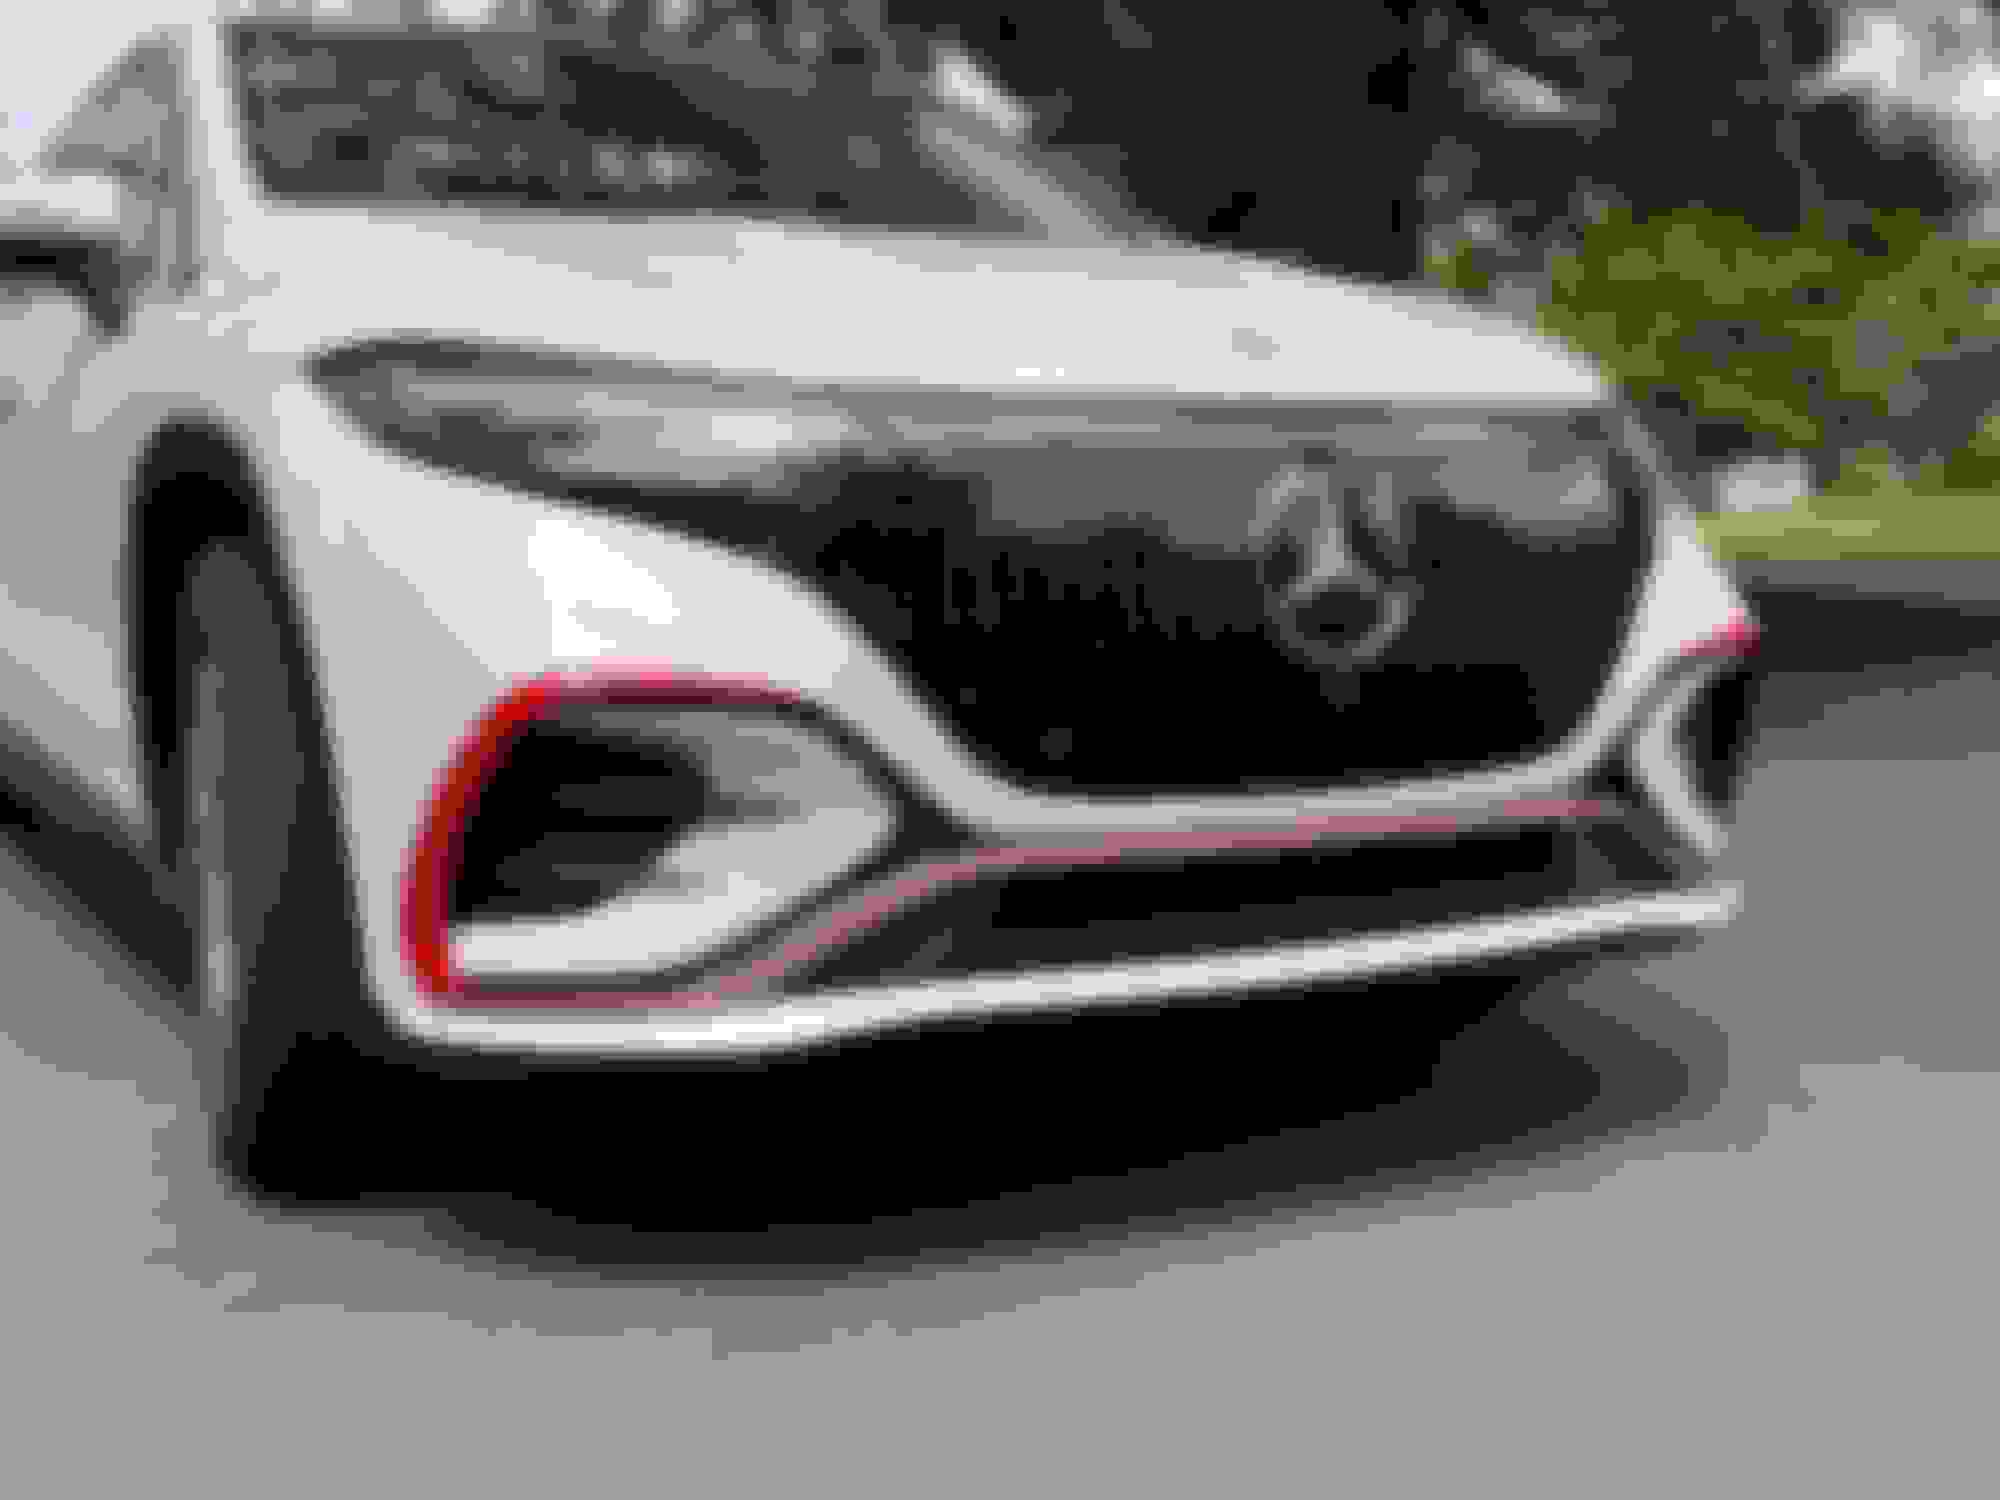
A white RennTech E63 with some red trim including the front spoiler trim caught my eye. I added a red 1/4" wide All-Fit Flex Trim strip to the bottom edge of the doors and along the edge of the front bumper. I intended to paint the front spoiler trim but could not find a red paint that matched the All-Fit trim. I ordered a couple of samples of 3M film and 3M 2080 G13 Gloss Hot Rod Red was a very close match. So I gave up on painting the trim and decided to try wrapping the spoiler instead.
Removing the trim is not particularly easy. I broke a tab on the right side attemping to remove the trim. I decided to order both the right and left pieces and before trying finishing the removal step since damaging both pieces was likely to happen. I wrapped the right hand side. It does not look bad for my first wrapping attempt, but it is less than perfect making me wish I could have found red spray paint to match the All-Fit trim.
I am half way through the project and decided to share a few pictures. RennTech E63
I finished up the front spoiler project today. I was able to remove the driver side spoiler trim without breaking any tabs. There are five locking tabs around the outside edge and one on the inside edge near the end that is pointed. There is one non-locking tab in the middle of the bottom edge of the trim. This is the tab that broke when I removed the passenger side trim. To avoid breaking this tab, the lower edge of the trim can only be removed after all the locking tabs are released.
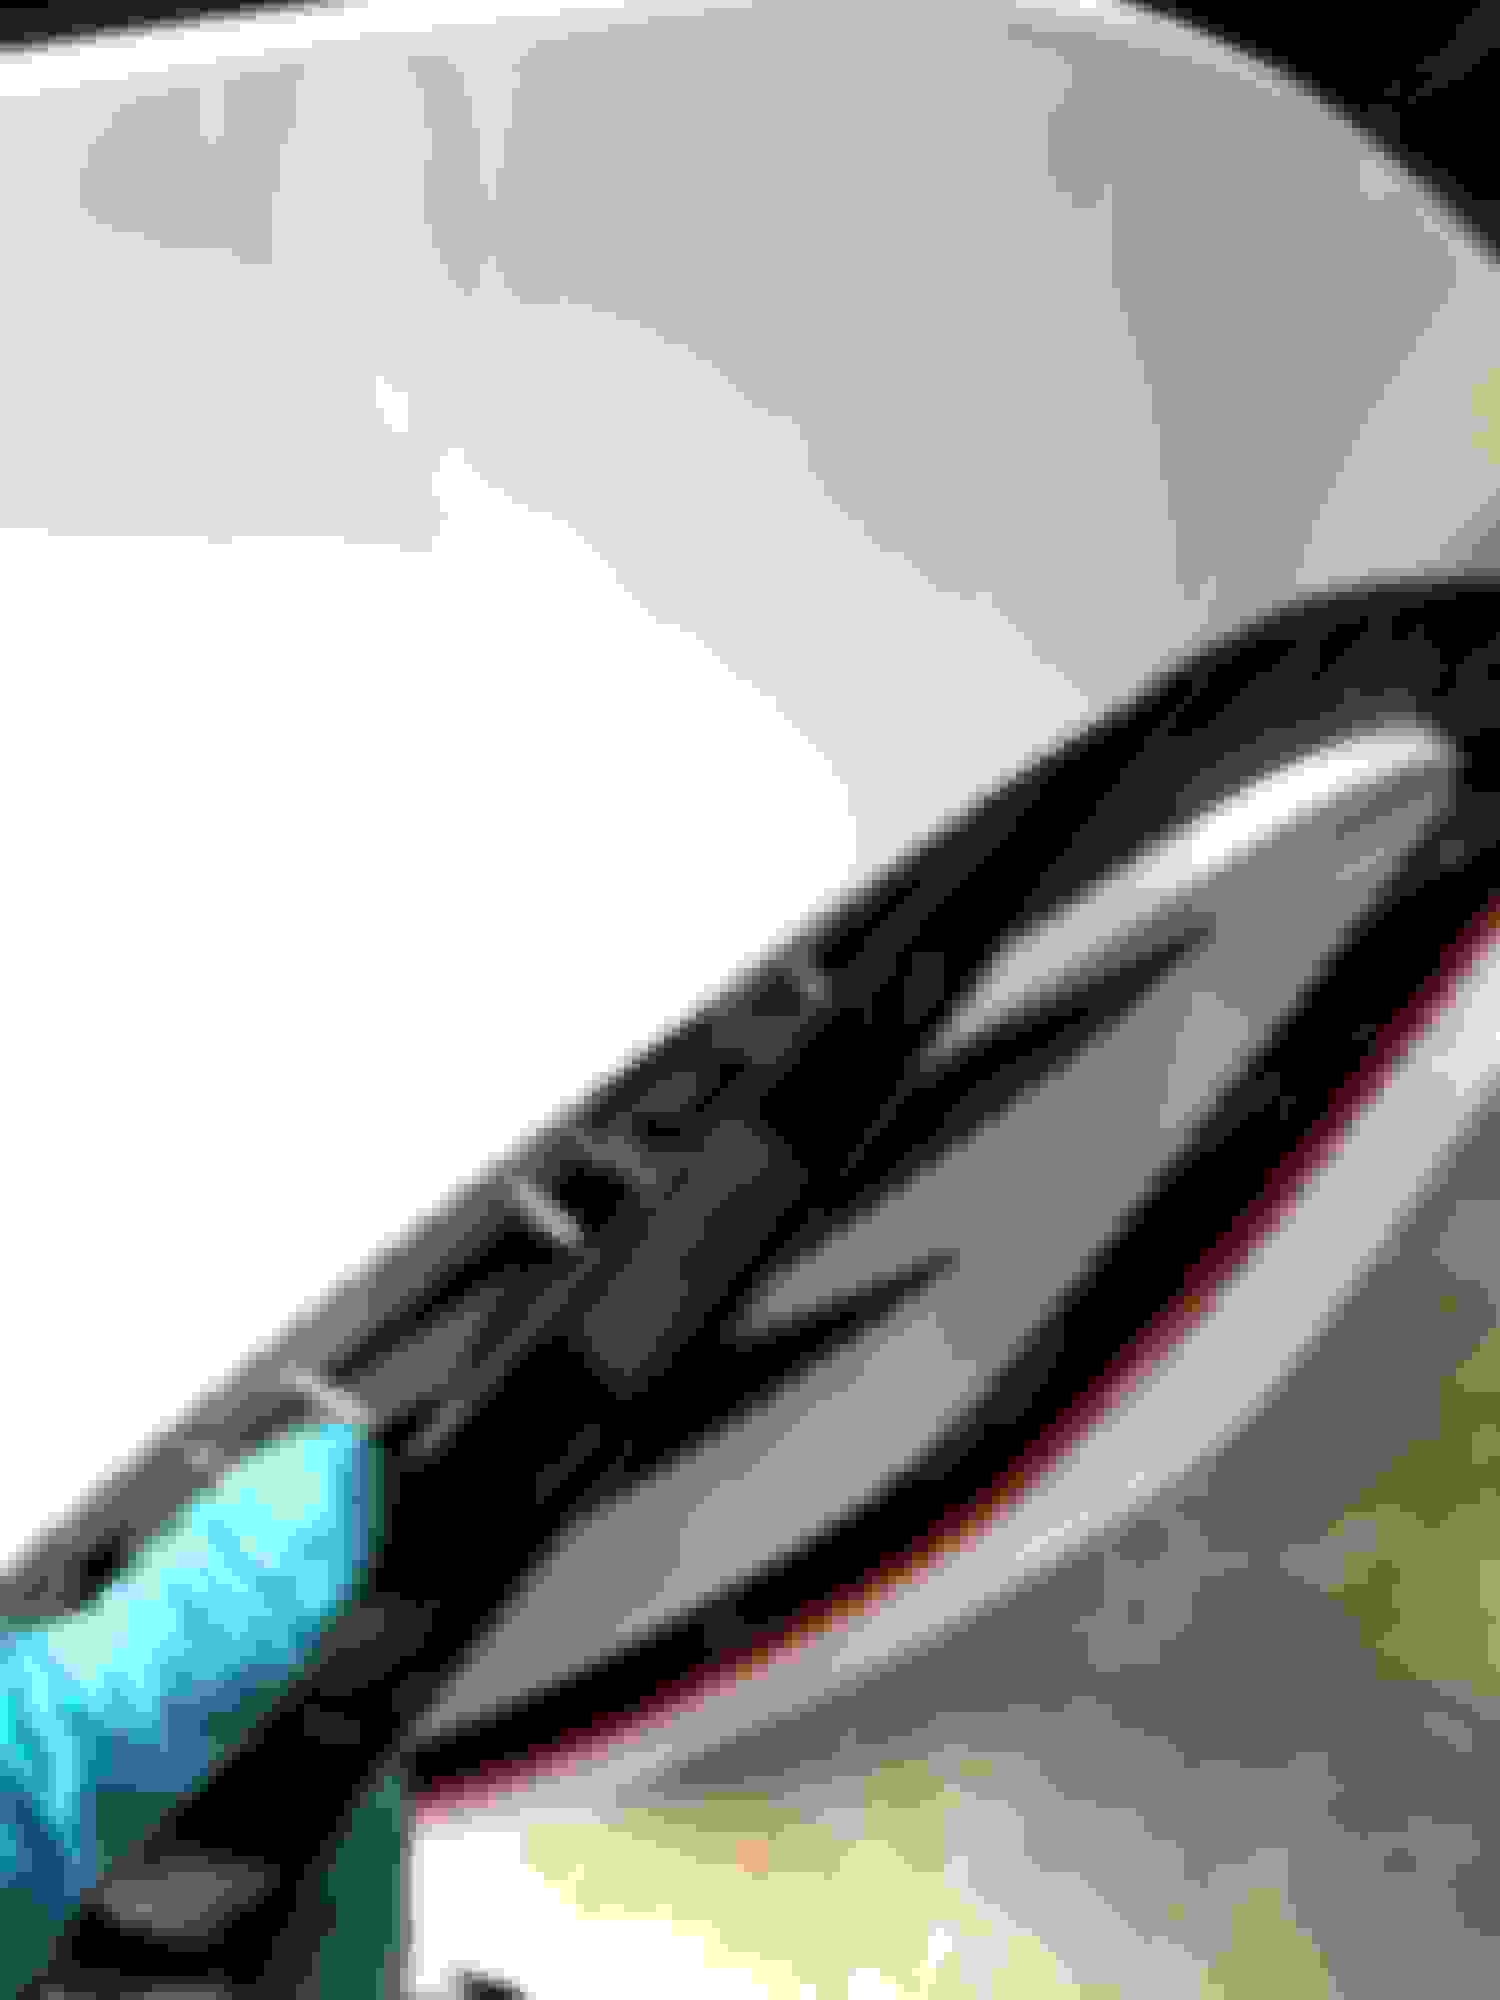
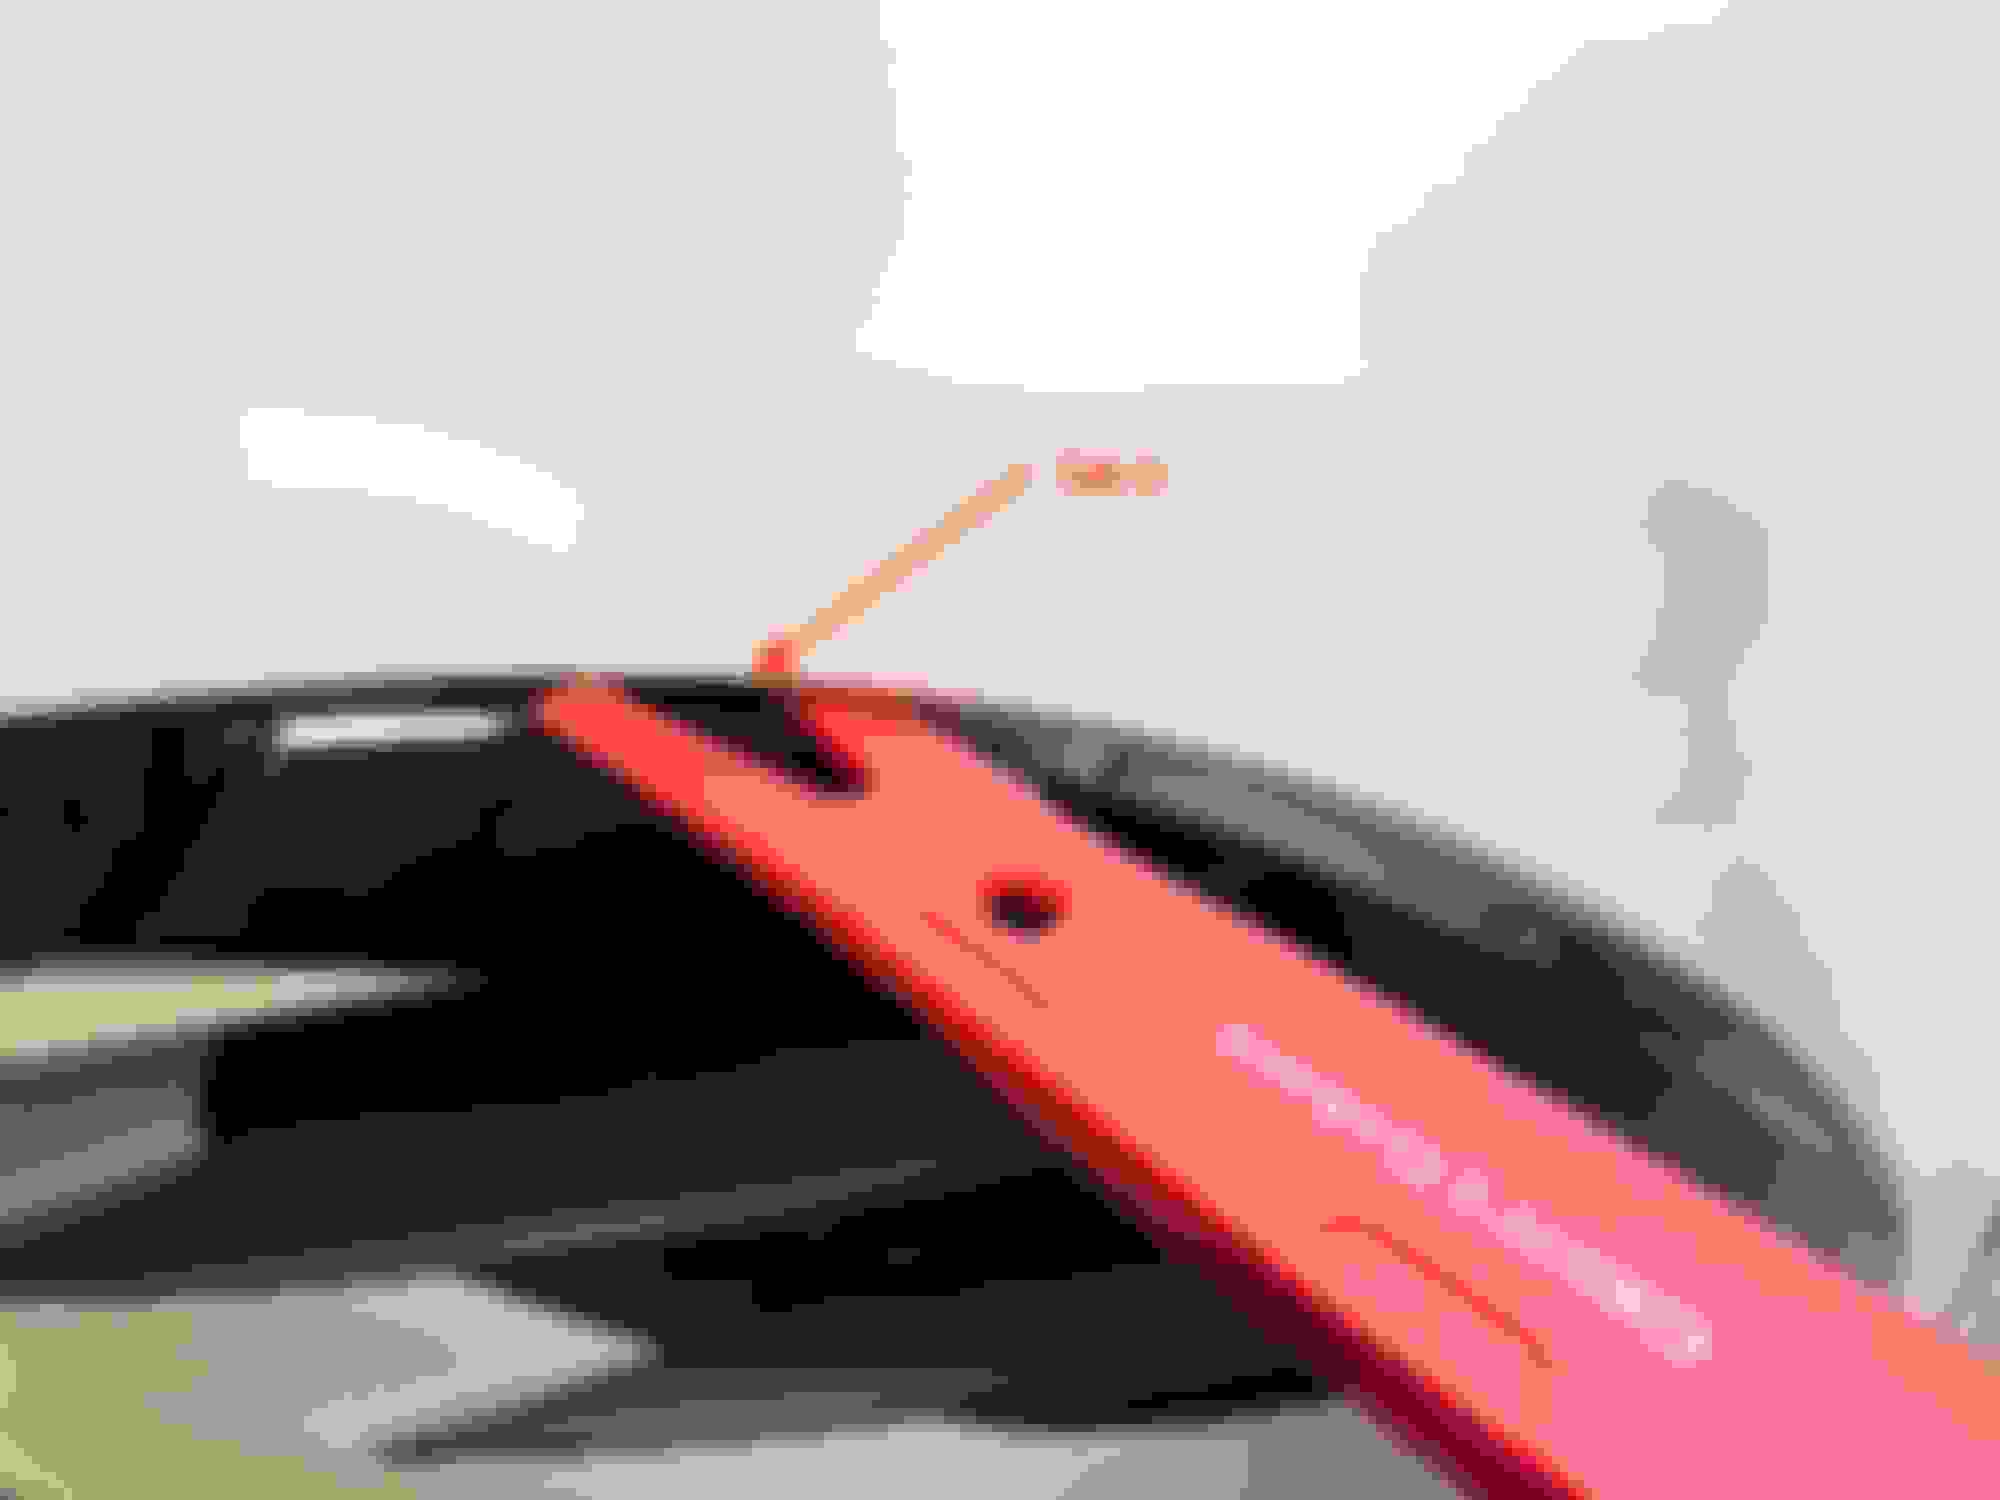
To remove the spoiler trim start with the lower most locking tab on the outside edge. You can reach this tab with a trim removal tool from a slot in the lower outside corner of the wheel well. Once that tab is released you can work your way up to the pointed end one tab at a time. Leave the tab on the bottom edge engaged until all the tabs are unlocked and then lift the trim upwards to disengage the non-locking tab.
When installing the trim start by inserting the non-locking tab first. Front spoilers wrapped with 3M G13 film.
Access lowest outer tab from slot in wheel well.
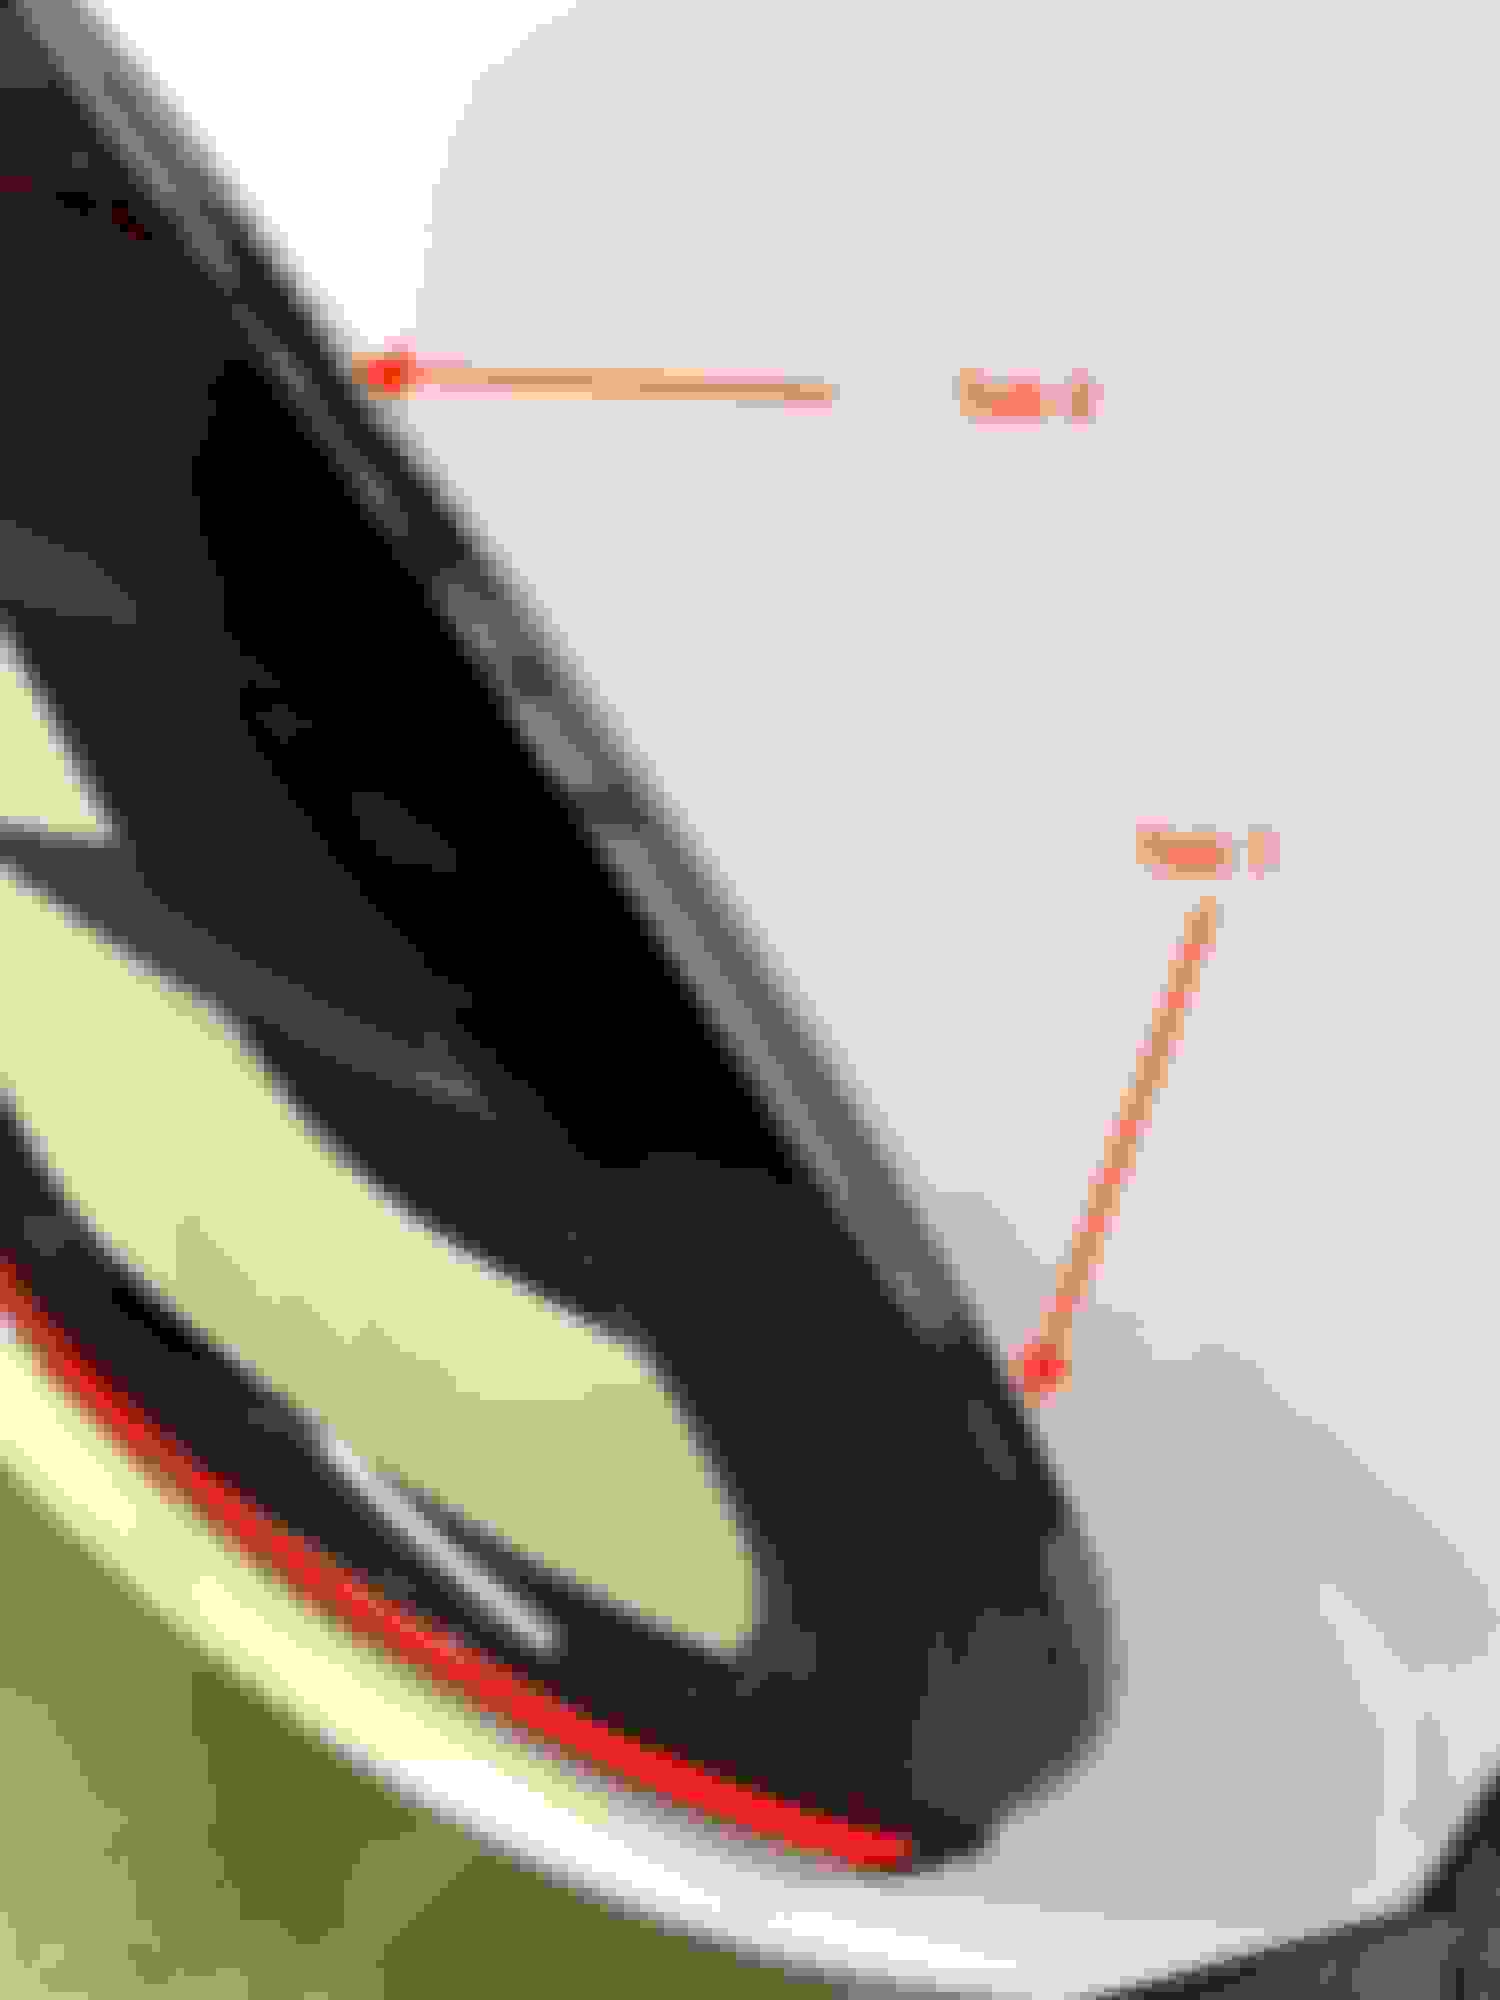
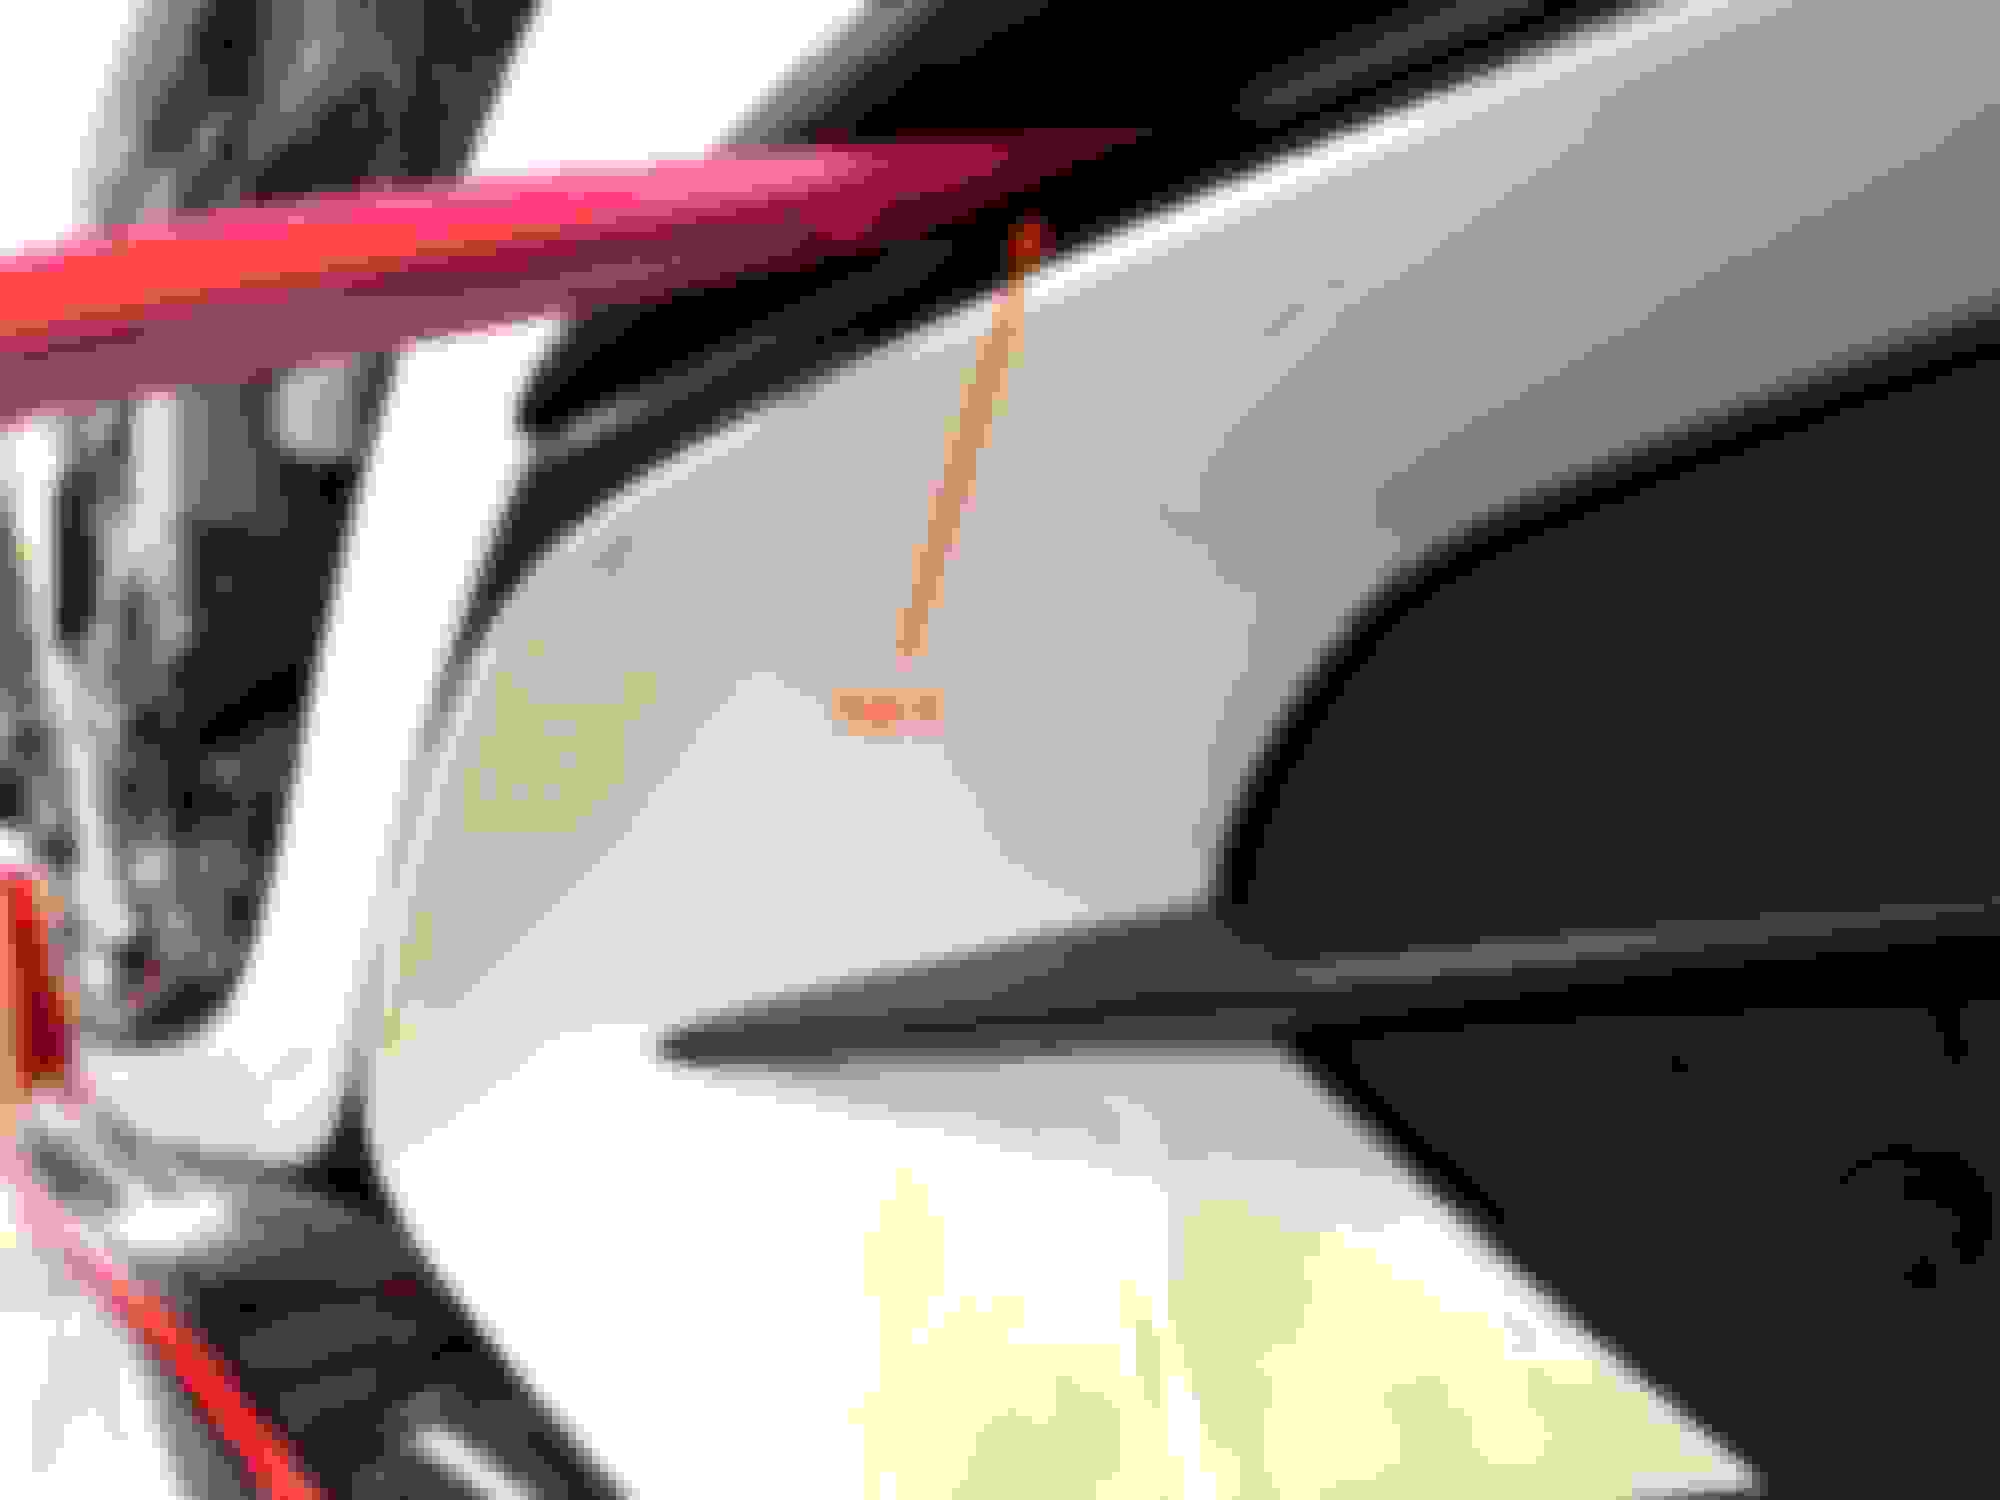
Don't completely disengage 1st two tabs until all tabs are released to avoid breaking non-locking tab on lower edge of trim.
Insert thin trim removal tool on right edge of tab and twist over the center locking section to disengage tab.
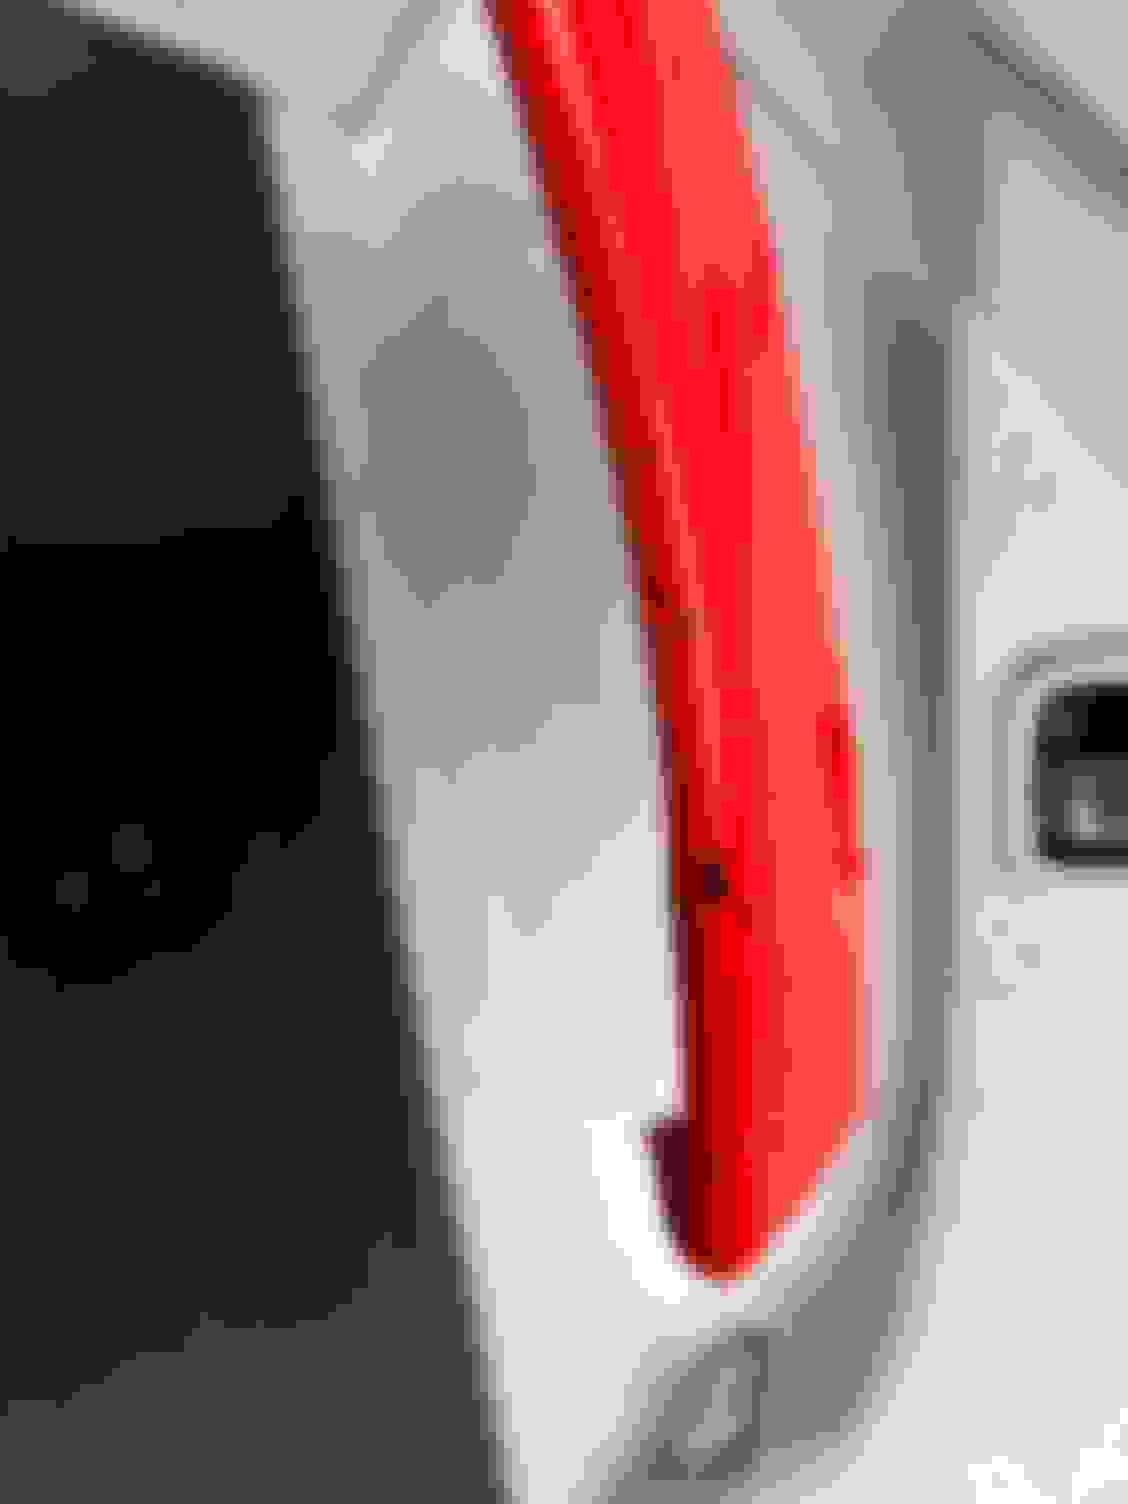
Last tab on outer edge.
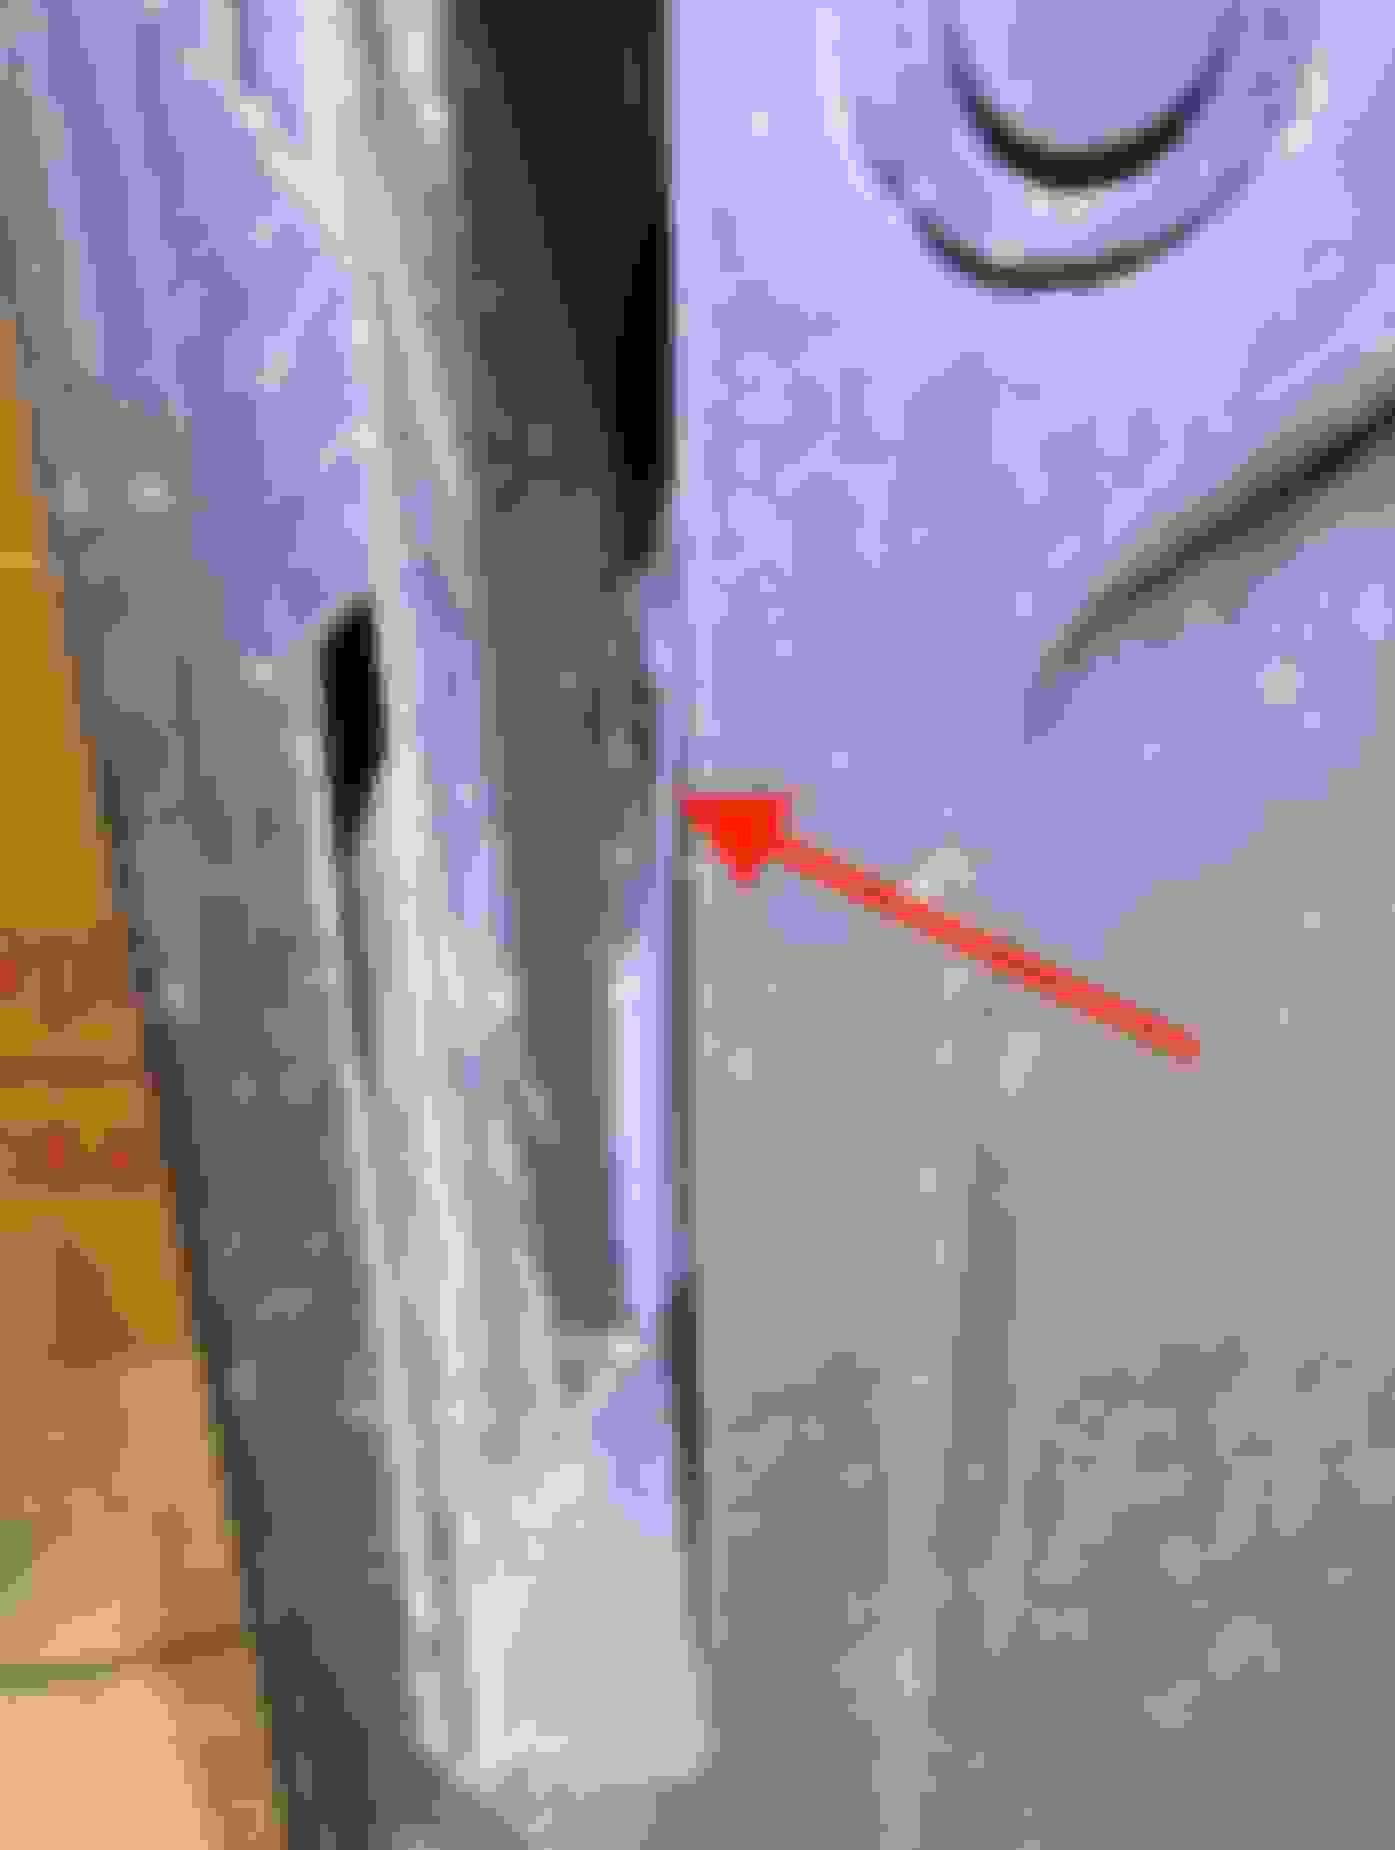
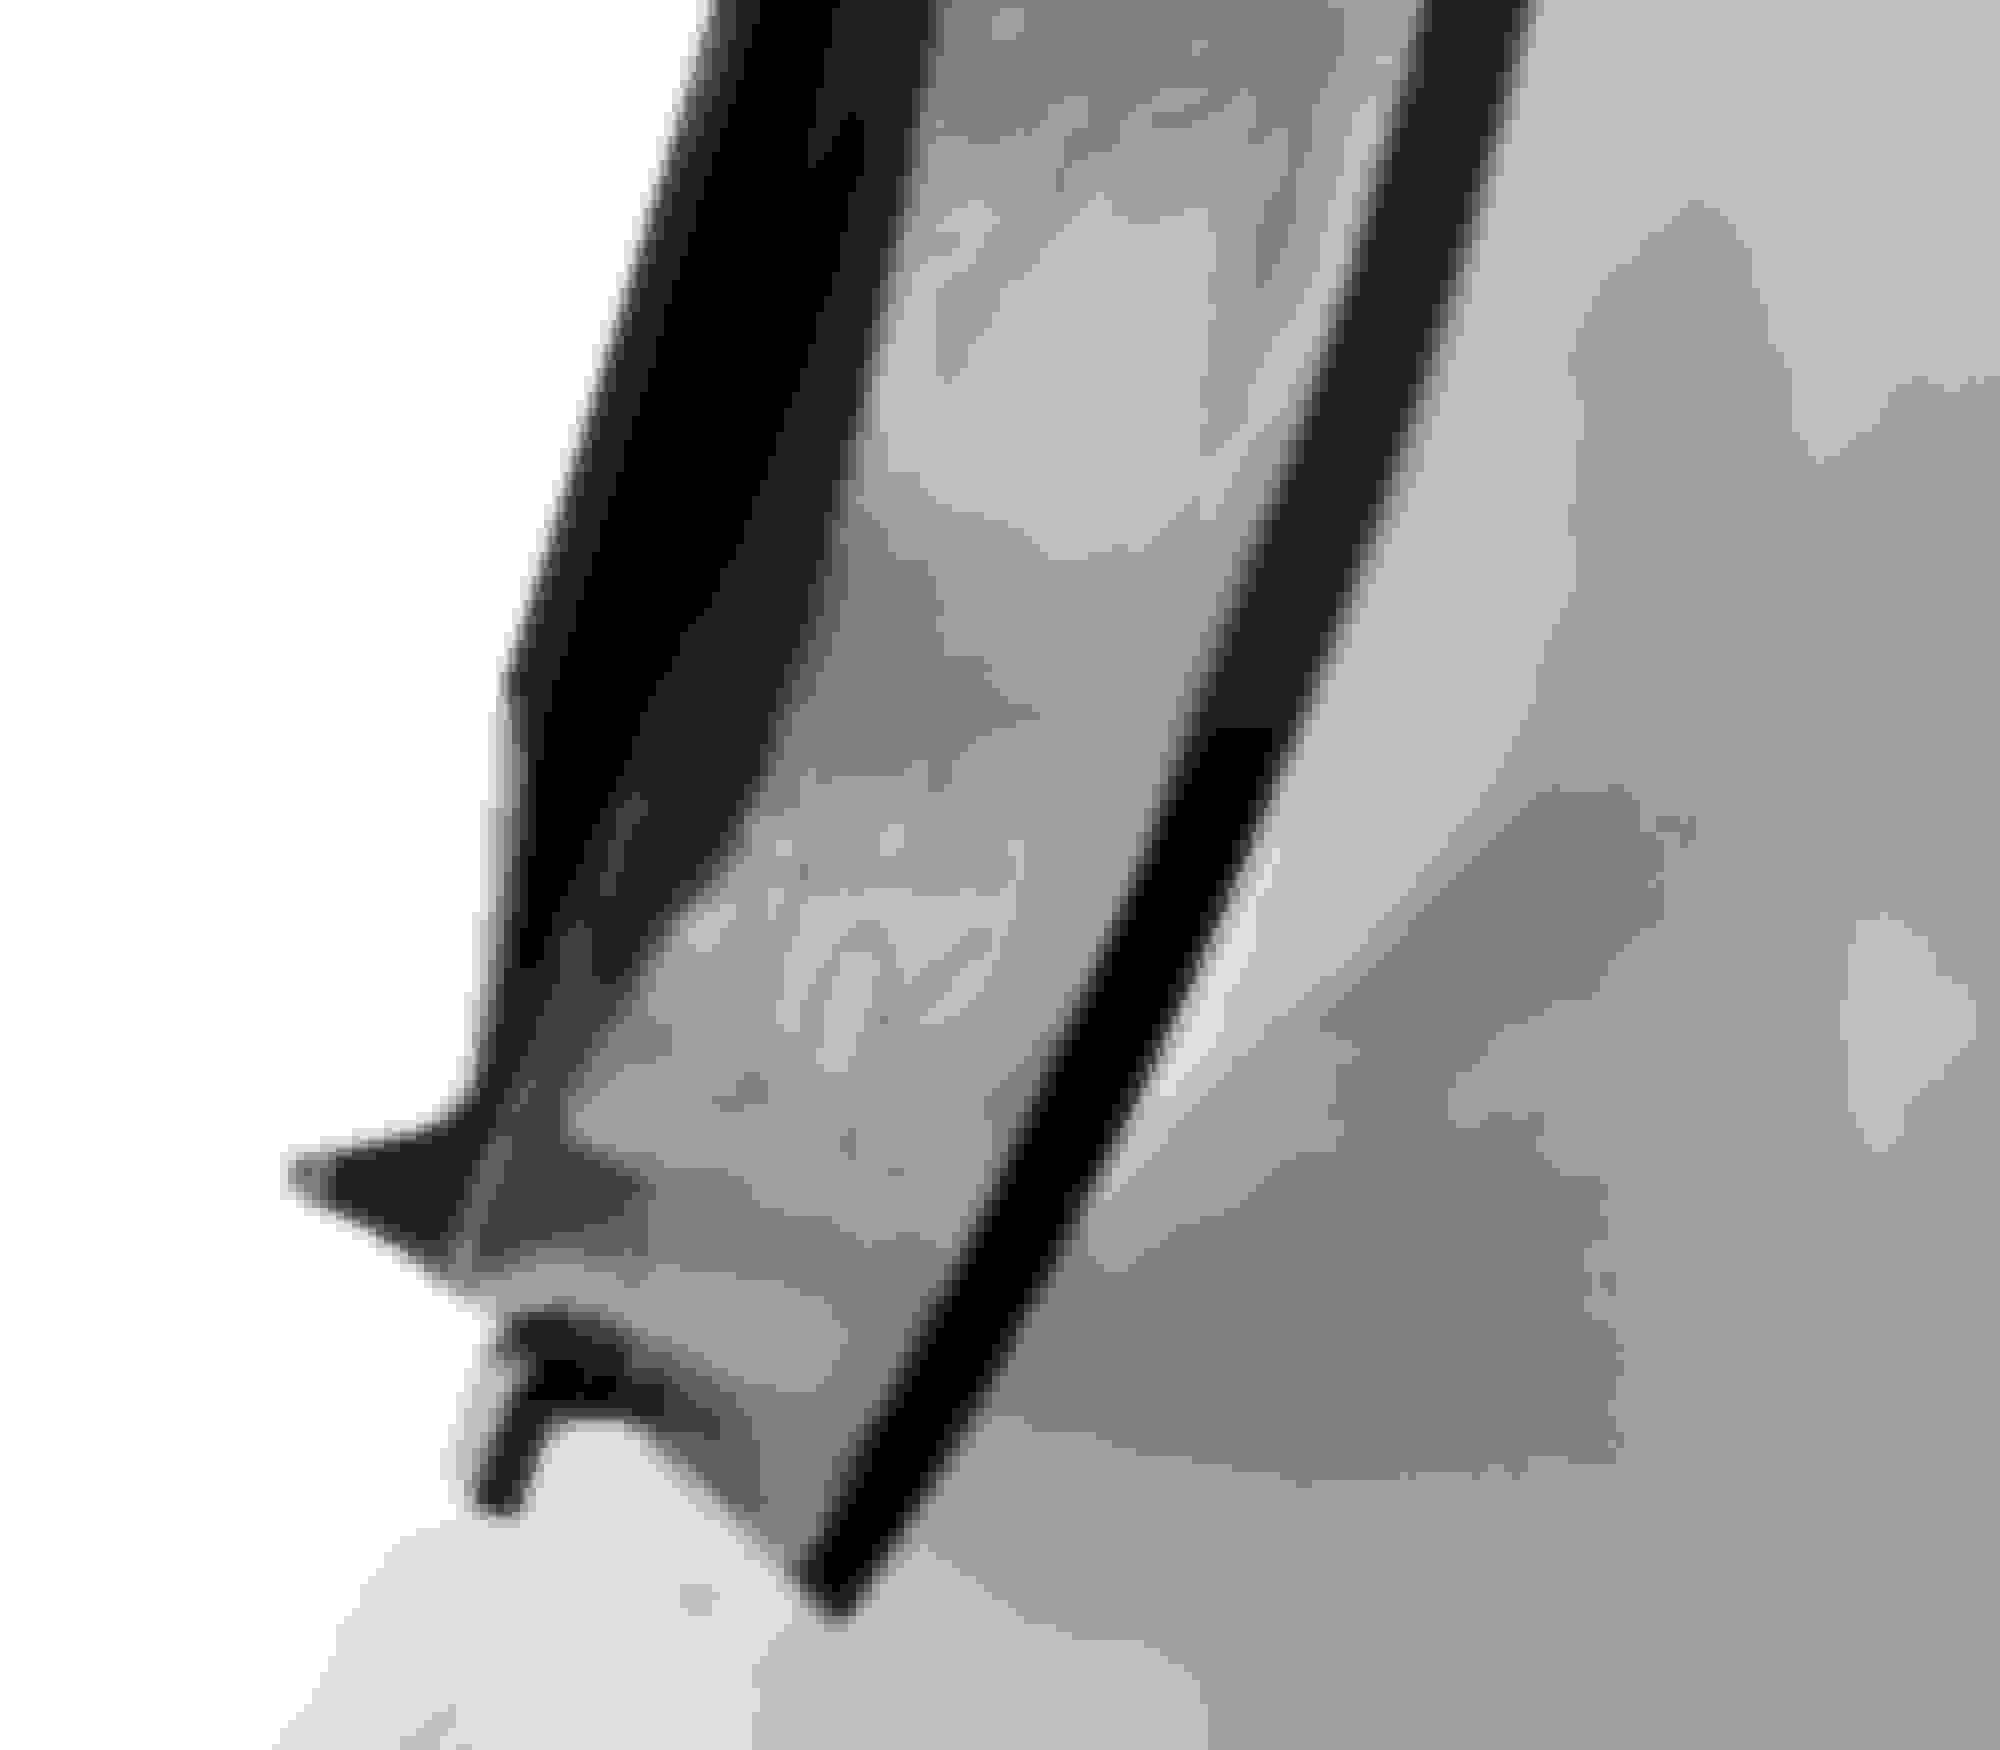
This tab near the pointed end of the spoiler is the only one along the inside edge of the trim.
Here's a photo of the non-locking tab on the lower edge of the front spoiler. This is the one that broke off when I attempted to remove the passenger side trim. I hope to repair this spoiler and paint the spare set once I find a color that matches the red All-Fit Flex Trim.
It's been 15 months since I wrapped the EQS SUV front spoilers with 3M film. Unfortunately, the film did not hold up as well as I had hoped. Not sure if this was due to an error in my technique or stones and salt kicked up at the car over 30000 miles. I decided to try again with painted spoilers. I used BMW Verona Red polyurethane paint, but, I would have preferred a slightly brighter shade of red. So I will probably do this one more time.
Damaged film on front spoiler.
Front spoilers painted BMW Verona Red w/polyurethane automotive paint.
 03-19-2023, 07:10 PM