When you click on links to various merchants on this site and make a purchase, this can result in this site earning a commission. Affiliate programs and affiliations include, but are not limited to, the eBay Partner Network.
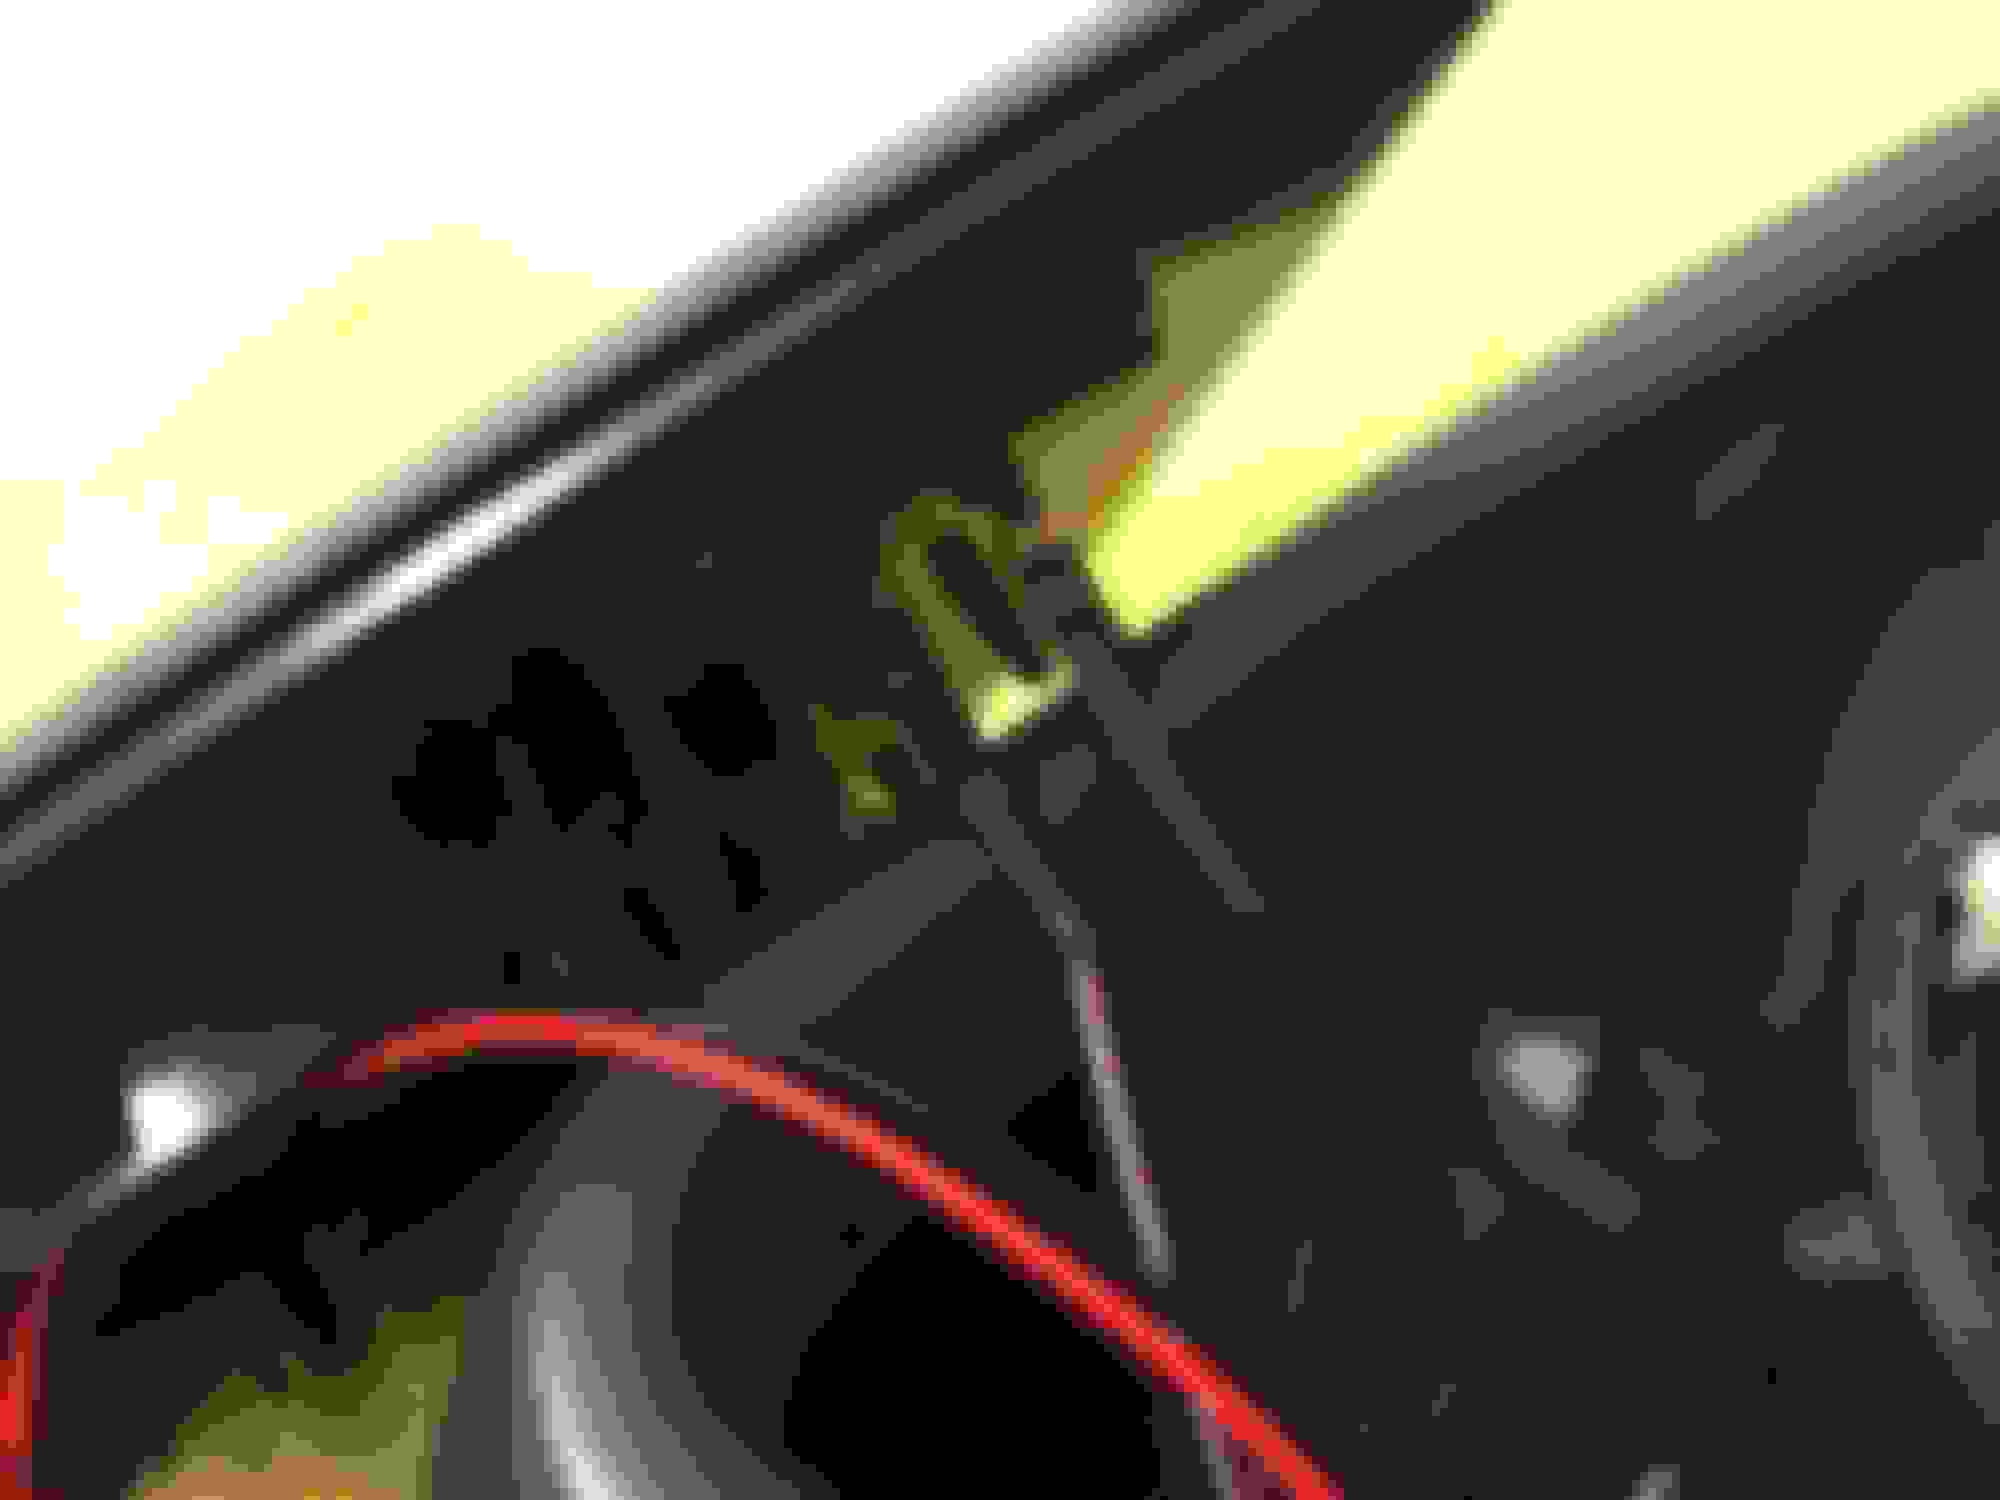
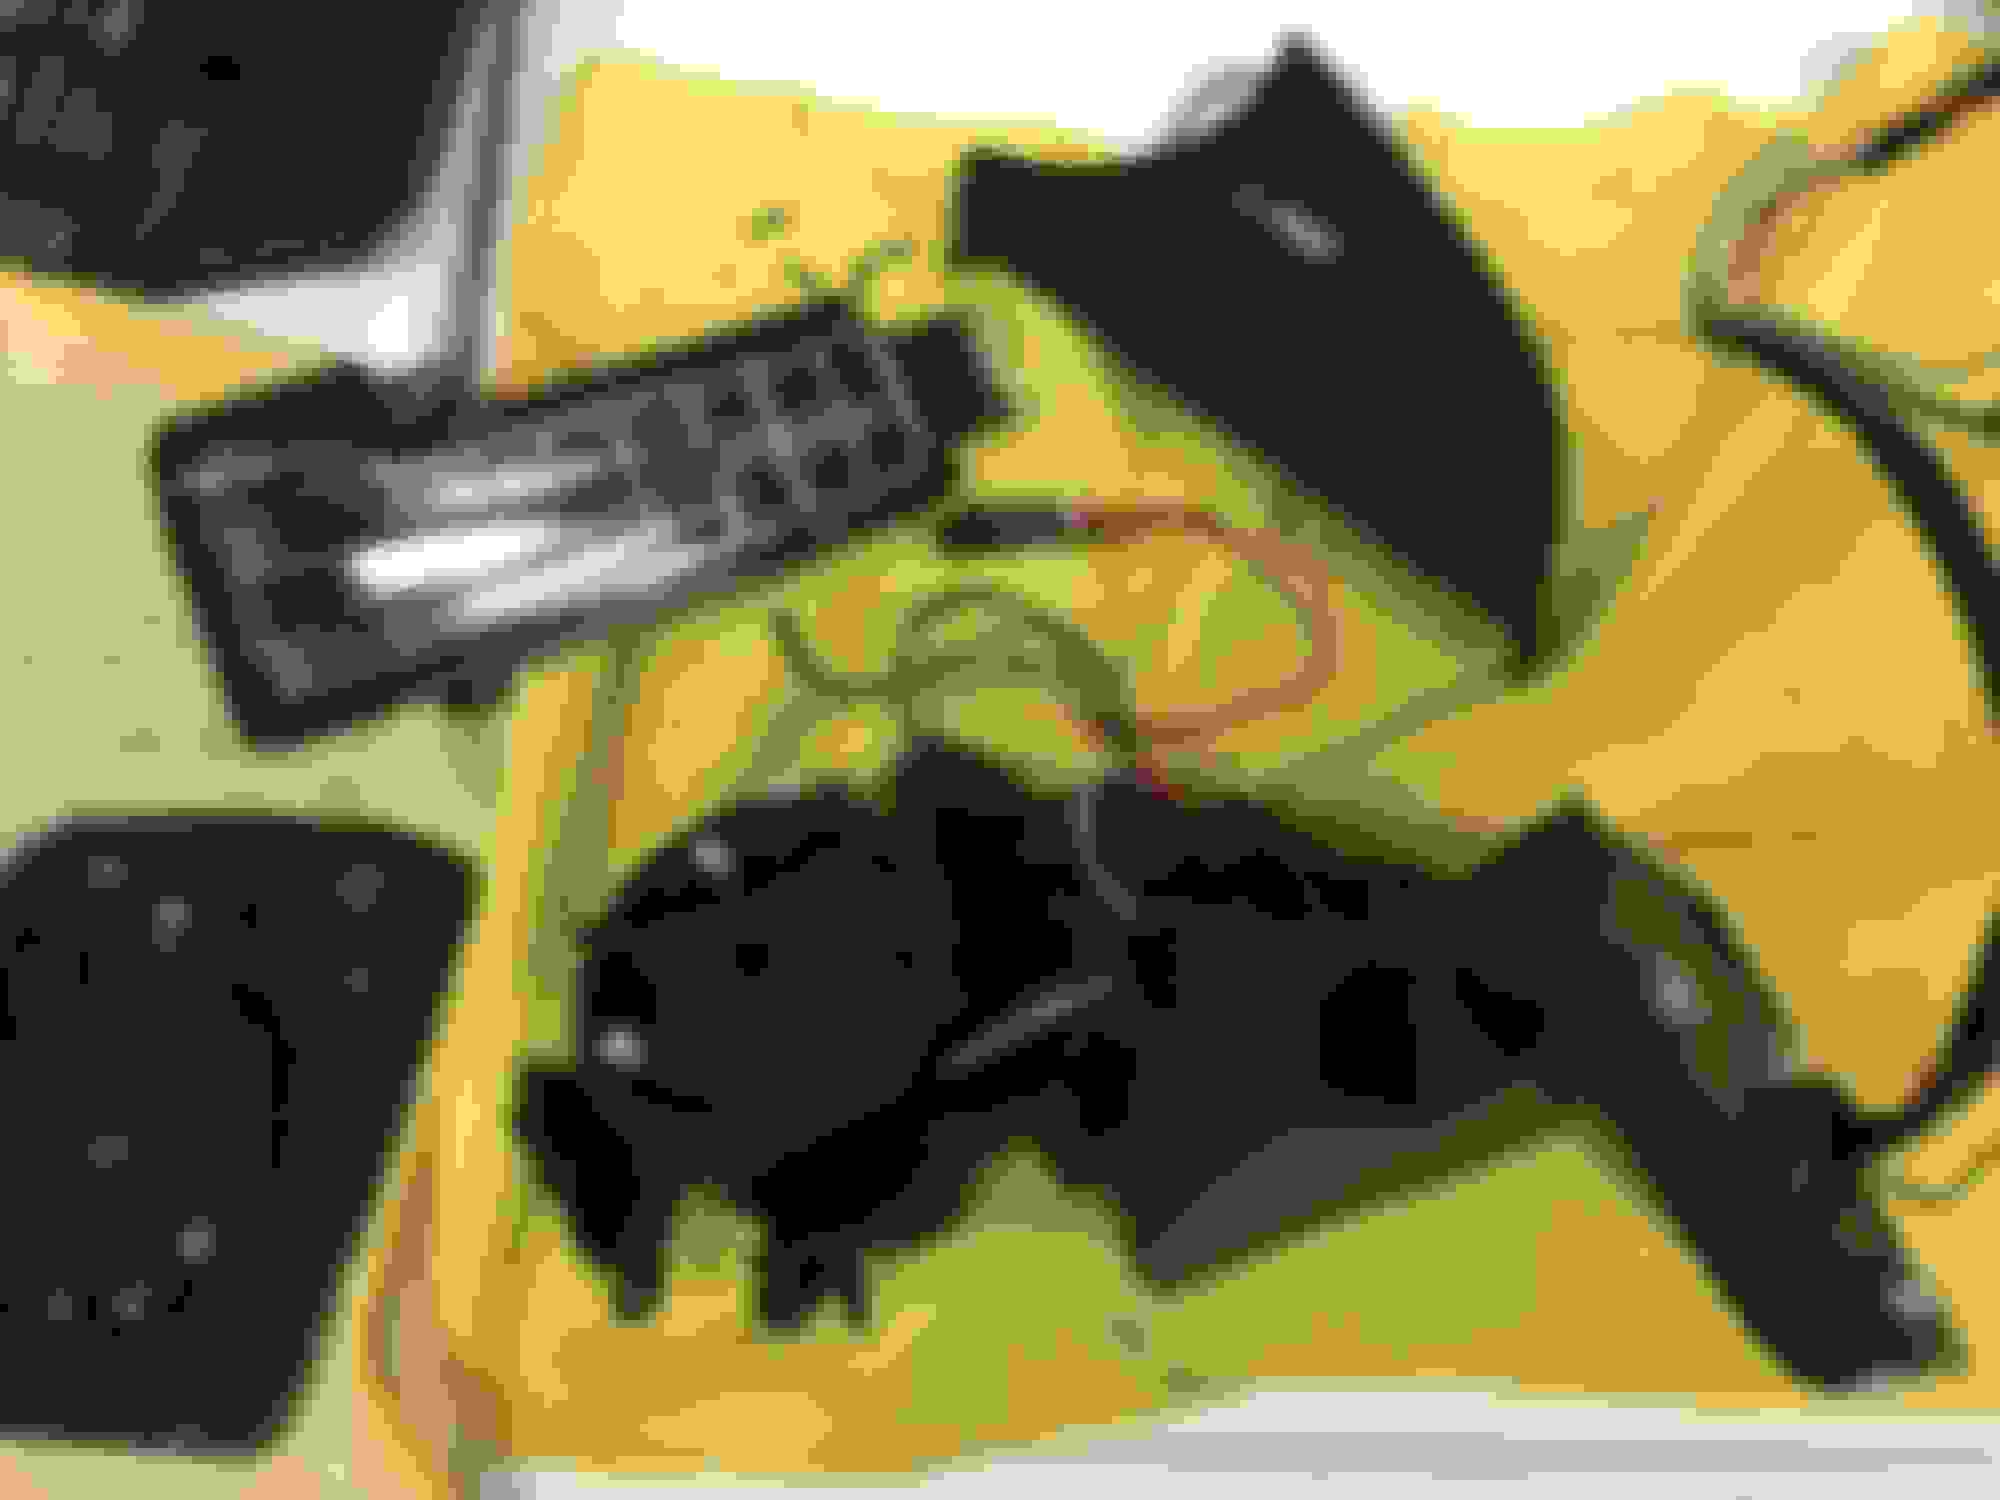
Took apart aftermarket facelift mirrors. Strange that lots of people install them but no one talks about how to take them apart to be painted . From what I see these "might be" assembled a little different then OEM. But after fiddling with them I was able to take them apart.
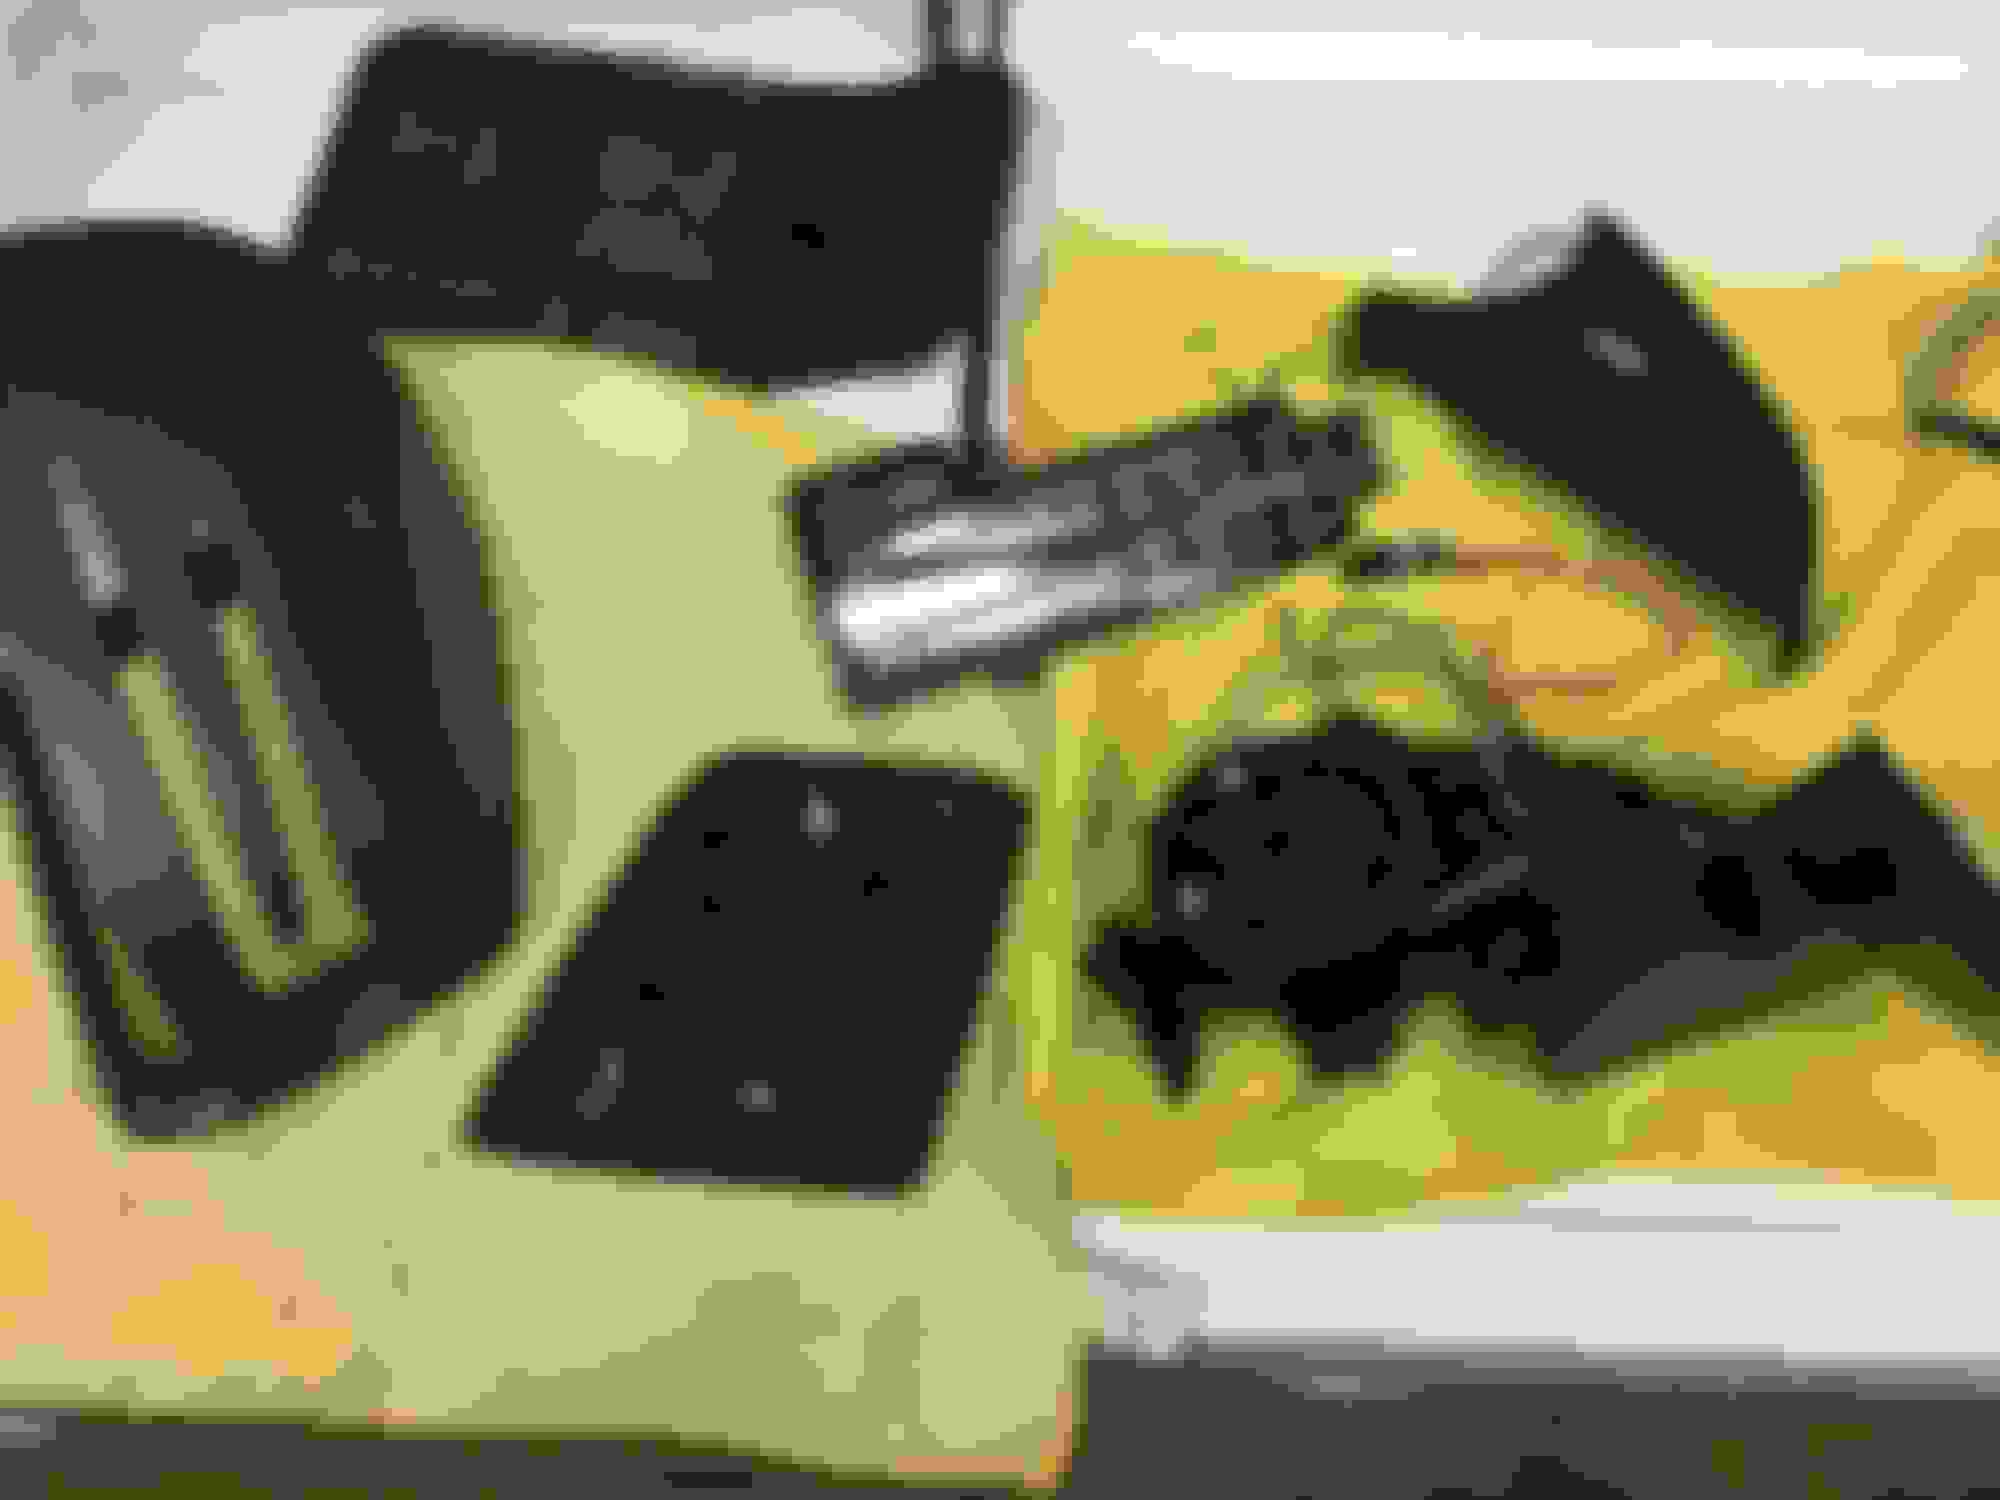
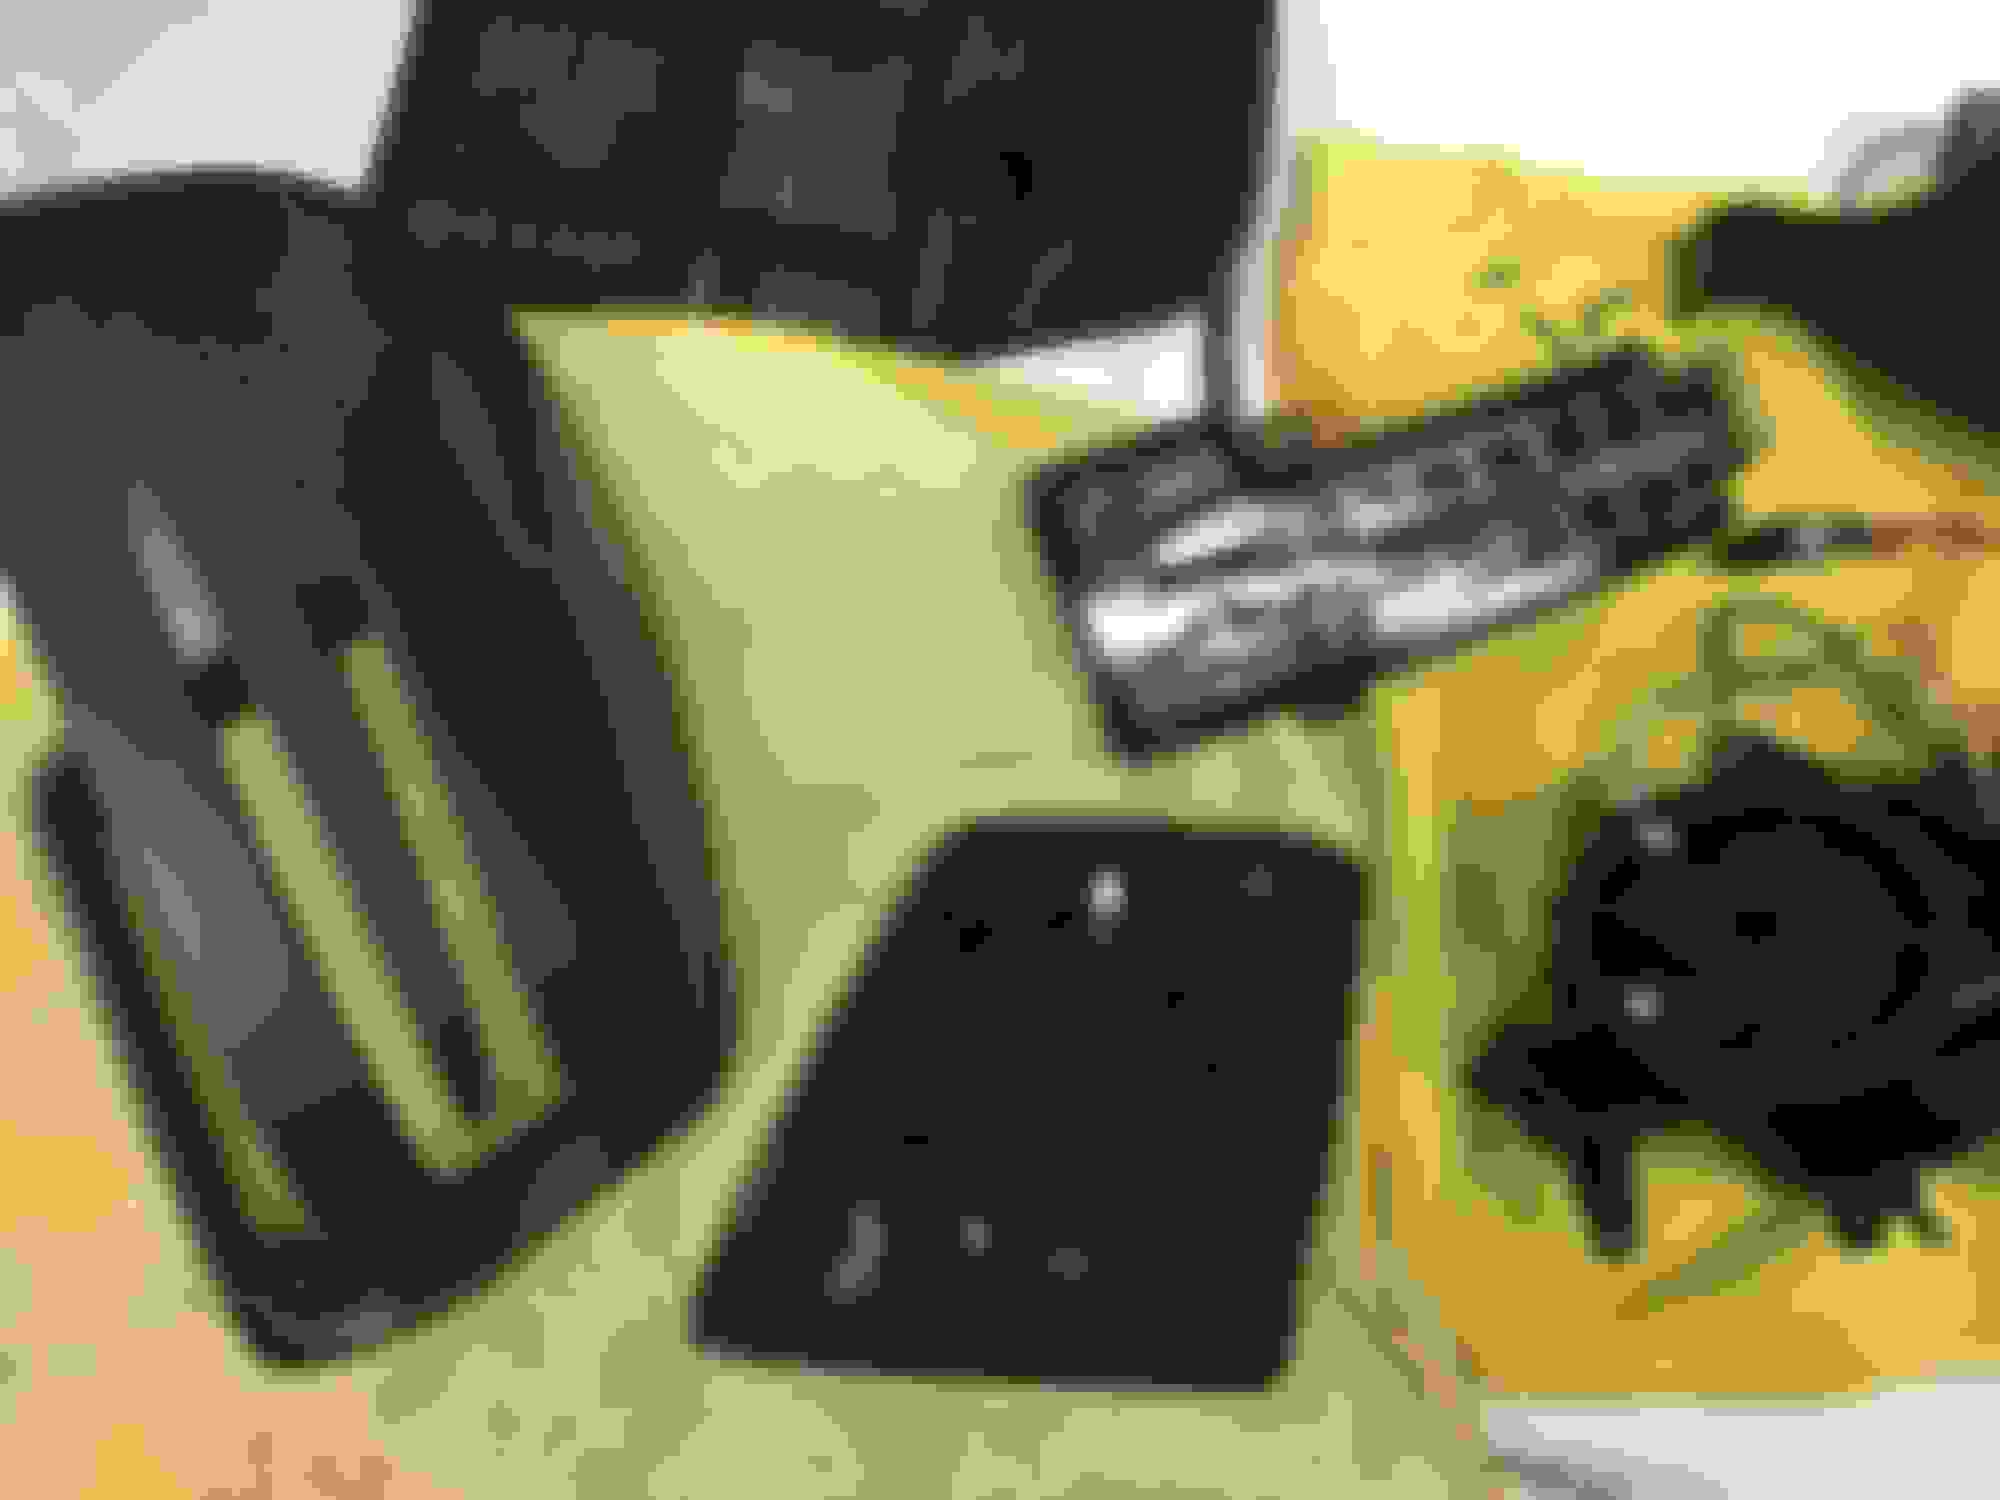
First remove glass by gently pulling out on it.
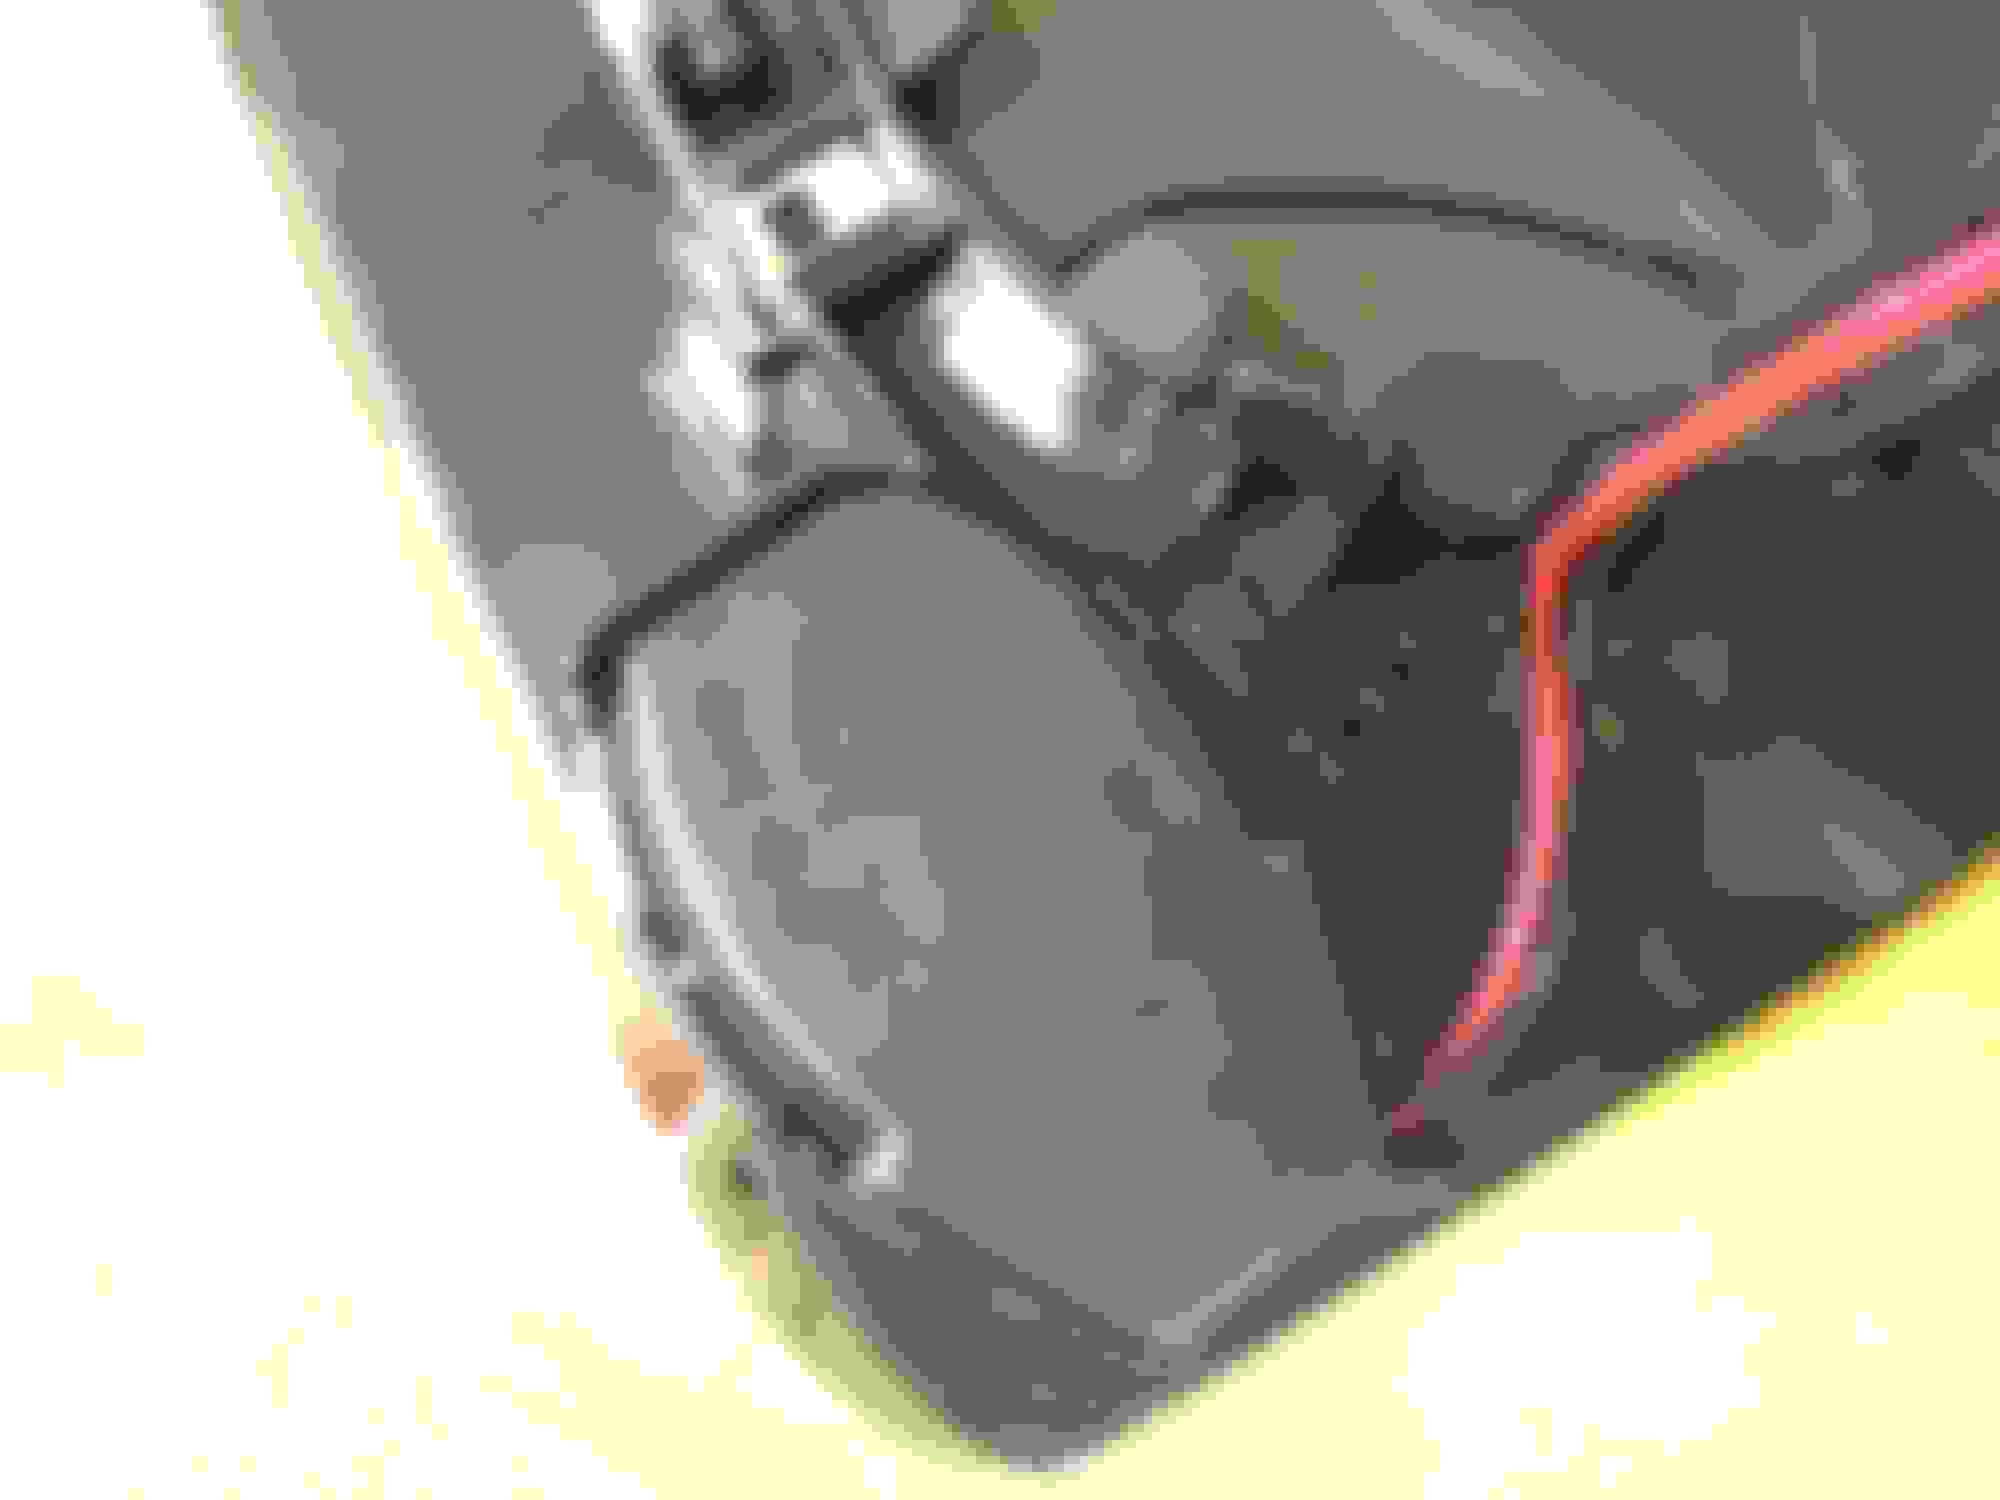
Then remove one small black screw towards the bottom.
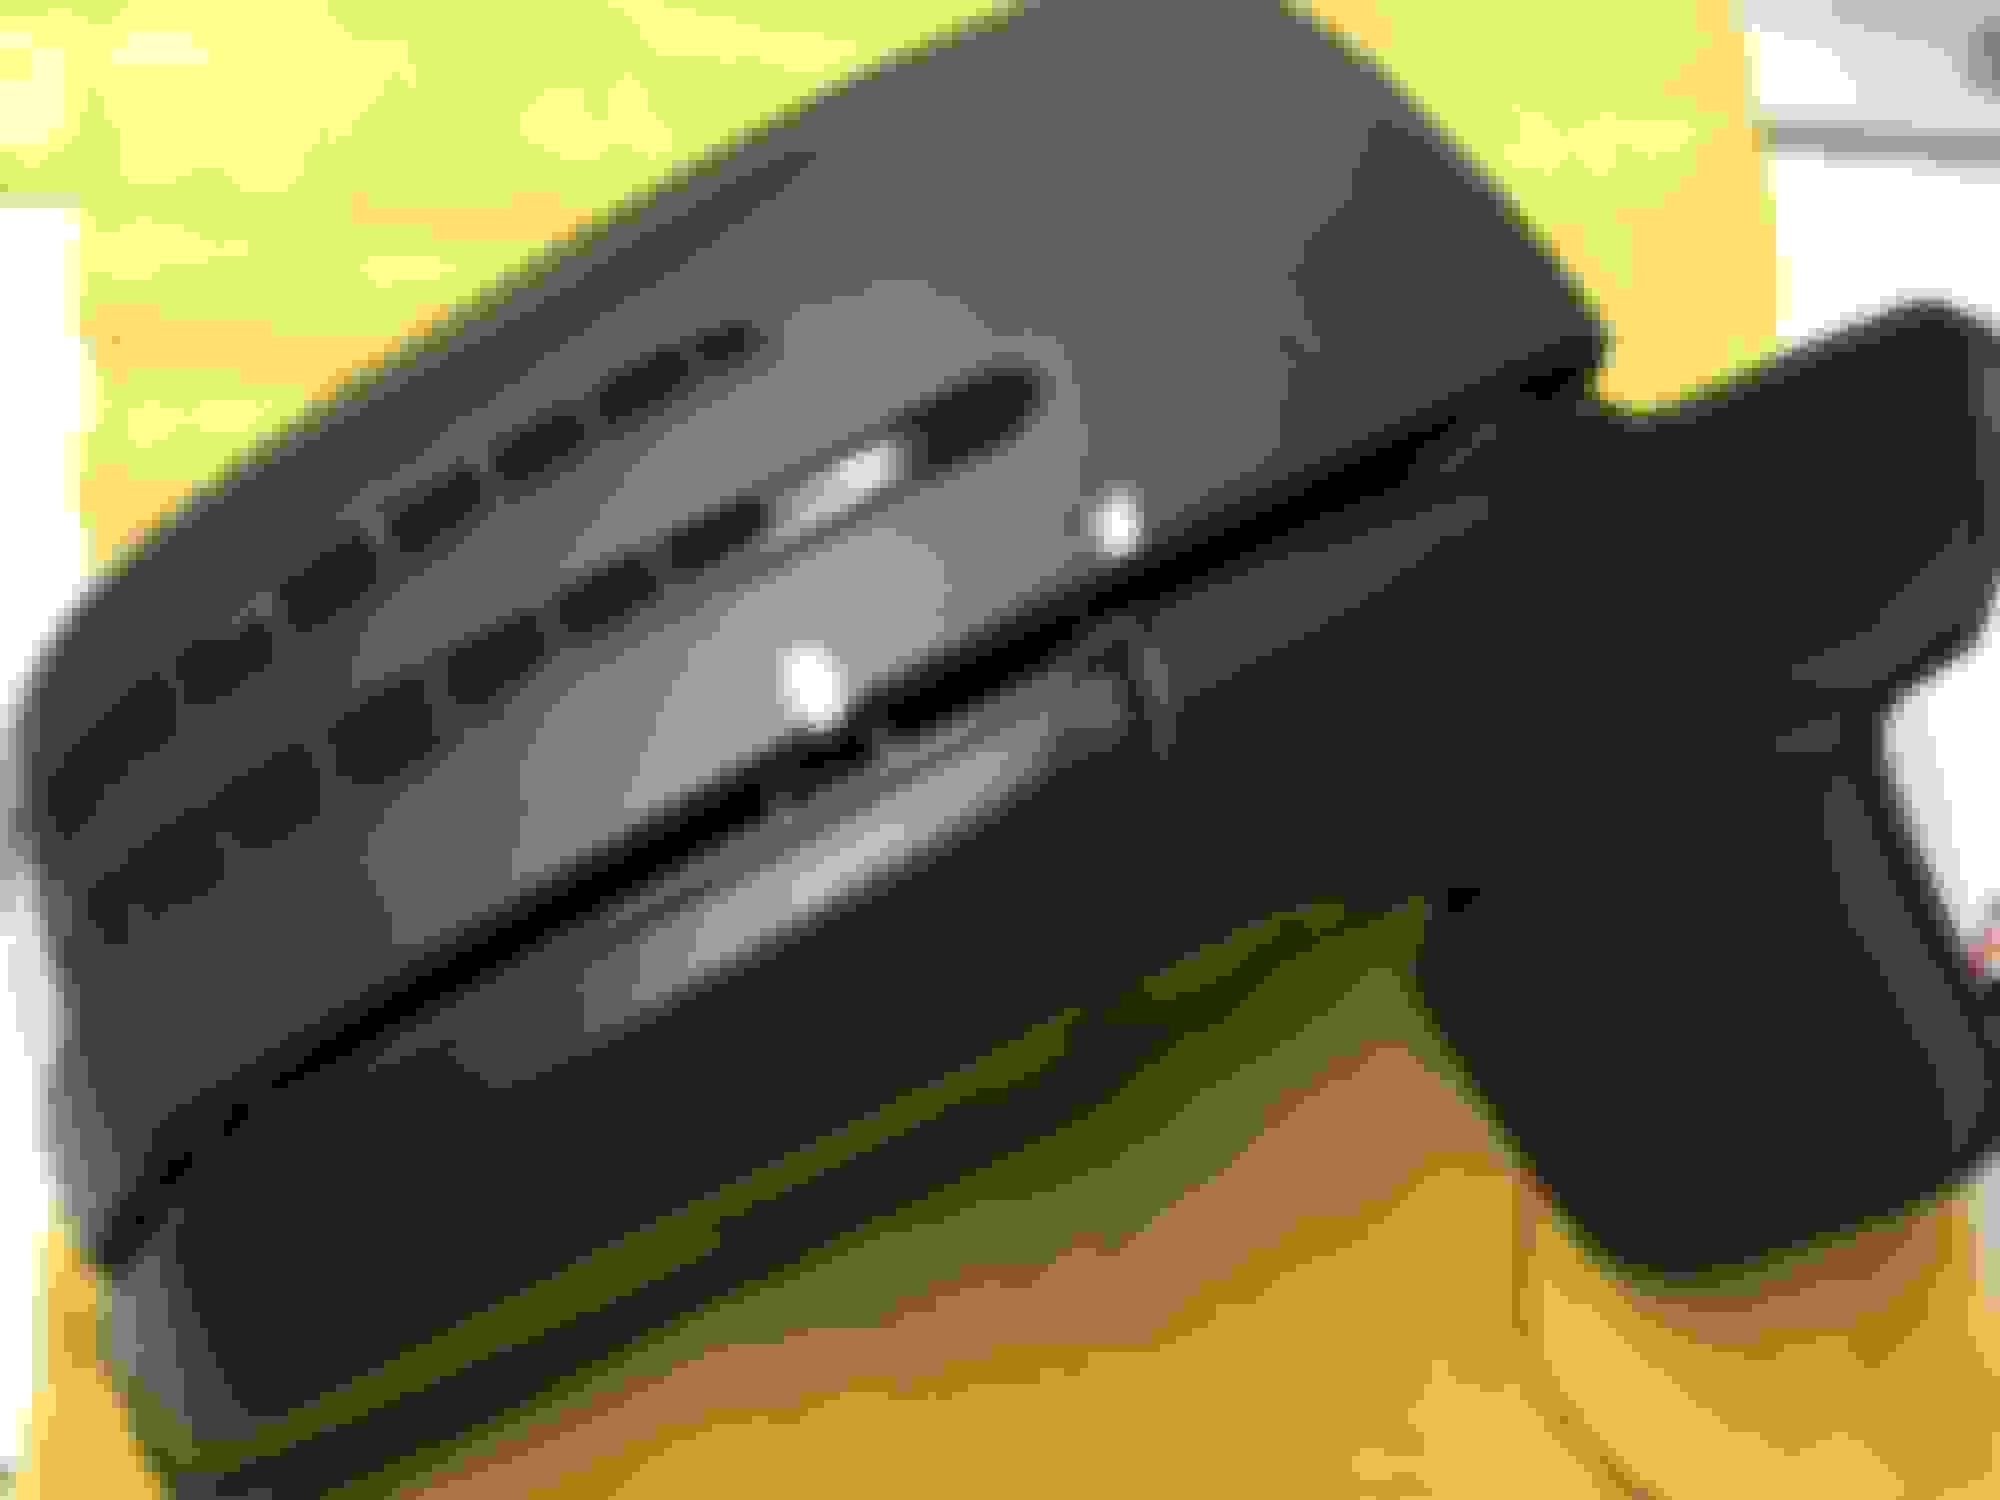
Gently pry up on the back of the cover where it's clipped on ( two clips I marked with white tape ) .
There is a third clip from the front in the corner.
While you have all three clips pulled back, you then wiggle the cover up and it should come off.
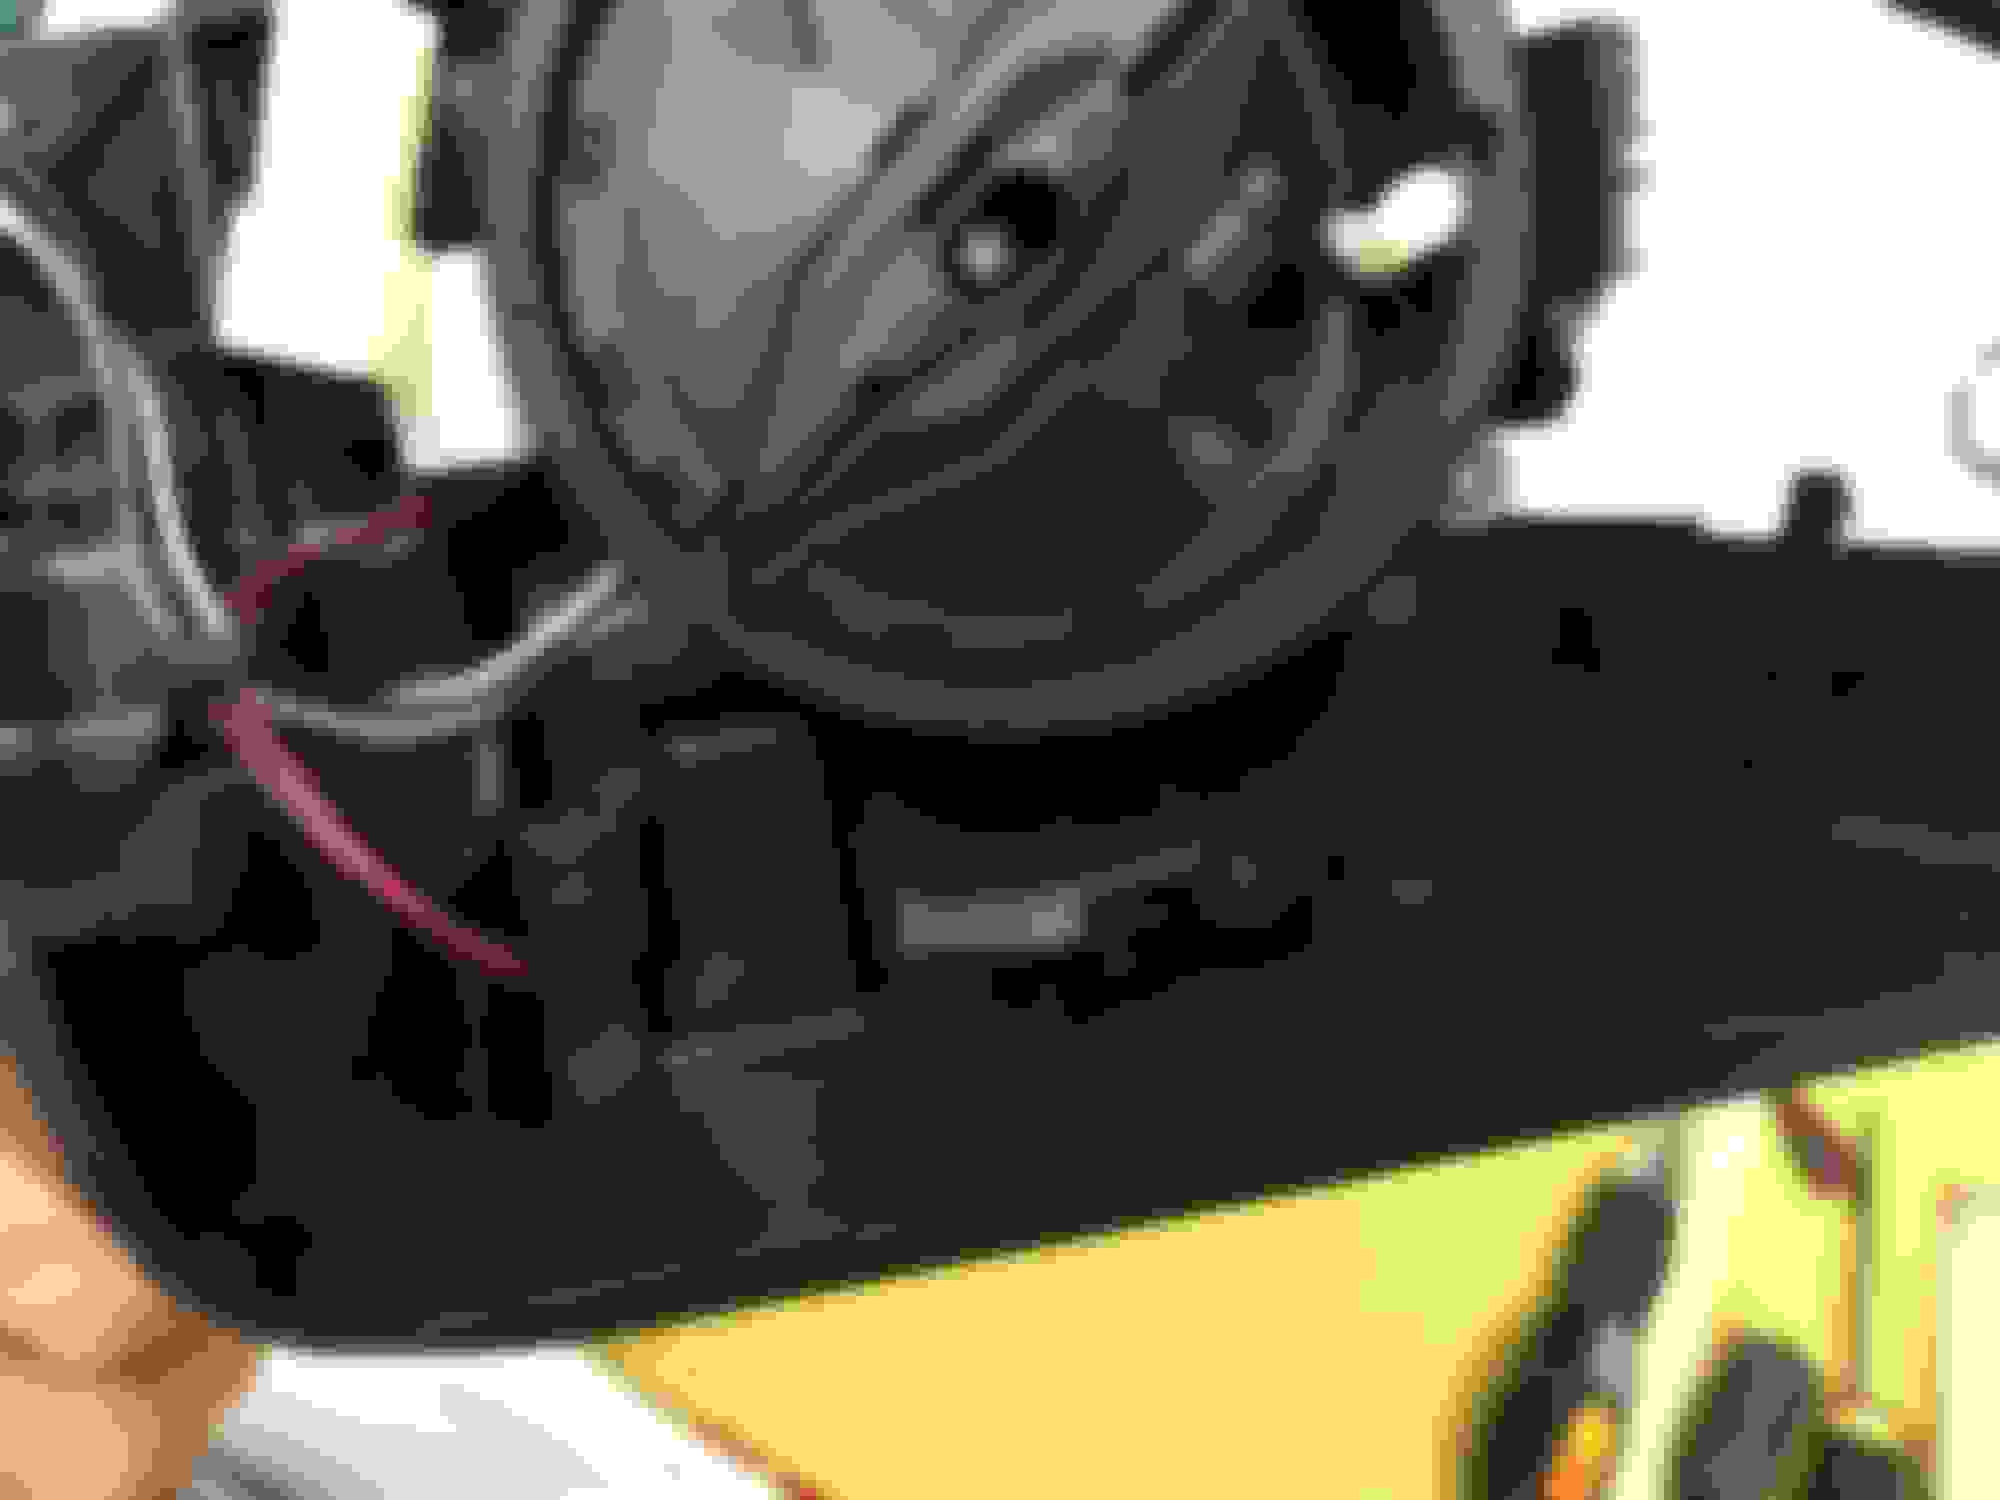
I think I will be painting the black parts as well, so therefore I remove the bottom black cover by unscrewing two more screws from the inside and wiggling it down.
Last edited by Kobzarhomes; 05-14-2017 at 12:50 PM.
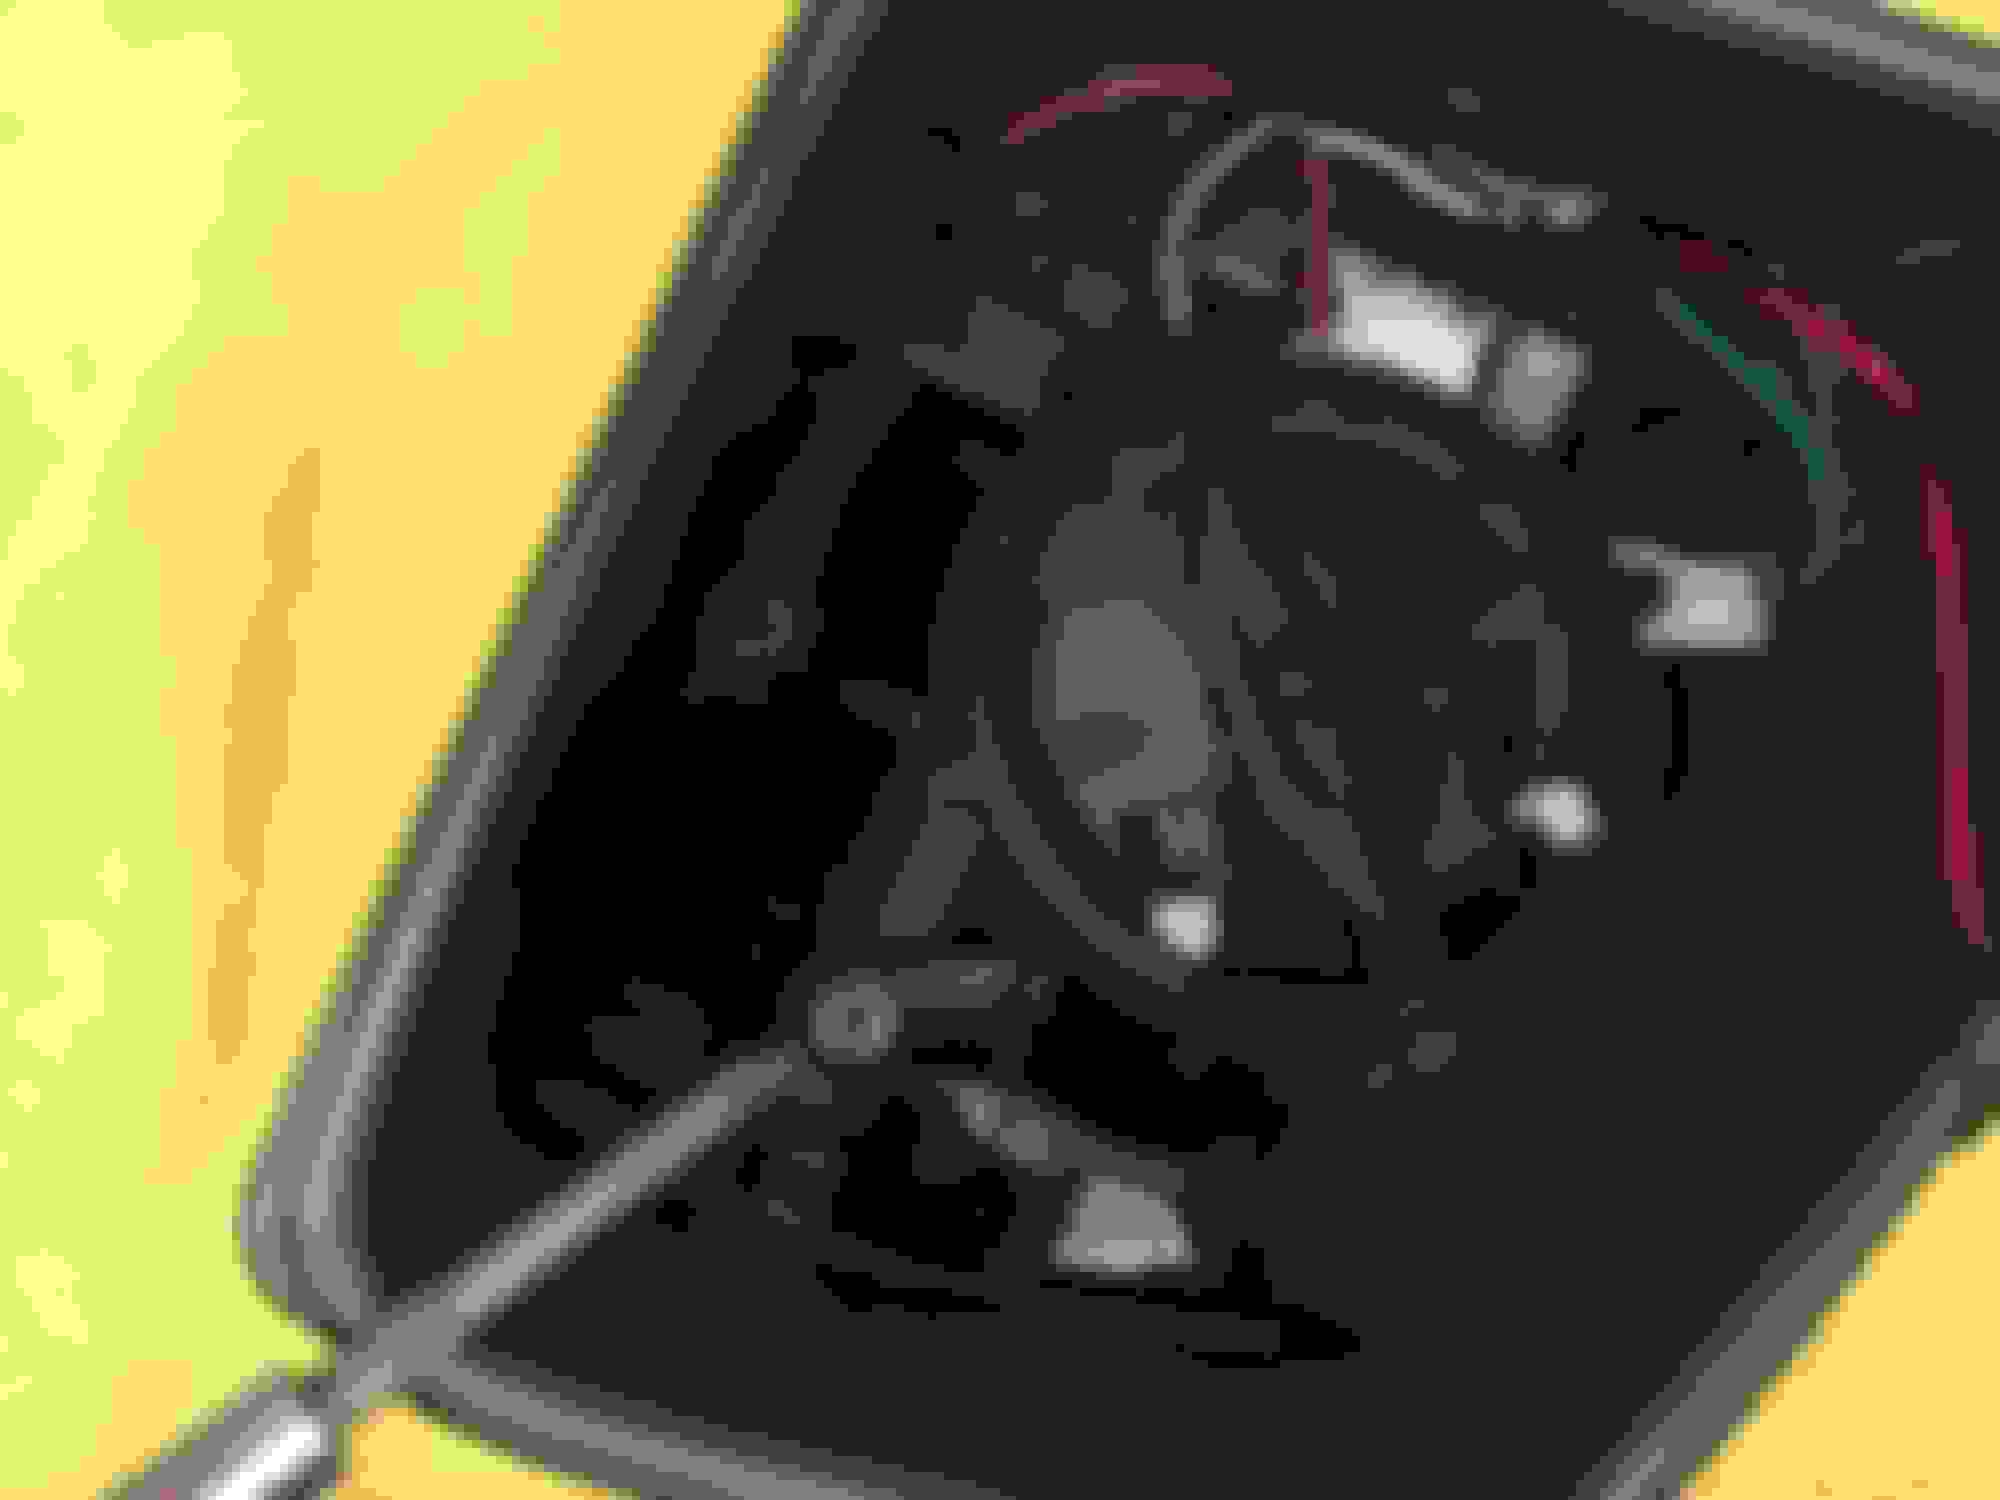
Yes the blind spot triangle is functional, I actually checked it myself and it lights up. I also would like to look into aftermarket blind spot monitoring sensors to see if I can get them to work with the mirrors.
These mirrors also have power folding ability, which I also confirmed.
Yes the blind spot triangle is functional, I actually checked it myself and it lights up. I also would like to look into aftermarket blind spot monitoring sensors to see if I can get them to work with the mirrors.
These mirrors also have power folding ability, which I also confirmed.
if you don't mind, could you share where you guys the mirrors from?
Last few days I have been sanding the hell out of the car, preparing it for paint towards the end of next week. Alot of sanding when you are re-spraying the entire vehicle. Doors, fenders, bumpers, etc... are coming off, hinges will be painted separately. Making sure every little crack is sanded so there's no glossy paint anywhere on the car. My fingers are killing me but it's almost ready.
Last few days I have been sanding the hell out of the car, preparing it for paint towards the end of next week. Alot of sanding when you are re-spraying the entire vehicle. Doors, fenders, bumpers, etc... are coming off, hinges will be painted separately. Making sure every little crack is sanded so there's no glossy paint anywhere on the car. My fingers are killing me but it's almost ready.
Are you planning on shooting it yourself? If not a professional shop will probably prime it and block it to be sure there are no panel imperfections. Looks like you are making good progress. Once it is painted the reconstruction details begin. In my experience this is a more tedious part of the build but very satisfying because you begin to see the final product with each completed step. Good luck moving forward.
No, i'm not painting it myself.
Shop will put sealer down and then paint. They will not be priming or blocking it. When it arrives at the paint shop, it will be ready for them to start spraying.
Im going over everything with 600 grid and then 800 grid.
Both fenders and hood are going to get raptor treatment on the inside. Taped everything around the edges so there's no overspray on the exterior surface. I'll post pictures of the finished product tomorrow.
Aren't you worried about the age of the car. Would be sad to do all this and then have engine or tranny fail. Or are you planning on rebuilding the engine and transmission?
No, I'm not worried at all.
Right now engine and tranny are solid. These are actually one of the most durable engines Mercedes ever made.
In the future... not sure when, but Im thinking of doing G55 engine swap.
Worst case.... a good low milage 5.0 engine could be had for around $700-$800
No, I'm not worried at all.
Right now engine and tranny are solid. These are actually one of the most durable engines Mercedes ever made.
In the future... not sure when, but Im thinking of doing G55 engine swap.
Worst case.... a good low milage 5.0 engine could be had for around $700-$800
You nailed it. I ended up giving Gwen a little ArchOil and she loved it. Now the engine idles at a dead 600 rpm and as smoothly as the commercials said they would when the M112/113's were released. Only 249,000km on it too!
You're getting there! The Raptor lining looks like a good idea too. I've considered hitting mine at Line-X to at least stave off any further issues with the underbody.
I think its a good idea to use it in some places, its just like Line-X. I might use it on some areas of the underbody as well. I will probably use a small foam roller to apply it on the underbody not to get it on parts that I don't want it on.
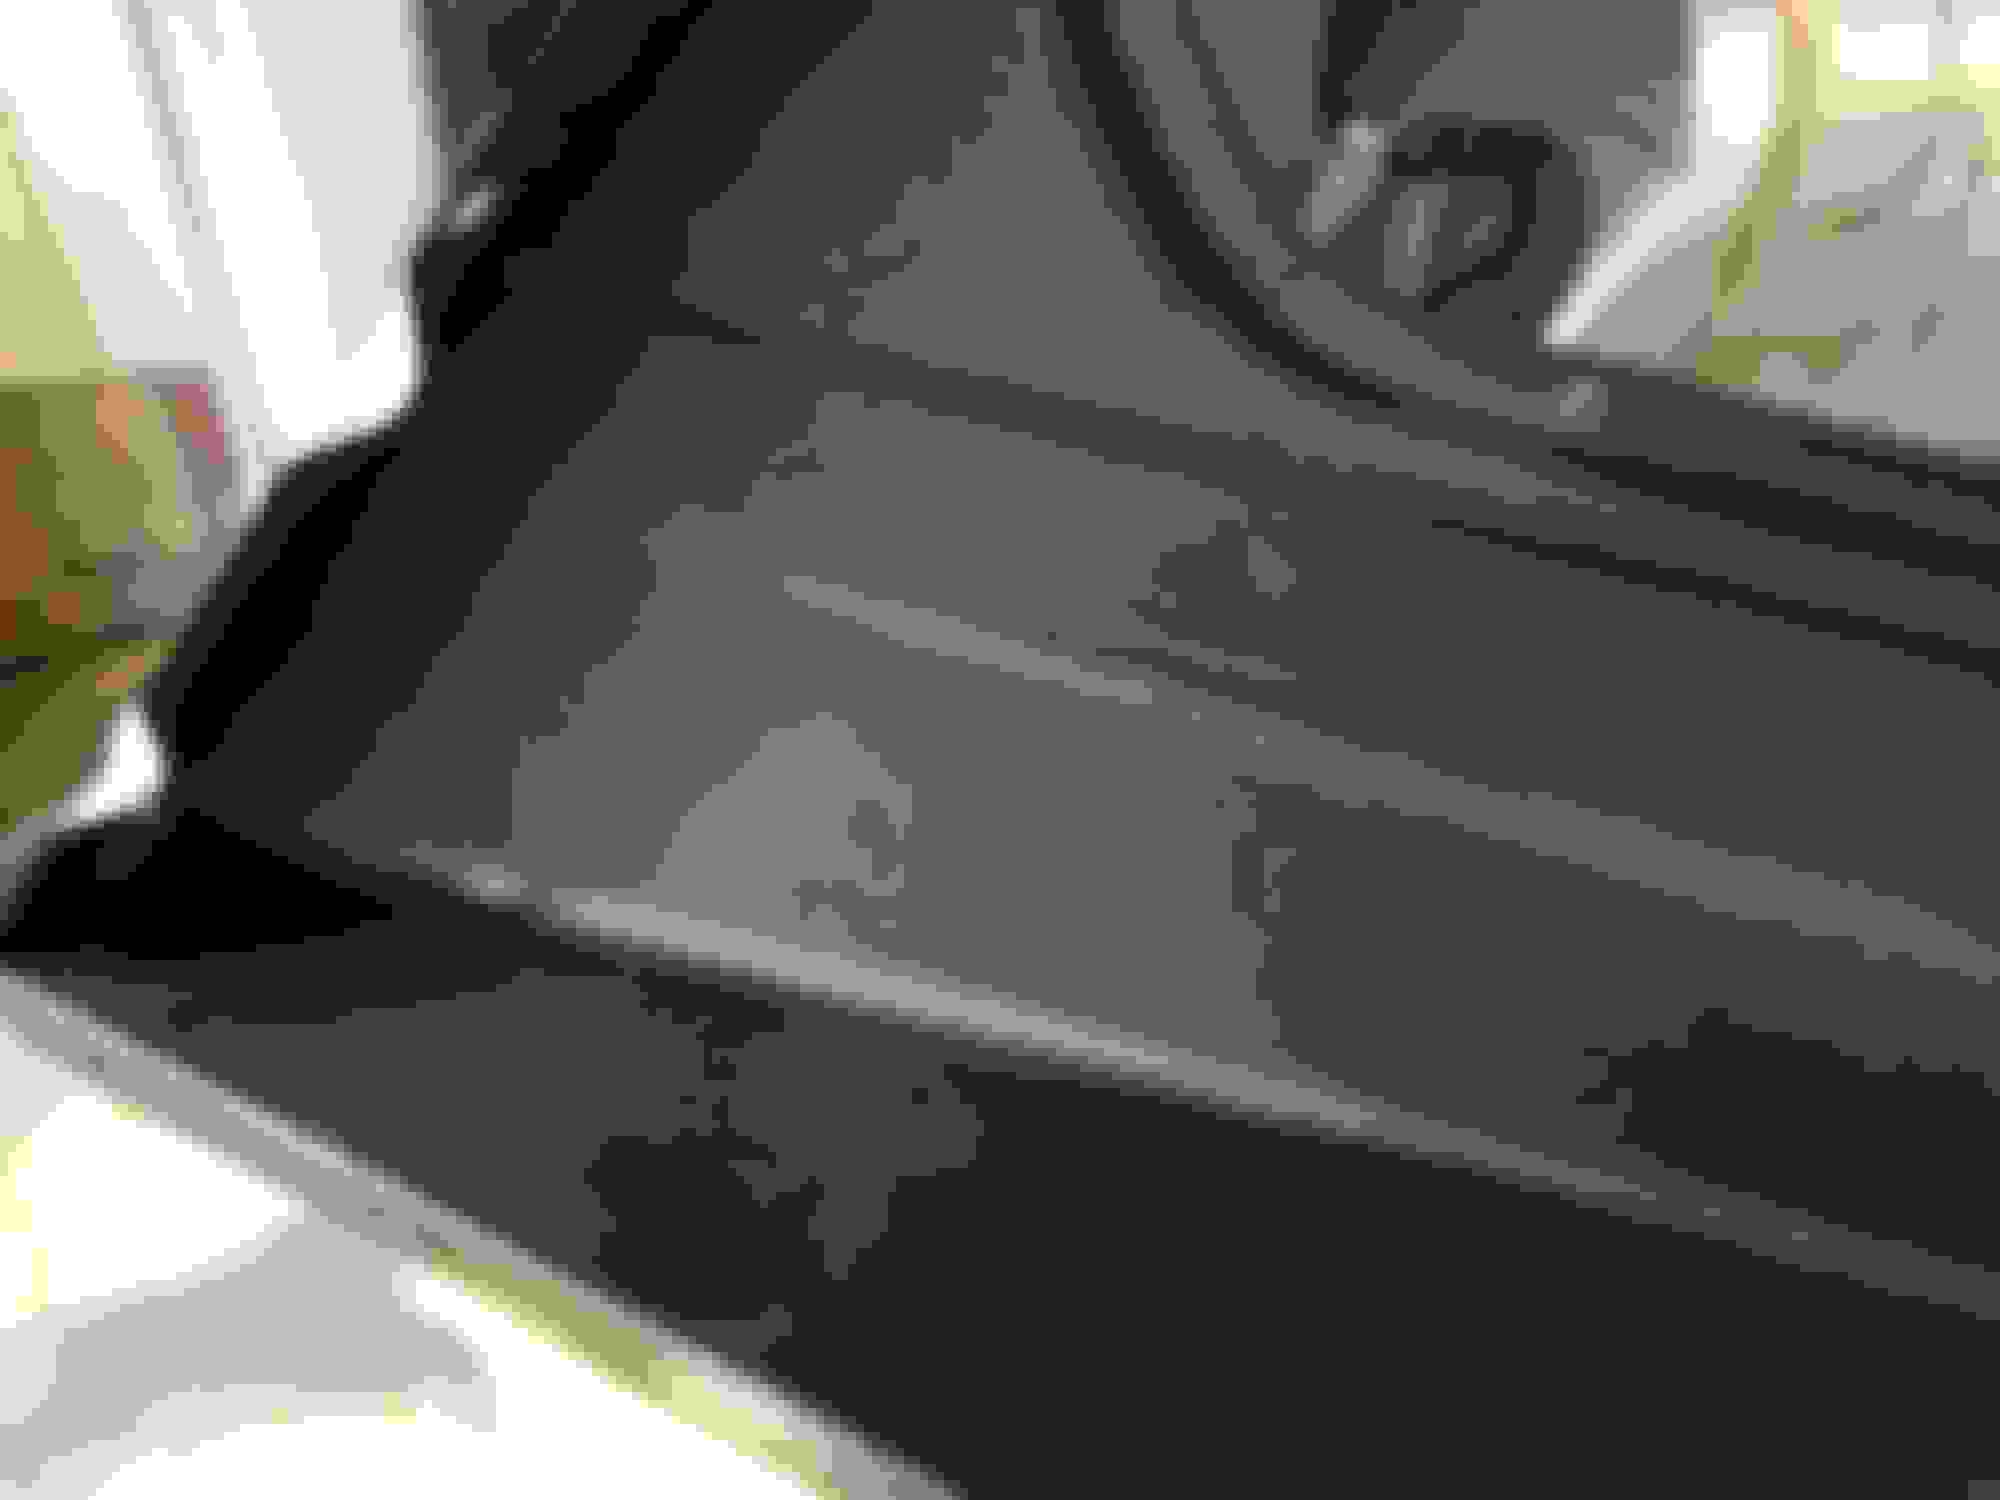
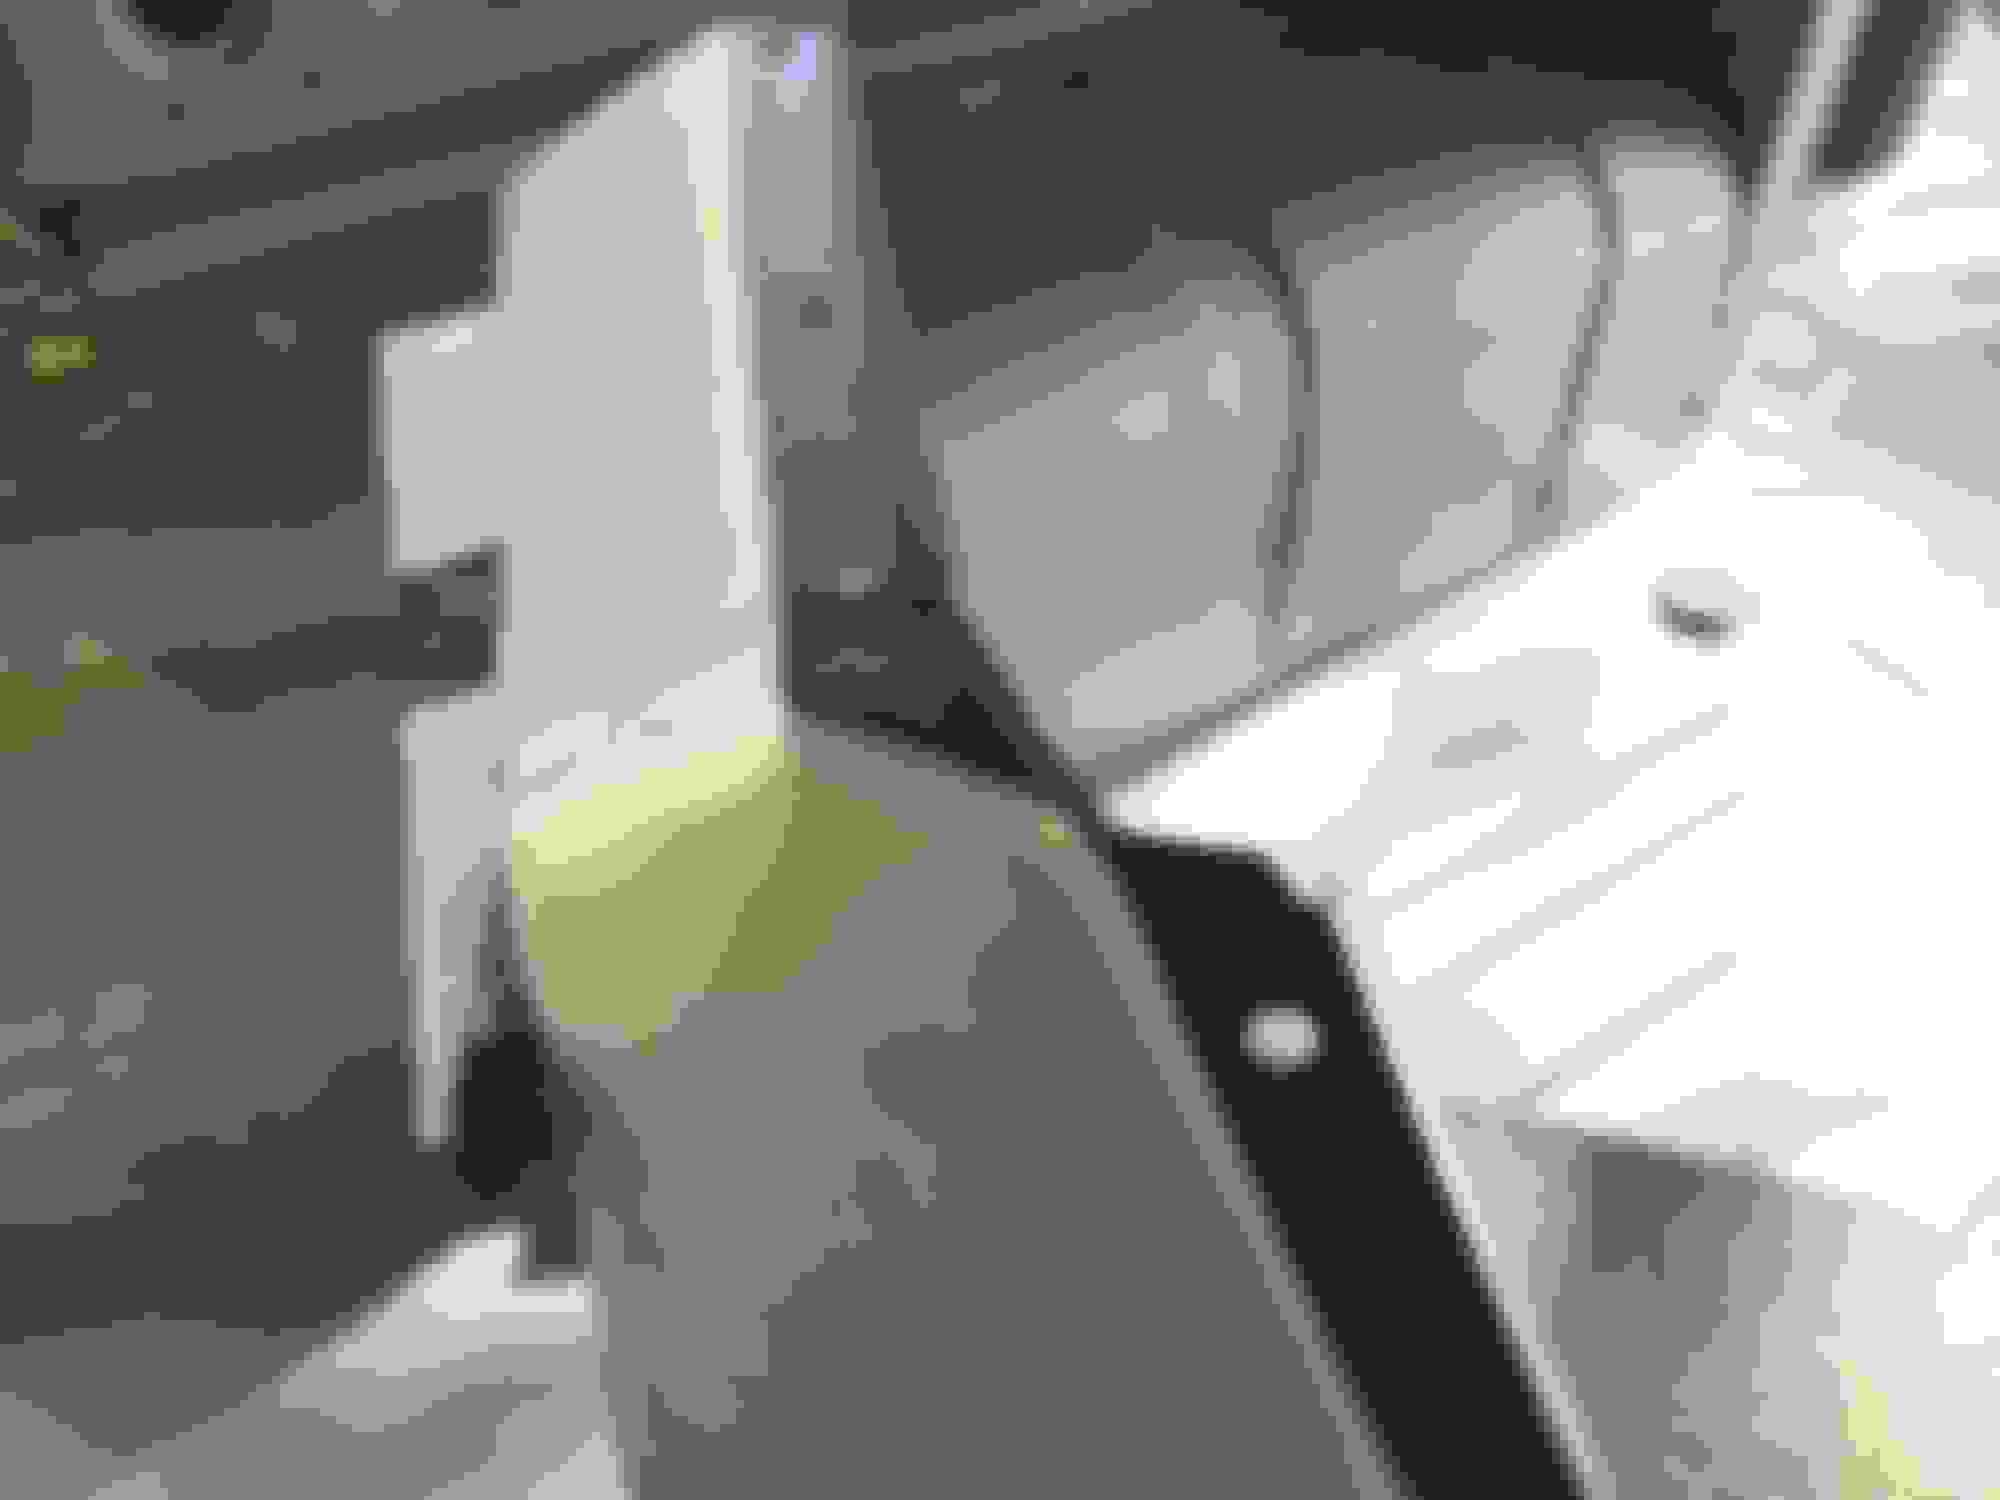
Here is the final result after using Raptor. Love the way it feels and looks. Will definitely help with any future rust prevention. The blue tint on the hood is from the blue carport cover.
I will also spray some on the exterior door sills, above the running boards before I take it to the paint shop.

 05-12-2017, 03:51 PM