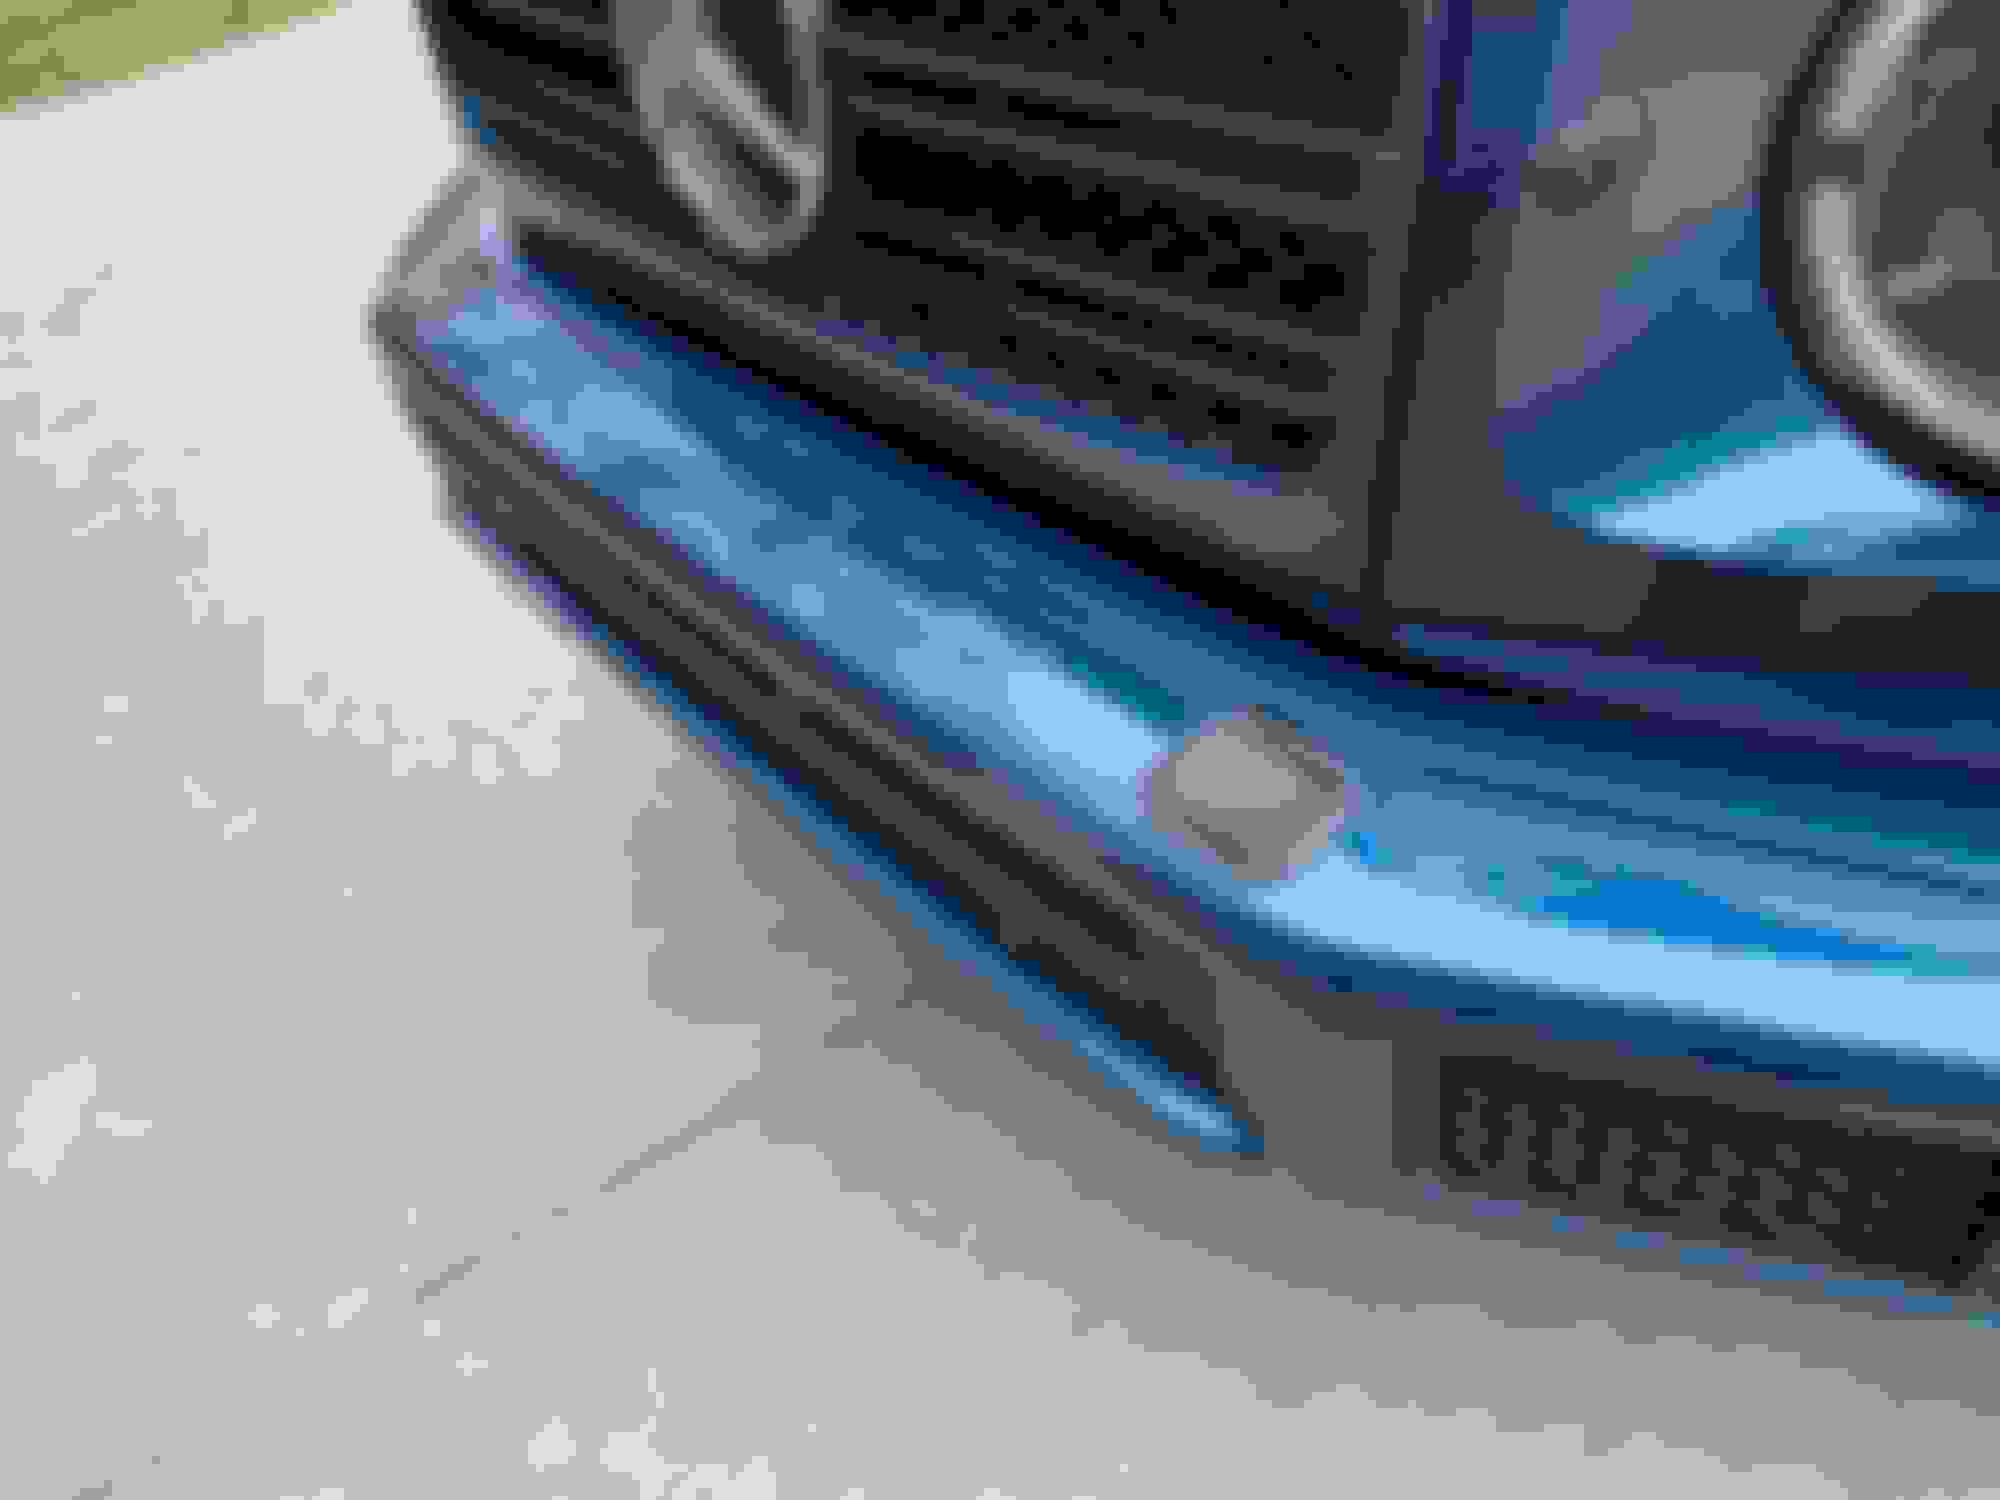
US Spec 2019 G550. This is what you are left with upon removal. Not sure how the above referenced plugs would work with these holes. *rubber bits pull right out and leave you with a slightly larger hole.
US Spec 2019 G550. This is what you are left with upon removal. Not sure how the above referenced plugs would work with these holes. *rubber bits pull right out and leave you with a slightly larger hole.
Thanks for your reply - that photo is very helpful. You are right - the required covers would seem to be small square shaped.
Wonder if these could be manufactured in plastic or rubber?
Did you remove your Brush Bar on your own, or did you have a body shop remove it? Wondering if it's easy enough for me to remove myself. Will you be filling the remaining holes with something, or are you going to leave it for now?
I have a Magno Black with Matte finish, so it might not be that obvious if I just left them uncovered while I look for a solution.
Thanks for posting that photo. I now think those are ideal locations for a pair of strong driving lights. Hmmm. May start to investigate. Is Cibie still in business?
I would think someone with a 3D printer could make something rather easily if they had dimensions. Or maybe the places that sell the Euro ones can make US ones?
Thanks for your reply - that photo is very helpful. You are right - the required covers would seem to be small square shaped.
Wonder if these could be manufactured in plastic or rubber?
Did you remove your Brush Bar on your own, or did you have a body shop remove it? Wondering if it's easy enough for me to remove myself. Will you be filling the remaining holes with something, or are you going to leave it for now?
I have a Magno Black with Matte finish, so it might not be that obvious if I just left them uncovered while I look for a solution.
Thanks again,
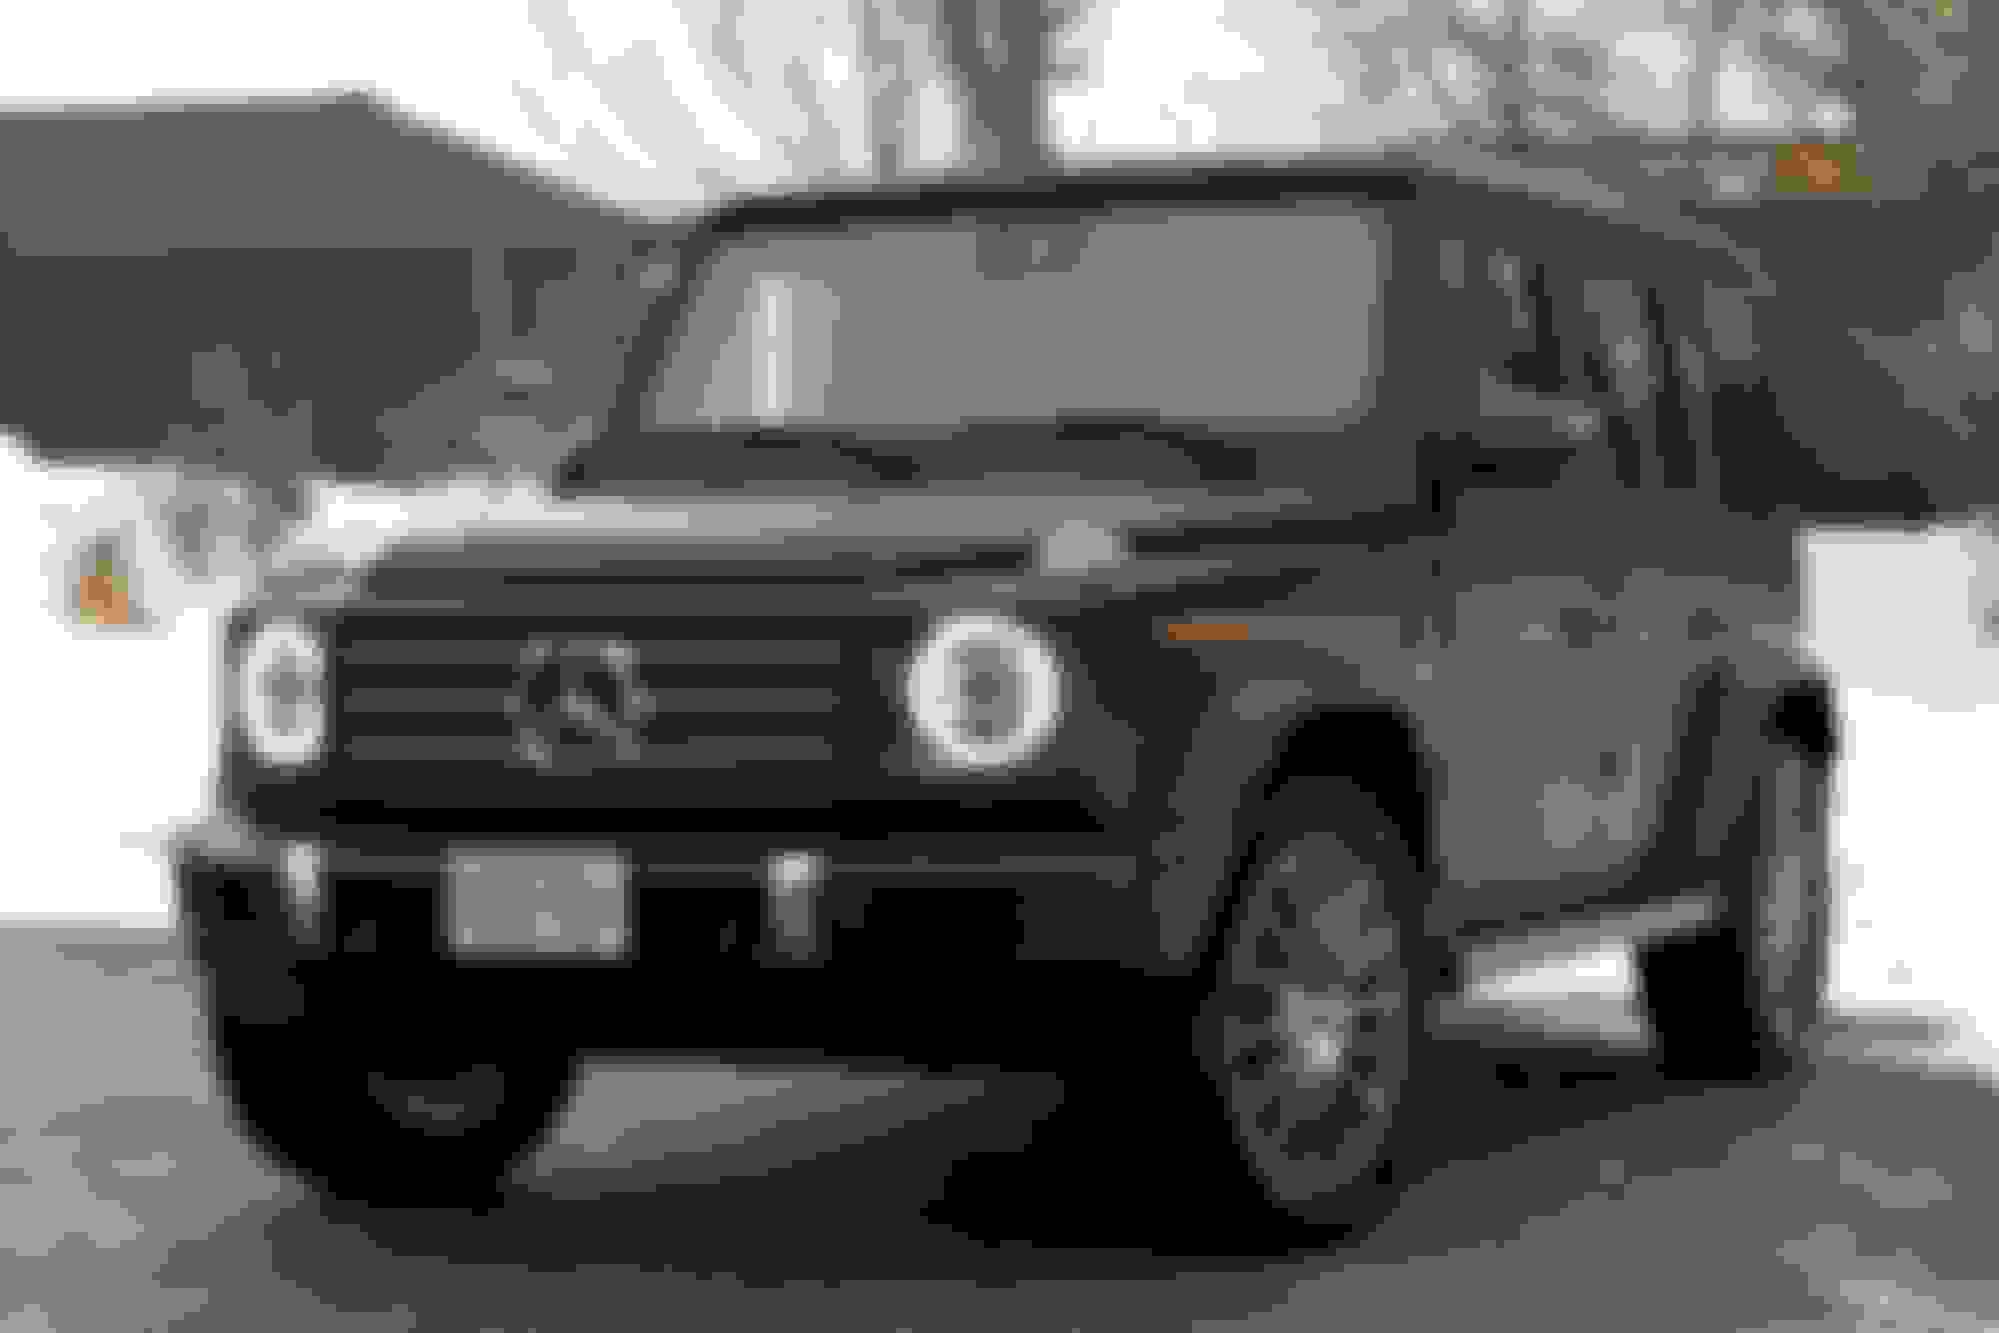
I removed the bb myself. Took 5 minutes. Temporarily filled the holes/rubber gaskets, with a black foam that was sticky on the back just to see if I could get by without having them filed and painted. I think with my blue paint it�s not too bad. Looking for some sort of bumperette that would be black and dimensional. Don�t want to permanently fill the holes in case I punt the truck in the future.
Here is what it looks like with the above mentioned material "filling" the holes. Again, I am looking for a rubber pad or bumper-like thing to just place on top of the hole.
I don't think that looks too bad at all, especially since it is not just flat tape. What exactly did you use and how did you support it since there is a hole in the bumper underneath the material you used?
It is rubber padding that you would put under a piece of furniture. Adhesive backed and procured at Lowes. Just cut to fit. Has lasted almost a month. Might make my kid 3D print something more permanent.
It is rubber padding that you would put under a piece of furniture. Adhesive backed and procured at Lowes. Just cut to fit. Has lasted almost a month. Might make my kid 3D print something more permanent.
Thanks. Something that was 3D printed would be ideal, and I am surprised that someone has not come out with them yet.
Here is what it looks like with the above mentioned material "filling" the holes. Again, I am looking for a rubber pad or bumper-like thing to just place on top of the hole.
Thanks for your response.
I opened the small plastic cover on the front of the bumper to expose the 2 large steel bolts on each side of the bumper. However, I do see a third smaller bolt that appears to be threaded from behind. Does that one need to be removed from behind or below the bumper? Is it sufficient to simply remove the 2 steel bolts on each side of the bumper and the BB will be free to pull up and out? Did you need to remove any other parts or covers, to create access in order to remove the bumper, or can I do it just by exposing the 2 bolts behind the small plastic cover?
Its just the 2 bolts you see behind the plastic trim. I had removed them to get the bullbar powdercoated. Not sure what the 3rd bolt is for but gaurantee you that you don't need to touch it.
If someone can provide me the exact dimensions of one of the holes in the top of the bumper when the G550 Bull Bar is removed I will try to work on a solution. Or better yet if someone can make me a template (place a piece of paper over the hole and use a lead pencil along the edge) it might be easier. It will be several months before mine is built but this gives me time for such things!
If someone can provide me the exact dimensions of one of the holes in the top of the bumper when the G550 Bull Bar is removed I will try to work on a solution. Or better yet if someone can make me a template (place a piece of paper over the hole and use a lead pencil along the edge) it might be easier. It will be several months before mine is built but this gives me time for such things!
Hi Bob,
I would be great if someone could create a rubber cover to replace the existing that accommodated the BB.
The dimensions of the opening without the existing cover is 3.25" x 2.5", with rounded corners (see photo).
Once I removed the BB I created a plug for the existing cover by cutting down a rubber/felt furniture pad and it seems to be effective, and somewhat weather proof (see photo).
I also ordered some plastic plugs that are used to cap the ends of metal posts, but they are slightly too short to completely fill the opening in the existing rubber cover (see photo).
Best solution would be to create an entirely new rubber/plastic plug/cover (3.25" x 2.5"). If not, the second solution would require creating a small rectangular plug/cover (2" x 1.5") that goes in the existing rubber cover, and in place of the BB, once it is removed. Left to Right - stock plastic plug 1.7/8"x1.3/8" (too short) Custom rubber/felt furniture pad - 2"x1.5" - (perfect fit) Existing rubber cover for G550 bumper
Thanks. Ideally I would like a picture of the top of the bumper with the rubber removed so I can see just the hole, and measurements of the opening and a pattern/template of the hole that someone can mail to me and then I can start work on it. Again, my G550 is many moons away so I would like to work on it so it will be done when it arrives, and I will be happy to send prototypes to someone to work out the details in advance.
Slideshow: A one-of-one U.S.-spec Mercedes-Benz SLR McLaren Roadster became even rarer after a factory-backed transformation at McLaren's headquarters.