When you click on links to various merchants on this site and make a purchase, this can result in this site earning a commission. Affiliate programs and affiliations include, but are not limited to, the eBay Partner Network.
Looks good! I'm surprised you didn't get it carbon skinned.
Naw, I just feel like CF interiors are played out honestly. That's just me. My M4 had one, my C, and even my Ford. I wanted to do something different so I went with a black/grey woodgrain. Thought I'd change it up and still give an homage to the original brown woodgrain.
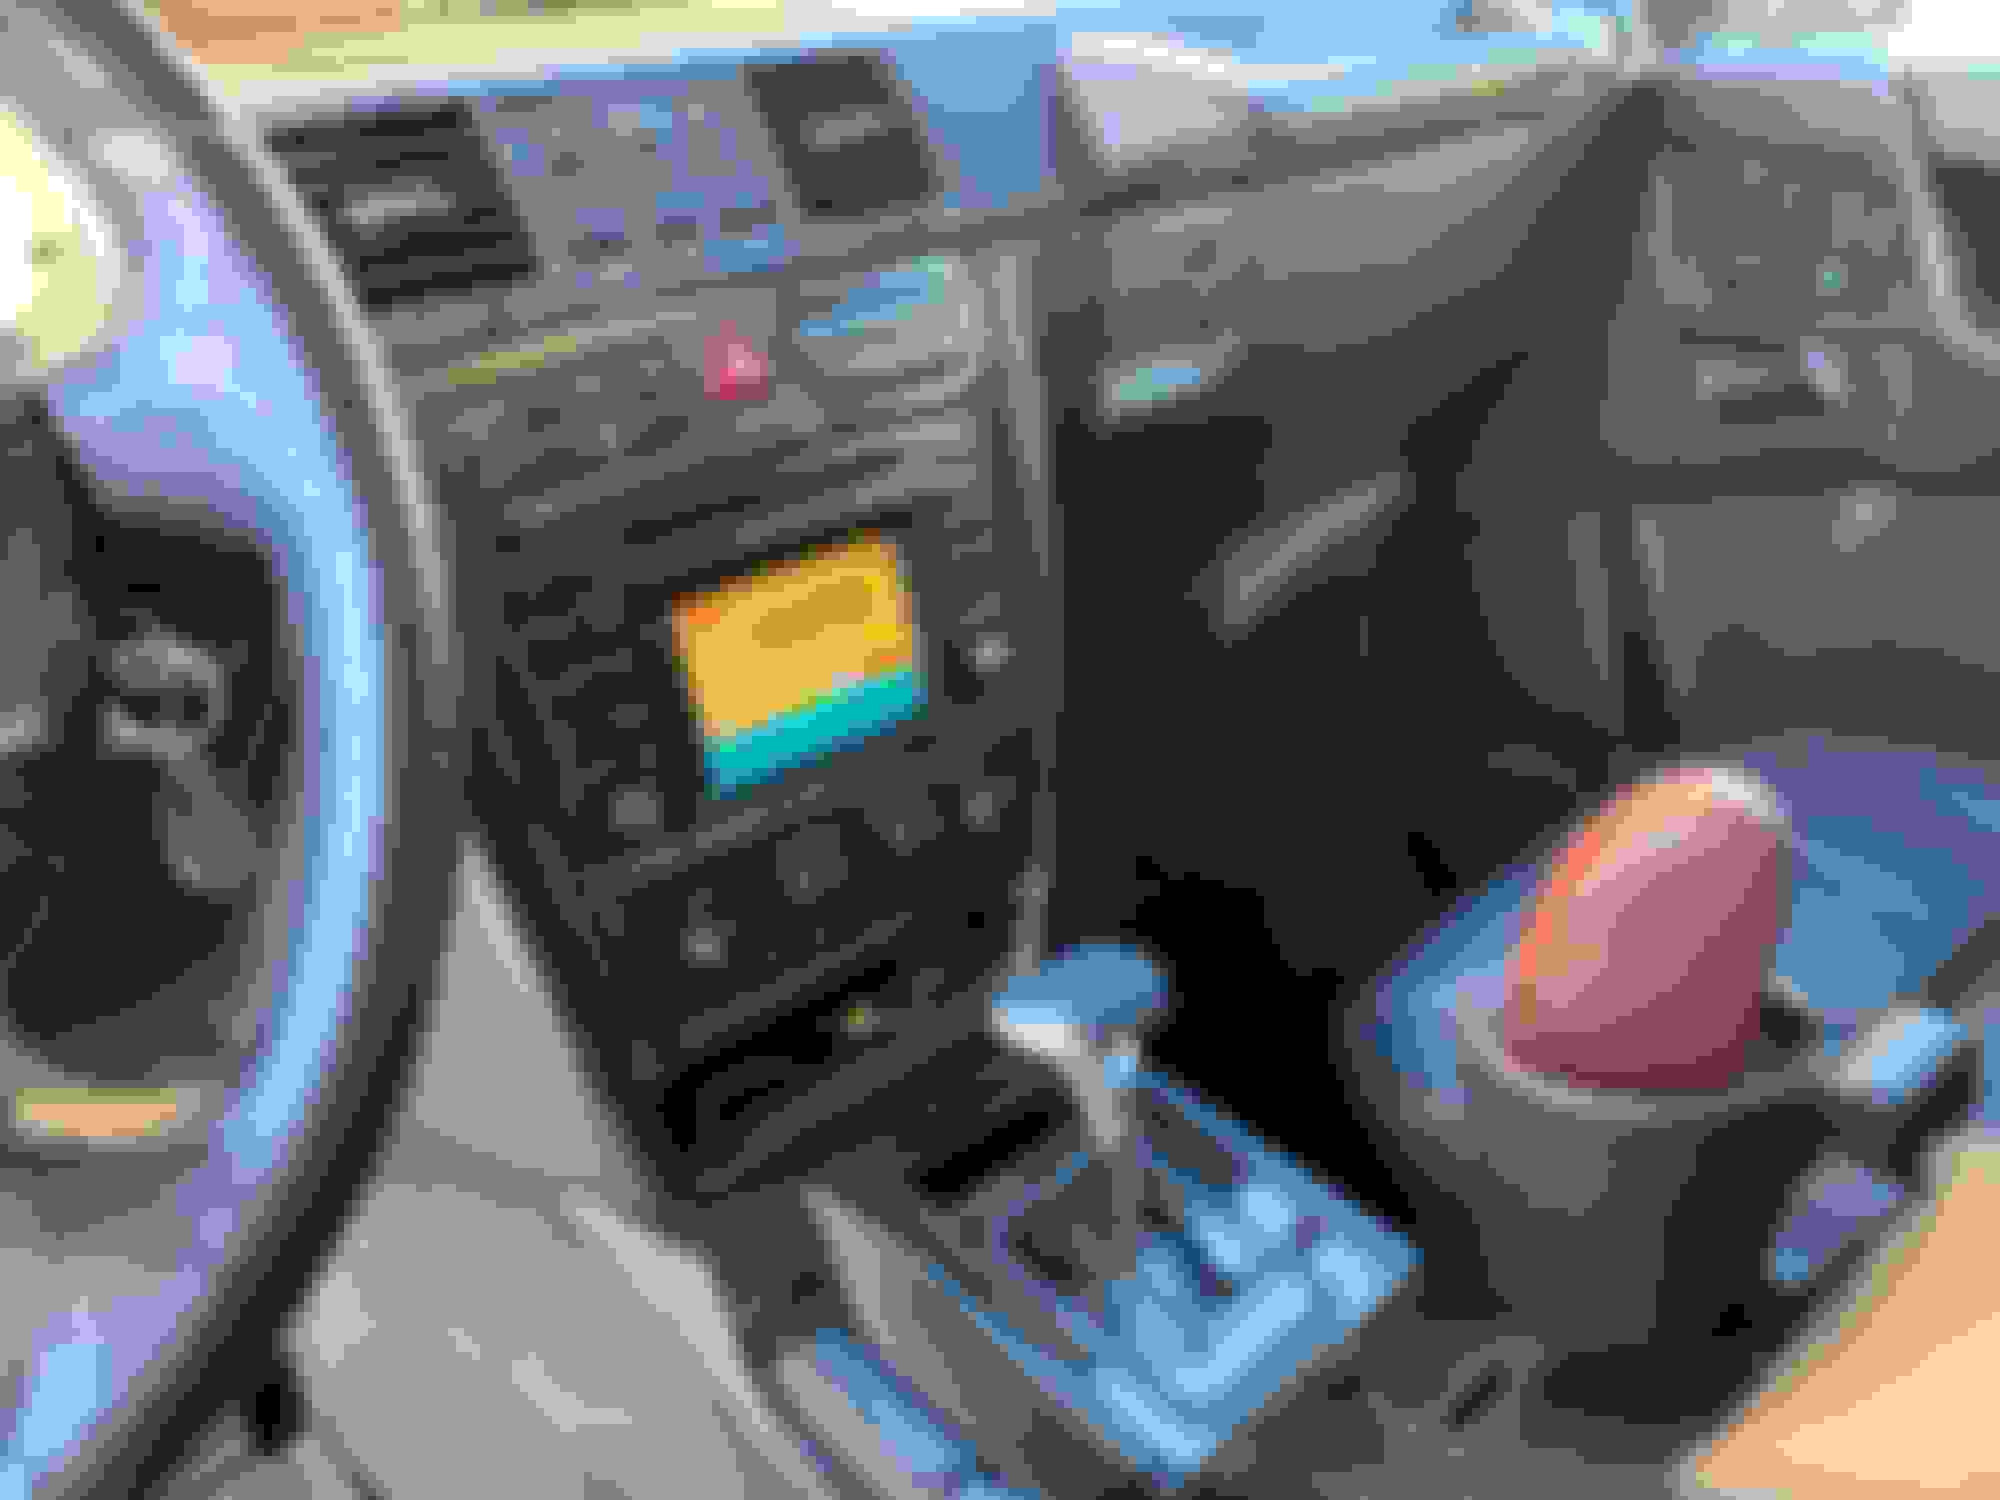
Well got it all in - most of the way... Next step is to replace the radio. I hate that I don't have bluetooth and carplay in the G. It has Nav, but it's an old set of maps and let's be honest, they look pretty dated anyway. That said, I'm going to be doing some wiring this weekend for the new HU that includes adding a different GPS antenna, wireless carplay/android auto, and new nav. Yes, it is a "cheap chinese deck" that I got off Amazon for $300 but it should work just fine. I do have the upgraded sound, with the amp, but it's not MOST and doesn't use optical except for the built in phone and CD changer - both of which I won't use. Honestly, there hasn't been much info about how to install a new stereo on these forums for the G so wish me luck! Anyway, pics of the new wood...
The new pics are a little washed out just because I was trying to get a good picture of the wood grain - it's actually significantly darker in real life, but you can't see the wood grain without adding some extra "exposure."
Okay, so probably a little bit of a long-winded post here on the install of the Chinese android deck... BTW, there were absolutely NO instructions that came with the deck. Hypothetically it should just plug in, but that is DEFINITELY not the case in my G.
So first things first - make sure you get the appropriate plug adapters in your kit. I ended up buying 2 different decks from Amazon. The first didn't have the right adapters for the G, the second did.
These decks do not come with the antenna adapter. You'll need to buy one of those aftermarket.
This took me FOREVER to figure out. The screen was lighting up, but I couldn't hear a single thing over the speakers. After watching a youtube clip for a Sprinter van install I noticed he had the "ANT" wire from one harness plugged into the "ANT" wire on another harness. I don't claim to understand what the wiring is doing inside the Head Unit, but as soon as I did that, vwuala - sound.
Next, make sure the other adapter is plugged in with the white plugs into the decoder for the sterring wheel. Not the green plug - it won't work...
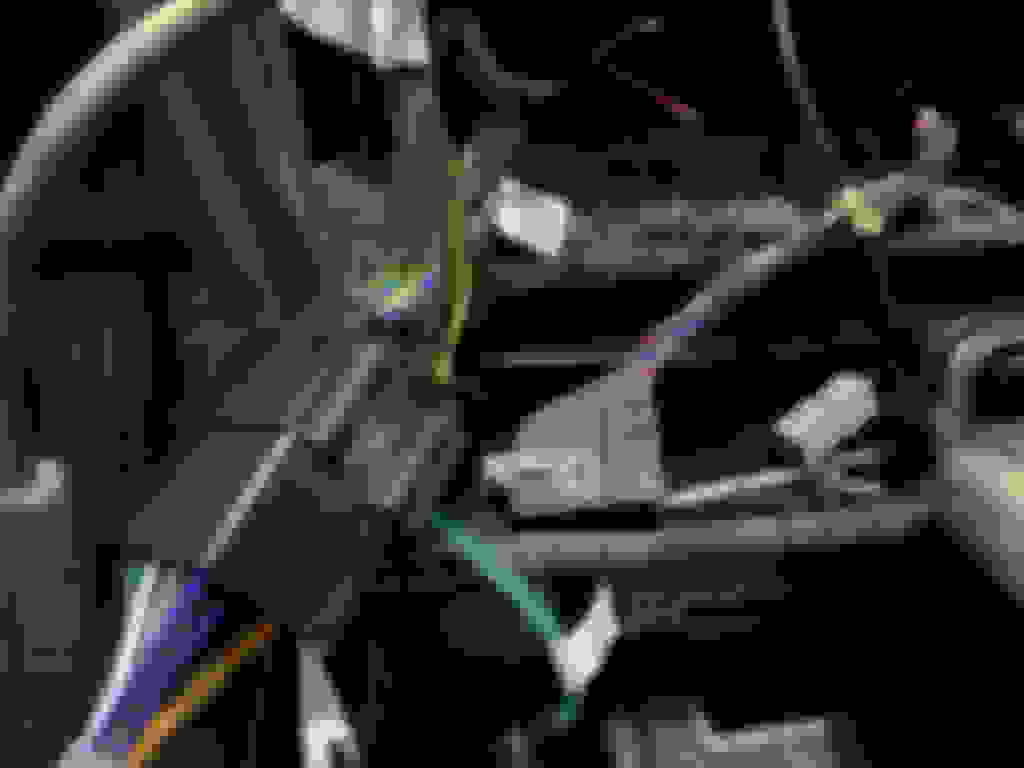
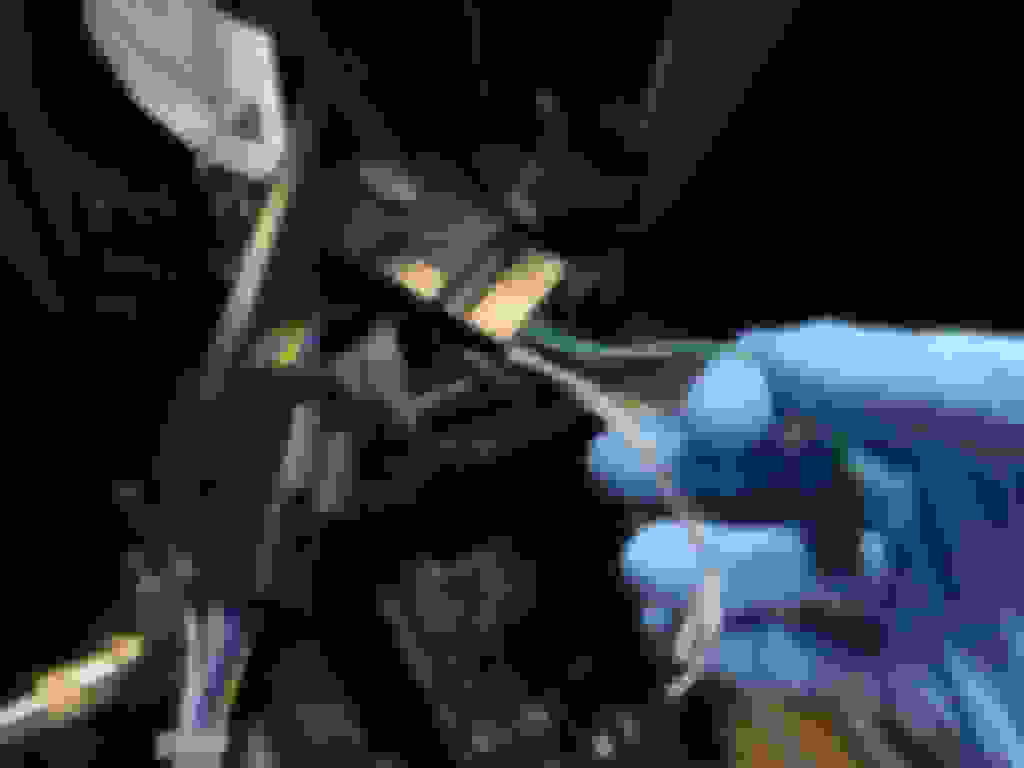
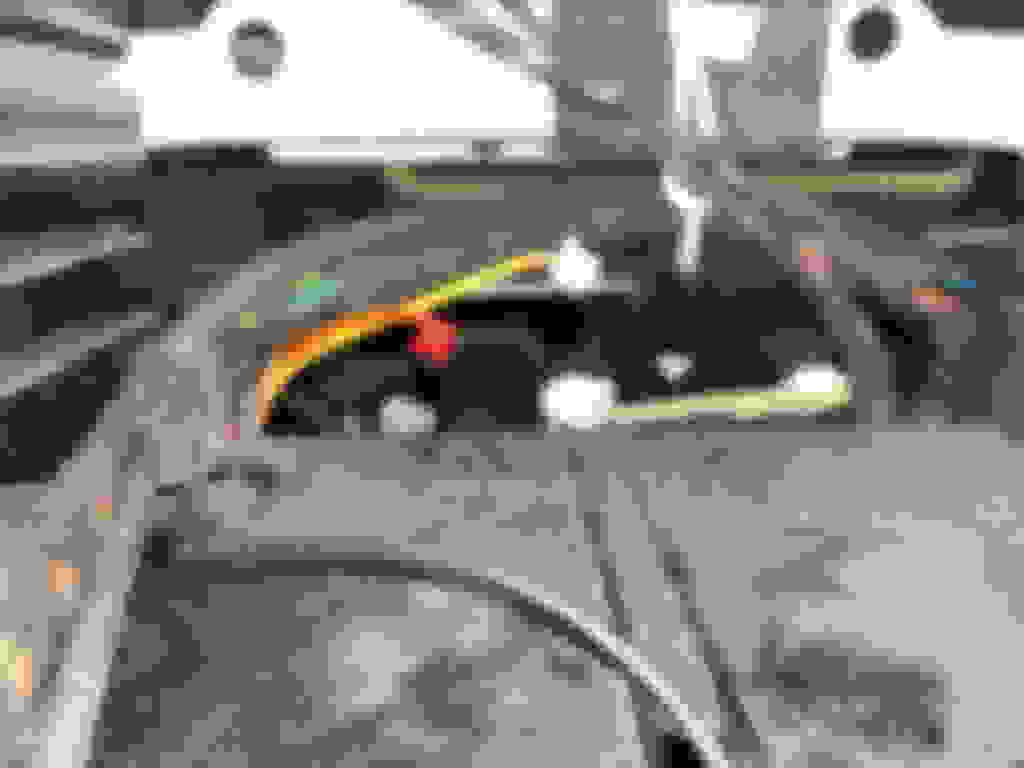
Now after everything was plugged together I had an error on the dash for the phone SOS stuff. This is due to the open fiber loop. Easy and cheap enough to fix. First you'll remove the plug from the fiber plug that went into your factory head unit by prying up the grey tab and removing the wires... VERY gently...
Then you'll need to purchase part number 0005453384 shown below. You'll then point each side of your fiber cable toward each other in the new plug and push down on the metal piece locking them in. That will close the loop and get rid of the error on the dash.
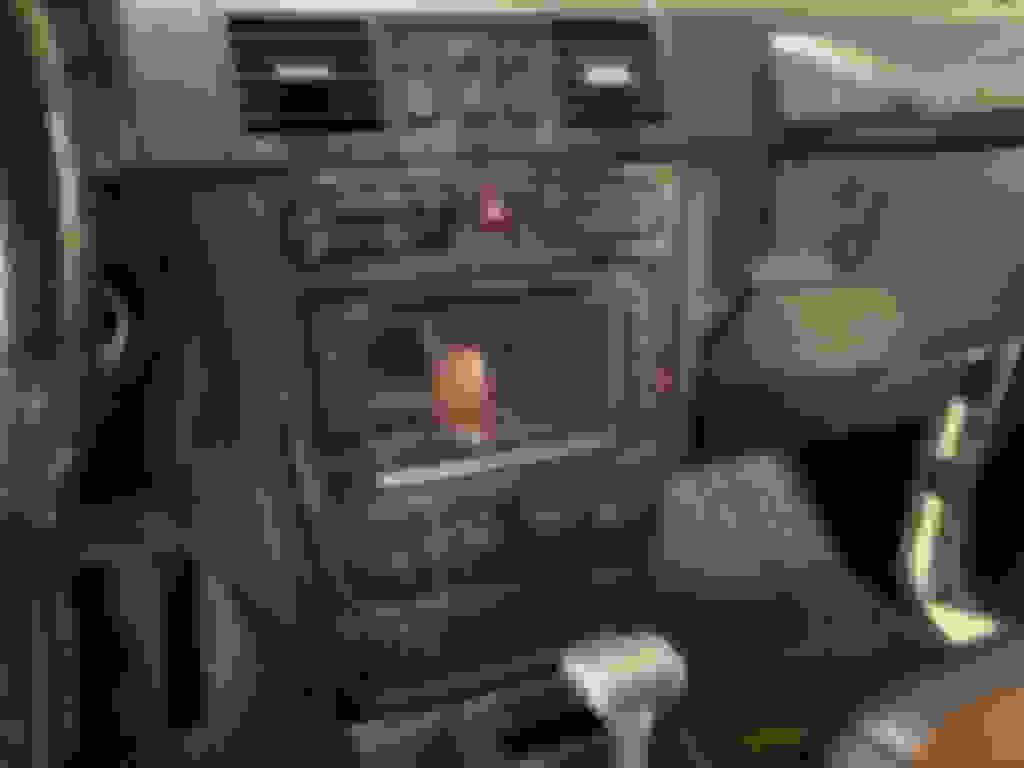
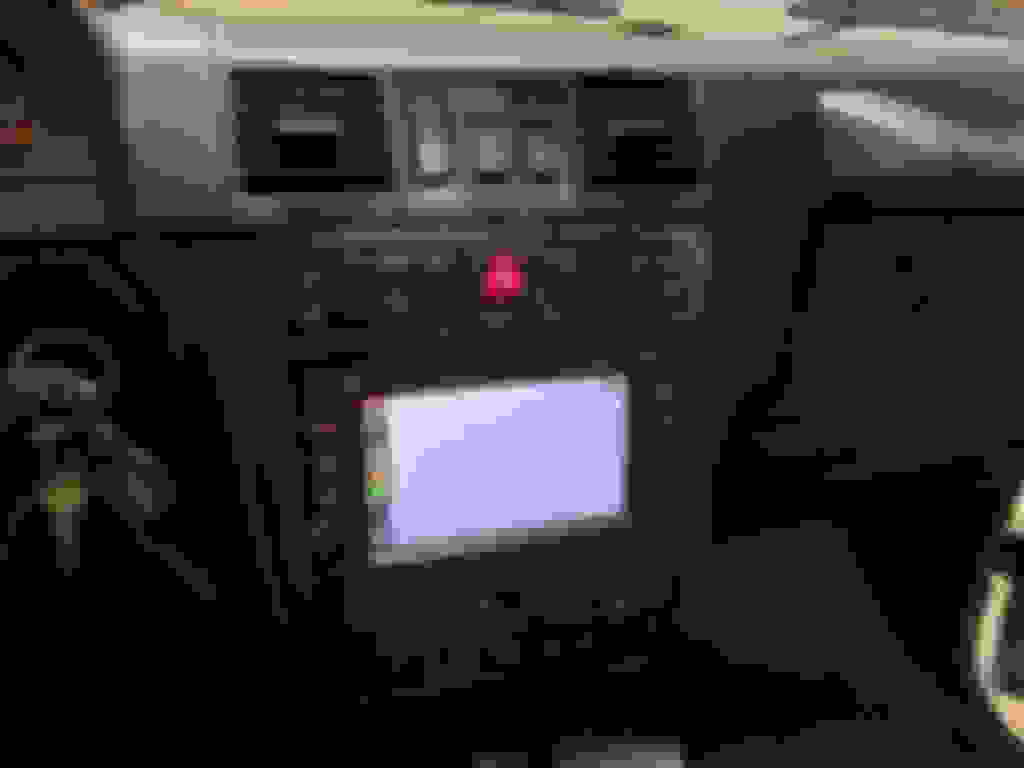
And finally the fruits of the labor.
I also installed the wireless carplay module so I've got carplay on the HU without having to plug in my phone. Works terrific!
Now a few items of note:
Pros - I LOVE having a 2003 that has all the bells and whistles that a 2018+ has. It looks very factory honestly though the button actuation is obviously not "Benz" quality. Sound-wise, I think it actually sounds better than the factory HU. I can't imagine the old HU was pushing a whole ton of power to the speakers, so I'm happy with the sound. I'm no audiophile, but I've got a pretty good ear and I can't complain too much.
Cons - The OS is a little buggy honestly. You can install all kinds of loaders on these things so I'll look into the customization later. The lack of instructions sucked and it took me a while to figure out how to get this thing installed correctly. Hopefully my walk through helps someone else.
Interior looks really good. I love the new wood color!
Would you mind sharing the link to the head unit that ended up having the right connectors? I�m motivated by your post to see if I can tackle this one 😬
Interior looks really good. I love the new wood color!
Would you mind sharing the link to the head unit that ended up having the right connectors? I�m motivated by your post to see if I can tackle this one 😬
For the optical loop, do you have to separate the wire from the plug? Would one of the optical loop bypasses on Amazon work the same without removing the plugs?
For the optical loop, do you have to separate the wire from the plug? Would one of the optical loop bypasses on Amazon work the same without removing the plugs?
OBZ, thanks for this post, it's hugely beneficial for those of us that are looking to do some upgrades to our G's. One of the most useful posts I've seen in a long time.
I was wondering where you picked up your carbon space wheel cover? Would you mind sharing? Is there an option to attach the cover to the stock tube, or is the only option to have it sit on top of the existing cover?
I actually picked it up on eBay. If you look up "W463 carbon fiber tire cover" it'll bring up a bunch. It didn't have the tube on there though some others do. No way to relocate the existing tube as it's riveted onto the stock cover. It's pretty dang secure over the top of the original though.
I ended up installing the head unit. Pretty easy with your tips! Thanks again!
My install notes for posterity:
- When removing the diff lock controls to open the dash, put down some painters tape as the surface is really soft and will nick even with the proper tools
- On my 2004, I used the 1-wire steering wheel control connector. The corresponding connector in the car was hidden back there and unused with the stock stereo
- The blue �ANT� wires connected together power up the stock amp. If you don�t get sound, there�s likely an issue here.
- Not all connections will be used on the aftermarket wire loom
- I didn�t install a separate Mic, it seems to work really well without
- I installed a backup camera; East to route and wire to the head unit; Unit will go right to video even when booting up and in reverse
- You�ll need a connector for the antenna that�s not included:
I ended up installing the head unit. Pretty easy with your tips! Thanks again!
My install notes for posterity:
- When removing the diff lock controls to open the dash, put down some painters tape as the surface is really soft and will nick even with the proper tools
- On my 2004, I used the 1-wire steering wheel control connector. The corresponding connector in the car was hidden back there and unused with the stock stereo
- The blue �ANT� wires connected together power up the stock amp. If you don�t get sound, there�s likely an issue here.
- Not all connections will be used on the aftermarket wire loom
- I didn�t install a separate Mic, it seems to work really well without
- I installed a backup camera; East to route and wire to the head unit; Unit will go right to video even when booting up and in reverse
How did you end up running the backup camera? Did you go through the car or underneath? I wanted to wire it into the factory location, but man I hate the idea of drilling through the rear door...
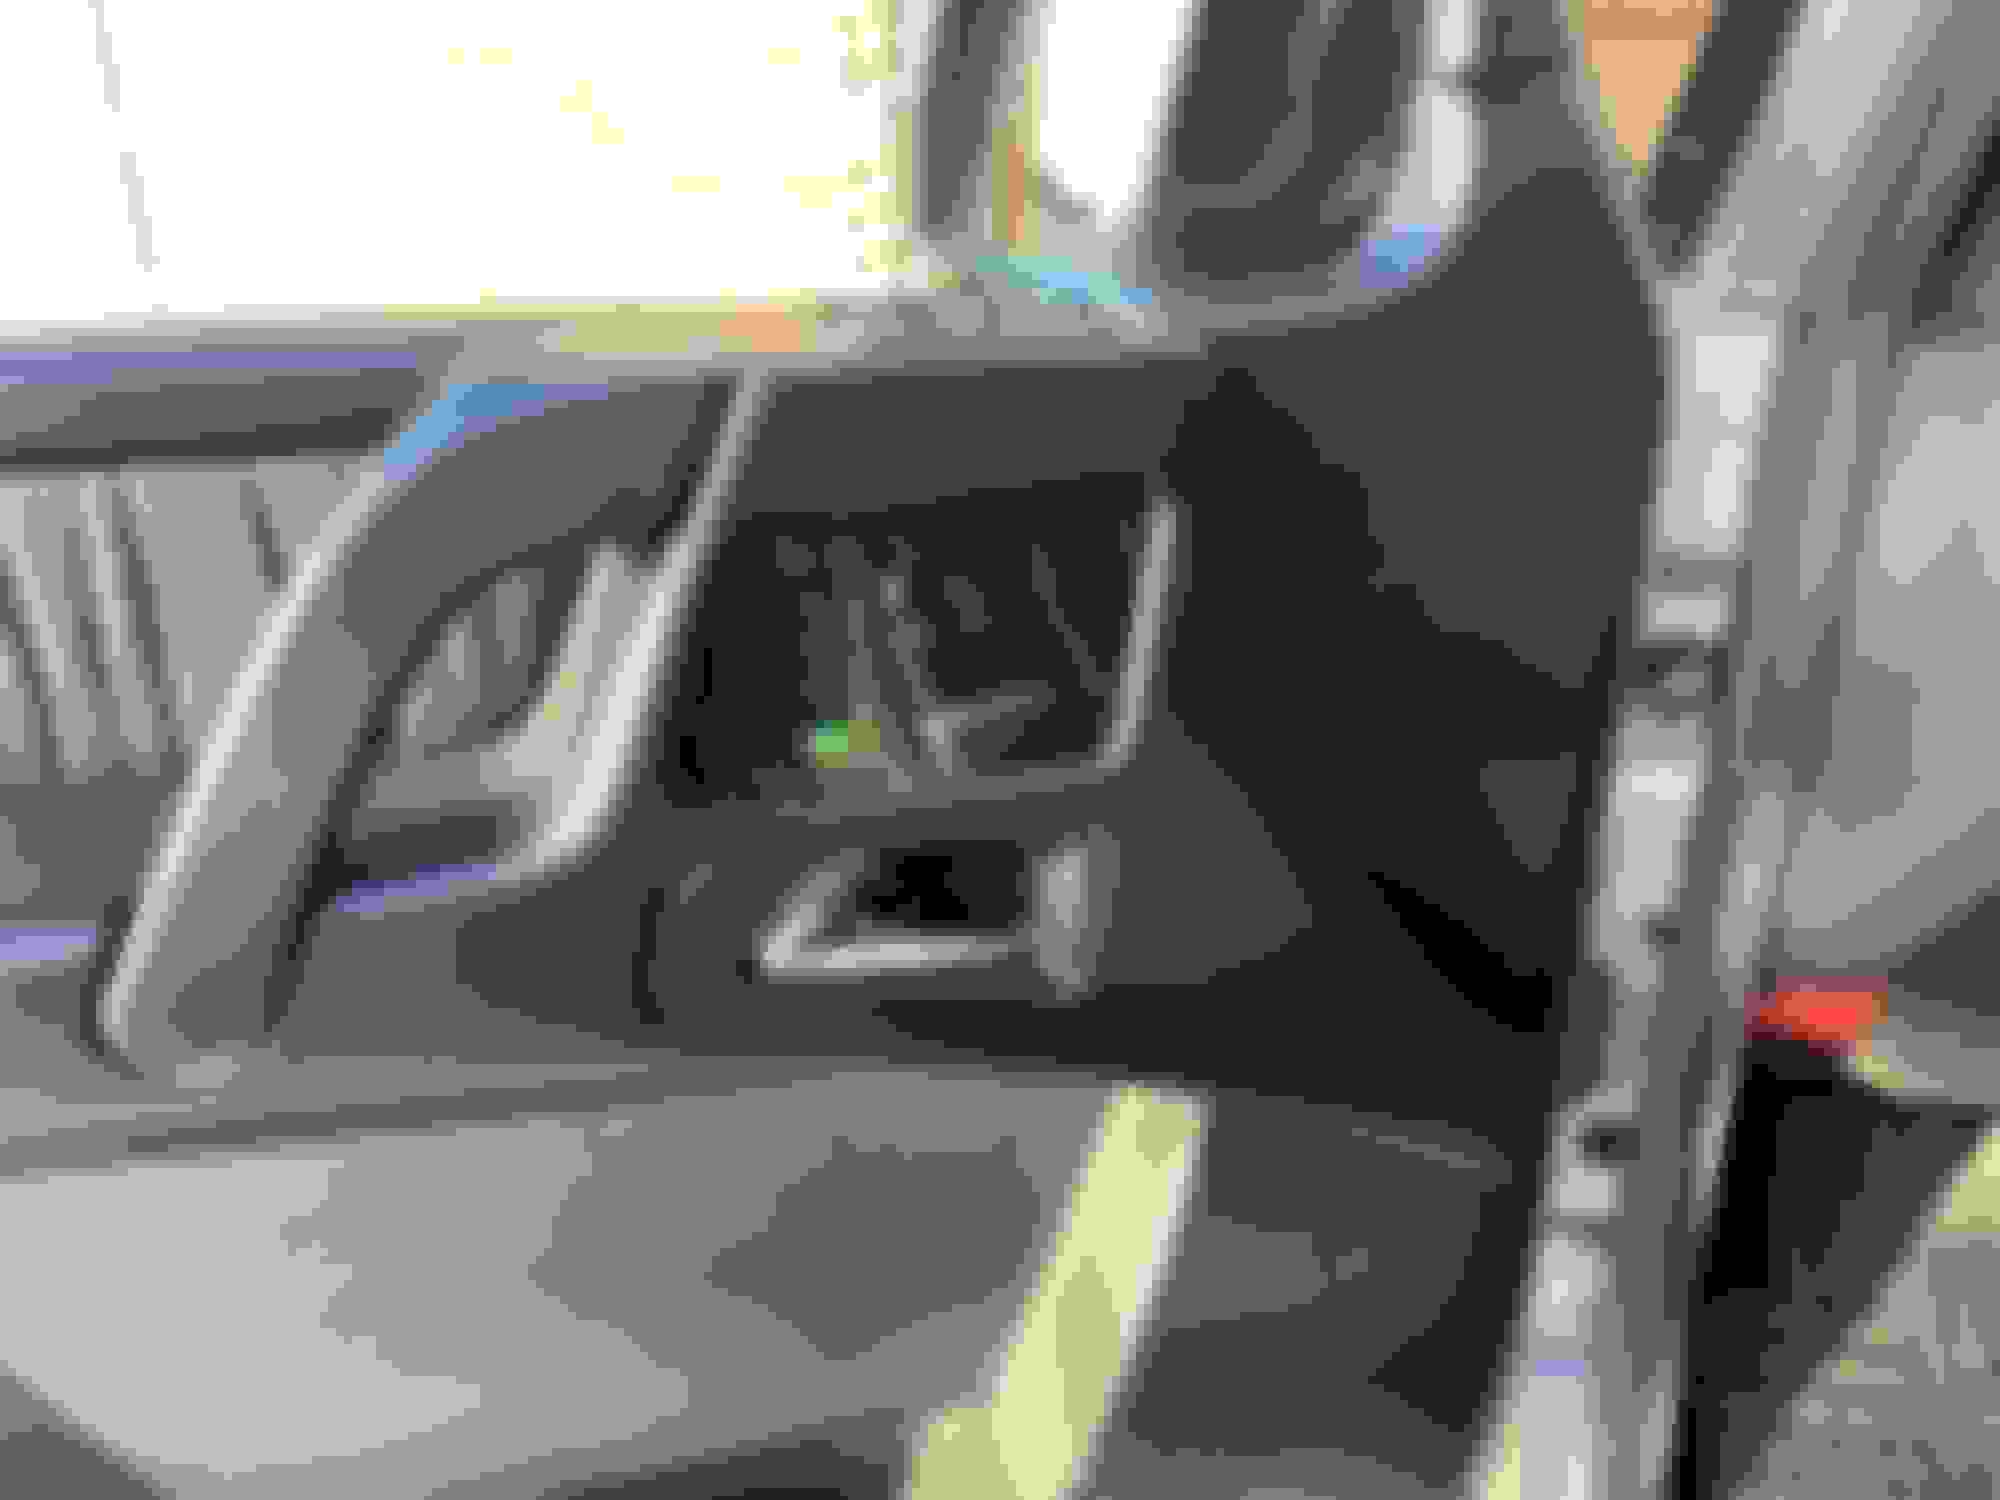
First under the removable carpet panels in the footwell, under the driver seat, down under the battery compartment in front of the middle seat, then under the back bench (closest to the door) and down to the CD changer area. It�s pretty easy to pull up the carpet.
From there, there are a few body plugs available to route wires outside the car after you remove the CD changer held by 4 10mm bolts. No drilling needed. If you install a trailer hitch, this is the same route the wires go.
From there I routed it behind the bumper to the right-side backup light. Tapped the backup light for power and routed the wire back to the camera, which was the license plate mount style. My purpose behind installing the stereo was getting a backup camera as I have two little kids. The license plate mount gives me a much better view under the spare tire than the factory location without drilling.
On the stereo side, you plug in the yellow RCA connection and a wire to the �backup� wire in the stereo�s wire loom.
Also got the black turn signal grills on. I wanted to delete them, but there's holes in the fenders so I had to put something on there.
Where'd you find those black turn signal covers? Also, which LEDs did you go with to replace the OEM turn signal lights?
With regards to the headlight conversion, how easy is it to switch from halogen to HID? I just picked these up (https://shop.eurowise.com/product-p/eww463hl.htm), but I haven't had them installed yet and I'm curious whether they have halogen or HID lights.
The signal covers I found on Amazon. Same with the LED's - just make sure they are Canbus LED's otherwise they'll hyper flash. I wouldn't do a HID conversion. I actually tore mine out and replaced it with LED's. They look better IMO and we're just as bright in these housings.


 01-28-2020, 09:35 PM