When you click on links to various merchants on this site and make a purchase, this can result in this site earning a commission. Affiliate programs and affiliations include, but are not limited to, the eBay Partner Network.
Will you be offering for sale the rear fog lamp housings and wiring kit? Have you solved the issue of having the rear fogs on, not just for reverse?
Thanks!
Thanks! Hoping in this quest to document my G that I save some others some head scratching and $ to DIY when these issues pop up on our older G's.
Originally Posted by GOBP
Will you be offering for sale the rear fog lamp housings and wiring kit? Have you solved the issue of having the rear fogs on, not just for reverse?
Thanks!
I'll probably offer one for sale after some more testing and refining. Maybe some time in the spring. The Baja Designs S2/S2Pro is also very popular I know, so I may pick up a set of those also and design a mount for those.
I haven't fixed the fog light issue yet, but it will really just involve adding a load resistor into the circuit to trick the system. Also, I do want to get rid of all the adapting to the factory 'harness' aka spade plugs and actually wire in a waterproof connector in there.
I will revisit the fog light wiring when I swap the tail lights out with an LED housing as I'll have all the wiring exposed then.
As always, will keep an eye out for the updates (tail lights included!).
A few days ago I posted about getting new lenses for the rear fogs, not the entire housing as when I saw what mine will come with (factory faded halogens), it would be akin to a small cigarette lighter when it comes to lumens back there.
Besides changing the headlights, will need to do something similar for the front fog lights as you have done for the rears.
Now that the weather is getting a little bit better and I have some wind in my sails, I've been able to crank through some G related projects.
Finally built myself a set of the LED headlight load resistor setups. I've been running on the first set with 2 heatsinks for the past 3 years and they've been fine, but this should be a nice upgrade to keep things cool. I also included a spot for an additional 12ohm load resistor to get rid of the BoW on the dash for the front side markers that I replaced with LED bulbs. I'll rewire everything with some barrel waterproof connectors as my OE connectors are all rusted through anyway.
I had another forum member purchase a set of 3D printed speaker adapters from me but he wanted to use the factory head unit, so I took mine out to find out which wires were the speaker outputs on the OE harness. The speaker output plug is the black 4x2 plug that is disconnected in the top of the picture. These are thinner gauge wires that run to the amp plug under the driver's seat.
Front Left +: Blue/Green Stripe
Front Left -: Brown/Green Stripe
Front Right +: Yellow/Brown Stirpe
Front Left -: Yellow
Rear Left +: Purple
Rear Left -: Green
Rear Right +: Blue/Brown Stripe
Rear Right -: Blue
I also was toying around with the idea of switching up my head unit situation with a screen that has Android Auto. Got one of those cheapo Android screens from Amazon to mock up. I'm not all too happy with how it sits - too high up on the dash. For the best fit I would probably have to move the Diff buttons and AC vents to where the current Head Unit sits, which I think is possible, but way too much work. I may spend a little more time on this but unclear. FYI, I know there are plug-and-play solutions from companies like DMP and Carpuride, I just don't want to shell out the premium and this unit was basically free. In other news, the android screen unit does work pretty well as I bench tested it.
I'm tracing down vibrations in the driveline/wheels/tires when going 75+ in the steering wheel and cabin and decided to rotate the wheels (front to back) to see if the situation improved. This vibration has slowly developed over the past 2 months so thinking it may be wheel/tire going out of balance, or front driveshaft. Took the opportunity to install the 31mm H&R wheel spacers I picked up from Jack @ JackwagonOverlanding a few months back.
Of course all can't just go off without a hitch. I found one of my rear Fox 2.0 shocks was rotated about 90 degrees and the reservoir bracket was wearing against the brake caliper. NOT GREAT. The top rubber bushings seem to have compressed and loosened the joint over time allowing the shock to rotate. Of course the nut on top is seized, so I'll have to get creative in how I get that nut off. Didn't have time to fully address that so I'll keep an eye on it and deal with it another day. Overall, I'm growing more and more annoyed with these Fox coilovers. So many issues with what should have been a simple install. I blame Eurowise for selling this kit with incorrect top mounting setup for the front and for the rear top (they didn't fit the G cutout), and the bottoms didn't have the correct spacers. And on top of that, needing to still rebuild the front shocks due to a slow leak from the reservoir...
Anyway, wheel spacers installed and torqued correctly. Wheel position looks great compared to how it is inset in the OE configuration. Took the G up to 85 and the vibration was better, but still not gone. I'm pretty sure I'm playing the wheel-balance game so I found a higher-end Euro car specialty shop close by that hopefully can balance these better than the local tire chain outfit.
I've been working on a few projects at night in my free time and one that I've been meaning to finish for a long time was adding some switches and plugs to the now-removed CD Changer location. Finally got around to collecting all my 12V plugs and switches and designed/printed a quick plate to mount in there. I'll reprint in black and wire it all up soon. The thing on the right is a wireless charger for a GPS Tracker. There are 2 switches, one for the first barrel plug that is 2 USB outlets and the voltage display. The second switch is for a normal 12V socket and the wireless charger. I'll wire this into the other 12V outlet in the cargo area to make everything easy.
Latest project I'm working on is a front fog light bracket to use the Diode Dynamics SSC2 Pro Fog pod. I would love to use the SS3 Pro Fog pod, but the square shape is a little odd for the rectangular cutout, but it may be possible to fit 2 SS3 Pro's in that location...future ideas.
how do you run the android screen without a wire protruding from the dash?
Does it have CarPlay? And can you post the link for us? I might want to add it because I like how it�s much smaller than the Dmp unit.
The one I got from Amazon was just a generic unit that I removed from a Jeep housing, but there is a lot of custom work that will be needed to make it look good. I was planning on making a back shell and running the wires through the center speaker grill, but that is also a lot of work.
For better (I don't know first hand, just from reading online reviews), I would go with a unit that you like from a company like Carpuride vs DMP, as they're more of a plug and play solution and are less than half the price. There are also several different designs with different sizes and aspect ratios to fit your fancy.
I think the best route may just be to design a tablet mount that clips onto the AC vents with magnets that I can use on longer trips, and just slap on the latest and greatest android tablet.
@shiann sincere thanks for sharing the specs on your storage platform. I replicated your measurements and had it knocked out in no time! I appreciate it.
@shiann sincere thanks for sharing the specs on your storage platform. I replicated your measurements and had it knocked out in no time! I appreciate it.
Looks great! A center lower support or support bars across will help I have found that my platform has started to sag in the middle, so I'll be addressing that in the future.
I wanted to finally swap out my old headlight load resistor setup with the newer design, so first started by adding a load resistor to the front side markers. I've had a Bulb out Warning on the dash since switching over to LED bulbs and wanted to finally get rid of those 2 'malfunctions'. Also added in the 2 pin waterproof barrel type connectors since the OE connectors on my G were completely rusted out.
Install, of course was not without its issues. I learned that I had wired up the load resistors incorrectly and had to do the whole install twice and rewire. Everything is working well now and tucked away nicely.
Also finished up the CD Changer switch panel with voltage display, USB quick charge ports, spare 12V port, and my GPS tracker wireless charging pad.
Wiring everything up was pretty straight forward with crimp connectors. For USB power I used a 12->5V converter normally used for hardwiring dashcam setups.
I got power from the cargo area 12V plug (mine was really lose and I never used it) and everything installed as expected. A much nicer and cleaner look than an open hole looking at wires and relays.
The originally idea was to put some 120V AC plugs in this location but I couldn't find a portable power station that would fit in the space nicely, and didn't want to add an inverter. That may change in the future though.
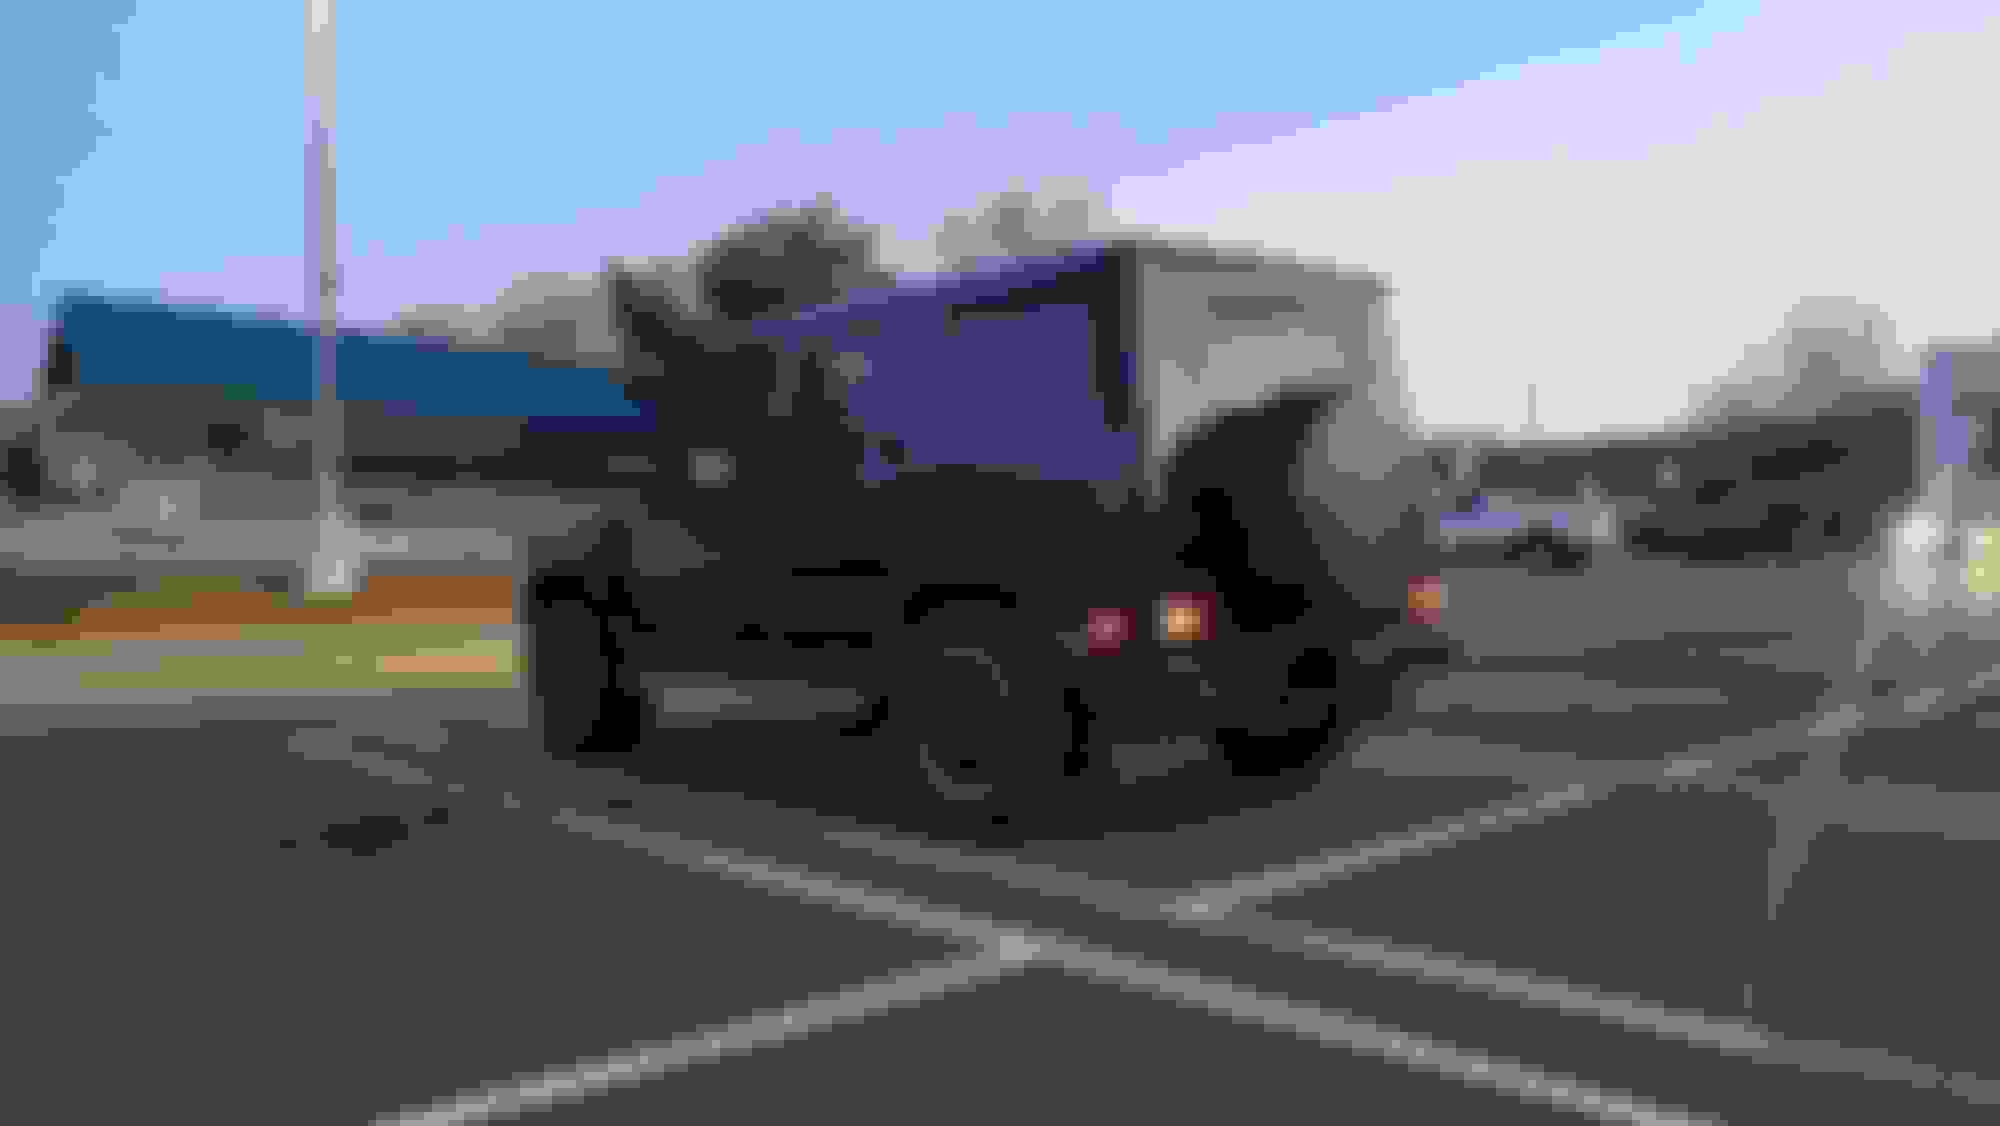
Reshaped the Reverse Light/Rear Fog brackets for the Diode Dynamics SSC2's and they fit perfect now.
Also made a completely new harness with waterproof barrel connectors and a 12 ohm load resistor on the rear fog line and the computers are all happy now.
Cut off the OE spade connectors on both sides and wired in these waterproof barrel plugs on both sides.
Wiring for both sides tied up and tucked away neatly.
And rear fogs work without an issue. They're not really that bright overall (SSC2 Backlight Only) but will add a little bit to the rear lights.
Hola Shiann! Thanks for the update. Quick couple of questions/doubts:
1- the two lights built in into the rear bumper: is one a fog light and the other the reverse light? I'd love for the two bumper mounted lights to become the reverse lights every time I put the vehicle in reverse. Is this what you have accomplished?
2- did you change your Diode Dynamics SSC2's (the two of them) from white (original pic) to red? I can only assume they are all the same except for the factory lens when ordered.
3- you mentioned in your original post "night and day difference" and now you state "not really that bright overall". Am I missing something? I'd like something in that when I put it in reverse, it would be "almost as bright" as headlights (need all the help I can get...). I would also like to keep the functionality of fog light for that once a year that I think I may need it.
Thanks!
Hey GOBP,
1. Yes, the 2 rear lights in the rear bumper now function BOTH as reverse lights, and when switched to the rear fog, are red.
2. The SSC2's have a main beam (white and you select your light pattern), and a backlight color (you can choose from several different colors. I chose red for the backlight.
3. The backlight is only a small LED that isn't very bright, so for the rear fog lights, the red color isn't very bright. Now the white reverse lights (the main beam) are very bright and the pictures I showed before are accurate to how much light is actually output.
For the backlights, since they aren't actually that bright (think just about as bright as the tail light running lights), it may not help that much in the fog, but any more light in the back is a good thing. Diode Dynamics does make a single pod light that fits into the tow hook receiver that plugs directly into the trailer harness and functions as an additional reverse white light, a red normal driving rear light, and also brighter red when the brakes are applied. I thought of getting this also but want to see how these work by themselves before adding more. I'm really happy with this setup now and will keep it just like this. The only additional change I need to make is for my backup camera to tap into the reverse signal, so the camera can point down and I can see more what is behind the G.
Awesome! EXACTLY what I'd love to have! There is rarely ever any fog down here, but TONS of heavy rain and it would not hurt to have additional red light in the rear so others can see me during heavy rainfall. The norm down here is that people keep driving during these major downpours and during such times, they turn on their hazard lights (drives me nuts...).The truck I'm waiting to get does in fact have the factory hitch and electrical connections, but want to keep those "as is". For confirmation, here is a pic of the rear end of the truck as of a couple of weeks ago (and will not change when I get it...
I do want to change the rear tail lights (among all other lights...) as well as the bumper lights because I want maximum "bang for the buck" brightness in the rear so everyone can see me during limited visibility times. License plate lights, well...., perhaps those may not need to work
A pair of Baja Design S2's can fit in there with a 3d printed panel....but that's cruel for anyone behind you.....but they will give you a wider berth...
Awesome! EXACTLY what I'd love to have! There is rarely ever any fog down here, but TONS of heavy rain and it would not hurt to have additional red light in the rear so others can see me during heavy rainfall. The norm down here is that people keep driving during these major downpours and during such times, they turn on their hazard lights (drives me nuts...).The truck I'm waiting to get does in fact have the factory hitch and electrical connections, but want to keep those "as is". For confirmation, here is a pic of the rear end of the truck as of a couple of weeks ago (and will not change when I get it...
I do want to change the rear tail lights (among all other lights...) as well as the bumper lights because I want maximum "bang for the buck" brightness in the rear so everyone can see me during limited visibility times. License plate lights, well...., perhaps those may not need to work
Hope you get your G soon GOBP. Looks awesome.
Originally Posted by Texas E63
A pair of Baja Design S2's can fit in there with a 3d printed panel....but that's cruel for anyone behind you.....but they will give you a wider berth...
Hey E,
That was my original plan to go with the Baja Designs S2 Sports (and S2 Pro's for the front fogs) but I liked that the DD have a backlight in addition to the main beam. Comparing light output is sometimes fishy, but these have about 25% less output than the S2 Sports, but also running at 0.6A vs 0.9A. The DD SSC2 Pro's output around 15% more light than the S2Pro's, so getting pretty close to comparing apples to apples. Either way, it's a ton of light out the back and no one is going to 'not see' the reverse lights, day or night.
When the brackets are ready for prime time, I'll probably design a version for the S2/S2 Pro's also as I know they are a very popular option.
Small projects at night and quick test fitting during the small amounts of time I have during the morning.
Front fog light brackets for the Diode Dynamics SSC2 Flush mount Pods are coming along well. This picture shows the white bracket, that has already went through several stages of refining. I have the body contour shape now and the alignment of the light. I think I'll need 1 more round of test fitting before printing the final things and installing, possibly this weekend. Ignore the obvious rust. I'll be removing the bumper to fully grind, patch, and repaint this summer sometime. I decided to angle the pods 10 degrees towards the outside to keep the light more flush with the body. Will test and see what the fog pattern looks like soon.
Also took out the contour seat adjustment switches and actually took the time to draw up a switch cap replacement. I can't get it to click/snap on like the originals, but it does fit nicely and is miles better than being missing completely. I'll try a resin SLA printer tomorrow and see if the part fits better.
Since I now have quite a few 3D printed parts that fix different common issues with the earlier G models, I'll make a separate thread detailing them all so they are easier to find. I'll be starting an etsy store in the near future for all of these things.
Great idea on the Etsy store! Perhaps you want to re do the differential buttons too? I've now learned that they are not sold separately and that unit is not cheap at all. Username mofaraz on this site has already done the decals, but that does not fix the issue when the issue is that the paint has come off completely from the buttons as seen below:
That differential switch assembly is pretty expensive for sure. Your best bet will probably be to just repaint the buttons and reapply decals as the buttons themselves look fine.
More small updates. I've been super busy lately and trying to maximize my time and working on projects at night. Gotta find more time to work!
I had a longer drive in the G this past weekend during the rain storms on the East coast. I've noticed in the past, but never really had the time or safe surroundings to really take a look at how absolutely terrible the aerodynamics of the G are around the front windows. The rain/wind swirl right behind the mirrors is crazy and so sad! I tried to put my Engineering education to work and recall the many Aerodynamics classes I took once upon a time, to think through how the wind was swirling after hitting all the stuff on the front corner of the G and breaking around the side mirros, but my mind quickly started to melt
The afternoon cleared up really nicely so I got some time to give the G a quick wash. Paint is in terrible condition, so I need to paint correct/polish, and ceramic coat this year for sure. I'll also need to repaint the flares in addition to the sunroof cap, so more work this coming year.
The front fog lights have taken several iterations, test fittings, more measurements, and more 3D Printing, but I'm closing in on the finish line and want to have them installed this weekend. Fit of the brackets is spot on, just need to make sure the fog lights are aimed properly and get a few hours to wire everything up correctly.
Spent the day getting a few things done, first of which involved installing the Diode Dynamics SSC2 Pro Fogs in Yellow with the finalized brackets.
Teardown was pretty quick and installation went pretty smoothly.
I used the OE MB fog light harness and added in a second line for the DRL circuit going to the DD waterproof plug. Much easier than adding a 3 pin barrel plug. This way, all connections will be behind the headlights and use OE plugs.
For the DRL 'Plug', I cannibalized the DRL bulb housing and welded wires directly to the bulb contacts to make this truly a plug and play affair.
The DRL circuit needed a load resistor to not throw and error. I calculated that a 50ohm load resistor was perfect with the DD SSC2 Pro backlight power draw to fool the computer based on the normal DRL bulb draw. Made the wiring harness as protected as I could with cable sheathing.
Everything buttoned up, connected and reinstalled. I'm pretty happy with the subtle look update compared to the OE rectangular fog lights.
DRL's running without the headlights. They're not really bright, but do add a nice yellow glow that adds overall to the front end presence.
Low beams with the DRL
Low beams alone from the JW Speaker 8700 Evo J2's
Add the yellow Diode Dynamics SSC2 Pro Yellow Fog Lights. Super bright.
And just to give a sample of how many iterations the fog light brackets took to get the shape dialed in to my expectations - 8 rounds that were all trial installed, and 1 final installation today.
I started an IG! shiann_builds
The number of eyes on MBWorld has really fallen in the post-Covid world, so branching out to see how many other owners I can reach/help with all of my fixes to common G issues. I'll continue to post on here and cross-post on ClubG for longform.
I don't actually drive the G that much at night, so the past weekend I was able to actually grab some photos of the fog lights in action. They're definitely a huge improvement over the OE rectangular halogens. Also uploaded a quick video to show the difference during driving.
Next up is a small quick project. Finally purchased a set of mudflaps from Expedition Imports.
Took off the mudflap brackets that I already had on the back of my G. They were rusty with flaking paint, so I cleaned them off with a scotch-brite wheel, cleaned, and painted everything with rust reformer.
Still having a paint booth up from my home cabinet painting project really came in handy. The surface isn't perfect, but that is fine as these are not visible and only need to protect against rust.
Picked up a bunch of stainless hardware and some large fender washers to mount the mudflap. They fit perfectly!. Odd thing was the hole pattern on my bracket and the mudflap did not line up perfectly, but easily remedied with a drill.
Finally have mudflaps. The rear looks so much more complete now. I've noticed the BFG KO2's spray a ton of water when driving during the rain, so hopefully this should help with that.
I felt a weird vibration/slipping at the end of the braking travel when coming to a stop, but it wasn't a constant feeling, so I left it for a few days. The wife drove it earlier this week and said she felt something weird also.
I took a look under the car quickly and saw something fun. Proceeded to take a wheel off to take a closer look and found some interesting brake issues.
The outside of the rotor always looked great with complete pad coverage, and the pad seemed to be wearing VERY slowly. I just never thought about it that much. The previous owner right before selling had changed the front brakes with all new parts from FCPEuro with Akebono Ceramics (that I used on the rear and have been using on my Volvo for years now).
The inside of the rotor looked terrible, maybe at best 50% contact and definitely something wrong.
Took a better picture of the uneven pad wear today when changing out the pads. Basically 0% wear on the outside, and 100% wear on the inside. Not ideal at all! Just about eating into the backing plate but it doesn't look like any damage to the rotor. The pad wear sensor also did not give any warnings which is strange.
When changing the front brake pads/rotors on the G55, MAKE SURE YOU HAVE A 9MM ALLEN KEY/ALLEN KEY SOCKET!!!! Apparently none of my allen keys had a 9mm, and I had to get a specific set that had it. (The rear calipers are 7mm FYI).
You can see the condition of the worn pads. The passenger side inside pad was worn down to ~0%, and the driver side inside was down to ~20%. Very strange that both sides had issues wearing evenly on the inside/outside, so I'll have to keep a close eye on it going forward.
I didn't see any real reason that the calipers wouldn't float as the pistons (2x on the inside) are in really good shape, and there is basically on rust anywhere. I cleaned up the floating pins with scuffing pads and lubricated them so they would float more free.
Replacing the brake pads and cleaning the pins/lubricating everything only took about an hour. Super simple setup. Hope that they wear more evenly this time around.
Took a few pictures the other day in an empty mall parking lot. The exterior is shaping up pretty nicely and the new lights are excellent.
Really digging the look with the mudflaps on the rear.
I have a few more exterior modifications/maintenance items that I'll be tackling this spring:
1. LED tail lights
2. +40mm Eibach/ORC lift springs Front and Rear
3. Paint/Powdercoat the front brush guard and remove the plastidip.
4. Full paint correction and ceramic coating on all panels
5. Paint touchups on the roof, rear cargo door and wheel arches.
6. Replace the windshield.
7. PDR a dent on the hood from a falling branch.
8. Coat and protect the whole underside/drivetrain.
Really weird brake issue.... I've heard that this is caused by uneven thickness of the disc itself, but that does not appear to be your case. I'm also assuming that the caliper is working properly. If the pad wore down to the wear sensor and you did not get a warning light, then there is definitely something wrong with the sensor as it "grounds" itself when it touches the disc. Those are cheap to replace, but perhaps it's an issue with the system to which those sensors connect to.
What brake pads did you replace the Akebono ceramics with? I recently took a G500 for a drive and nearly had a heart attack when I pressed the brake pedal for the first time and had the worse braking performance in any car I've ever driven.... These trucks simply don't brake at all!! I know that what I drove is a 2002 G500 (new pads, rotors, fluid), but coming from sports cars (M Z3 Coup�, 911s, RS5, etc.) this was definitely an eye opener/heart in mouth moment...
I replaced with another pair of Akebono Ceramics pads. I'll monitor the wear more closely going forward as there didn't seem to be any real reason why the calipers weren't floating well.
Your brakes probably need to be bled. The G definitely doesn't stop well, but it still stops pretty hard. I tried a few 20->0, 40->0 stops yesterday as a quick 'bed in' procedure and they were working well (in my case without bleeding) but that is not always the case.
There are always larger brake caliper/pad/rotor options to upgrade to, but at a significant cost. I just usually tend to leave plenty of room and use my brakes as little as possible.
Mercedes SLR McLaren 722 S Is Extremely Rare Example Modified by McLaren
Slideshow: A one-of-one U.S.-spec Mercedes-Benz SLR McLaren Roadster became even rarer after a factory-backed transformation at McLaren's headquarters.