When you click on links to various merchants on this site and make a purchase, this can result in this site earning a commission. Affiliate programs and affiliations include, but are not limited to, the eBay Partner Network.
Exactly, I tried without removing the seats and had to fold and do it.
Thanks for the tip on the rear's from your post. The front is a pain to get the back right bolt out, you need to remove the covering for the electronics under the seat, which are held w horribly designed plastic rivots.
Definitely more work than I was going in for, but the juice will be worth the squeeze once I get the truck cleaned back out and the headliner wrapped and back in the truck.
Cool. When you put the rear seat back in, put the pin through the shocks first, then use the size and weight of the seat to position the pivot pin (pushing towards the back of the truck against the shock. I couldn't compress the shock and hold it in place with just one hand while trying to insert the pin with the other. I still couldn't put enough pressure on the front of the seat for the inside (middle) pivot pin, so I ended up using a ratchet strap hooked on the inside of the seat (same post holding the seat shock inside the seat and connected to the rear cargo area D-ring. Used the ratchet strap to align the holes and inserted the pin. Was quite a PITA trying to figure it out but next time it'll be a walk in the park.
I'm about at my tipping point to just reorder the headliner material instead of waiting for the replacement. It's been almost 2 months since ordering it originally which is crazy.
Do you have any pictures of the torn boots that you're waiting on replacement for?
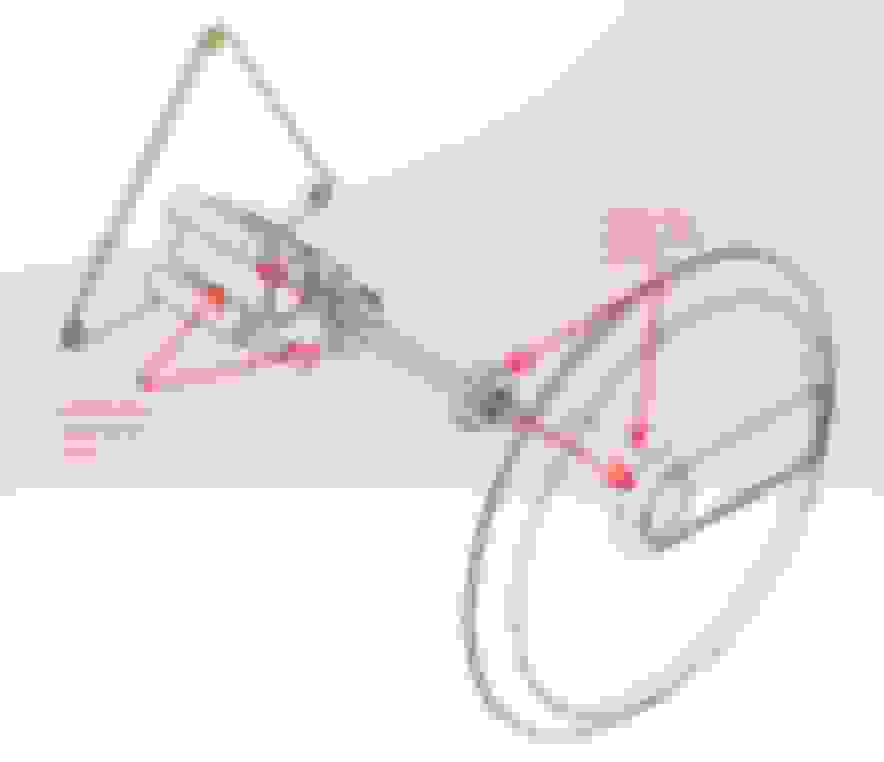
Here are the images of the steering components that are shot, sun is dropping here in LA, so had to take photos w the flash.
The boots on all four corners are missing and I think the steering became exaggerated once I installed the panhard bar, didn't notice them until I could tell there was a bit more going on than a bad alignment.
Looks like they will get here Monday end of day, should have the interior back together well before then.
Going to hold off on driving as I want to get these installed at the alignment shop and don't want to risk anything w the truck, plus I need to get my E63 back on the road and stretch its legs.
Yeah, I ordered from Amazon too, just giving the company to make it right before I cancel it/ask for a refund and go with a different Amazon vendor. I ordered 120" of material but going out to measure the truck, looks like it'll take ~110" to just get the main headliner done. Then you'll need another ~30" to do the sunroof interior panel. Looking forward to seeing your results!
Well, she's wrapped. Looks great! The wife helped me, her side is perfect, mine has a couple of creases.... but I'll live w it. Came out fantastic.
The glue sets super fast when tacky, but a fun project for both of us to knock out together.
Next is the cut out the hole for the sunroof, cover the sunroof cover, A-Pillars and the visors.
Tomorrow I'm going to turn my attention back to cleaning the truck's interior. Likely hitting the other pieces Thursday then re-installing Friday or Saturday.
After tossing and turning last night, my OCD kicked in and I'm getting this interior professionally covered. My wife and I chocked it up to a fun little project.
Making an appointment at an upholstery shop this morning and hoping to drop the truck off w the headliner board minimally attached for them to do the install professionally.
I'm great mechanically, but know my limits and my expectations.
My .02 cents, and a dip into my wallet. Take your truck in to have this work done. It's a pain and best left to the pros.
Was there something specific about the headliner install that ticked off your OCD? And was it this headliner part specifically or the future prospect of having to do the pillars and sun visors as well?
I finally got an answer when my headliner will arrive so looking to tackle it this weekend.
The creases that formed and knowing once I have everything else dialed in that when I have longer commutes I will just stare at them.
To me it would be like the Edgar Allan Poe's poem The Raven, it would just tick at the back of my head every time I saw it, especially given the amount of work it would take to re-install, then un-install to fix it.
Also, with the shear size of this headliner you need three people to properly lay it down and need to start from the center and slowly press out to the sides when you are handling half of the headliner.
My wife instantly knew I would not be ok with the results, and honestly it was a good job, but not perfect.
I was actually looking forward to the a-pillars and visors. But I'll leave this task to someone that's dedicated their life to the craft. The moment I took the headliner out, I was questioning why the hell I was really doing it myself... guess because I never tackled this kind of project, and I now know why I will never question the cost or do it again.
Once upon a midnight dreary, while I pondered, weak and weary,
Over many a quaint and curious volume of forgotten lore—
Was that headliner straight, that I'd done with my mate
Or shall I contact the Starlight Headliner store?
Once upon a midnight dreary, while I pondered, weak and weary,
Over many a quaint and curious volume of forgotten lore�
Was that headliner straight, that I'd done with my mate
Or shall I contact the Starlight Headliner store?
Well this just made my morning!!!! HAHAHAHA!.
The shop I used to do my last motorcycle seat is slammed right now, so I'm slotted to go in next Tuesday. May hold off getting the alignment done until I get it back from the upholsters.
While I am light on content here's my last bike build.
It might be worth putting some sound dampening up there while you're in there..... I did it on my landcruiser along with about 200 sq ft on the floor and doors plus boom matt and foam dampner and it not quieter then my G...... and it's running 35" mud tires and is 23 years old.... I used Fatt matt on the roof plus a 15mm foam top dampner
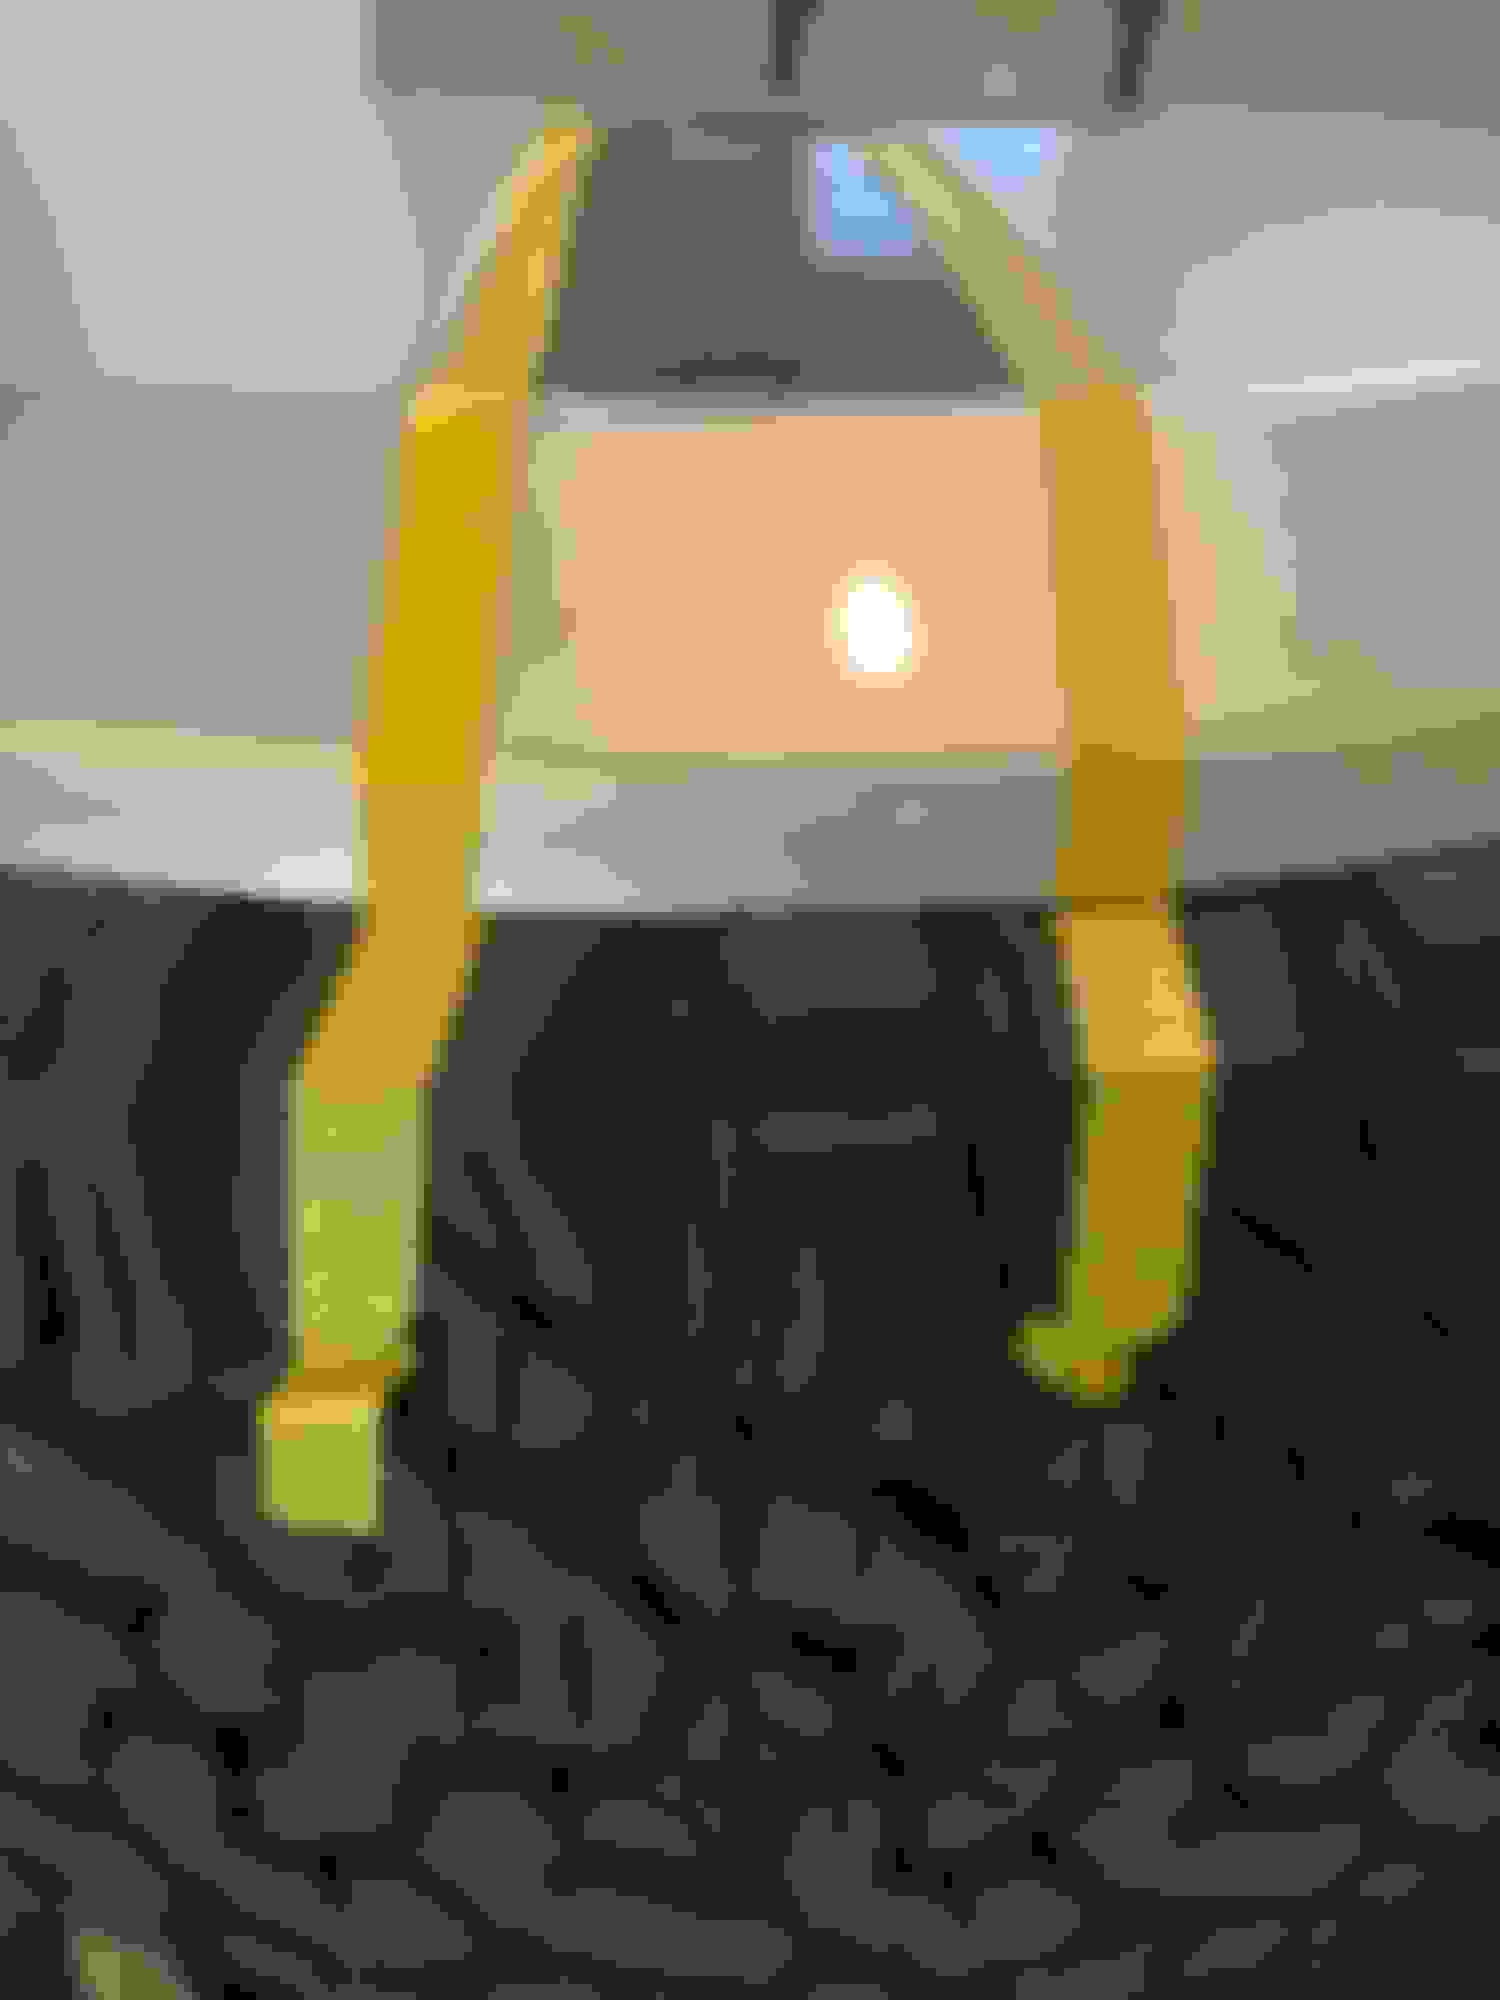
Had a moment to think about spending too much money on either a pot with a hinge to affix to my rear tire, flip the tire and expose an ugly spare, or use what I got and make something.
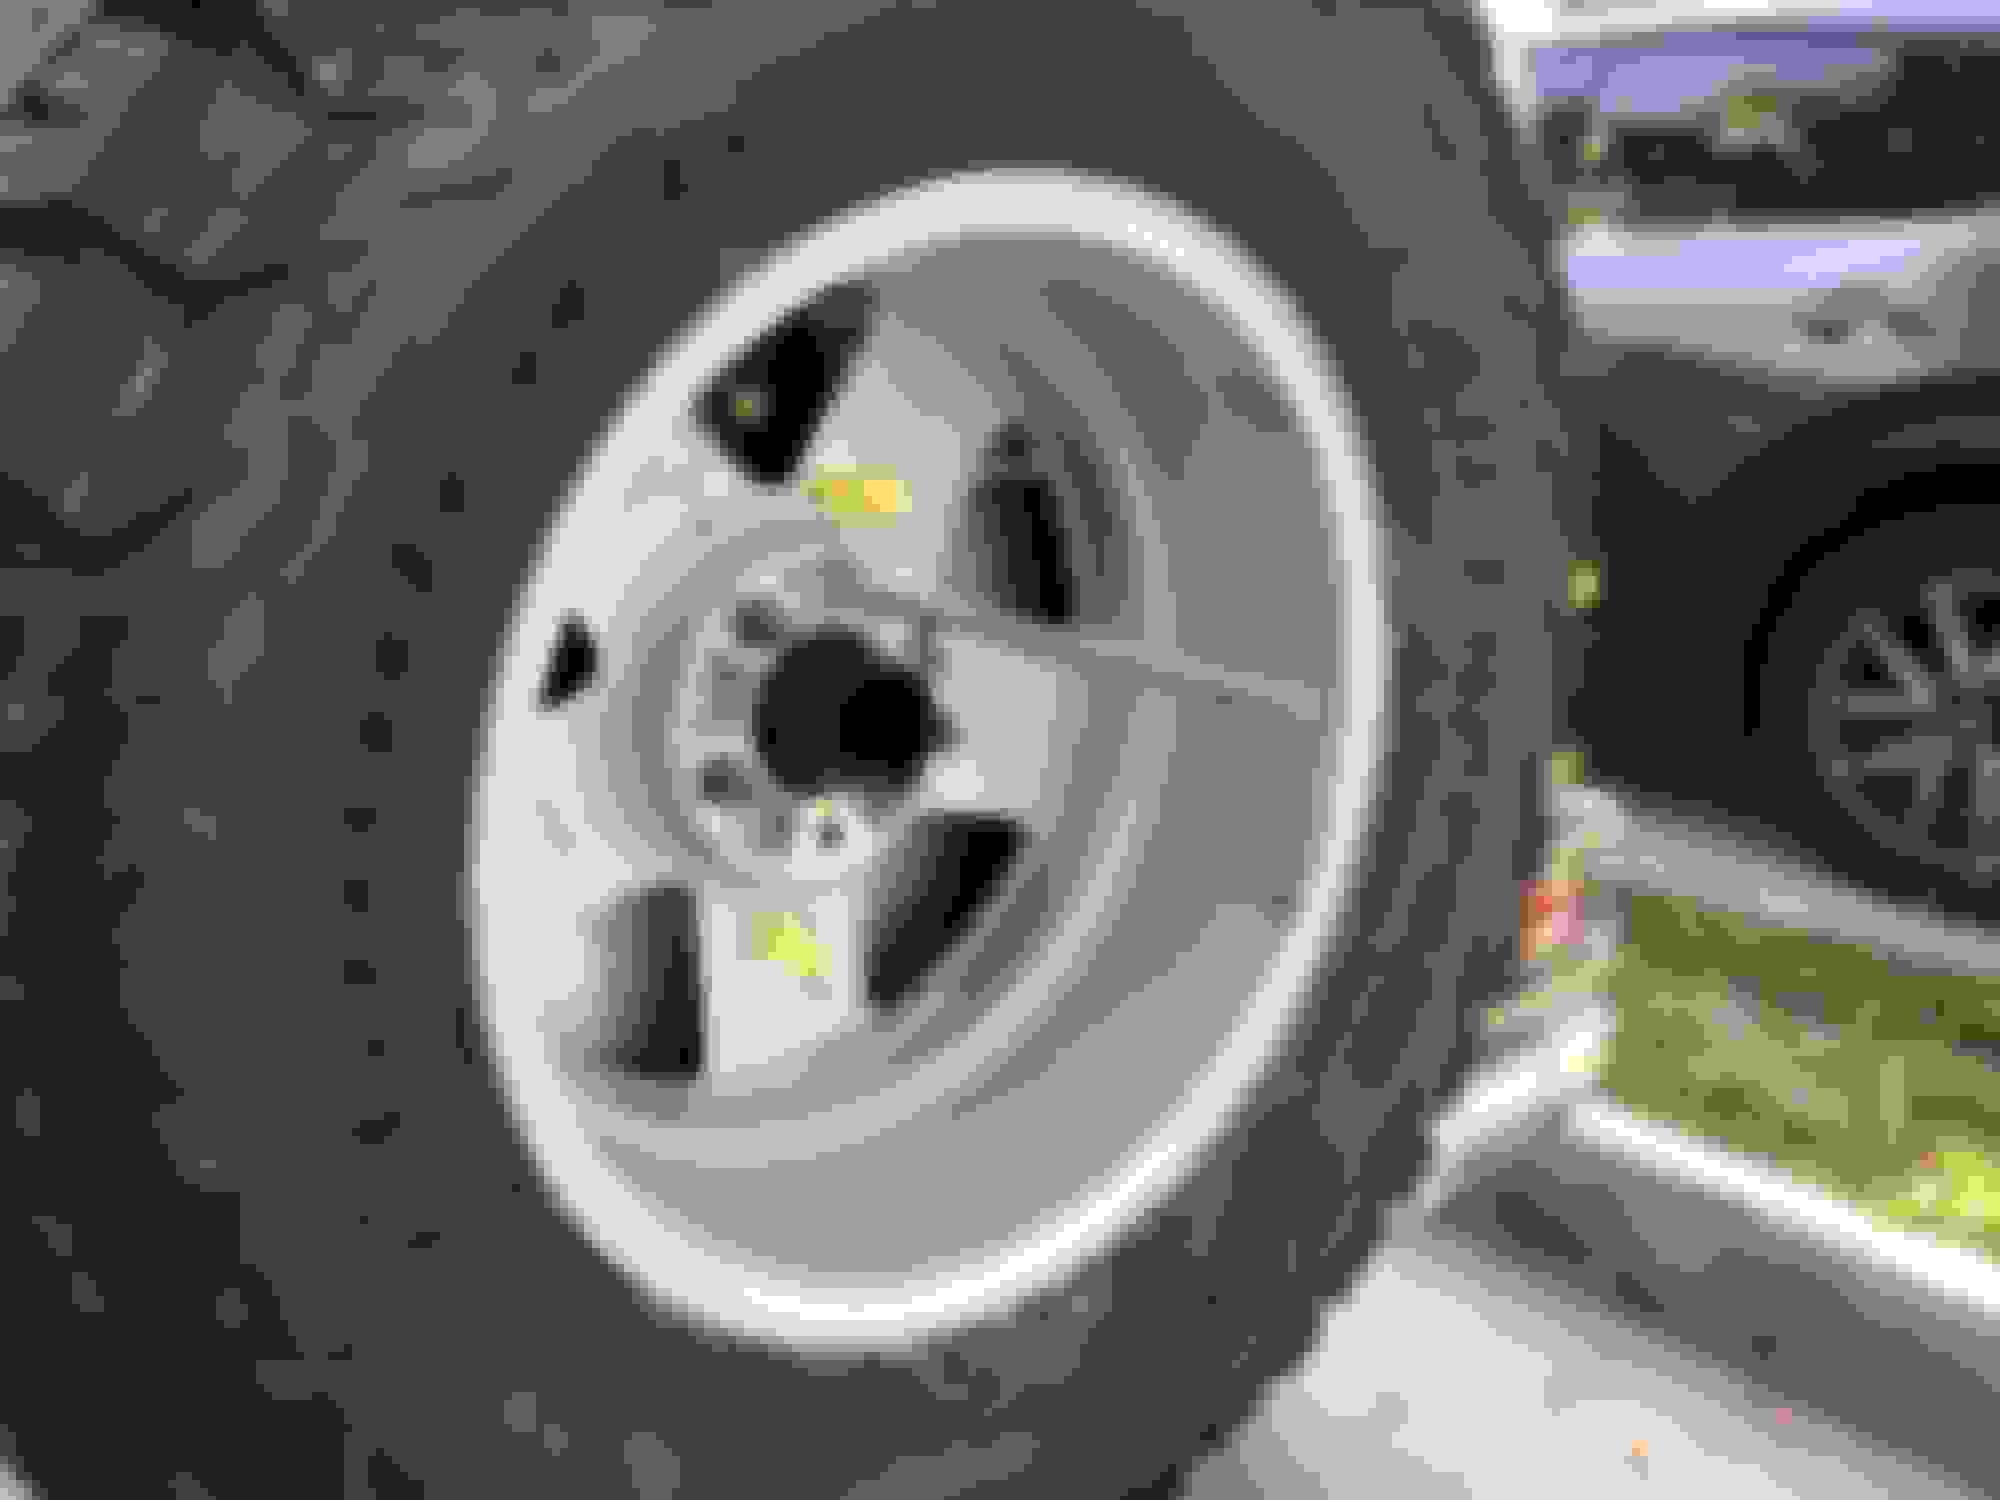
Decided to use the spare tire cover without the ring. There's even storage on the inside, which I will be using for a roadside emergency kit in a water tight bag.
Going to get black hardware, and either cut the nylon and stainless washer flush to the vinyl sticker or paint the entire thing matte black and call it a day.
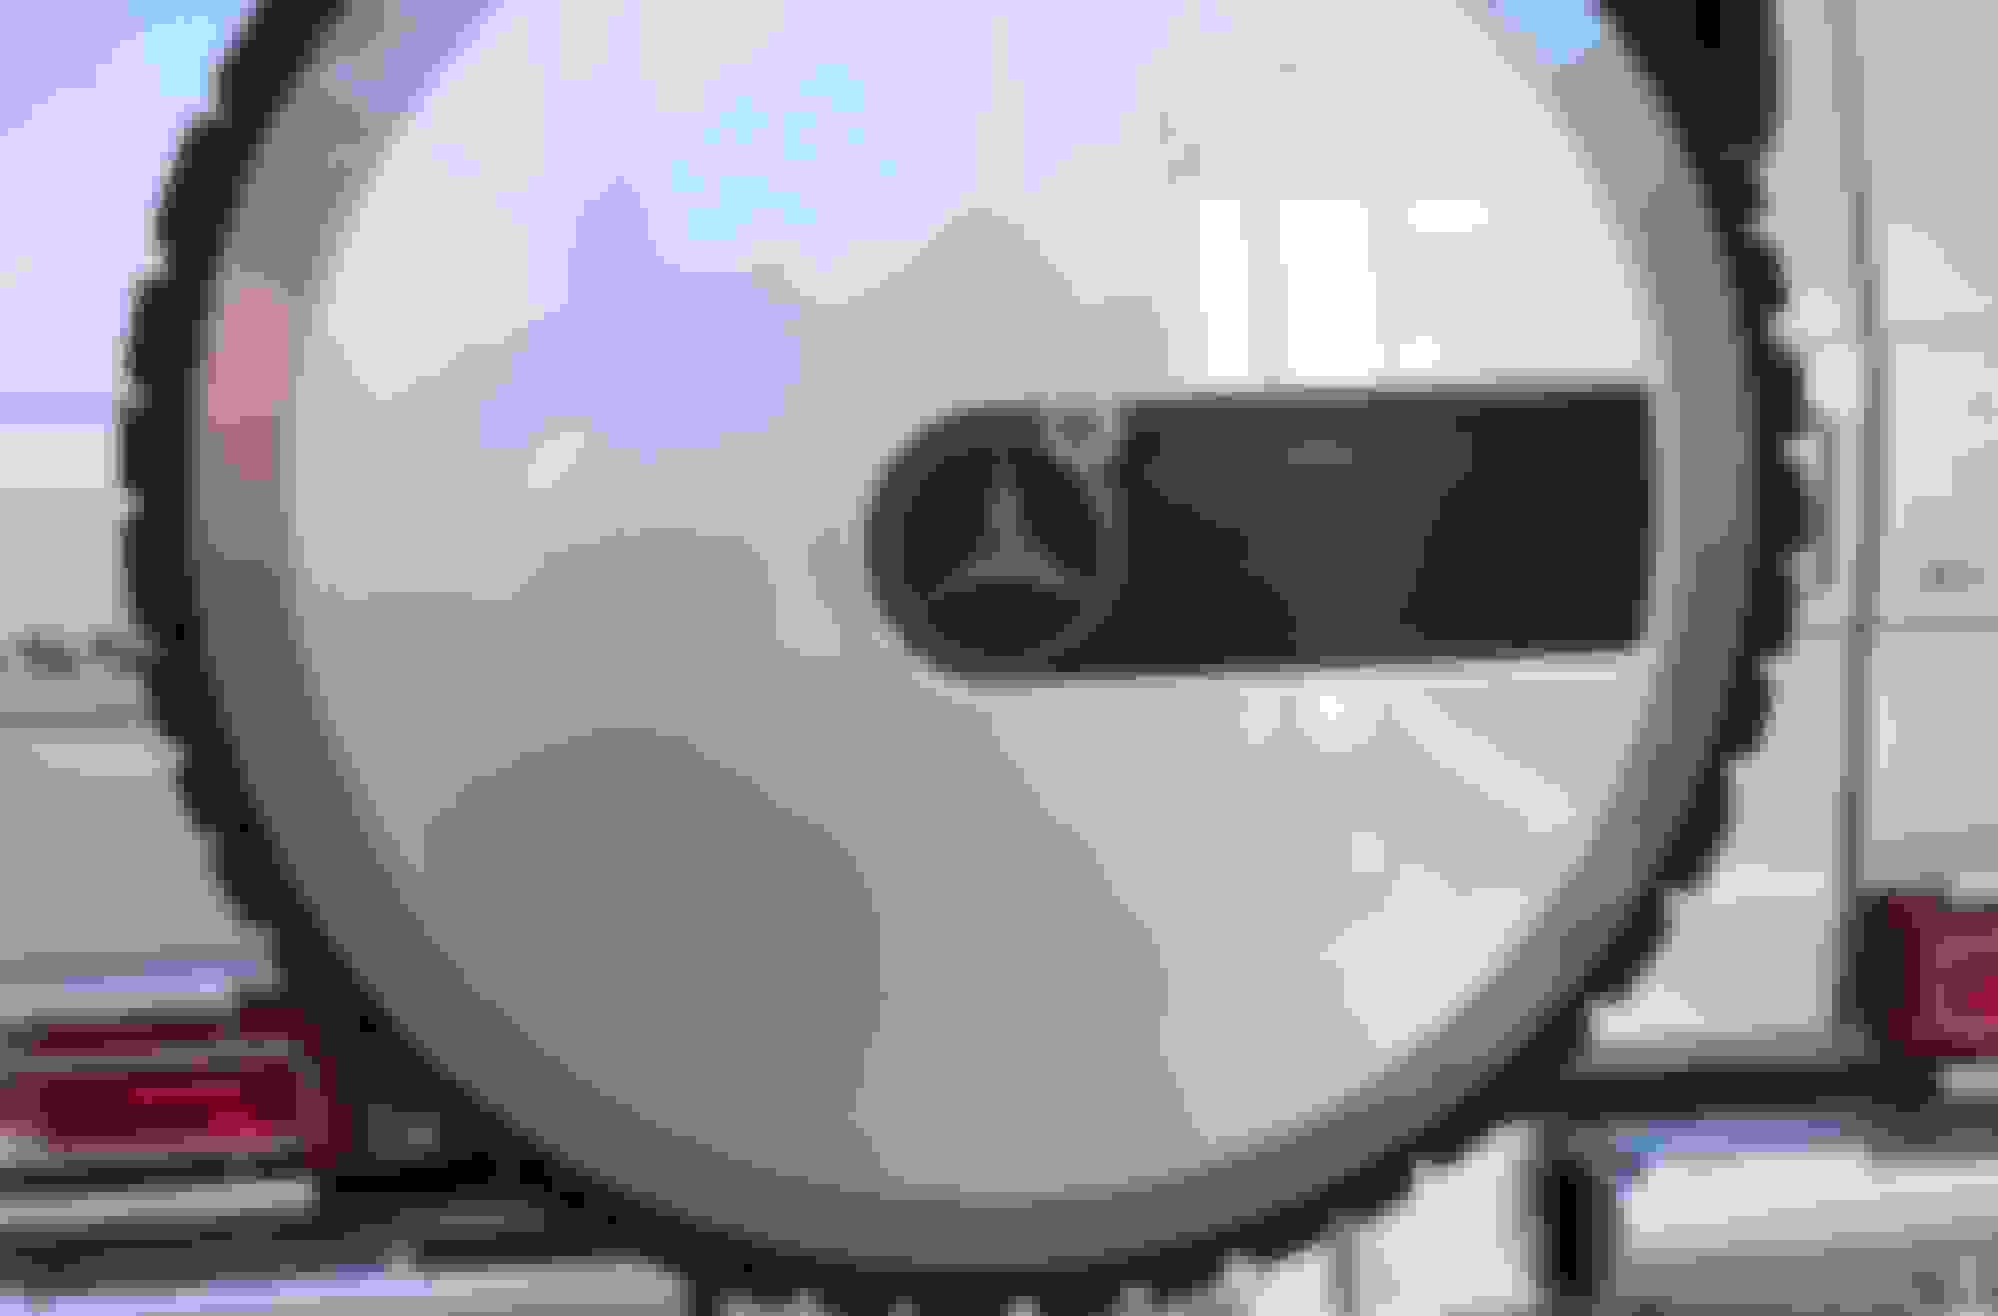
You know, that doesn't look that bad. If you could find a way to make the mercedes 3 o'clock stripe removable and hide the hardware under that, it would look perfect.
I just went out to the garage to take a look at the spare tire cover and the spare tire mount. It would take some custom parts and welding them in (I have a tig welder), but it could definitely be done.
Thanks for giving me the idea Ian! When I come to this point in my build, I'll document what I end up doing and see if the cost is reasonable for others to do as well.
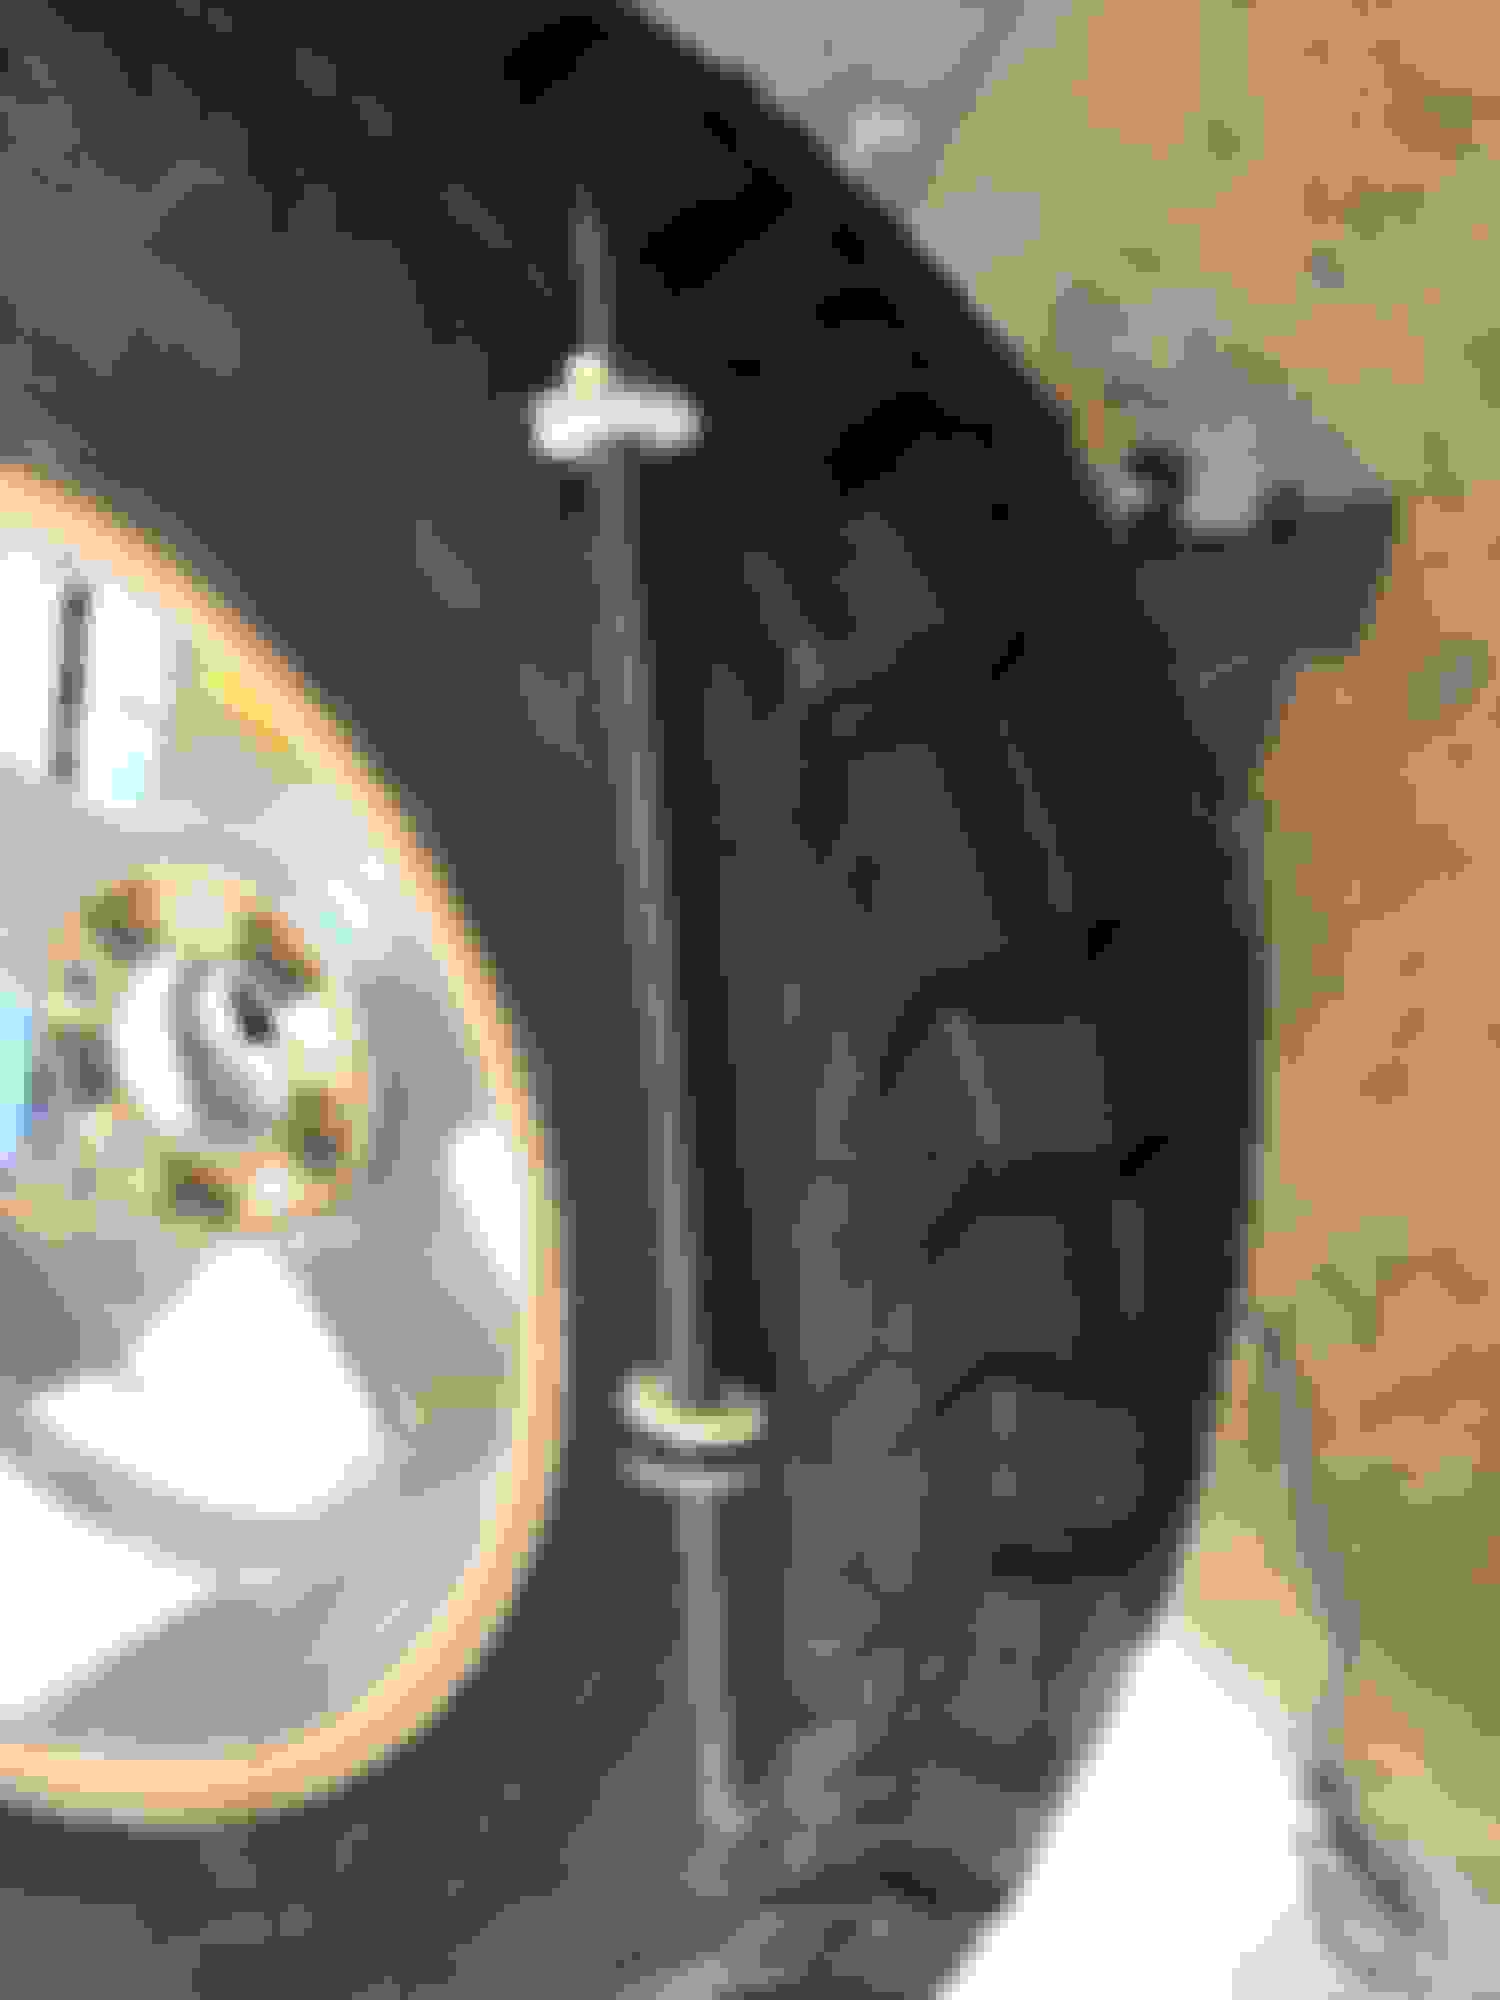
This cost me about $60 in numerous trial and error hardware. The 1/2 13 rod is stainless steal and for 32" It cost me $32. For the materials used this was probably a $10 job.
Agreed, if I can find some way to hide the mount it would be something I'd tell everyone to do asap when going a bit bigger tire than the chrome ring will hold.
I'll put some thought on my end as well. I ordered some black nylon washers and some metal bluing liquid to see if I can make the washer and nut blend into the stripe.
I'm thinking of something like below. Nothing is drawn to scale but you get the idea. It will involve modifying the tire carrier bracket and the wheel cover permanently but probably worth the tradeoff. What's left to figure out how to attach the Mercedes badge plate to be removable. Can probably do this through some strategically placed screws, or magnets.
Will have to have 2 of the 'donuts' machined, welded in place, and a threaded rod of some length and a few locking nuts to bolt the whole thing together.
Headliners are not easy. Luckily got mine done in one try. The trick is to start in the middle and do 12 inch or so sections at a time.
My 2002 headliner did not come with the foam backing so I think that could have made it a little easier.
There were a couple of difficult spots but came out with no creases 👌
@shiann that's a great idea! This attempt was just to see if this was feasible, and it is. I'm going to get some different hardware that blends into the Sticker a bit more.
I really like the idea of using the center tube as the mechanism to hold it all together.
For now, with new color matching hardware I am happy, but if you do go down this route I'd love to ideate with you.
When I was searching for material at a local hardware store I found a bolt that has an eyelet on the outside, which would be great for camping as you can back the truck up to a tree and easily set up a hammock.
I'm going to keep tinkering with this now that I've found a working solution, it can only get better.
The great thing about this, is it's reversible with some fiberglass, paint and a new sticker it's back to stock.
Also when you take the sticker off there is a small hole just right of center that I was contemplating on using as well.
Last edited by almostordinary; May 29, 2020 at 11:08 AM.
Headliners are not easy. Luckily got mine done in one try. The trick is to start in the middle and do 12 inch or so sections at a time.
My 2002 headliner did not come with the foam backing so I think that could have made it a little easier.
There were a couple of difficult spots but came out with no creases 👌
This looks great!!!
I was on the fence for the foam back vs not backed. The foam definitely soaked up a lot of the glue and made adhesion quicker than I thought. Good tip on doing the 12" at a time. We just went for one half then the other.
I think you guys have seen this video... at the 3:23 mark the guy has basically sized a cooking pot to fit in the spare wheel and function as a storage area. It's a pretty good solution and looks practical.
Yup! This video actually got me more into the G-Wagon, and yes before going this route I actually was looking for cook pots lol.
I have another solution in mind that I am going to look at today that counter sinks the bolt so it's not as vissible on the outside.
Ill likely dig out my welder to go this approach.
I have some old waterproof bags that I used to use when I SCUBA dived and sailed. I'll be putting one of those behind the cover with emergency essentials, so I will still have storage, it's just open to the elements on the back.
I'll report back once I try a few other methods to secure the cover.
Mercedes SLR McLaren 722 S Is Extremely Rare Example Modified by McLaren
Slideshow: A one-of-one U.S.-spec Mercedes-Benz SLR McLaren Roadster became even rarer after a factory-backed transformation at McLaren's headquarters.