When you click on links to various merchants on this site and make a purchase, this can result in this site earning a commission. Affiliate programs and affiliations include, but are not limited to, the eBay Partner Network.
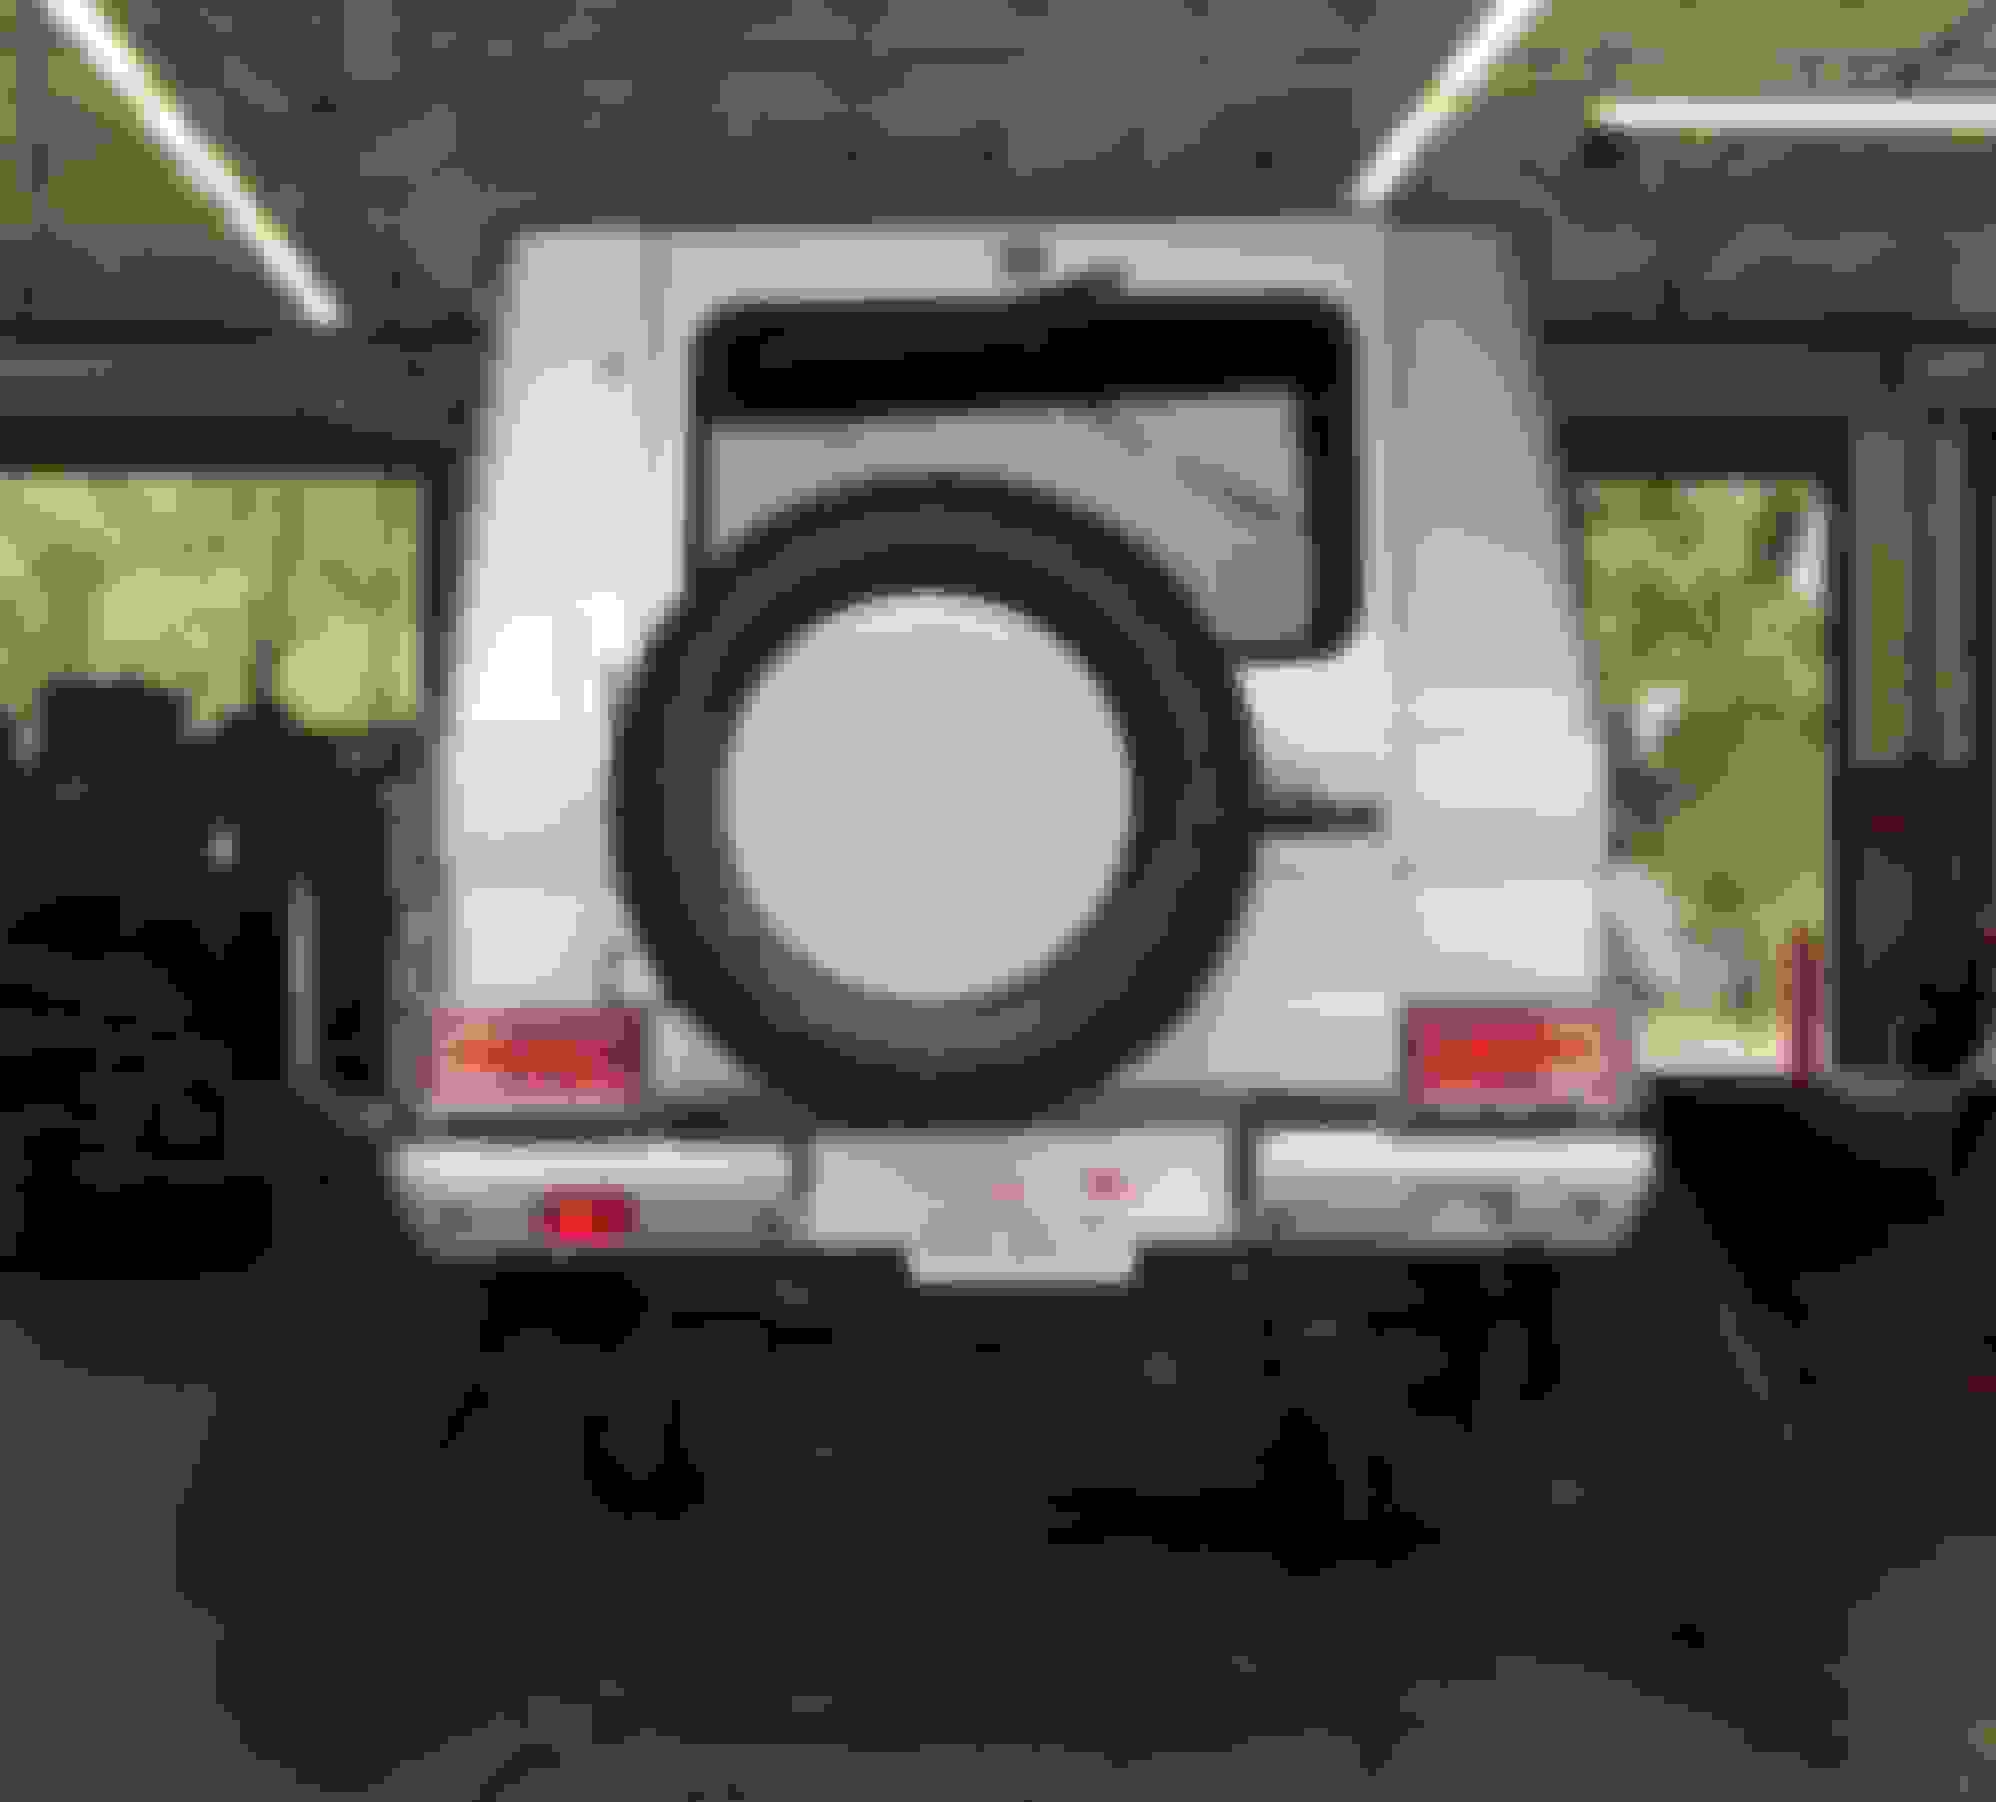
There's something about the Affalterbach logo that I really like. Especially since you don't see it anywhere.
Mocked them up, after the classic AMG logo I think the full black star would be my next preference.
I'm hoping to collect trail stickers in the coming years to place back there as well.
This one's my favorite, kind of a semi-classic design. Or you could do a "Schockl-proved" kinda logo...
Guess you have to look at the history...
But, in the end probably just a simple chrome piece will look best
My vote would be the classic AMG Affalterbach log o the same size as the door opening, although the hinge area would complicate things. Second would be the classic Mercedes logo in the side you rendered.
Yea I really like the Affalterbach design, it's funny when it covers the spare cover it would align perfectly
But.... The PUCH shield is really a nice bold statement, and would really hit home w real G-Wagon owners and I really like the lineage and the shielded crest.
I kept going back and forth over this, the frontrunner and a much more expensive route.
If frontrunner's HQ was open here in Los Angeles (Closed due to COVID), I would have probably just went with them just out of laziness and ease. But the more I looked at the Gobi the more I saw the fully built truck I envisioned.
The Gobi rack looks much more utilitarian than the frontrunner, looks and is built more like racks I've had on other trucks, and really suits the G's body lines, instead of the flat rack / optional rail system of the frontrunner.
Can't wait to get this on the truck and get some summer adventures underway.
Meanwhile rented a small Jeep this weekend while my wife and I are hosting a friend from NYC to haul surfboards.
I ended up having to meet them in Malibu on our first day surfing Friday, so I took the G. The little jeep is actually a lot of fun, under powered and carefree (throwing dirty salty wet suits into the G isn't something I'm looking forward to. Maybe in a rooftop box lol)
On the drive back I noticed some really high frequency vibrations at about 75/80mph, going to get an appointment at the alignment shop and get the tires re-balanced. Just took off the steering damper and it's as stout as a brand new unit. My rearview mirror was essentially unusable it vibrated so much. Not good on a tired night drive back from Malibu.
I had the tires installed by mobile installers during the height of the shutdown here in LA, thinking they did an ok job, but something's just a bit off.
Any pointers on removing the rear seats? I see one removed in one of your pictures. I am looking to pull mine out so i can remove the carpet pad and wash it, and add some dynamat to the trunk floor but everything I�m seeing points to needing a special tool to compress the hydraulic shock that attaches to the rear seats. The tool is apparently NLA and i am wondering how you went about doing this.
Do you just remove the pins? Can you snap a quick photo on what exactly you removed to get that seat out? I assume both sides are the same.
The rear seats are pretty easy. I may have blown struts on the seats, since mine won't stay up when I have them folded up all the way, so your experience may differ.
Start w the single seat for practice since its smaller
Tools:
Flathead screw driver (to pry the clips and as a punch)
Hammer
Steps:
Flip the seat all the way to it's folded position
There are two types of connectors
- Small black clip on the strut side
- Gold Clip on the non strut side
Use your flat head to pry the gold clips off, you just turn them so they are facing away from you. You can also give the screwdriver a tap from your hammer if you can't push them out
For the black clips, similar procedure, but you shouldn't need the hammer.
Disconnect all four clips
Disconnect the wiring for the seat heater
Use your hammer and screwdriver to tap out the spacers and the studs, you may need to pivot the seat back and forth a bit to relieve the tension.
Do the same w the two seat section, should be able to knock this out solo, but may want to grab someone if you have to pivot it.
To put them back on do the above in reverse. But note that my struts were and still are toast, so you may have to do a little dance to get them to cooperate if yours are in good nick.
One trick I used to do w struts is use some good vicegrips and wrap the teeth in electric tape and use a towel on the strut to maintain compression.
Any pointers on removing the rear seats? I see one removed in one of your pictures. I am looking to pull mine out so i can remove the carpet pad and wash it, and add some dynamat to the trunk floor but everything I’m seeing points to needing a special tool to compress the hydraulic shock that attaches to the rear seats. The tool is apparently NLA and i am wondering how you went about doing this.
Do you just remove the pins? Can you snap a quick photo on what exactly you removed to get that seat out? I assume both sides are the same.
Hey Lawrence1, I did a picture write up of removing the rear seats on my thread for easy reference. Post 28. The overall process should be the same between all the year models. Putting the seats back in was much harder than taking them out since my seat struts were working well. I couldn't, as hard as I pushed, compress the inside shocks enough to attach them. I ended up attaching the struts first, then with the seat folded up, used a ratchet strap between the frame of the seat near the middle pivot behind the black connector (steel bar) and a rear cargo tie down to pull the seat in to align the front pivot pin. Worked well after I figured out a system to do it.
Just ordered the Gobi roofrack from Jack Wagon Overlanding.
I kept going back and forth over this, the frontrunner and a much more expensive route.
If frontrunner's HQ was open here in Los Angeles (Closed due to COVID), I would have probably just went with them just out of laziness and ease. But the more I looked at the Gobi the more I saw the fully built truck I envisioned.
The Gobi rack looks much more utilitarian than the frontrunner, looks and is built more like racks I've had on other trucks, and really suits the G's body lines, instead of the flat rack / optional rail system of the frontrunner.
I imagine your "much more expensive route" was the original LeTech rack, very nice rack that looks awesome but is heavy and way too much money!
The Gobi is a nice rack, and was my second choice. I just really like the modularity of the FrontRunner and all the different mounting parts you can get for it, and being aluminum so it's relatively lightweight for it's size and rust resistant.
The modularity is great, but does have it's downside. As long as you plan ahead on what you want to store on it, in other words your storage configuration, it works out great. It's not so good if you're trying to add some things as an afterthought as that will depend heavily on where you can locate the M8 bolts that hold things in place. Also, some of their mounting solutions can get a little expensive. I'll actually be mounting a Gobi double fuel can holder instead of the FR version since it suits my needs better.
On mine I'll be mounting an iKamper mini rooftop tent, double fuel cans, an extreme hi lift jack, a pair of traction boards, an LPG tank, a dry bag full of recovery gear, a shovel, a stainless steel camping table, and a lightweight awning. Pushing the weight limits, but due to the modularity I was able to mount extra feet for weight distribution.
Don't quite have all the parts yet, but I'll definitely post up my trip results this September.
Last edited by Limey Hooligan; Jun 29, 2020 at 06:30 PM.
That sounds like a great setup, agreed on the modularity of the FR rack. The Gobi stuff is a bit expensive, but I am likely going to do two of their smaller tool boxes, the double jerry can holder, and still have the ability to take it all of and use the top for hauling random stuff.
I might also craft a tube for my gazelle ground tent.... I can't see my dogs being cool with my wife and I on the roof and them in the truck.
And spot on the LeTech rack, while it looks amazing, there is no way in hell I am spending 5k+ on a roof rack.
Last edited by almostordinary; Jun 29, 2020 at 06:42 PM.
The rear seats are pretty easy. I may have blown struts on the seats, since mine won't stay up when I have them folded up all the way, so your experience may differ.
Start w the single seat for practice since its smaller
Tools:
Flathead screw driver (to pry the clips and as a punch)
Hammer
Steps:
Flip the seat all the way to it's folded position
There are two types of connectors
- Small black clip on the strut side
- Gold Clip on the non strut side
Use your flat head to pry the gold clips off, you just turn them so they are facing away from you. You can also give the screwdriver a tap from your hammer if you can't push them out
For the black clips, similar procedure, but you shouldn't need the hammer.
Disconnect all four clips
Disconnect the wiring for the seat heater
Use your hammer and screwdriver to tap out the spacers and the studs, you may need to pivot the seat back and forth a bit to relieve the tension.
Do the same w the two seat section, should be able to knock this out solo, but may want to grab someone if you have to pivot it.
To put them back on do the above in reverse. But note that my struts were and still are toast, so you may have to do a little dance to get them to cooperate if yours are in good nick.
One trick I used to do w struts is use some good vicegrips and wrap the teeth in electric tape and use a towel on the strut to maintain compression.
Let me know how you net out
Originally Posted by shiann
Hey Lawrence1, I did a picture write up of removing the rear seats on my thread for easy reference. Post 28. The overall process should be the same between all the year models. Putting the seats back in was much harder than taking them out since my seat struts were working well. I couldn't, as hard as I pushed, compress the inside shocks enough to attach them. I ended up attaching the struts first, then with the seat folded up, used a ratchet strap between the frame of the seat near the middle pivot behind the black connector (steel bar) and a rear cargo tie down to pull the seat in to align the front pivot pin. Worked well after I figured out a system to do it.
thanks so much for the pointers! The struts was what i was mostly worried about since mine are likely still good - i think. The seats fold up with relative ease and i know they're not light by any means. I'll give it a go this weekend and i'll keep you all posted on how it turns out.
Just a quick tire rotation and balance to hopefully take care of some high speed vibrations that I've noticed at 75mph.
Checked the steering damper, u-joints and other failure points, hopefully this resolves it.
If not the damper will be next on the hit list, Also may look at changing out the transfer case bushings as they looked fine, but have the early signs of cracking.
Have the last components for my black headliner upgrade. My sunvisors!
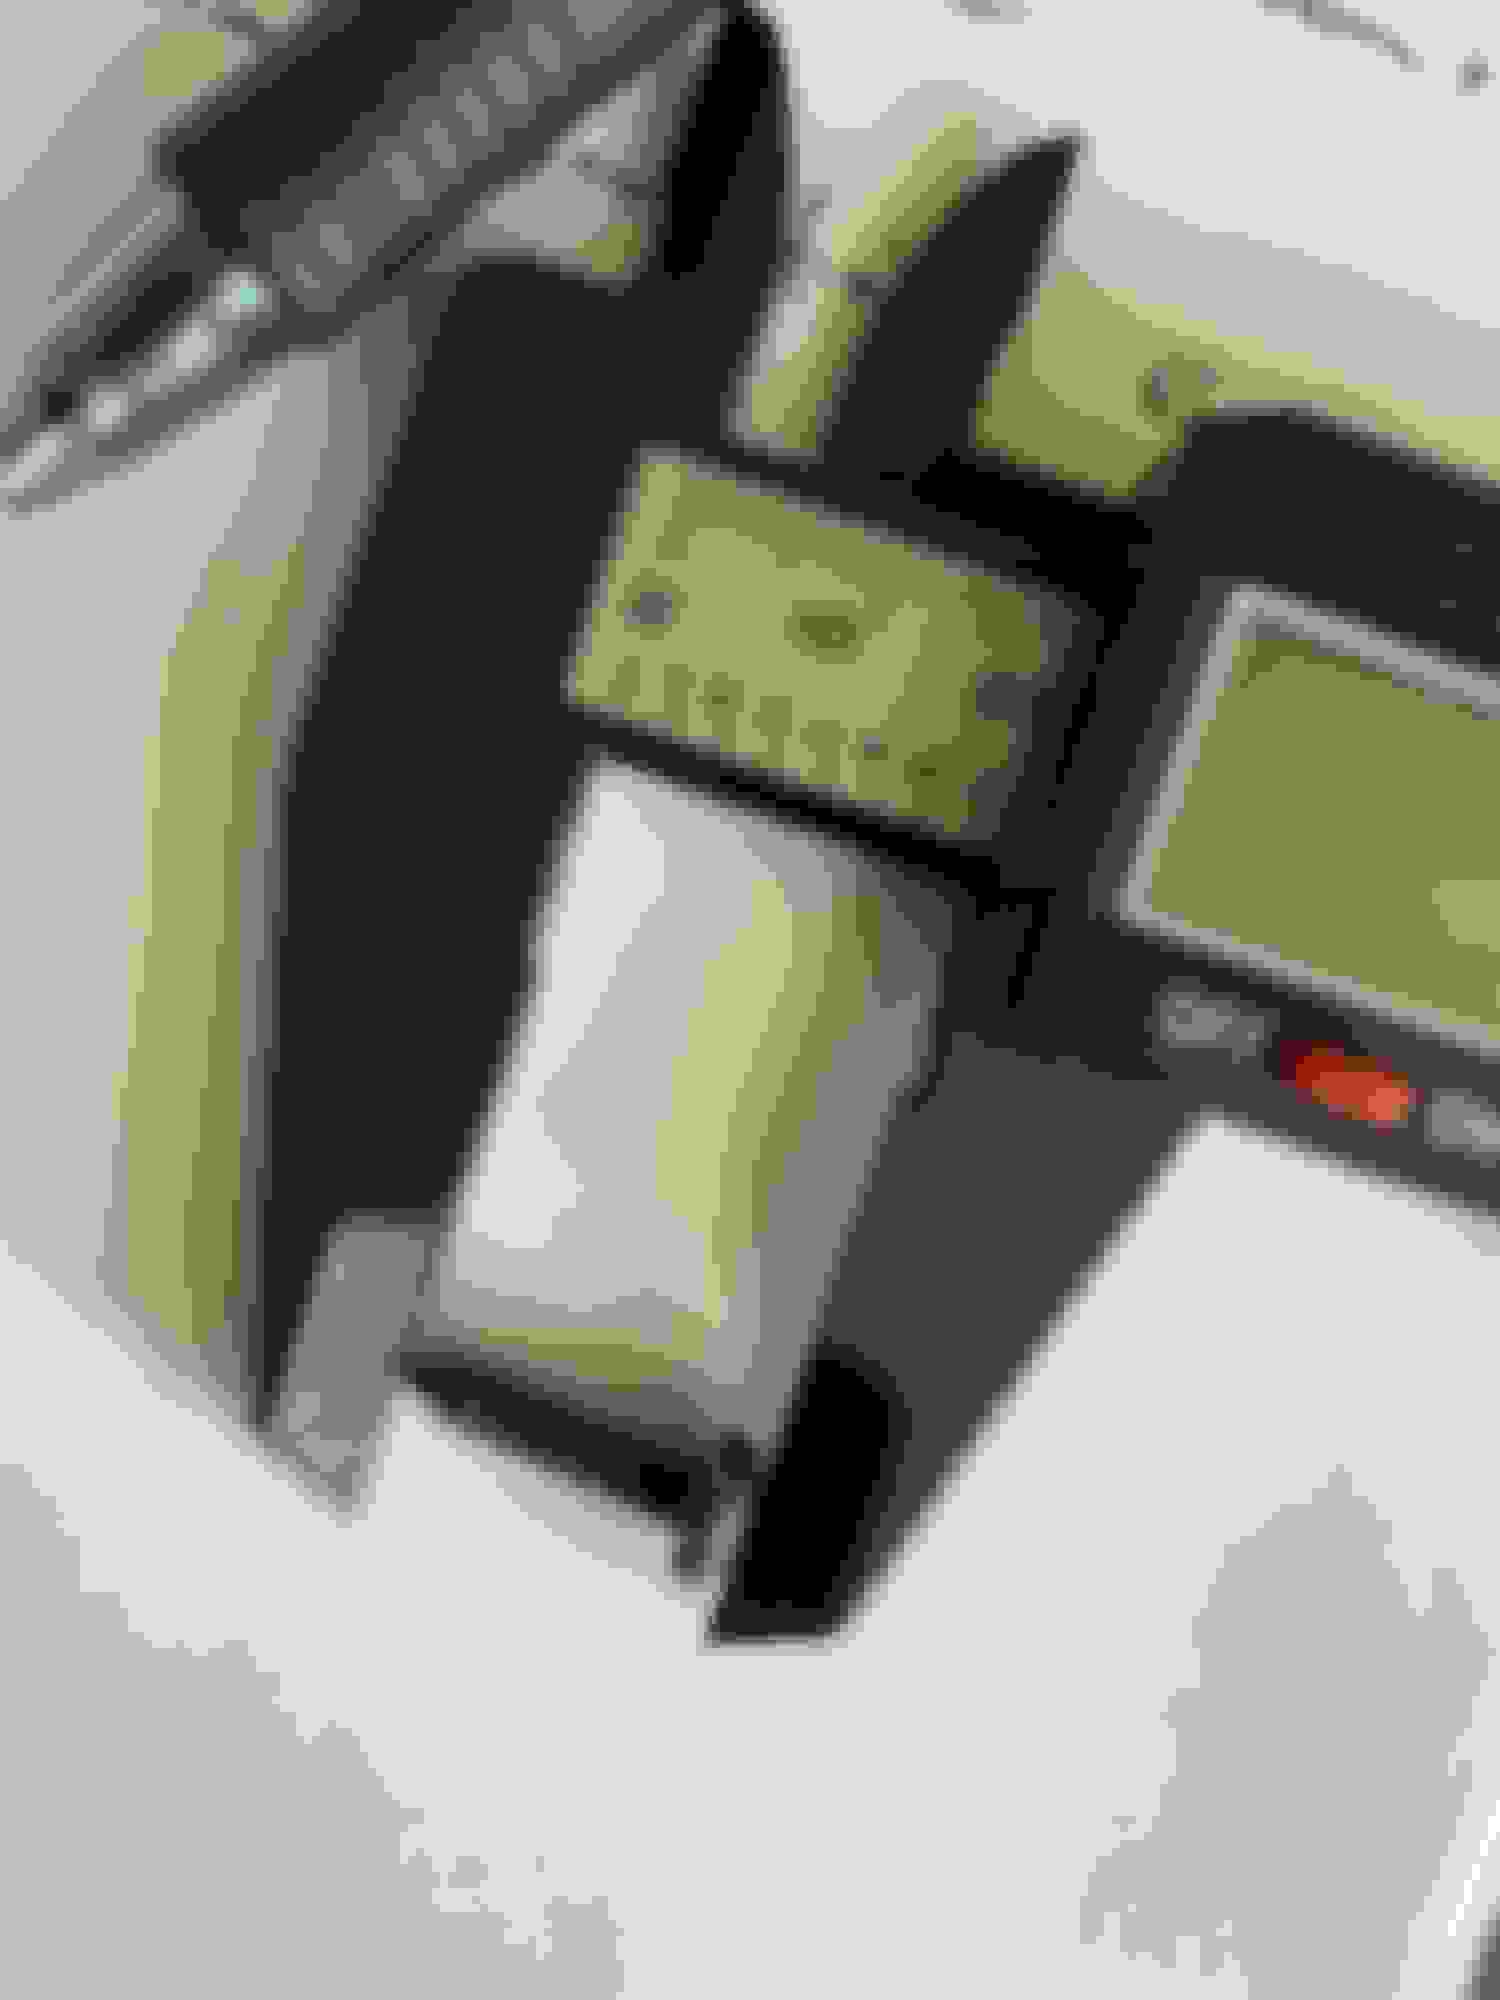
Very left field request, but can someone let me know the length screws your visor is held in with?
I found the screws that I thought came from the previous ones, but with the new headliner having more material they aren't holding up the visors.
The ones I was able to find are just at 20m.
If you don't get an answer by tomorrow, I'll check since my visors are off the truck in the garage (in NJ - I'm in NYC). I'm going tomorrow to try to register (first day MVC is open) so if it works out I'll pick up the truck.
If you don't get an answer by tomorrow, I'll check since my visors are off the truck in the garage (in NJ - I'm in NYC). I'm going tomorrow to try to register (first day MVC is open) so if it works out I'll pick up the truck.
Awesome thanks man! Good luck w your registration!
If you don't get an answer by tomorrow, I'll check since my visors are off the truck in the garage (in NJ - I'm in NYC). I'm going tomorrow to try to register (first day MVC is open) so if it works out I'll pick up the truck.
Your DMV is still closed, eh? Unreal ... CA DMV is running with limited services. They won't do ownership transfers unless the car has been impounded or you have an appointment slot from back in March. Luckily, there are outside service providers that they've allowed to process transactions on their behalf (for a small fee ;-)). Absolute bandits.
Your DMV is still closed, eh? Unreal ... CA DMV is running with limited services. They won't do ownership transfers unless the car has been impounded or you have an appointment slot from back in March. Luckily, there are outside service providers that they've allowed to process transactions on their behalf (for a small fee ;-)). Absolute bandits.
My nephew turns 16 tomorrow in NY and he cannot get his permit or anything since the DMV is still closed...poor kid.
Awesome thanks man! Good luck w your registration!
Wasn't able to get the G registered today, so didn't drop by the house in NJ. Sorry man! I got to the DMV at opening time, 8AM and the line was around the block at least 500 people deep. No social distancing, 1/2 people wearing masks and not being responsible. No thank you! Apparently there were people camped out at some other locations since 10PM the night before. Gotta love NJ.
You can size the screw you have and just order longer ones from McMaster-Carr.
Mercedes SLR McLaren 722 S Is Extremely Rare Example Modified by McLaren
Slideshow: A one-of-one U.S.-spec Mercedes-Benz SLR McLaren Roadster became even rarer after a factory-backed transformation at McLaren's headquarters.


 Nice one