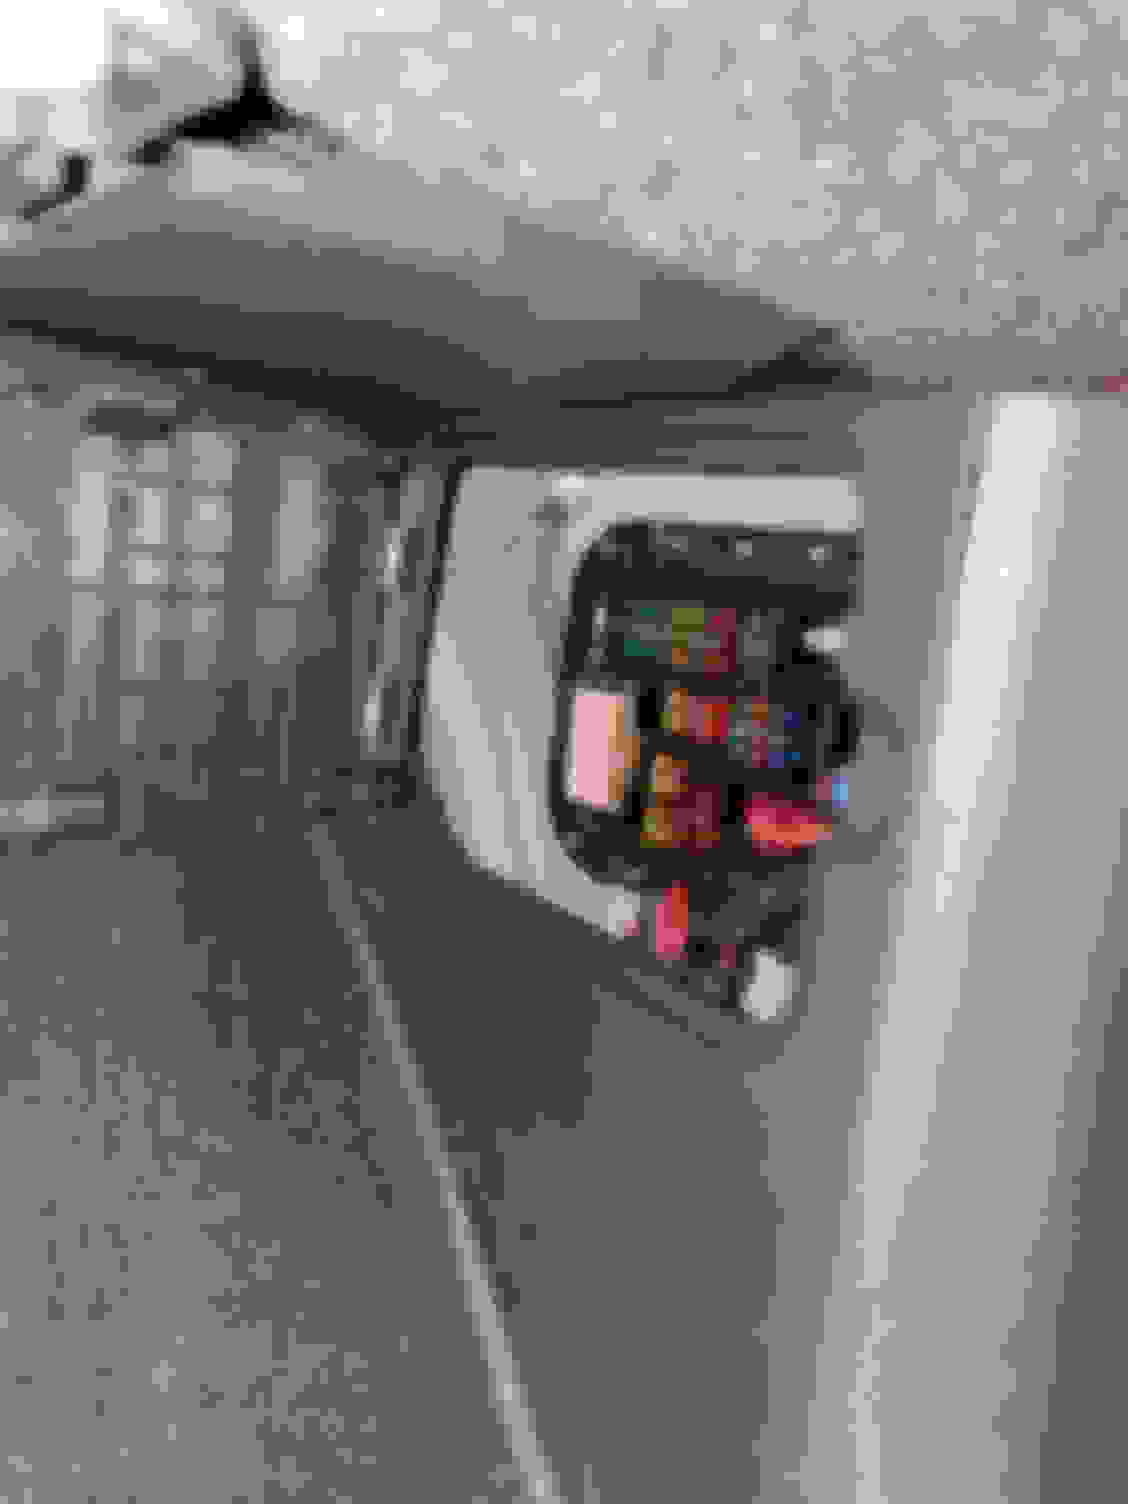
lol dammit. Here it is. It�s a nut in the passenger footwell. All the more reason to leave the extra wire slack here.
How were you able to secure the ground wire from the dashcam hardwire kit to the grounding nut in the passenger footwell? Im not able to remove that nut or stick the C shape end of the ground wire around it (not wide enough). Any suggestion on what you did?
If you use a fuse tap device such as https://www.autozone.com/starting-ch...-tap/32416_0_0, it won't matter which fuse location you tap into. The way this device works is you pull a fuse out of the fuse block and plug it into this fuse tap, along with a second fuse to feed your dash cam. You plug the fuse tap into the fuse block, and it restores fusing to the original fuse circuit and provides an independent fused circuit to your dash cam. This is a much better solution than sharing an existing fuse and risking an accidental fuse failure that could disable your vehicle in unexpected ways. Be sure to plug the fuse tap in the correct way -- the pigtail lead should only be hot when the second fuse is inserted. If it remains hot even with the fuse out, reverse the tap's orientation.
Best way to check for an always hot connection is first thing in the morning after the vehicle has been parked overnight.
Overnight works but usually an hour is enough. Just leave the doors open so it doesn�t start any electronics.
How were you able to secure the ground wire from the dashcam hardwire kit to the grounding nut in the passenger footwell? Im not able to remove that nut or stick the C shape end of the ground wire around it (not wide enough). Any suggestion on what you did?
You can cut off a little bit of the c spades to widen it. Or change the spades.
thanks for sharing the installation, it is really hard to find a procedure for the G Wagon. However, I just wondering should be the fuse tap plug in other way around since on the fuse tap the far end leg is +12 V? What I tested was the bottom of the fuse slot in the fuse box is +12V
I just want to say Thank You to @johndong888 for the great write up five years ago. I thought I would add a few items to this thread since I have been trying to install my V1 G2 radar detector in the G63 and wanted to try easier routes first. I have to admit, the G63 had proved to be a bit of a pain vs vehicles from VAG that I have been used to doing it on.
The first thing I tried was to do a mirror tap. Fact is, after testing all the lines I could not find one that supported the switched power in any of the bundles. I even took down the overhead console to try to find one. Not only that but the large bundle that may actually have one was too tight to fit even the smallest Mirror Tap into it. I do wish there was a color code for the wires somewhere on the internet, that was the trick I found in my Cayenne to locate the switched power, it was a specific color wire (Red and Blue if I remember).
Secondly I purchased the Valentine1 SAVVY device which plugs into the OBDII port under the dashboard. Routed the cable from that up the A-pillar over to the mirror and it worked great...until Mercedes Me started throwing an error. The error was "Mercedes Me Services Limited, Vehicle Functions for Malfunction Detection Restricted". I had issues in the past with SAVVY in the Cayenne with it triggering the alarm randomly but the new SAVVY did not list MB as being incompatible. Unfortunately it is. I ran around town for about a week with it like this and there were no issues and the V1 worked fine but I didn't like having to clear the error so I ordered the Radarmount 15' hardwire harness to attempt the above.
Now, the harness came in but the ground wire was only about 8-10" long so there was no way I could get it to the official grounding point in the front fusebox. The ground wire is an 18 gauge so I was planning to extend the wire and run it back to the front box. Since I have not extended a wire in a vehicle before and even though it isn't exactly rocket science, I decided to test if any of the bolts in the second row could work as a ground. Lo and behold I found a strong one in the bolt that secures the seat belt to the vehicle. The other bolts were not solid enough of a ground to work, this was the only one that was reliable. I removed it, saw it went into the unpainted portions of the body/frame so that was positive. The ground wire from the harness was able to stretch to it while keeping the wiring harness fuse inside the fusebox.
So I tapped the same fuse as many have used above. modified the grounds spade (cut it a bit and then widened it to fit around the large bolt) slid it under the metal bracket and around the bolt and tightened it hard (it is a seatbelt bolt so you have to ensure it is VERY tight). From there I ran the single cable straight up behind the hard plastic molding to the side of the seat and then over to the door weather seal. That hides the cord perfectly and ran it along the ceiling, tucked between the headlining and the front passenger seatbelt panel, back into the front passenger door weather stripping, over to the top of the A-pillar and into the roof lining at the windshield.
This now allows for mounting either in the open area of the windscreen that allows for radar to be stronger or down the rearview mirror to a mirror mount. I bought the blend mount with the extra link that someone else posted about and, while tight, it does fit well and places the detector in the optimal position for my use under the mirror, fully knowing the signal strength will be much weaker there. I will try it there for a while before I decide if I need to move it up to the proper opening to the right of the mirror at the top of the windscreen. If I do move it there I plan to use the visor clip mount and tuck it under the headliner so the V1 is very tight against the roof.
Here is a pic of the bolt I used for the ground. Hope this helps anyone else who is looking to only install a radar detector and does not want to go through extending wires or tapping into the front fuse box.
did you happen to take any photos of how you ran the wire from the rear compartment to the front?
8164993[/url]]Getting the wire under the carpet was easy. I simply removed that tie down on the floor under the seat, cut my wire and fed it from the fuse box to the hole left by the removed tie-down and then was able to push it down to the sill area where I pulled up on the carpet enough to grab the wire coming down. Spliced the wire back together and I was done.
Slideshow: A one-of-one U.S.-spec Mercedes-Benz SLR McLaren Roadster became even rarer after a factory-backed transformation at McLaren's headquarters.