When you click on links to various merchants on this site and make a purchase, this can result in this site earning a commission. Affiliate programs and affiliations include, but are not limited to, the eBay Partner Network.
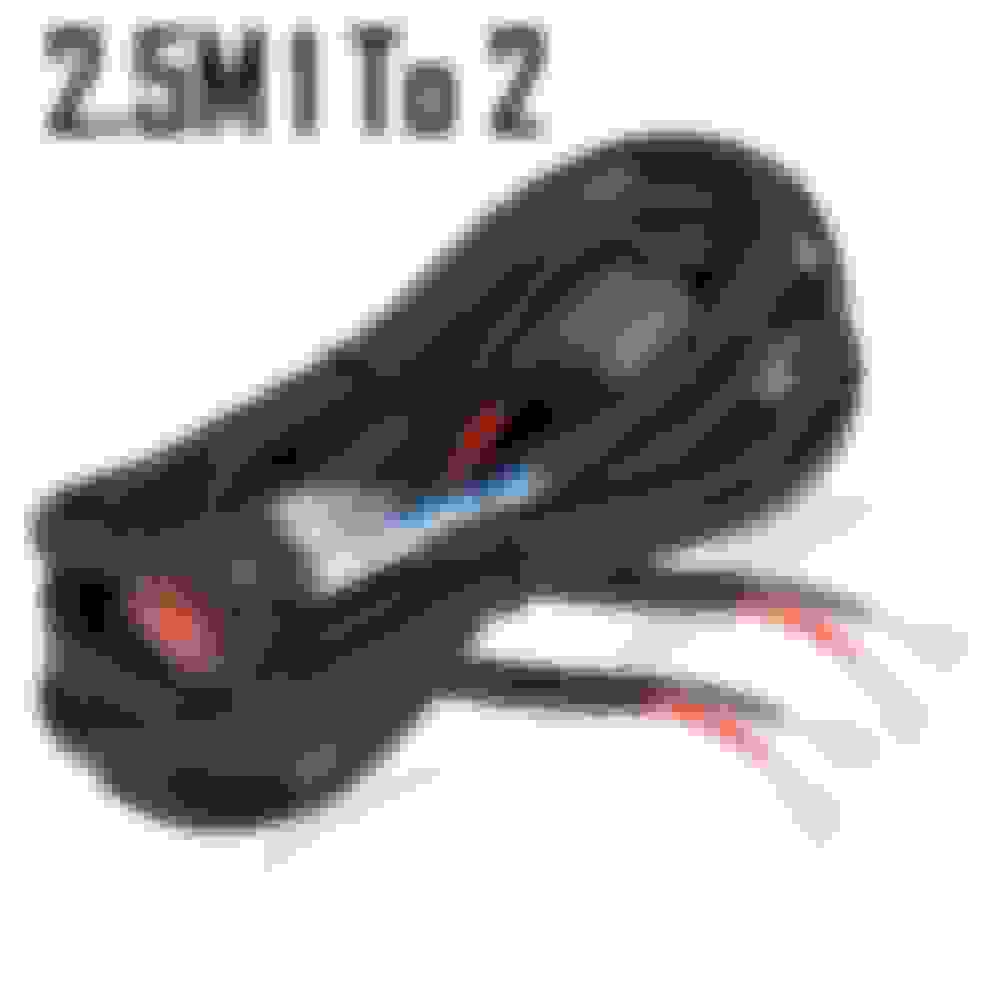
I've gone ahead and purchased auxiliary LED lights from ebay, as well as the wiring harness for them. Pretty straightforward to wire into a fuse tap. My only problem is running the wiring into the cabin. I can't find the spot in the firewall where wires are run through. Where does the harness go through out? Also not sure the best way to pull the dash trim panels. I think I'm going to mount the switch by the headlight washer switch, but am tempted to use one of the center console knockouts. Any suggestions for either?
Last edited by StradaRedlands; 10-22-2019 at 03:33 PM.
Got around to rough-mounting the lights today. I drilled two holes in the solid part of the grill so the brackets could be as far outboard as possible. The inboard side is sandwiched in the honeycomb portion of the grill. They fit in the spot really well IMHO. I took them off and am painting the fender washers I'm using, and still have to figure out how to get the wiring run through to the cabin. But stoked that it's coming along!
Boy, when they're off, they almost blend right in the grill and hide. Looks nice.
On other vehicles, I've just drilled a new hole in the firewall, painted the cut edge and used a rubber grommet to protect against the edge. Add some silicone and it seals really well.
Boy, when they're off, they almost blend right in the grill and hide. Looks nice.
On other vehicles, I've just drilled a new hole in the firewall, painted the cut edge and used a rubber grommet to protect against the edge. Add some silicone and it seals really well.
That's my back up plan, but trying to find an existing route if possible. The wiring harness has weird lengths on the runs, with the switch wires being fairly short, and the leads to the lights being fairly long. It doesn't match up with where the fuses are, so might have to splice some into it (hassle).
I like they way they blend in, too. Pretty subtle and protected a bit. Hopefully they don't get too hot, as the heat sinks are flush on the plastic grill. What could possibly go wrong!?!?!?
I had an empty fuse spot in location 106, so put a tap in for the wiring. It's switched, and pretty clean:
Everything is wired and works great except the switch. I still need to figure out a clean mounting point. I pulled the bottom cover off the dash, and traced the hood release through the firewall. It comes through pretty high, right beside the brake booster. I'm going to try fishing it through this evening or tomorrow, and then need to commit to a mounting spot. I was planning on putting it right between the headlight switch and washer button, but I don't think there's any room in the back of the panel there.
Why not just run the cable externally and splice it into the factory fog lights cabling? That way you control them with the factory knob. And it's already fused and switched. Makes for a nice, cleaner install without the extra hassle of drilling through the firewall, or removing interior trim.
Why not just run the cable externally and splice it into the factory fog lights cabling? That way you control them with the factory knob. And it's already fused and switched. Makes for a nice, cleaner install without the extra hassle of drilling through the firewall, or removing interior trim.
Just a thought.
Mind. Blown.
Didn't even think of that option, was so fixated on running the individual switch.
Will have to think on this one!
Got around to rough-mounting the lights today. I drilled two holes in the solid part of the grill so the brackets could be as far outboard as possible. The inboard side is sandwiched in the honeycomb portion of the grill. They fit in the spot really well IMHO. I took them off and am painting the fender washers I'm using, and still have to figure out how to get the wiring run through to the cabin. But stoked that it's coming along!
Came out good. I thought about having them out more, but didn't want to drill. The lights have a great spread and are super bright. I opted to not run a switch and did think about tapping into the fogs, but then I wouldn't have independent control. I just use the remote control and keep in the coin tray, did you get the same wiring I recommended?
Came out good. I thought about having them out more, but didn't want to drill. The lights have a great spread and are super bright. I opted to not run a switch and did think about tapping into the fogs, but then I wouldn't have independent control. I just use the remote control and keep in the coin tray, did you get the same wiring I recommended?
Thanks, I like they way they tuck in nicely. I bought from the same seller you recommended, but went with the wired switch option vs. the remote. It was cheap enough that if it just isn't going to work out I can put in the harness with the remote. I didn't want one more thing banging around inside, and thought the switch would be easy enough.
Tapping into the fogs might be above my skill set.
Tapping into the fogs might be above my skill set.
It might be easier than you think (and certainly easier than tampering with the dash trim and/or fishing a wire through the firewall). The fog light wiring should be easily accessible either by removing one the fogs from the housing (as if replacing a bulb), or from underneath the vehicle. Also, you'd only need to tap into one, not both lights.
Cutting the wires and splicing is easy enough; but if you'd rather not 'cut' then here's a quick video on how to easily tap an electrical connection. You would need to do this for both the positive and negative wires coming from just one of the fog lights.
That's not a bad idea, at all, to use the fog light wiring. You could use that positive wire feed for a relay to control the new LED lights. You could still use that spot you tapped into on the fuse block for the main feed, but the existing fog light wire would be the "trigger" or "switched" wire for the relay. That way there's no extra load on the existing wiring. All connections would stay under the hood. You would just need a run-of-the-mill, $10 relay. Google for that and you'll find tons of info on them.
In my opinion, I would avoid those blue Scotchlock things. They are quick and easy... but they can also quickly and easily lead to corrosion or even failed connections.
Thanks, I like they way they tuck in nicely. I bought from the same seller you recommended, but went with the wired switch option vs. the remote. It was cheap enough that if it just isn't going to work out I can put in the harness with the remote. I didn't want one more thing banging around inside, and thought the switch would be easy enough.
Tapping into the fogs might be above my skill set.
The remote wiring came with a hard wired switch too, so you have two options for turning them on. FYI
That's not a bad idea, at all, to use the fog light wiring. You could use that positive wire feed for a relay to control the new LED lights. You could still use that spot you tapped into on the fuse block for the main feed, but the existing fog light wire would be the "trigger" or "switched" wire for the relay. That way there's no extra load on the existing wiring. All connections would stay under the hood. You would just need a run-of-the-mill, $10 relay. Google for that and you'll find tons of info on them.
In my opinion, I would avoid those blue Scotchlock things. They are quick and easy... but they can also quickly and easily lead to corrosion or even failed connections.
The harness I have has a relay already... could I take out the switch, and connect those leads to the pos line going to the lights? I can do plug and play stuff easily, but anything that requires trouble shooting I'm at a disadvantage!
Originally Posted by JesusV
The remote wiring came with a hard wired switch too, so you have two options for turning them on. FYI
Ohhhh, I didn't notice that... would have bought that so I could have options.
The harness I have has a relay already... could I take out the switch, and connect those leads to the pos line going to the lights? I can do plug and play stuff easily, but anything that requires trouble shooting I'm at a disadvantage!
The only possible downfall to this, that I can think of, is that "maybe" the tiny, minuscule amount of power that the relay draws from the fog light's + wire (now, also the trigger wire) is enough to make the car computer think that the fog light bulb is burnt out and you'll get a "bulb out" warning on the dash. I think that's a big maybe, though. But if that happens, just splice the fog light wire back together with an adhesive-lined butt connector (or butt connector and shrink tube) and you'll be back to normal - then continue on with your original plan. You won't do any damage and won't cause any problems down the road doing that.
The only possible downfall to this, that I can think of, is that "maybe" the tiny, minuscule amount of power that the relay draws from the fog light's + wire (now, also the trigger wire) is enough to make the car computer think that the fog light bulb is burnt out and you'll get a "bulb out" warning on the dash. I think that's a big maybe, though. But if that happens, just splice the fog light wire back together with an adhesive-lined butt connector (or butt connector and shrink tube) and you'll be back to normal - then continue on with your original plan. You won't do any damage and won't cause any problems down the road doing that.
What could go wrong, eh!!!
I think I have an option for the dash-mounted switch I'm going to run with... I can disassemble the current light switch assembly and sort of jam it in there. It's still running the wires through the firewall that is leaving me with a lack of options. Everything is jammed really tightly in the engine compartment, and behind the dash/footwell is no better.
If you kinda' watch this video backwards, you can see where I'm going to try mounting:
I think I have an option for the dash-mounted switch I'm going to run with... I can disassemble the current light switch assembly and sort of jam it in there. It's still running the wires through the firewall that is leaving me with a lack of options. Everything is jammed really tightly in the engine compartment, and behind the dash/footwell is no better.
Bit late to the party here but I've mounted my switches exactly as described here. I bought a used switch unit off ebay so i could test-fit it without consequences and was able to do it perfectly. It is tight but works. I unfortunately dont have a picture on me. Also, I ran my wires through the passenger side firewall bundle. I had to poke another hole in the big rubber grommet and it took a while to poke the wires through, but it worked. Afterwards I just ran the wires across behind the HVAC controls as i found a tight passage.
Bit late to the party here but I've mounted my switches exactly as described here. I bought a used switch unit off ebay so i could test-fit it without consequences and was able to do it perfectly. It is tight but works. I unfortunately dont have a picture on me. Also, I ran my wires through the passenger side firewall bundle. I had to poke another hole in the big rubber grommet and it took a while to poke the wires through, but it worked. Afterwards I just ran the wires across behind the HVAC controls as i found a tight passage.
Better late than never!!! I did a quick look-around on the passenger side, as I figure there is a grommet there for the auxiliary fuse panel, but couldn't find it. I pulled off the air cleaner cover, and no luck. Where approximately does it go through at?
It occurred to me this morning that since your kit already has stripped leads (based on your pic) you 'could' just remove one of the fog bulbs (or any 12v bulb) and insert the corresponding lead into the positive and negative receptacles on the bulb socket; then test the lights with the factory switch (of course, make sure that the switch on the cable is also in the on position).
This would be the least intrusive approach. Would not make any changes to your vehicle's wiring. And would provide a solid indication as to whether tapping the wires would present any additional challenges.
Better late than never!!! I did a quick look-around on the passenger side, as I figure there is a grommet there for the auxiliary fuse panel, but couldn't find it. I pulled off the air cleaner cover, and no luck. Where approximately does it go through at?
I�ll have to pop the hood and take a picture. But it�s in the compartment behind the passenger wheel all the way down on the firewall.
Side note on using fog light switch for the lights - you can�t use high beams and fog lights at the same time. Kind of defeats the purpose as when you use auxiliary lights you in theory would want as much light as possible on the road which would mean you would likely use high beams as well. Just a thought to consider.
This is is what I did to my switch. I used the Rigid provided switches which are a bit brute but it works for now. I may change them to something more sleek in the future. Note - the second switch is for backup lights.
I may as well post my setup in this thread. I used the Rigid provided brackets and large self tapping screws to drill into the aluminum bumper beam. Turned out to be a very solid setup.
Bimmer, good point about fog lights vs high beams. Actually, come to think of it, when I added fog lights and rear flood lights to my old diesel Suburban - that's the way I did it... direct to the battery with a relay and a separate switch in the cab. Forgot about that till I saw your post!
I�ll have to pop the hood and take a picture. But it�s in the compartment behind the passenger wheel all the way down on the firewall.
Side note on using fog light switch for the lights - you can�t use high beams and fog lights at the same time. Kind of defeats the purpose as when you use auxiliary lights you in theory would want as much light as possible on the road which would mean you would likely use high beams as well. Just a thought to consider.
This is is what I did to my switch. I used the Rigid provided switches which are a bit brute but it works for now. I may change them to something more sleek in the future. Note - the second switch is for backup lights.
Thanks for the info! I may try to tack this now. I have the hard wired switch that came with my wireless setup, but I don't like the button it came with. For now I only have the remote to turn on and change the settings (strobe, sos, etc.), a hardwired button would be ideal.
@StradaRedlands The grommet with the wire harness going into the cabin is on passenger side below/behind the interior air intake pictured below. You have to take it apart to get to the grommet. It�s not hard to do and you may as well change the interior cabin filter while you are at it. Inside the cabin you will have to take the bottom trim off below the glove box to access the grommet. You may have to feel it by hand behind the HVAC fan assembly. Hope this helps.
@StradaRedlands The grommet with the wire harness going into the cabin is on passenger side below/behind the interior air intake pictured below. You have to take it apart to get to the grommet. It�s not hard to do and you may as well change the interior cabin filter while you are at it. Inside the cabin you will have to take the bottom trim off below the glove box to access the grommet. You may have to feel it by hand behind the HVAC fan assembly. Hope this helps.
Thanks, Bimmer. I figured there was something around there, but only pulled the cover off, not the entire housing. Looks like this is going to be my Sunday project!!!
 10-16-2019, 07:11 PM


 I did a quick look-around on the passenger side, as I figure there is a grommet there for the auxiliary fuse panel, but couldn't find it. I pulled off the air cleaner cover, and no luck. Where approximately does it go through at?