When you click on links to various merchants on this site and make a purchase, this can result in this site earning a commission. Affiliate programs and affiliations include, but are not limited to, the eBay Partner Network.
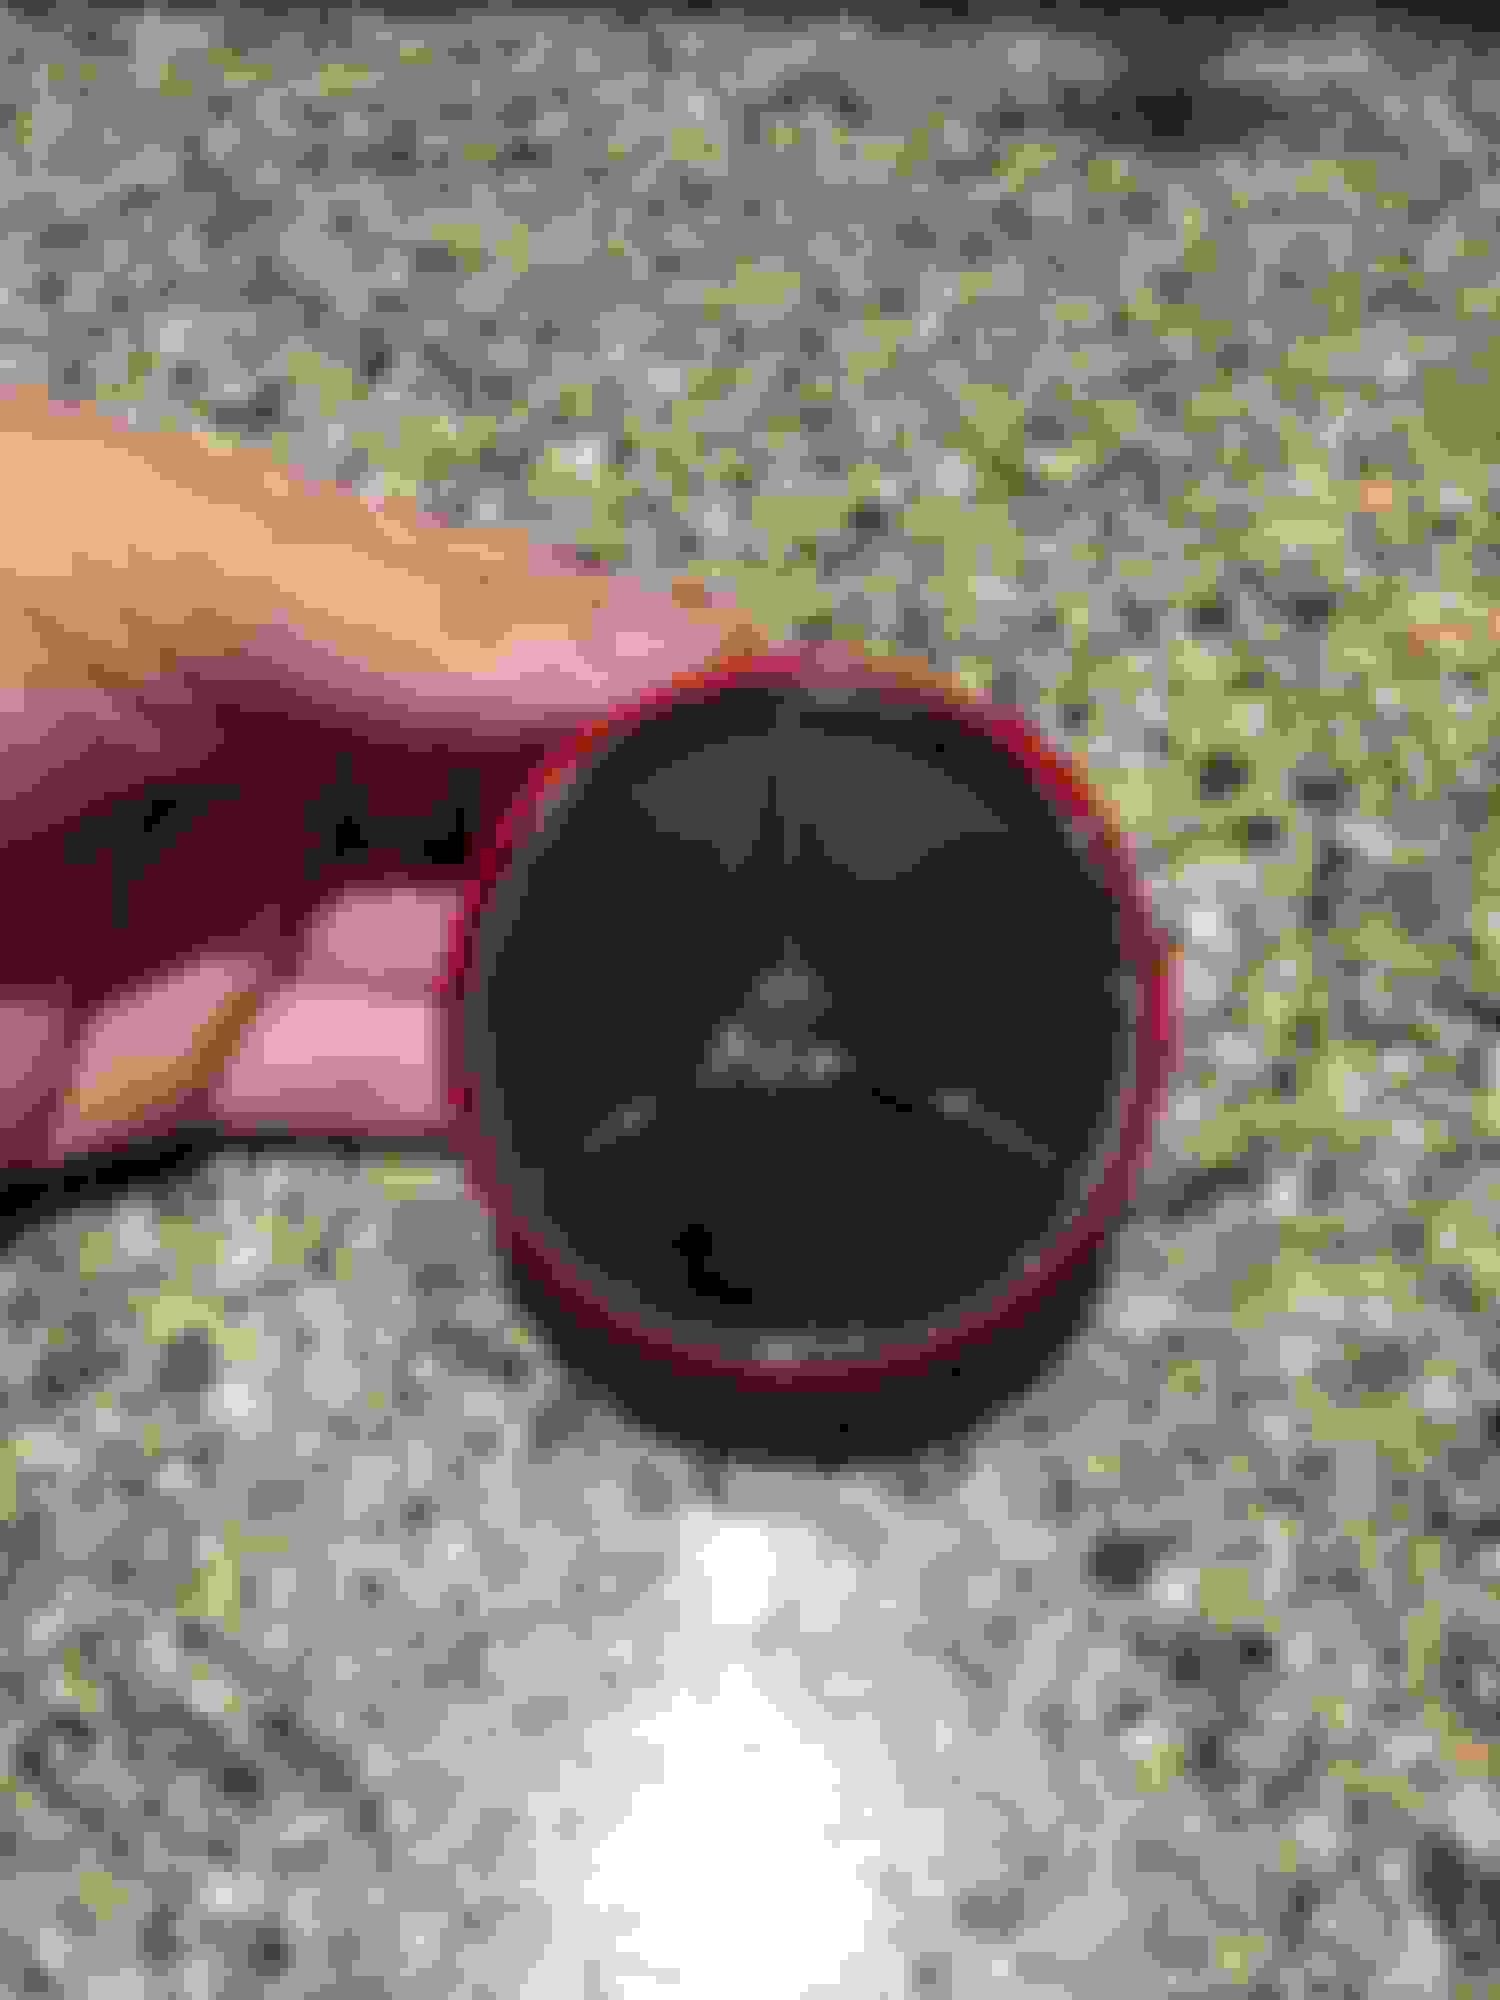
I have the black hood emblem and the black version of the blue wheel caps. I ordered them from a mercedes OEM online parts store.
If the new GLS has them all I need is the part number.
Originally Posted by black06c230
That I'm not sure of but told the new GLS has silver pins so that should be an option and likely the same length that you are looking for. I may ask my friend who sourced me the new black hood emblem to hook me up.
It's great being close to the factory and having friends who work there who can tear the care down so easily too.
I'm keen to have the window de-chrome, front grille slats wrap, bumper trim wrap and interior wrap like you did, on my GL63, looks so much nicer for my personal preference.
Did you see them do the front grille slats, do they need to pull the whole grille out, I have the radar cruise and read somewhere it needs to be re-calibrated after refit so Im concerned about having the extra cost of that after having a wrap done on the front grille?
Also, did you watch them do the bumper trims, do the bumpers have to come off or can they remove the trims separately to wrap and refit?
The work will be done by a professional company but I want to know whats required before I hand over the keys.
Thanks and nice ride
I did all the vinyl wrapping myself but it was a pain (grill and front/rear lip) the interior was rather easy and would gladly do again over any of the tough areas. I'm clearly not a pro but it works for me now.
The grill pulls away from the front bumper with just a few clips, some you press up and some down. I have some pics I will upload soon. Then there are the slats "covers", 2 on each side. I left them on but should I ever need to wrap again I would like separate. Again since I'm not a pro and not sure many pros would use a solid sheet I did it in sections. My friend who is must more of a pro liked my attempt and gave me pointers on making better seams.
As for re-calibrating the Distronic puck, no need. I have never had a problem on my E or now the GL.
The front lower trim can be removed I think from the bumper without taking the bumper off, just doesn't look easy. I left it on and again not a pro but the visual parts look fine but the underside could be better. I will ask my friend from the plant to show how to quickly remove it or I will see myself when he comes to help me take the front bumper off to access the headlights so I can swap the lens inside.
Those tips look awesome. And the carbon Fiber defuser looks great. However, if you wanted an AMG... Well you know the rest.
Yes having an E55 putting down 521hp and 668tq I know if I want an AMG to get an AMG. My E is done right to be fast.
However as this is my girls car and not mine she picked the 550. Reasons; $20k less, didn't feel any real performance diff between 550/63; and so 550 practically the same car all around.
Adding the exhaust tips to me is fine as it has AMG everything else on the exterior. Not trying to be a 63 but will be just as quick esp with downpipes and tune. Just cheaper.
My girl really wanted the AMG tips on her 550 and pricing it out seemed a little nuts, kit on eBay is $1400. So I looked around and came up with this set of parts for much less. I originally ordered the OEM parts from parts.com but long story there, yeah don't as they will jack the shipping cost to $200 and you have to confirm the increase is okay. That's great but I confirmed 2x and parts never shipped delaying me. So parts there are cheaper a bit but not after shipping and the headache. So I ordered from M5 Motors.
HOW TO:
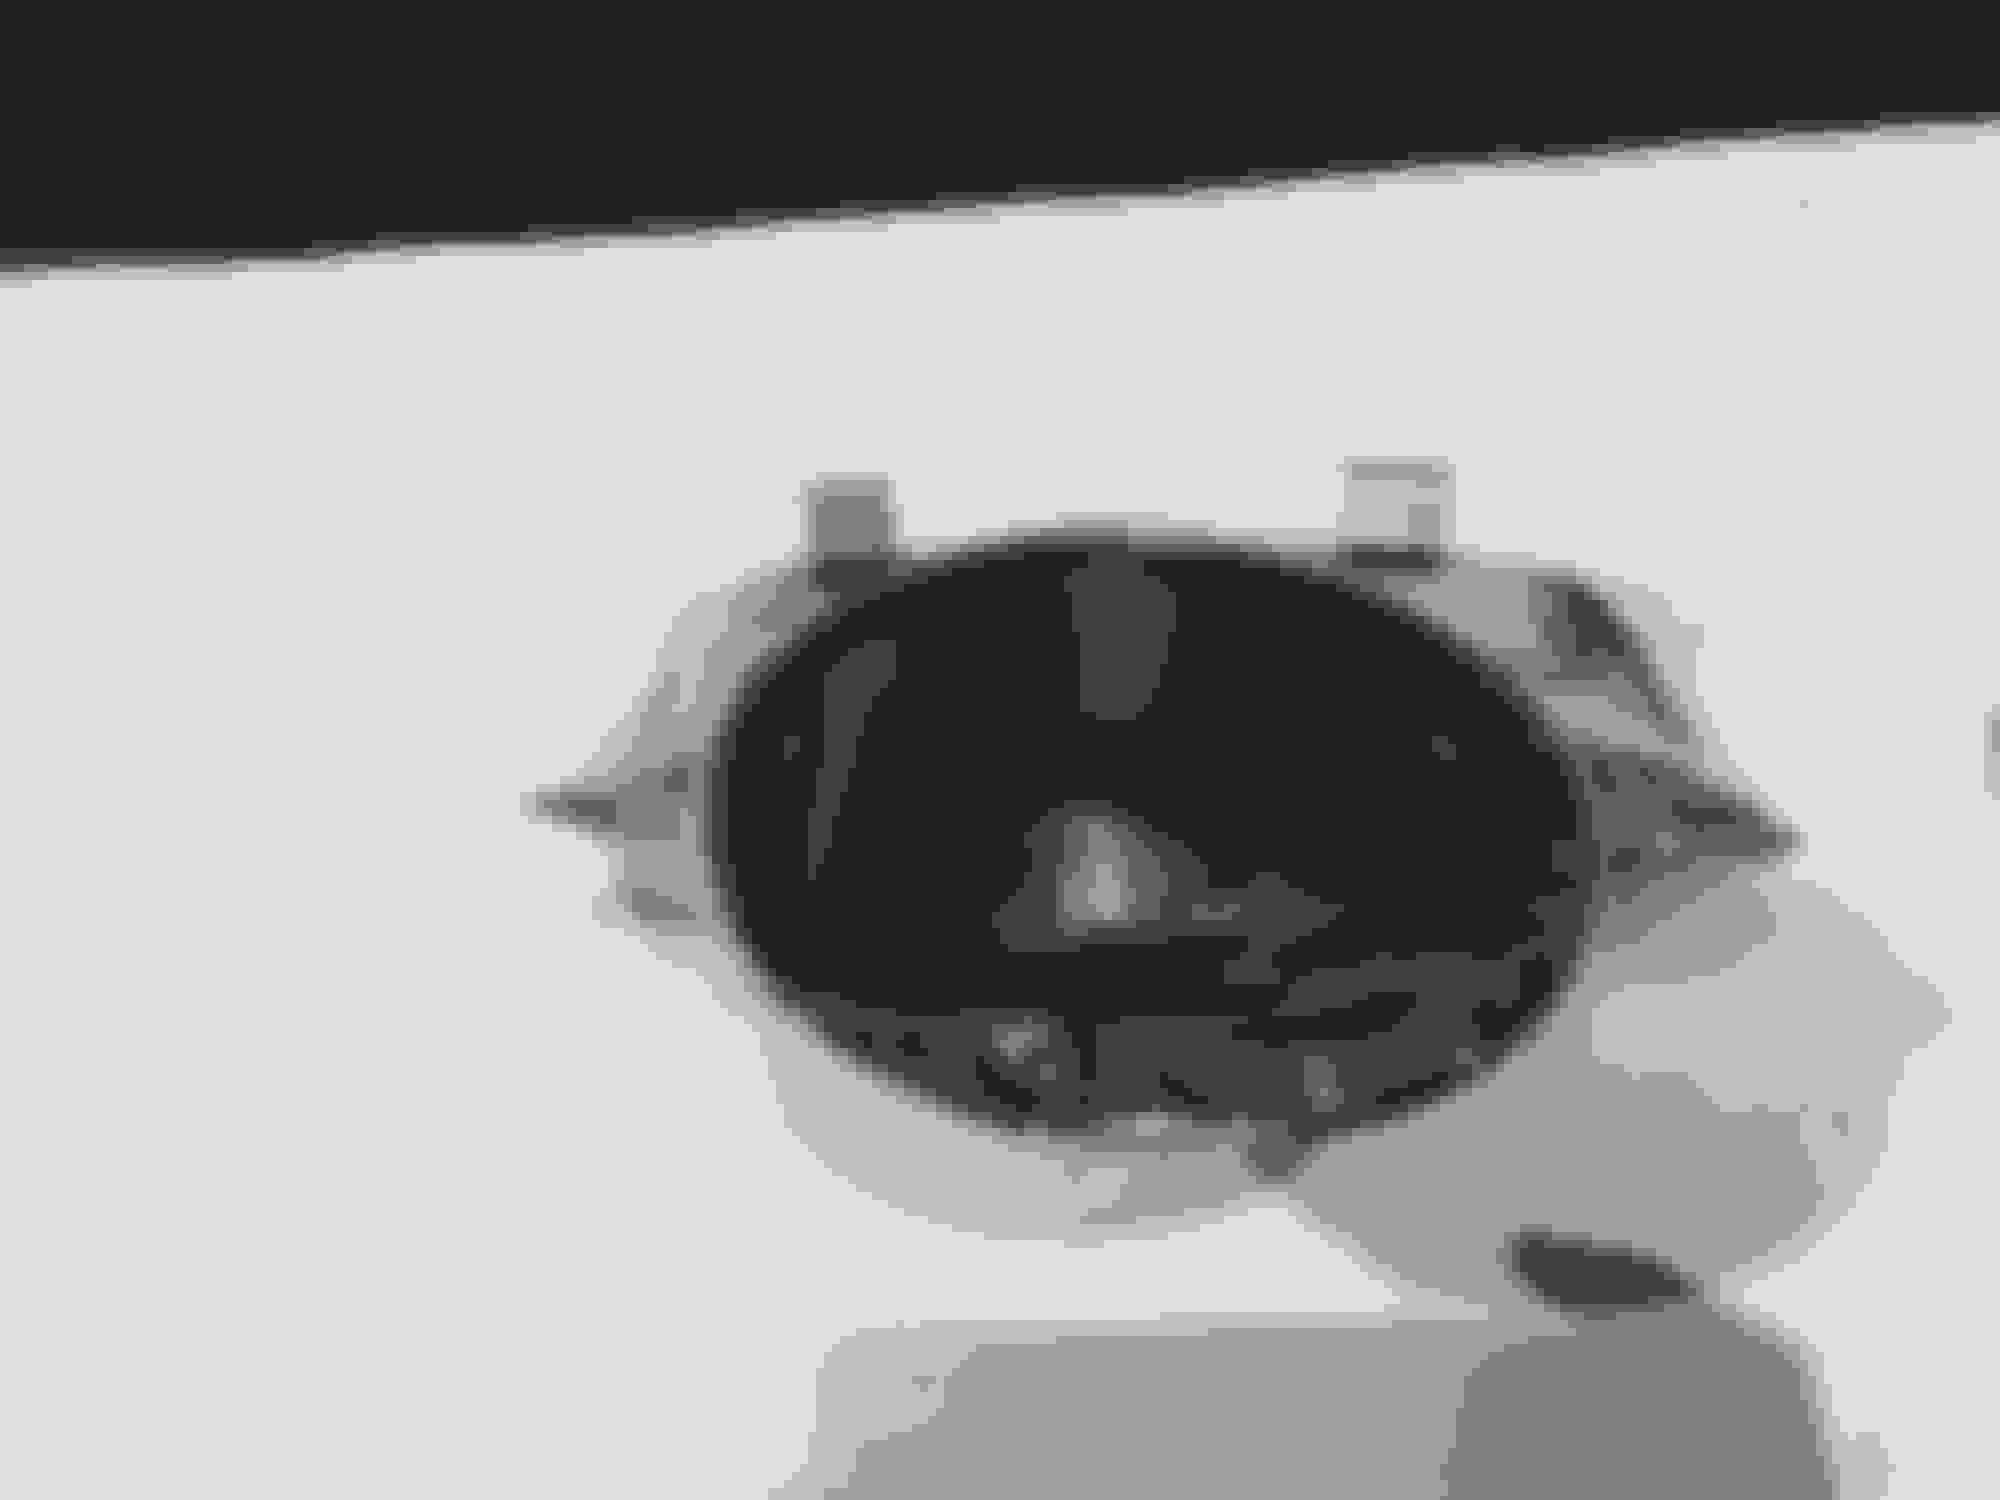
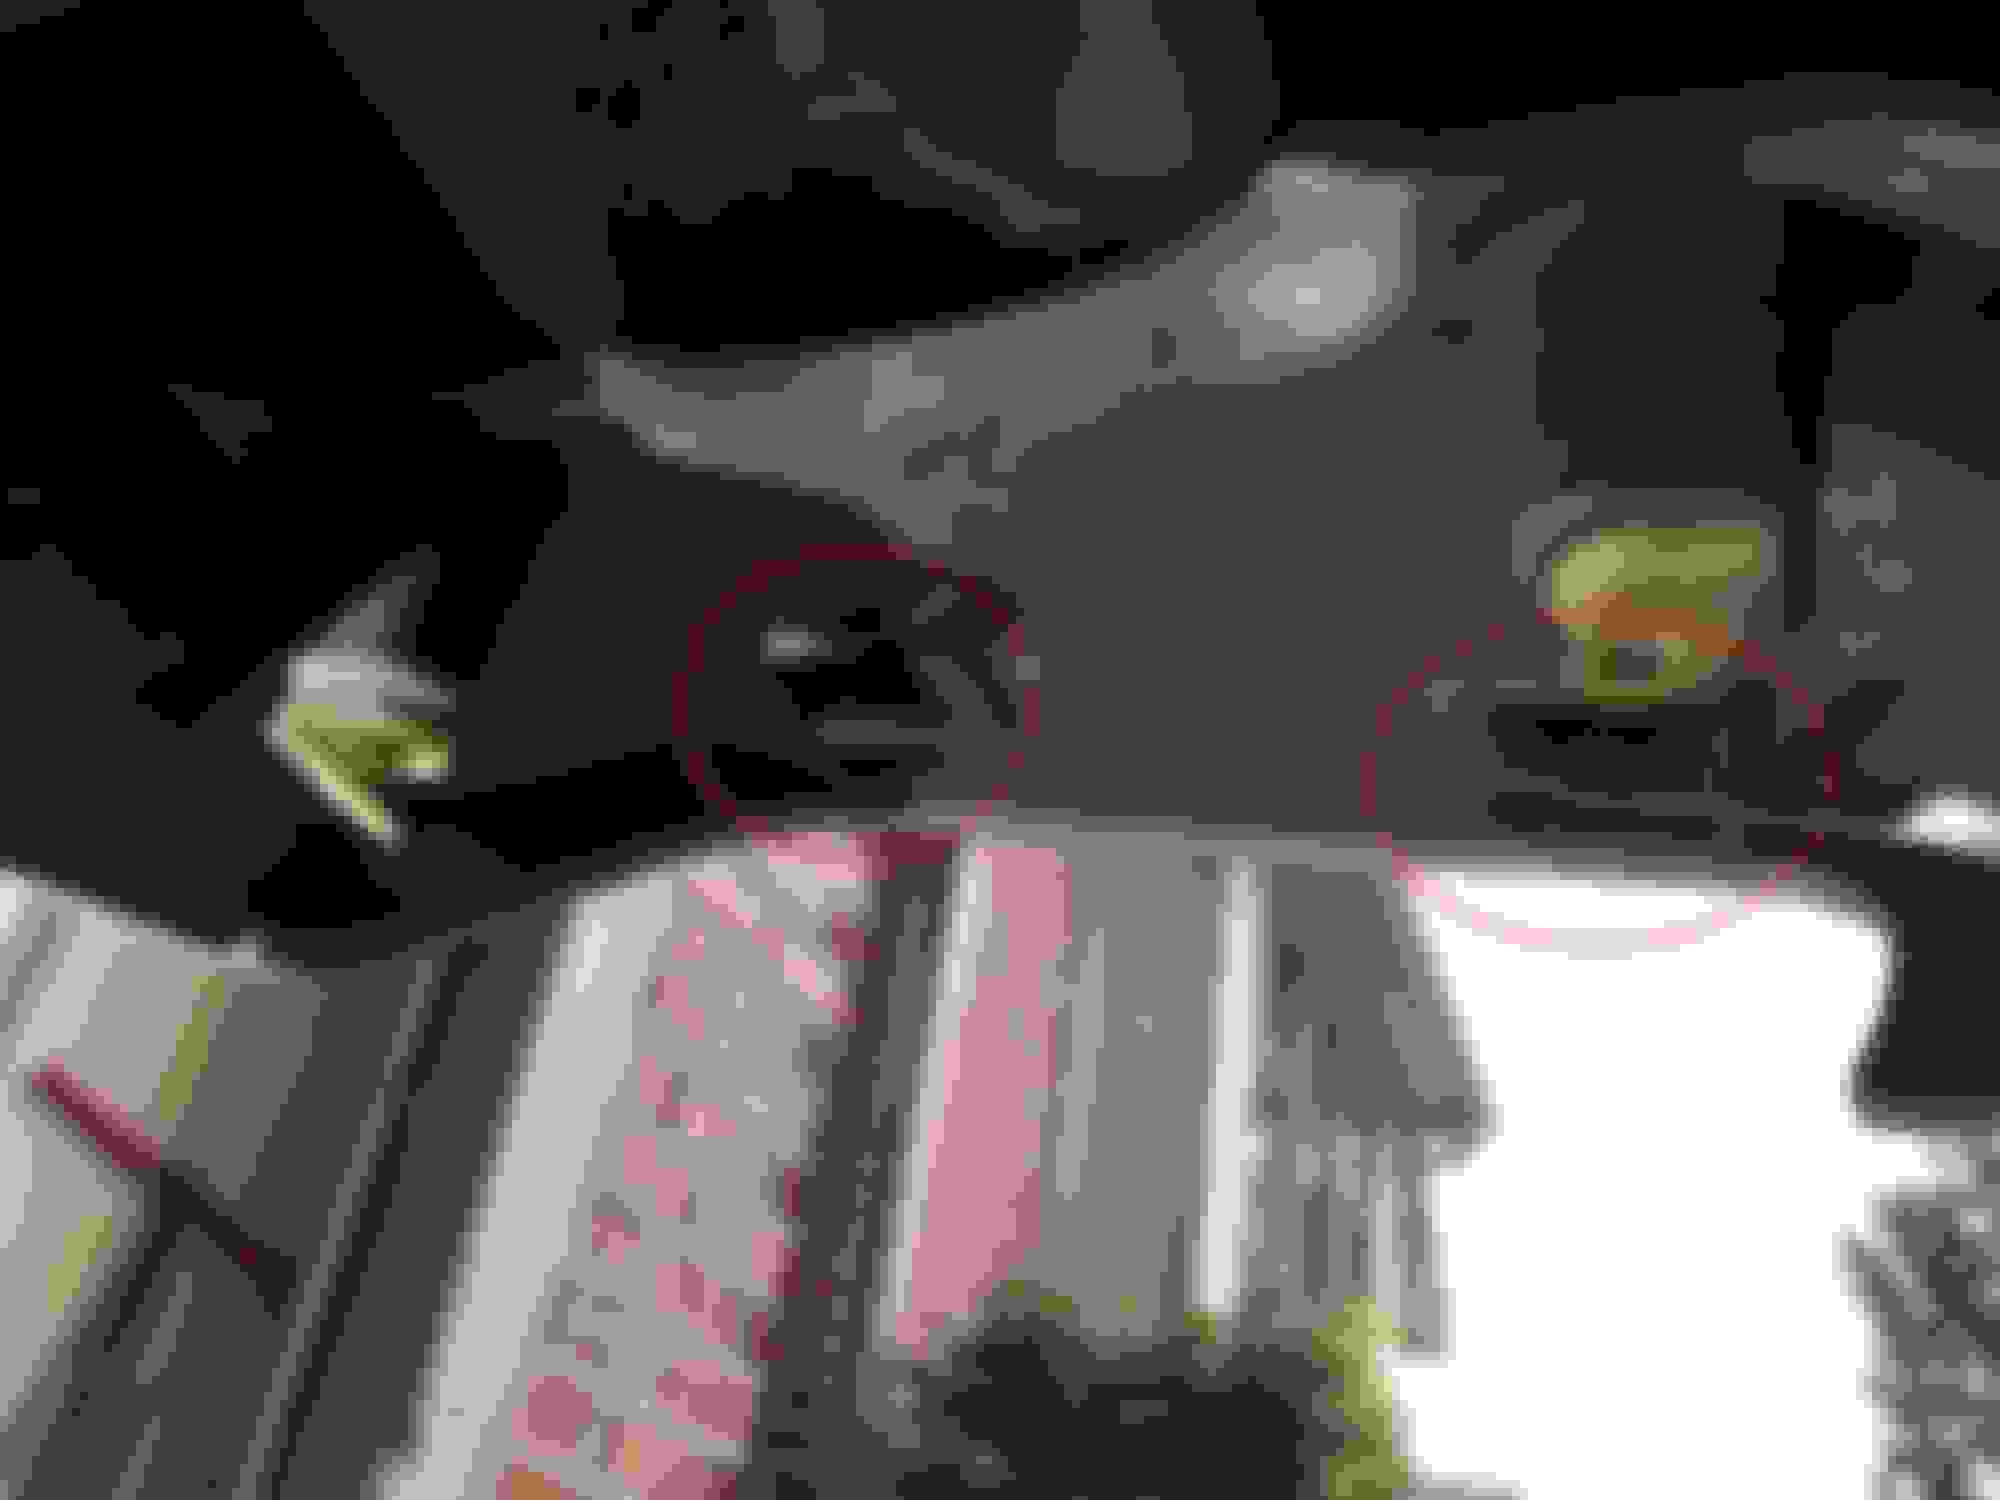
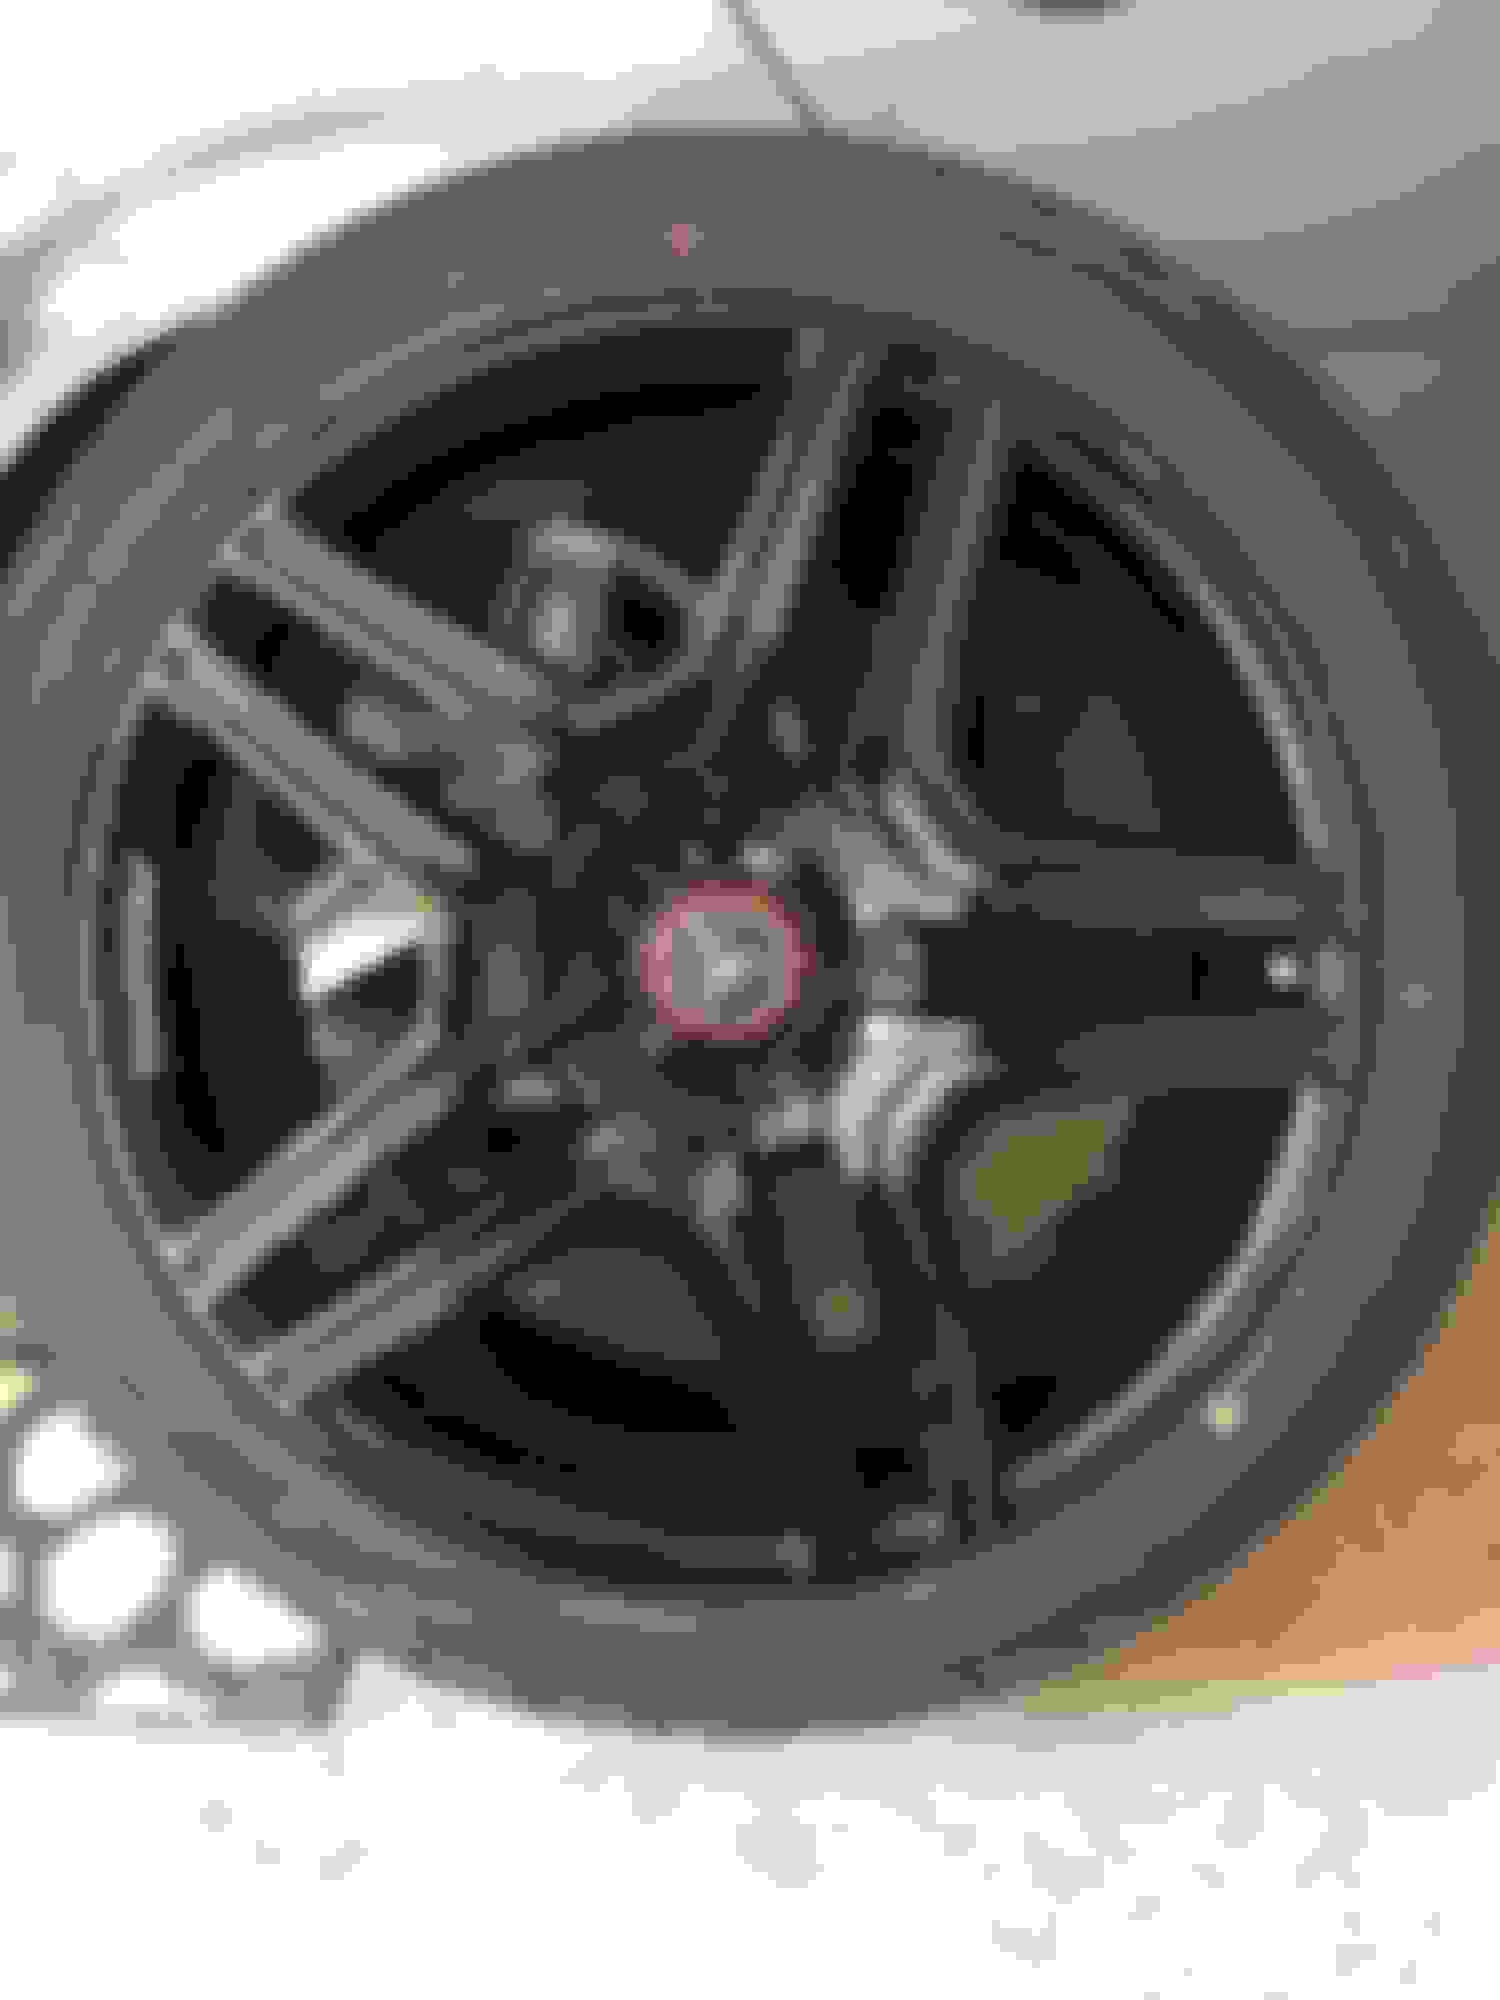
1. Remove the exhaust tips using T20, remove the 2 screws circled in red. Then push towards front of the car and remove.
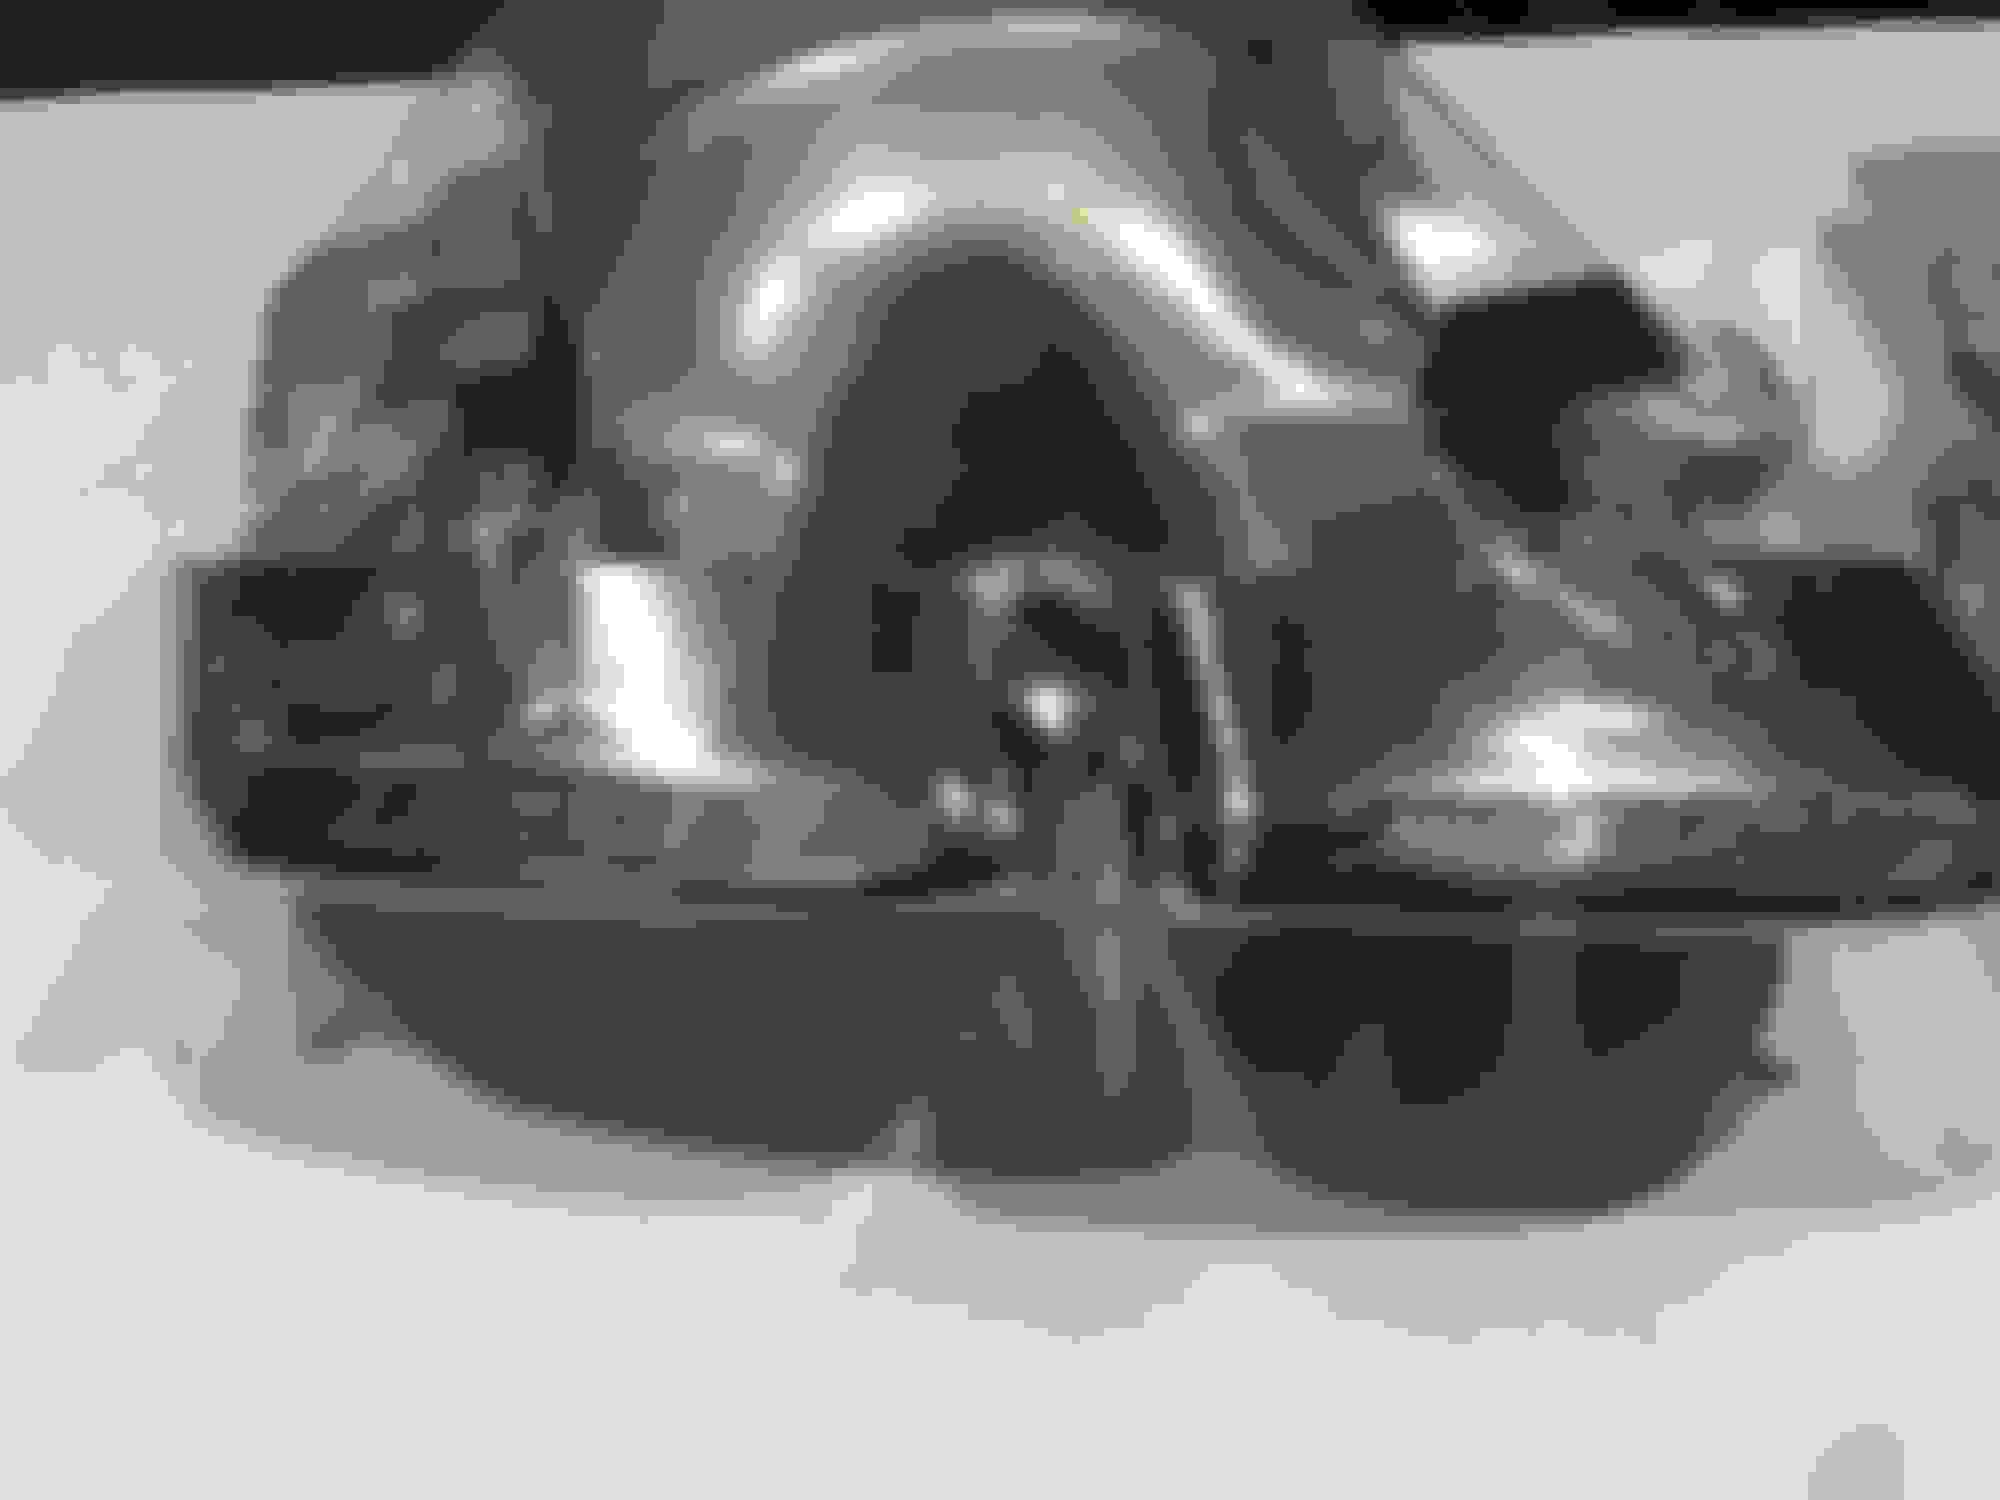
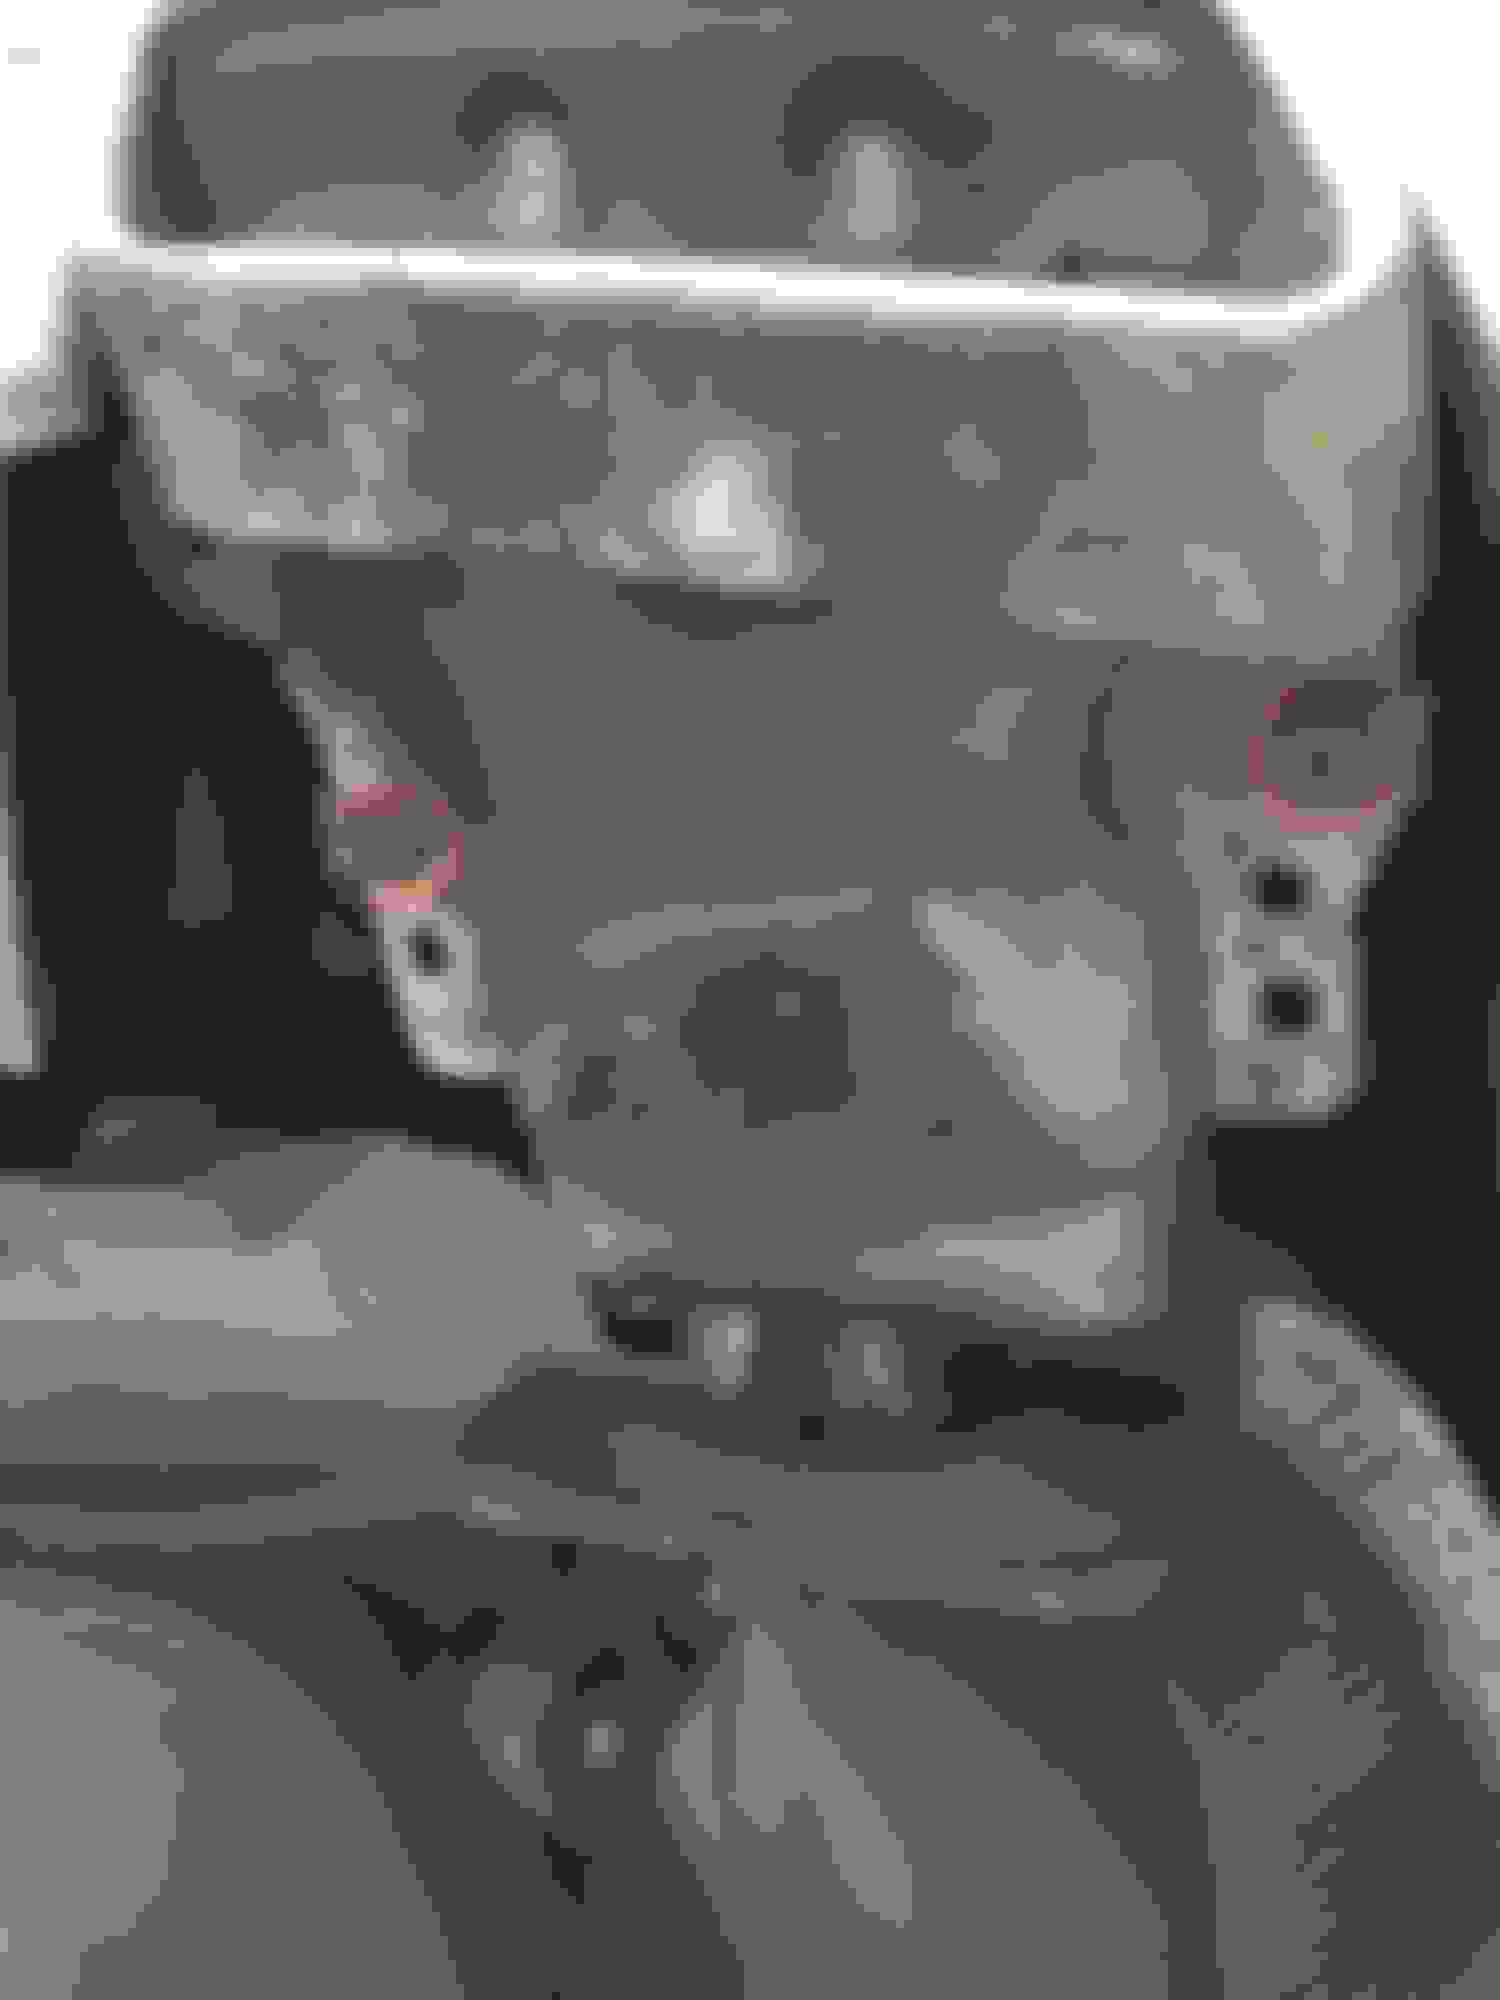
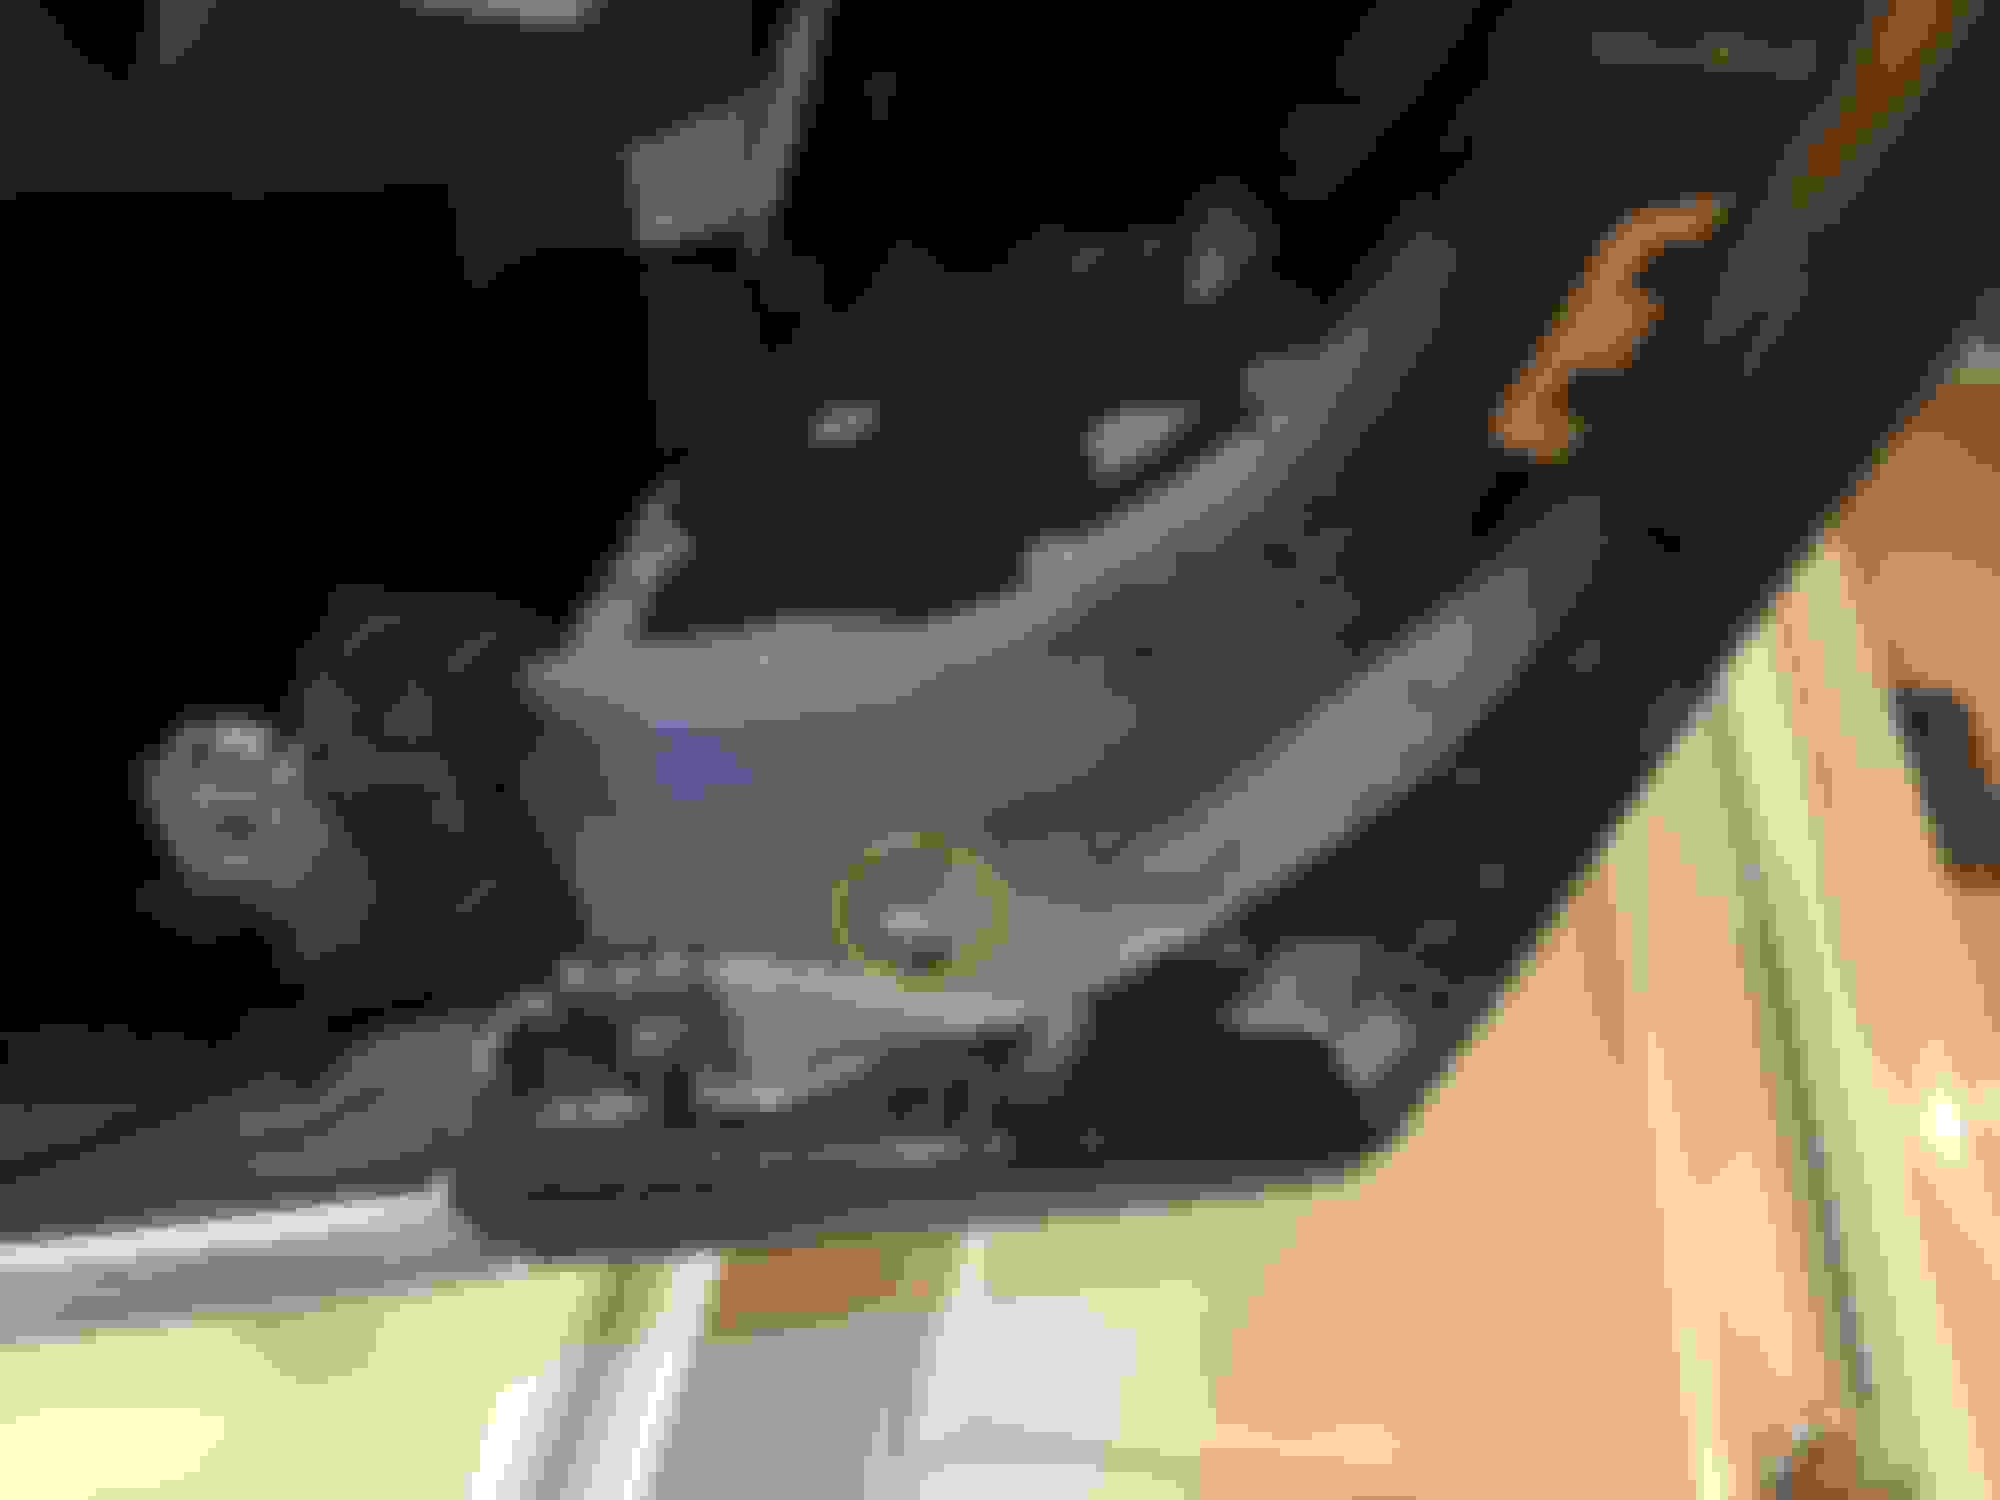
2. Then work to remove the heat shield bracket. Remove the 10mm bolts along the rear to the left/right of hitch area. Easy to spot and likely tabs broken.
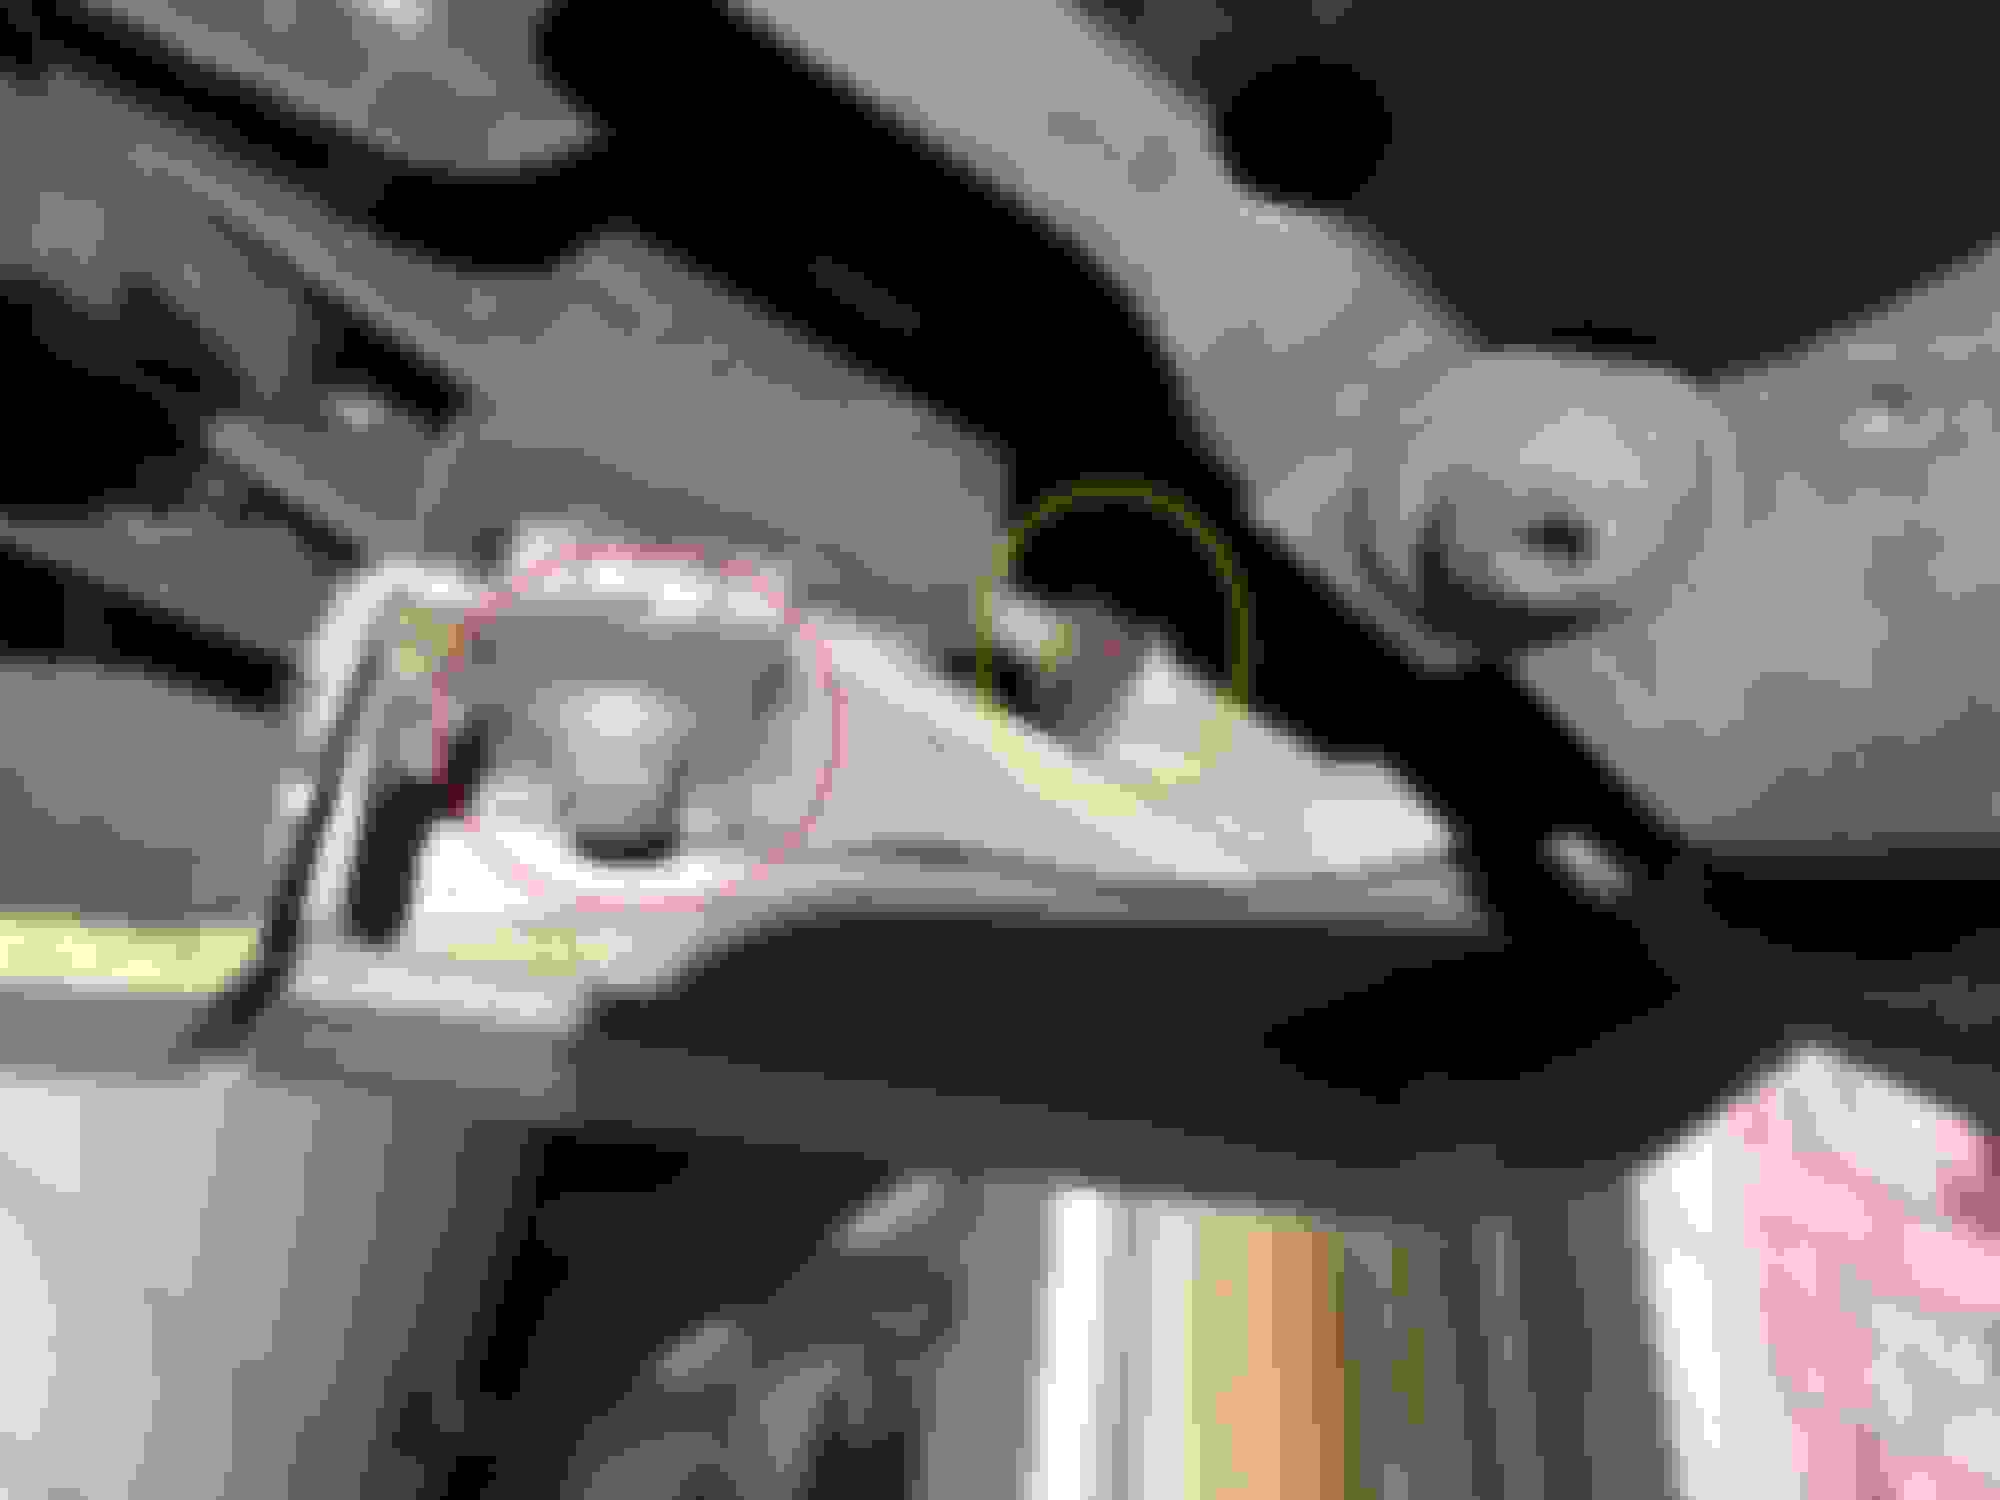
3a. There are then 5 more 10mm bolts to remove, look at new bracket to know location. There is one you will need a socket ext for and will likely need to clean out the dirt and crap built up to get too. A few pics the RED ones are easy the YELLOW a *****!!!
3b. The YELLOW pain "nuts" are visibile here but better to go up top to use the ratcheting wrench, use 10mm. Can easily pull the valance down to gain access.
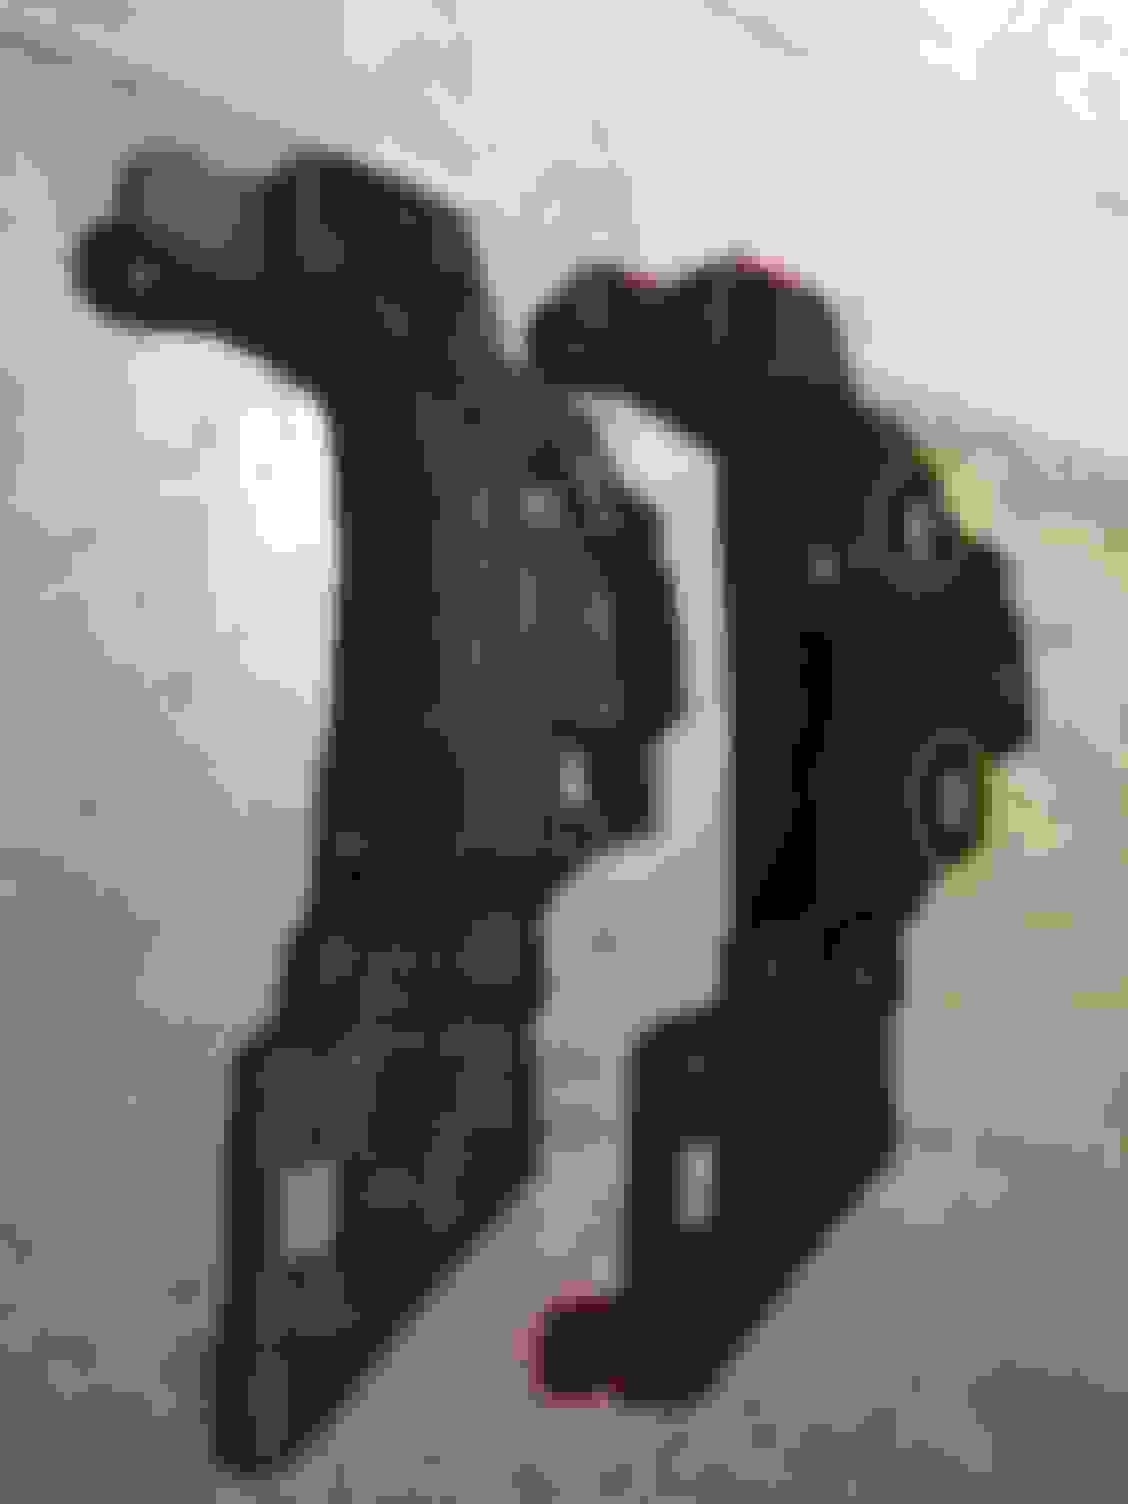
4. Remove bracket.
5. You can now reach the other YELLOW pain nut off the valance.
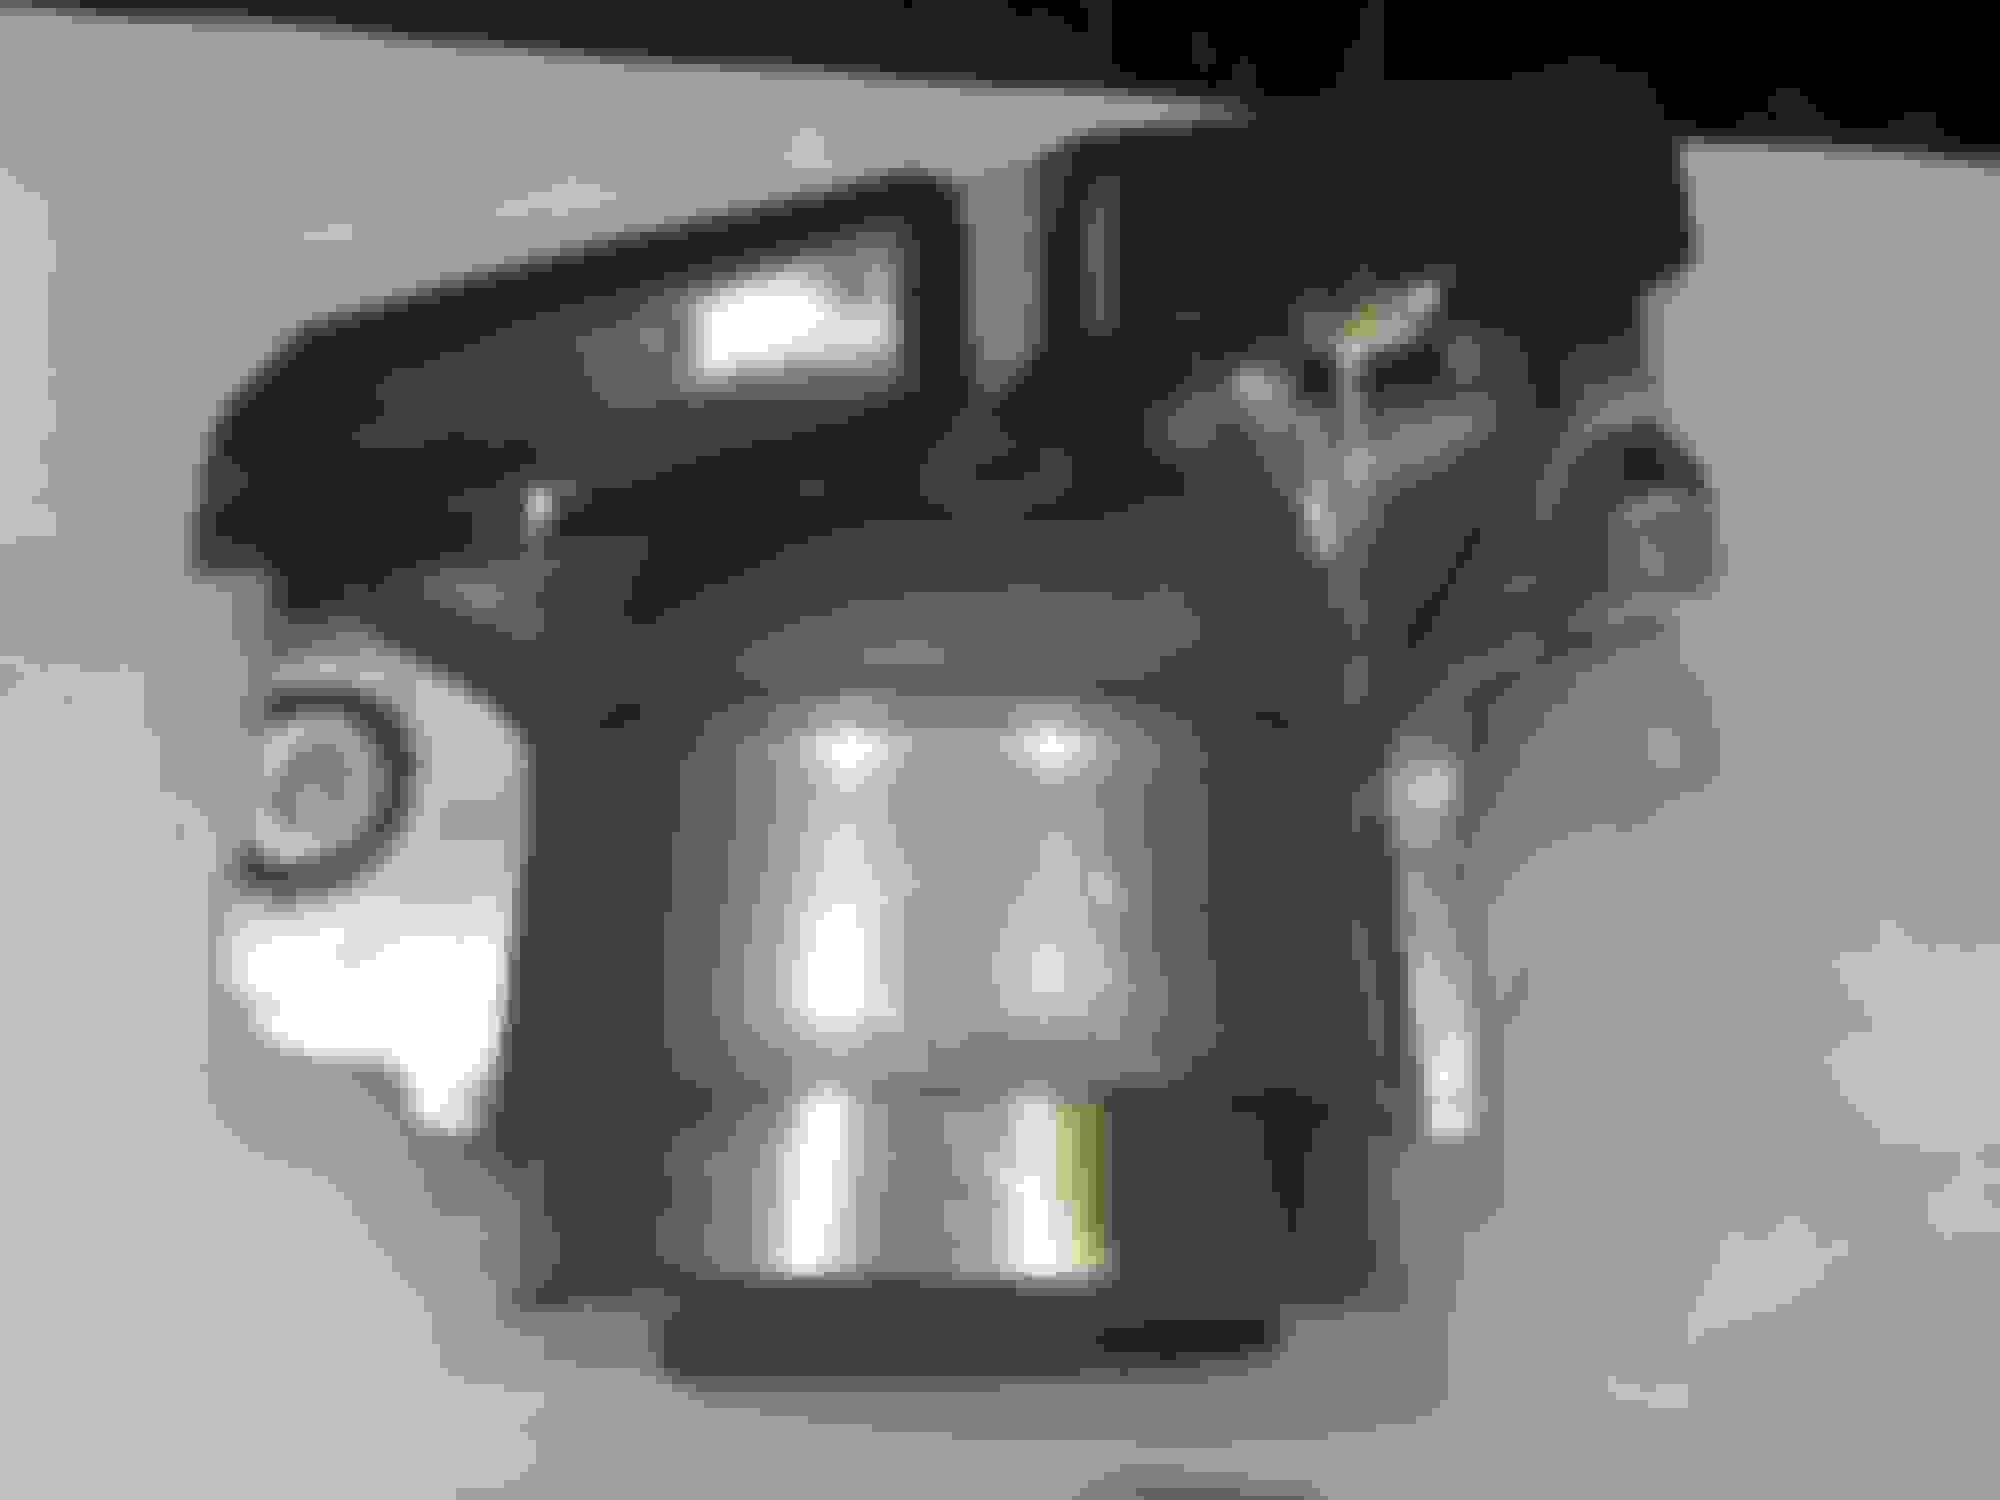
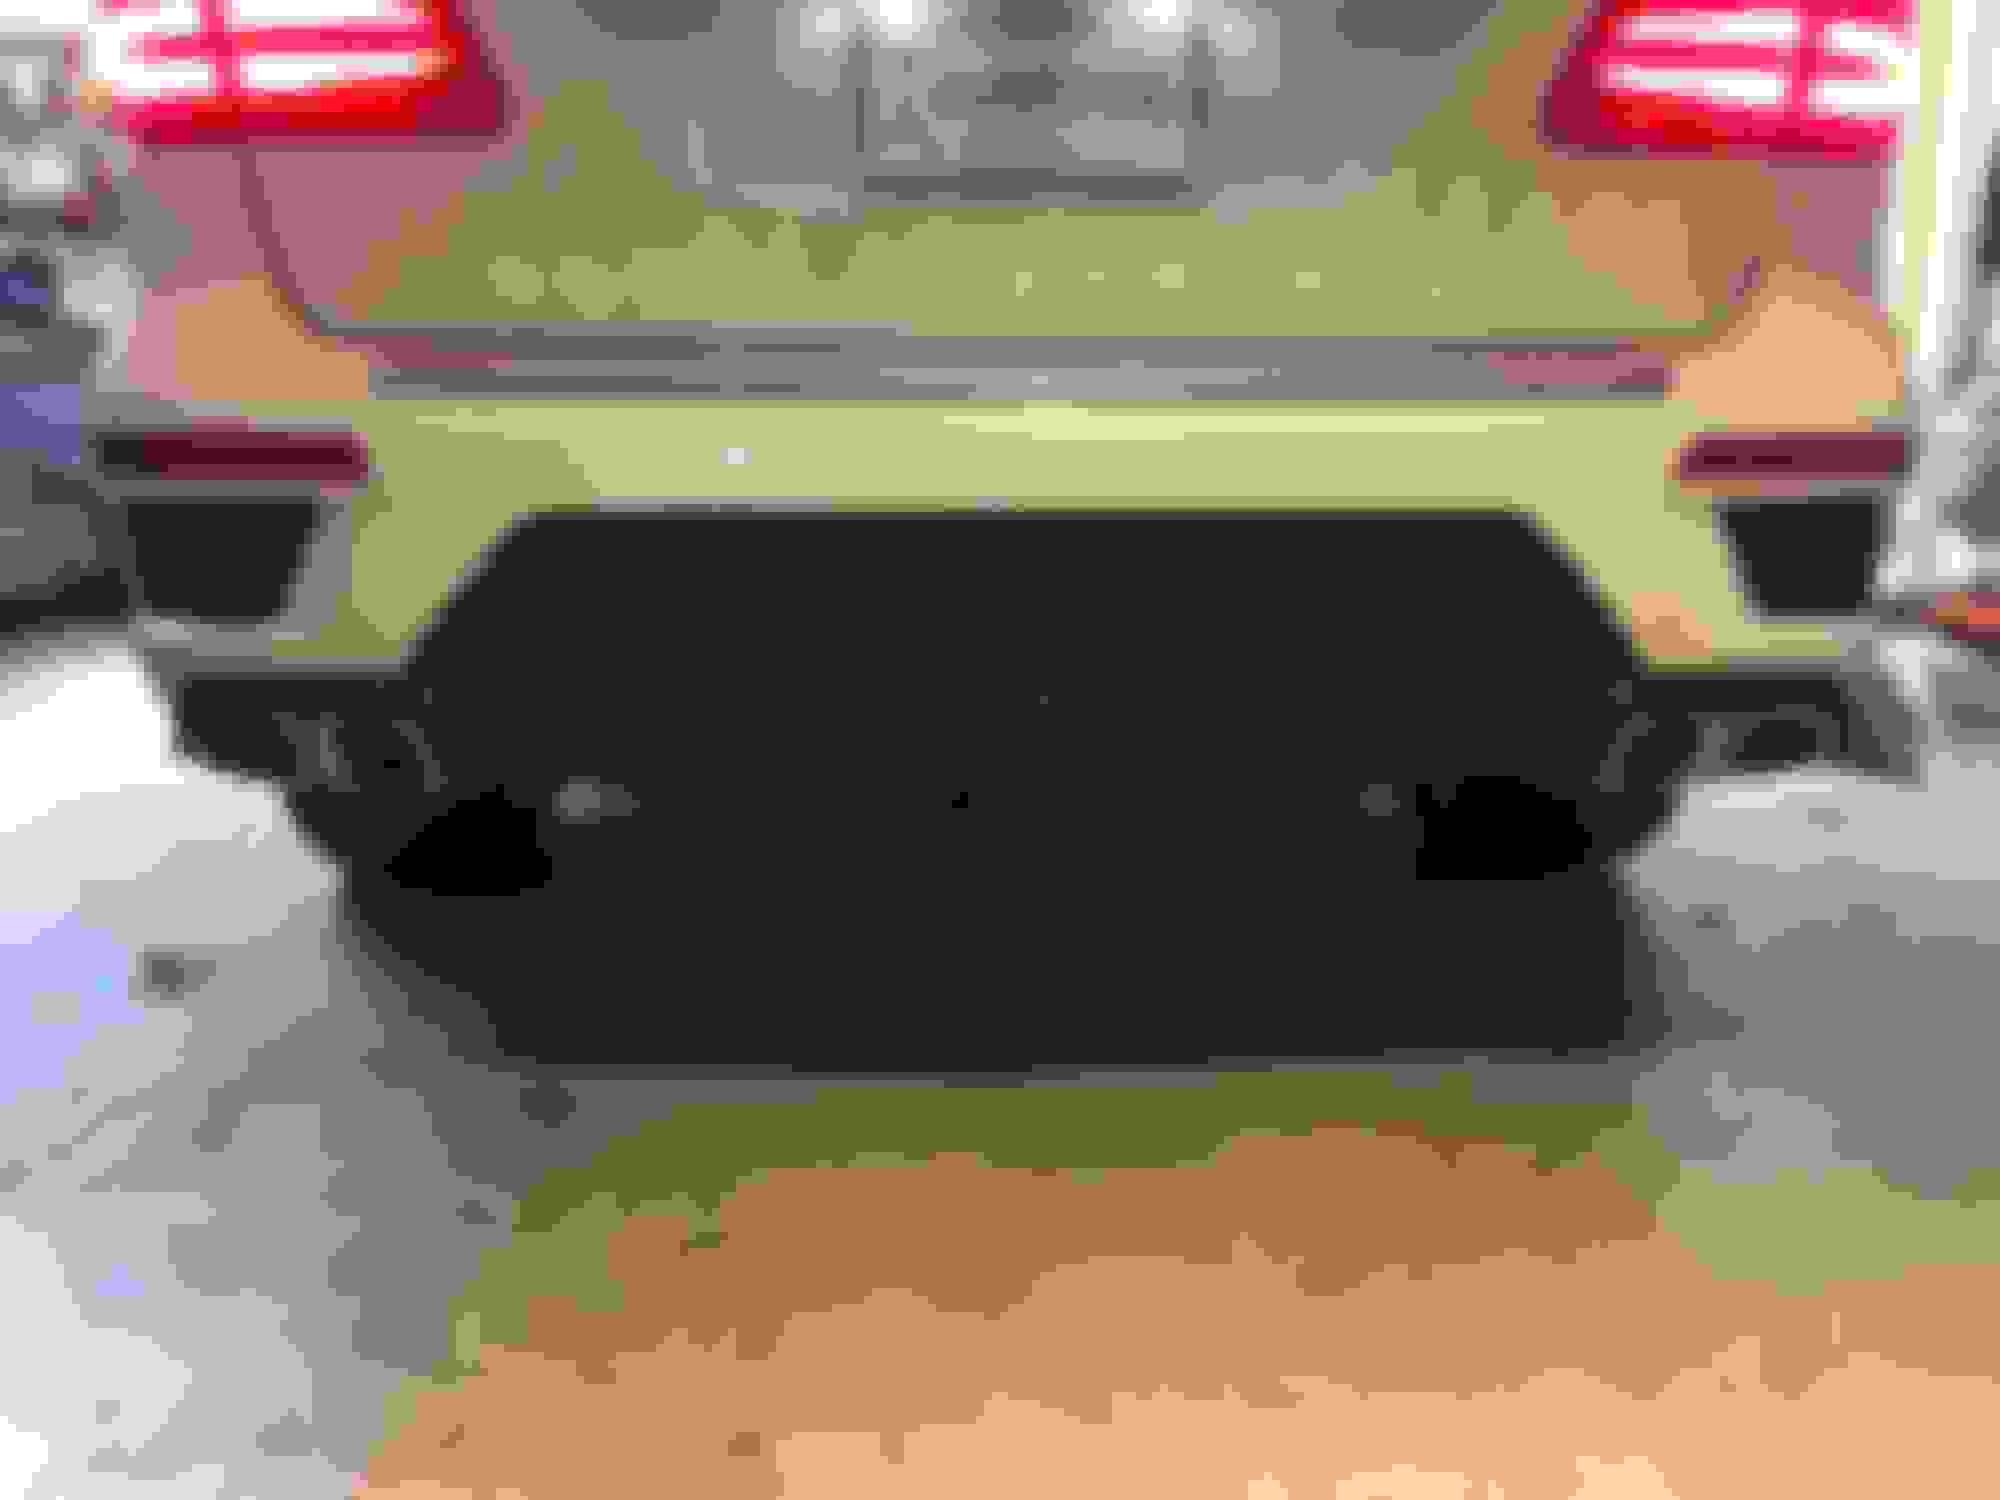
Before removing bracket
After removing bracket
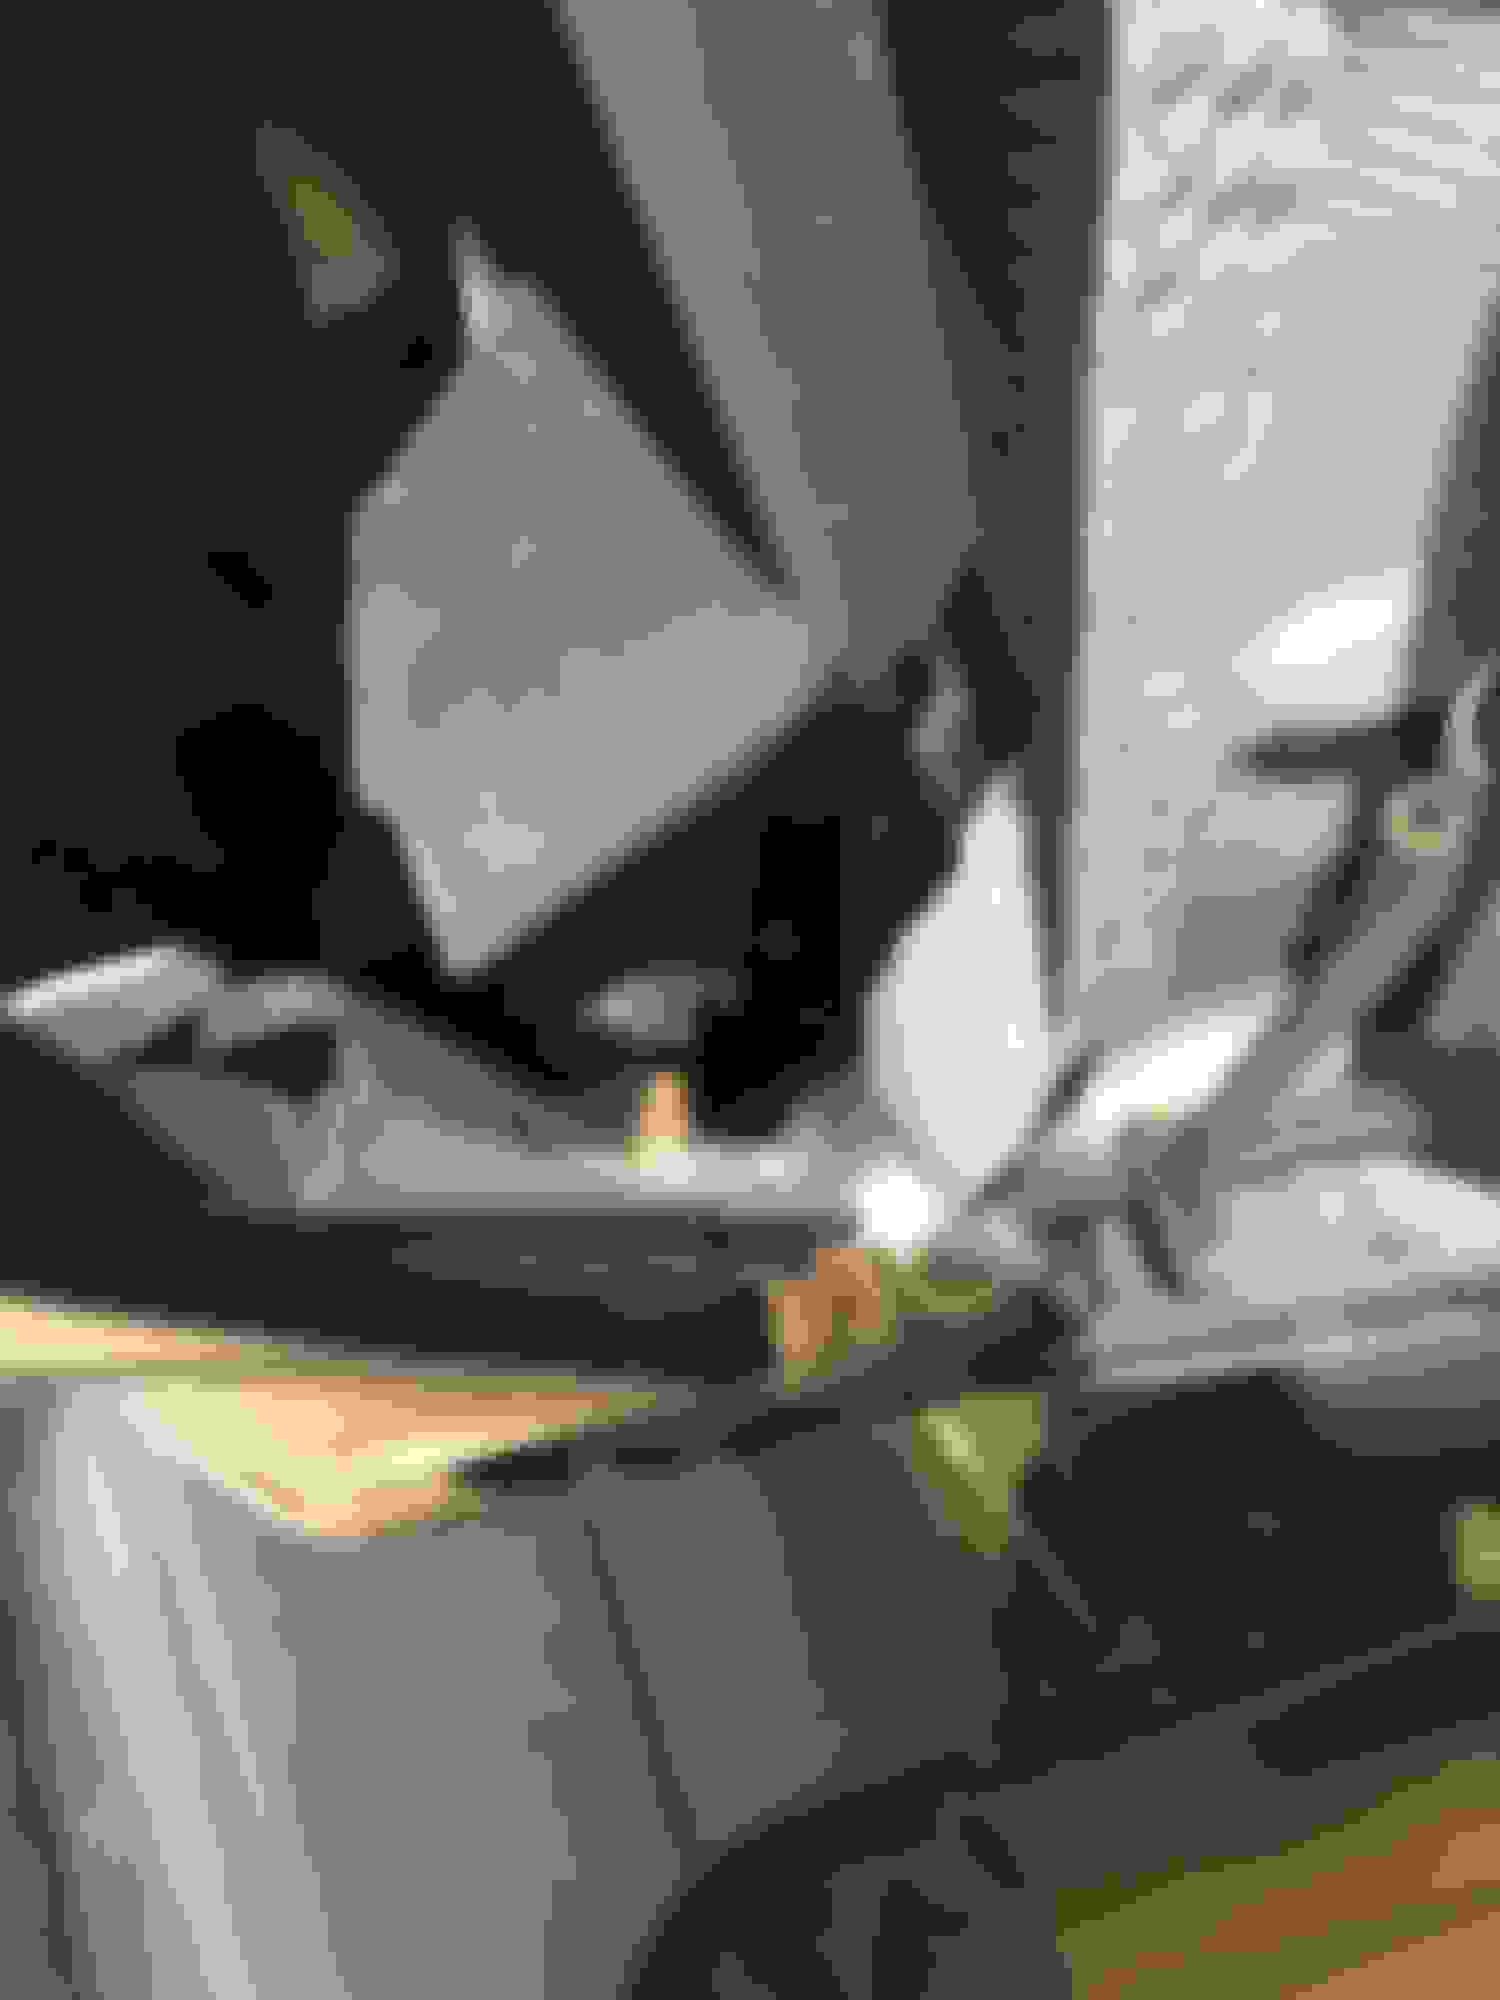
RED bolt, use socket ext to access after clearing out dirt and crap.
6. After that there are 5 T20 screws along the valance, See new one for location, easy to get to but use a stubby ratcheting screw driver to make it easy. Sorry no pics. Then simply pull off starting from the side, there are other push clips but a little force will pop it loose.
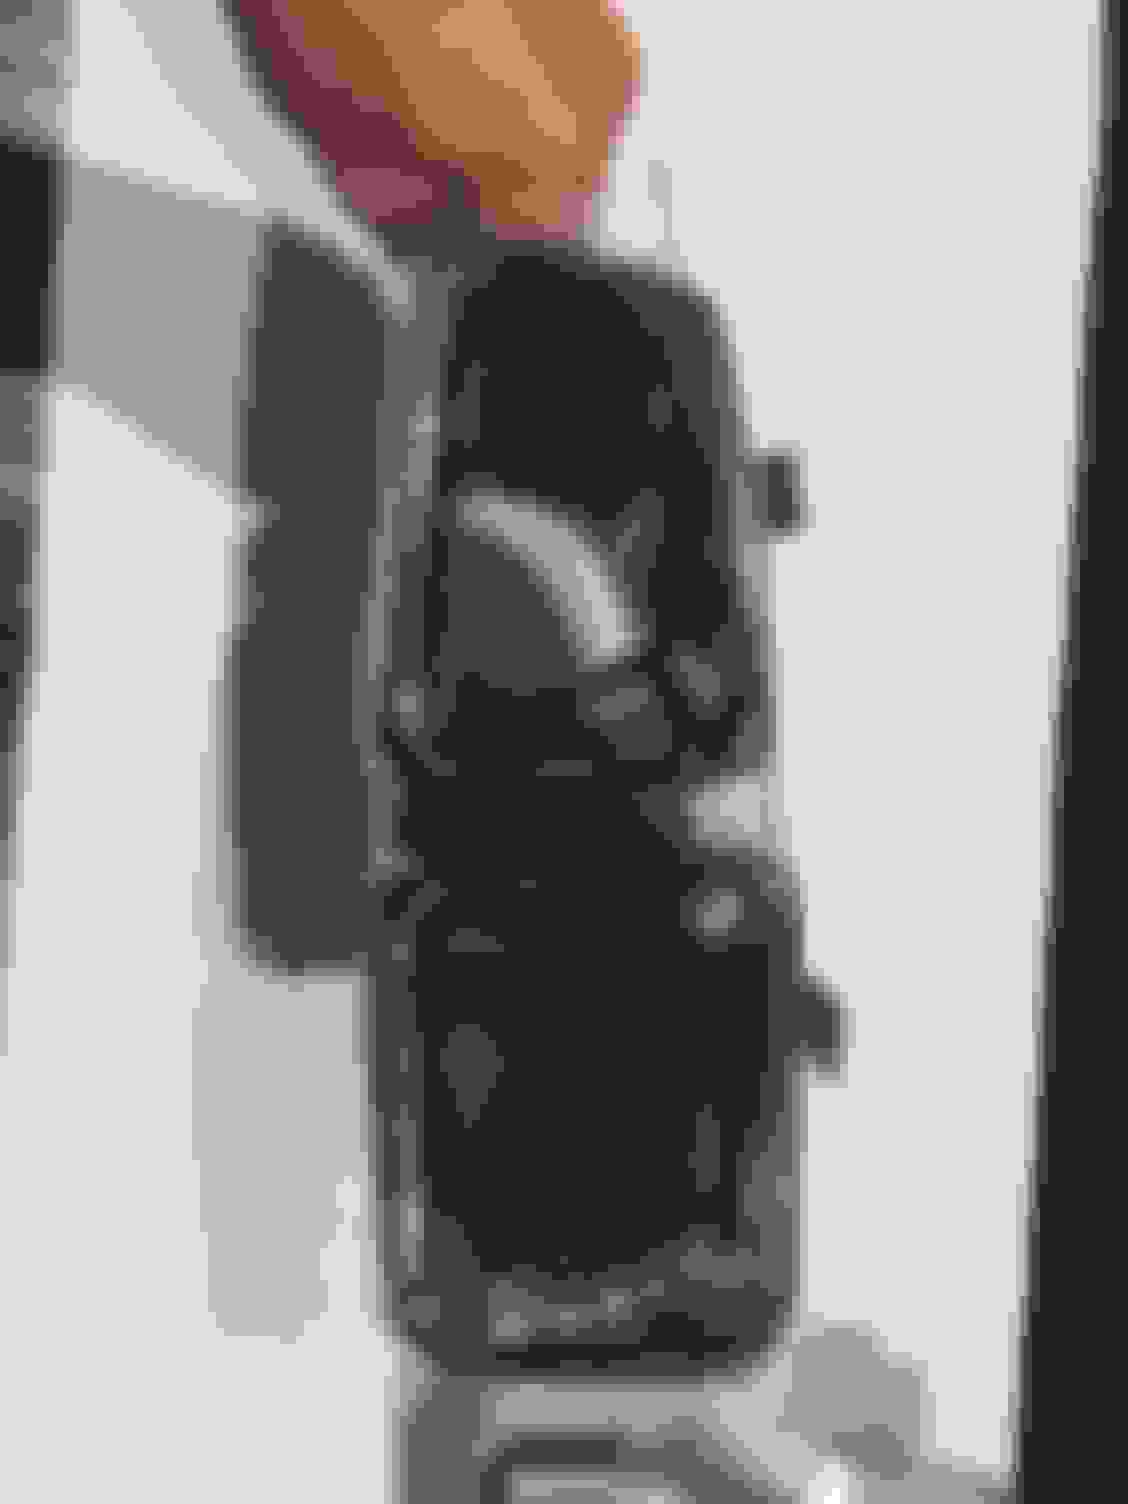
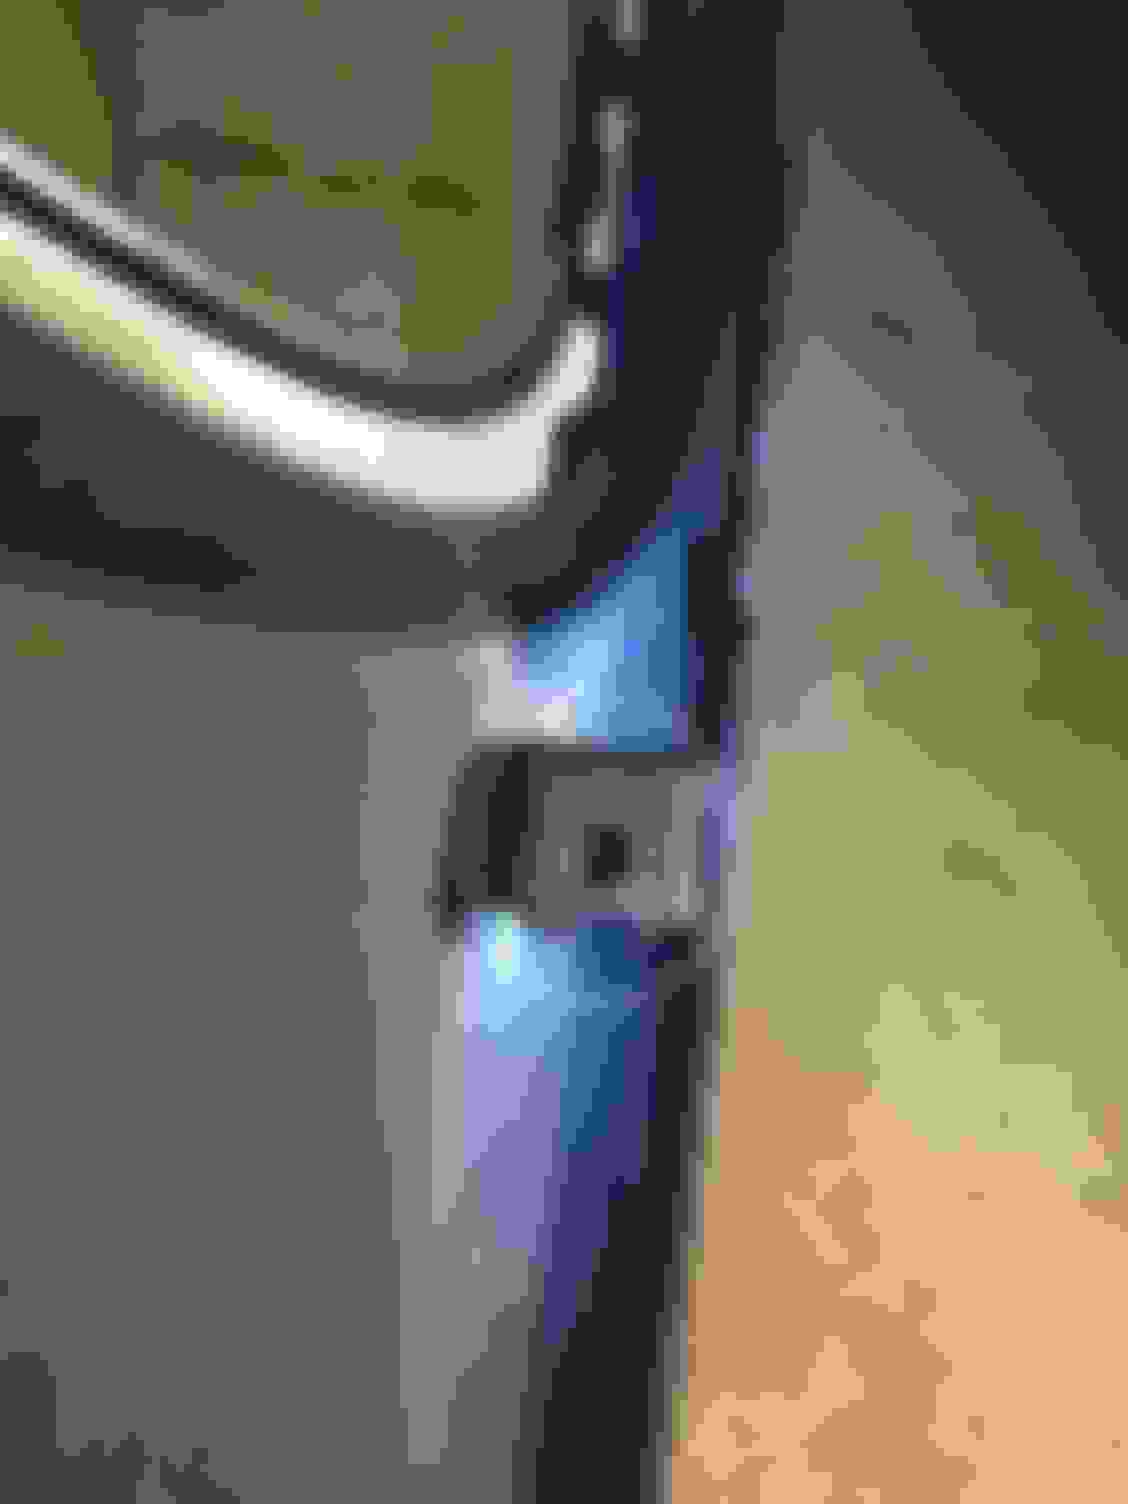
7. Move all clips from old exhaust bracket and teh clips off the valance.
Move these clips to new bracket
Slide off clip and move to new valance
8. Install in reverse. Note the metal tabs on the tips might needs a slight bending to slide into the spot on the new bracket so that they mount properly.
My girl really wanted the AMG tips on her 550 and pricing it out seemed a little nuts, kit on eBay is $1400. So I looked around and came up with this set of parts for much less. I originally ordered the OEM parts from parts.com but long story there, yeah don't as they will jack the shipping cost to $200 and you have to confirm the increase is okay. That's great but I confirmed 2x and parts never shipped delaying me. So parts there are cheaper a bit but not after shipping and the headache. So I ordered from M5 Motors.
HOW TO:
1. Remove the exhaust tips using T20, remove the 2 screws circled in red. Then push towards front of the car and remove.
2. Then work to remove the heat shield bracket. Remove the 10mm bolts along the rear to the left/right of hitch area. Easy to spot and likely tabs broken.
3a. There are then 5 more 10mm bolts to remove, look at new bracket to know location. There is one you will need a socket ext for and will likely need to clean out the dirt and crap built up to get too. A few pics the RED ones are easy the YELLOW a *****!!!
3b. The YELLOW pain "nuts" are visibile here but better to go up top to use the ratcheting wrench, use 10mm. Can easily pull the valance down to gain access.
4. Remove bracket.
5. You can now reach the other YELLOW pain nut off the valance.
Before removing bracket
After removing bracket
RED bolt, use socket ext to access after clearing out dirt and crap.
6. After that there are 5 T20 screws along the valance, See new one for location, easy to get to but use a stubby ratcheting screw driver to make it easy. Sorry no pics. Then simply pull off starting from the side, there are other push clips but a little force will pop it loose.
7. Move all clips from old exhaust bracket and teh clips off the valance.
Move these clips to new bracket
Slide off clip and move to new valance
8. Install in reverse. Note the metal tabs on the tips might needs a slight bending to slide into the spot on the new bracket so that they mount properly.
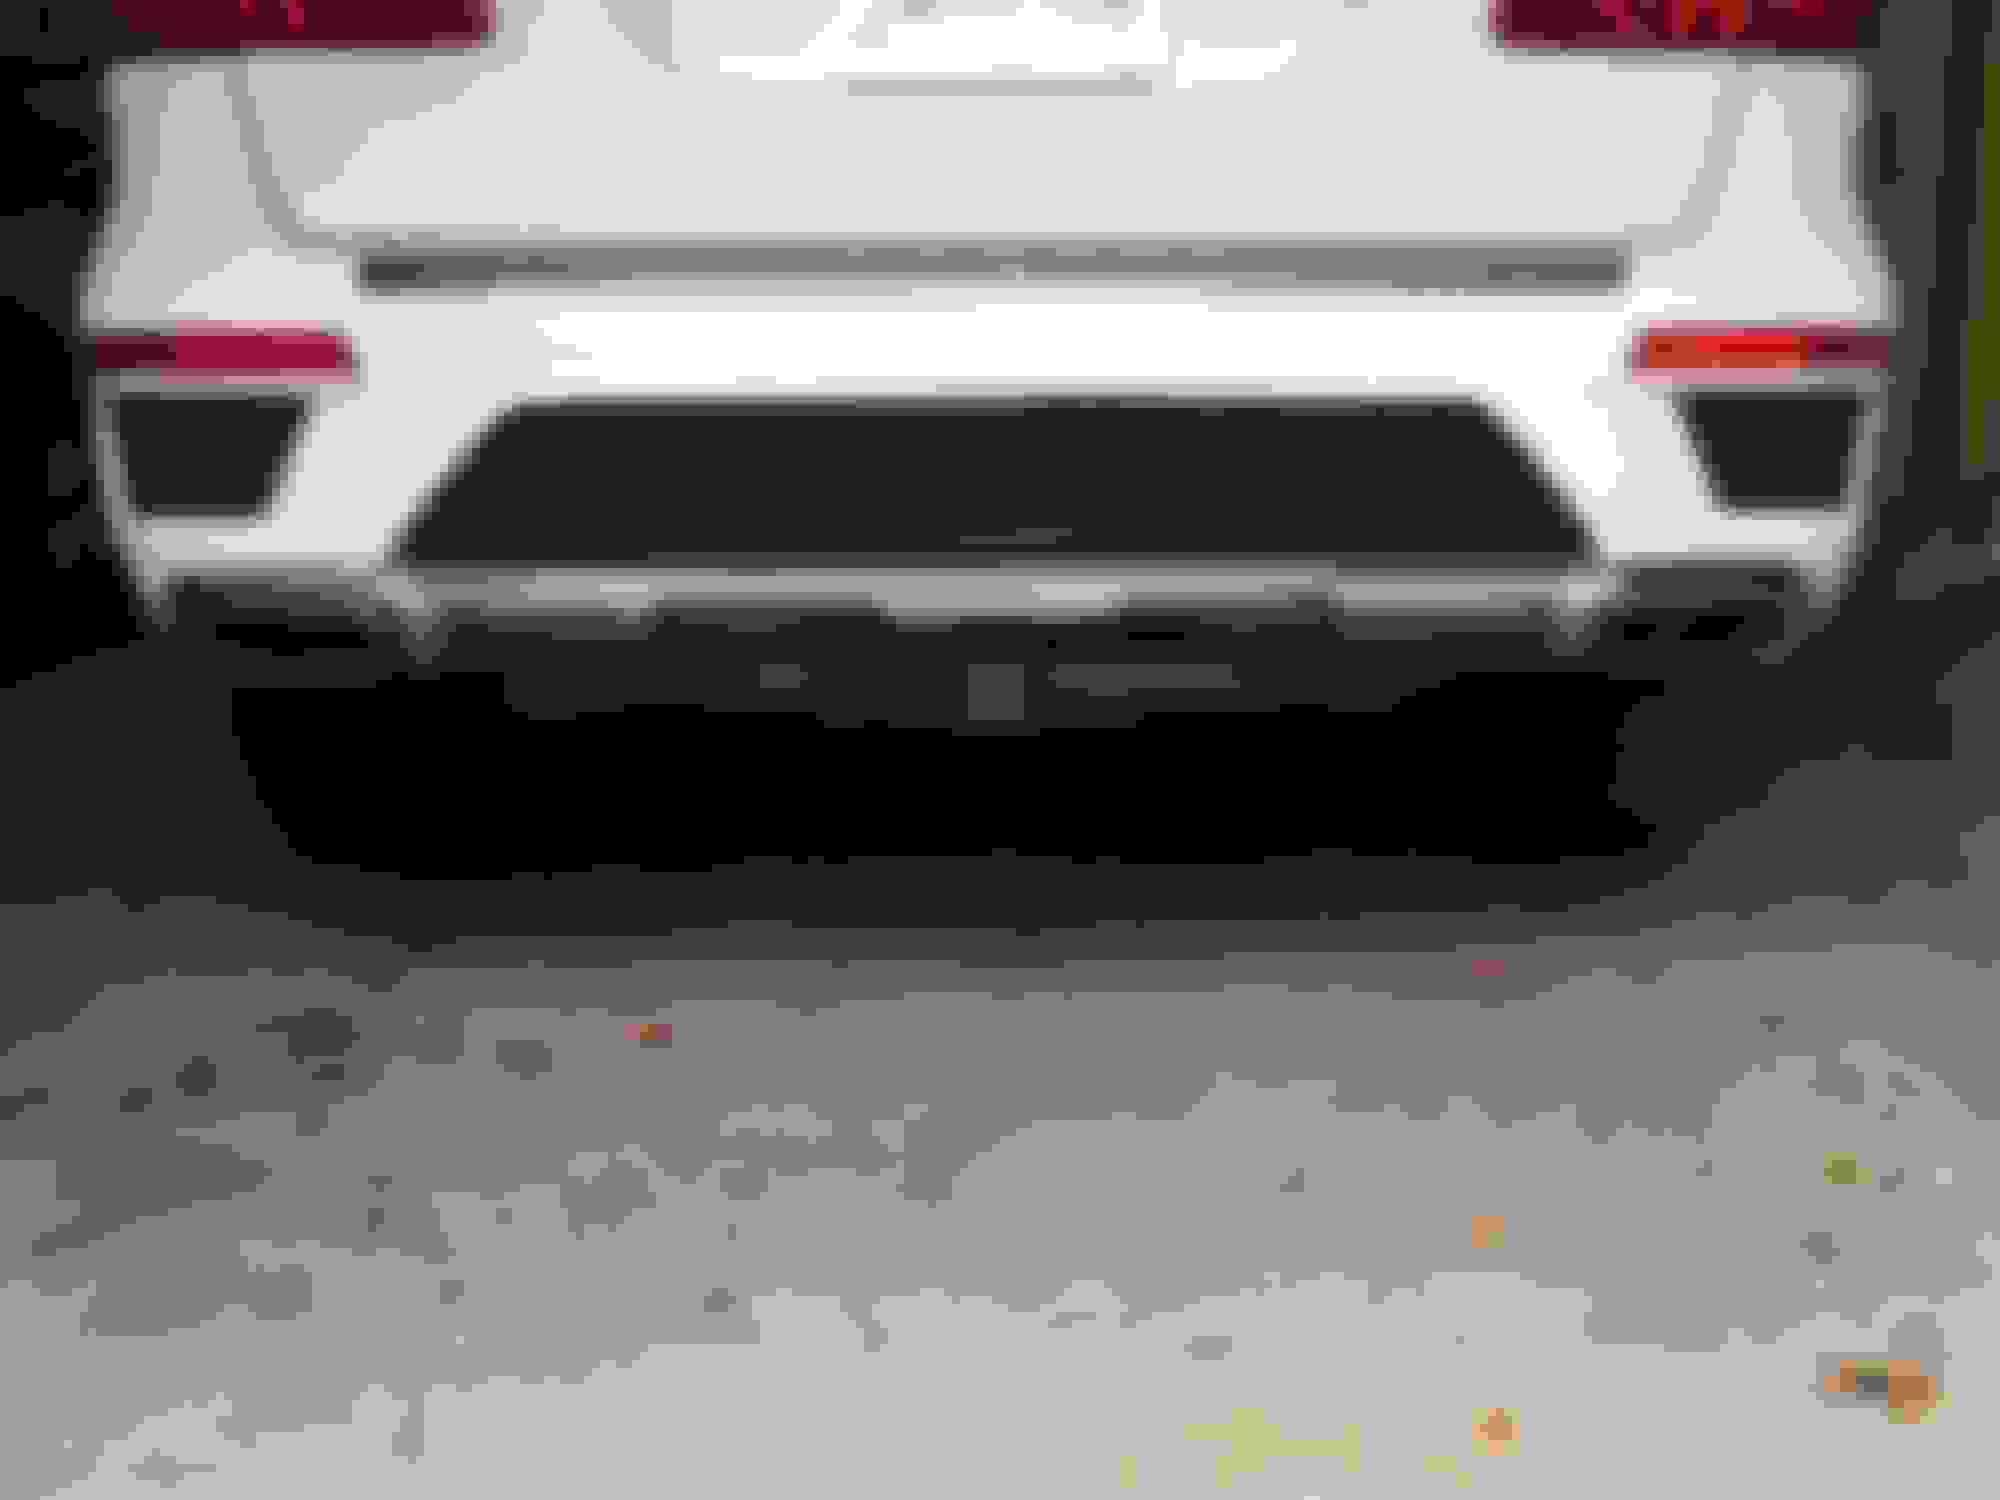
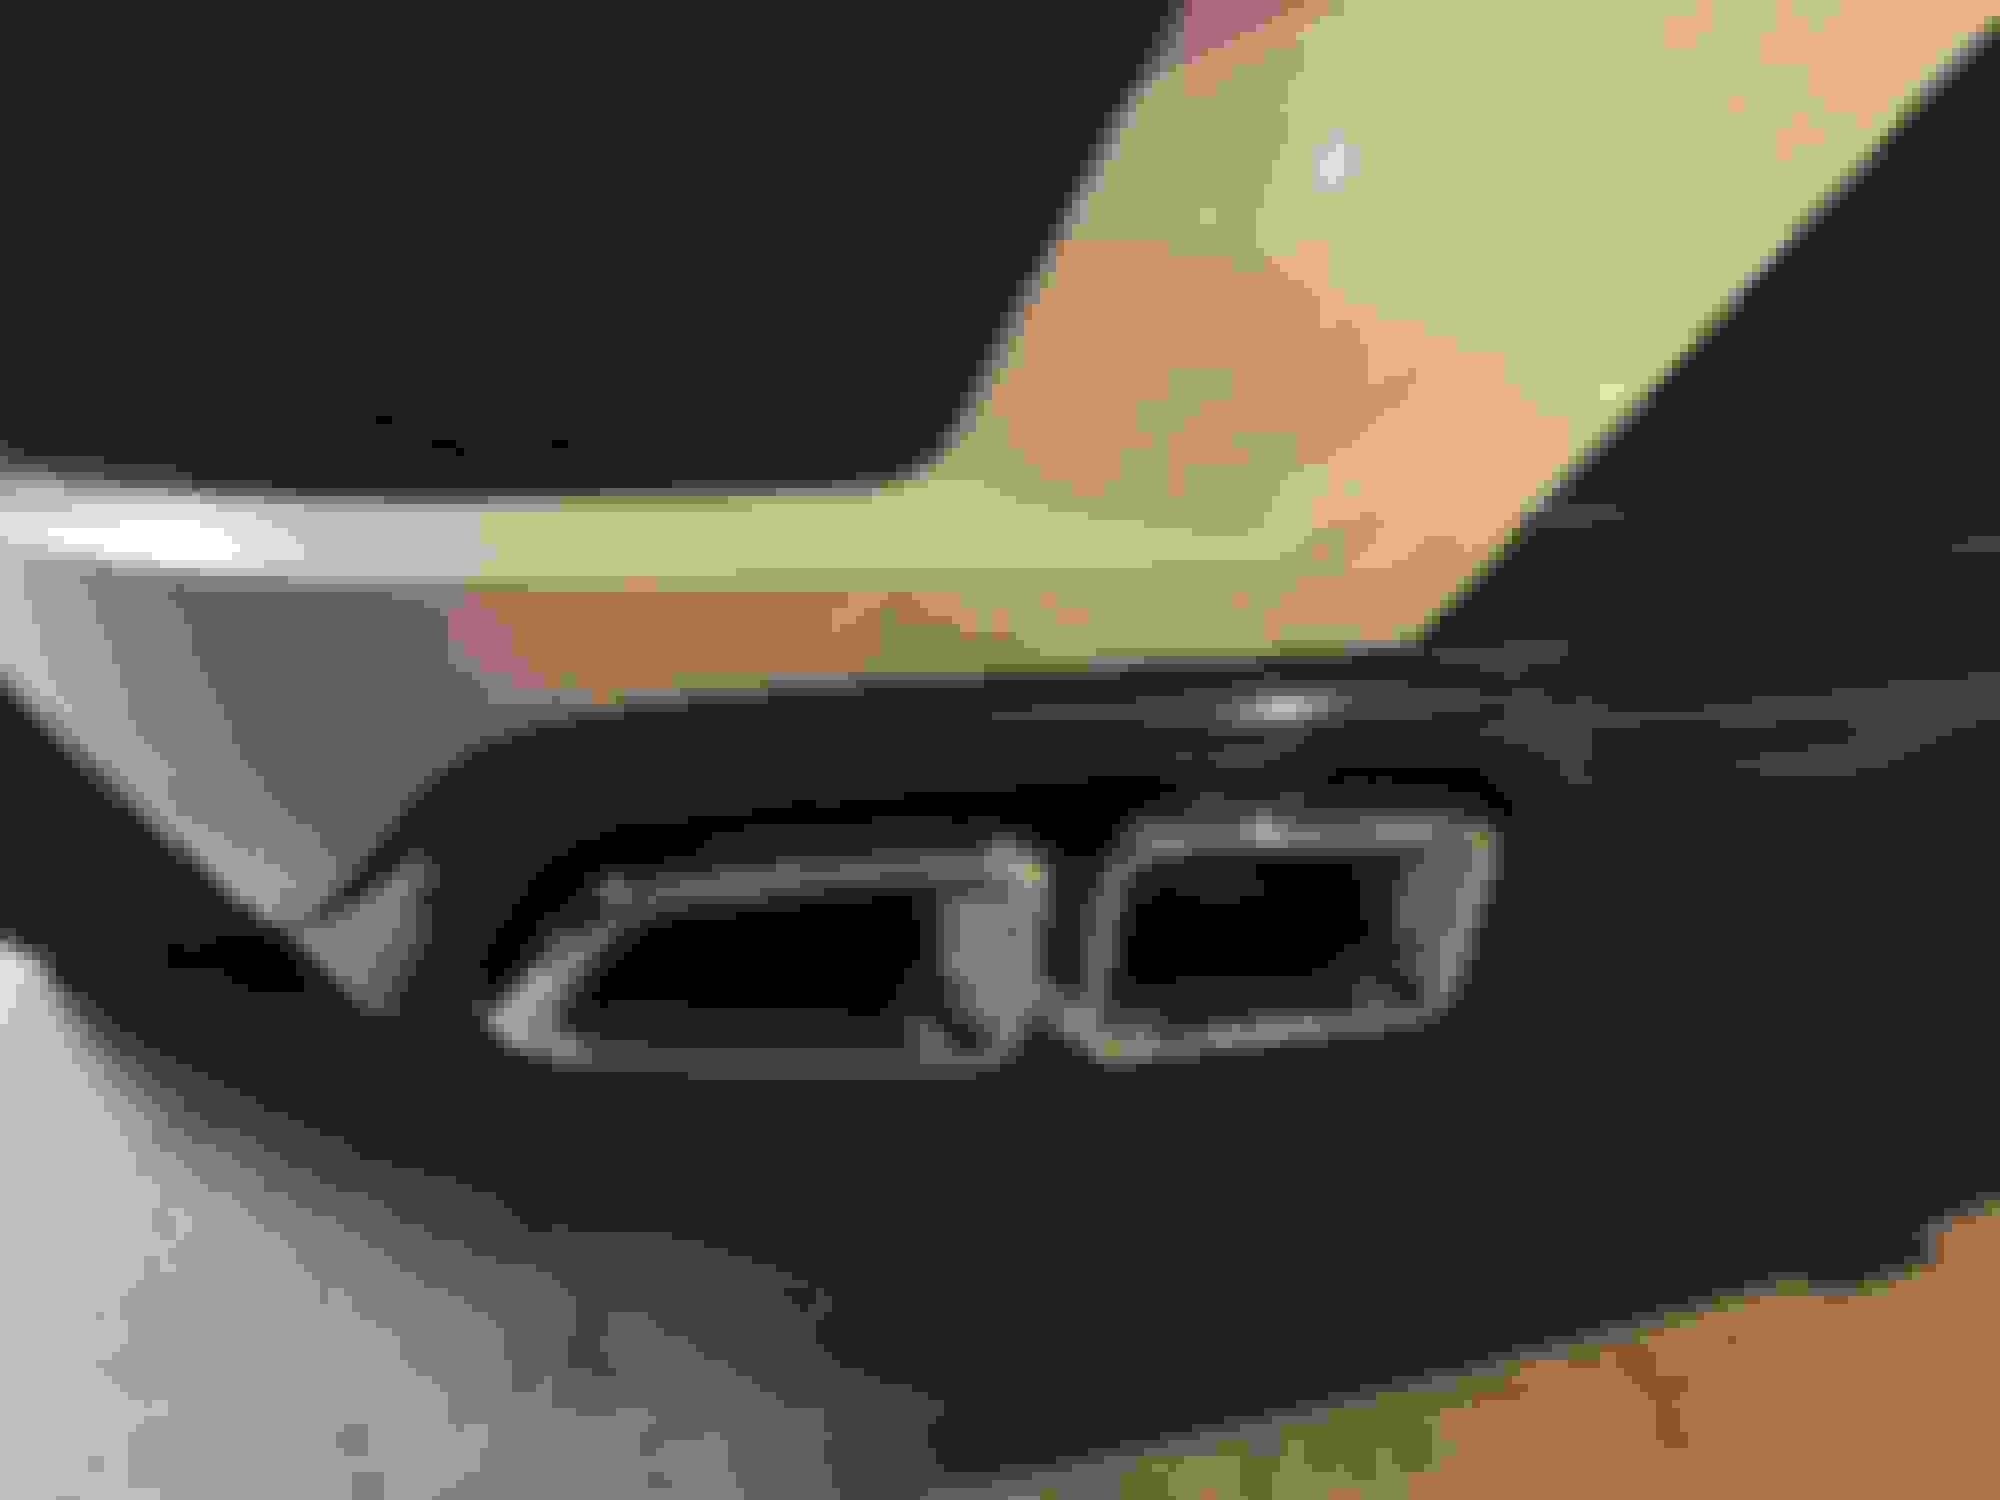
Before:
After:
You did a really nice job with the tips and the carbon defuser. Looks really clean.
The lens and bulb swap will be using ZKW-R lenses and Osram CBH bulbs. I used the lens in my E55 and loved the. I am using the CBH for the first time as I used the CBI on my E55. On a quick test fit of the CBH I honestly didn't see much of a diff in the color and brightness. However I didn't really properly seat the bulb in the housing so that might have something to do. Some links to the items and a video comparison stock D1S bulbs to the CBH.
Once I start the project I will get detailed pics and steps. I had active headlights on my E55 and it wasn't too hard to swap out the lens, so I am hoping the same holds true for the GL.
I'm super curious to see how this turns out. I use the Osram CBI in my other car and love them. I think a combo of this and a clear lens is going to help out a lot. Are you planning to do any additional tuning with spacers when you're in the light?
I live just 30mi from the factory in AL and have a few friends who work there.
Really? Do they have the leeway where I could reach out to them and order one for myself? I've seen them on ebay but they're coming from China and the estimated delivery is in January of next year.
Love your build so far! If i had a X166 I would be doing the exact same mods! Where did you get that carbon fiber omg diffusor for the X166? It looks like really good quality!
Really? Do they have the leeway where I could reach out to them and order one for myself? I've seen them on ebay but they're coming from China and the estimated delivery is in January of next year.
The ones from China are no where close to OEM, just cheap crap. I ordered one from China first before my friend was said he would just get me one from the factory. Surely you can order from any parts website, likely $40 or so, I have no idea but would be worth it over China crap.
Love your build so far! If i had a X166 I would be doing the exact same mods! Where did you get that carbon fiber omg diffusor for the X166? It looks like really good quality!
Thanks, but I ordered CF vinyl and just wrapped it prior to swapping the rear diffuser when I swapped the tips.
Realized I didn't take pics of pipes before install but they were well built and the welds looked nice. Had bungs for all stock sensors. I didn't do the install but paid 1.5hr of labor and they didn't run into any major fitment issues. While the online diagrams show no gaskets there was one on the driver side that needed to be ordered which took more time than expected. I will update later on the part # if its on my invoice. I wanted the resonator remove prior to these being installed but was unable to, will still have resonator removed in the next short while.
Again pipes are catless so "off road" only, will throw a CEL until you are tuned and have the CEL turned off. That is coming shortly of me.
Really? Do they have the leeway where I could reach out to them and order one for myself? I've seen them on ebay but they're coming from China and the estimated delivery is in January of next year.
The ones from China are no where close to OEM, just cheap crap. I ordered one from China first before my friend was said he would just get me one from the factory. Surely you can order from any parts website, likely $40 or so, I have no idea but would be worth it over China crap.
Yeah, the one from China seemed fishy. Guess I'll look online. Does the emblem flush? Perfect fit? It looks a little smaller in the photo.
Beautifully done so far brother! i am loving the progress! and great find not he GL550! love the options. What resources did you use to locate this GL with specific options? (auto trader, MBUSA, car gurus)?
How is the update on your headlight and lens retrofit? how do you like the CBH performance color? I am looking to swap out my current D2S on my SL55 (Philips White Vision LED effect 5000K) to Either Osram CBI or CBH or CBB to get a cooler white light output vs the warm white i still have from Philips WHV2.
And, I LOVE the E55, hail M113K
I used cars.com and cargurus.com to locate. Took 4mths or so to locate this one as we only wanted white/pano with either black or auburn interior but had to have Active Cure option code 468 and Distronic. It amazed me to see so many with lots of options and Designo but lacking Active Curve. If you are getting a large SUV like this Active Curve makes a huge diff in the roll of car. It handles so well in turns and stays fairly flat with little body roll.
I haven't gotten to the lens and headlight retro just yet. Football took up most weekends in the last few months. I plan to get my buddy from the factory to help me tear down the front end in the next 60 days to do the headlights. This should speed up the process since he knows how to build and tear them down in a heartbeat!!! The CBH are good slightly better than CBI, I like them. When I do the headlights I will compare the stock to CBH better in stock setup and then stock setup vs lens/CBH upgrades. The new CBB is interesting and thought to move to them for the lumens out put but the color reviews I have seen say CBI, CBH, and CBB are all about the same color.
I also plan to get the calipers done in red soon.
I have recently had Tony from RaceIQ, he tuned my E55, and it has made a huge diff in the pickup and quickness. I have ordered a Sprint Booster in the last few days so will see how that goes.
Mods done since last update:
- Tune by Tony at RaceIQ
- Paddle shifter things added, will post pics soon
- 12" sub/amp install
- Sprint Booster
Upcoming mods:
- Headlight turn signals change to white instead of amber and lens swap
- Red calipers
If I get super froggy:
- Split cooling system
- Killer Chiller and meth injection
- Retune for meth
Last edited by black06c230; Feb 26, 2018 at 06:29 PM.
Mercedes SLR McLaren 722 S Is Extremely Rare Example Modified by McLaren
Slideshow: A one-of-one U.S.-spec Mercedes-Benz SLR McLaren Roadster became even rarer after a factory-backed transformation at McLaren's headquarters.