When you click on links to various merchants on this site and make a purchase, this can result in this site earning a commission. Affiliate programs and affiliations include, but are not limited to, the eBay Partner Network.
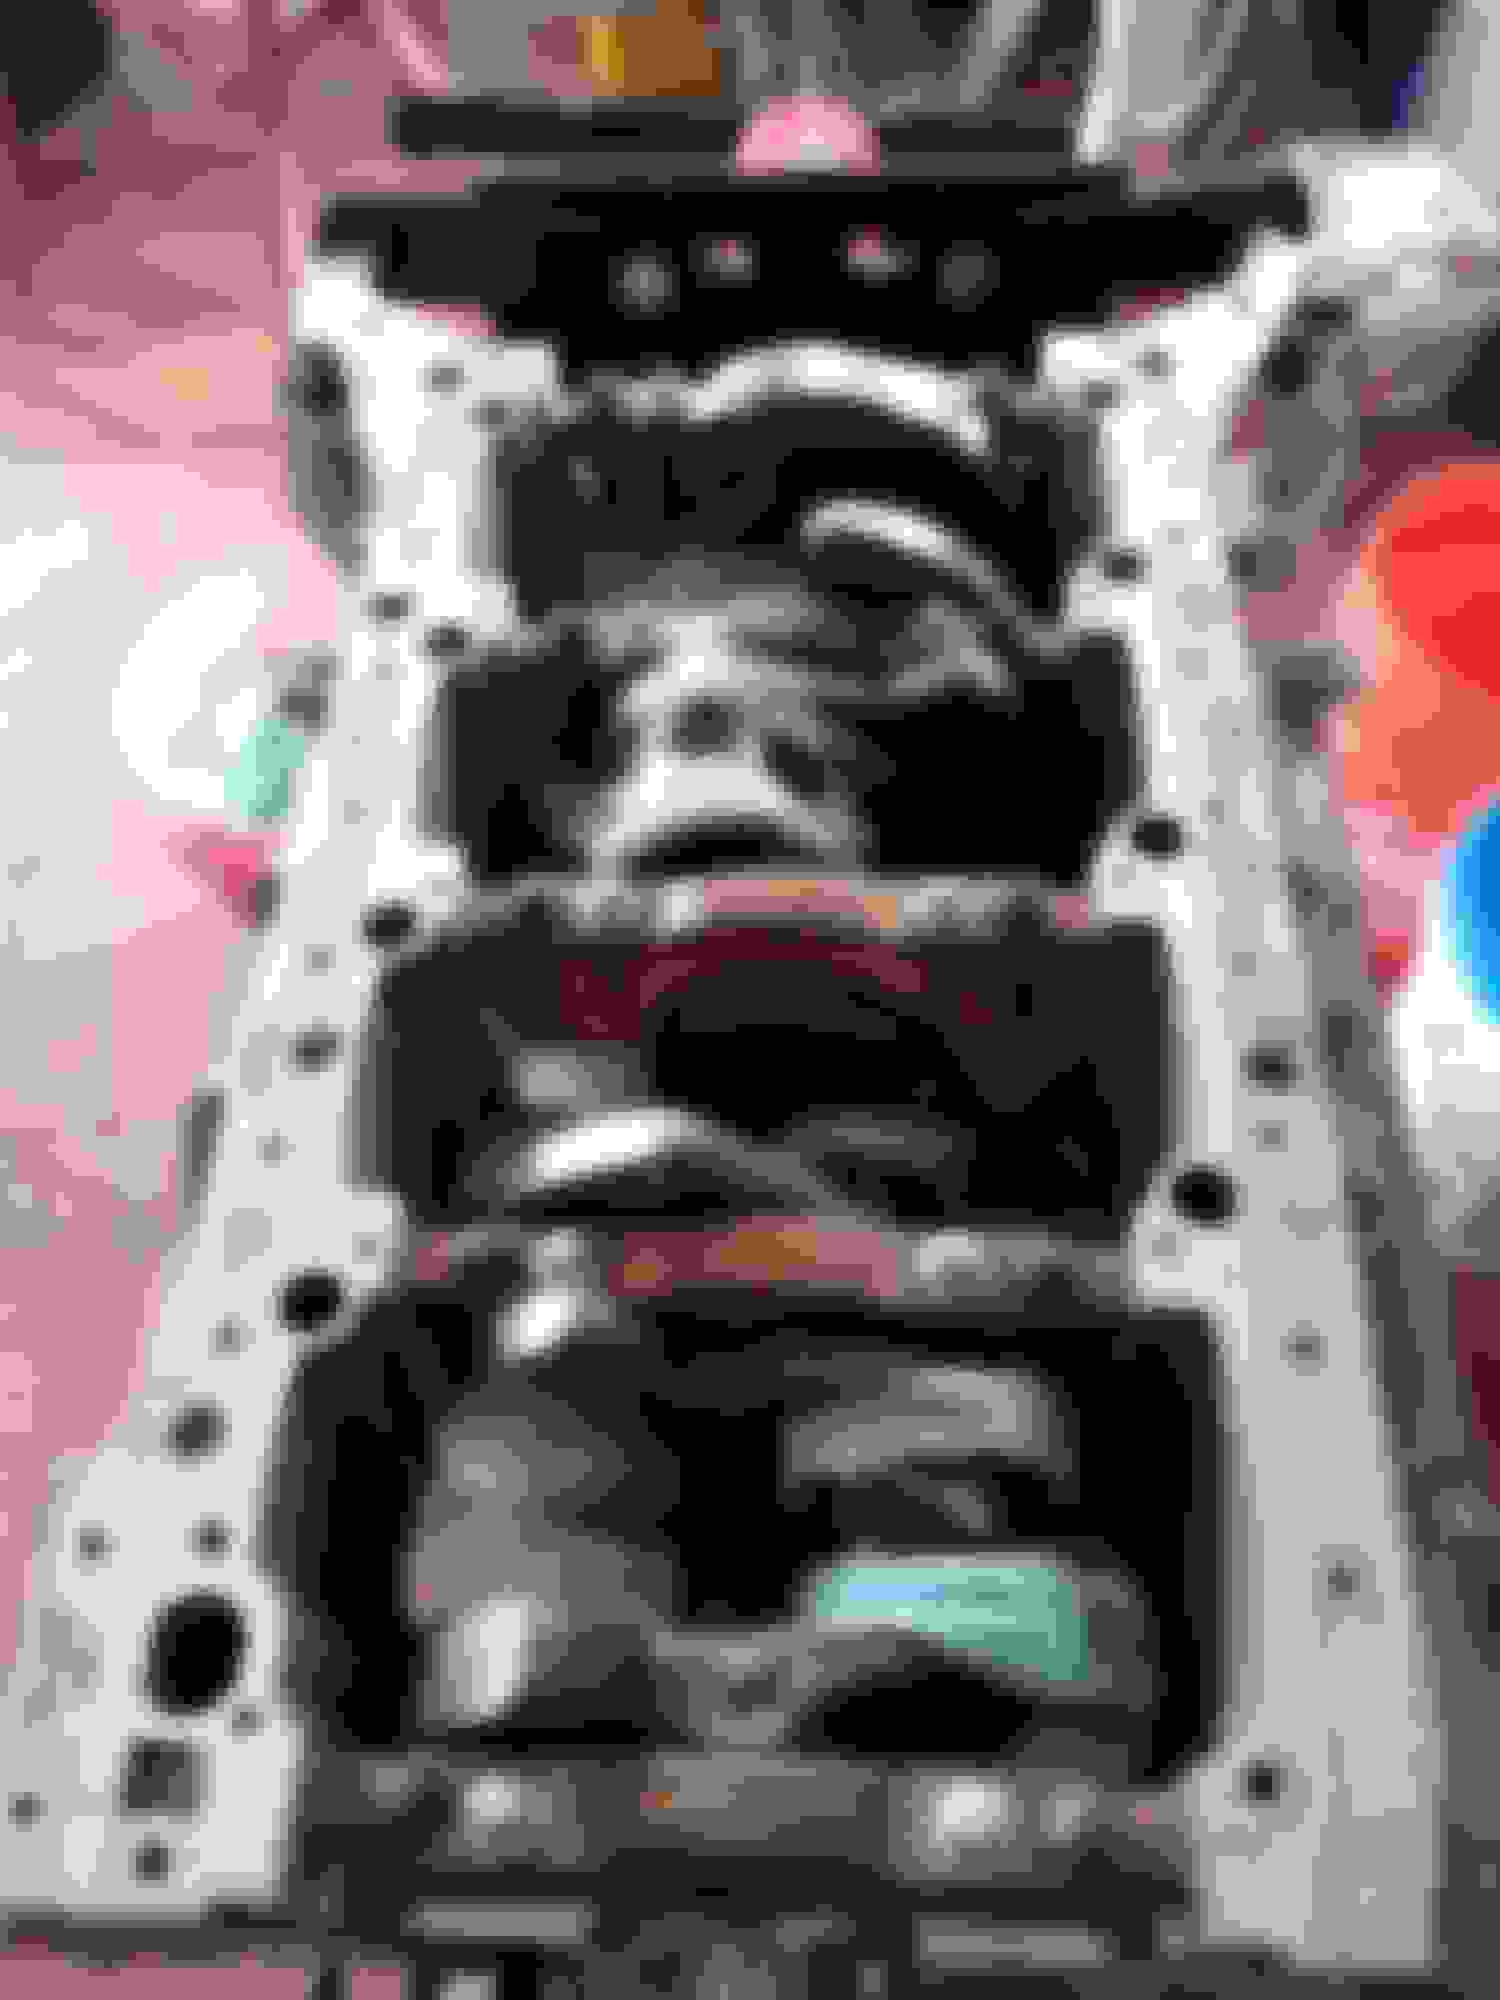
This installation is done with 0.001 inch clearance.
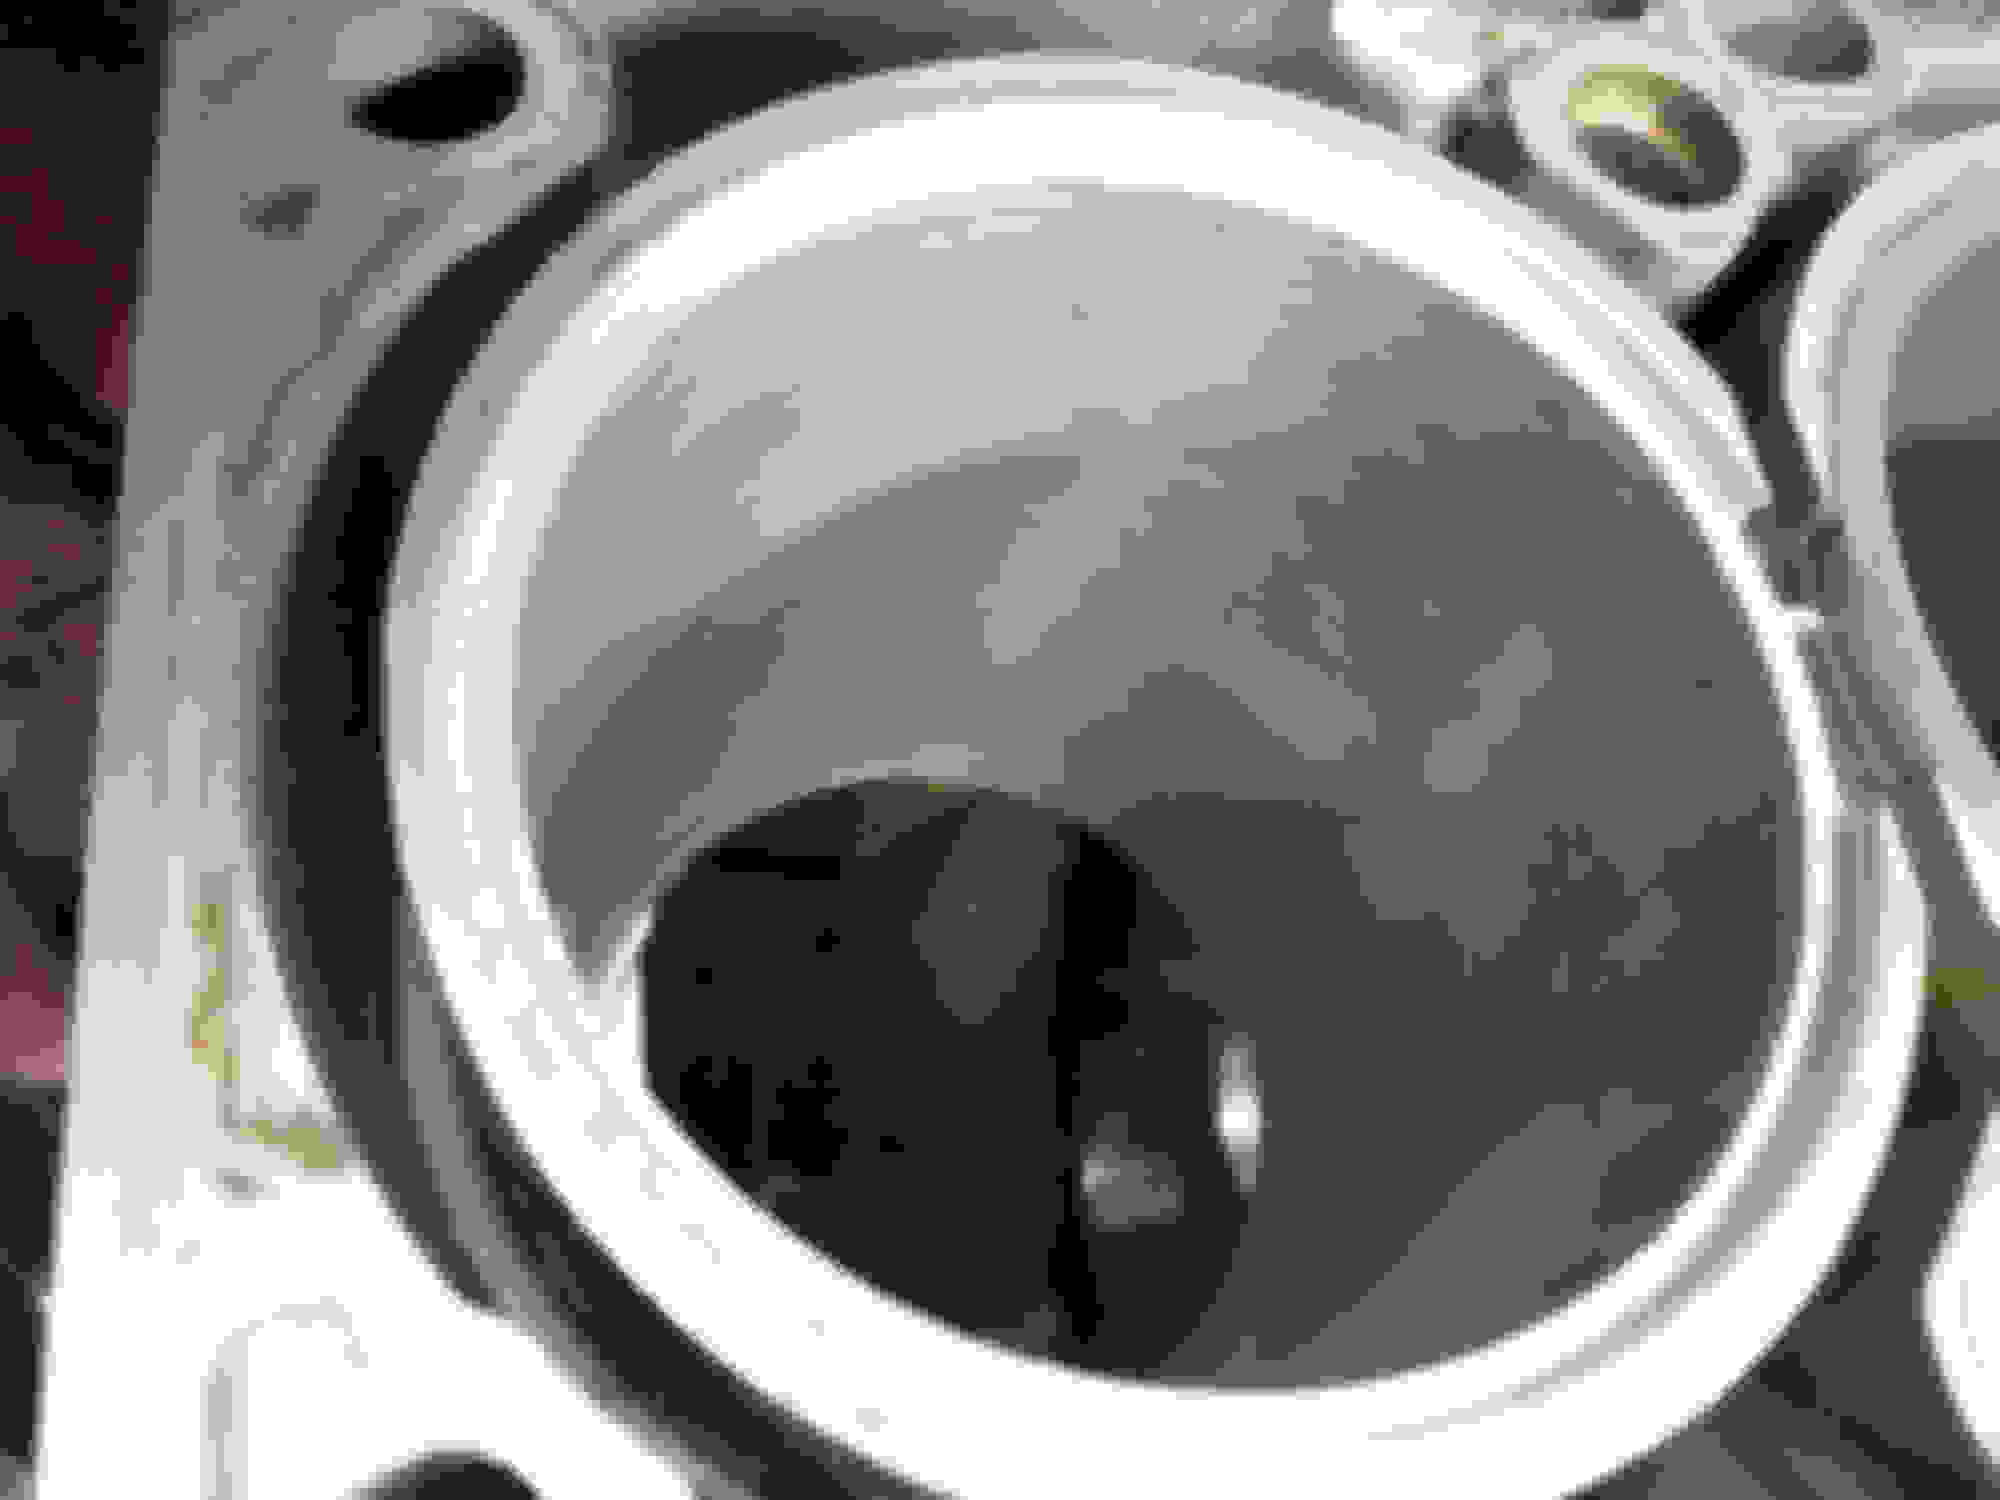
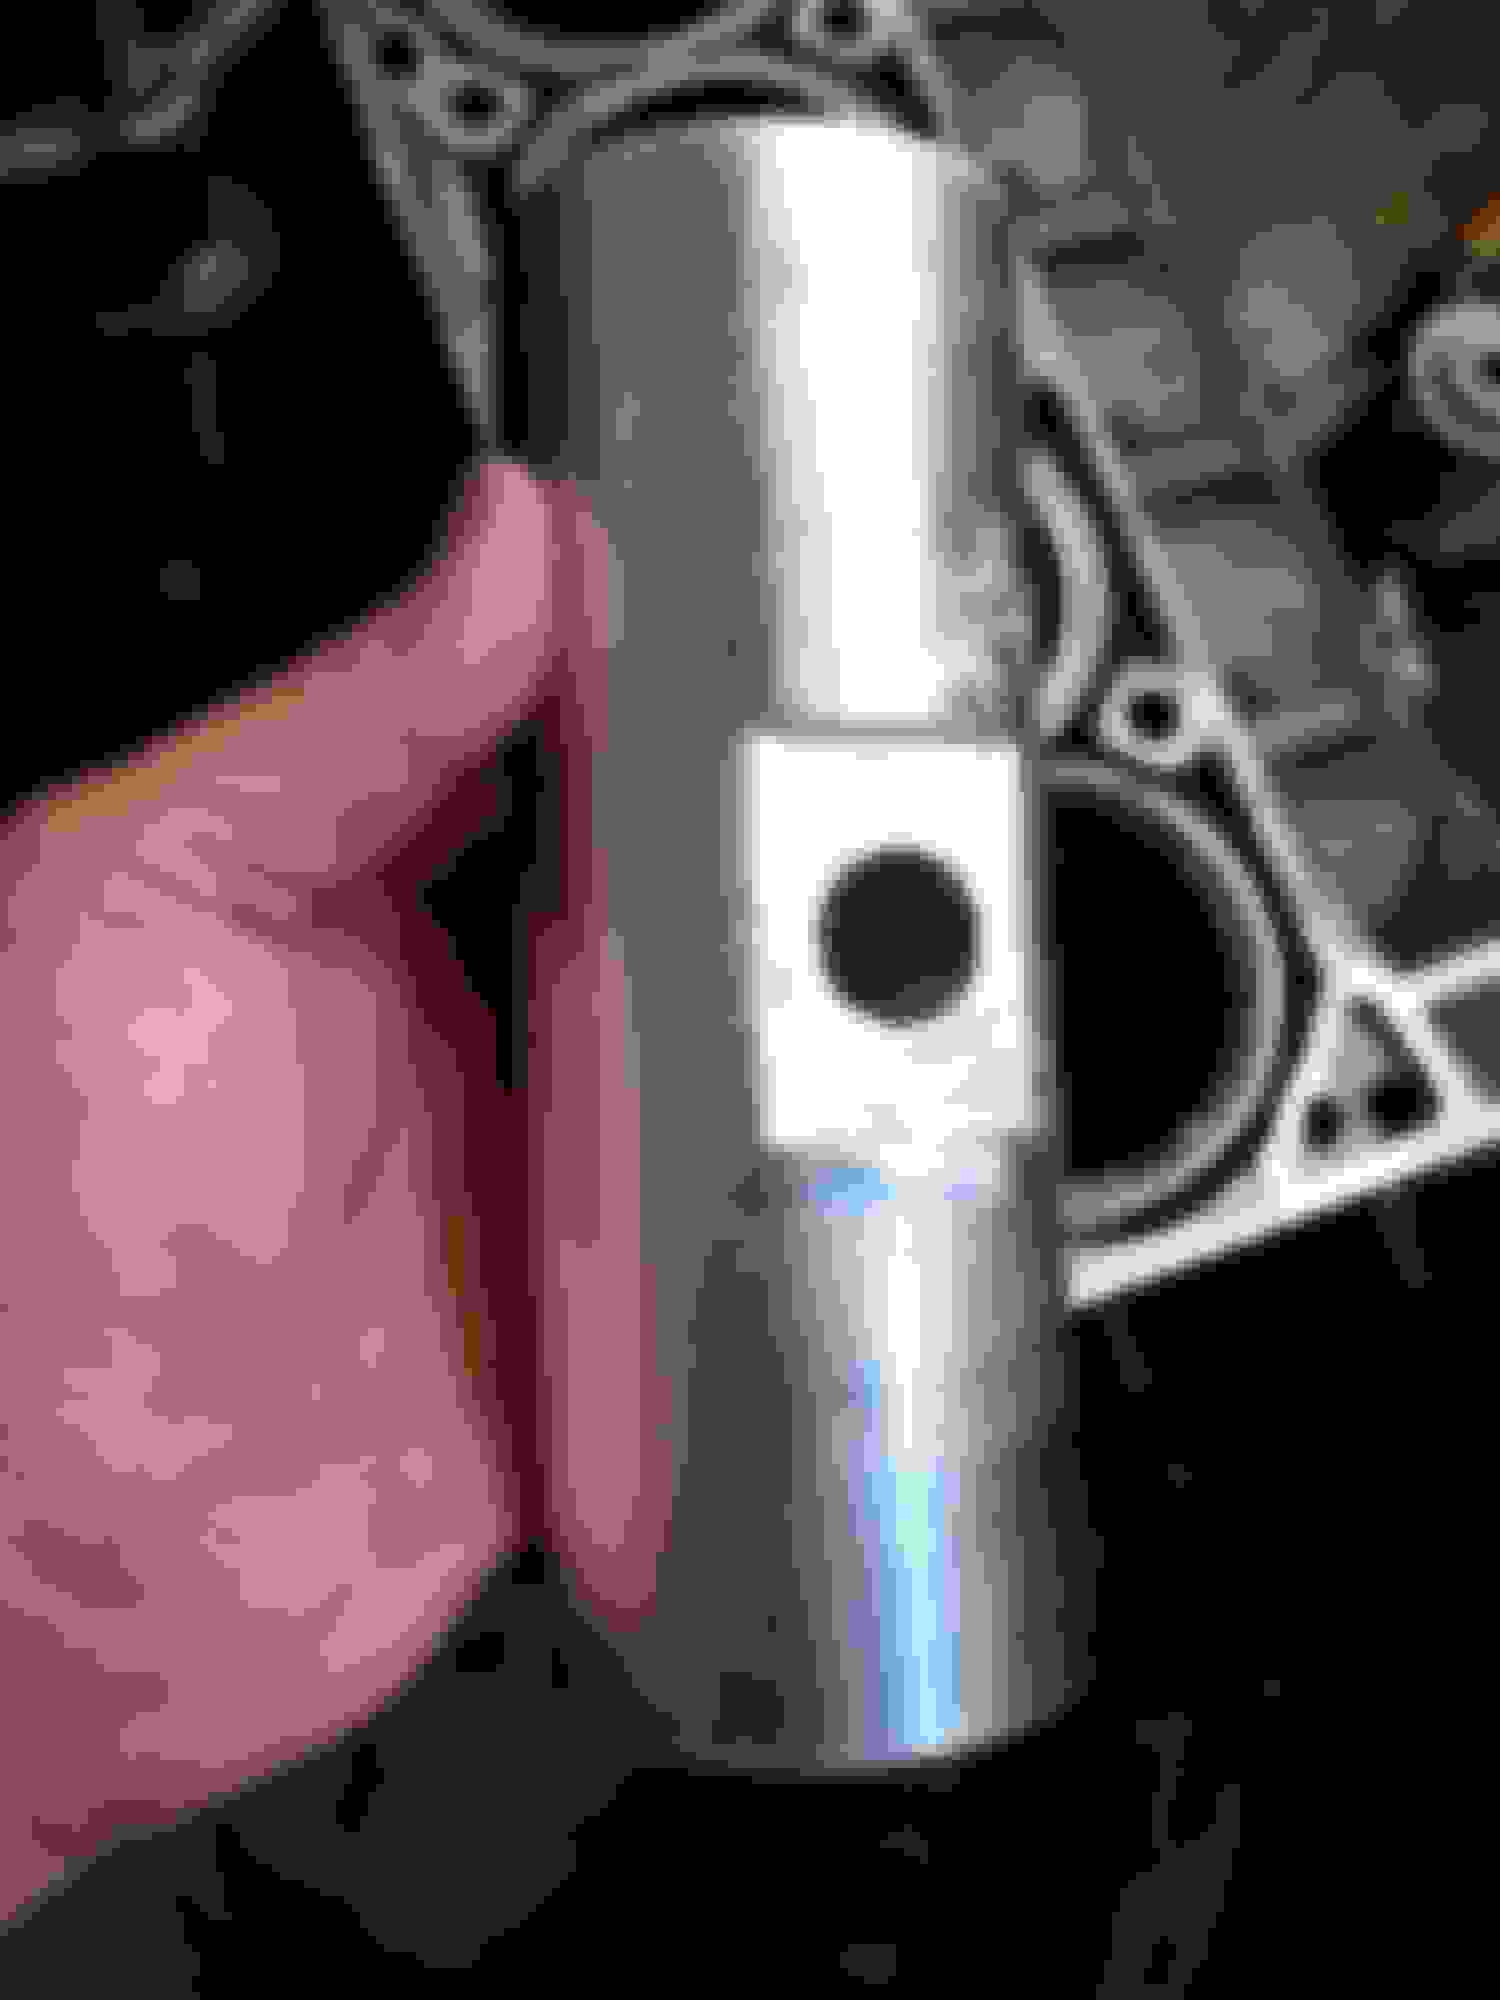
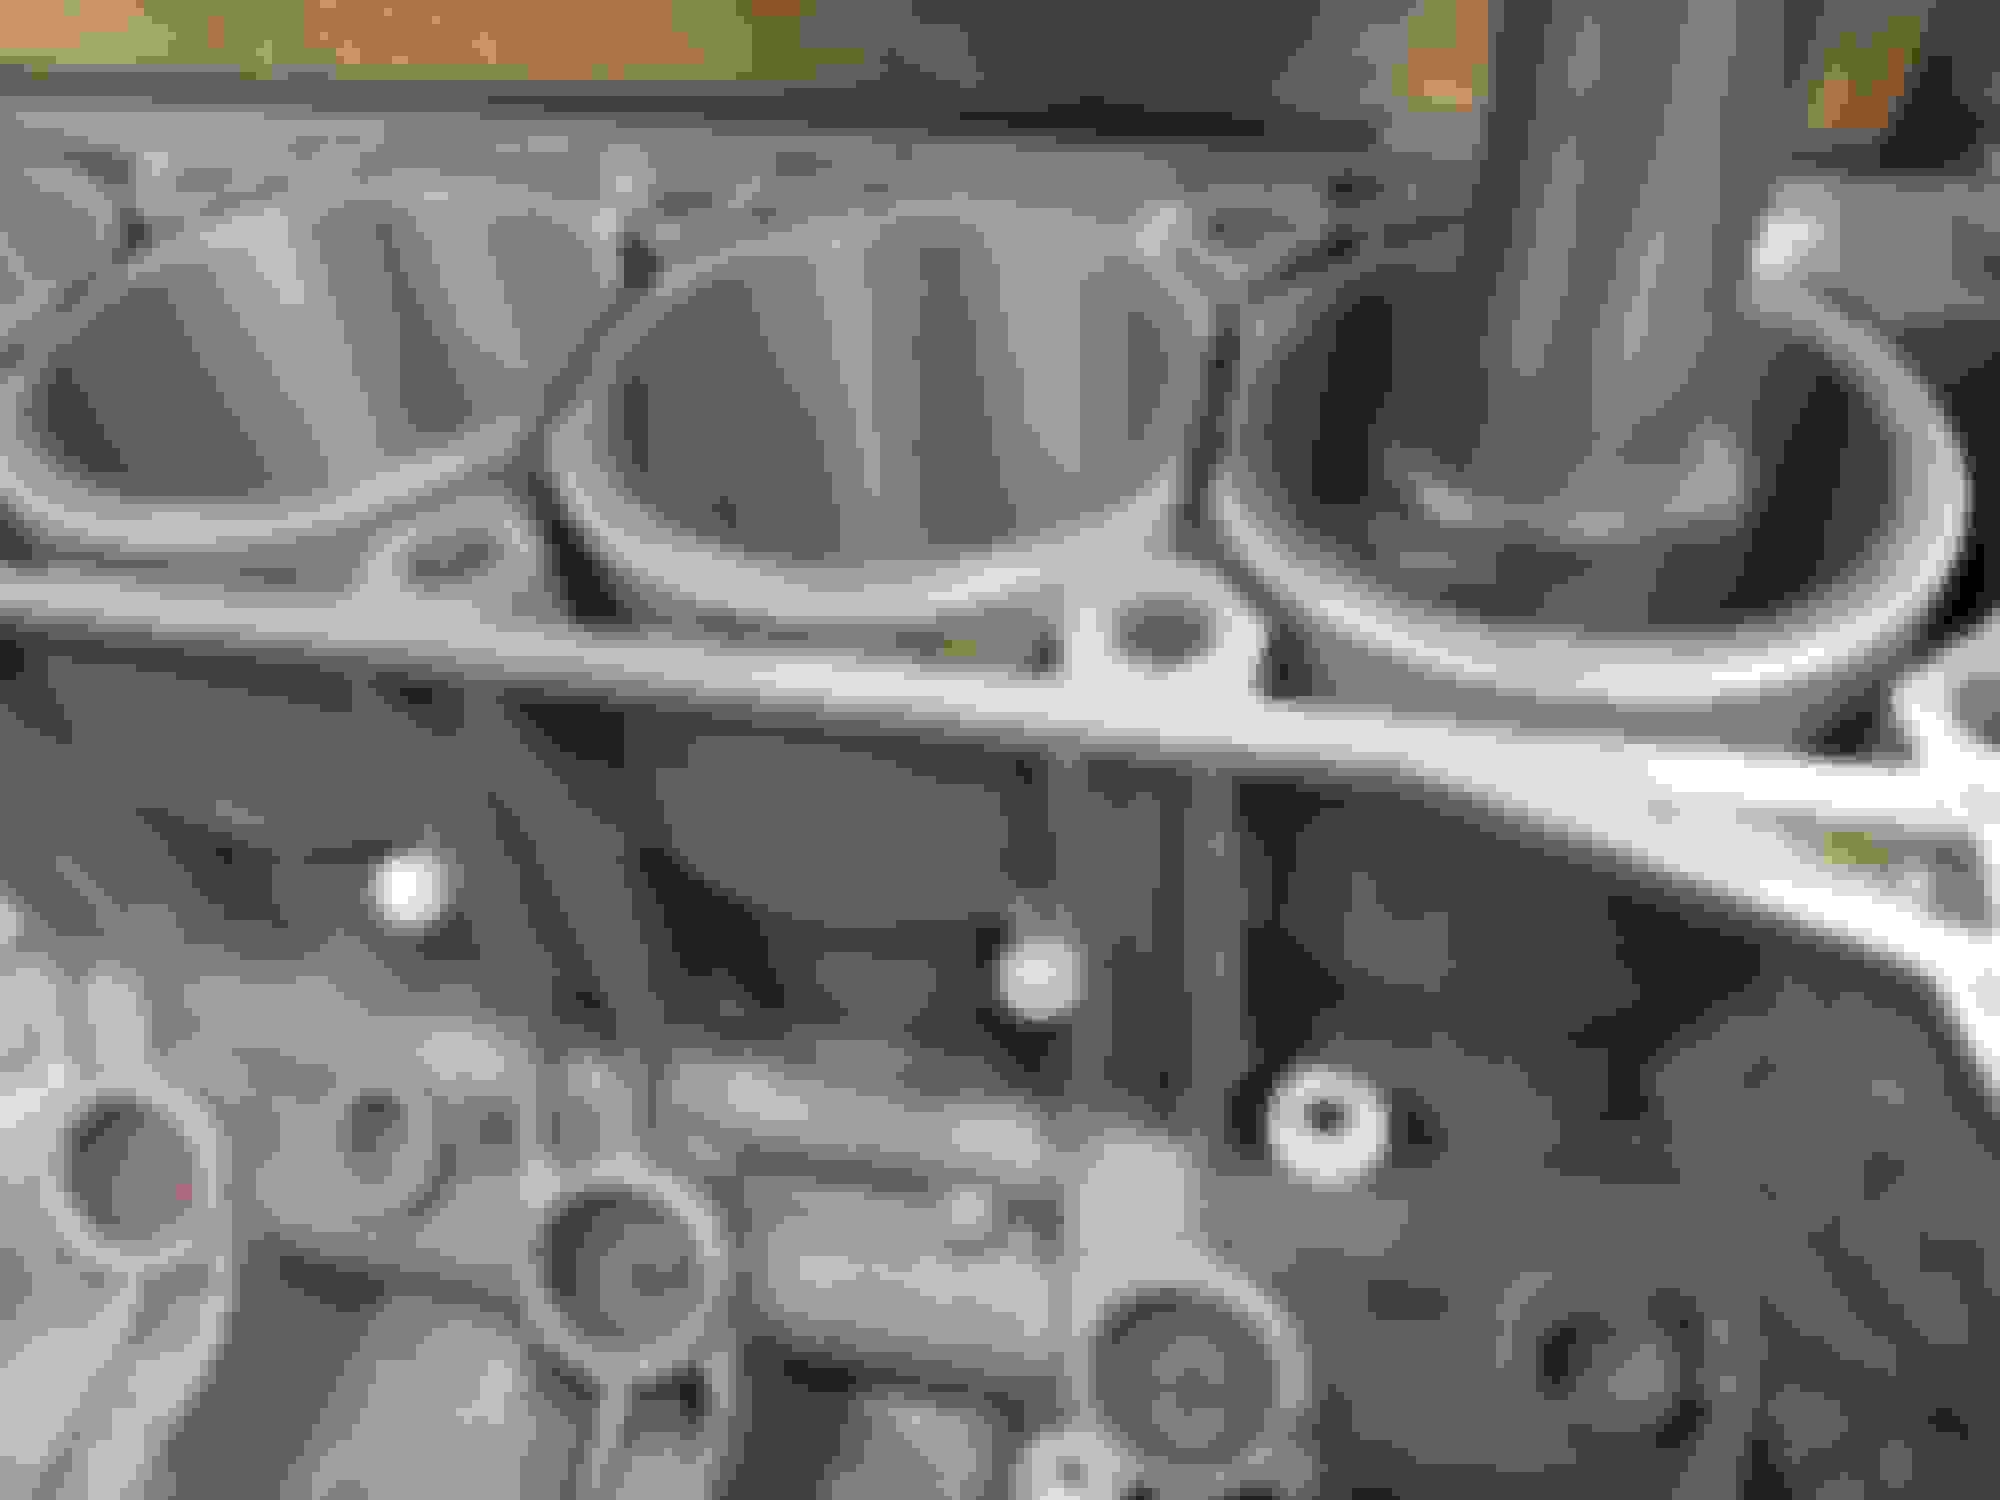
Engine block is bored with clearance, not undercut. If you align cylinder liner with bore axis you can push it with the force of your hand.
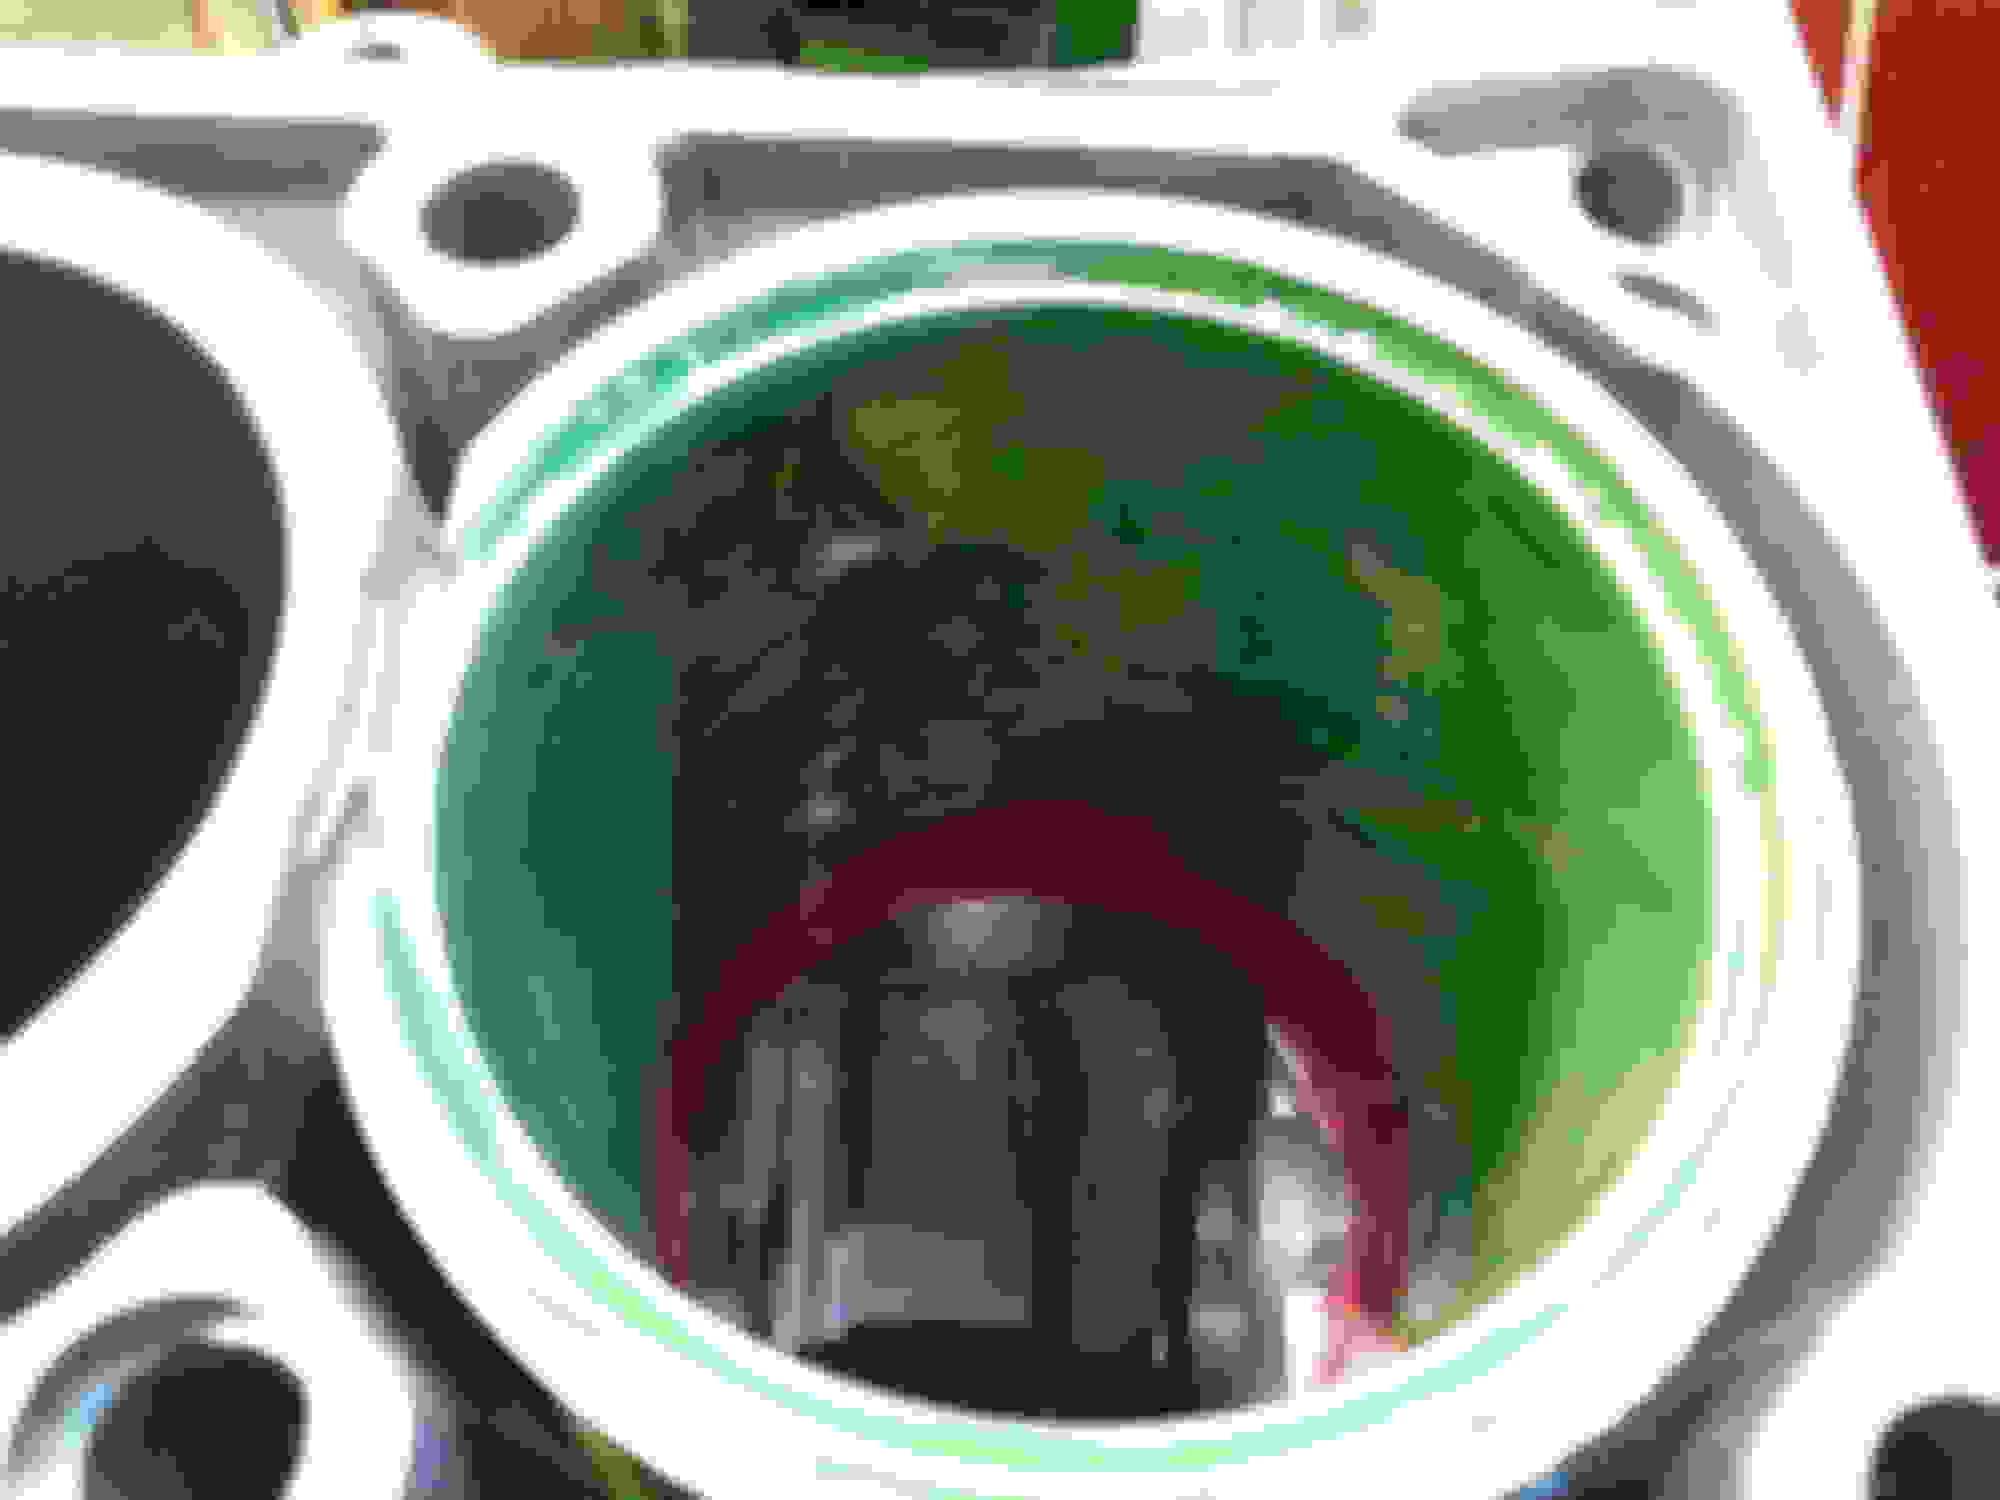
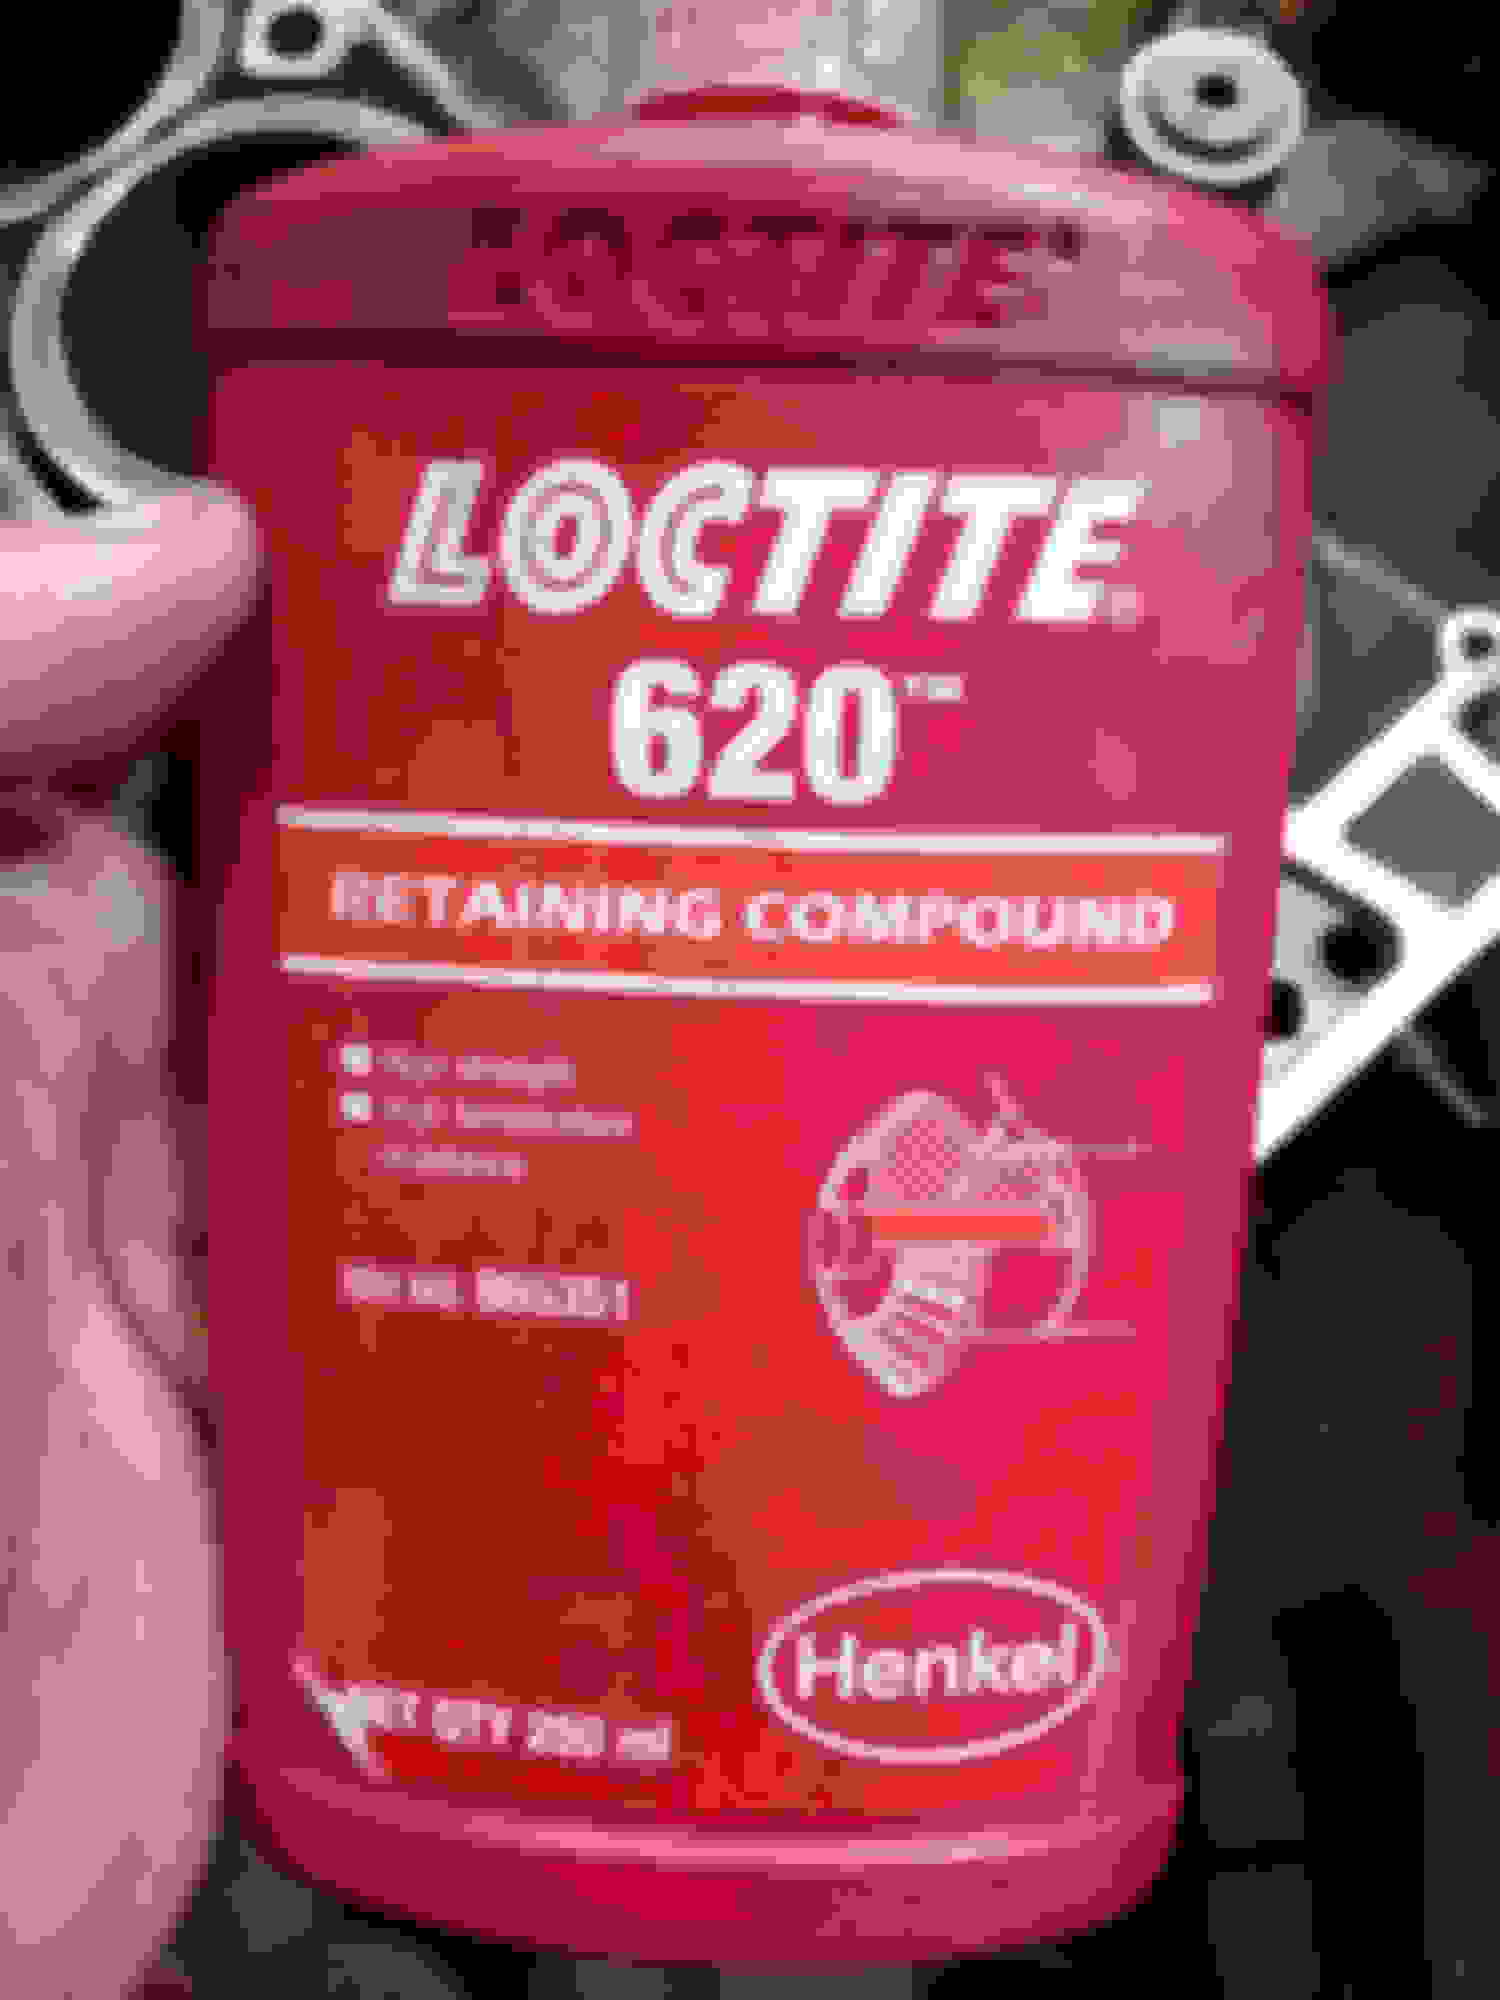
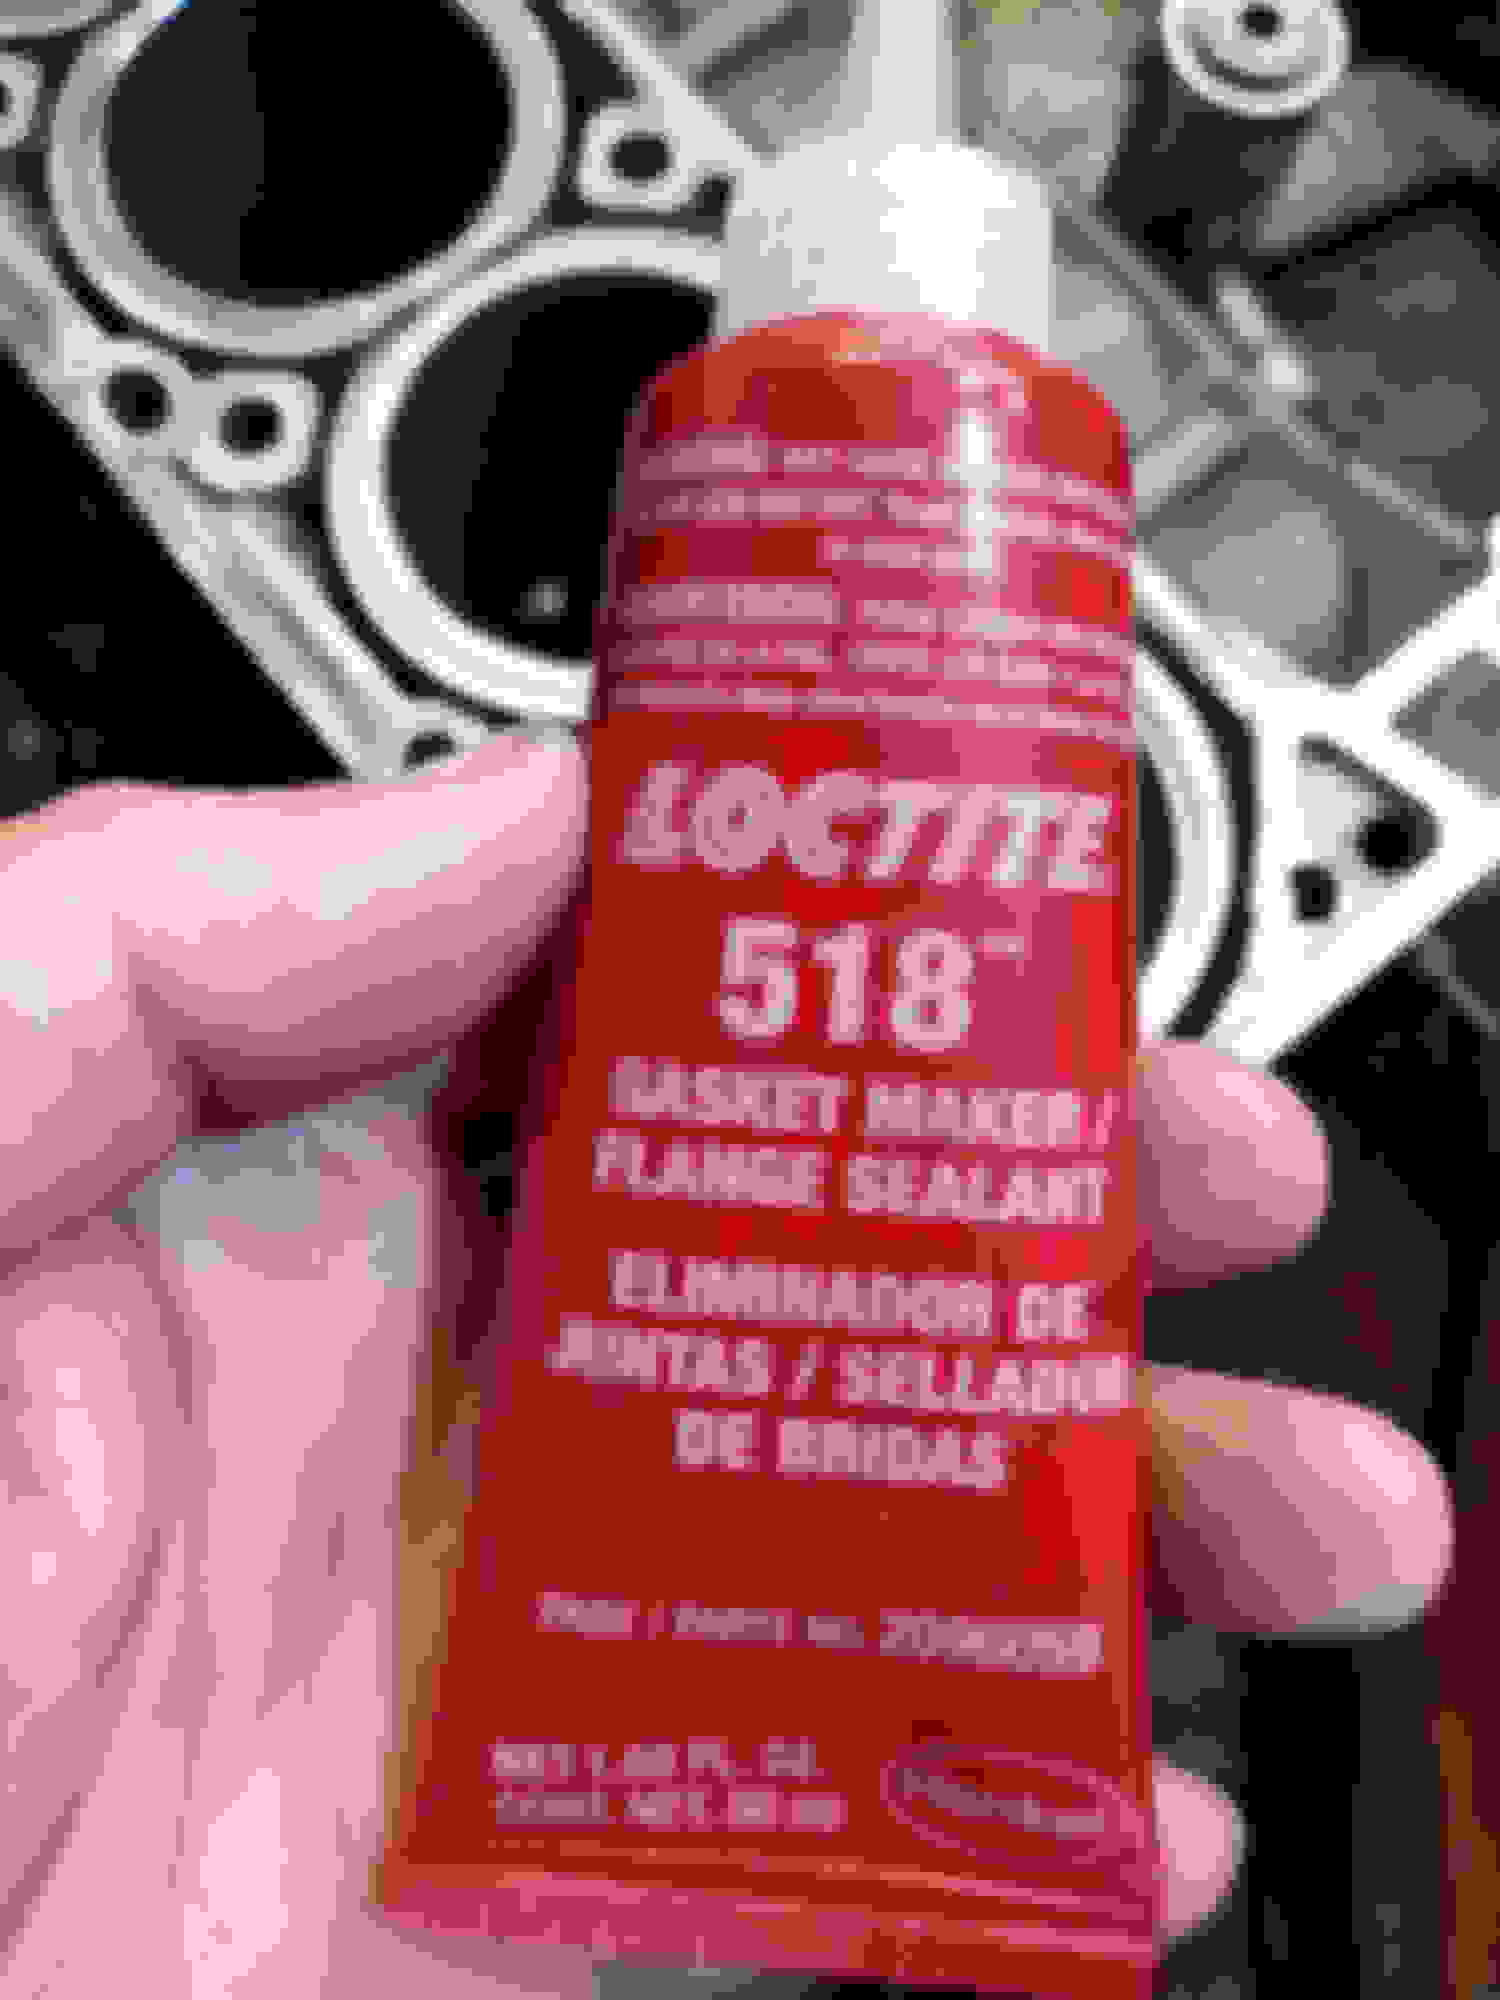
To keep it in place high temperature high strength Loctite retainer is used (green color). As a precaution bottom of the liner is sealed with Loctite gasket maker (red color)
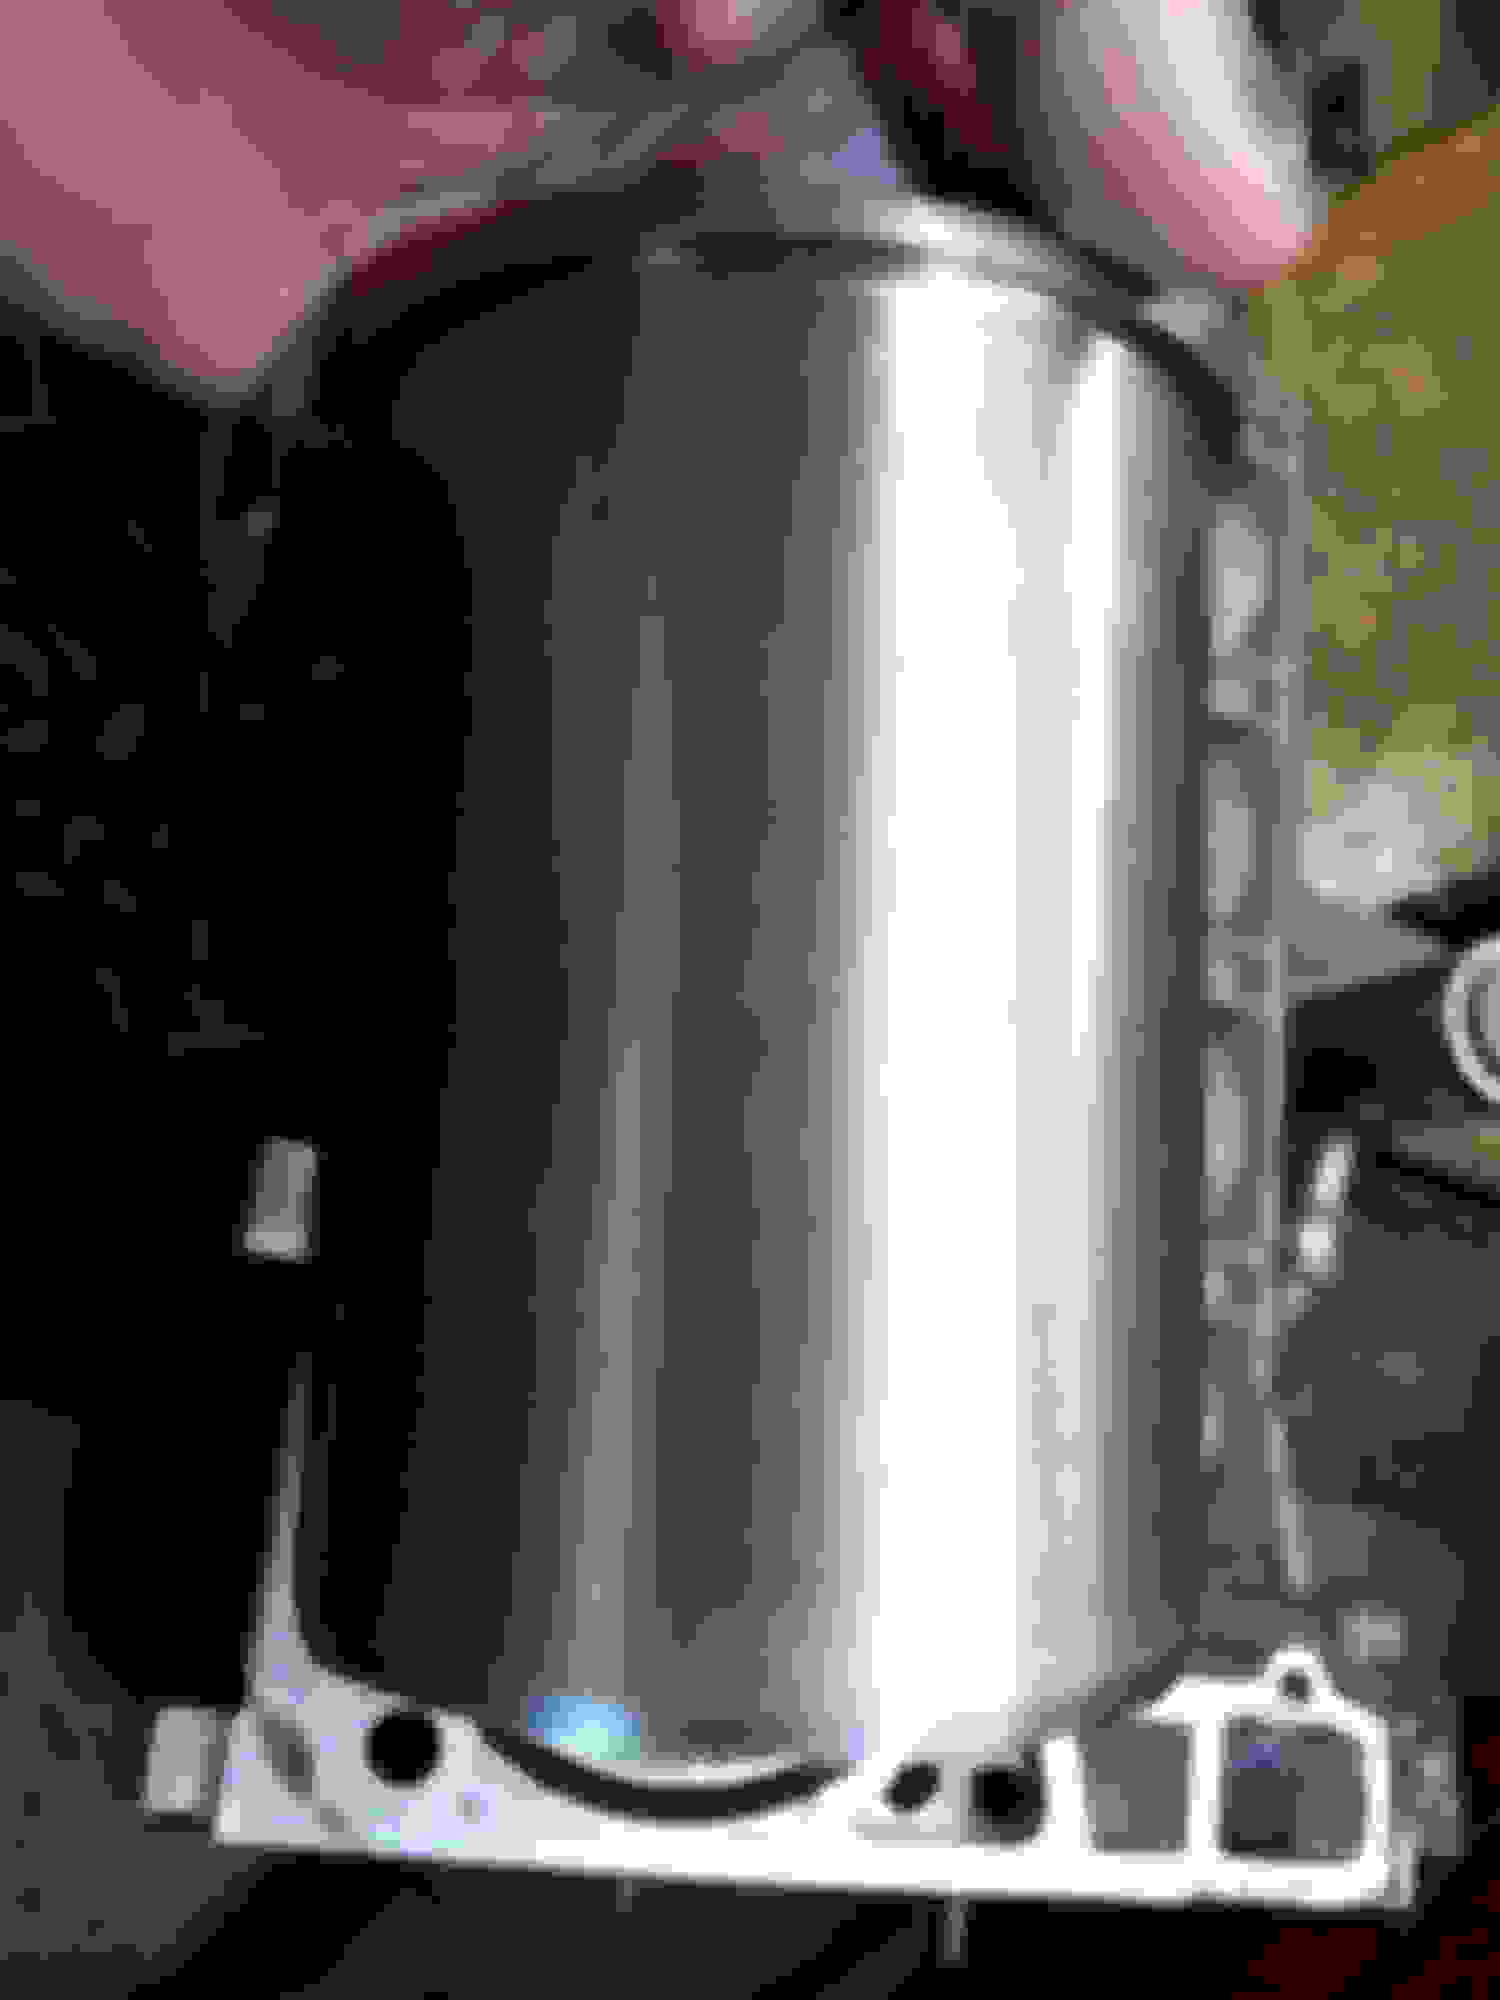
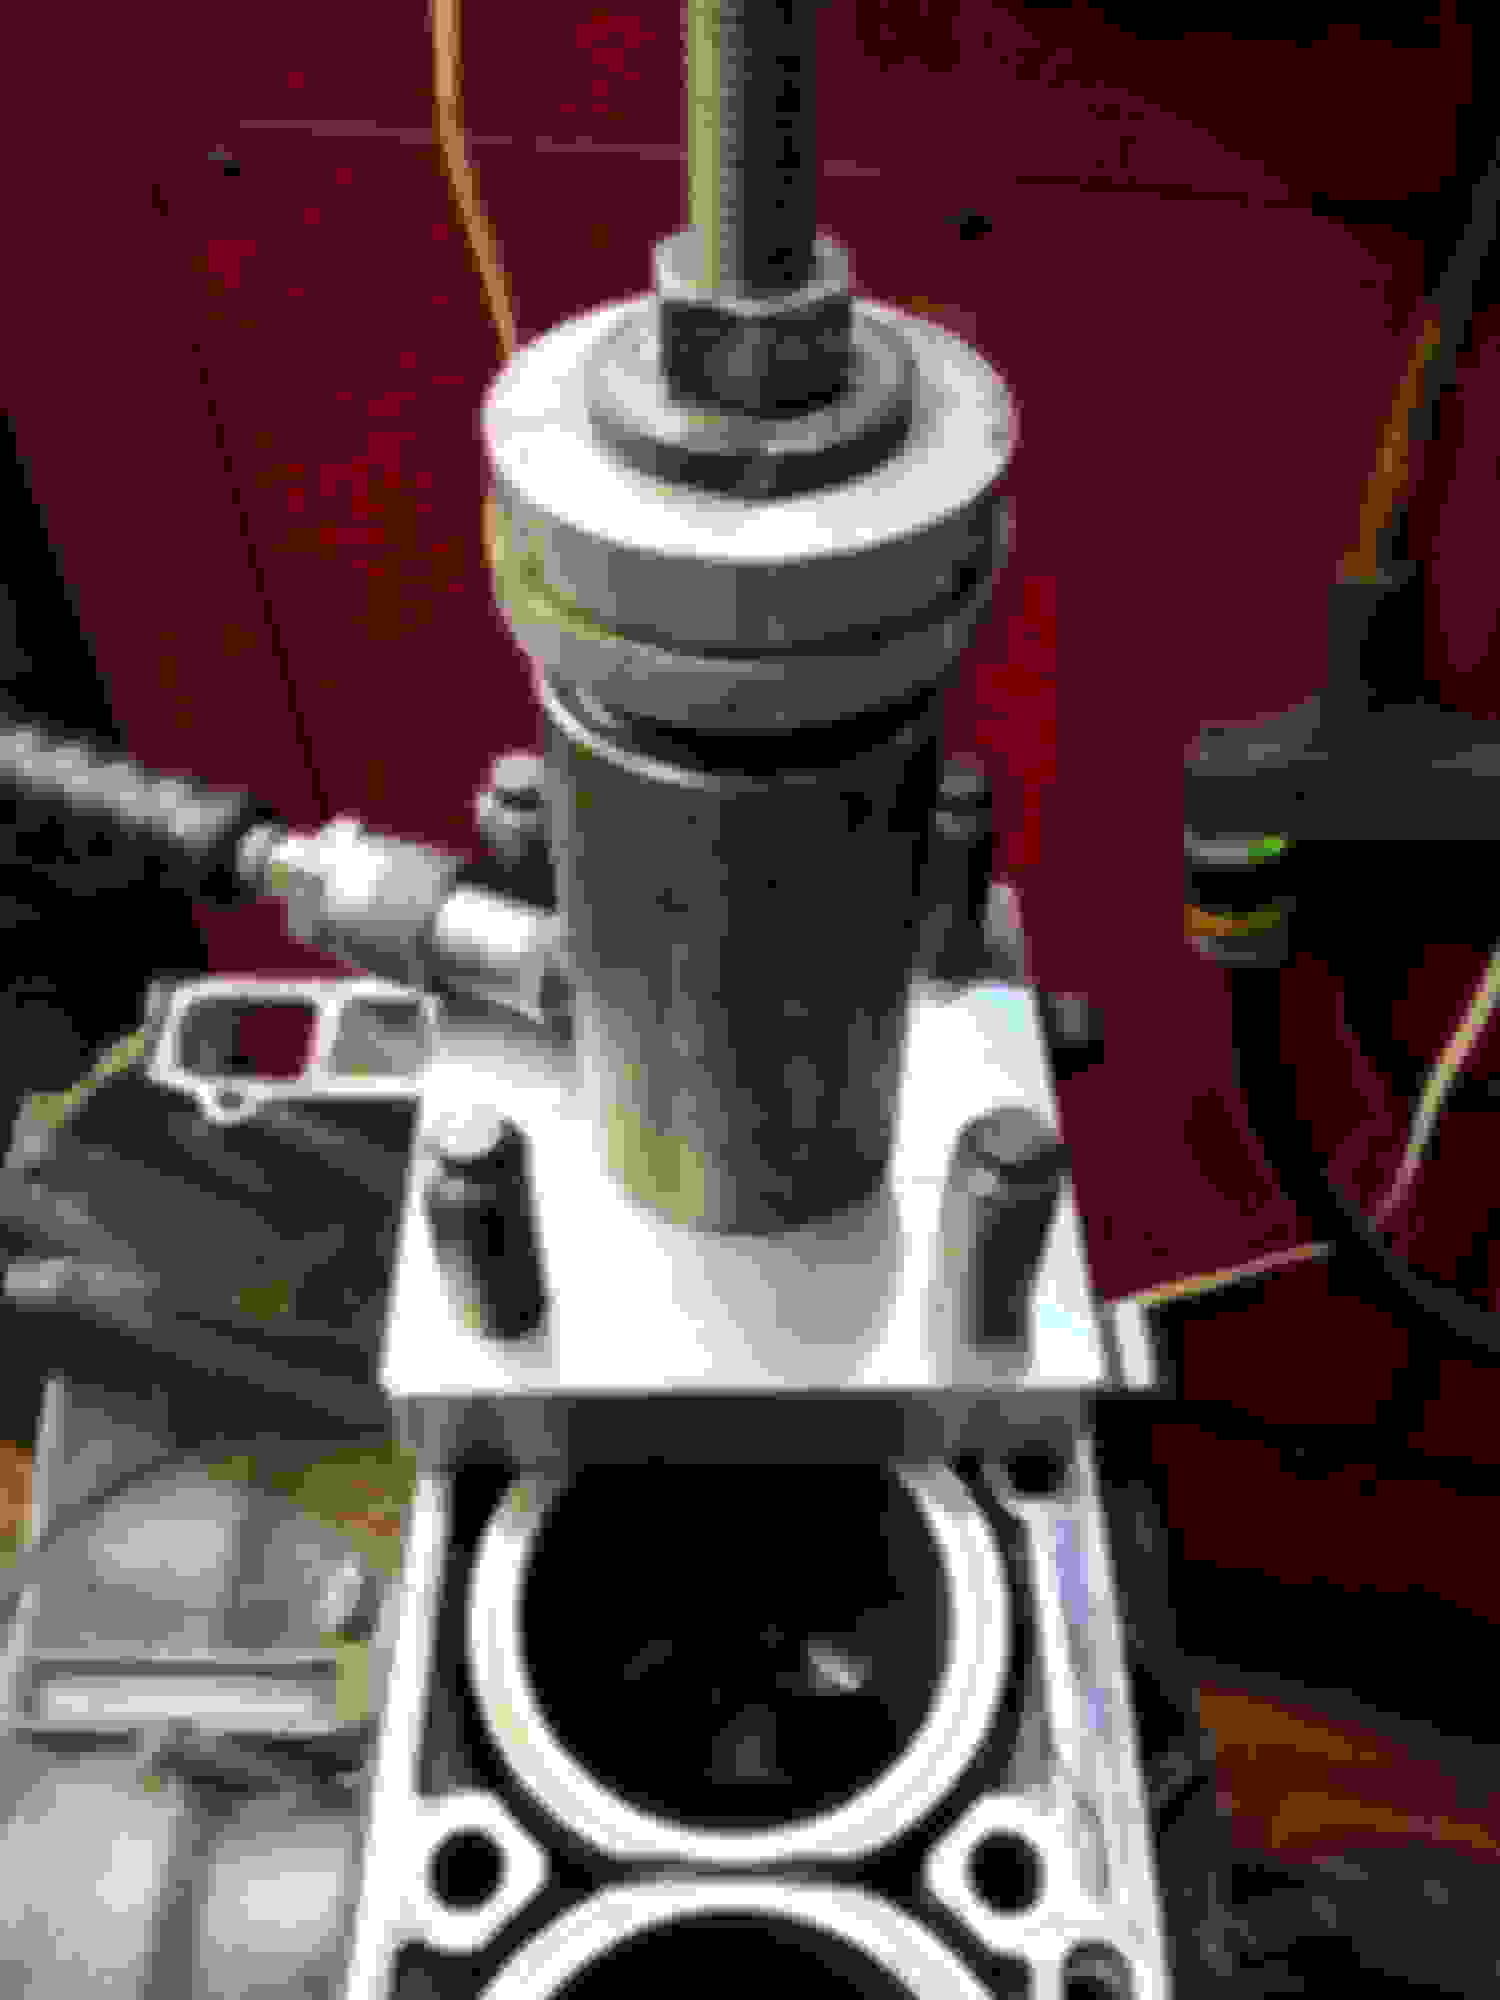
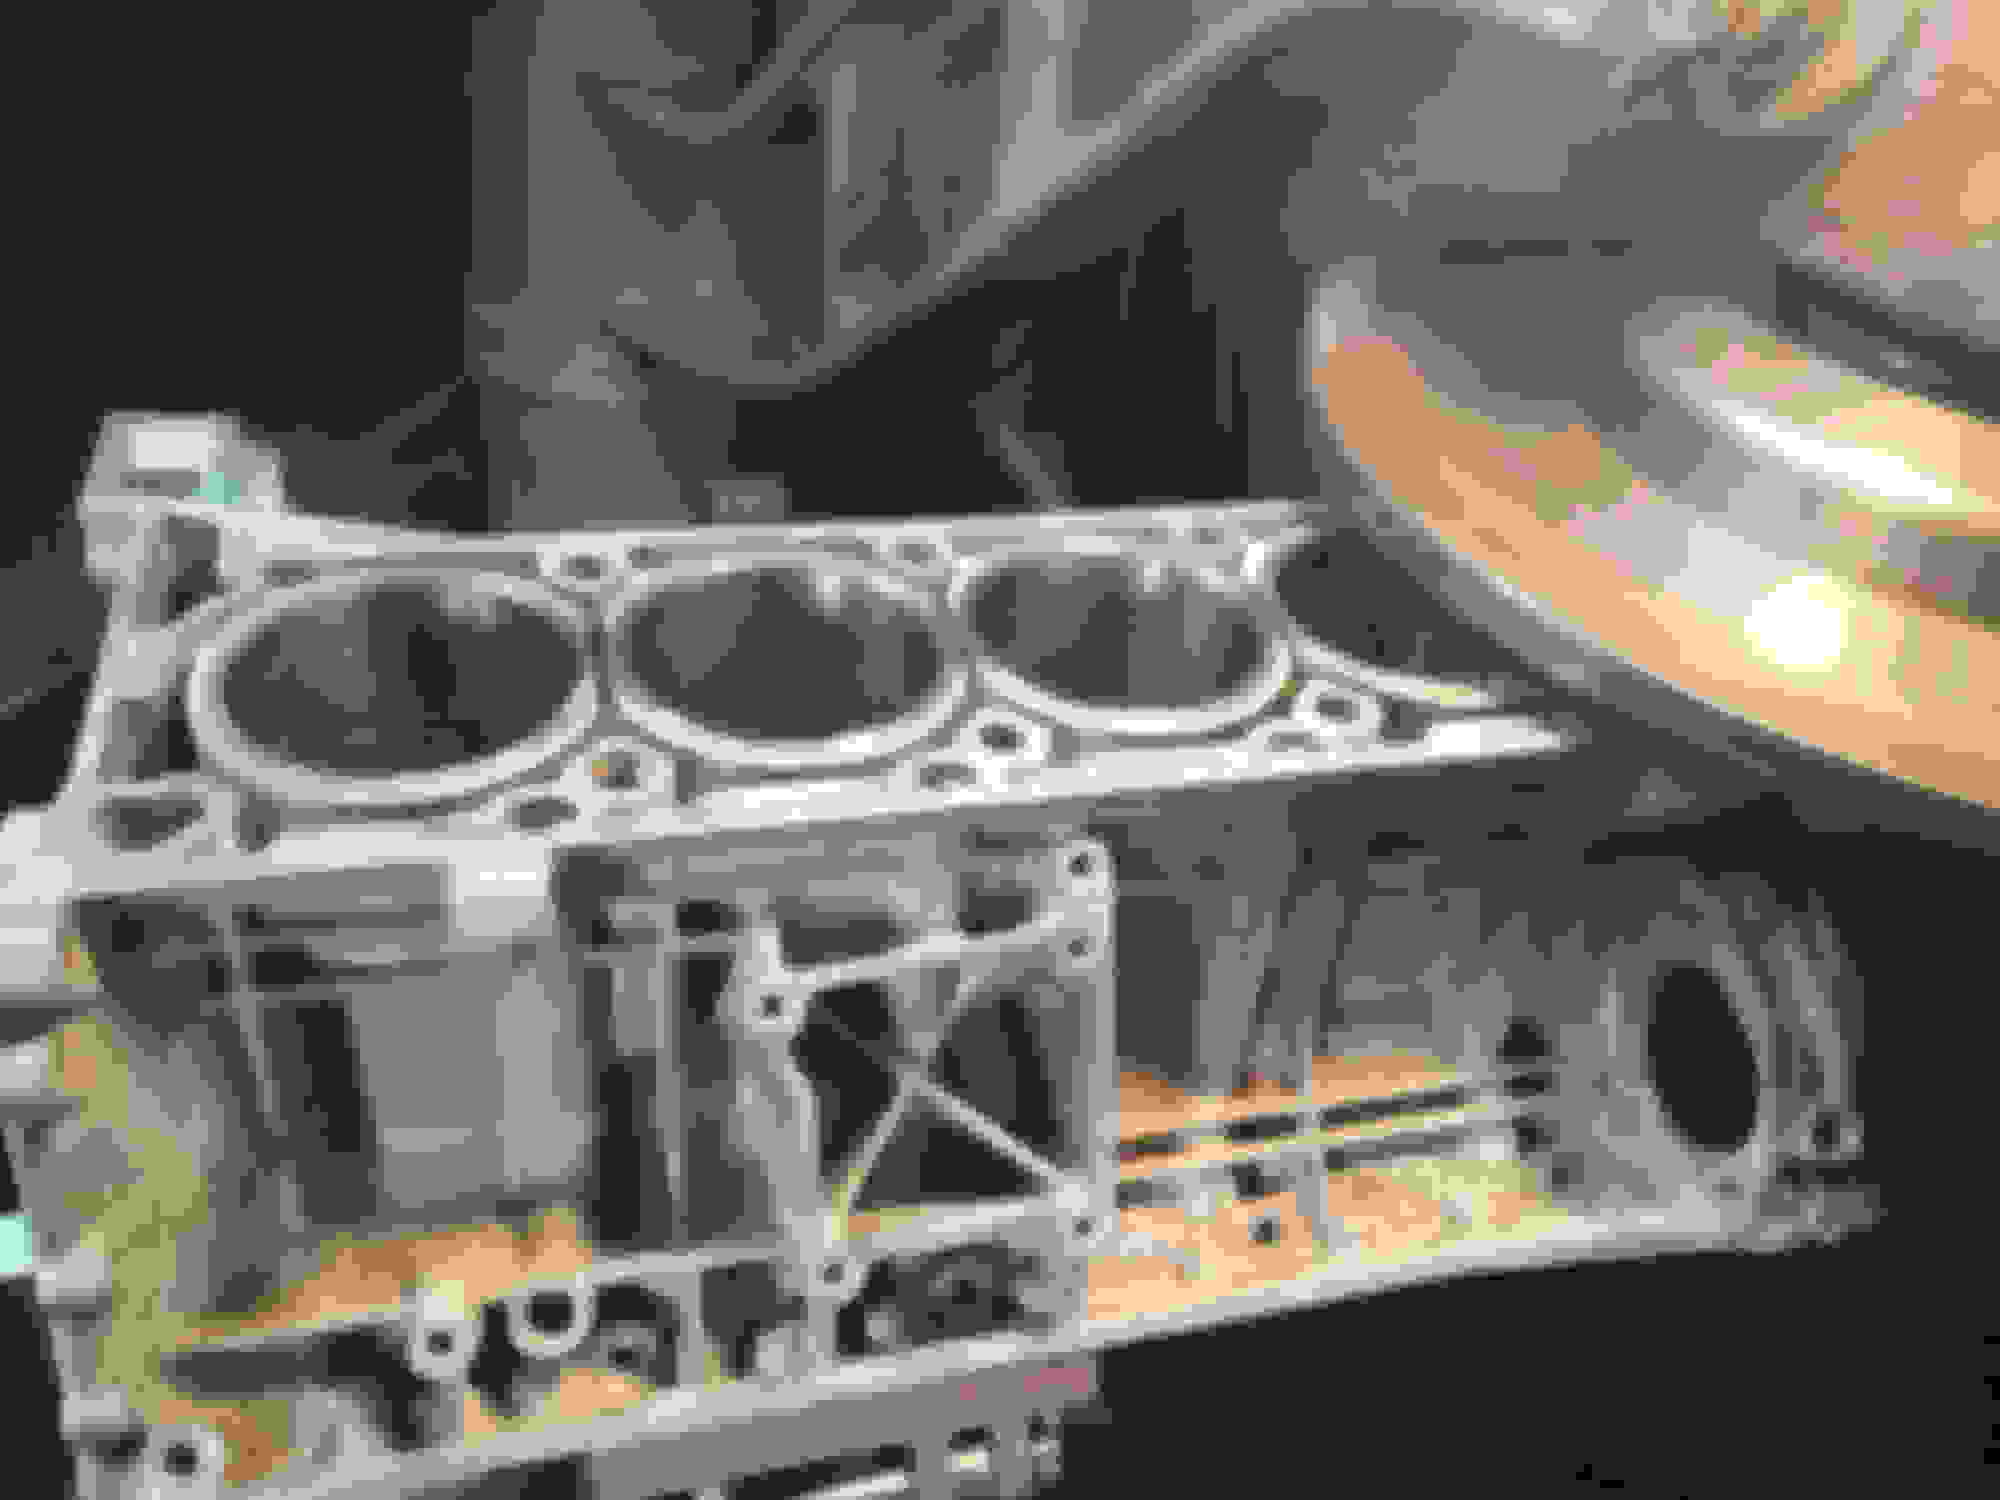
Cylinder liner is hand slide in place and pressed in to make sure that liner flange is laying on the engine block and no drop-in will occur after some engine runtime. I used some custom made fixtures and hand-held press. It takes about 6 hours for retainer to set up. You can accelerate process by using special primer, however i would not recommend that. I used it on one cylinder and had to rebore and repeat installation because liner flange set on solidifier retainer instead of engine block
You can do either way. I did some coyote block couple months ago with 1000+ hp and sleeve manufacturer recommended gluing sleeves instead pressing on. Gluing things makes easier. Normally when you pressing sleeves you need to have both surfaces polished to increase thermal contact. With glue - no need to do so since glue fill all the cavities.
https://www.google.com/amp/s/www.motortrend.com/how-to/1808-how-and-why-to-sleeve-a-coyote-block/amp
Last edited by arsupisemnet; Oct 13, 2021 at 01:02 PM.
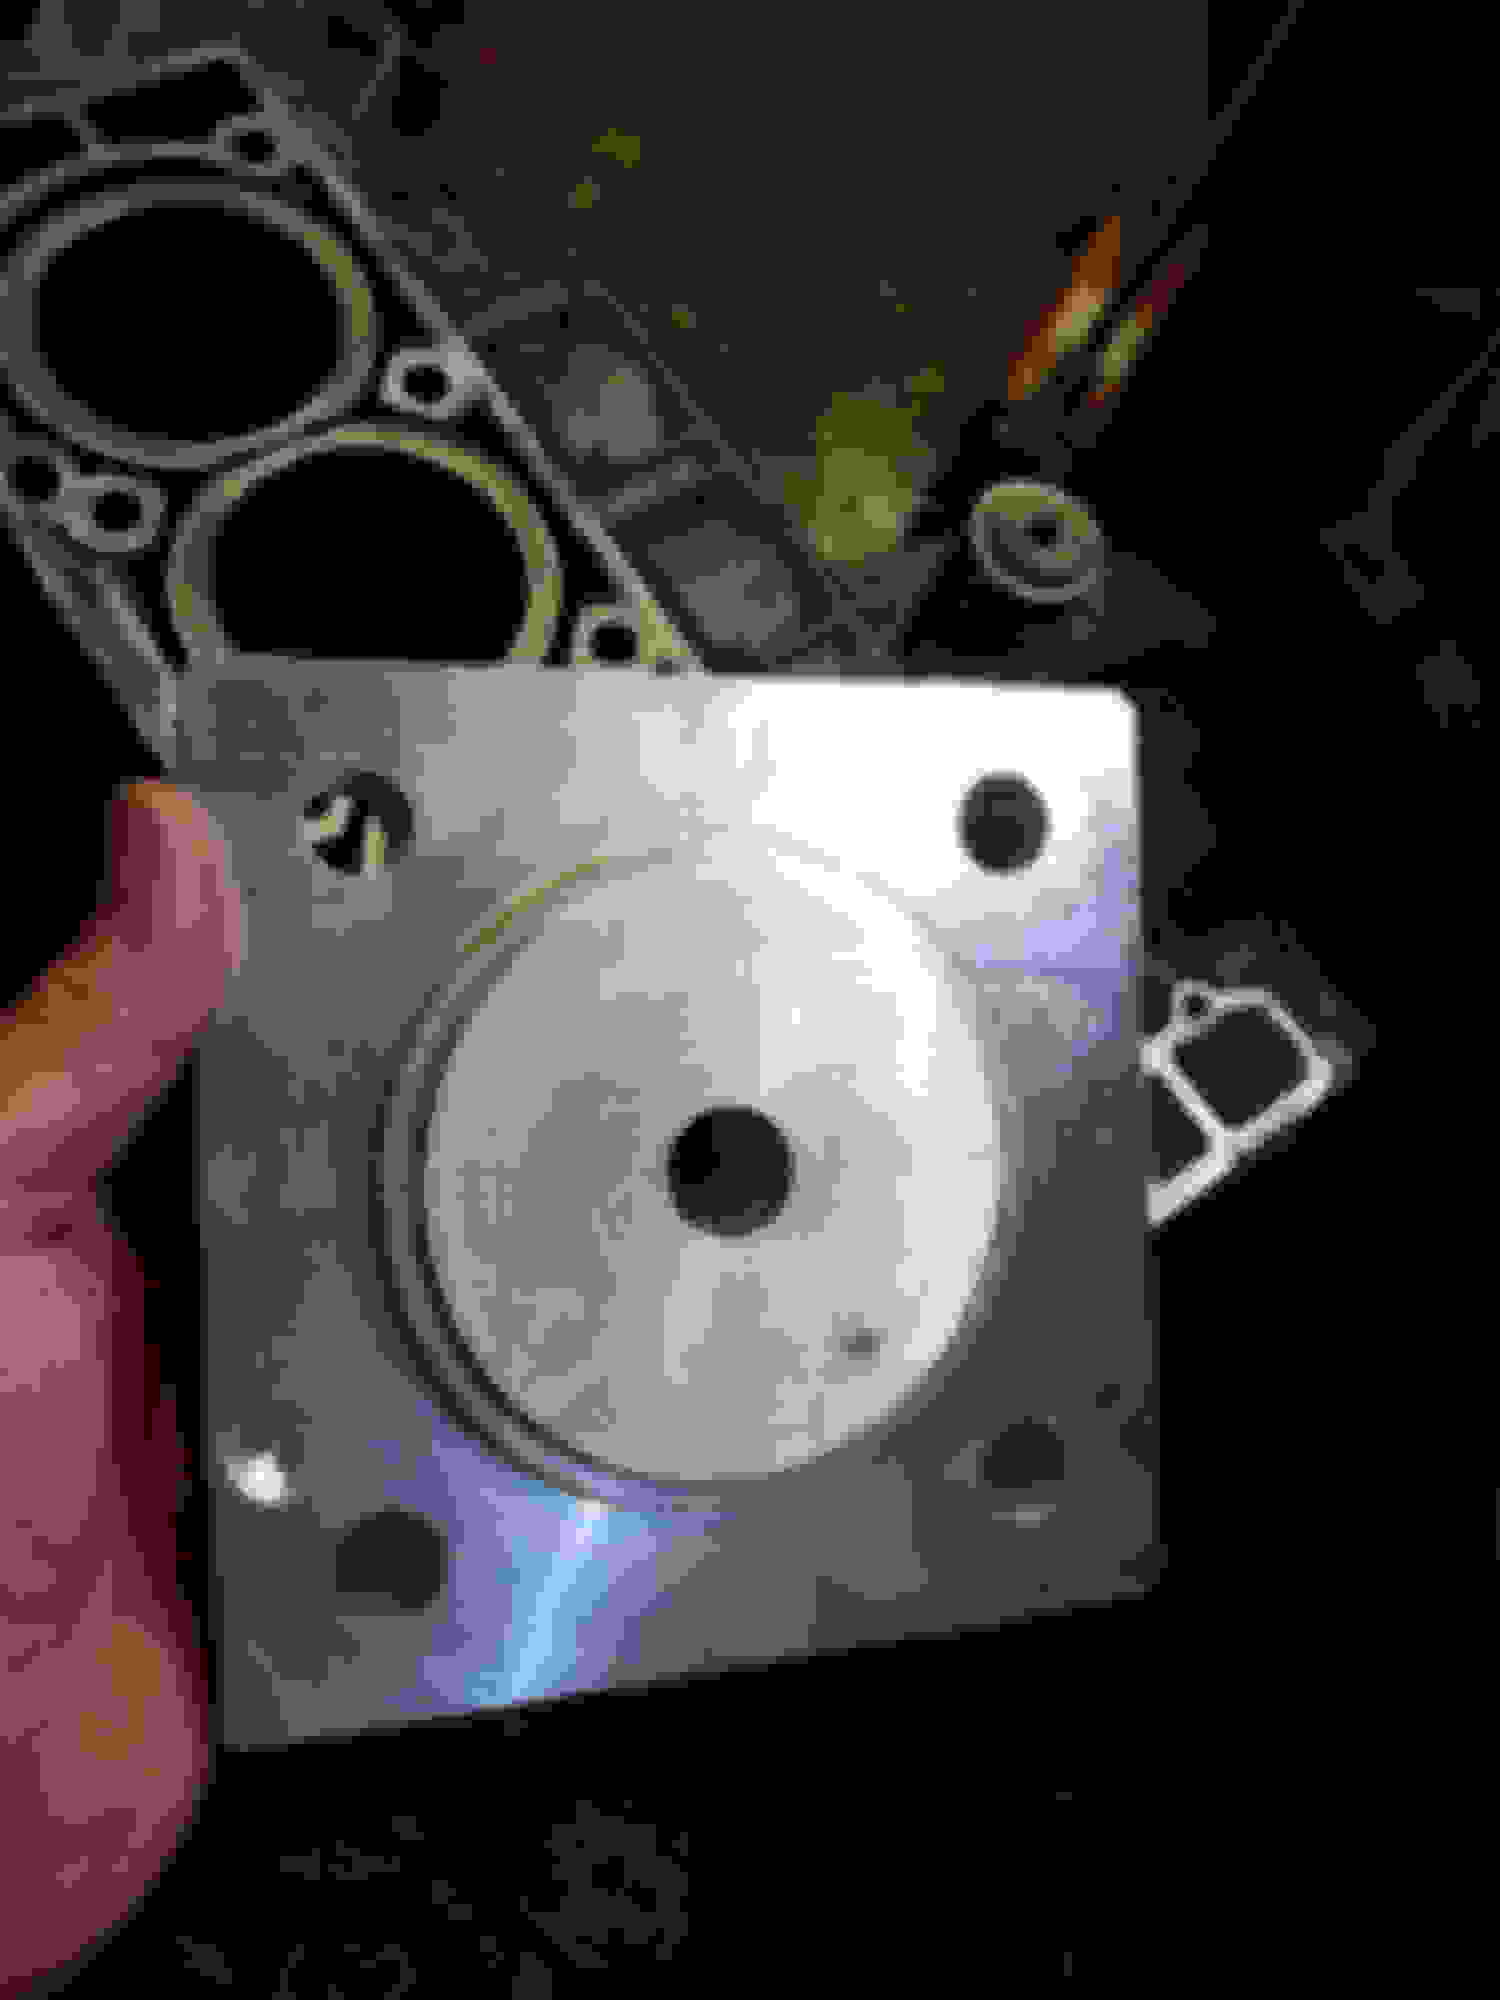
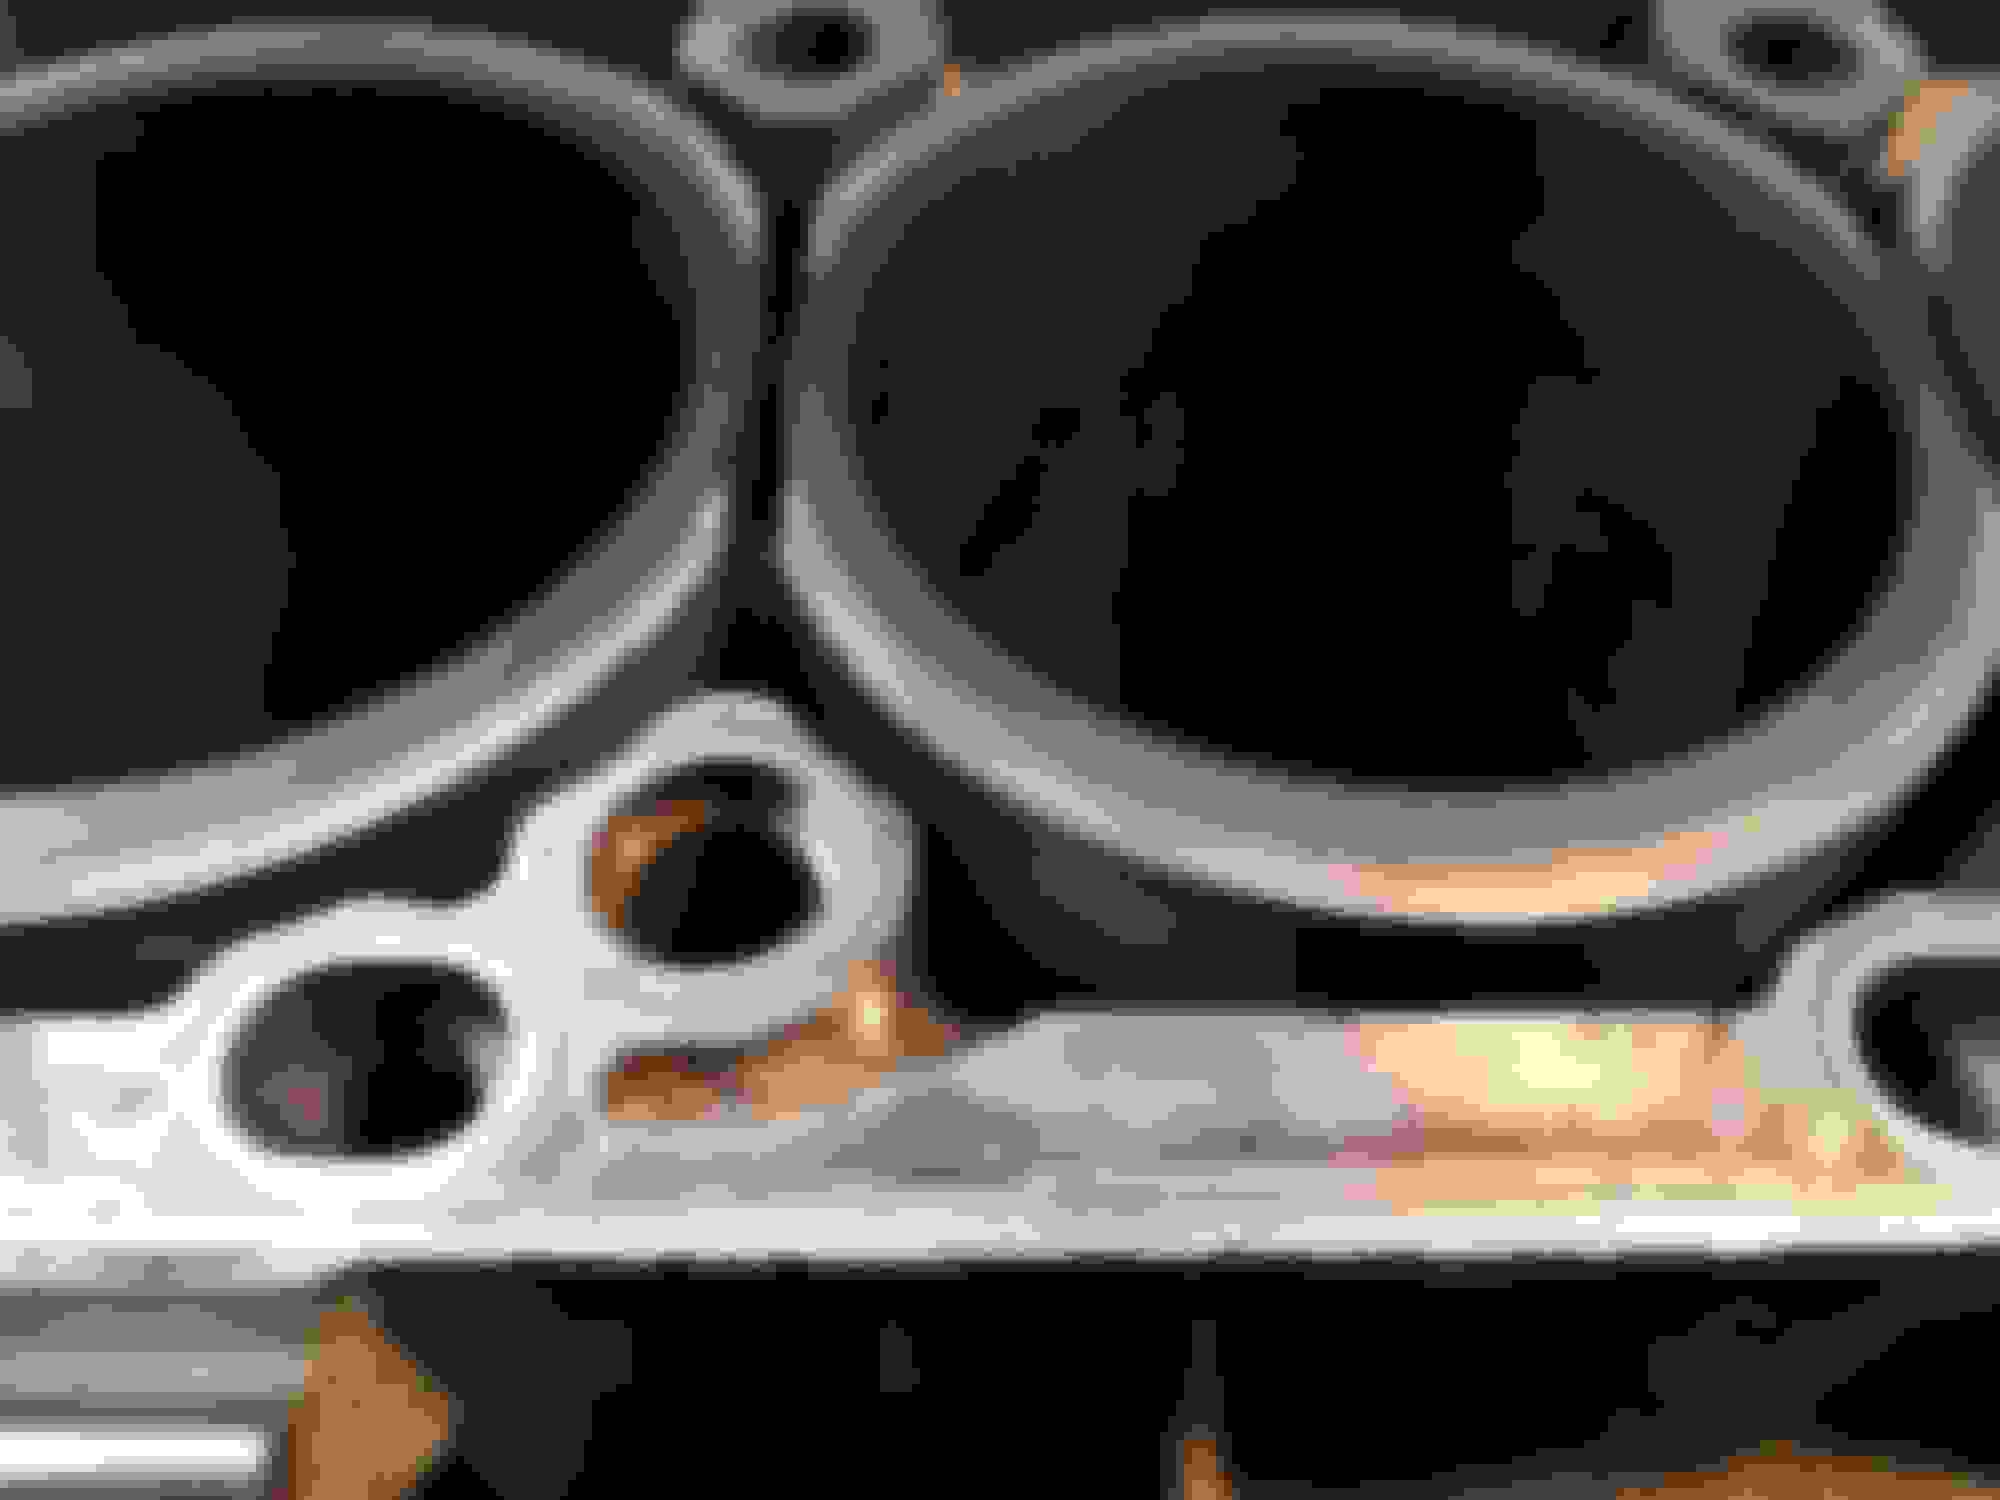
Sleeve flange decking. Sleeve flange machined to 0.0015 inch above engine block deck for extra seal and possible (not probable since flange sitting on the engine block surface) liner sag
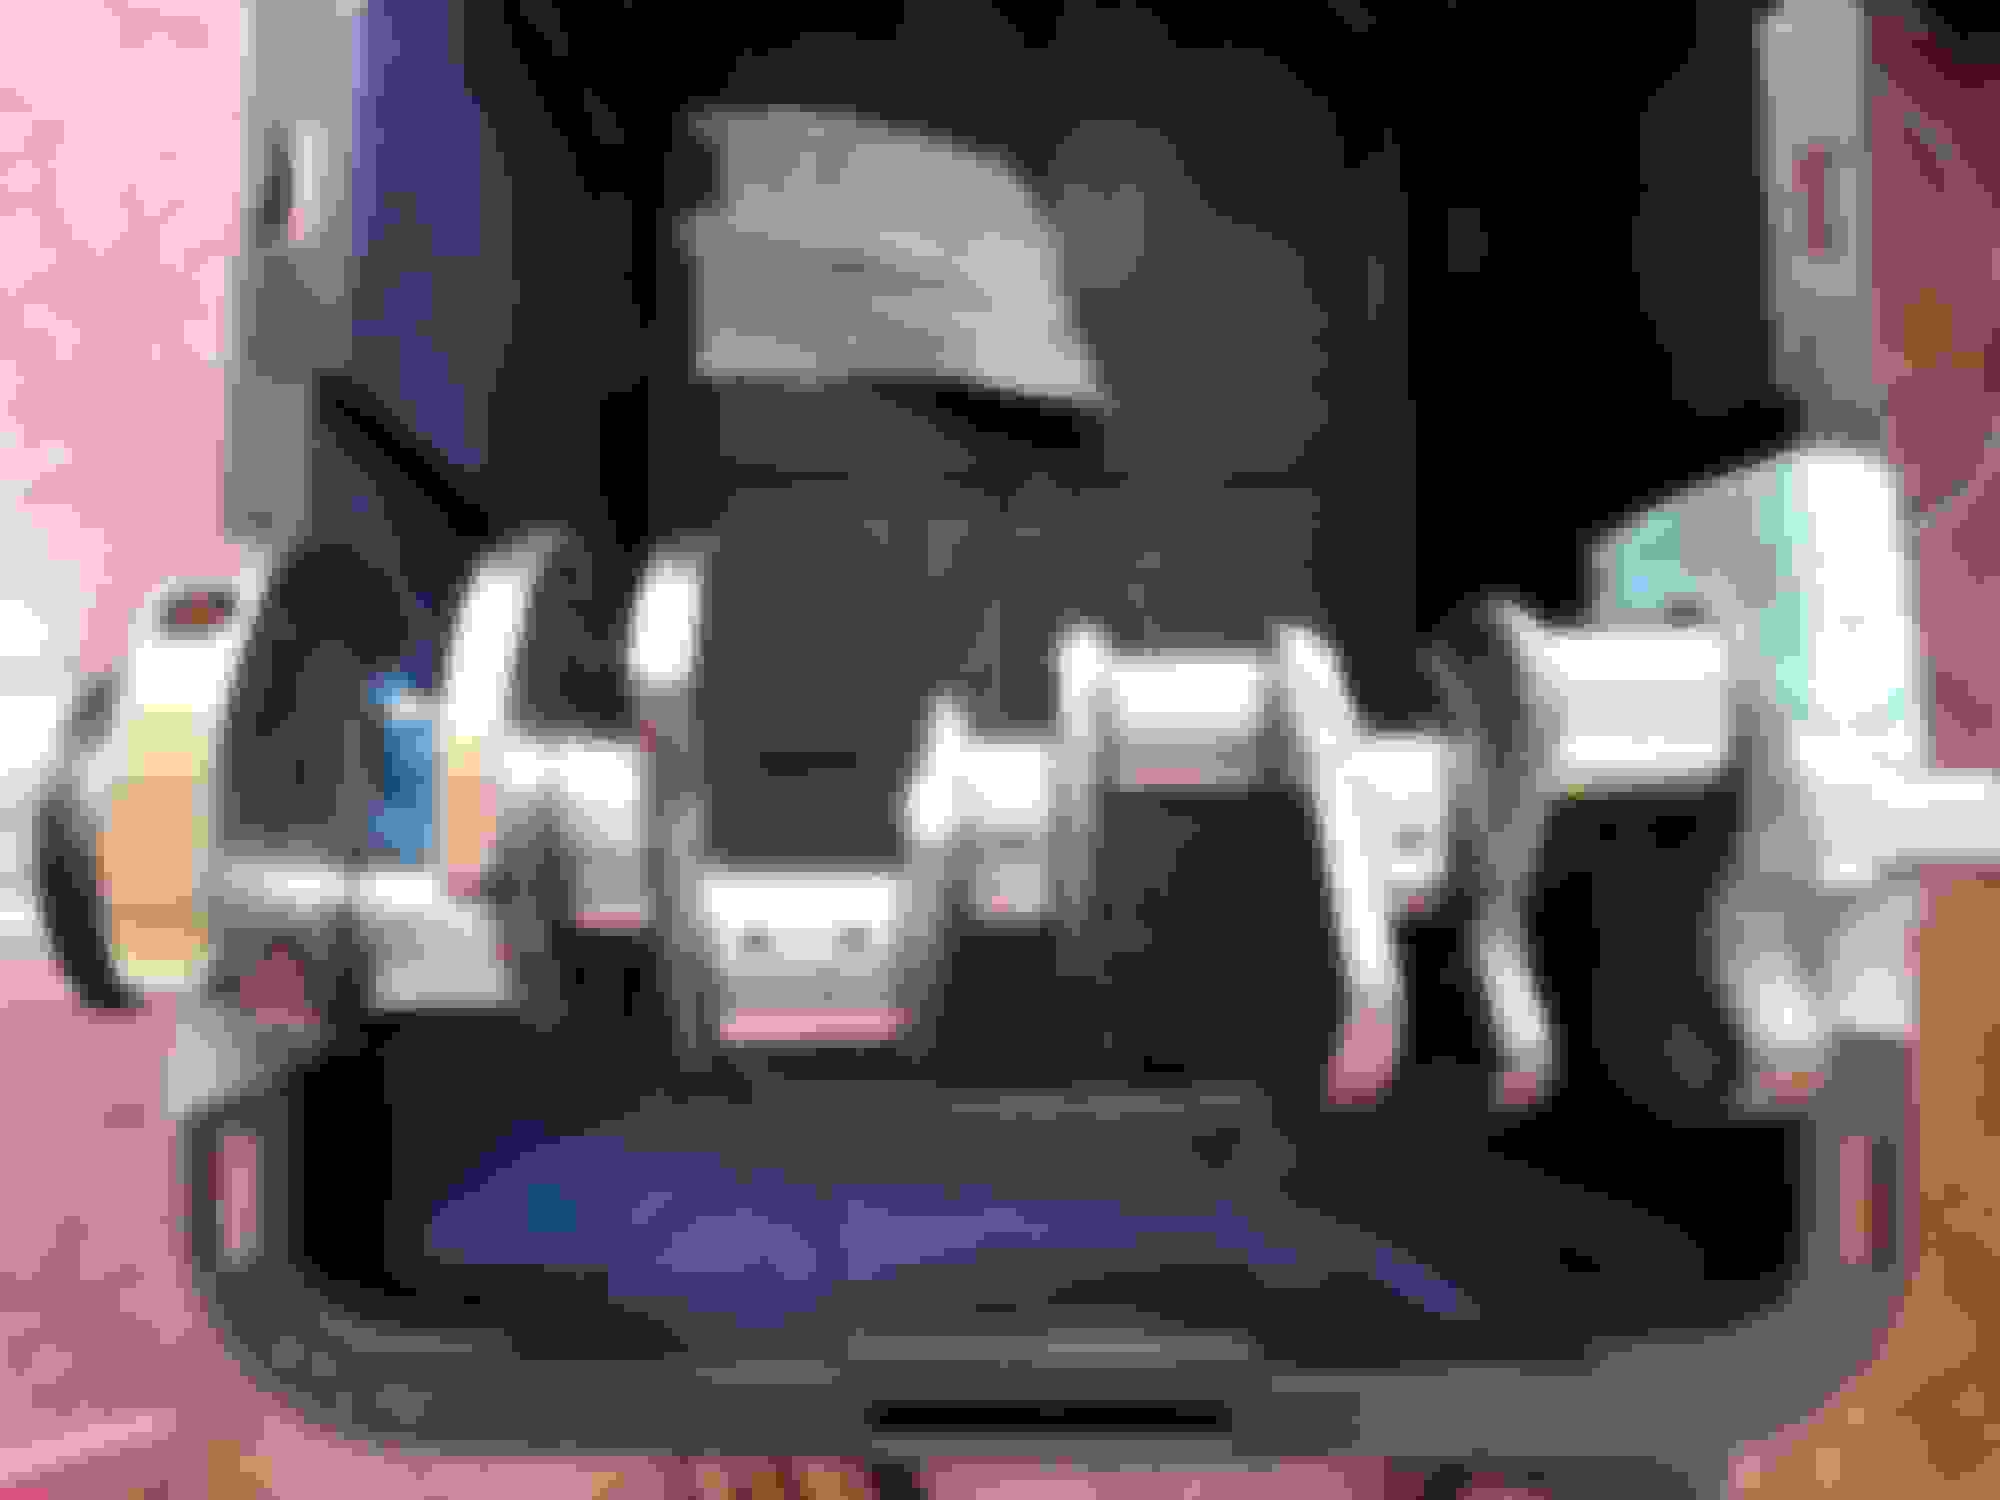
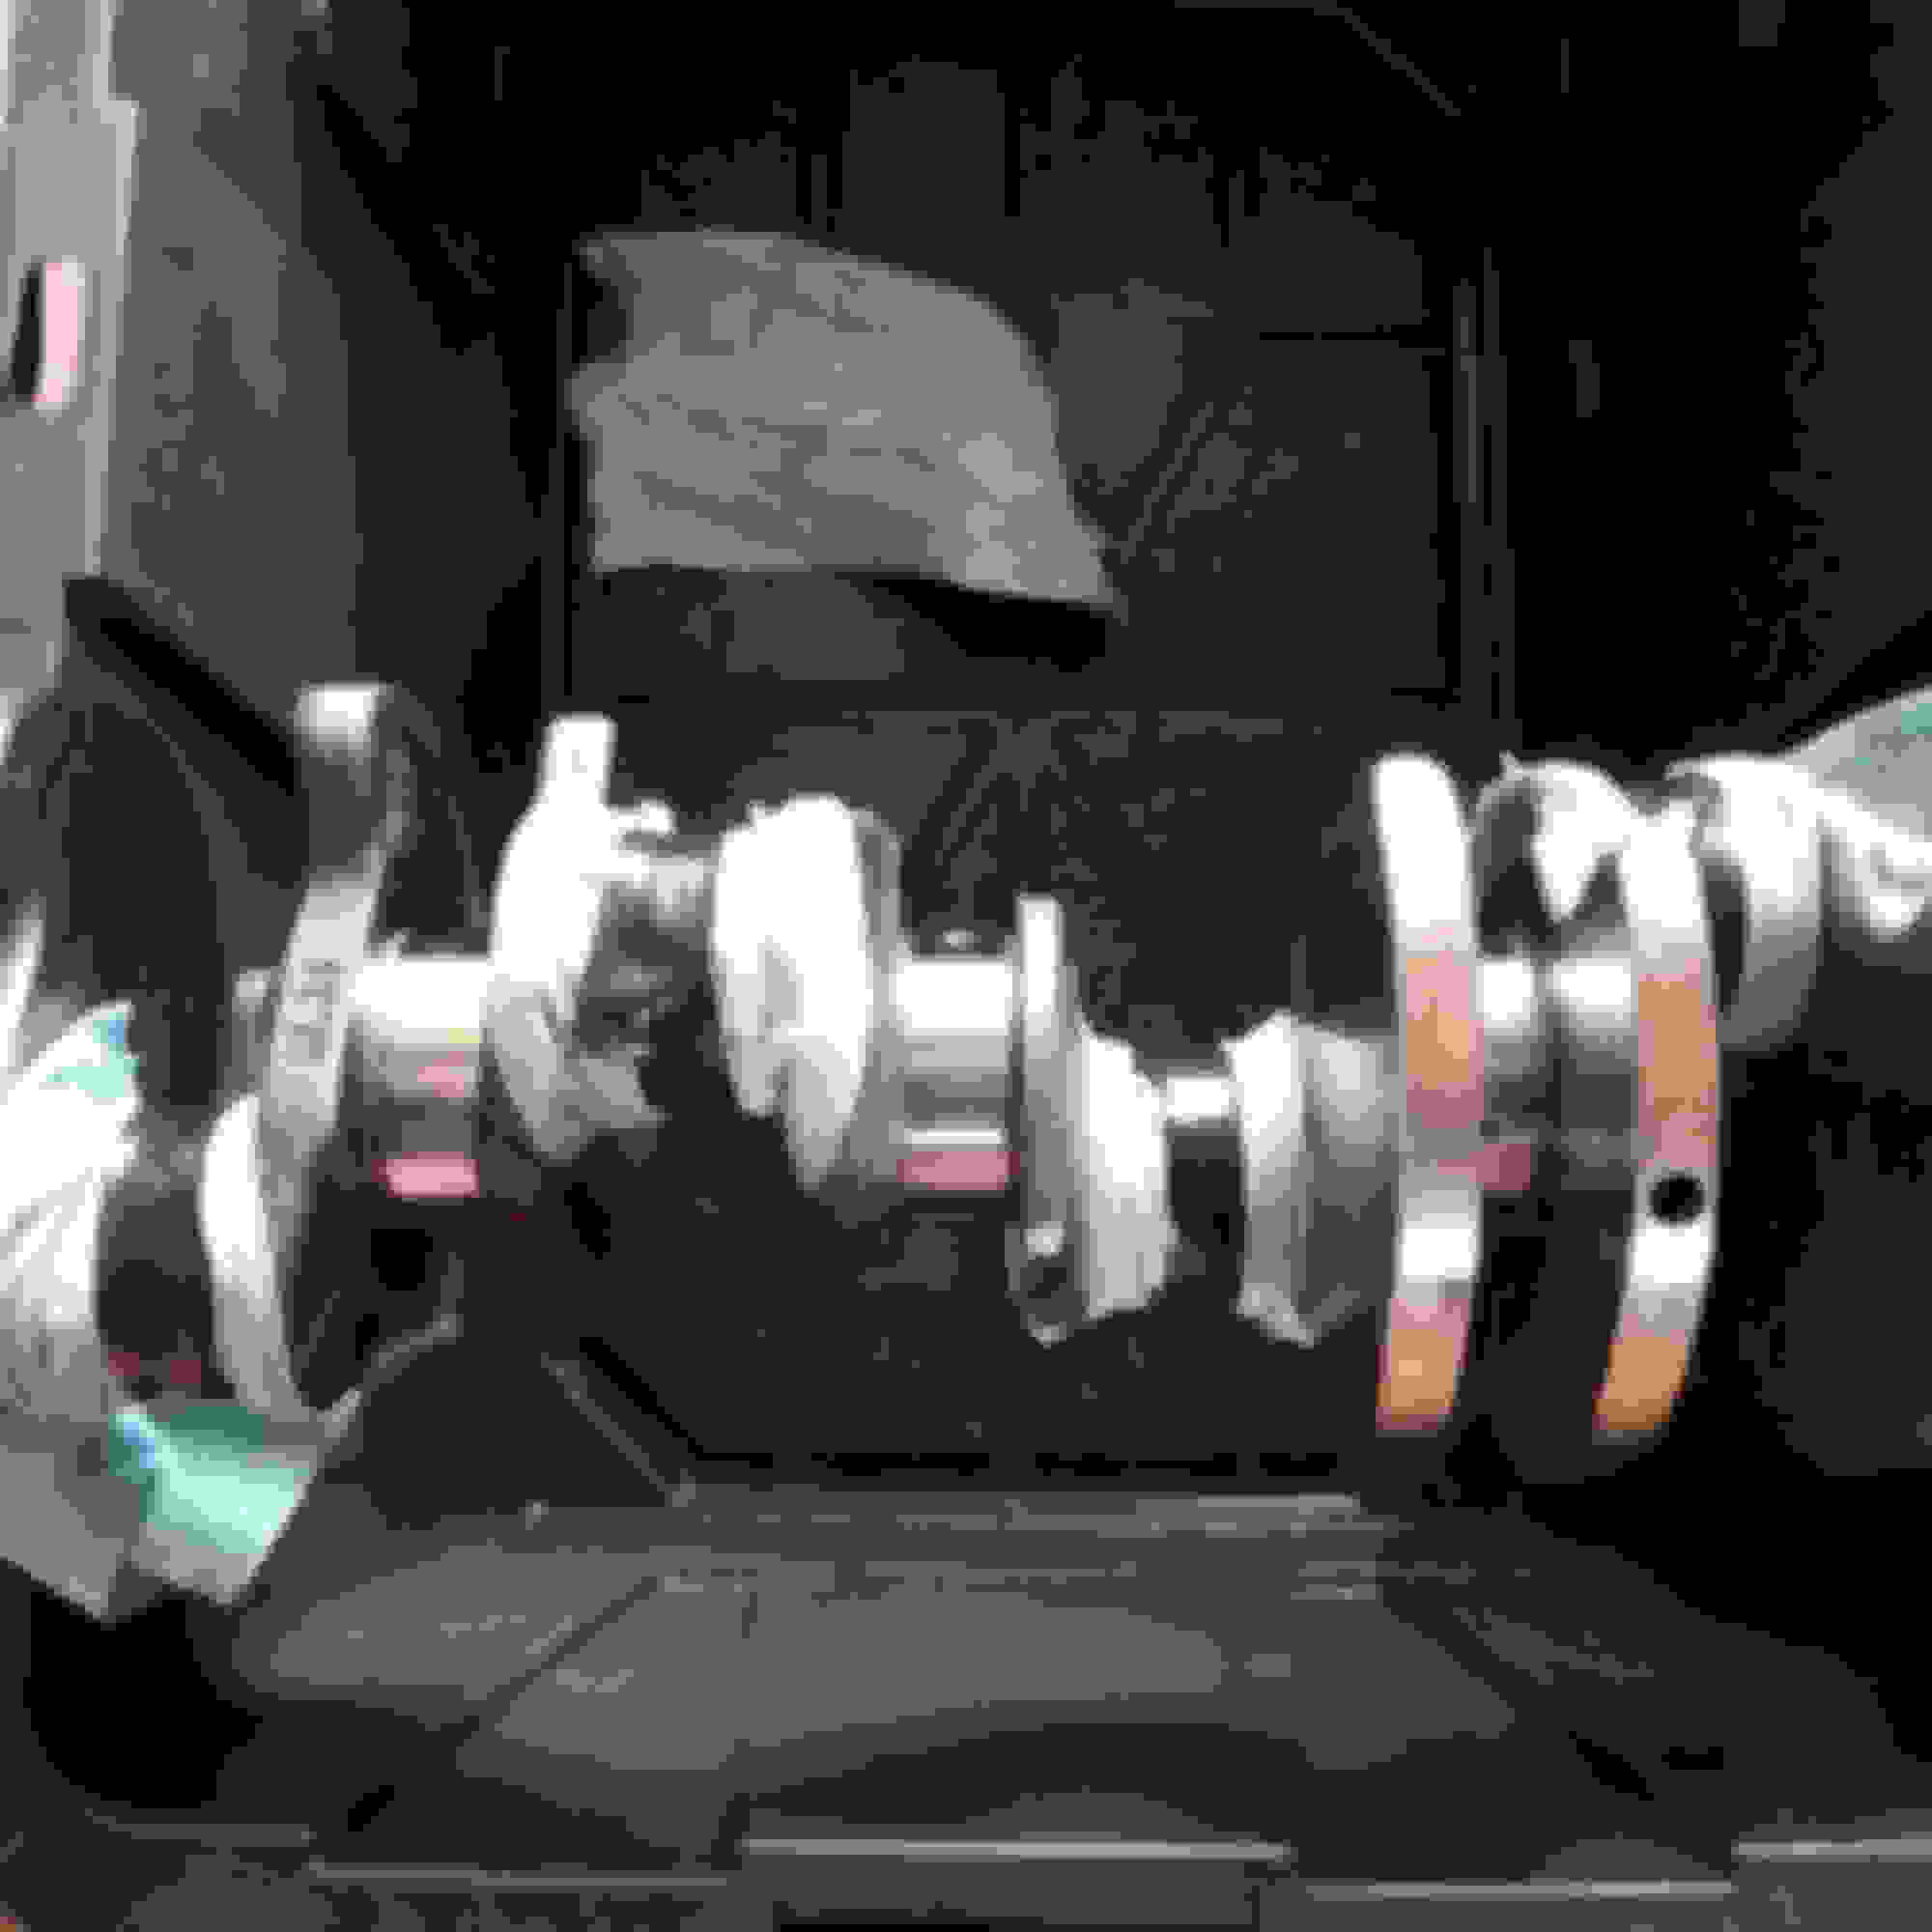
Finally, assembly time. Spend evening scraping all extra glue off the engine block. Mount engine on the stand. Got crankshaft polished, brand new bearings coated with racing coating.
Will be posting more updates.
The engine goes to eBay or i will have another spare engine in my garage in addition to bunch of spare things.
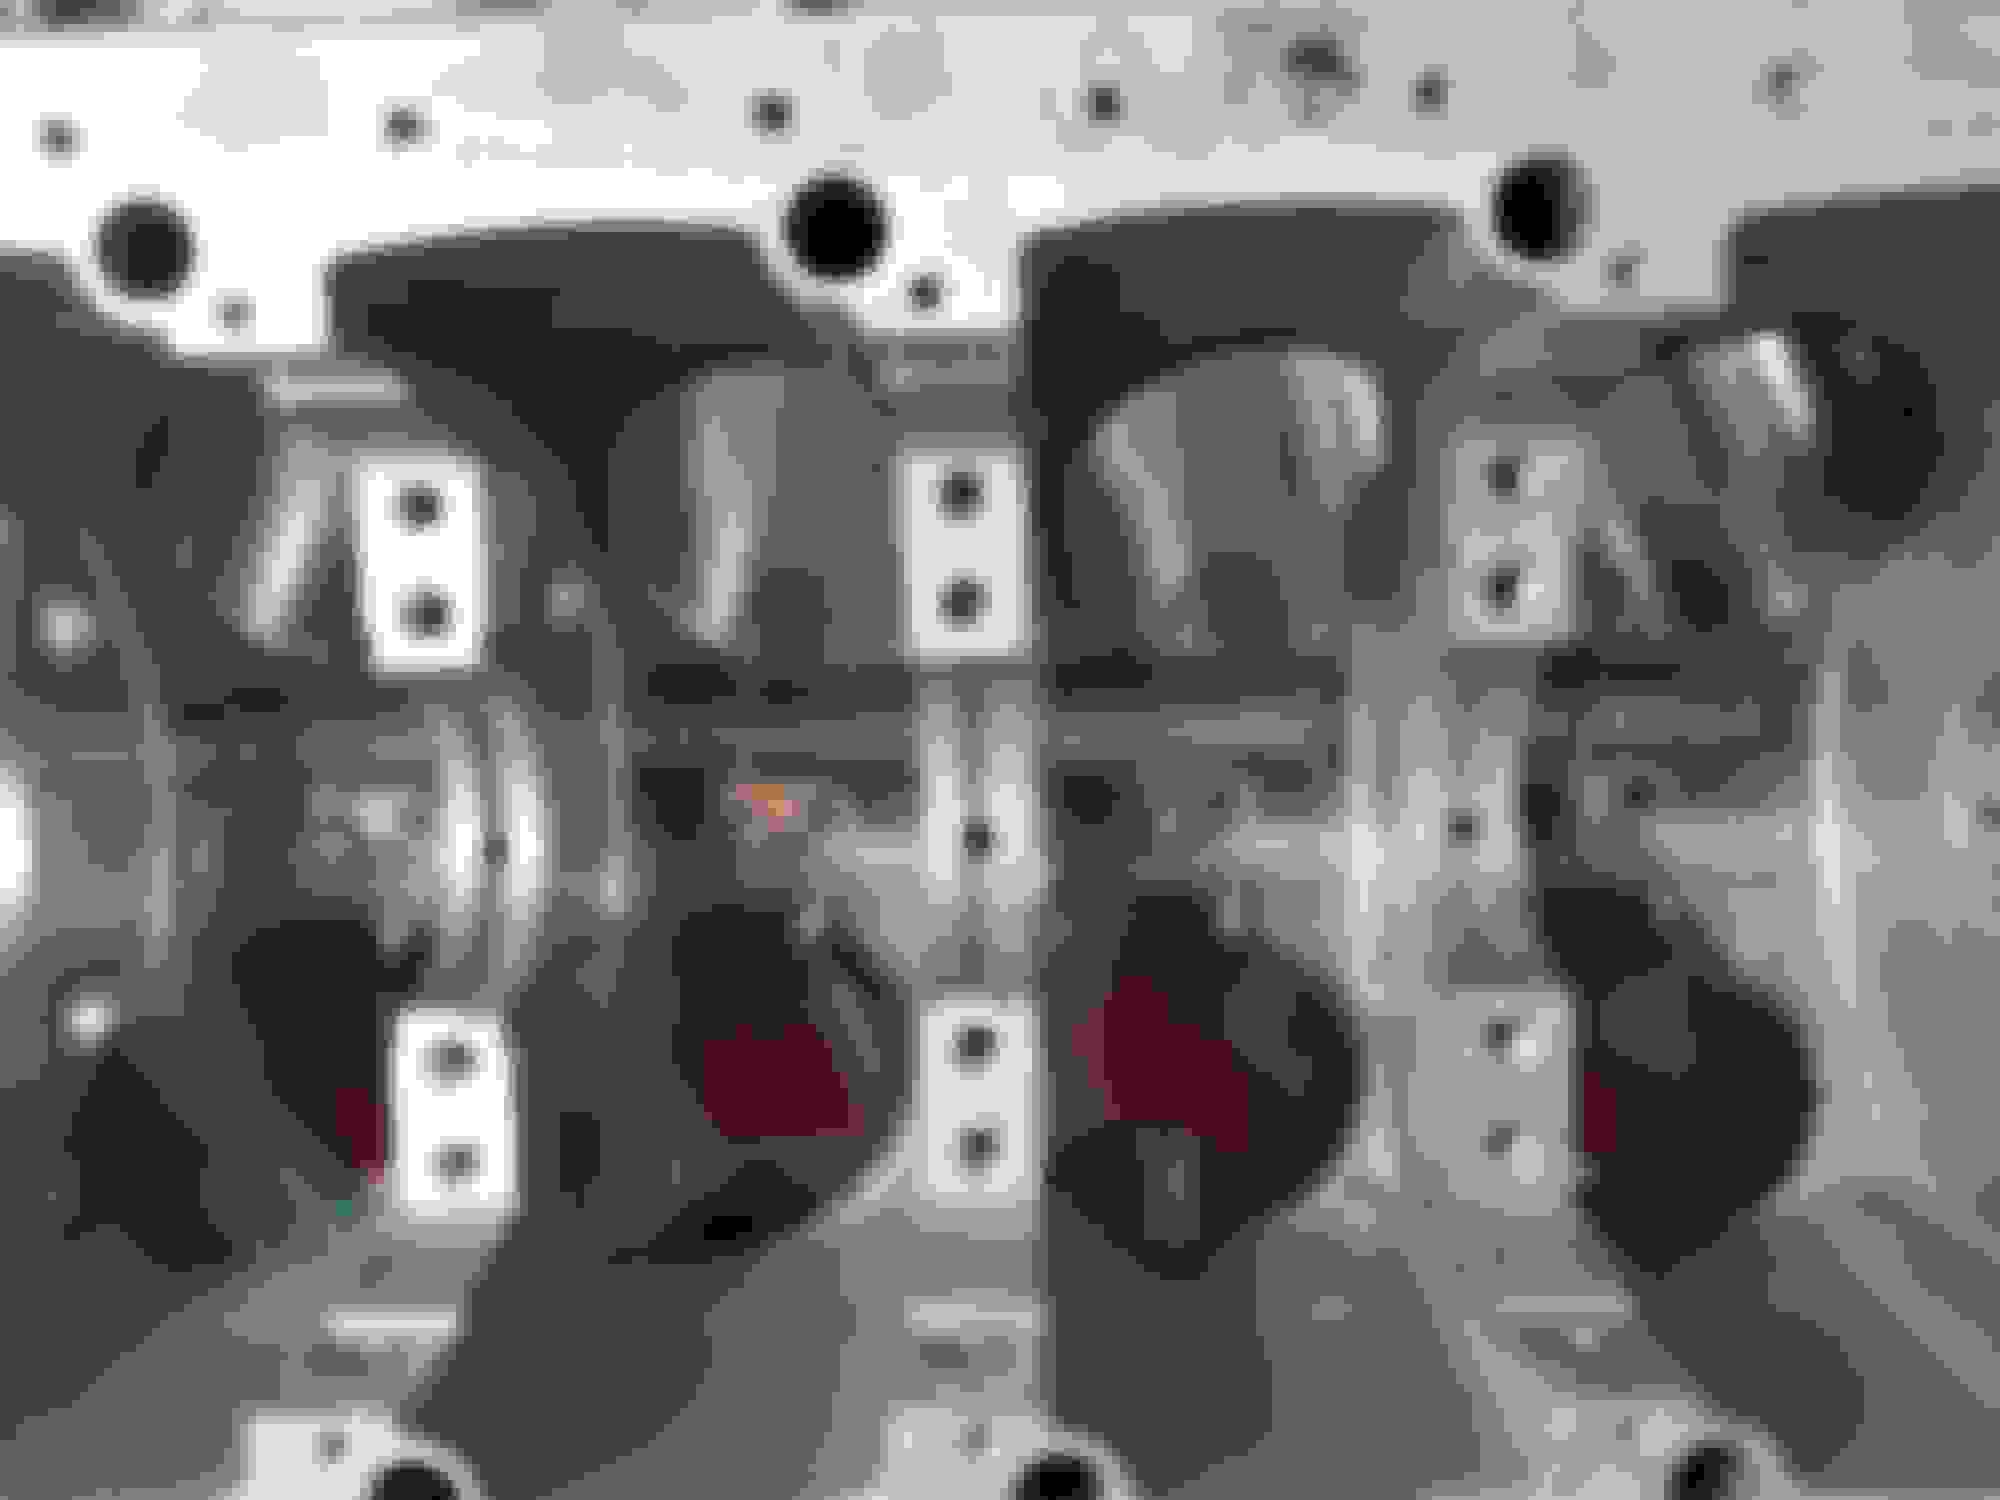
Oil squirters washed and blown with compressor to make sure they function. Added little of sealant around o-rings just in case.
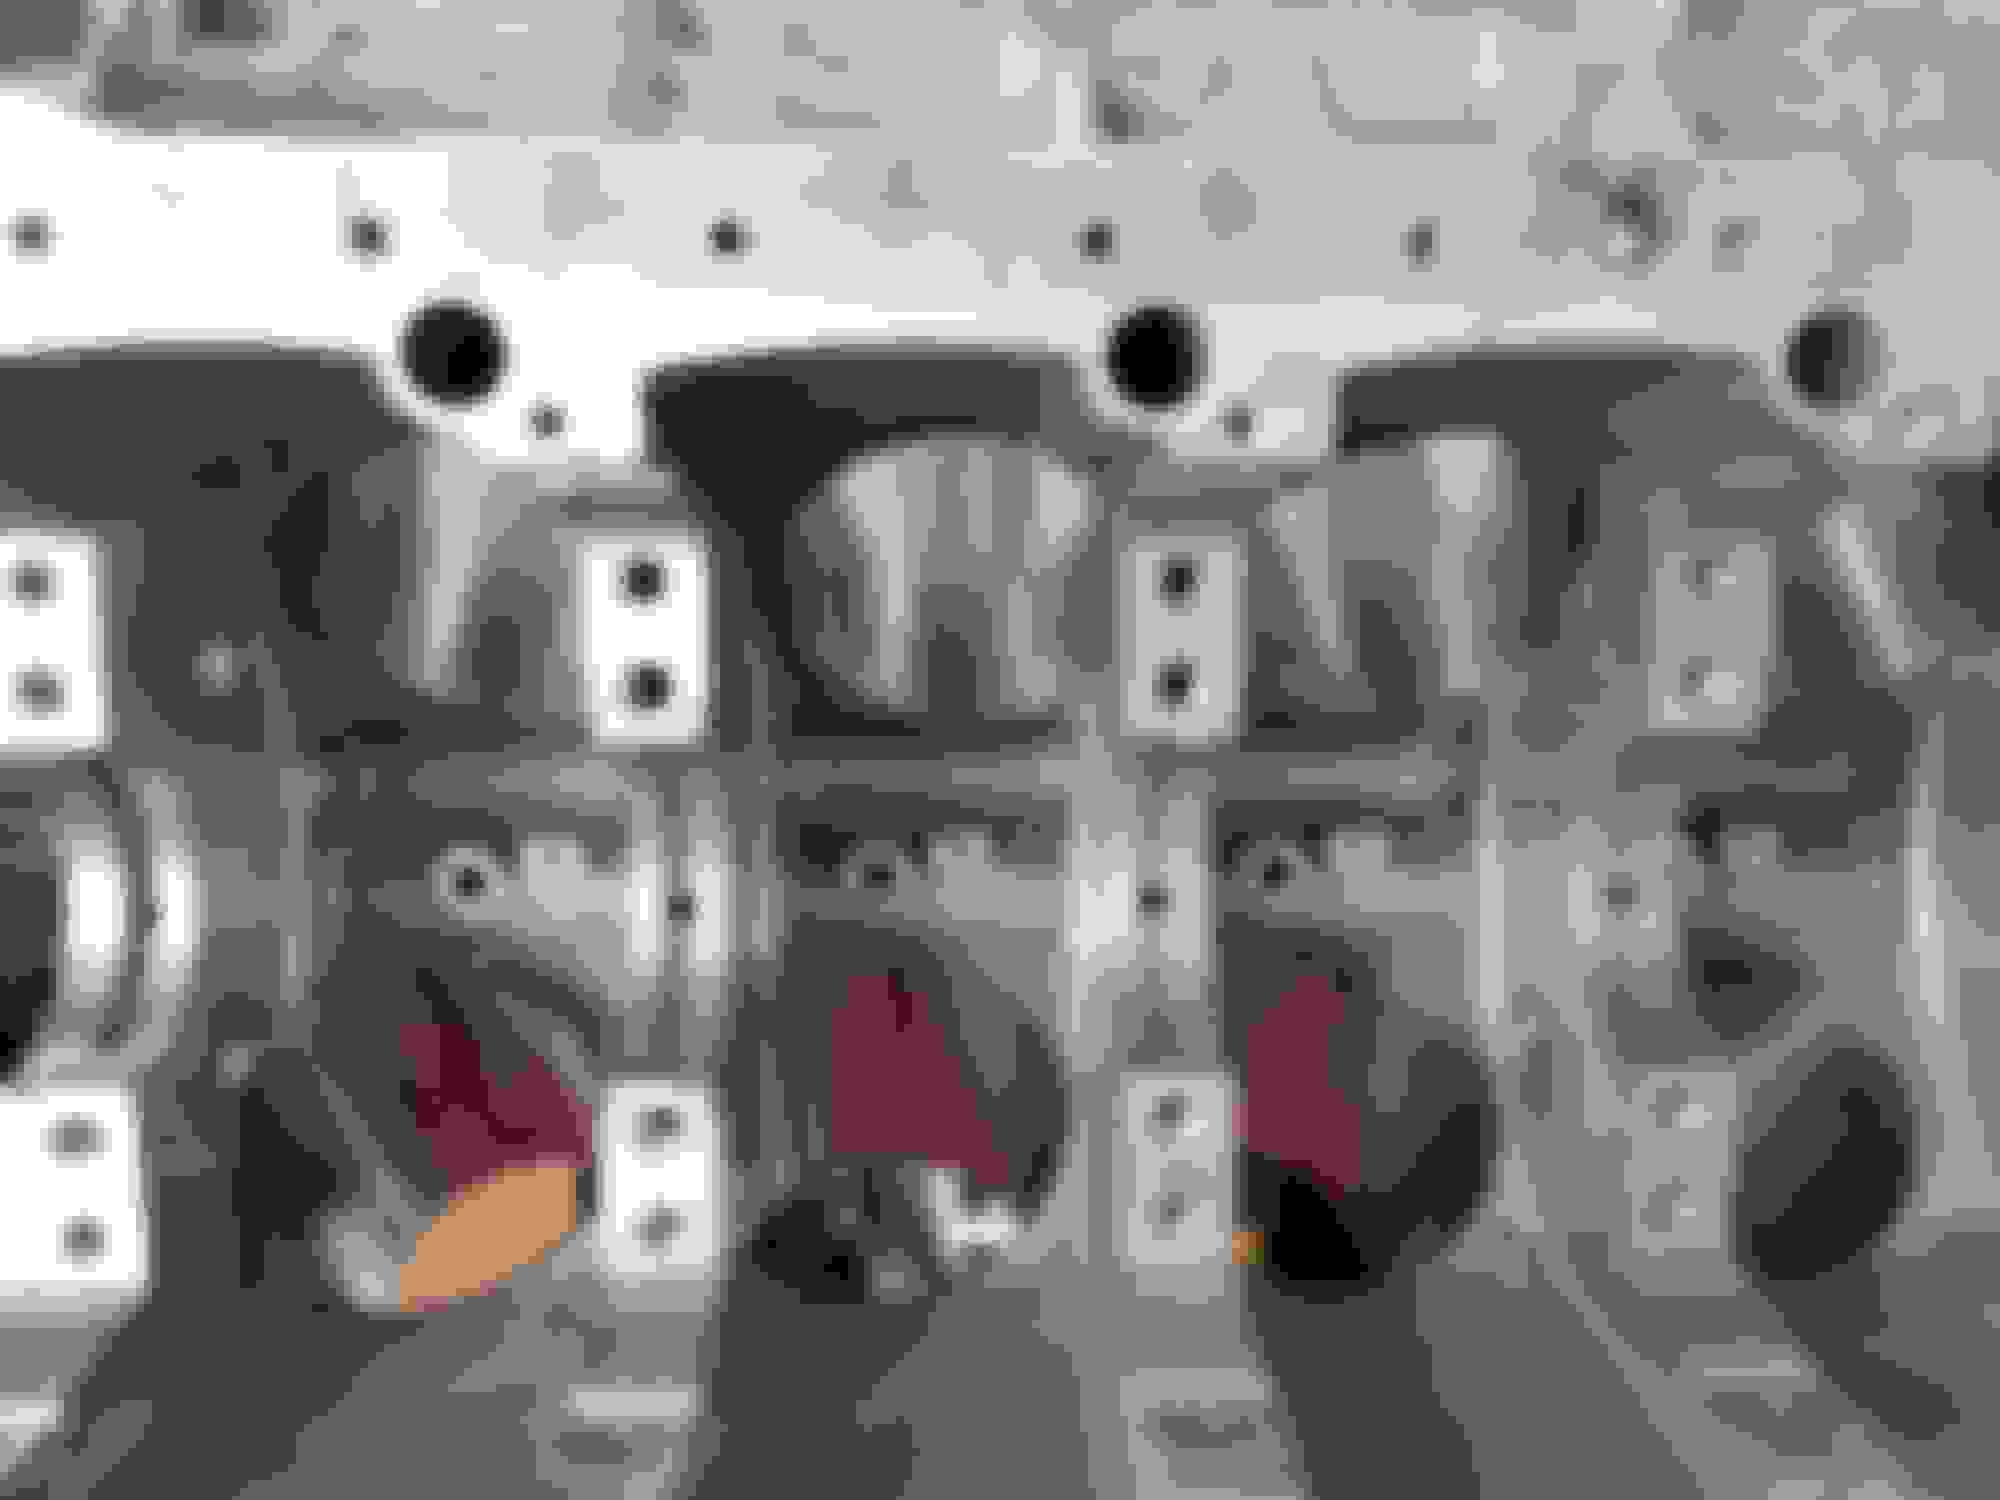
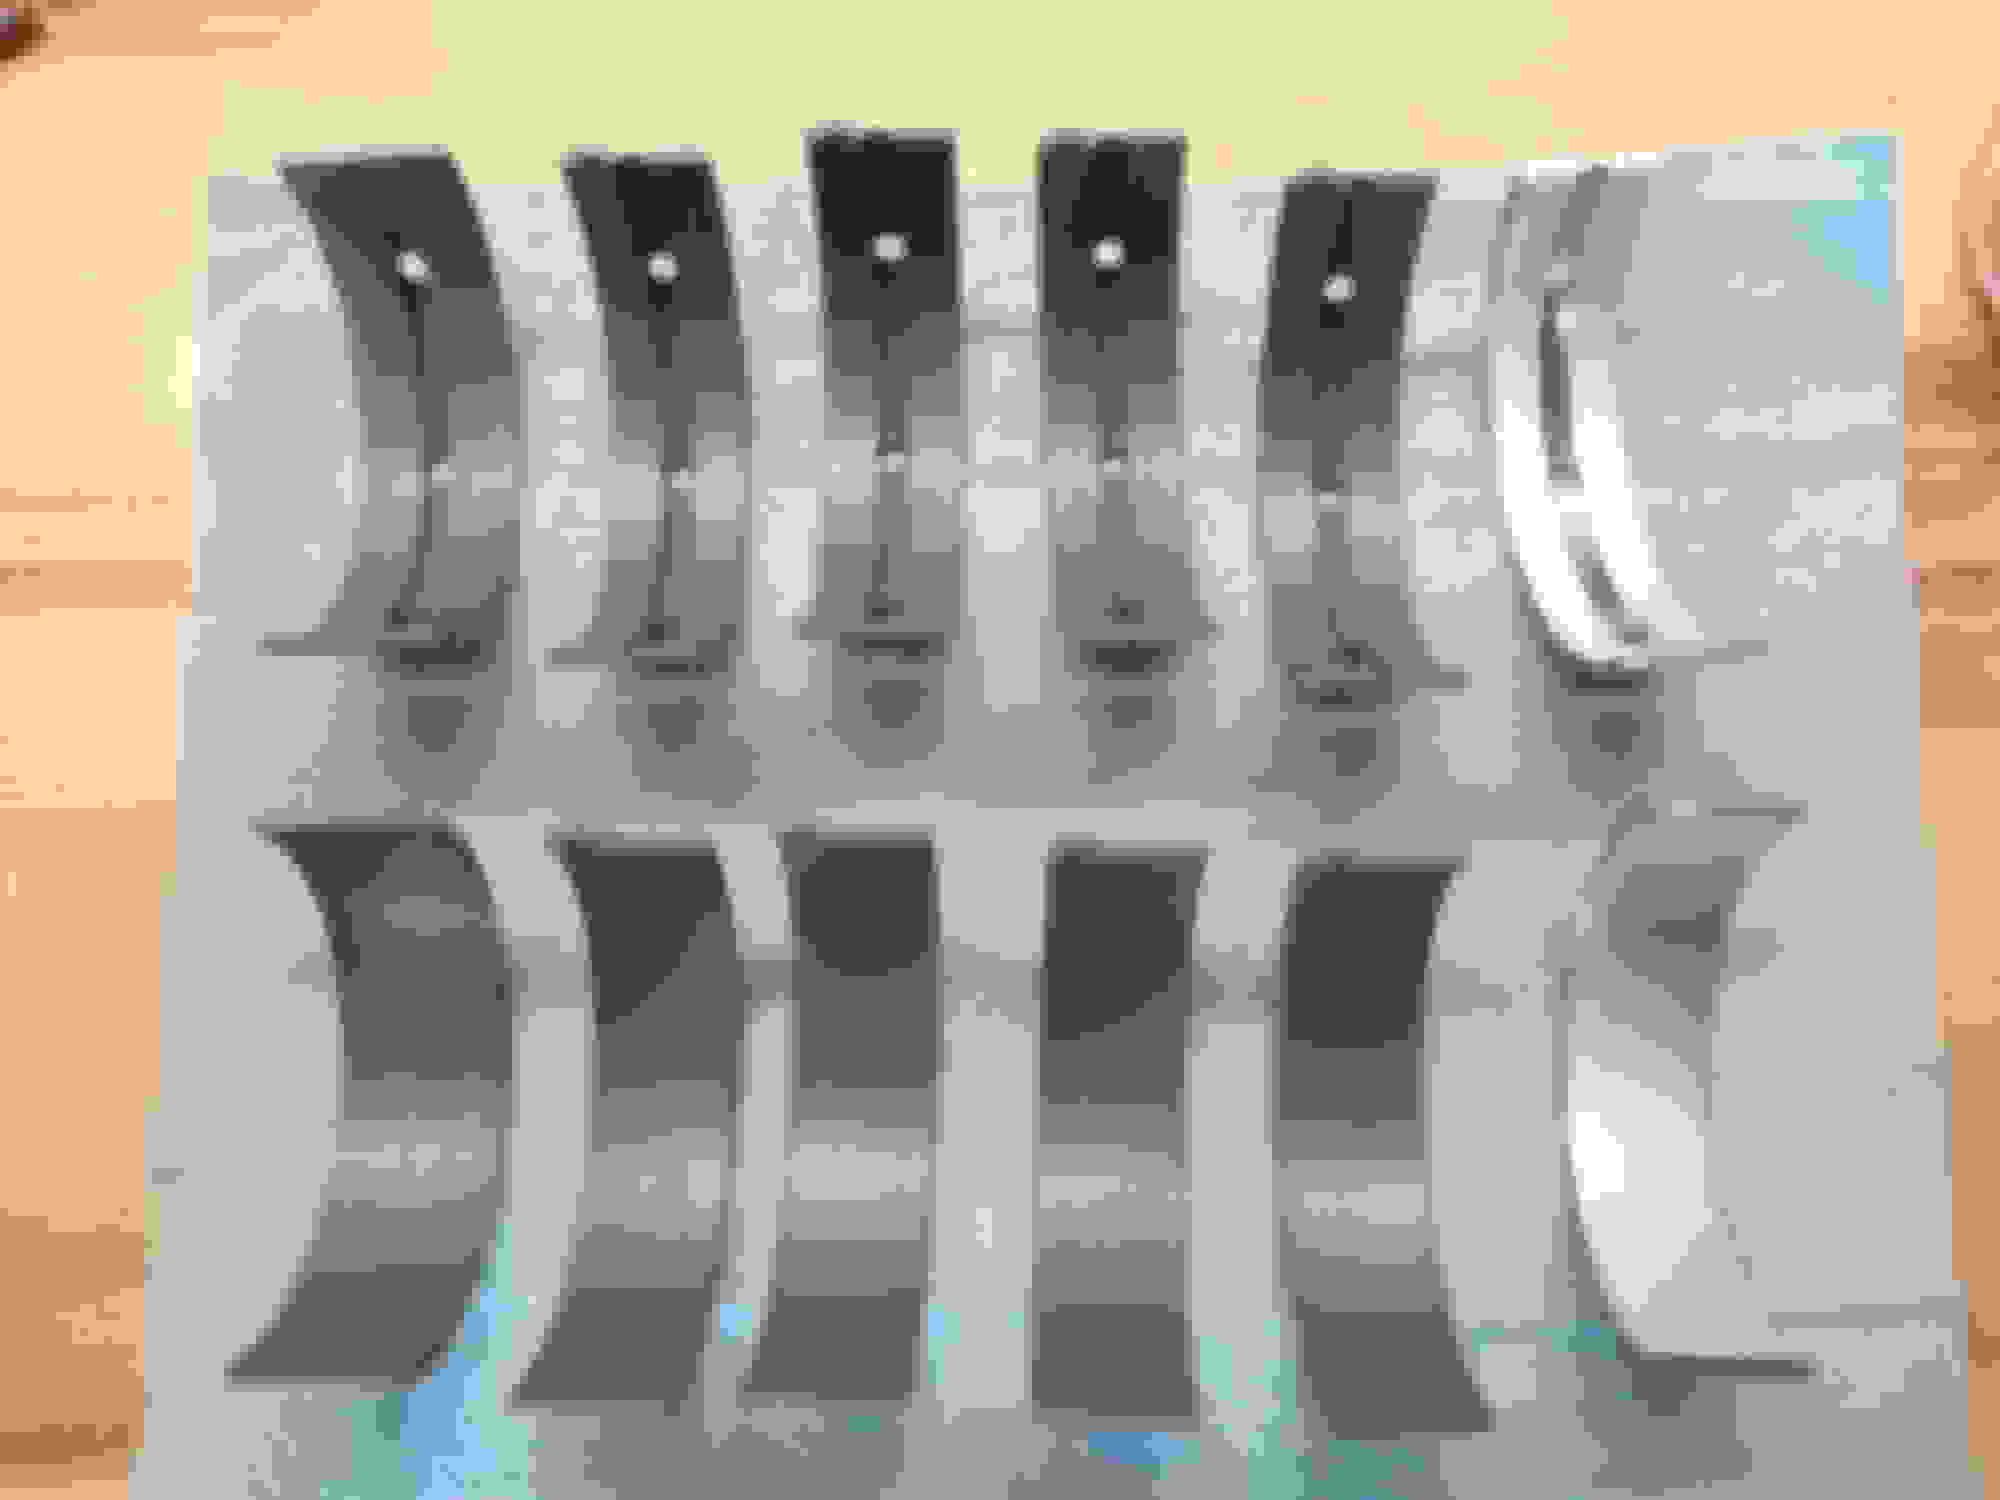
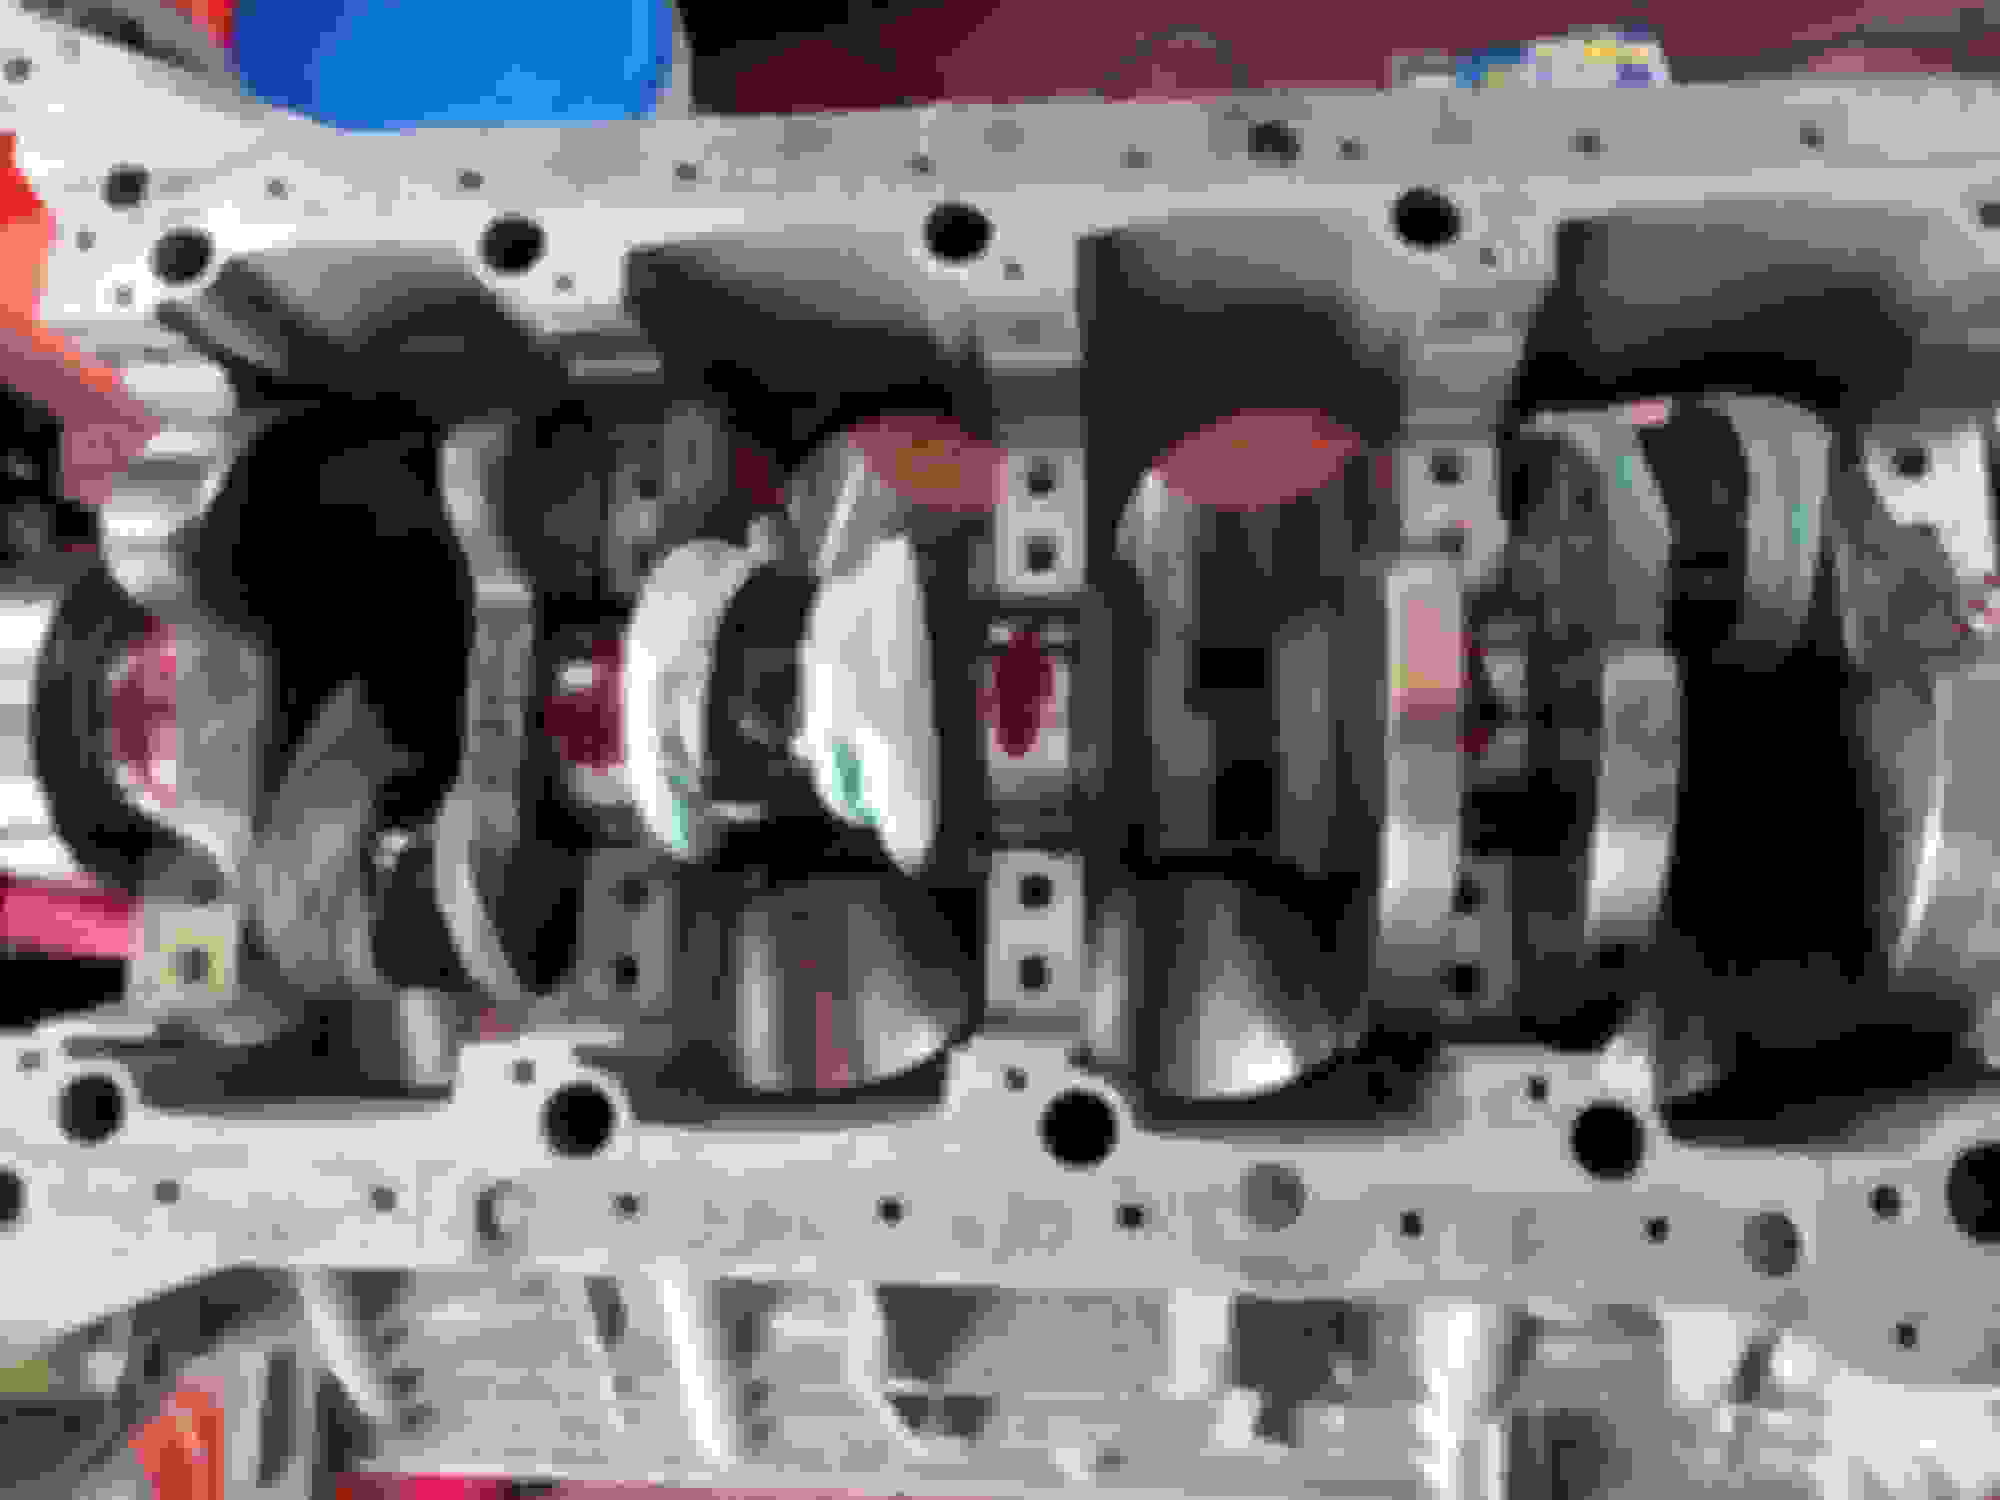
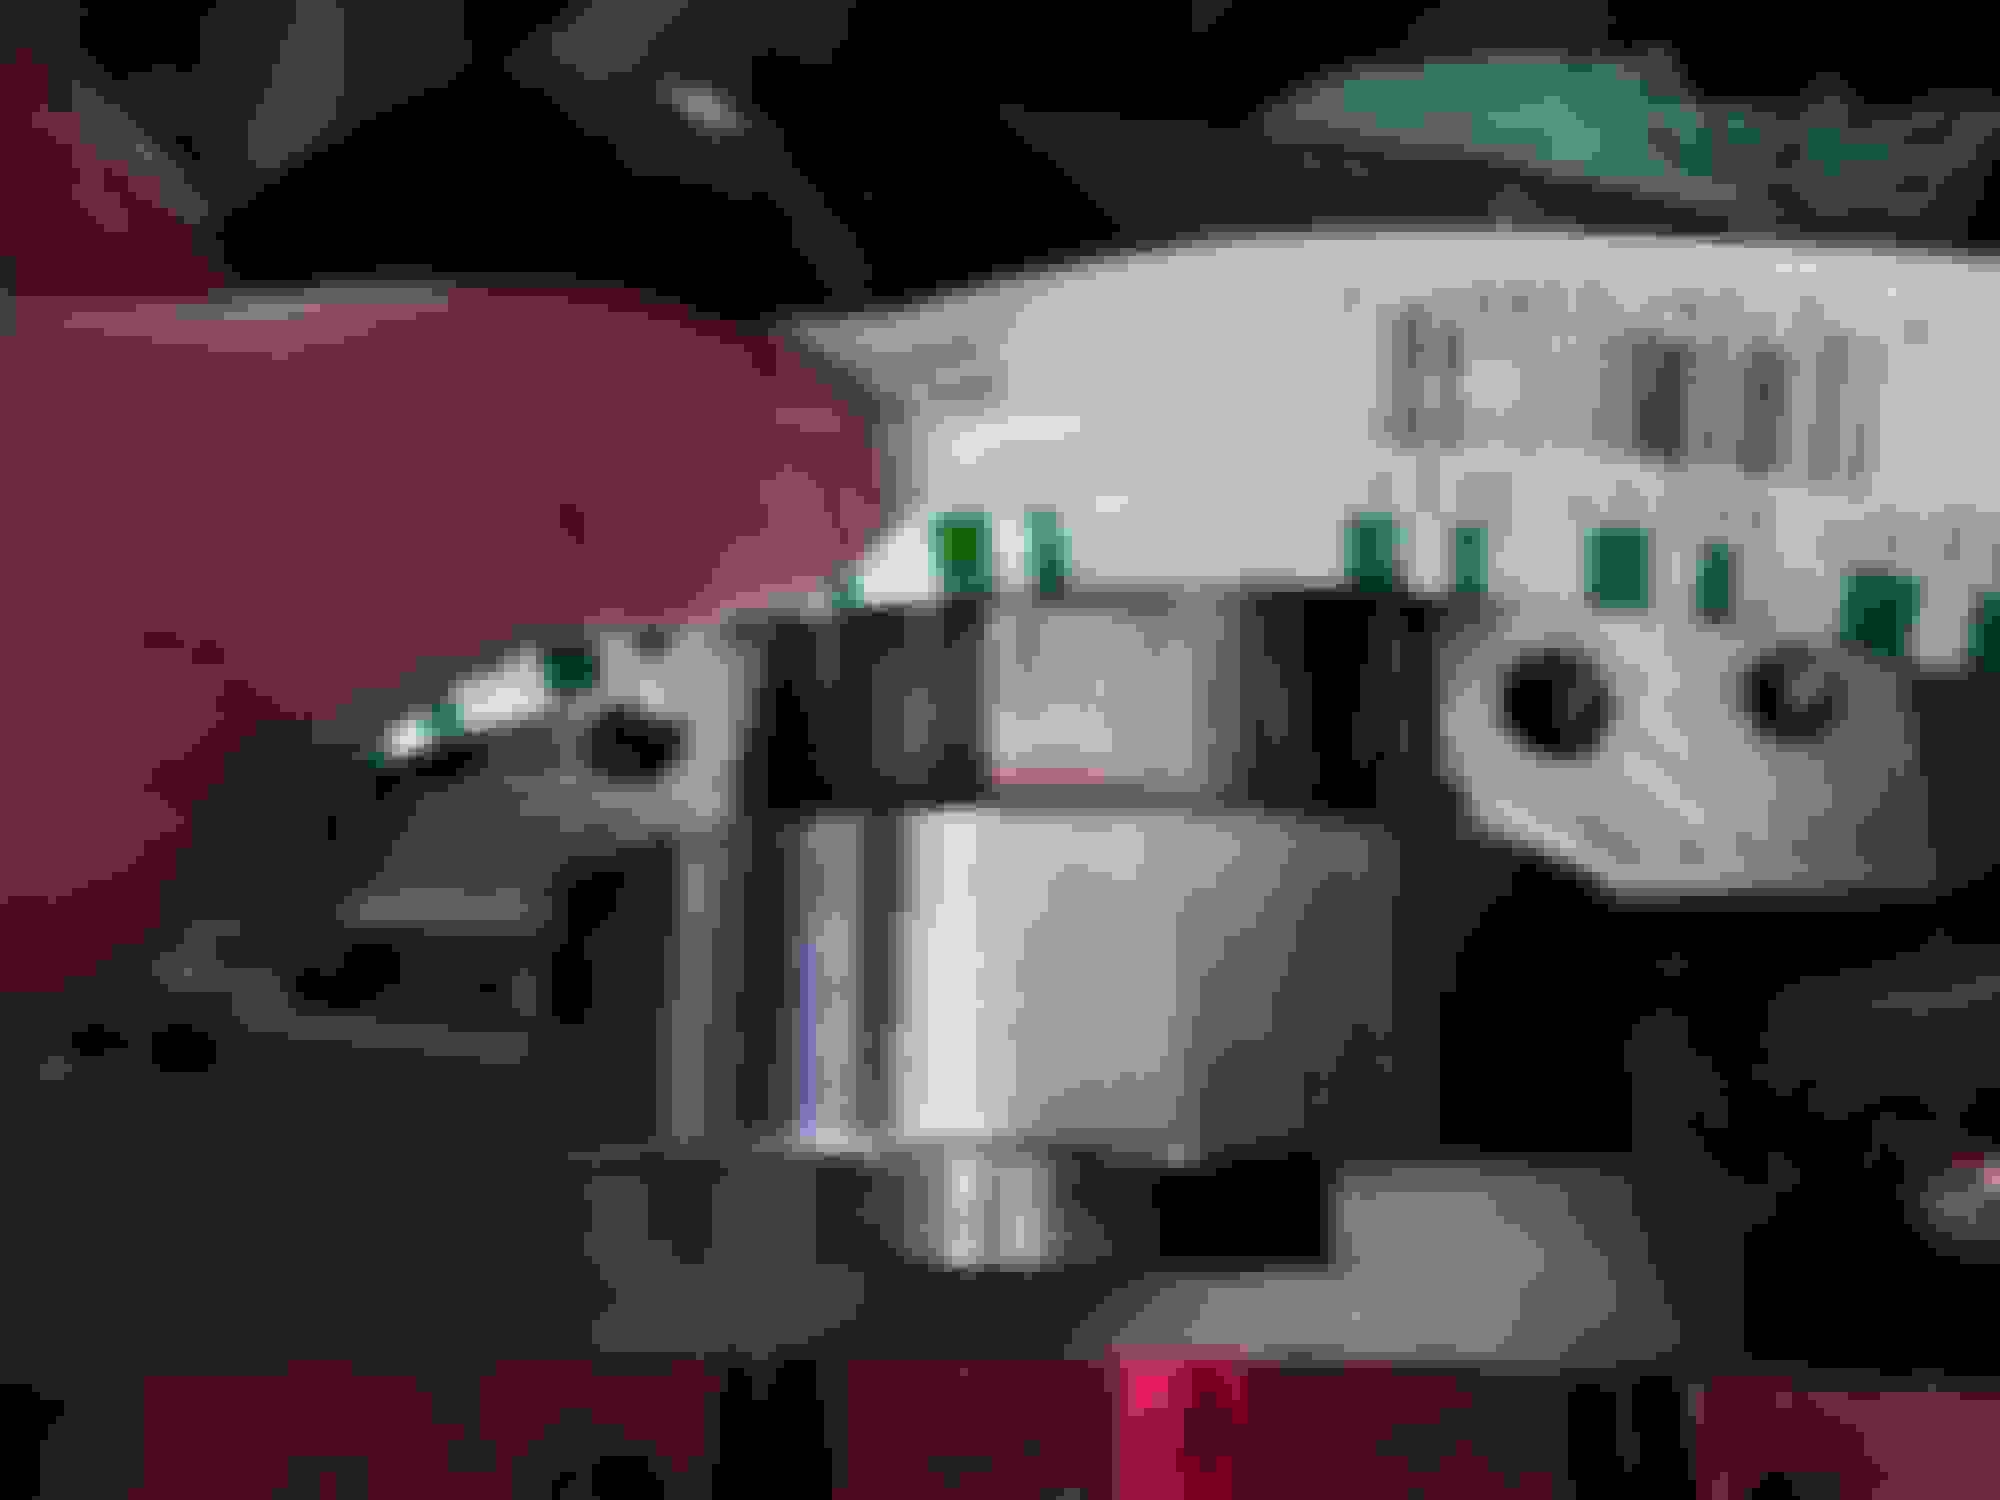
Coated main bearings. The shiny one of the right - uncoated pair just for comparison. I use King bearings - they nice and you can get repair oversizes if you know what you doing.
M278 officially has no repair size bearings (i assume it is one of the strategies to not be able to rebuild rather sell whole engine). However because of conveyor and modular design you can grind your crankshaft and instal repair sizes from another generations. To prevent that designers purposely cut a lock on last main bearing on opposite side so if you need to substitute unofficial repair size you either need to machine keys on engine block or punch new keys in oversize main bearing. Since i doing performance coating i purchased last pair from MB (just one pair)
According to dial clearance between crankshaft bearing and crankshaft is 0.07 mm or 0.0027 inch. Thumb rule it to have 0.001 inch clearance for 1 inch of diameter, so since our crankshaft 2.5 inches ideal clearance should be 0.0025 inches. So we are ideally close.
Cleaning crankshaft with brake cleaner, blowing oil holes with compressed air, spraying rod bearing journals with WD40 and wrapping with cloth to prevent corrosion. Installing cranks into engine block with assembly lube. Torquing main caps.
If everything is right you engine crankshaft suppose to be turning with your hand.
Wasn't happy with dial measurements (not what i expected from coatings), so picked up plastigauge from store and did 3 stage main cap torque sequence. Now results match with expectations. Stock requirement for main bearing play is between 0.0009 inch (lower limit) to 0.0019 inch (upper limit) on brand new engine. According plastigauge and proper tight torque my clearance is between 0.001 and 0.0015 inch like on brand new engine. That including 0.0005 inch performance coating.
Last edited by arsupisemnet; Nov 18, 2021 at 11:22 AM.
Thanks for posting this - very cool to watch the engine being rebuilt. So with plastigauge you would torque it down to spec, then check against the gauge, then torque +/–, then check again etc? And that's for each of the 5 bearings?
When they build engine at factory they measure every journal diameter and then adjust bearing sizes from set within 0.0001 or 0.0002 of inch to be precise in the build. They can do that because they don't have to pay for the bolts. Technically all german car manufacturers stretch the siht from bolts during torque sequence at or beyond plasticity limits and bolt stretches every time you torque it, where american cars usually torque it to 90-110 ft lb which i did while using dial bore. If you torque your bolts according to german specs you can use those 3-4 times, after that they will snap.
What i usually do is measure crankshaft diameters and measure bearings diameters with dial bore with 90-110 ft lb torque so i can use those bolts with no problem again. And that gave me gap larger than expected (still within common engine building sense) but not what i would expect with all the money spend. So i double checked it with plastigauge on one journal only with stretch torque. I still can safely use those bolts ones or twice after this stretch torque and have gap measurement in place.
This is not a first time i hear but it is a case when you have reasonable doubt in case with using Plastigauge. Last main journal been freeze tight (when you need to apply some torque to move crank, once it turned it is spinning with small effort). Plastigauge shows that i have 0.001 inch clearance, there dial says "nope" you tight as a tight could be...
Waiting on new set of main bearings. Will try either use stock uncoated or only coated lower halves (the ones caring load) depends on the measurements. Based on what i see crankshaft has a no wear at all
Keep on building. Assembled pistons during weekend. Used spare piston to demonstrate proper piston assembly. Used performance coating - piston top - ceramic to lower heat transfer, piston side - oil shedding. Two reason for oil shedding coating, first - restoration of piston geometry plus removal of iron coating since we are not longer in Alusil sleeve, second - reducing drag forces on the piston. Alusil liners and pistons has 30 percent less drag on the pistons because of the choice of materials, so when you sleeve your engine old school you have more friction between piston and piston sleeve. Oil shedding coating reduces friction returning you performance. Once again used coated connecting rod bearings, double checked clearance with dial and all within new engine specs.
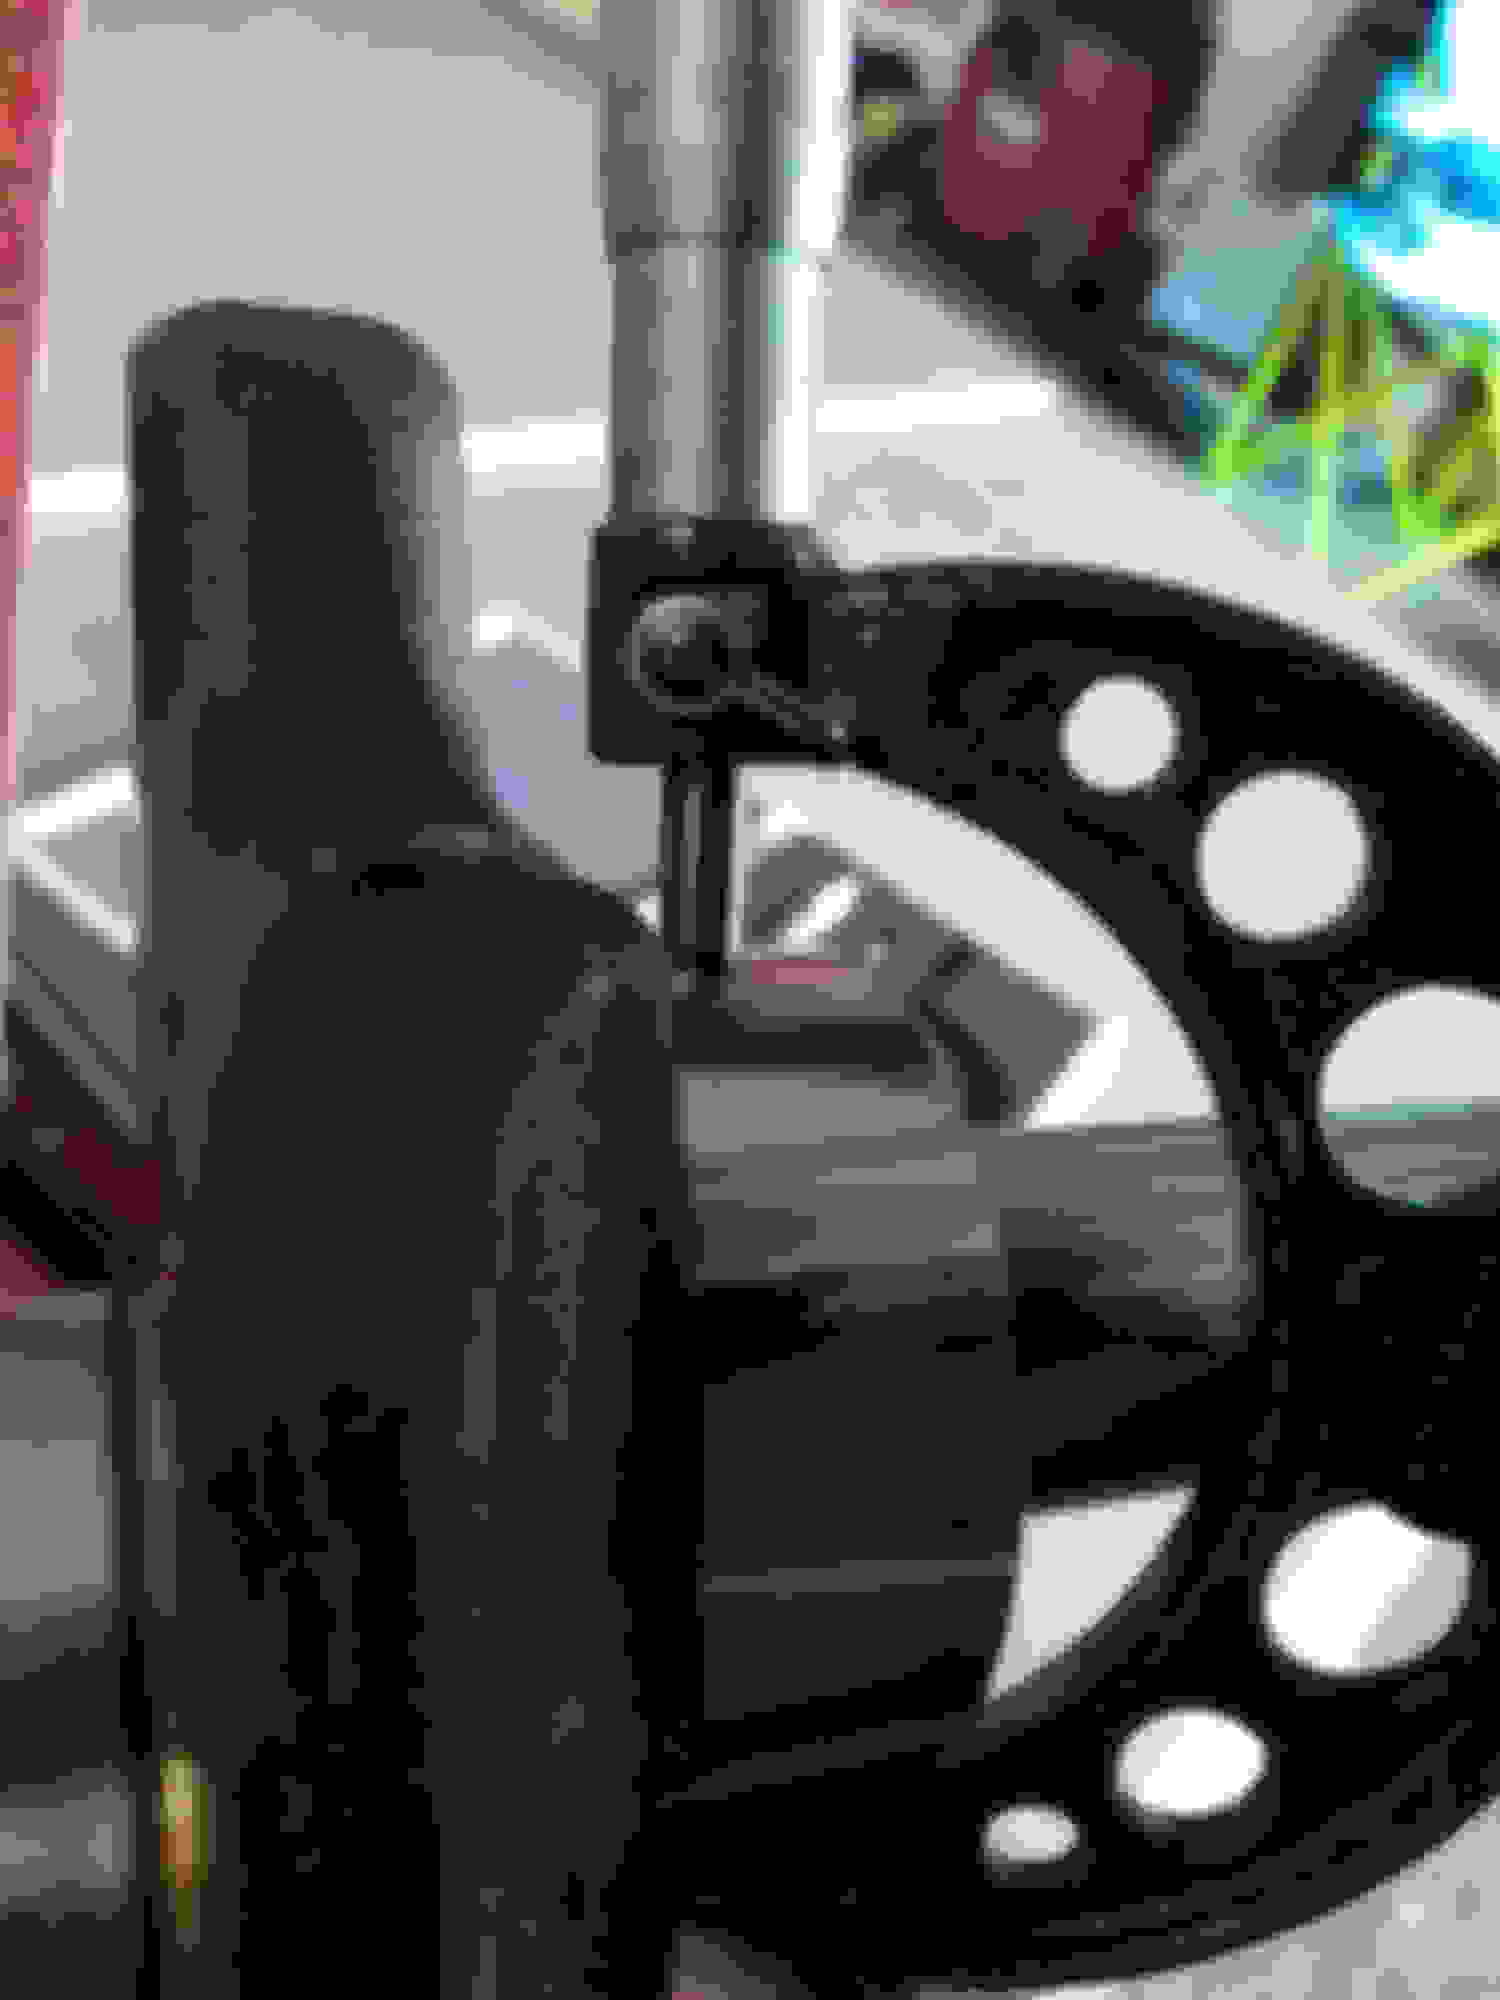
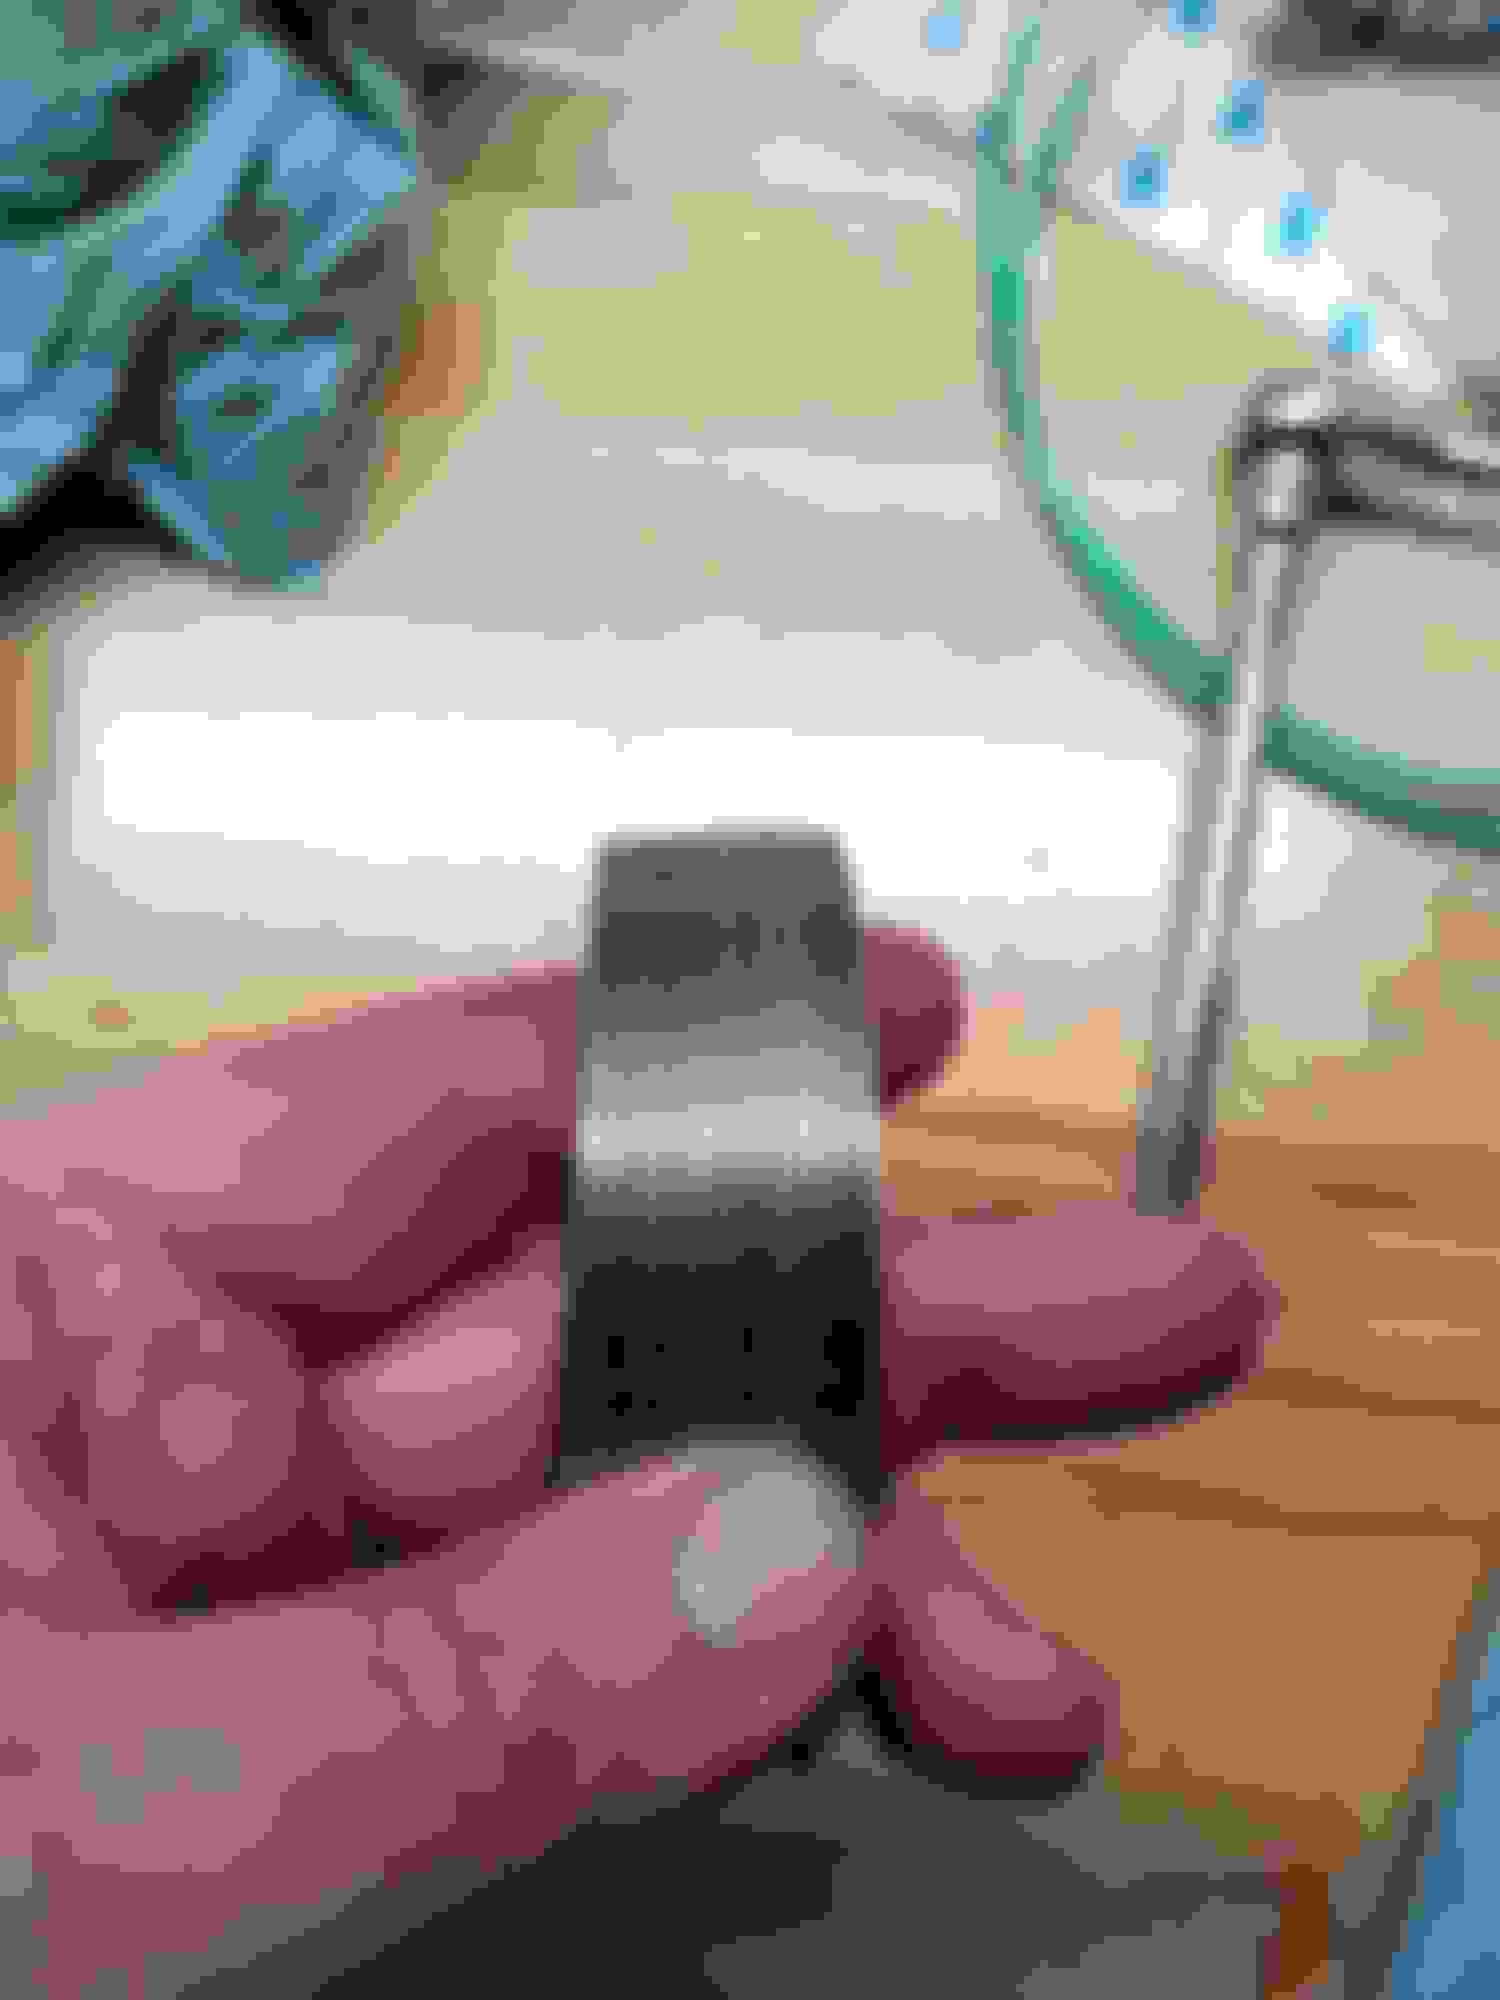
Filing appropriate thermal gap in piston rings. Once again i used Mahle 41930CP piston rings. Assembled oil ring in kit is 2.5mm thick, when original MB 2mm thick, so all you need to do is to clean and reuse oil spring ring to match thickness. There is an old school trick with installing oil rings. When you squeeze oil ring it tend to flex in certain direction as shown in picture. And that is the direction toward piston crown shown with arrow. In this case top oil ring will be scraping oil away from compressional rings and bottom oil ring will be scraping oil toward piston skirt keeping it lubricated.
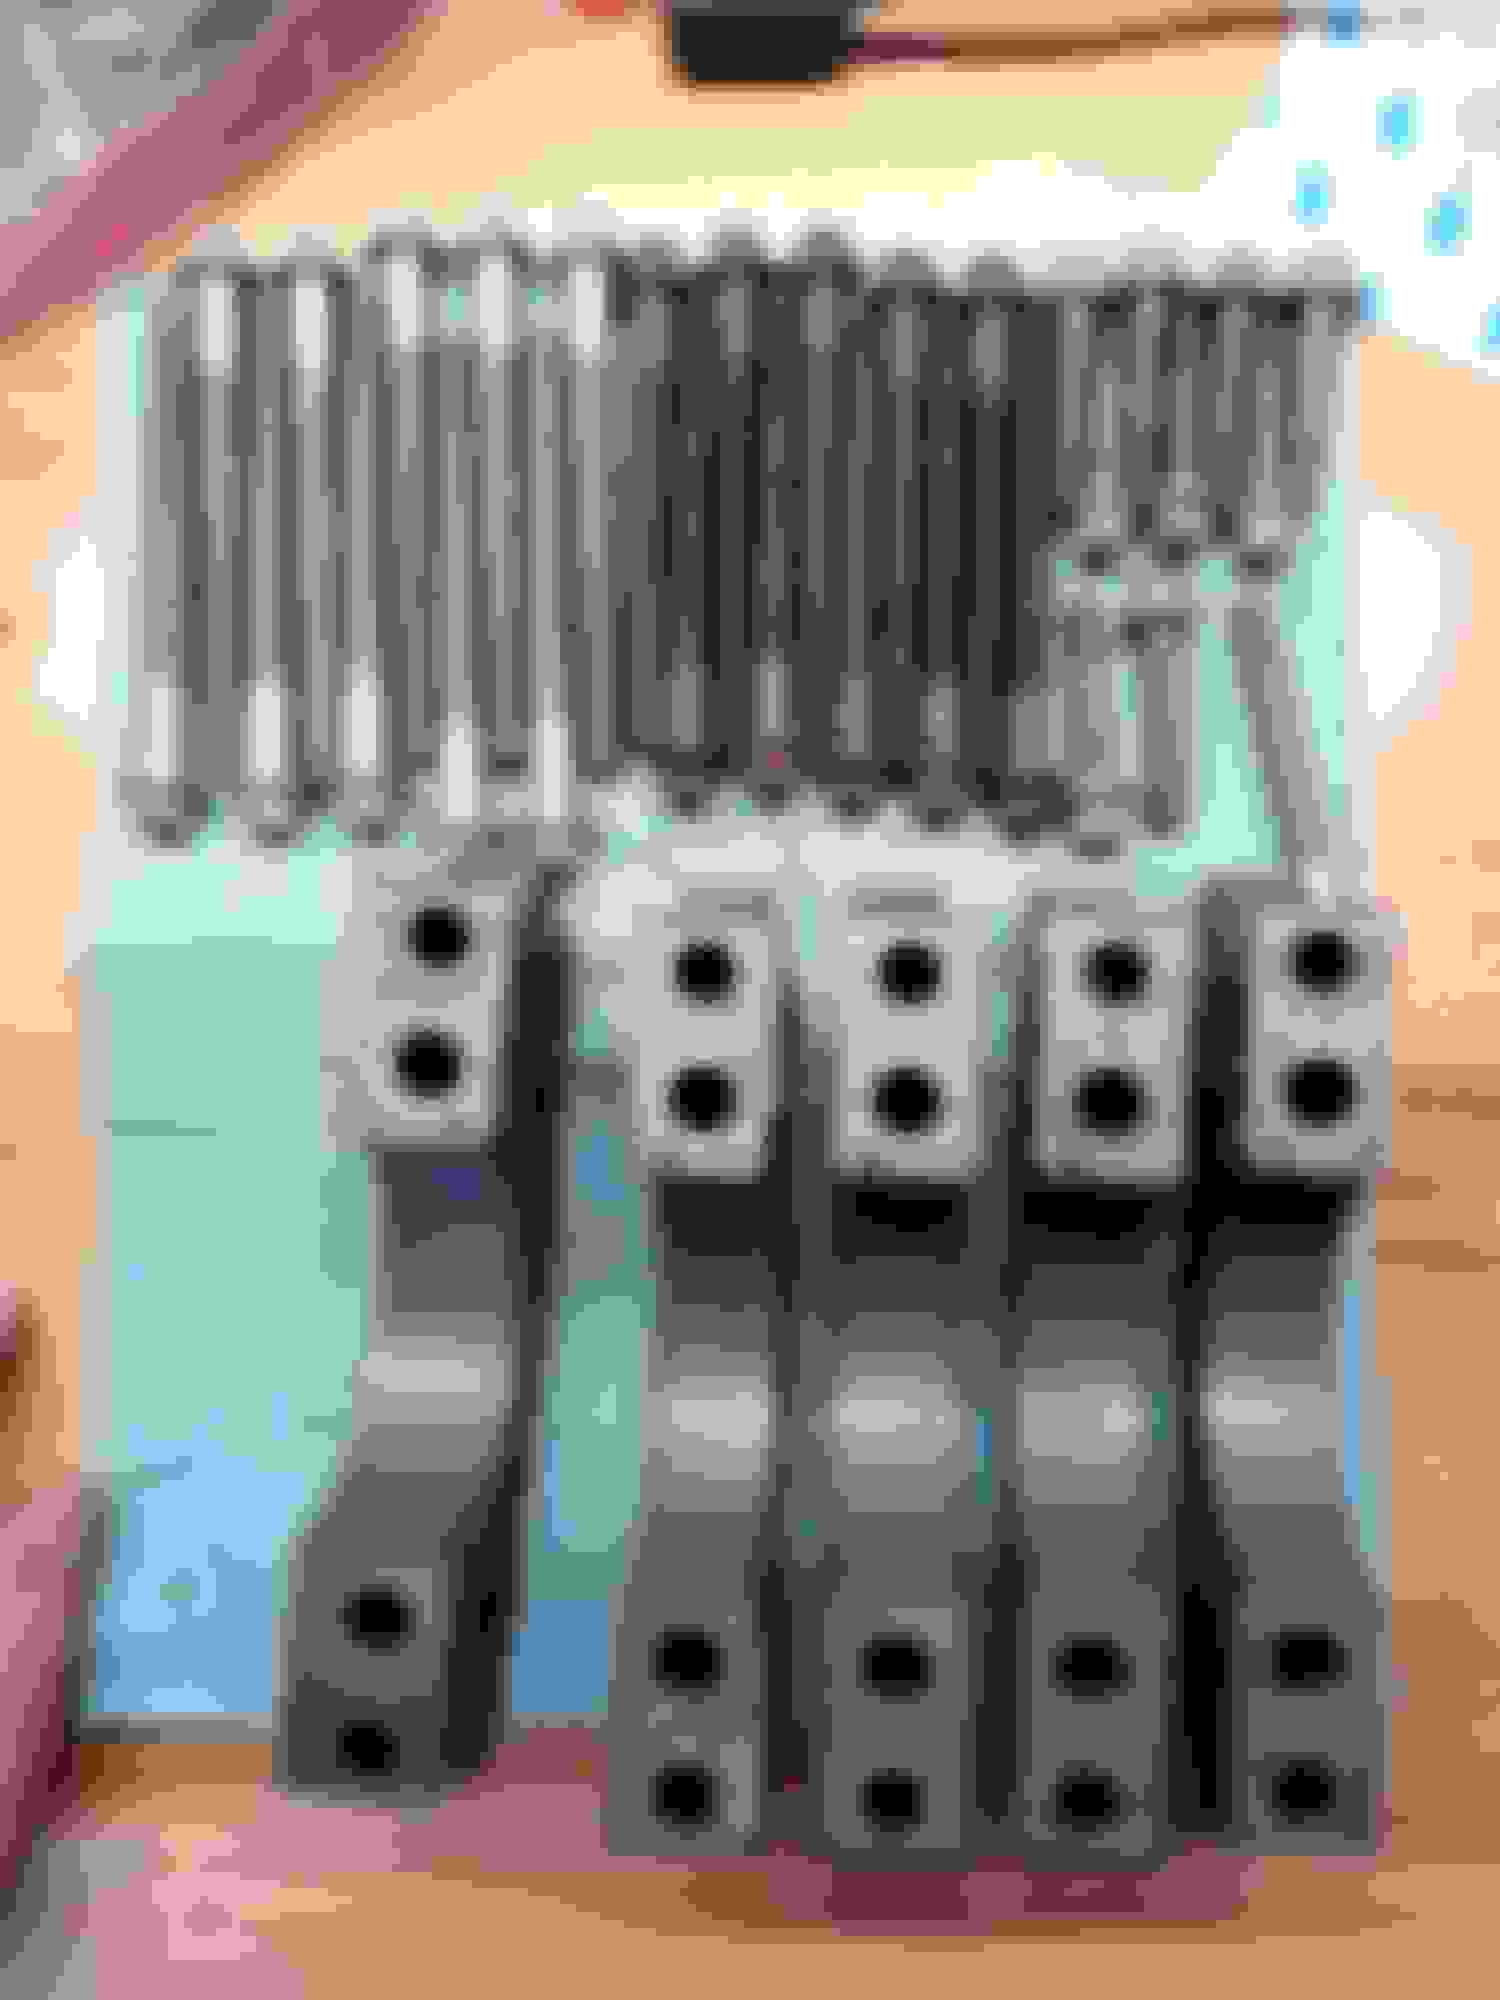
This is an explanation of the original MB rings price and why you can't use it in steel liners. Second compressional ring is chrome plated which is kind of hard on steel liners. Normally only the top one chrome plated and only on some sleeves. First compressional ring in addition to what has PCD (poly crystal diamond) coating on top of the chrome plating which you can see as black. Eight rings on the left is from 20k miles engine, eight rings on the right is from 40k miles engine. Basically PCD coating used to create a mirror like surface and provide a seal between rings and Alusil liner. If you will put these rings in regular liner - they will chew up through it. Same thing with putting regular rings in Alusil liner - you won't get compression buildup.
Mercedes SLR McLaren 722 S Is Extremely Rare Example Modified by McLaren
Slideshow: A one-of-one U.S.-spec Mercedes-Benz SLR McLaren Roadster became even rarer after a factory-backed transformation at McLaren's headquarters.