When you click on links to various merchants on this site and make a purchase, this can result in this site earning a commission. Affiliate programs and affiliations include, but are not limited to, the eBay Partner Network.
I didn't want to wait until they needed changing to learn how to do this, so I did some research. Thought I'd share with you all. Take note, the videos are of different model cars than the GLE43, but the location and procedures are the same. I couldn't find any videos featuring the GLE43. I guess it's still too new. If you look at your Service Manual, you'll notice that Service A and Service B consist of mostly "checks". With the exception of the engine oil, very little actually needs to be replaced. You can simple get an oil change and a free multi-point inspection from most dealers and save a ton of money. Dealers always have oil change and other coupons on their website. When it comes time to replace these filters, do it yourself and save some more money. I'm not exactly a mechanic when it comes to working on cars, but I will try the basic stuff. If I can do this, anybody can.
First, I'll start with the HVAC filters. There are two. One, is the pre-filter. This catches the majority of contaminants, including large debris. The second one is the primary activated charcoal filter. This prevents odors, pollen, dust, etc. from entering the cabin. The pre-filter extends the life of the primary filter, so it'll need to be changed first and more frequently. I just followed the video guide at the link below. The only difference is that our car has only one primary filter, instead of the two depicted in the video. I took the cover off and then removed the housing. I only wanted to inspect the filter, as I knew it didn't need changing. It was pristine, so I'll wait until later to actually change it.
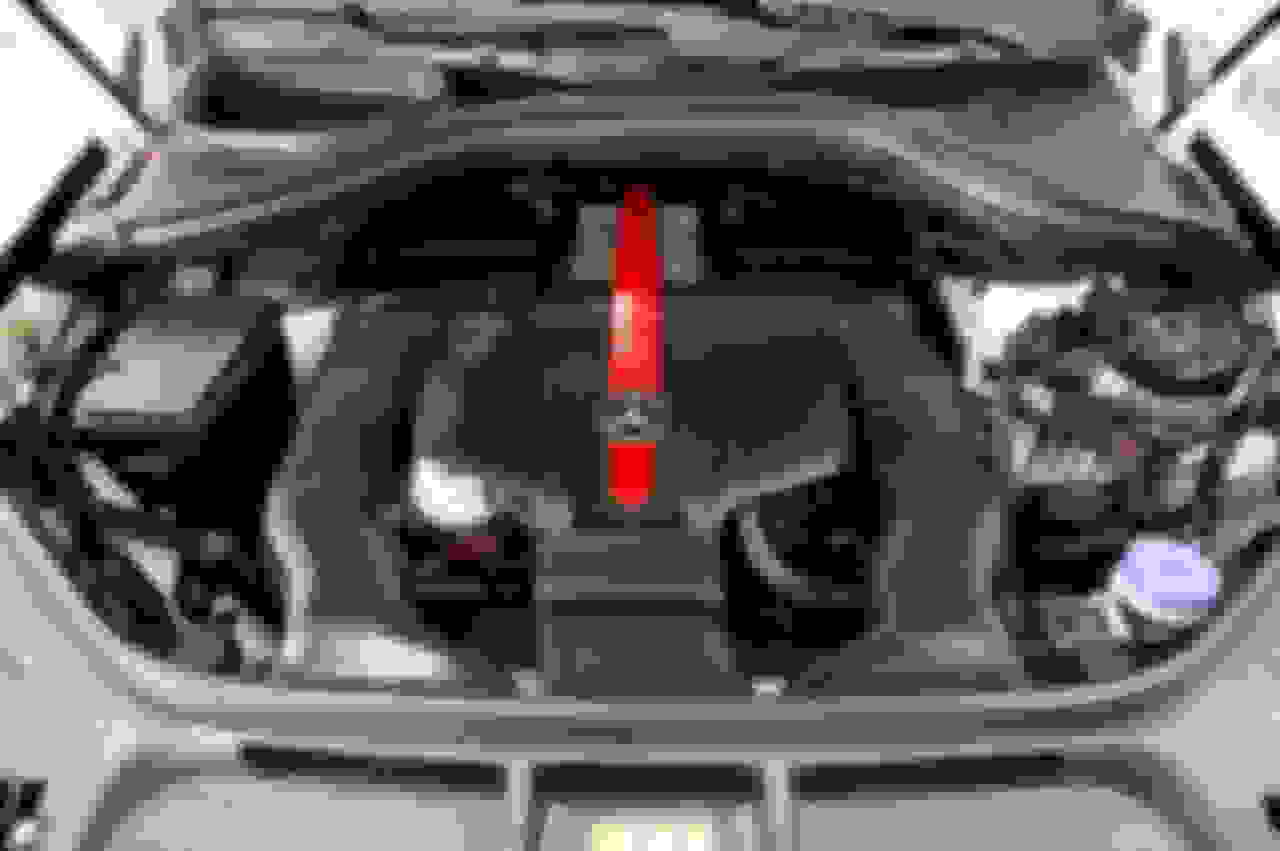
Secondly, we'll cover the engine air intake filters. There are two, one on each side of the engine. In the video, he removes the plastic engine cover. You won't need to do that with our car. You'll see the filter housings as soon as you open the hood. It does require a T25 Torx driver to remove the lids. There are only two screws on ours, not four.
Below are the part numbers. Both the right and the left engine air intake filters have the exact same part no. You have to specify "right" or "left". Order them from this link.
Actually there are 4 bolts per air filter filter housing (two are hidden under intake) and most importantly, rear most air filter bolts (especially the one on the passenger side) can not be easily undone (you can even hardly see them in the below picture), because unlike C400 shown above, GLE's 3L V6TT is placed much further "in":
Thanks for this thread and video links. It always helps to build on what others have done.
For my AMG43 filter service, I was able to un "snap" the AMG cover from the top of the engine (in 6 places) and move/bend it out of the way to the left or to the right - as needed for the accessing the left and right filter. Never disconnected it from the front grill.
Same goes for the air filter covers (no need to disconnect the duct work). The drivers side was easy, all four screws can be easily accessed. Just lift off the lid, clean / vacuum the filter tray & intake, and replace the filter, and re-latch (in the rear) the lid, and secure back the four screws.
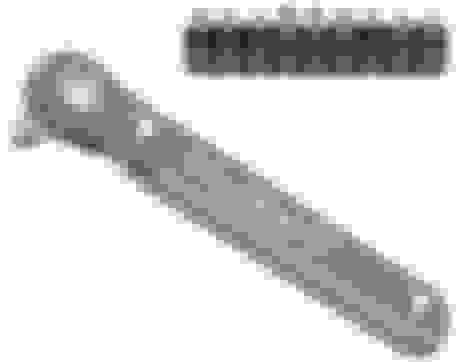
The passenger side is easy for two screws, limited access for the third screw and tight quarters for the fourth screw. With the right tools (example below) the forth screw can also be done without removing the duct work and "star" bolt holding the duct to the engine. Same tight access when replacing the cover. The torx screws are designed to stay in the lid, which is really helpful to keep from dropping / losing them. Both lids can also be moved out of the way / flipped on their side / flipped over w/o remming the sensor wire. Just be careful not to drop the torx bit (a magnetic bit holder is a nice feature on the a flat ratchet).
It is a long stretch to reach the filter lids in the back of the AMG engine bay, standing on a bench / step stool can be of assistance.
I did my first GLE 43 filter change today. I was going to use my ratcheting bit driver to just remove the filter covers but found it was much easier then to try and remove the eight screws, to just remove all the duct work, and disconnect the sensor so I could get the filter housing completely out of the vehicle to give it a proper cleaning. The whole job took all of 30 minutes. I think it would of been longer to muck with the eight screws to remove the filter covers. All you need for additional tools is a E-10 torx socket.
Mercedes SLR McLaren 722 S Is Extremely Rare Example Modified by McLaren
Slideshow: A one-of-one U.S.-spec Mercedes-Benz SLR McLaren Roadster became even rarer after a factory-backed transformation at McLaren's headquarters.