When you click on links to various merchants on this site and make a purchase, this can result in this site earning a commission. Affiliate programs and affiliations include, but are not limited to, the eBay Partner Network.
I'm replacing the torque struts in the front suspension. The manual contains the following instructions:
"Unscrew nut (2) and pull screw/bolt (3) out of front axle carrier (4)"
And the following precaution:
"When loosening the nut (2) the screw/bolt (3) must not be twisted. It is essential to counterhold screw/bolt (3). Otherwise the locating lugs for the caster adjustment in the elastomer bearing (5a) will be sheared off when the repair kit is fitted."
In the Installation notes it says:
"Installation: Screw nut (2) of screw/bolt (3) all the way on until it abuts, but do not tighten yet so that the elastomer bearing (5a) can twist when the vehicle is rocked to settle the suspension."
I interpret this to mean that I need to drive the bolt straight out and straight back in the new part without twisting it. Does that make sense? Then. why is it OK to twist the bushing by loading the suspension before tightening the nut? Does it even apply, since I'm replacing the whole strut and not installing the "repair kit"? Or, is it only necessary to not allow the bolt to turn while the nut is still tight?
I've replaced these, and can't imagine why you'd have to push / pull the bolt straight in and out. Clearly, it's free to rotate inside the sleeve inside the compliance bushing, so - unless there's something I'm missing* "it's just a bolt".
*wouldn't be the first time...
I do understand not tightening the bolt until the suspension is at ride height (standard procedure for nearly any similar control arm bushing), to keep the bushing from being "indexed" to the suspension dangling at its lowest travel point, putting great stress on the bushing at normal ride height. But I don't believe there's a caster adjustment on that bolt, but maybe that's part of a "kit" that includes an eccentric bolt / washers to adjust caster (at least a little). The hole in the chassis isn't exactly round, though the "locating points" are clearly either touching, or almost touching the "stock bolt".
Here's a snippet from a (non-published) video I was doing on LCA swaps. You can see that there's really nothing special about the control arm / bolt / washers / nuts.
Wow! That's really helpful. I think you're right that the "kit" is a repair kit if you need to make adjustments. Did you have any issues getting the arm in and out? The manual also makes reference to separating the knuckle from the strut. I can't imagine why...
The sleeve in the bushing does appear to have some recesses that could mate with "locating lugs". I wonder if the "lugs" would come from outside and pass through the notches around the perimeter of the hole in the frame?
(I could write a book about trying to find the right socket for the bolt...)
Swapping that control arm really wasn't at all difficult. I ended up using a pickle fork to get the ball joint released (obviously, trashing the old ball joint).
I can't imagine any way that the bolt / control arm would move in any direction. Maybe the caster-adjust "kit" has some different hardware.
Yeah, probably. I got it done today. No issues with the bolt, but getting the ball joint out of the steering knuckle is a whole different ball game with 4-matic. That half shaft and CV joint are in the way. I had to separate the tie rod from the knuckle. Then it becomes one of those puzzles where you have to get all the parts in exactly the right orientation before you can get them to come apart.
I could write a book about trying to find the right socket for the bolt...
So, the bolt requires an E20 socket. They are hard to come by, at least quickly. I found two options worth considering, if you're looking to expand your tool collection.
First, I found a "Westward" E20 1/2" drive socket at Grainger on closeout for $1.70. (June 7th, 2024) If you're not in a hurry you can probably arrange to pick it up from a local Grainger. I was in a hurry, and paid about $10.00 shipping. I ordered it Friday and it came today, Tuesday. It's made in Taiwan and looks to be of good quality.
Another option is available at many Home Depot stores. It's called a '5/8" Knurl grip universal socket' and costs $6.27. I picked one up Friday night and got the struts installed over the weekend. Don't be tempted to buy the metric "equivalent," 15mm. It's too small. I know, I bought both...
quite a while ago, and they've never let me down. Certainly not "pro-level" tools, but IME, up to more than I'm likely to throw at it. Might as well get the whole set, as you need 'em on a GLK anyway (used the E-10 and E-8 yesterday doing my PCV refresh, for example).
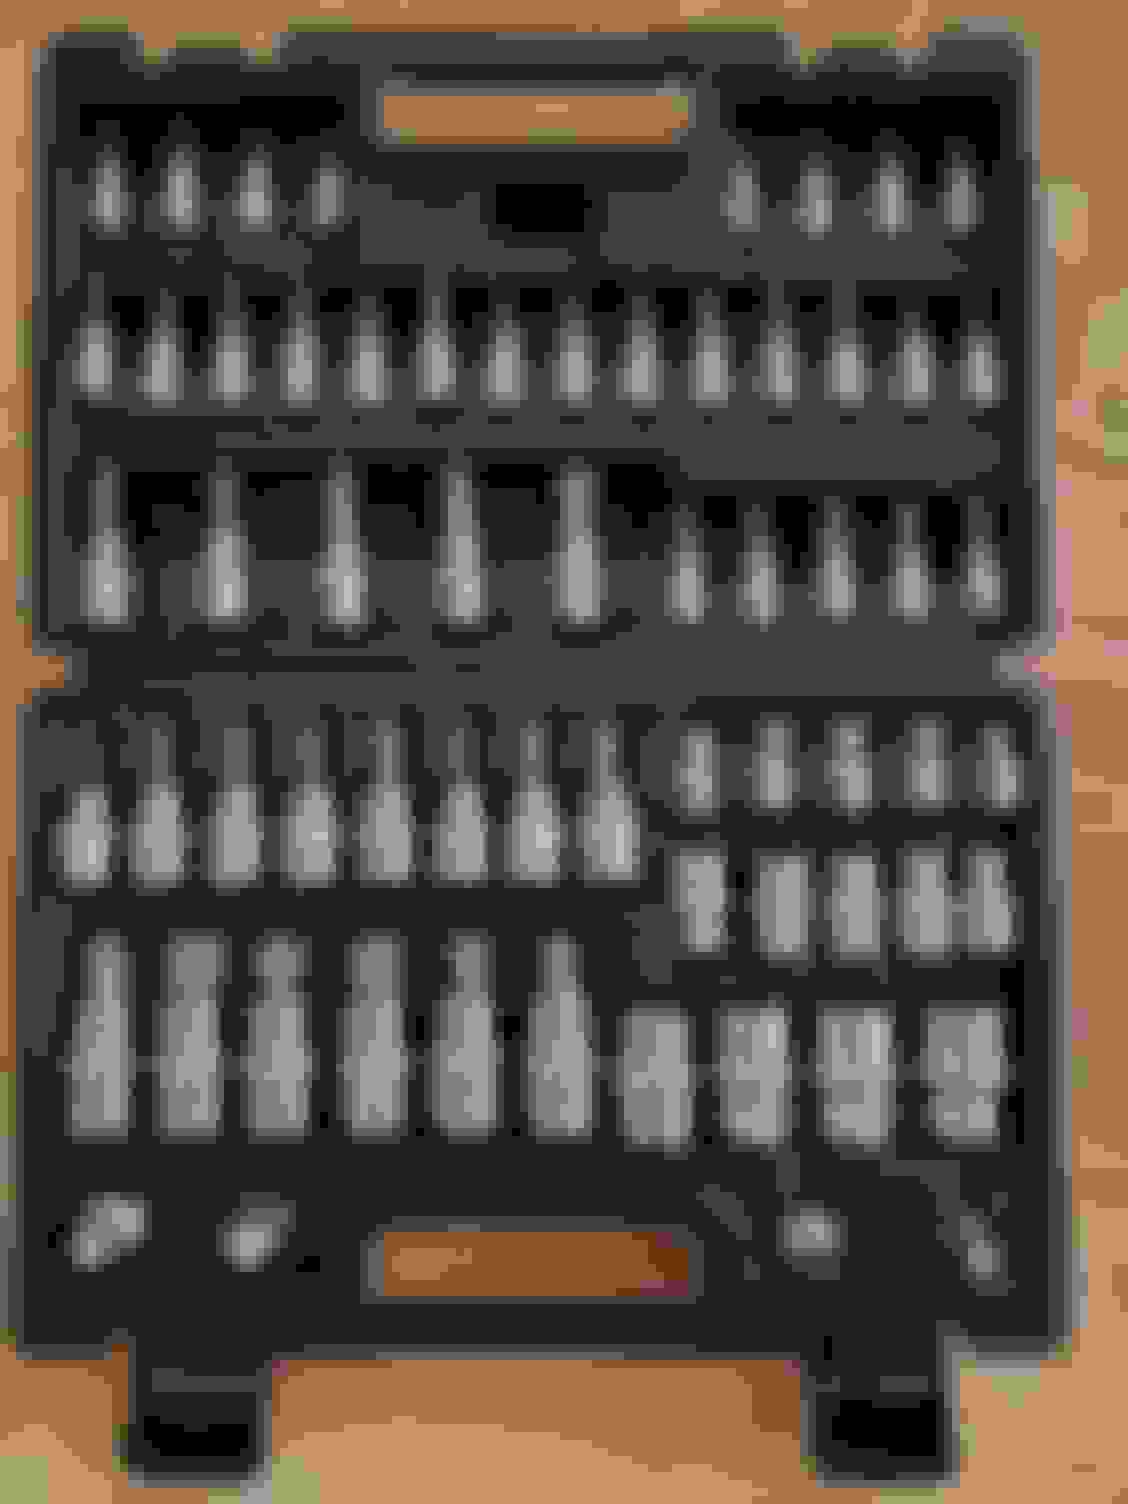
In the beginning I picked up a kit that has T6-T55 and E4-E24. Also has TT and TP sockets. Best feature is it has all 4 socket adapters in the case.
Came out less expensive than buying them as needed and worth it for the storage case.
If you only have the round hole in the control arm there's no reason to use those special bolts for adjusting.
Mercedes SLR McLaren 722 S Is Extremely Rare Example Modified by McLaren
Slideshow: A one-of-one U.S.-spec Mercedes-Benz SLR McLaren Roadster became even rarer after a factory-backed transformation at McLaren's headquarters.