When you click on links to various merchants on this site and make a purchase, this can result in this site earning a commission. Affiliate programs and affiliations include, but are not limited to, the eBay Partner Network.
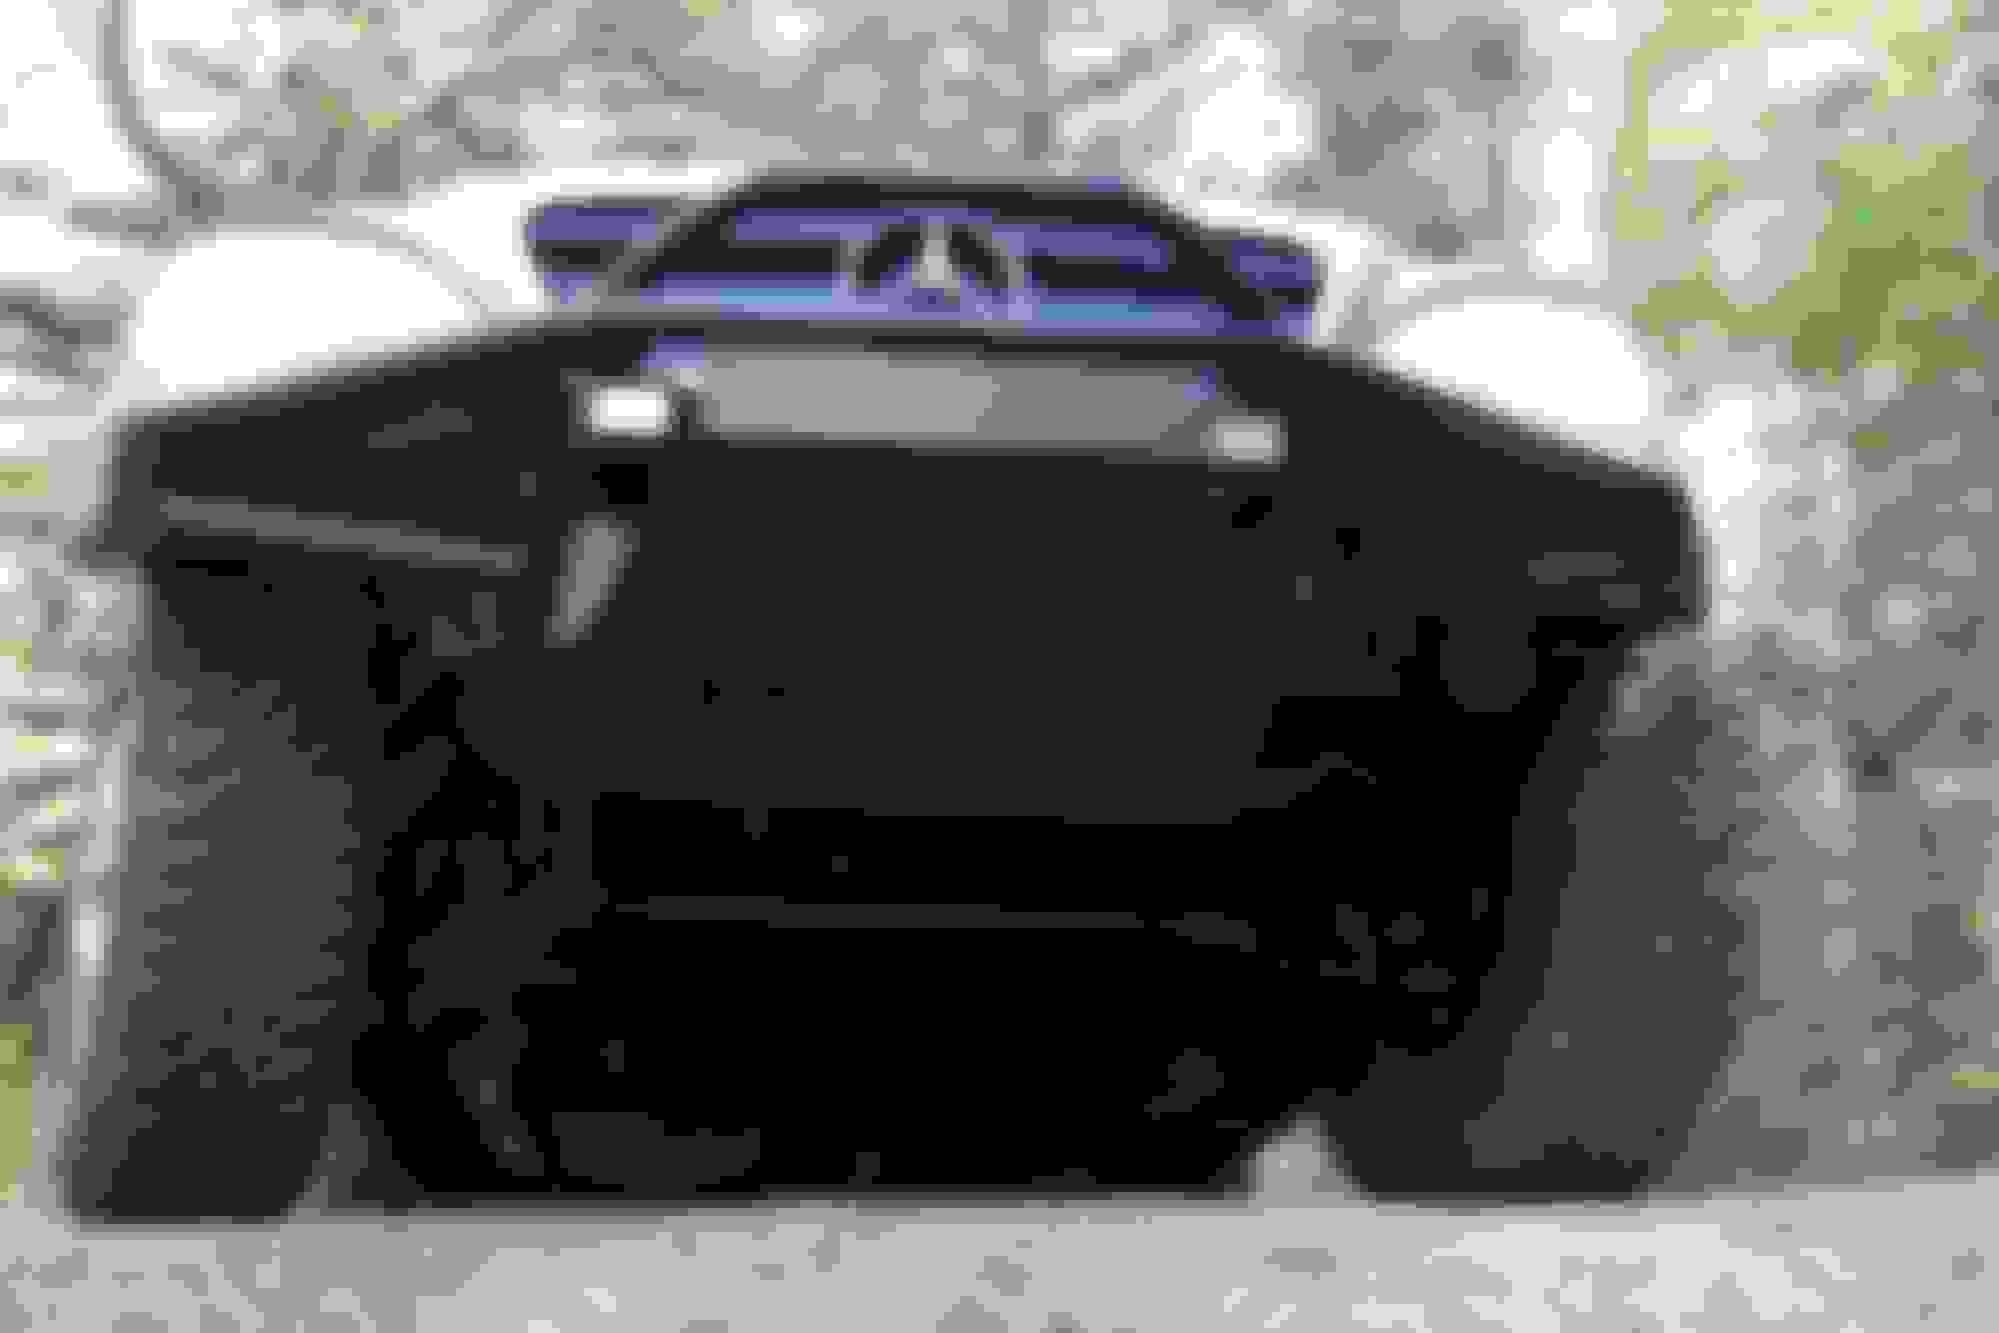
Smashed my front bumper a year ago so I though why not do what I always wanted and slowly start to convert my ML into a off road-esk vehicle. Did some image searches and found one I really like here:
Couldn't find the original user on the forums, the guy has moved on to other cars and brands from what I found so i decided to recreate this bumper in soildworks 3-d modeling software.
Its a good foundation but now I need to find mounting points and refine my dimensions. Side plates need to be changed etc. Are there any good resources out there where i can find accurate drawings of the front stock under bumper or anything else might help. Orthographic views etc. Hoping to have this done by the end of November
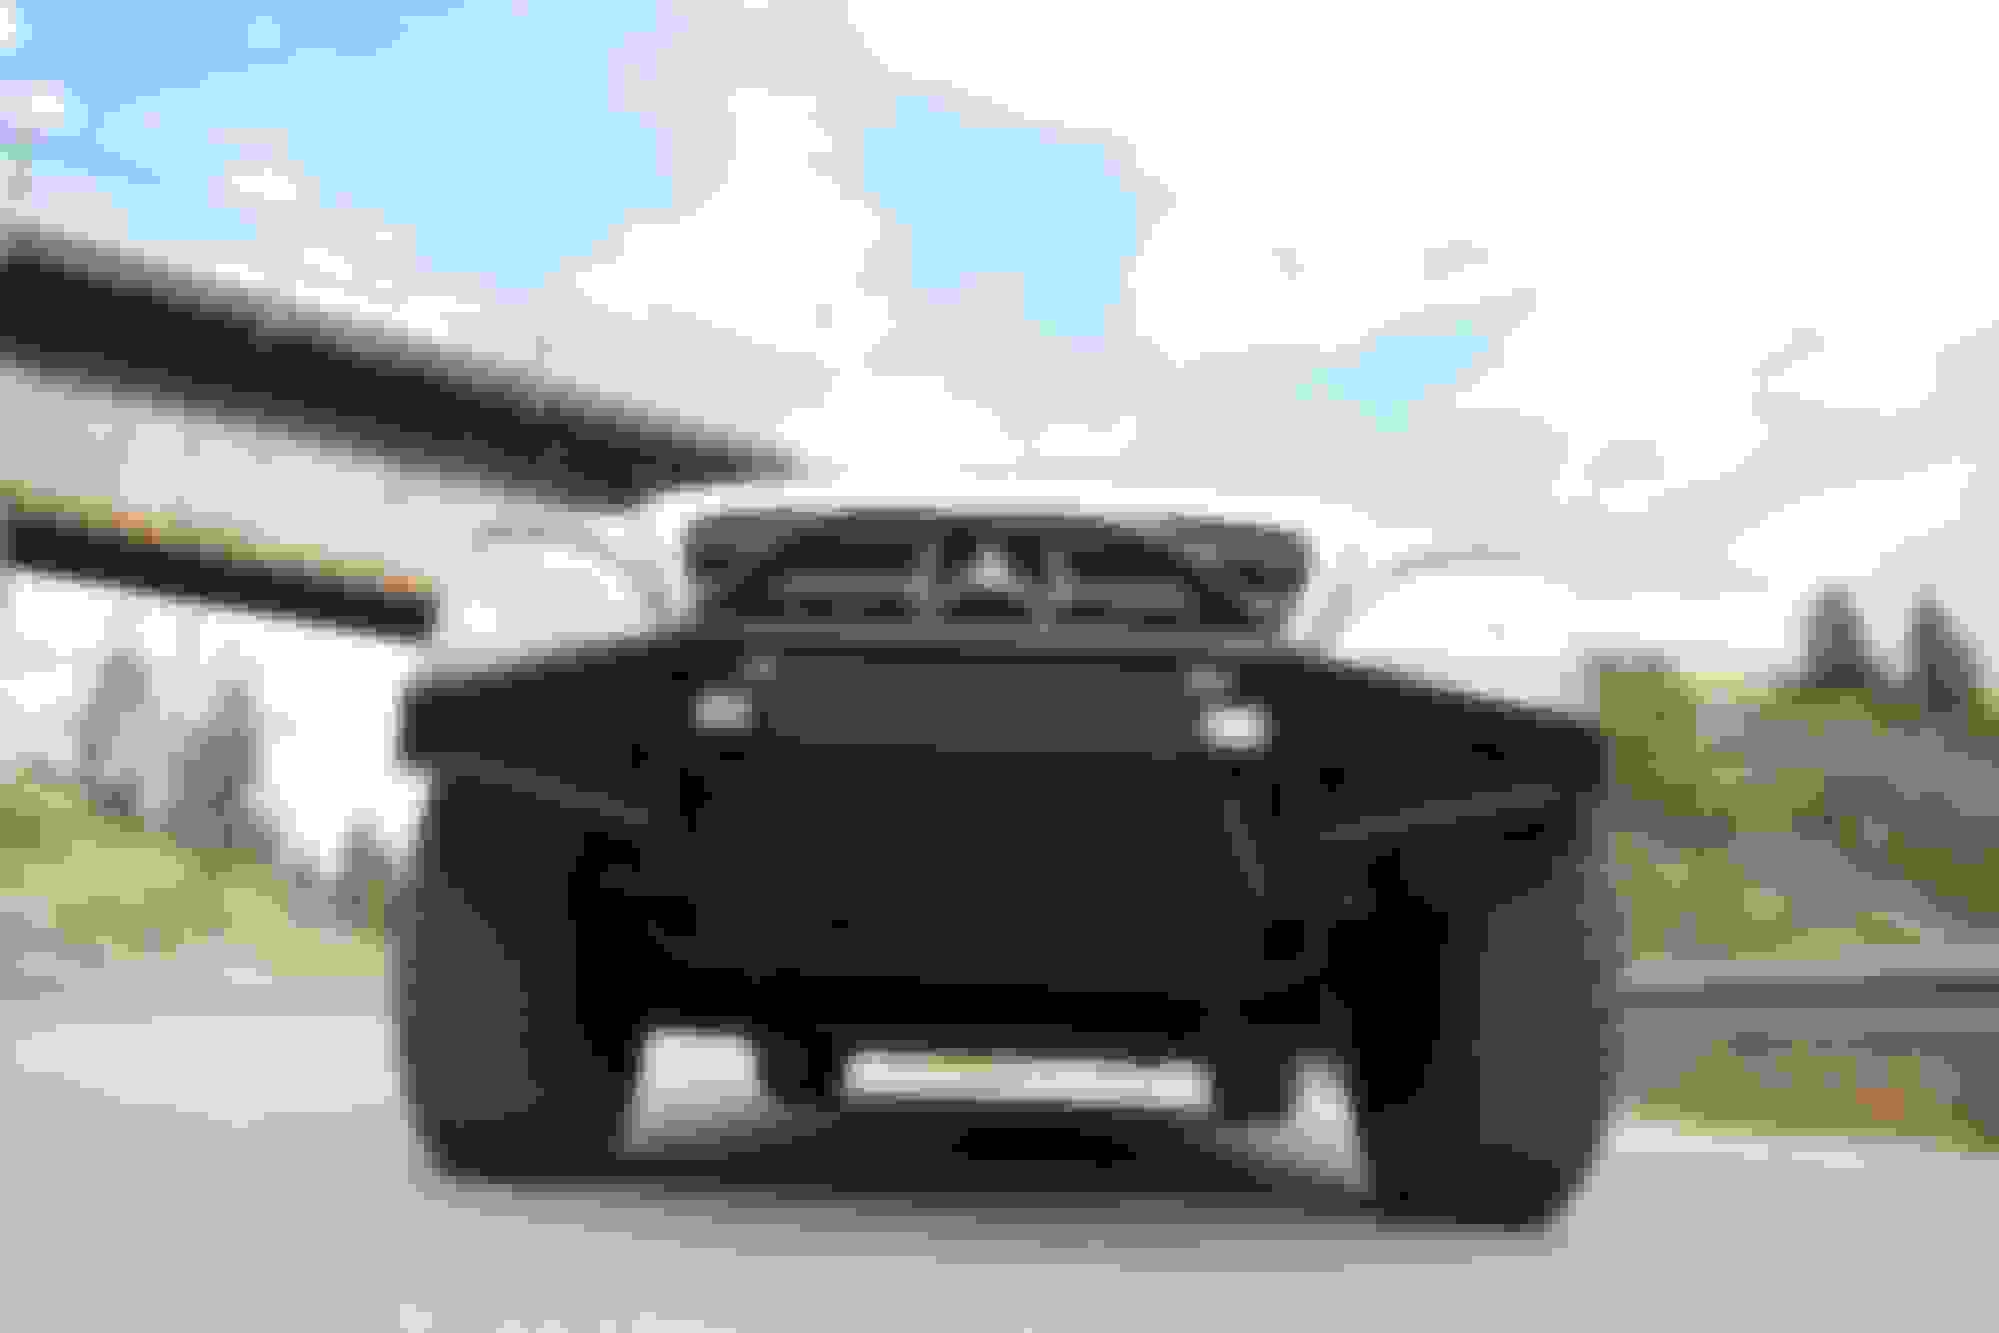
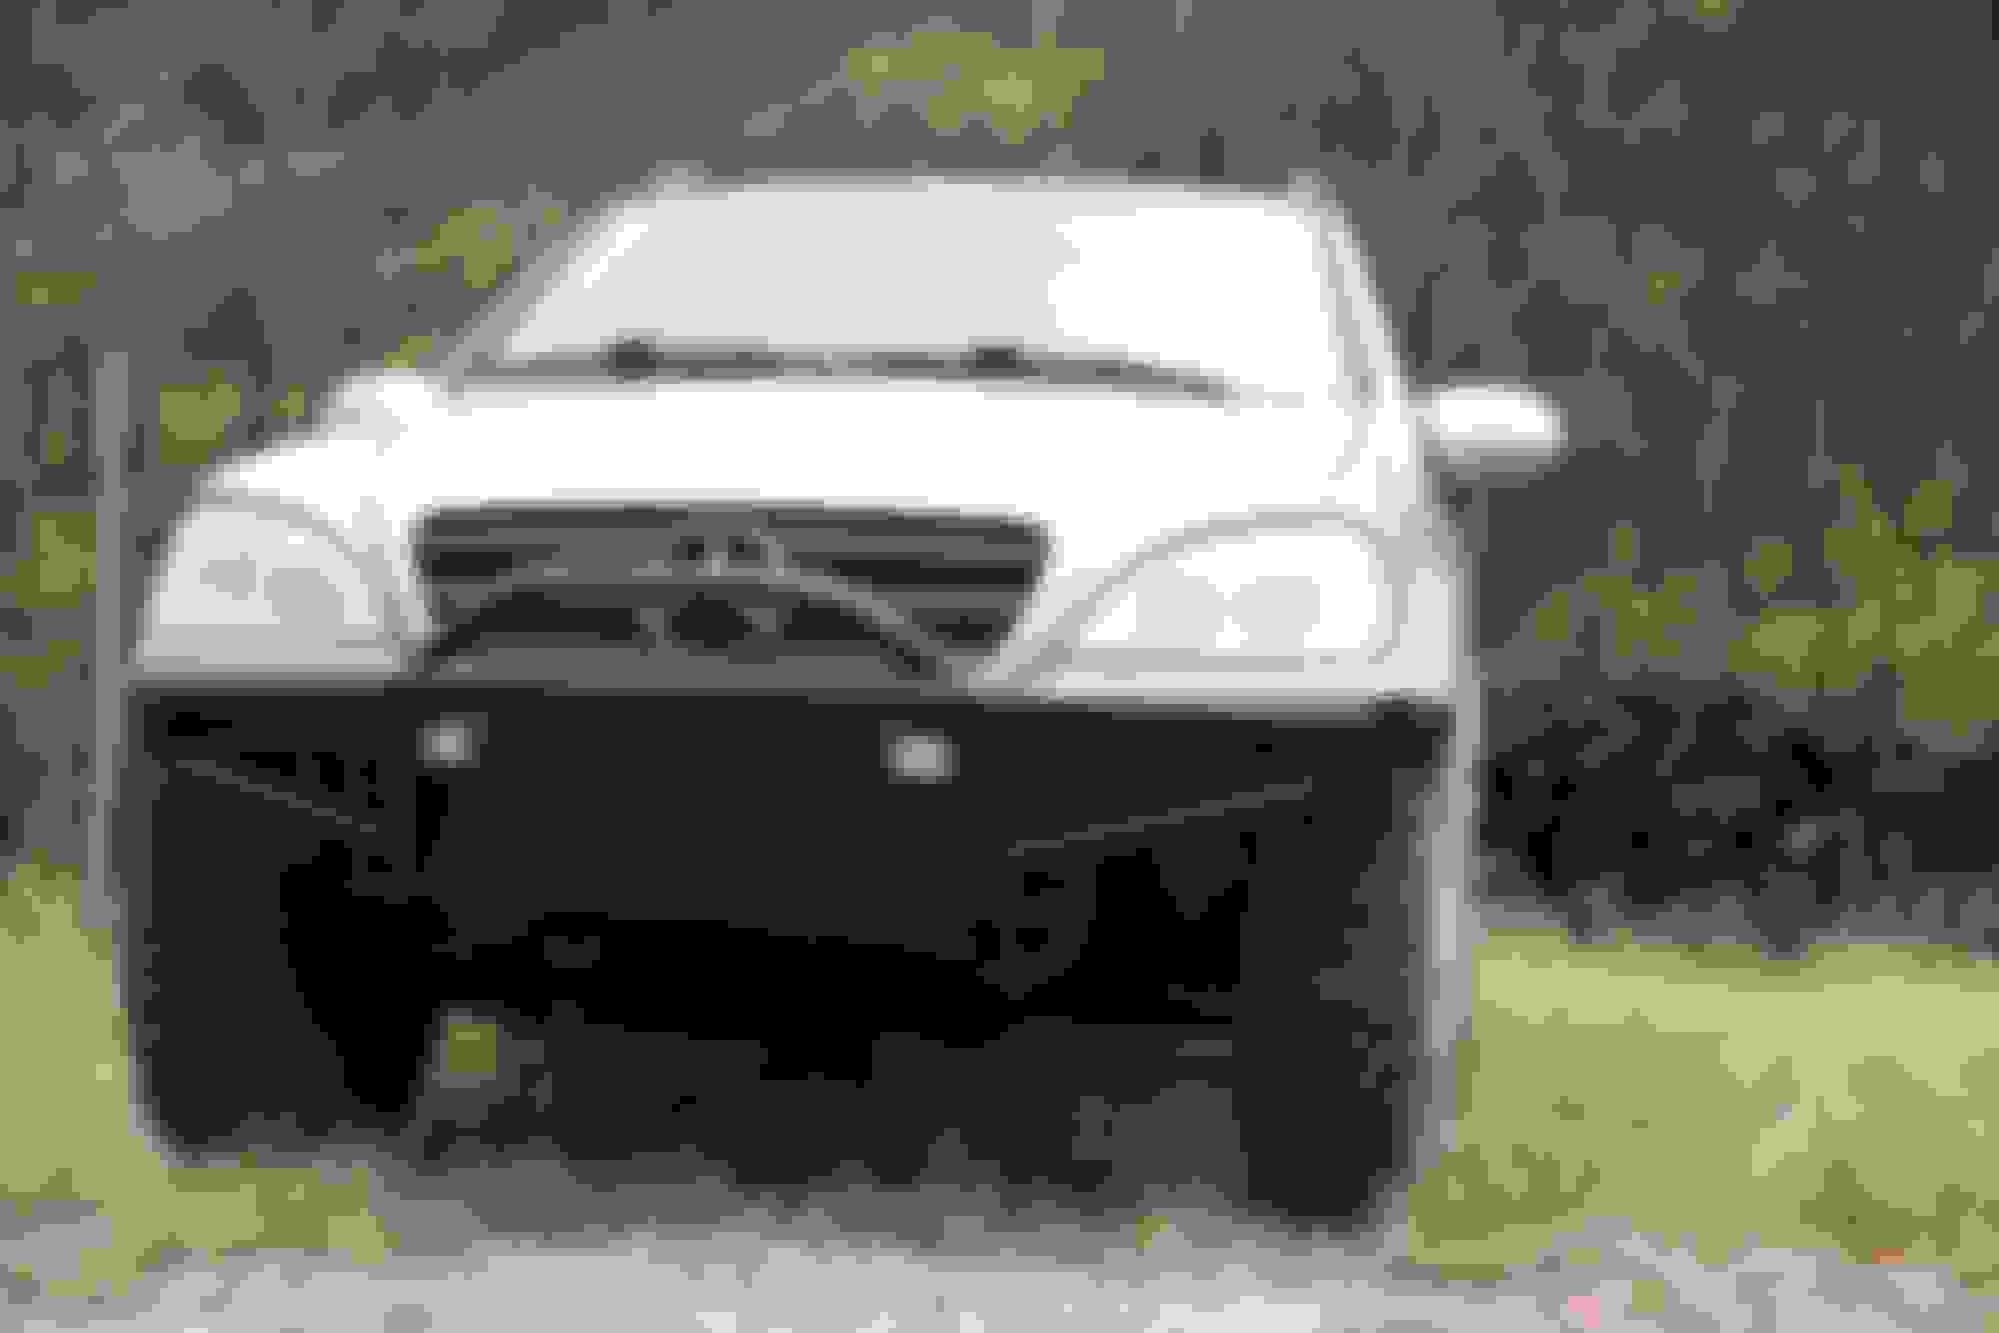
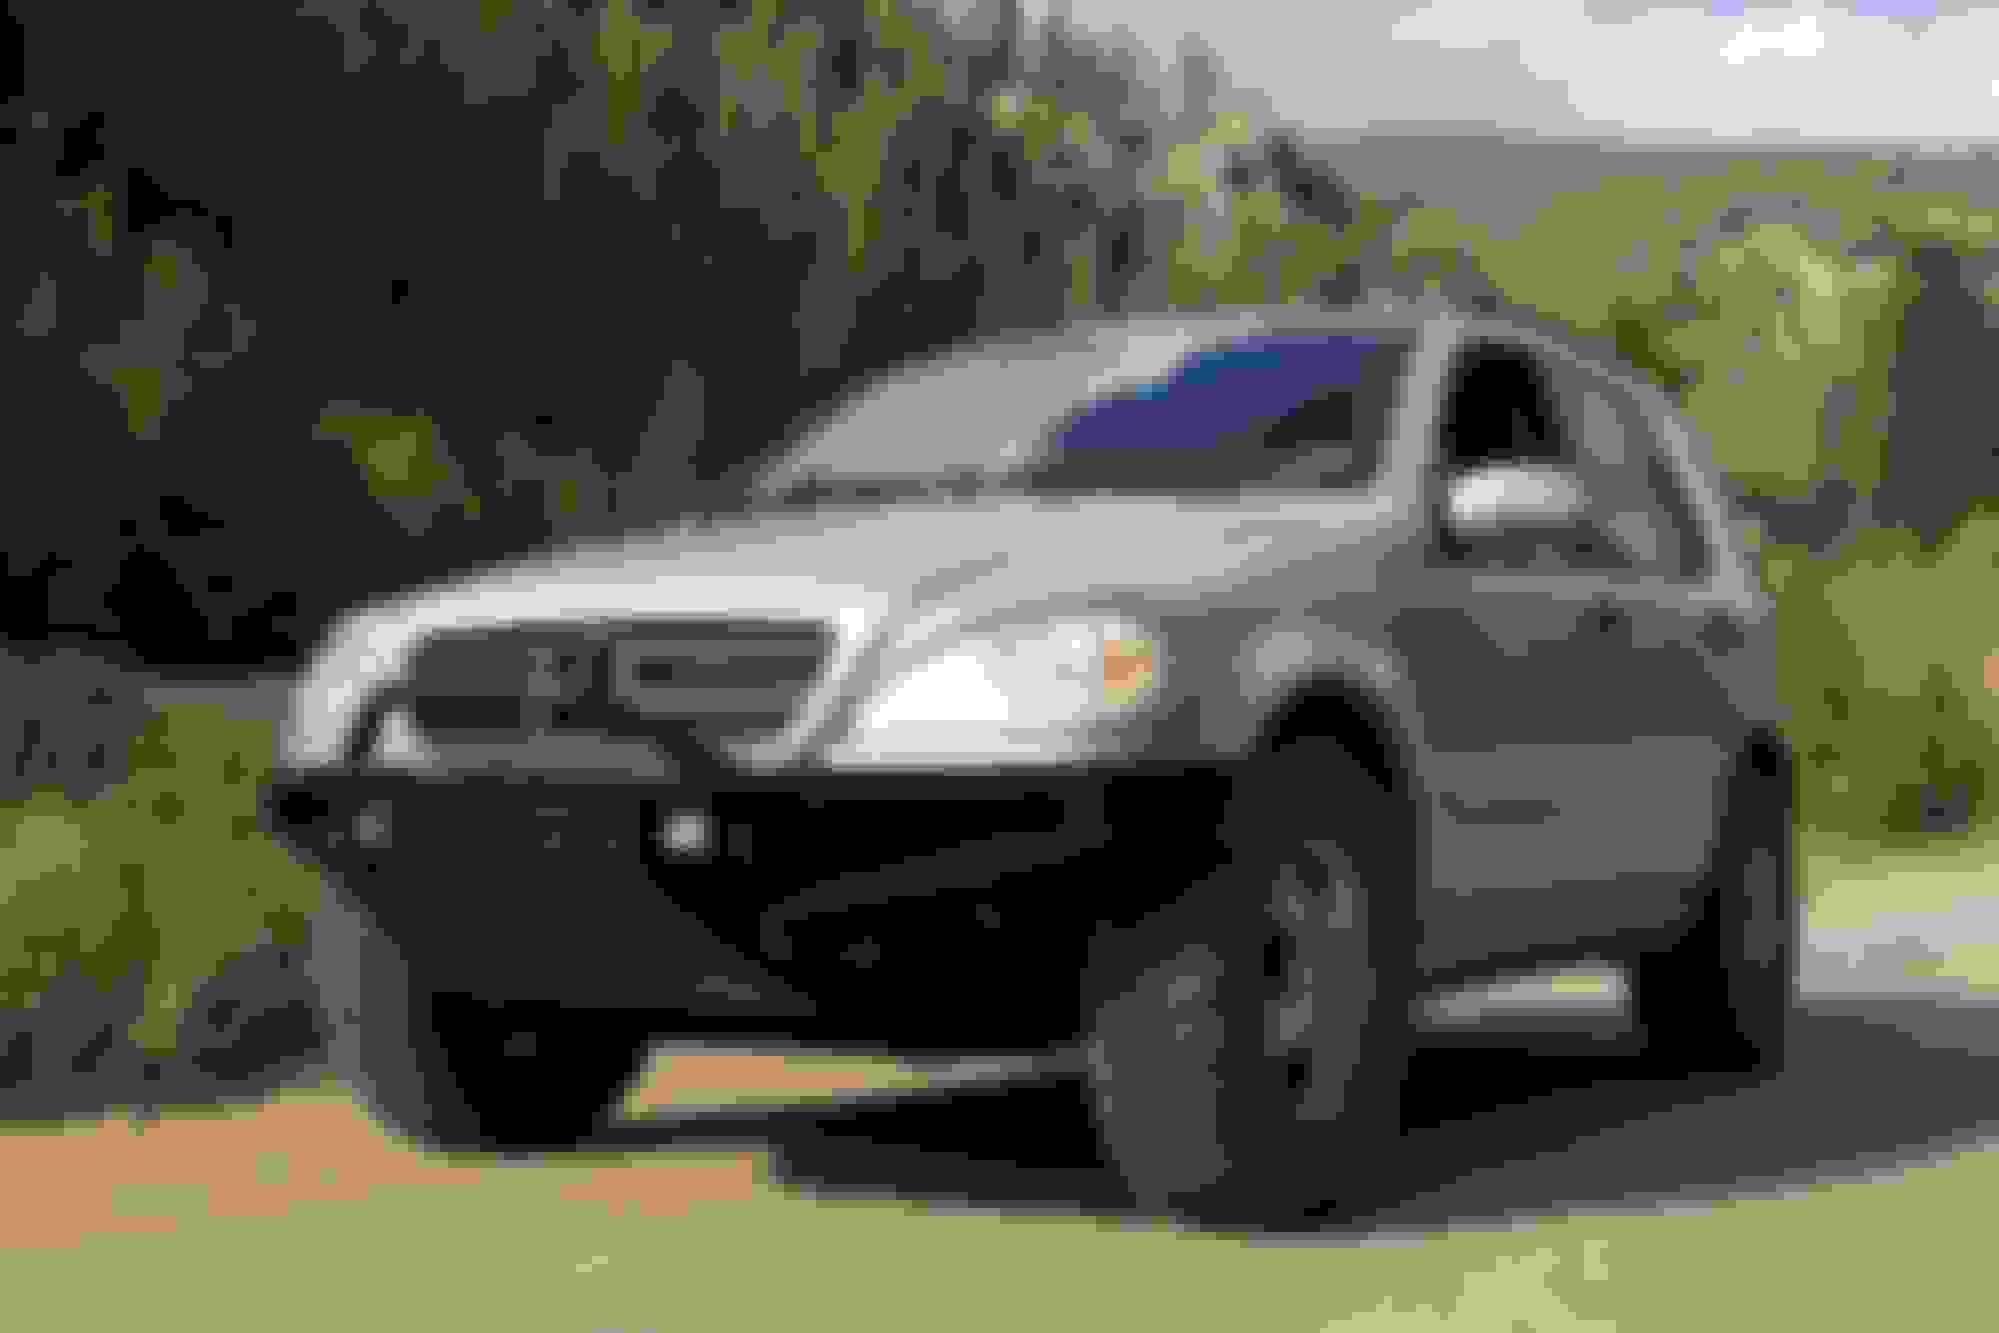
I finally finished the bumper. It took me about 3.5 months to fabricate due to my inexperience with metal on this scale and being methodical in the build process as to not mess it up. Its been a good 6 years or so since i did any welding or metal fabrication so there was a lot of relearning as well as learning new things. I didn't have the proper tools either and had to commute to a borrowed garage for the entire build so im pretty exhausted and not yet ready for the rear bumper.. but heres the front all finished after a long hard haul.
I simplified the design a bit from the original TONK bumper. It doesn't stick out as far because I decided not to add a winch. Cant quite justify the cost as Im in this more for the creative and build process more than I'm into actual off roading ( im a product designer). So I stepped it back a little in depth.
I also didn't add in a few of the "ornamental" pieces. like the smaller diameter bar that connects to the top bull bar and the aesthetic gussets just to the outside of the lights.
For the lights i just bought some inexpensive auxbeam's. They are flood lights and angle slightly (5deg or so) to the outside. for 30$ they aren't the best on the market in intensity but they are a big improvement and certainly better than not having them.
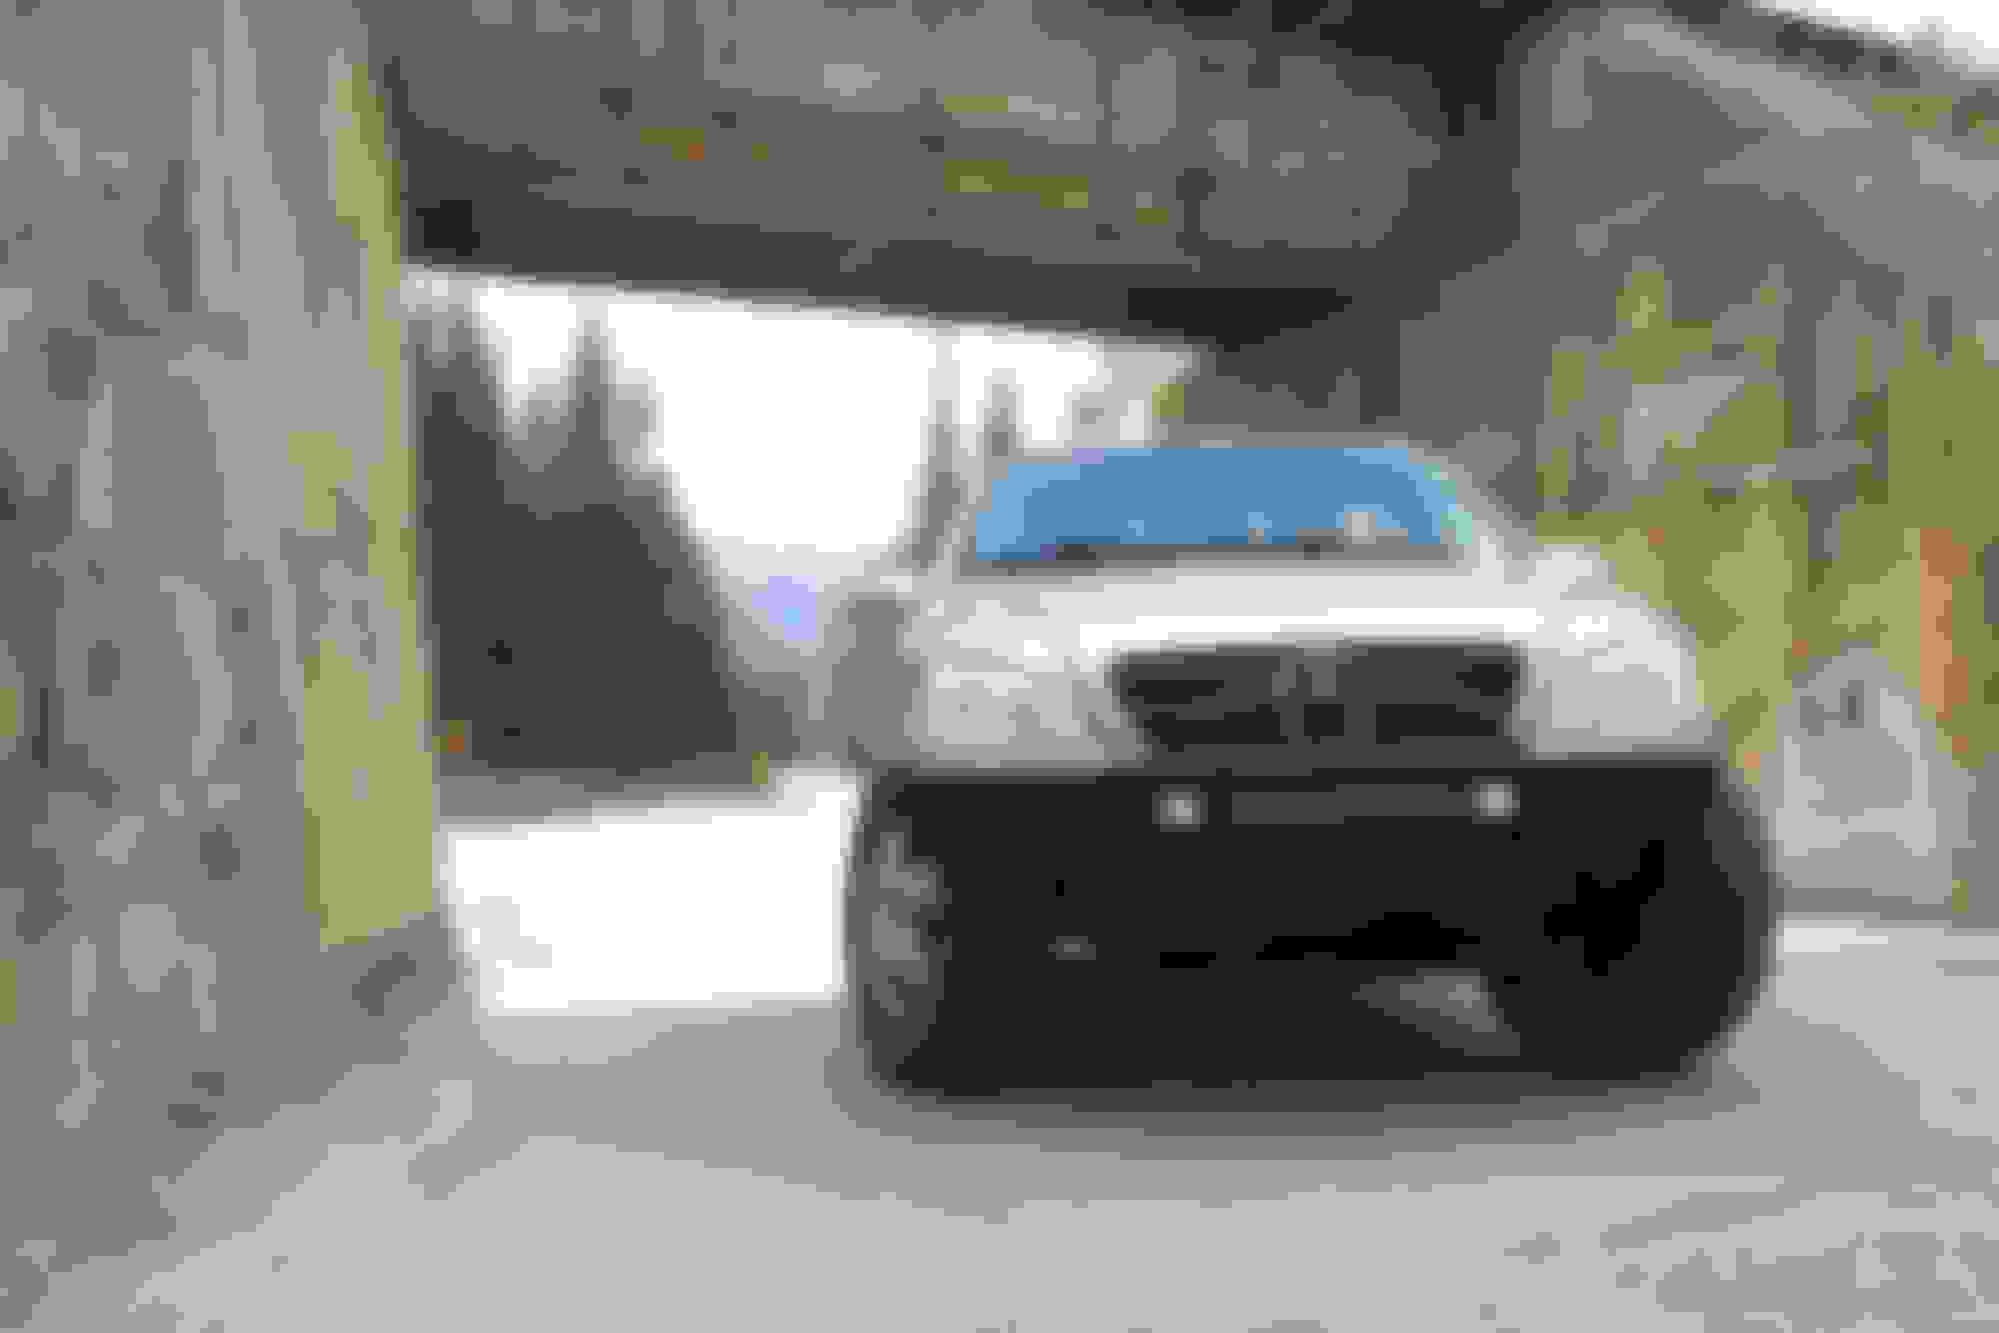
I also didn't add on the holes like TONK had. I like the solid smooth metal look and doubt it would be a weight saving that i care of. So I stuck with solid.
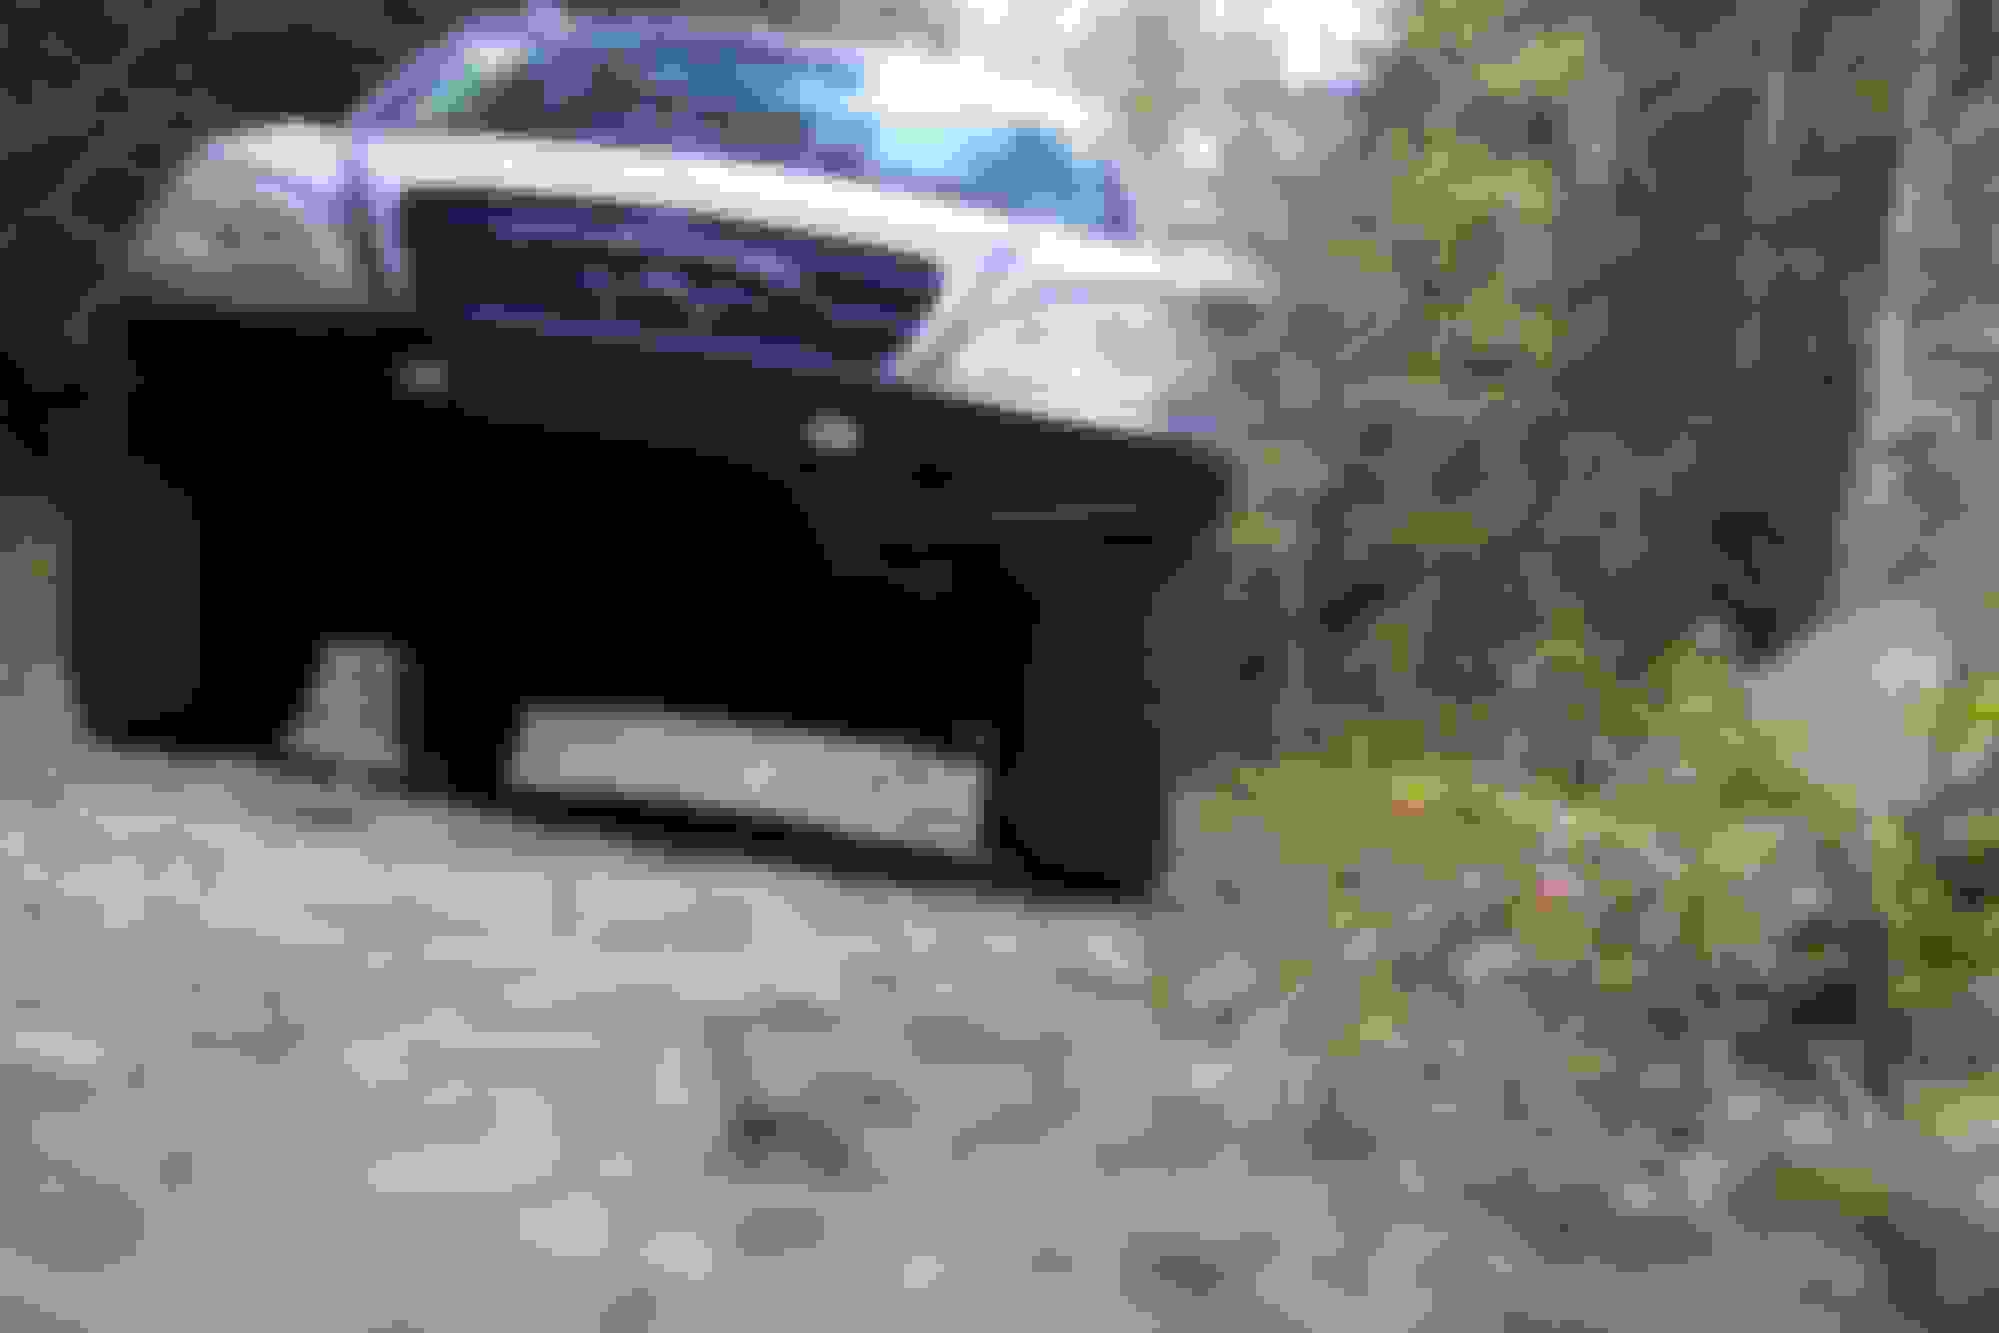
The two vertical triangles that come off the bumper and make the base of the frame are made from 1/4" plate i was going to go for 3/16' but locally it wasn't stocked.
The pipe is sch 40.
For the end caps near the fender and for some of the top plate under the headlights I went with 16 gauge which is still structural but much, much lighter. The brush guard is also 16 gauge and is fairly ridgid with the bends in it. I wanted to originally do a thicker brush guard but i had plenty of 16 gauge left so it was hard to pass up.
1. I doubt it will see much damage from my driving
2. it would take a good rock to dent it beyond repair
3. I made it detachable so I can always throw out the old and put a new one on. its "disposable"
Overall minor changes but i stuck close to the design because i like it a lot. Here are some pics to enjoy.
Mercedes SLR McLaren 722 S Is Extremely Rare Example Modified by McLaren
Slideshow: A one-of-one U.S.-spec Mercedes-Benz SLR McLaren Roadster became even rarer after a factory-backed transformation at McLaren's headquarters.


 i was going to go for 3/16' but locally it wasn't stocked.