When you click on links to various merchants on this site and make a purchase, this can result in this site earning a commission. Affiliate programs and affiliations include, but are not limited to, the eBay Partner Network.
I'm a long time X164 owner that picked up an 11 ML550, and decided to retrofit the same projectors into my headlights that I have in my 08 GL550. The stock bi-xenon projectors were replaced with EVOX-R projectors and the high beams were replaced with Morimoto HB projectors. It is a pretty easy retrofit. The lights are sealed with butyl and open easily after baking at 240F for 12 minutes, the EVOX-R projectors mostly bolt in and the HB projectors drop right in. it is a great headlight to retrofit - the lights open and reseal easily and the projectors are entirely inside the sealed stock headlight housing, so sealing the projectors isn't an issue. The headlights opened up with the stock projector and high beam bowl (previous owner added the LED parking bulb):
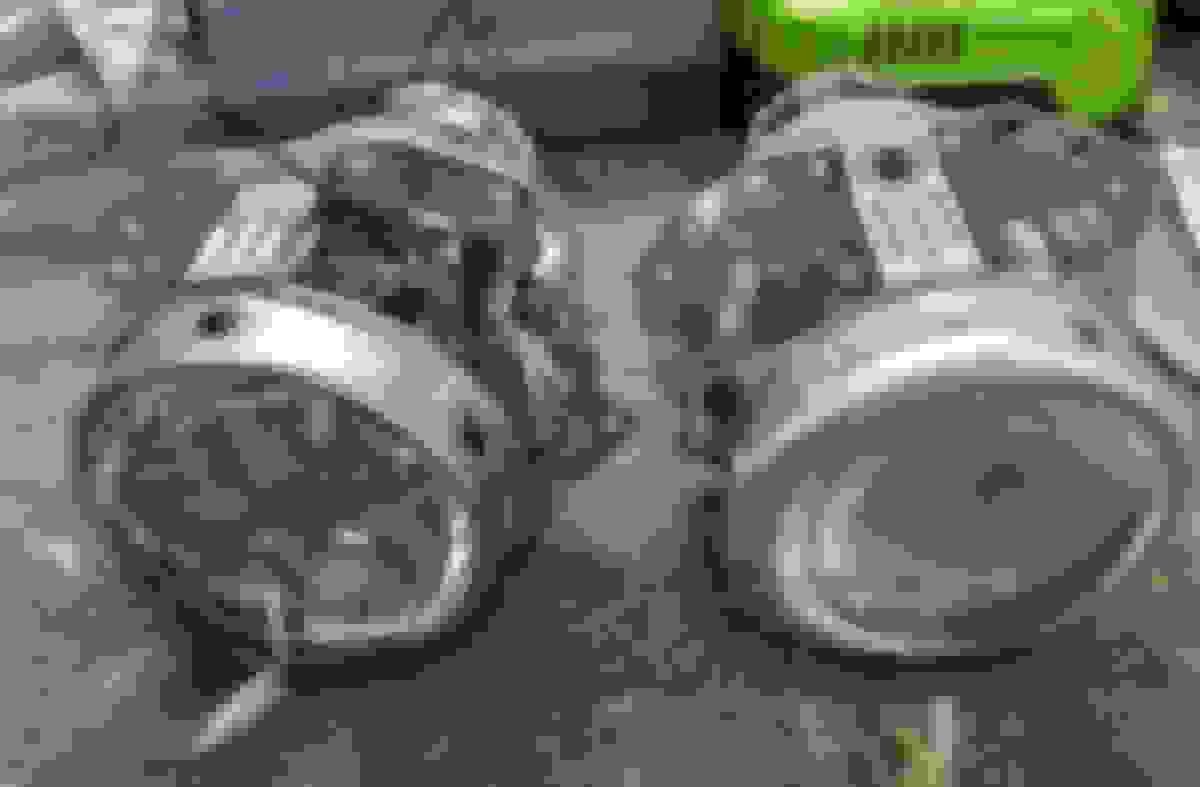
Stock projector on the right, EVOX-R on the left. The EVO comes with a clear lens, the stock lens has fresnel, which diffuses the light output somewhat and makes the cutoff less sharp. Also notice how much shinier the bowl is on the new projector, which is the main reason they have much better light output. The Hella projectors MB uses are known for losing their reflectivity over time. These weren't as bad as the ones in my GL which had output comparable to an old sealed beam headlight by the time I replaced them. The stock projector is deeper front to back, which requires a little extra work if you want to keep the stock surround trim ring (you do for appearance reasons). The stock projectors are attached with four of the torx head screws MB uses everywhere. Undo them, unplug the bi-xenon shutter cable from the housing and remove the projectors from the housings:
On the stock projector, there is a cable that attaches to the base of the projector and connects inside the housing with a blue connector just inside the opening at the back of the headlight housing to open and close the shutter on the projector that switches between low and high beam. Disconnect that cable from the stock projector, connect it to the new projector and plug it into the headlight housing once the new projector is installed or your bi-xenon projectors will just be xenon projectors:
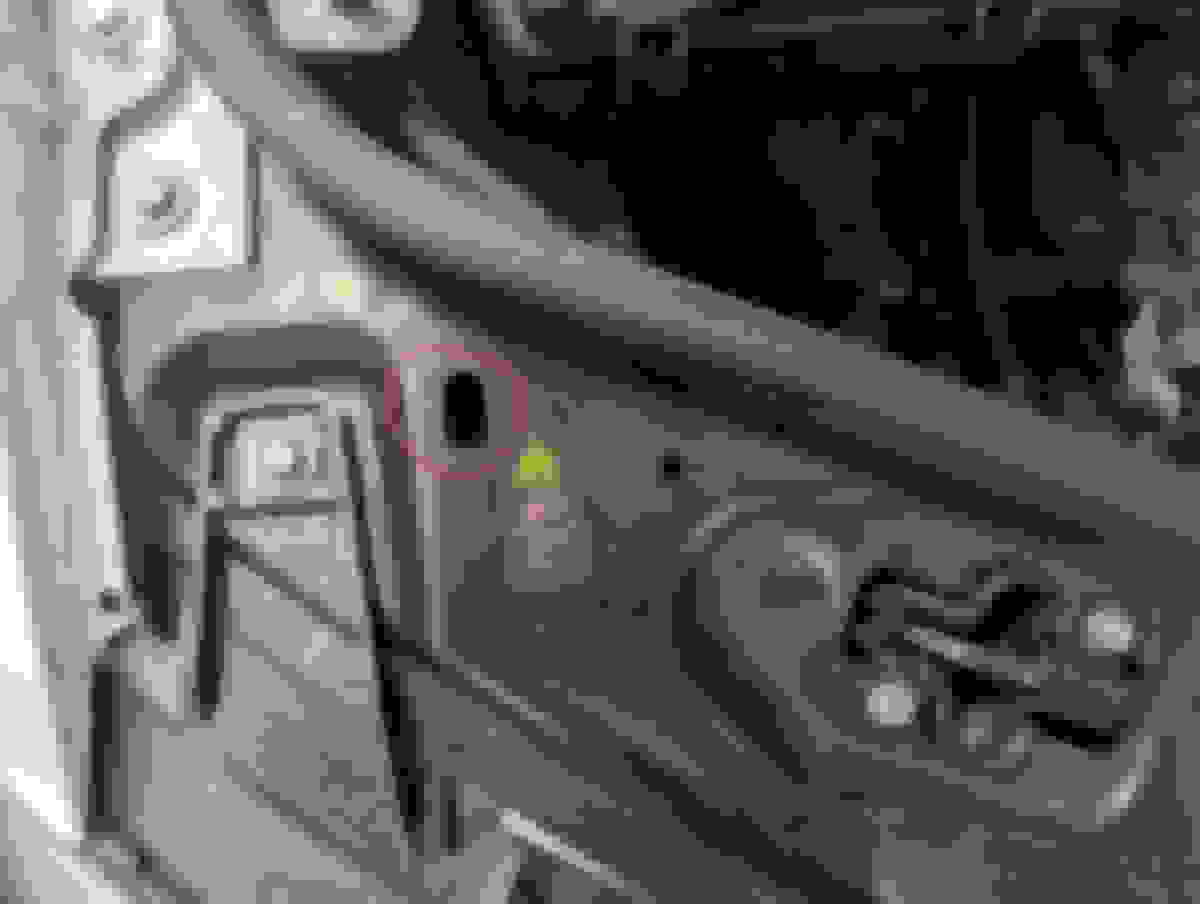
The EVOX-R mostly bolts in, but requires a couple of minor modifications. First, the connector for the bi-xenon cable referenced above interferes with the mount it fastens to and requires some grinding at the bottom of the projector mount. I meant to take a picture without the projector in place but evidentially forgot. The location is circled in the picture below. It will be obvious when you try to put the new projector in place. I just used a dremel and it took all of 20 seconds. Be careful with the dremel though because there are electronics in the base you don't want to dig into. Second, there are some locating pins at the top of the mount that fit into holes on the frame of the stock projector and there are not corresponding holes in the frame of the EVOX-R to accommodate them. Again, the dremel provided a quick fix. I only ground down the pin section and left the "base" because of the third issue that left the projectors not sitting flush against the projector mount.
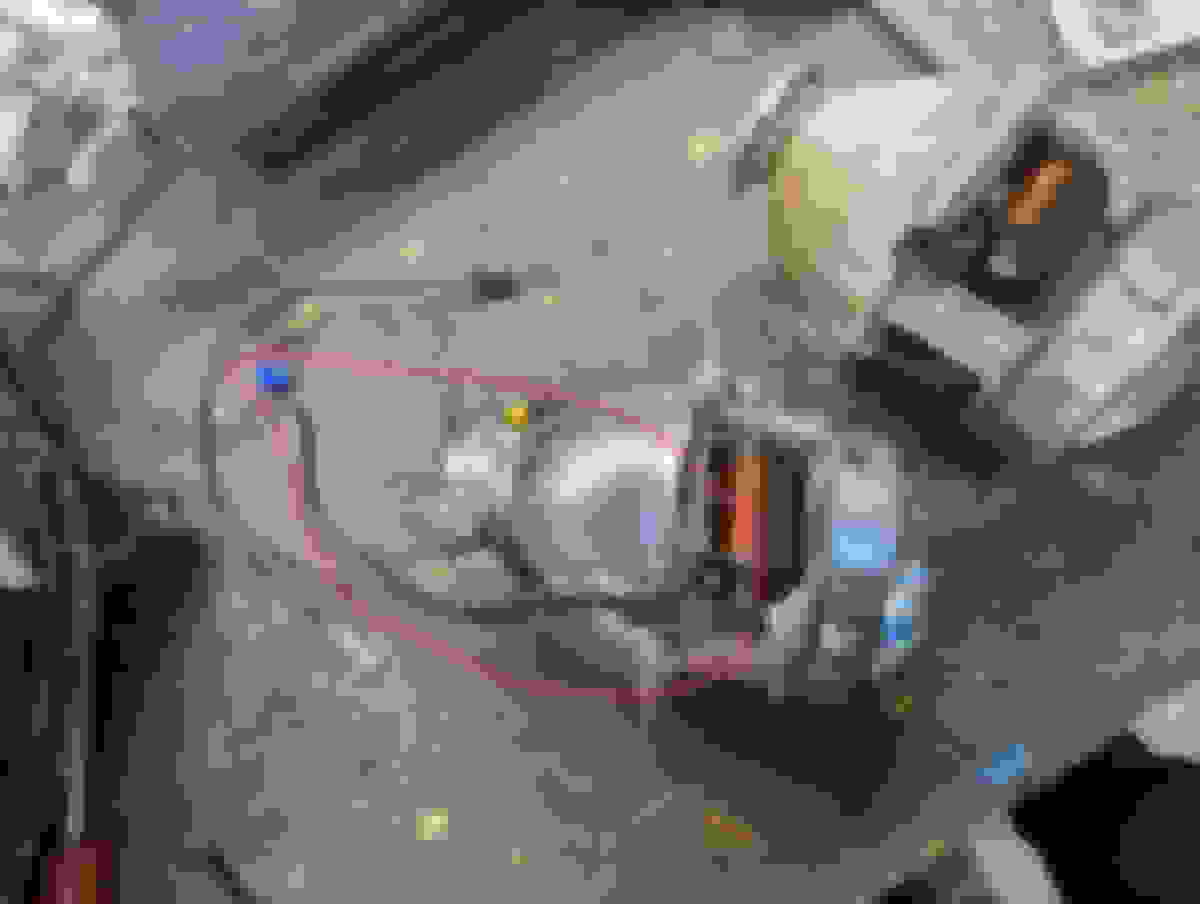
Third, while the upper part of the EVOX-R projector has holes in a location that matches the mounting holes on the projector frame (red circle) , the lower mounting holes line up with holes on the EVOX-R that are already filled with a small machine screw that is used to attach the projector lens to the projector (blue circle). Remove the stock machine screw and pass the mounting screws through the frame into the mount. However, the part of the frame that the stock machine screws fasten into has a "bump" that projects enough on the backside of the projector frame that keeps the projector from sitting flush against the mounting frame. To keep the projector aligned properly (parallel) relative to the mounting frame, put two thin washers between the projector and the frame at the upper mounting screws. Upper mounting screws circled in red with two washers and lower with the bump circled in blue. (the headlight housing is upside down in the picture):
Finally, because the EVOX-R projectors aren't as deep as the stock projectors, the trim rings no longer sit in the proper location (they sit ~.5" beyond the end of the projector). I broke off the mounting "legs" and used RTV to glue the rings directly to the projectors. They are a perfect fit for the o.d. of the frame that holds the lens and have stayed in place for 4 years on my GL. Visible in the next picture.
The Morimoto HB projectors bolt-in. To install, remove the stock bulb, insert the projector shaft through the hole (I used the supplied funnel shaped rubber gasket on the inside of the light) and tighten the nut on the threaded shaft. The only issue is that the projector comes with wires terminated with pins designed to be put into the supplied 9005 male connector (don't install until the lights are mounted because the mounting nut won't pass over the connector). The stock high beam is an H7, so you either need a female 9005 to male H7 adapter (
) or just replace the stock pins with spade connectors and plug them into the H7 connector. I used Mini Gatling shrouds on them to hide the projector in the stock opening. The projectors are polarity sensitive, so if they don't work, reverse the connectors. I was 0 for 2 with mine on the first attempt. The final product with the headlight cover off:
And with the covers: (yes I need to polish the headlight lens. Looked perfect at purchase - already starting to show a little cloudiness)
Low beam output. The EVO projectors have a brighter hotspot than most projectors. Some don't like it, but i do since it puts more light in front you:
And high beam:
If you've never opened up headlights before, a good how to summary:
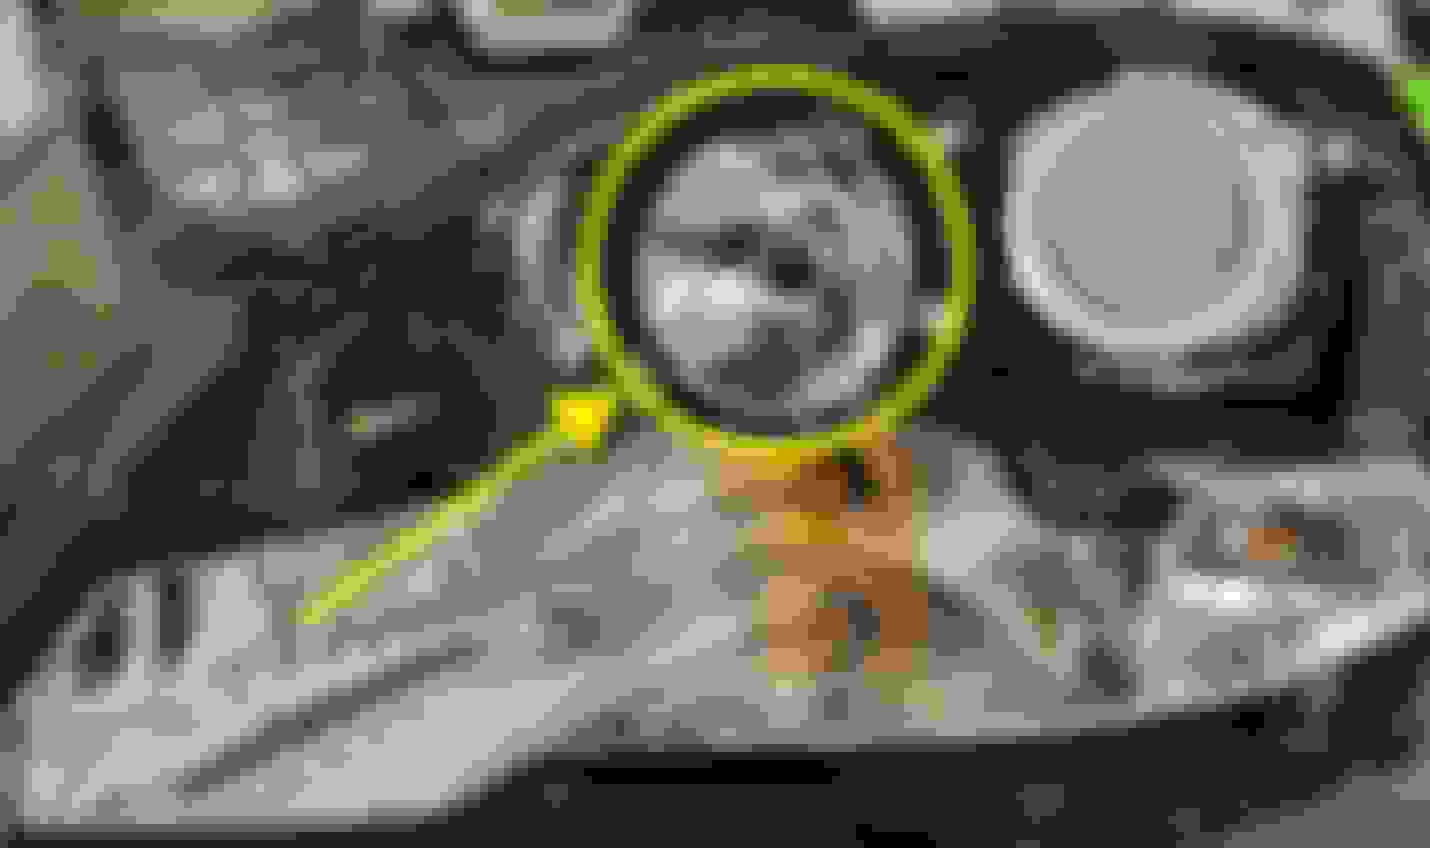
I didn't know the trick of flattening both the old and new butyl down. Results in much less residual butyl on the outside of the light after resealing. Also, once you have them installed, the projectors will probably need at least a small amount of adjustment. A 6 mm Allen through the hole up and to the left of the high voltage logo will adjust the projectors up and down:
Overall, it is a great modification. The new projectors have much better output than the old ones and have a sharper cutoff. I used a new set of Osram CBN bulbs which are a little whiter than the stock bulbs. 98% of the improvement in lighting is due to the new projectors. Putting the new bulbs in the old projectors was only marginally better - the bowls lose their finish over time and the lights lose quite a bit of output. The improvement from the HB high beam projectors isn't huge, but they provide a better match in light temperature to the bi-xenons, and they're not that expensive.
Parts needed are:
EVOX-R projectors (available elsewhere but LightWerkz is a great vendor): https://lightwerkz.net/collections/h...oto-evox-r-2-0
Morimoto HB projectors: https://lightwerkz.net/collections/l...to-mini-hb-led
Mini Gatling Gun shrouds: https://lightwerkz.net/collections/p...ni-gatling-gun
A set of D1S HID bulbs. You can reuse your current bulbs, but they lose output over time too and are probably due for replacement if you have a W164 (use Osram or Philips - you get what you pay for with HID bulbs)
Morimoto retro rubber to reseal the light
The 9005/H7 converter cable referenced above unless you want adapt the stock leads on the HB projector
Last edited by EWT; 12-12-2022 at 10:35 PM.
Reason: added pictures
Will this retain the self leveling and adaptive cornering of the factory HID system?
Yes. Still works like the factory projectors. Just be careful when modifying the frame the projectors mount to. There is some hardware at the bottom (where the frame pivots) that shouldn't be disturbed.
Hi, do you happen to still have any parts left over from this project?
I need one of the Hella reflectors like the one you took out, and I would gladly purchase one of your leftovers. One of mine melted, and it's not a part that MB ever made available separately.
Ideally I'm looking for left-side, but I believe that L and R are identical except for the placement of the pivoting clip-in support arm.
Sorry, I didn't take out the high beam bowls. The high beam projectors I have use the stock bowl/hole for the bulb as a mounting point.
That's OK, thanks for the reply! I had been trying to figure out what your new projector mounted to and didn't understand what you'd done, but this makes sense.
I'd love to apply the same solution to mine, but with the melt damage I don't think it would fit and hold properly.
I think you're correct unfortunately. The projectors would probably droop. I bet you could find a set of damaged X or W164 headlights cheap on ebay and scavenge parts.

 12-12-2022 | 06:20 PM