When you click on links to various merchants on this site and make a purchase, this can result in this site earning a commission. Affiliate programs and affiliations include, but are not limited to, the eBay Partner Network.
Hi All,
It's time for brake fluid flush, this time thinking to do it myself, can someone confirm the part number and how much do I need (bottles, L, Oz) to flush the system.
Car 2014 ML350 BT
Google says MB spec 331.0 DOT4+ fluid. 1-2 liters are needed per posts from owners. Buy 3 liters to be on the safe side. Call or visit your nearest MB dealer and you can order the right fluid.
I just did the flush on my 24014 ML350 BT. I used Pentosin DOT4, pretty much any DOT4 fluid is fine. I put the entire vehicle on 4 jack stands, sucked out most of the fluid from the master cylinder, poured in fresh fluid there. And then went around to each wheel suctioning from each caliper and always double checking the level in the master cylinder. Always sucked out at each wheel to take the master cylinder as low as possible.
I just did the flush on my 24014 ML350 BT. I used Pentosin DOT4, pretty much any DOT4 fluid is fine. I put the entire vehicle on 4 jack stands, sucked out most of the fluid from the master cylinder, poured in fresh fluid there. And then went around to each wheel suctioning from each caliper and always double checking the level in the master cylinder. Always sucked out at each wheel to take the master cylinder as low as possible.
. Note that it get's connected to my Air Compressor.
1. Connect bleeder to screw
2. Squeeze handle to begin vacuum
3. Loosen bleed screw.
4. Clamp Squeeze handle to keep bleeding.
5. Walk to Master Cylinder to monitor level.
6. Walk back to brake caliper.
7. etc..repeat.
Note that the fluid does not get vacuumed in a continuous flow, it comes out in spurts and that is fine. Being using this device now on 3 cars and 1 motorcycle without any issues.
Cool. This is what I used: Brake Vacuum bleed, from Amazon: Brake Bleed. Note that it get's connected to my Air Compressor.
1. Connect bleeder to screw
2. Squeeze handle to begin vacuum
3. Loosen bleed screw.
4. Clamp Squeeze handle to keep bleeding.
5. Walk to Master Cylinder to monitor level.
6. Walk back to brake caliper.
7. etc..repeat.
Note that the fluid does not get vacuumed in a continuous flow, it comes out in spurts and that is fine. Being using this device now on 3 cars and 1 motorcycle without any issues.
Good luck.
Thank you for the tips, I bought cheaper version,
based on reviews its working ok.
Wondering if I push brake pedal will it help to push fluid out? We don't have electric brakes, pedal actually connected with master cylinder,
so old school pump-pump-hold method should work too.
Wondering if I push brake pedal will it help to push fluid out? We don't have electric brakes, pedal actually connected with master cylinder,
so old school pump-pump-hold method should work too.
If you do the push brake pedal method, that's going to require 2nd person is it not? But yes, the old school method works as well. I have never felt a need to push the pedal while using the vacuum brake bleed. I just hook it up, turn it on and make sure the master cylinder never get's dry. It's pretty easy and automatic.
I should add my vehicle list include:
2001 Subaru Forester
2014 ML 350 BT
2013 Nissan Leaf
2010 BMW R1200RT
Last edited by Etienne Lau; 09-19-2019 at 06:05 PM.
Reason: Adding information
I did this on my 2012 ML350BT. I bought a pressure bleeder from ebay for $60. It comes with the adapter for MB reservoir. Well worth the money! Used 2 bottles of brake fluid. I used the genuine MB fluid which costs about $25 per bottle. It won't save too much by using aftermarket fluid and only need to do this once per 2 years so I decided to stick with genuine parts. No need to raise the vehicle up if you know how to do the job.
I just did the flush on my 24014 ML350 BT. I used Pentosin DOT4, pretty much any DOT4 fluid is fine. I put the entire vehicle on 4 jack stands, sucked out most of the fluid from the master cylinder, poured in fresh fluid there. And then went around to each wheel suctioning from each caliper and always double checking the level in the master cylinder. Always sucked out at each wheel to take the master cylinder as low as possible.
Hi Etienne Lau, Just wondering how to put ML350 BT on 4 jack stands, because the supporting places have hard plastic part around them that fits the manual jack of ML350. It seems hard to put jack stands right there without damage the supporting ports. Thank you for considering my question.
Hi Etienne Lau, Just wondering how to put ML350 BT on 4 jack stands, because the supporting places have hard plastic part around them that fits the manual jack of ML350. It seems hard to put jack stands right there without damage the supporting ports. Thank you for considering my question.
If it's difficult for you to put on 4 jack stands, an alternative solution which I usually use is to put it on 4 ramps. I have the Rhino plastic ramps that work perfect just buy 2 pairs. They can be slided into the bottom of the vehicle and just drive it up. It should give you enough room to work with. Alway put a few jackstands under the vehicle when you work underneath the vehicle just in case the ramps fail.
I don't have detail pictures of the spot underneath the car. But there are 4 non-plastic spots. I am not sure why you say there are "plastic" spots. I'll try to take some pictures of where I put the jackstands. But it's not hard getting the "beast" up on jack stands. I personally will never use ramps.
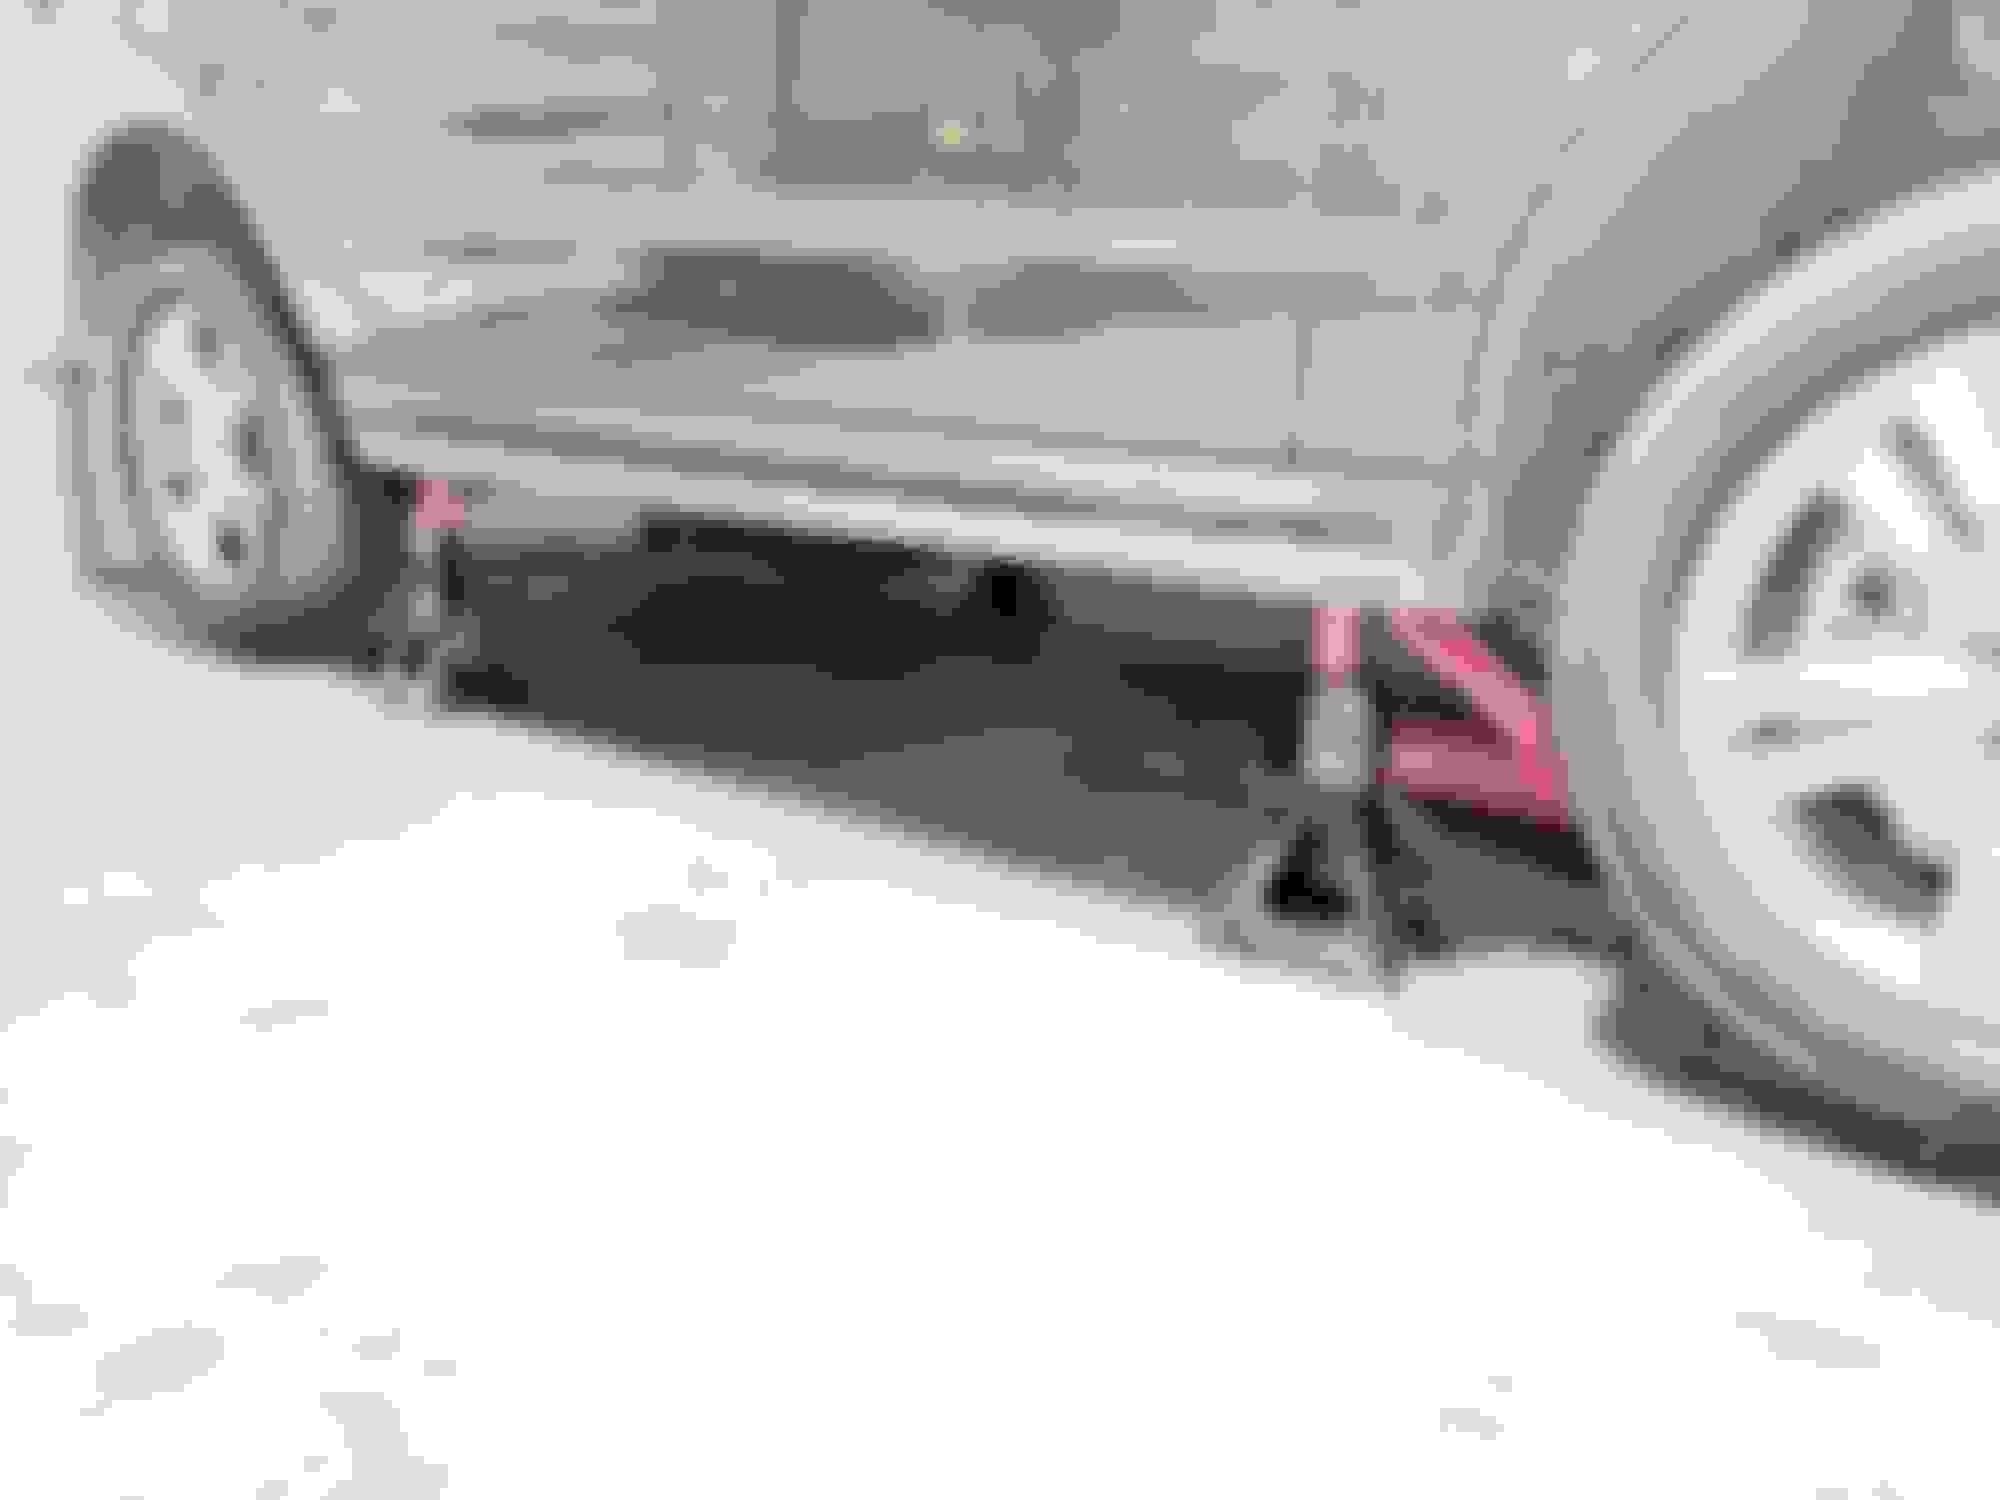
Thanks Guys, my jack spots look like this. Is this manual jack accompanying my 2014 ML350 BT special? So it's hard for me to figure out how can you put jack stands there. Also seems hard to identify solid spots arround the front and back centers to pump jack up ML350.
Sorry, I was using my company computer and the images were blocked I just looked using my personal computer and can see your picture. I do not have those "plastic/rubber" inserts for the factory jack. I do have a hole in the frame like yours, but otherwise that area is made of strong frame metal. It's a large rectangle that surrounds that hole. In fact, when I jack up my vehicle, I place the floor jack underneath the jacking point up front. And for the rear, I use the rear differential.
Thanks Etienne!
Unexpected, that means I really have something special here. So the ramps method suggested by geniushanbiao is an option, only that I think putting the 2nd pair ramp underneath the rear tires is a little bit tricky. For safety, I will put the stands under the control arms after ramp up the beast.
Again, thank you and geniushanbiao for your information, very helpful!
I have the plastic jack points. You can use a piece of wood under them, or simply engage a portion of the jack stand into the jacking point. They aren't special. Look at Senior Leigh's videos on YouTube. He shows how he jacks his S-Class and uses two different types of "normal" jack stands.
Thanks Etienne!
Unexpected, that means I really have something special here. So the ramps method suggested by geniushanbiao is an option, only that I think putting the 2nd pair ramp underneath the rear tires is a little bit tricky. For safety, I will put the stands under the control arms after ramp up the beast.
Again, thank you and geniushanbiao for your information, very helpful!
Stay safe!
Yes DO put another pair of stands under the control arm for added safety when the vehicle is on ramps. Sliding the 2nd pair of ramp underneath the rear tires is not tricky at all if you are using this ramp. https://www.walmart.com/ip/RhinoGear...xoCcz8QAvD_BwE
That's what I use as well. All you need to do is to put the 4 ramps under in position and align them with the direction of the tire movement (this can take a little experience as you want the tire to center on the ramp after driving up) and then drive it up.

 09-18-2019 | 02:41 PM