When you click on links to various merchants on this site and make a purchase, this can result in this site earning a commission. Affiliate programs and affiliations include, but are not limited to, the eBay Partner Network.
Ahh nice.
So they don�t get mad when you send back used oil? I understand if a part breaks and you send it back but oils are consumables and seems unfair for them to have to take a loss.
Also how do you send it back so it doesn�t leak? Once the seal is broken and you put the cap back on most oils will leak unless they are upright.
I don't send my Engine oil back because i can get a good deal from Canadian tire for $30 CAD 5L , i figure out the shipping cost will be a lot because of the weight to send the oil back. But i did send back my transmission oil once. It was nice, got the transmission oil replaced almost for free. They package pretty well when they send the oils to you. I kept the same package and send it back to them. For the oil, i just make sure the lid is close tight, and i used a bag with zip tie to secure it.
This is what it looks like after you submit a lifetime warranty claim. Fcp will send you an email after they received the items. Honestly, it helps a lot to keep up the maintenance of my ml. Highly recommend for everyone.
How do I know before I make the order that it won�t get shipped by UPS?
I know FedEx is good. The only duty I pay is just the GST.
yeah they will give you a bunch of shipping options and FedEx will be the cheapest. Cheaper than regular mail. They must have a volume deal with FedEx or something because it�s way cheaper than other online shops for shipping to canada. I�m in Kelowna BC and my last order got to me in 4 or 5 days.
Haven't had time to update the thread for a long time. Recently, my vehicle almost at 280k and I realized my rear springs has been broken. I didn't expect that my springs was broken into 3 parts on the driver side and 4 different parts on the passenger side. I haven't get a chance to test the ride quality, hopefully it will be better than the broken springs.
This is my passenger side. Hate Mercedes springs. Both my GLK and ML has the same problem. Make sure to order the Mercedes spring compressor from amazon. without this tool, I don't think I have the skills to reinstall the springs. You only need to take the rear sway bar link and the rear strut to remove the broken springs, but to reinstall the springs, you have to take off the two upper control arms. Make sure you reassemble the mount before you compress the springs for reinstall This is the ride height after. It probably going to be little bit lower once the spring settle
I was only able to find 1 video on Youtube and showed how to replace the rear springs. However, that guy didn't use the spring compressor and still get the job done. I wasn't able to do that. Somehow I had a hard time to install the rear springs without the spring compressor, so I do recommend to get the Mercedes spring compressor before start this job. Other than the spring compressor tool, you will also need a 24mm socket to remove the strut bolt, which I don't have in my set. There are 4 bolts that you have to remove in order to remove and reinstall the springs
1) lower strut bolt (24mm socket and 24mm wrench to counter hold)
2) rear sway bar link top nuts ( 21mm socket to loose the bolt, 21mm wrench and T45 bit to remove the bolt)
3) 2 x upper control arms ( 18mm socket and 18mm wrench to counter hold)
Make sure to loose the clip for the speed sensors, brake pad sensor wires before taking off the upper control arms.
In terms of the torque spec, I can't really find them. I torque them at 80lbs ft of torque. From the youtube video, the guy said these control arm does not need to be torque it under load and it will not affect the alignment. I still used the floor jack to lifted up the lower control arm while I reinstall and re torque the bolts. If anyone can find the torque specs for all these bolts and reply in here, that will be amazing. Overall, the job is not hard. It just need to have the right tools. Again, please get the spring compressor. It will make your life a lot easier.
Broken rear springs seem to be very common. People just haven't noticed them since you don't really feel any difference. My 2015 ML broke just after 4 years at around 50k miles.
Thanks for the post! When I tag in my winter wheel setup I will inspect the suspension on all four corners, more closely than usual as I would have never expected springs to break on a Benz that early on.
Broken rear springs seem to be very common. People just haven't noticed them since you don't really feel any difference. My 2015 ML broke just after 4 years at around 50k miles.
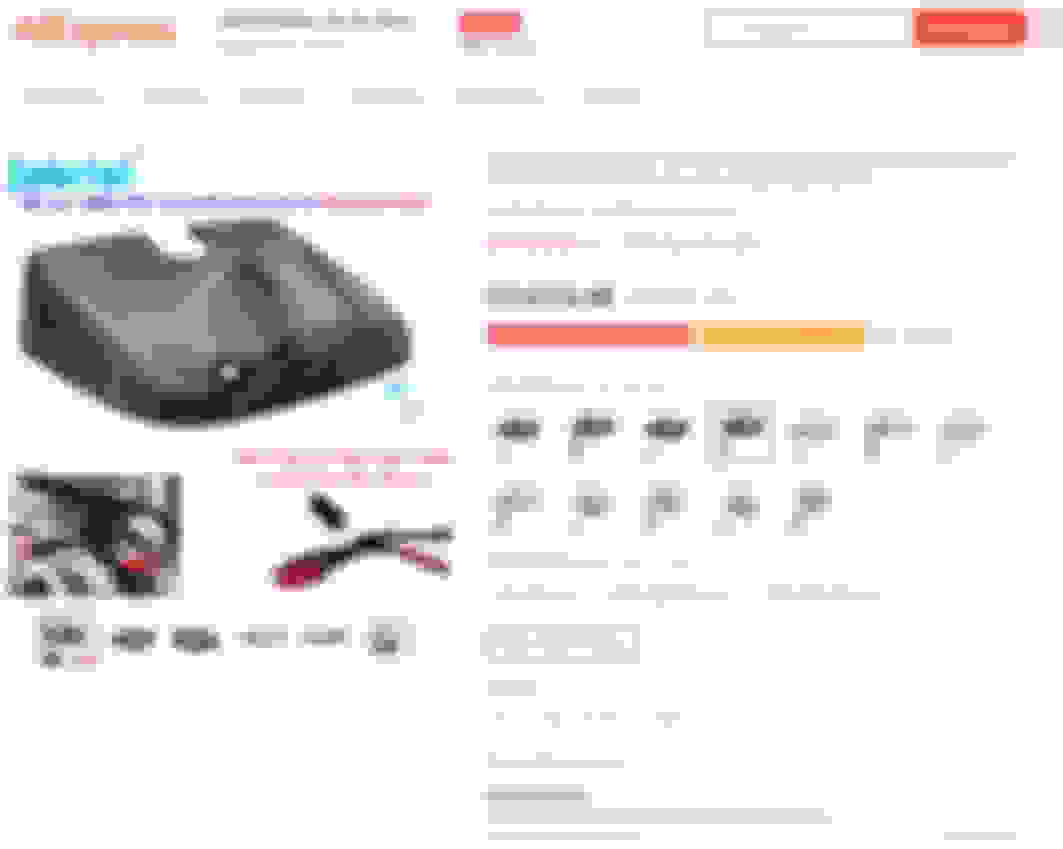
I ordered the parts from FCP euro, If the springs break again, I can replace them at a lower cost. I heard that they recently changed their life time replacement policies, now it only give store credit Oh well, at least is better than nothing.
This is the part that I ordered from FCP euro. They are amazing, and the price are cheaper compare to the Canadian dealership This is the tools that I ordered from Amazon to get the job done. Trust me, you need this to make your life little bit easier.
Thanks for updating the thread, and hello from Edmonton. Are you still on the original shocks? How do your shocks feel at 280k km? My ML350 just crossed the 200 km mark. The ride still feels ok, but the front shocks occasionally make some noise. I ordered a set of Bilstein B6 shocks to replace the OE stuff, but they have been on back order for close to two years.
Thanks for updating the thread, and hello from Edmonton. Are you still on the original shocks? How do your shocks feel at 280k km? My ML350 just crossed the 200 km mark. The ride still feels ok, but the front shocks occasionally make some noise. I ordered a set of Bilstein B6 shocks to replace the OE stuff, but they have been on back order for close to two years.
Ya, still using the original shocks. It not leaking, but it probably a good idea to change since mine is at 277xxx km. After I replaced the springs, the car's handling feels a lot better. Did you try to order the Bilstein shocks from their own website? Last time I check, they were in stocks and doing a sell, but it is still pricy.
Also, did you replace your main battery yet ? Mine is almost 10 years Still doing ok. Really want to replace it for the peace of mind. The dealership wants $500, not too sure if I can find an cheaper alternative or after market store that sells mercedes battery.
Just recently installed the dash cam. Forgot to take pictures on where I mounted the dash cam. I followed the video from youtube, which makes the installation a lot easier.
The above video provided very detail instructions on how to wire the dash cam. The only difference I did was mine don't need to wire the power cable because it came with the rain sensor cable. I highly recommend the rain sensor cable dash cam, it makes the installation so much easier, just plug and play
There are a lot of different seller from Aliexpress. I believe they probably all came from the same manufacture There are two different style of rain sensor cover, make sure to check before you place an order. This is the new cover I ordered from Mercedes. All the taps were broken from the old one You will need some lighting inside in order to see. I have remove the rear trim cover to hide the cable. This cover was a pain to reinstall it back This IS THE HARDEST PART! It took me forever to fish this wire. I tried use the fish wire, but it did not work. I then just slide the rear dash cam cable and slowly work my way out. It was painful. Thank god I made it. Again, not easy.
I was in a rush yesterday to finish off everything. Tested the dash cam, seems working pretty good. Can definitely pay extra money for a better quality rear camera. Will post more pictures whenever I have more time.
Finally have time to update the dash cam mount picture.
This is how I mounted it when I first installed. I may re-do it when I have time. Don't really like how the wire exposed so much This is how I mounted it when I installed on my wife's GLK. It looks a lot more clean. Hopefully when the summer comes, I will have time to remount the dash cam
There are two recommended app that suggested by the dash cam provider, "Roadcam" and "TimaCam". I couldn't figure out how to setup the time with Roadcam. I had better experience with TimaCam. Overall, I am happy with the dash cam purchase. The app provides front and back review at the same time. The app also allows wifi direct to access the dash cam when you are on the road. If my rear dash cam ever fail, I will probably replace one with better resolution. The rear dash cam can still see what's going on, but just not in 1080p.
I ordered two Auxiliary battery to replace on my ML and GLK. I replaced the GLK one already right away, but dragged forever to replace my ML. The entire process probably took less than 30 mins. Super easy to do. Highly recommend people doing it for preventive maintenance.
Ordered the battery from last 2021 Oct, I guess it about time to do it. No wonder why my wife get's mad sometime when she ask me to do repair :S There is a screw you have to remove before you pop the panel, I think it T30. Guess what, the dealership tech probably forgot there is a screw to remove before take off the panel. They broke it and glue it back. Sometimes, dealership are not perfect
There are few youtube videos that are helpful for the aux battery replacement. This is the video I follow. Great video, very clean instructions.
There are 4 screws you have to remove in order to access the aux battery This is all the parts I took off for the aux batter install Battery bracket Compare the new and old aux battery before reinstall
If you really don't want to take off panel to replace the aux battery, here is another video shows how to cut the carpet to replace the aux battery.
Me personal not a big fan of cutting that part of carpet since that part of carpet will no longer have support once it cut. And it not that difficult to take off few bolts
I applied Ceramic Coating fore the winter came. Man, it was a lot of work. Took me almost a month to do it. Paint correction and chrome delete took forever. The actual part of apply ceramic coating was easy.
This is the product I got from Amazon. Great product. Got two bottles of ceramic coat instead of one. I used this kit to cover my SUV without issue Doing the last part chrome delete Also repaint the running board before I start ceramic coating Took forever to tape up everything I used the new glossy plastic dip, it turned out really good. Much better than before the plastic dip and then apply the gloss coating. Looks pretty good after I applied few coats Running board looks a lot better This is what it looks like after the chrome delete Got the paint correction touch up kit from amazon Got all the pain chips touched up Time to start some paint correction This is what the kit looks like. Finish product I can see the reflection on my paint roof was a paint to do Looks so clean
The ceramic coating did make a difference. I feel like it little bit easier to keep my car clean. The paint also feel so much better after the paint correction. After complete this DIY, I can definitely why the shop charge 3k to 5k to get ceramic coating done. It is a lot of work.
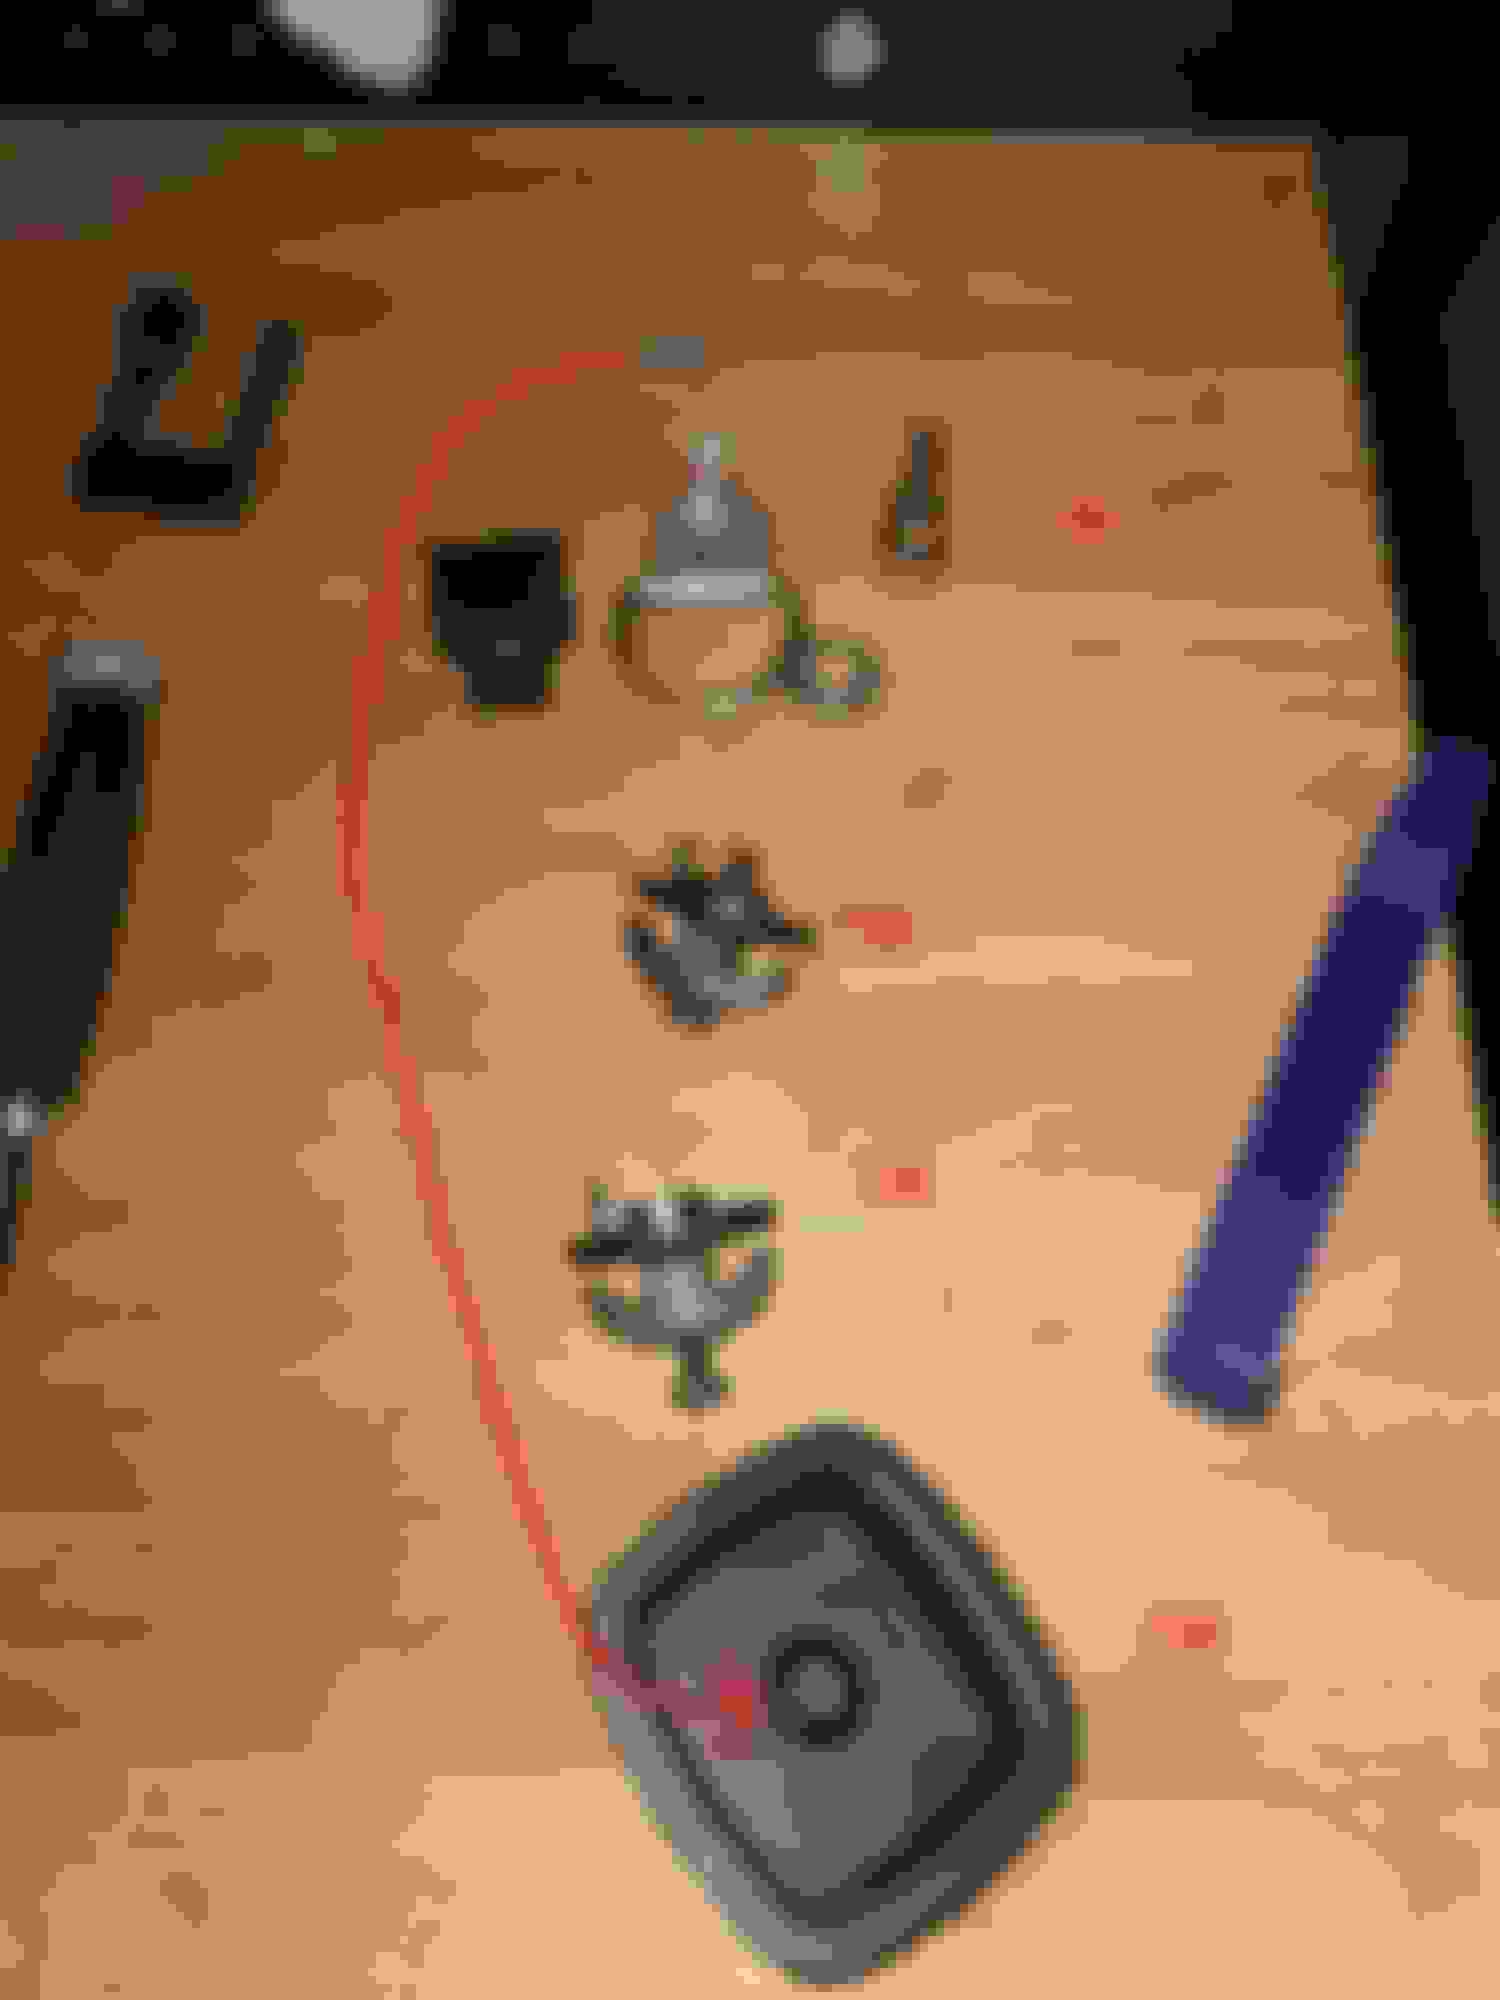
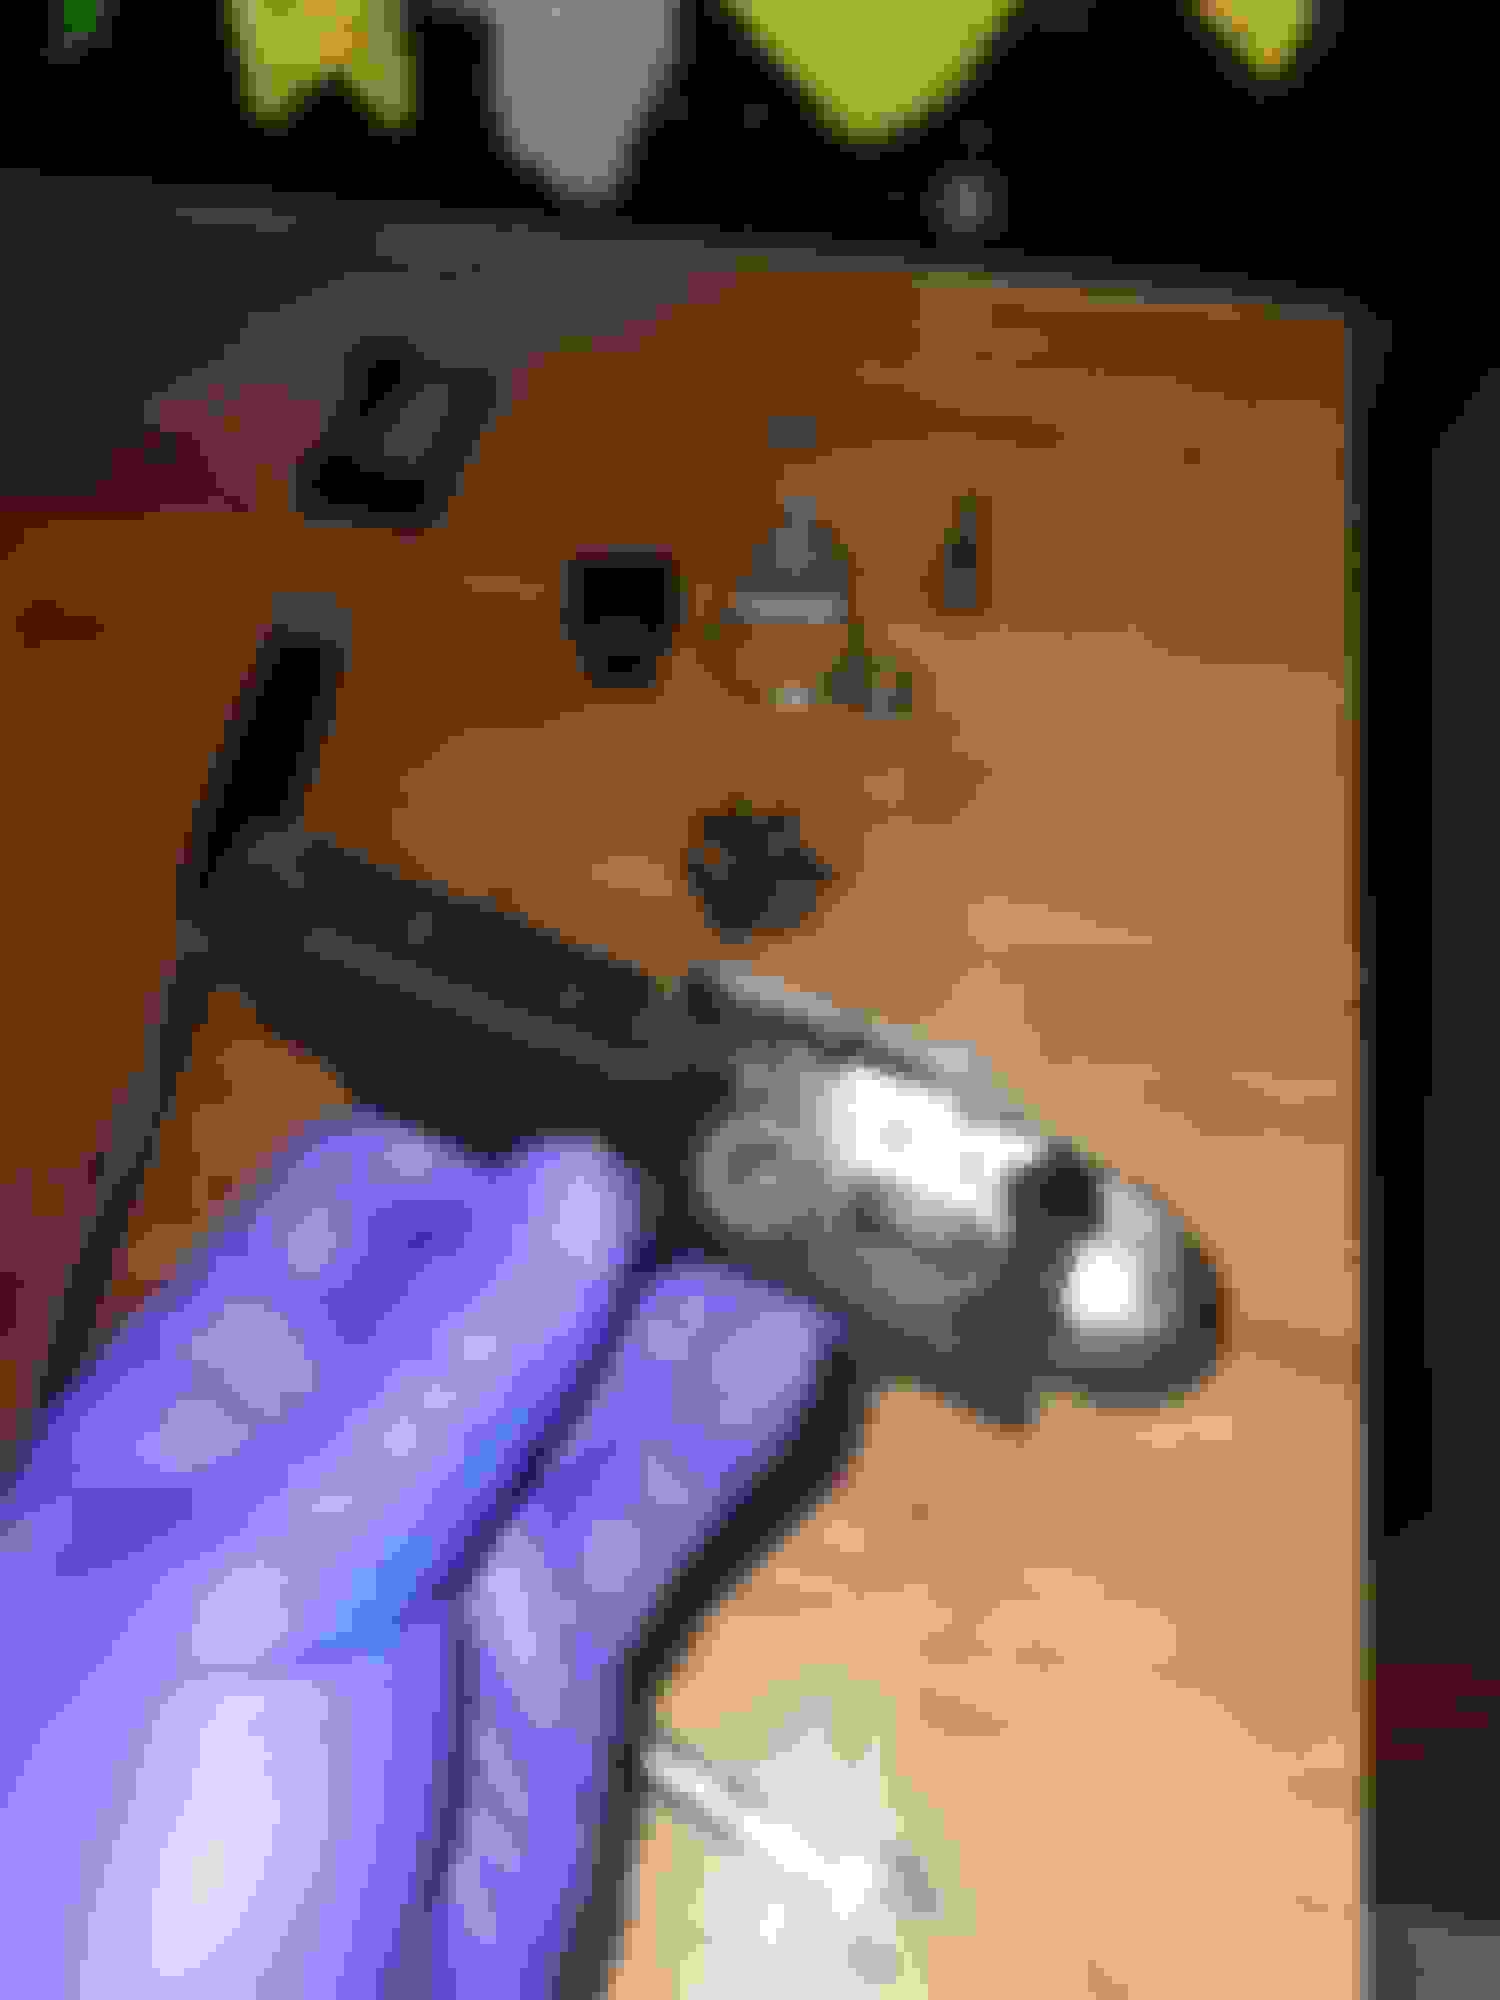
Last week on the way home, the battery light came on. I accessed the secret menu, and check vehicle data. I can see my battery voltage was low and my alternator are not charging Highly recommend buying the e manual online. Well spent $20 to get a lot of information You can have all the dealer information. Just have to learn how to find it. Took me little bit time to figure it out, but is possible to do it. I ordered this part from rock auto. From what I understand Mercedes use Valeo as the OEM parts as well. Got this part shipped to my house in 2 days for $680 CAD (tax and shipping included). The dealership in Canada wants $1,500. Crazy! I charged up my battery overnight before I start my replacement job. I heard it not good for the alternator when the battery is too low, plus, I have to move the chair anyway in order to disconnect my battery In the manual, it said just disconnect the negative terminal. I disconnect both positive and negative terminal just for the safe side. Remove engine cover Remove air intake hose passenger side Remove lower radiator/turbo inlet pipe. Watch for the seal. make sure the seal are sit inside the pipe before the reinstall. Took me a little bit time to figure out the orientation of the seal. disconnect the drive side radiator/turbo inlet pipe. Once you remove this part, you can access the tensioner bolt, which require 17mm 12 point socket. Please make sure you have this socket, otherwise you cannot take off the belt. There are two holes near the tension bolt, which you suppose to insert an Allen key to lock it in place. It the lower hole that you have to insert. Took me little bit to figure it out. My amazing belt diagram. Once the belt is off, you can finally see the alternator. There are brackets attached on the alternator bolts. I removed the two bolts in the bottom before I remove the top two bolts. There is a wire/bracket blocking the access of the two bolts. You will have to use a flat head screw driver to pop the hose clip before you can access the bolts. It was a pain Same for the top two bolts. Once you remove the bolts, you will see the bracket. After loosen the 4 bolts, you can remove the black plastic cap and undo the connect of the alternator. You will need a deep 13mm socket to remove the connection. Another picture to show the part number. Once you removed everything on the alternator. You will need to take the throttle body out (4 screws) in order to have enough clearance to take the alternator out. I cleaned the throttle body as well Part number for the throttle body 3 bolts are the same, 1 are different, make sure to pay attention. Not going to lie, the alternator was heavy and it was a pain to mount it back on. A second set of hand will be very nice, but I managed to do it all by myself. Finally got the alternator mount it back and put the belt back on. Oh man, the belt was tight. Reverse the above steps, put everything back together. Finally done It was 8 hours hard work for me
After I reinstall everything, and took it for test drive. I heard a pop sound coming from the hood. Immediately after, my car went into limb mode. No power at all. I pulled back into the garage, and noticed one of the turbo hose was loose, and that explained the pop sound. I reinsert the hose and make sure the clamps are locked. Went for another test drive, no problem at all. For the first few days, I can hear the "weeee" sound from the alternator, but now the noise disappear. It was probably one of the toughest job. It looks simple, but hard work.
That is a big job. You�re lucky you�ve only got the v6. You have lots of room to work in there. With the v8, things are pretty tight. Nice write up and good job finding the parts cheap. I�ve never used rock auto. I use FCP euro all the time though because of their lifetime warranty. I�m also in canada.
That is a big job. You�re lucky you�ve only got the v6. You have lots of room to work in there. With the v8, things are pretty tight. Nice write up and good job finding the parts cheap. I�ve never used rock auto. I use FCP euro all the time though because of their lifetime warranty. I�m also in canada.
Somehow, FCP euro and Rock auto has different part number for my vehicle. I was somehow cross reference with wrench monkey to verify that rock auto parts works for my vehicle, that why I got it from rock auto. Another reason is, rock auto price was very reasonable, for $680 shipped to my house. I think the FCP euro was way more expansive.
These seals gave me a hard time when I try to reinstall the pipes. After the alternator replaced, my range almost got up to 1500km mileage seems got better
I just want to give an update of the build thread. In the past few months, I noticed there are small amount of oil leak in the front of the passenger side engine. I was almost confident is not the oil cooler sealer, and thinking is probably the throttle body seal. FCP euro was super helpful to locate the correct parts. The only part it sucks is they do not carry all the seals that I was looking for. I was going to replace few more seals while I have to remove the throttle body. I ignored this small oil leak for few months and during the research of this repair, I found one of the video that stated that oil leak in that area will screw up the belt and pulley. And it did screwed up my belt It also made a oil residual mess in my belt, pulley and alternator I felt so bad for ignoring the problem and not fixing it right away.
I brought the Mercedes Drive Belt Kit from FCP euro
Overall the installation was very easy. I do not find it hard. Since I have to remove the throttle body, I also replaced the intercooler hose for maintenance purpose since these hose do fail from time to time.
Passenger Side Intercooler hose
Mercedes Intercooler Hose - Burgaflex 1665280000
BUR-1665280000
Mine original intercooler hose's seal are beat up. I honestly don't think it was seal properly. After I removed the throttle body, I noticed the seal was broken and that ensured me that it was that seal caused the oil leak.
This is the seal that is broken. Man it got oil everywhere Mercedes Fuel Injection Throttle Body Mounting Gasket - Genuine Mercedes 6421410180
So happy and stress relieved once I found this broken seal. I got this seal replaced. I have to partial connection of the driver side intercooler hose. I decided to replace the intercooler hose O ring as well
Man, this oil leaks made a mess. I tried my best to clean it up. Hopefully it wont chew up the belt I was so worry the residual will chew up the belt again, but so far so good. Will do another inspection on my next oil change.
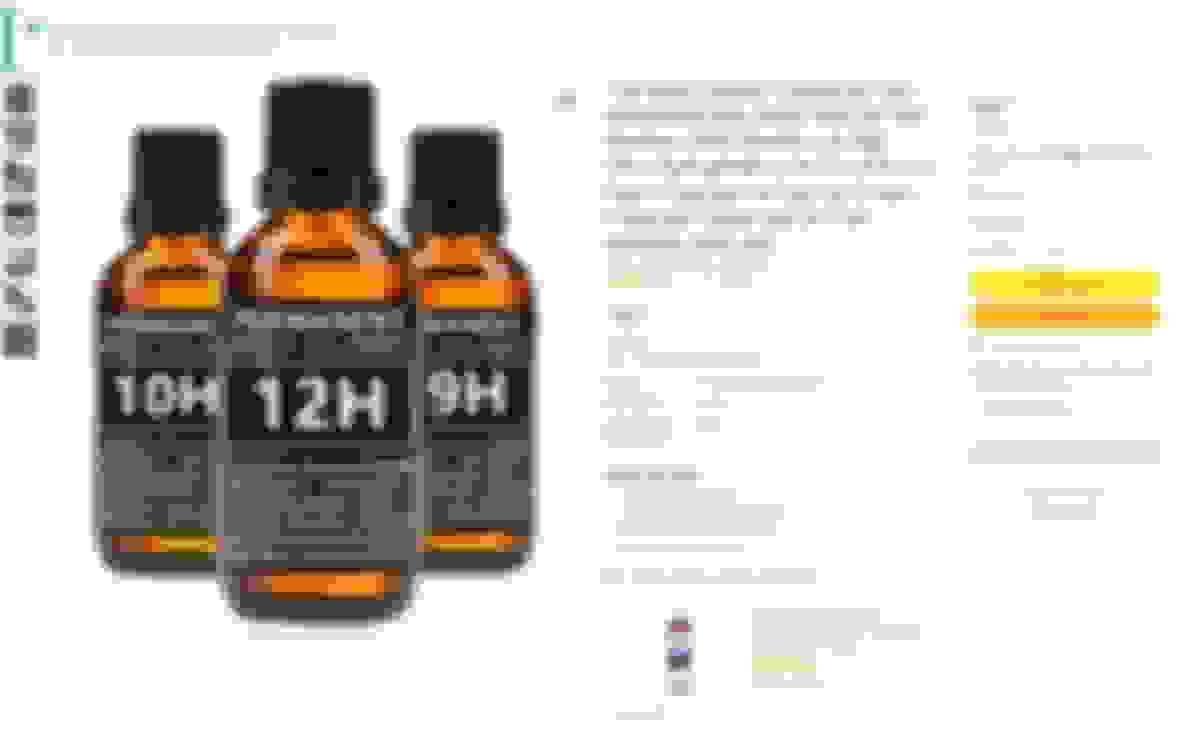
Here are the useful diagram that I got from the FCP euro
The only thing I wish I order extra was the two small pulleys. I did not replace those. Since I have life time warranty with the belt and tensioner now. I will probably replace the belt routinely with the belt and tensioner. Vehicle is running strong again after the repair. Will do an oil change in two weeks. Will provide an update once I do the oil change.

 02-14-2022, 10:11 AM


 Oh well, at least is better than nothing.