When you click on links to various merchants on this site and make a purchase, this can result in this site earning a commission. Affiliate programs and affiliations include, but are not limited to, the eBay Partner Network.
Hello, New to the MB and Forum. recently Bought a 500SEL in Seattle. Didn't run, 2 flat tires, been sitting for 11 or so years. Got her for a reasonable price. After picking her up found she also had a broken window on the driver side rear. got her to the car wash on the trailer and washed her about 3 times to get the dirt off her, looked much better. took the battery to the auto parts store and had to take it off the charger after 15 min. Charger said the battery might cause an explosion. had to leave her sit, for a bit longer than trailered her to Arizona, change in job. got new wires, plugs, cap rotor, rebuilt the fuel distributor, put the fuel pickup in a 2 gallon can of gas used a spare battery to jump her, started right up, ran for 30 mins and stopped. but she ran. now have her in California, took the strainer out of the fuel tank and rust ran out like sand, I had signed up on a couple of MB sites then found this one, and Pirublues was parting out a 88 sec. Thanks so much Pirublues it fit just fine. had to pull it out a second time because I forgot to plug in the level sensor on the top of the tank. now I have to get a new fuel line from the United kingdom for the fuel suction line to the tank. 15mm.
Last edited by Webstermike1; 01-01-2016 at 07:57 PM.
When I had her in Arizona there was a can of fix-a-flat in the car and it exploded. Breaking the windshield and got fix-a-flat all over the seats, headliner, and rear window. So I've been cleaning, got 5 buckets of clean water and soap that turned black after I was done. Used mineral spirits to get most of the crap off the seats then saddle soap to finish the cleaning. So at this point I've replaced the fuel tank, have the fuel pump assembly out and cleaned, waiting for the fuel hose. Trunk back together. Cleaned all the door windows switches, seat switches. So all the window work (except the broken one), the sunroof, antenna, and all the lights. Cleaned the engine compartment the best I can in the garage.
It's looking better all the time. I'll send a couple more pics in a bit. Since I'm semi-retired it more for something to do, you know out of the bars, chasing women.
Well been cleaning still, all the body drains under the hood cleaned. Battery box rusted, so I wire brushed and coated with rust inhabitant paint then covered with bed liner. I've been working on the fuel pump assembly and finished up with the fuel tank.
Well, started to replace all the belts and hoses since I believe they are mostly original;
2 Gates 7440 for the power steering pump.
1 Gates 7395 for the alternator.
1 Gates 9365 for the A/C. And
1 Gates 7295 for the air pump.
I chose Gates because most of the other brands I had used didn't have the quality for the price that I needed. I used to work in auto parts and there is a reason that some things cost more. So while I'm in the belts I'm also replacing the idler pully bearing. I have a timken bearing on order I'll post the number when I find out if it's the right one.
I REALLY likes the belt tensioning on this Mercedes,
On the power steering pump there are (3) 13mm bolts that have to be loosened and then the 6mm Allen head on the bracket between the pump and engine loosened and retighted to set the tensioning the belt, then the 13mm bolts to secure it.
On the alternator loosen the (2) 17mm bolts on the end of the alternator bracket. The front bolt carries a drive on it to loosen and tighten the belt.
The a/c uses the belt tensioner the bolt is a 19mm and the idler pully bracket has two flats on it for a 22mm wrench to adjust the tension, once you have it right just tighten the 19mm bolt.
The air pump has a double nut the 13mm is used to tighten or loosen the the torque on the bracket and the 19mm is used to adjust the belt tension.
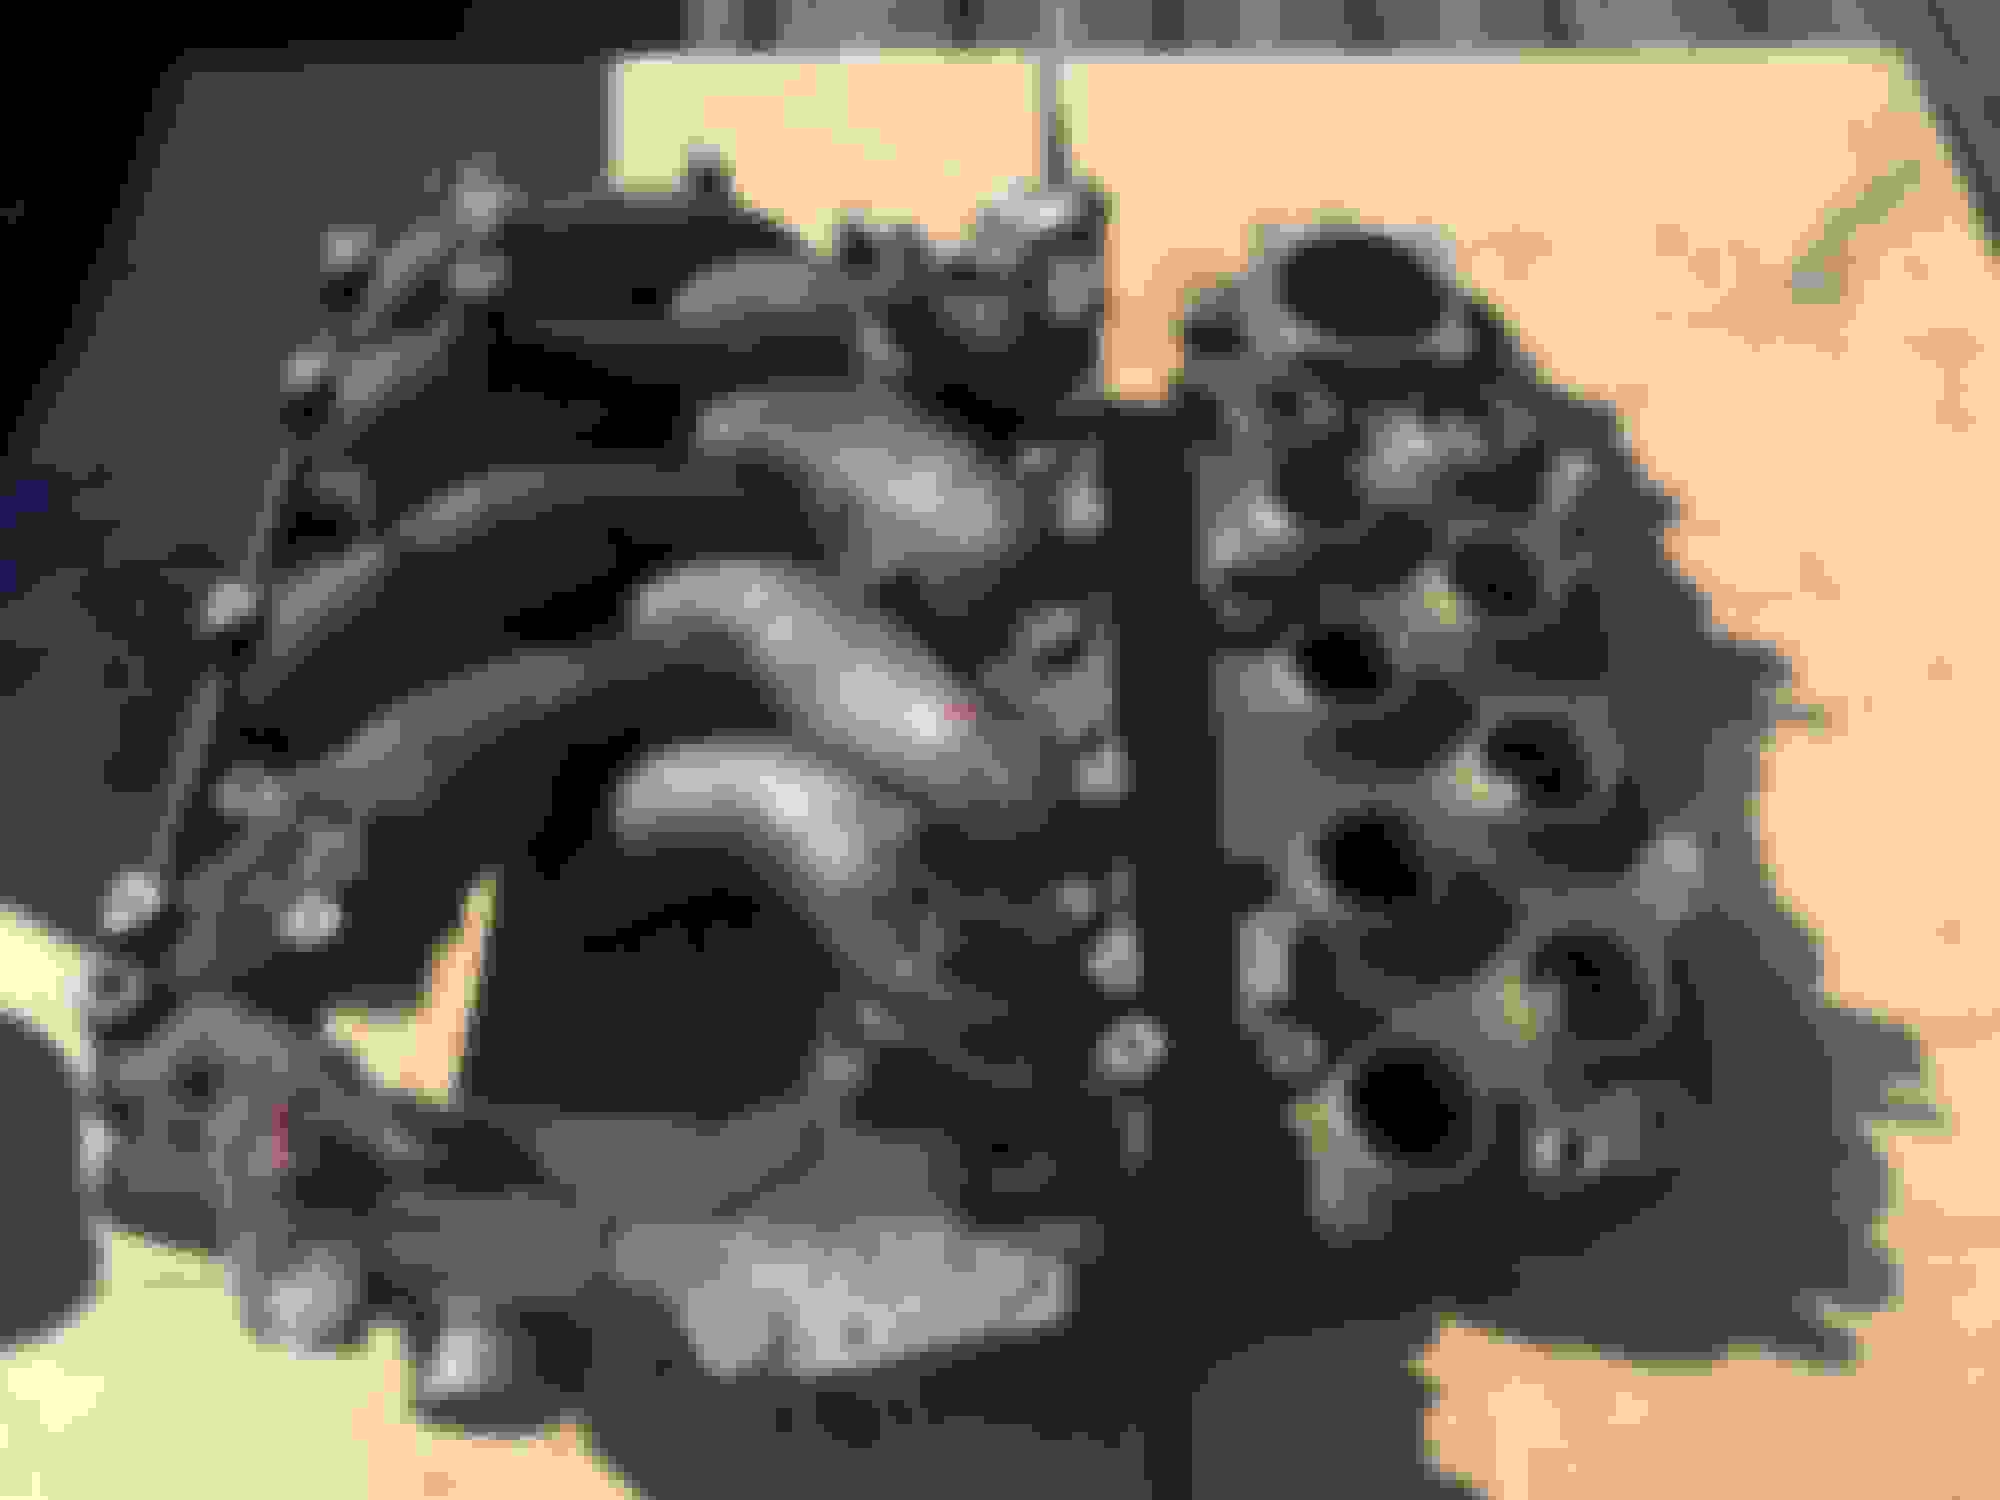
Scrubbing bubbles. I have seen several post about using scrubbing bubbles to clean an engine, so I just had to try it. I had gotten an 88 SEC intake and just wanted it clean in the garage, not cold tanked just clean to handle. So the first picture the intake is apart and I'm taking it to the car wash. I covered it with bubbles then left.
The next is at the car wash after one rinse.
The last is at home a second application and rinse.
Well, got the idler pulley, Ina, couldn't find a timken to fit. Installed it then started cleaning the engine with scrubbing bubbles, worked really well.
Made it much easier to find my vacuum leaks, 2 were on the throttle body, and one was a plastic tube going to the thermo switch. Going to have to find a way to replace the connectors on the throttle body, but I'm sure I have to at least pull the fuel distributor housing.

 01-01-2016 | 07:33 PM