W220 Upper Control Arms
 11-04-2023, 01:11 PM
#1
Newbie
Thread Starter

I thought I might as well contribute while this was fresh on my mind. Just changed the upper control arms on my 2004 W220.
Tools that really help:
Order of Operations (Note I have the Coilover Spring Conversion but Should be the same with Airmatic):
Tools that really help:
- Long Handled 5/8" or 16mm wrenches you need a pair to get off the upper control arm bolts that are attached to the chassis. Longer the Handles the Better. If you have an exotic low profile rachet with a long handle or such all the better. You only need one racheting as one wrench is only to hold the backside of the bolt. Also I was able to use a rachet on the passenger side (right) of the vehicle on the hard to get to bolt but your experience may vary.
- 17mm 1/2" Bolt Smack for the Wheel Lug Nuts (mine are recalcitrant)
- 10mm normal 3/8" Rachet for the ride height sensor assembly. (Sensors can be grabbed cheaply from China but the whole recalibration thing is a mess, I won't get into that)
- As above on the passenger side you'll need the same tool to take off the coolant overflow tank, its one nut and you just move it to gain access to the forward chassis bolt.
- OEM Tools or Hazet Ball Joint Removal Tool I used #57308

Order of Operations (Note I have the Coilover Spring Conversion but Should be the same with Airmatic):
- Jack up the Car and Remove Front Wheel
- Put a Jackstand Under The Car (you need to use your jack on the the lower arm later)
- Put your jack under the lower control arm and apply gentle pressure.
- take 16mm socket and loosen ball joint nut but dont remove completely to protect threads.
- use a ball joint removal tool (i rented one from autozone but hazet sells fancy ones, i think OEM Tools is about 35 USD.)
- Once the ball joint pops remove the nut and allow upper arm to move freely.
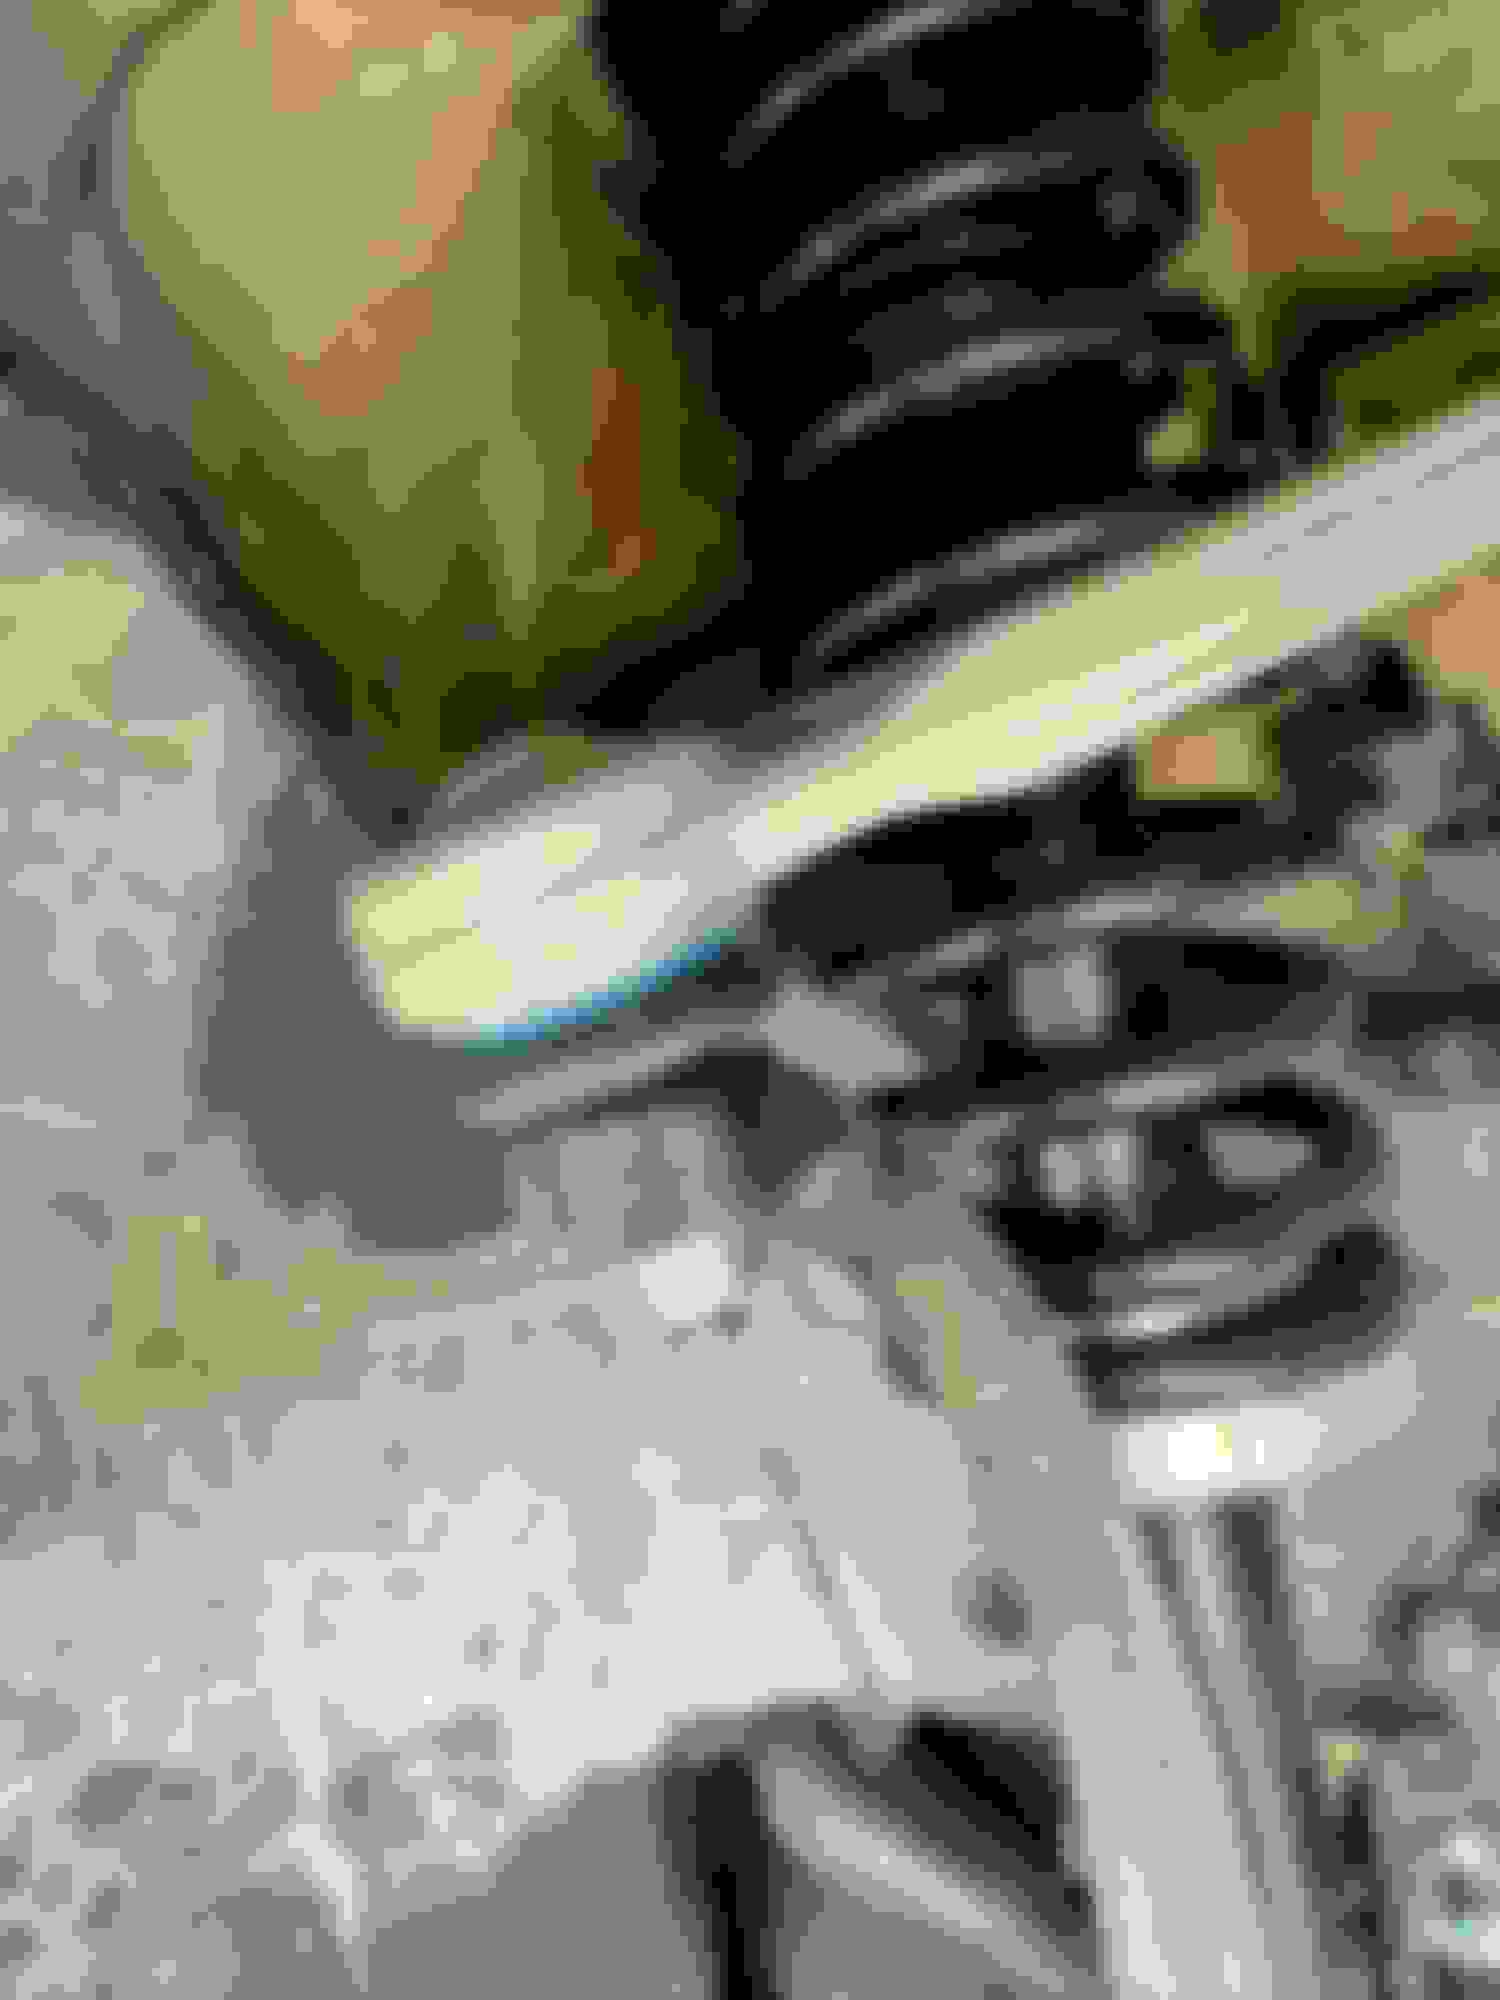
- Use 10mm wrench to detach the ride heigh sensor and allow it to fall.
- Pop the Hood.
- Use a pair of 16mm wrenches to loosen both upper control arms one that rachets with a long handle is best. (you may have to remove the coolant overflow on the passenger side)
- Compare replacement control arm to the removed one on your workbench to eliminate suprises.
- Install upper control arm bolts using the pair of 16mm wrenches as before, be sure to attach the ride height sensor back as it was before it shouldnt have been too difficult to keep it in the same orientation.
- Install the ride height sensor 10mm bolt that you removed to the control arm. I snug this with about 12.5 ft-pounds of force you dont need much.
- Install the 16mm ball joint nut until it begins to rotate, then apply pressure with the jack to help the ball joint seat and continue to ratchet the nut on.
- once the 16mm ball joint nut has been torqued release the jack and place on the jacking point of the car.
- Reinstall the wheel...
- Do the othe
Make sure to check on your bench each side is a different part.
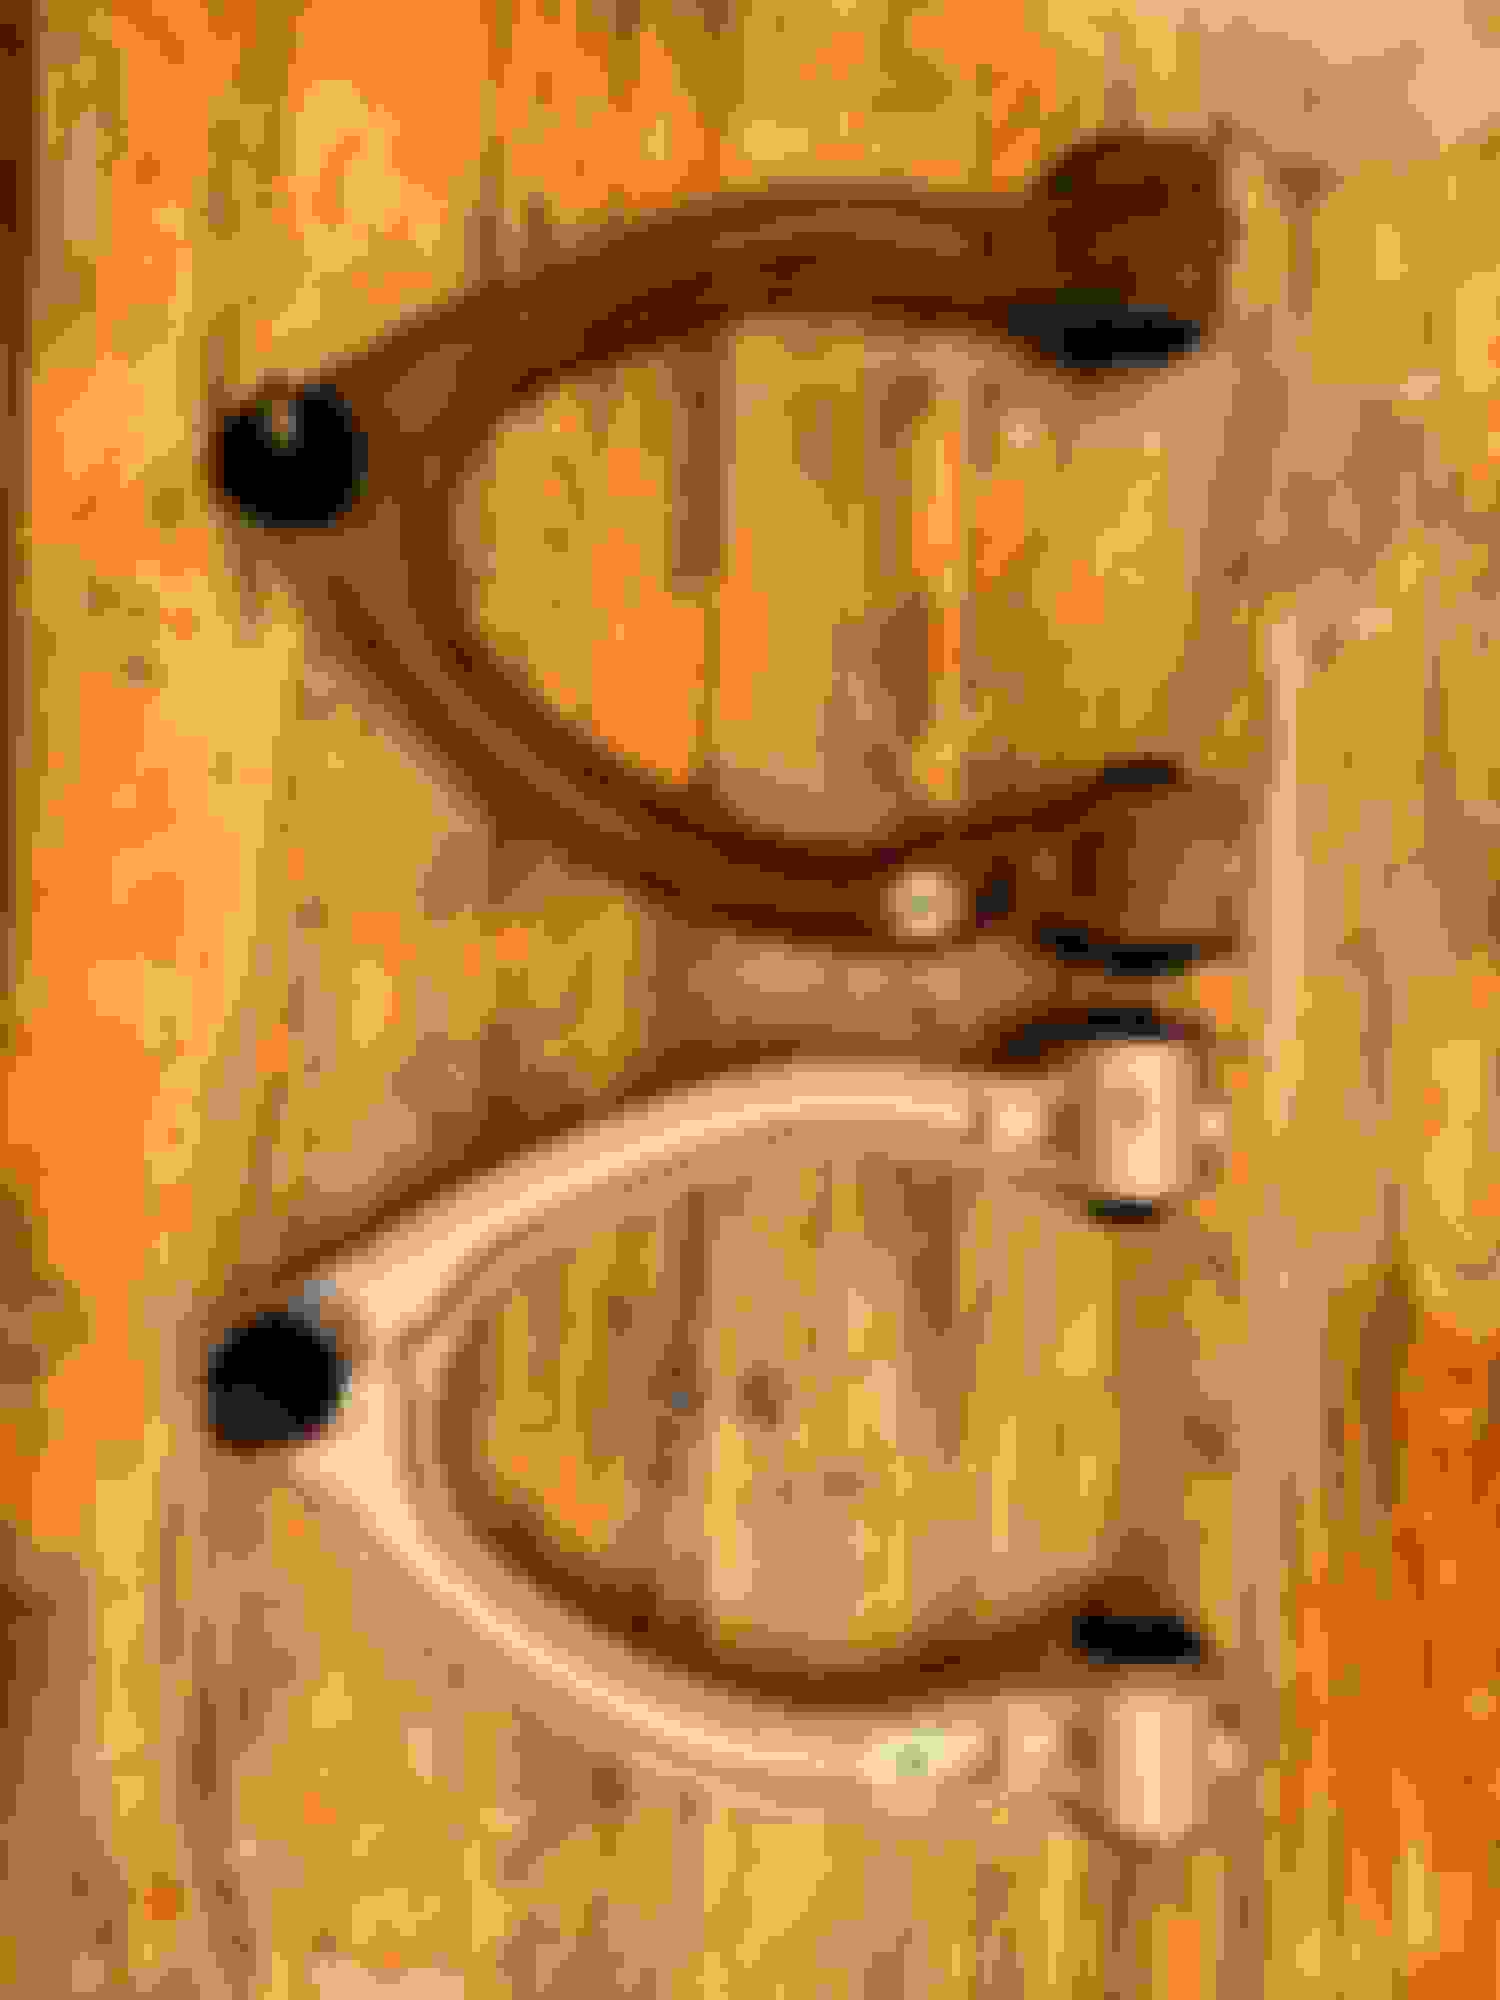
Ball Joint Seated and Installed.

Ride Height Sensor Orientation.
r side. Done. Smile. Beer.


The following users liked this post:
JB-HTX (11-06-2023)

Currently Active Users Viewing This Thread: 1 (0 members and 1 guests)


