When you click on links to various merchants on this site and make a purchase, this can result in this site earning a commission. Affiliate programs and affiliations include, but are not limited to, the eBay Partner Network.
kronos is correct on removal being easy. The install of door cards is another story lol. It can be a bit tricky but nothing too crazy. I am hoping the dye holds up on the door cards but only time will tell. This isn�t my first time changing an interior of a car. In 2009 I had a Porsche Boxster and completely changed the color of the interior. Dyed the leather dashboard, seats, and carpet. Funny that the car is still on the road as I know the owner who bought from the dealer I traded it in to and the interior held up great. I will install the dashboard trim tomorrow and also tackle the rear shades install tomorrow. I will post pictures.
@clb0099 Don't know if you are interested but I have a Black Suede Headliner that would sell you cheap. I am in CT btw and you can come pick it up if you would like. I bought it to do the swap on my car but don't have the time and the patience to do it...
Door cards on 221s are the easiest I've ever removed. Preface lift: front: two torx bolts (hidden under small trim panels), clips, and pull panel up, rear: one torx bolt to remove speaker grill (once removed push down towards earth), and two torx bolts (shouldn't be behind trim panels), clips, and pull panel up. Post facelift is exactly the same as preface lift for front, only difference is the rear as you no longer have to remove the speaker grill to access one of the two main torx bolts.
so I am sorry for the delay I updating this thread but when I finally got to installing the rear side Sun shades I noticed that the left side one was broken in two different places. I originally bought the left/right side shades on eBay from two different sellers. One of the shades I paid $191 with motor included and the other one I paid $175. The seller for the broken one gave me back $85 off the price and I used epoxy glue to repair the 2 broken pieces. I�ve been letting it dry for a couple of days as I am not in a crazy rush. Needless to say this weekend I will complete the install and post pictures.I will post pictures of the shade that was broken to show you before and after it�s repaired.
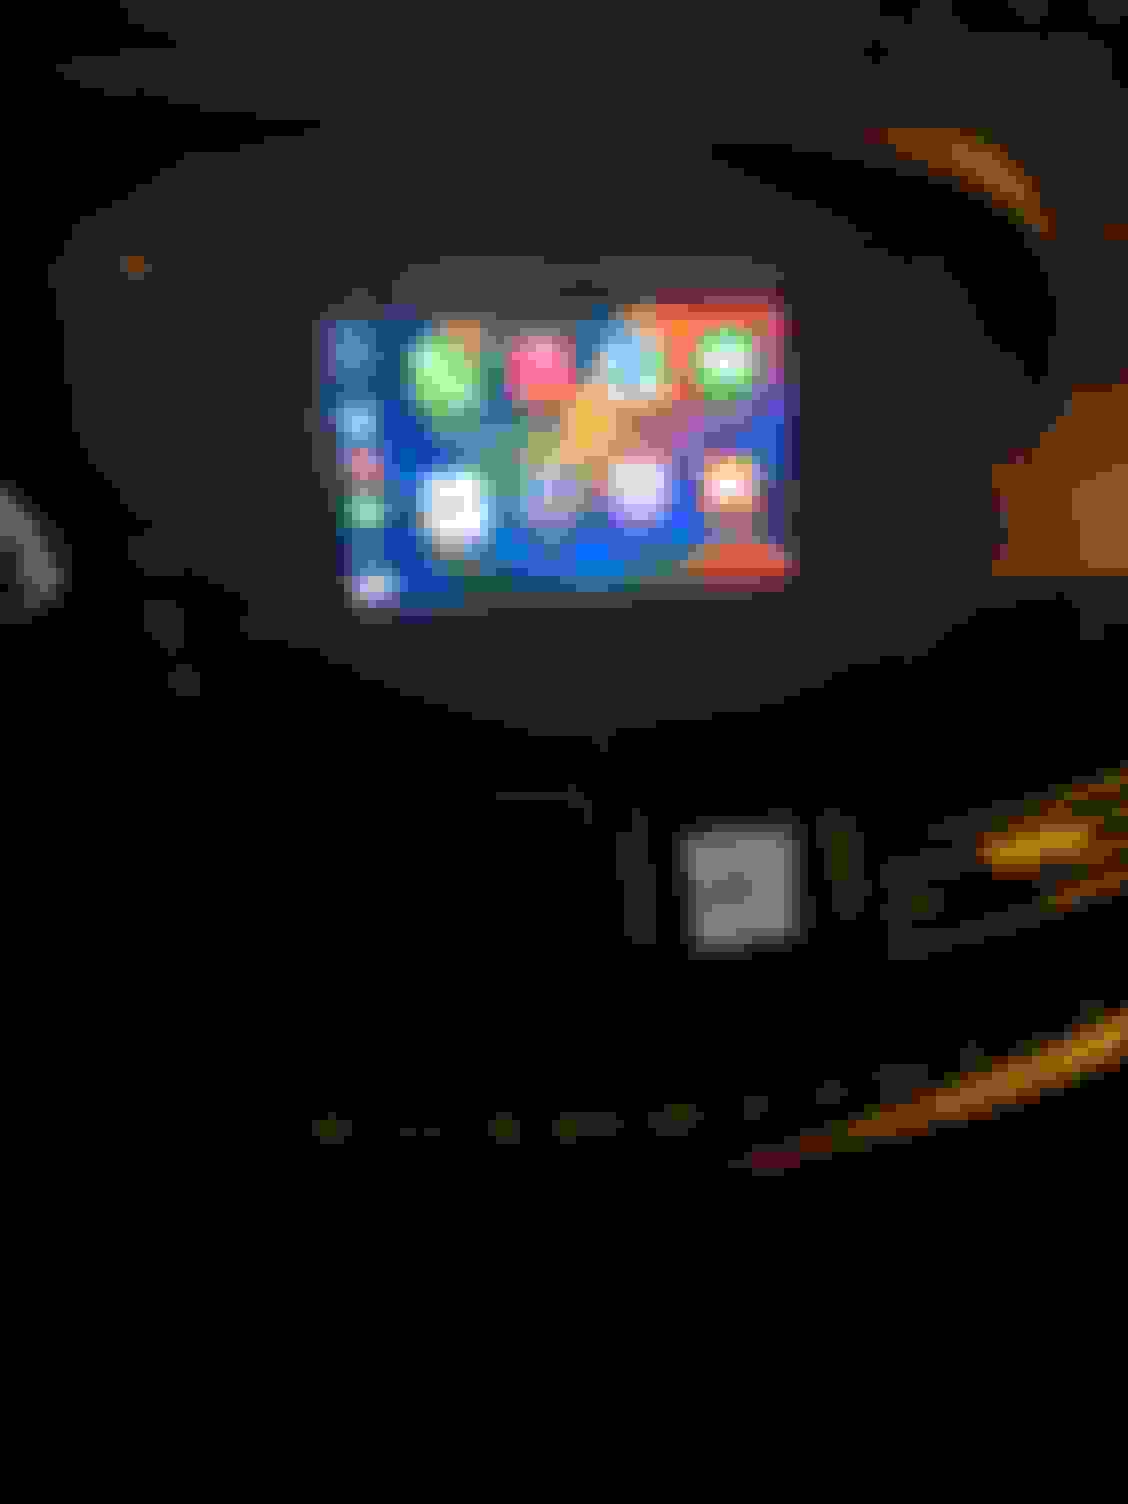
So I was able to make the proper repair on the broken Sun shade and will be installing them tomorrow. I know I didn’t post any really good night time pictures of the aftermarket led lights so here is a four pictures of them on the front passenger side door. . All different colors. What I like about the led lights is that they are installed directly into the oem lenses and the oem ambient is fully functional just that the light output of them has been turned down to 0 on the command screen.
Last edited by clb0099; 09-05-2022 at 09:20 PM.
Reason: Grammar
Yes/no , it only lights up when you unlock the car and the key isn�t in the ignition. Other than that the ambient light output is nonexistent. Also after all the work to fix the one shade I noticed that the sun shades are missing a bracket that can�t be bought separately so I returned both shades to the sellers and bought 2 new shades from the same eBay seller with all the parts. So yet another delay to finishing the car. I might actually work on putting in the apple car play in since I have the module sitting here waiting to get installed.
QUOTE=Senecat;8630260]Awesome! So you get sufficient light output at setting zero?[/QUOTE]
While doing an interior refresh, has anyone replaced the cushion and cover on the driver seat bottom? I'm thinking after 15 years, the foam must be starting to break down. I was fortunate to get new passenger seat as part of a massage malfunction warranty claim, so I have a comparison to know there is some difference. Anyone done this as part of a interior refresh? I plan to keep my car forever, and I'm concerned about part availability going forward, so thinking about spending the money. If so did you buy OEM parts, or let a upholstery shop make you new cushions?
I have not replaced the cushions but I do re-dye the leather on both front seats as well as the rear seats. The car looks like a brand new car and updated. Pictures will follow over the next couple of days but I am very happy with the finish product.
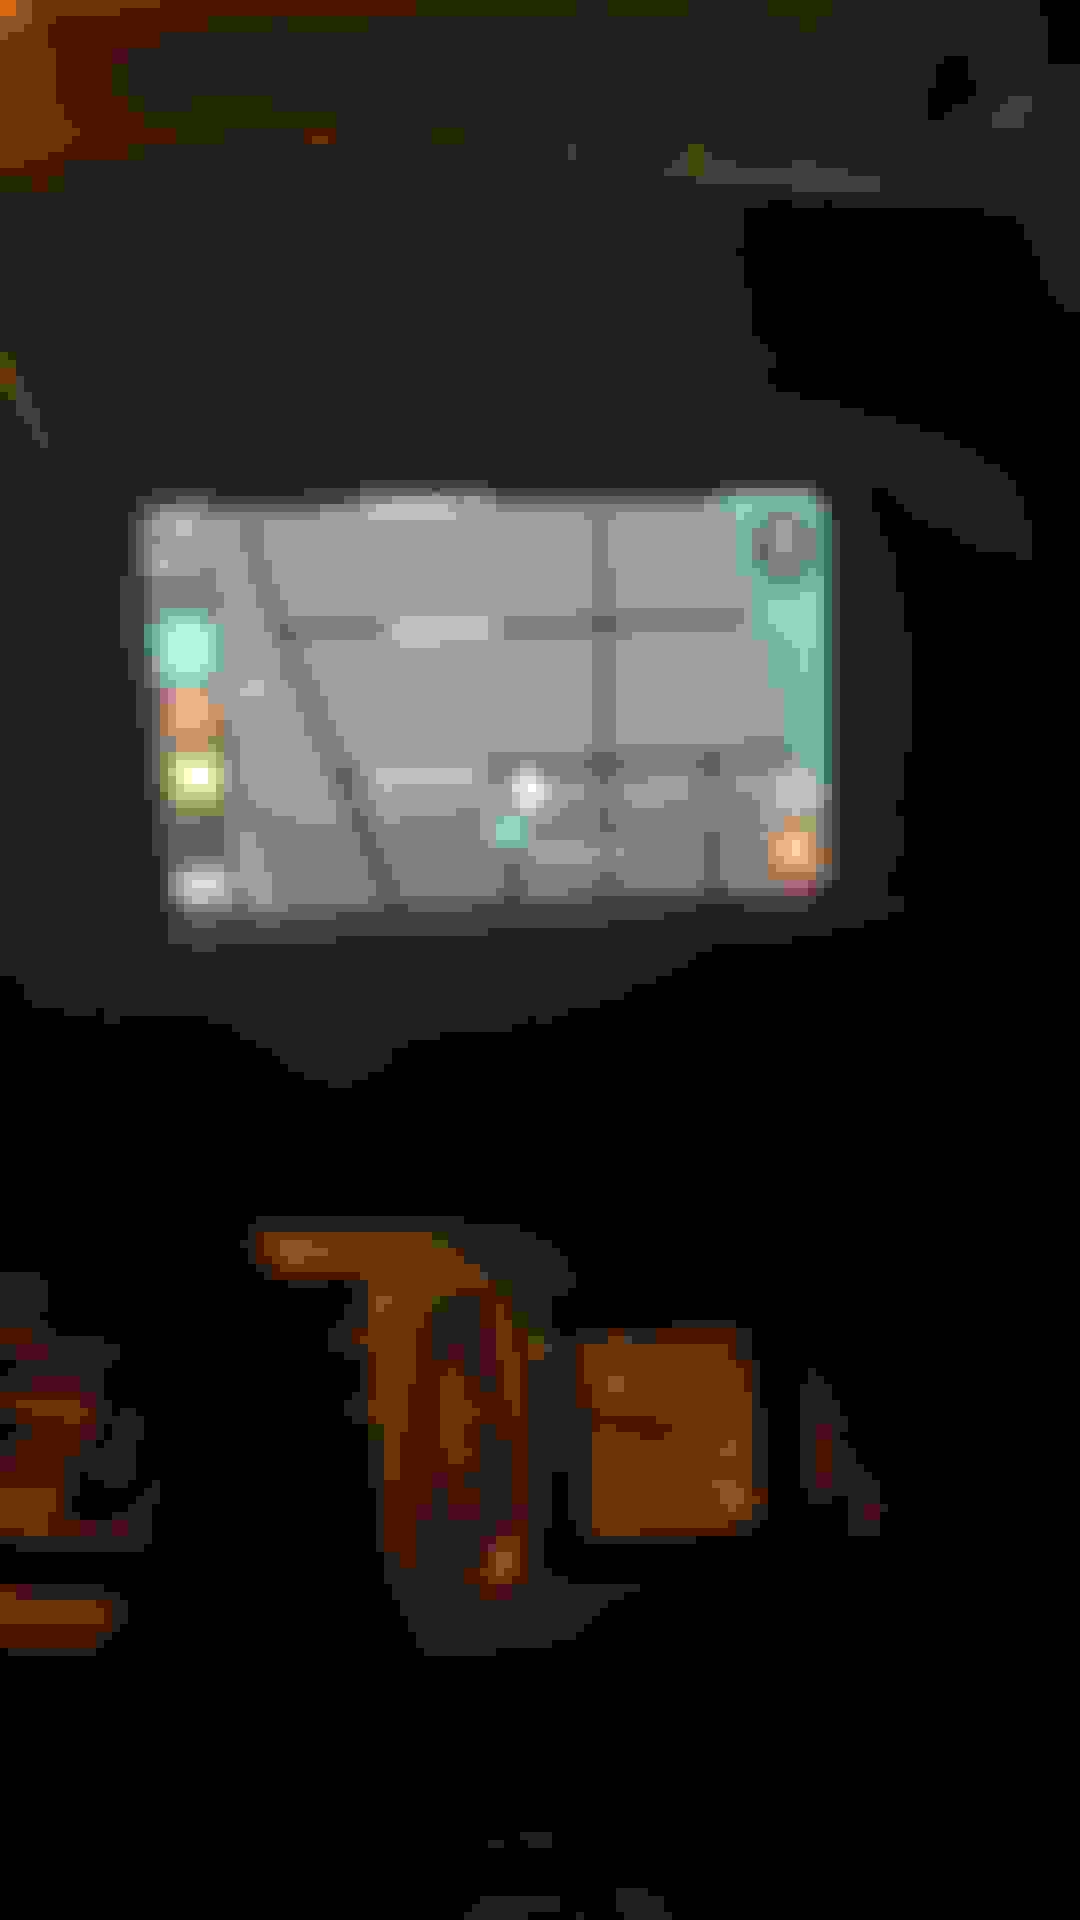
Sorry for the crazy delay in updating this thread. So the interior is complete. I ended up adding the custom rear seat trays as well. Here is some pictures of the interior with the custom Led lighting and also the rear trays installed. This update totally transformed this car to a more modern w221. Lastly I also added Apple CarPlay module which is simply awesome and very easy to use. I couldn�t be any happier with the finished product.
Additionally the apple car play comes with external microphone which I wanted to hide it so I drilled a hole in the dome light panel. I think it looks factory now. The black dot is the microphone.

 08-30-2022, 07:48 PM