When you click on links to various merchants on this site and make a purchase, this can result in this site earning a commission. Affiliate programs and affiliations include, but are not limited to, the eBay Partner Network.
I've had a 96 sl600 for 4 years. Since purchase, the car has exhibited the usual sign of deteriorated ADS harness wiring-going into ads "safety mode" whenever warm. Lately it deteriorated and on 2 occasions dropped to the ground overnight, but would pump up when started.
Whatever you do, don't buy a "new" solenoid valve block if faced with similar issues unless your vendor allows returns of electrical parts. I did-and the new valve, at $1100 shipped with one dead solenoid out of four-they should ohm out with a minimal resistance but the one solenoid was wide open and didn't work. I've heard anecdotally that this is common, that the remaining blocks in MB USA's stock are prone to this.
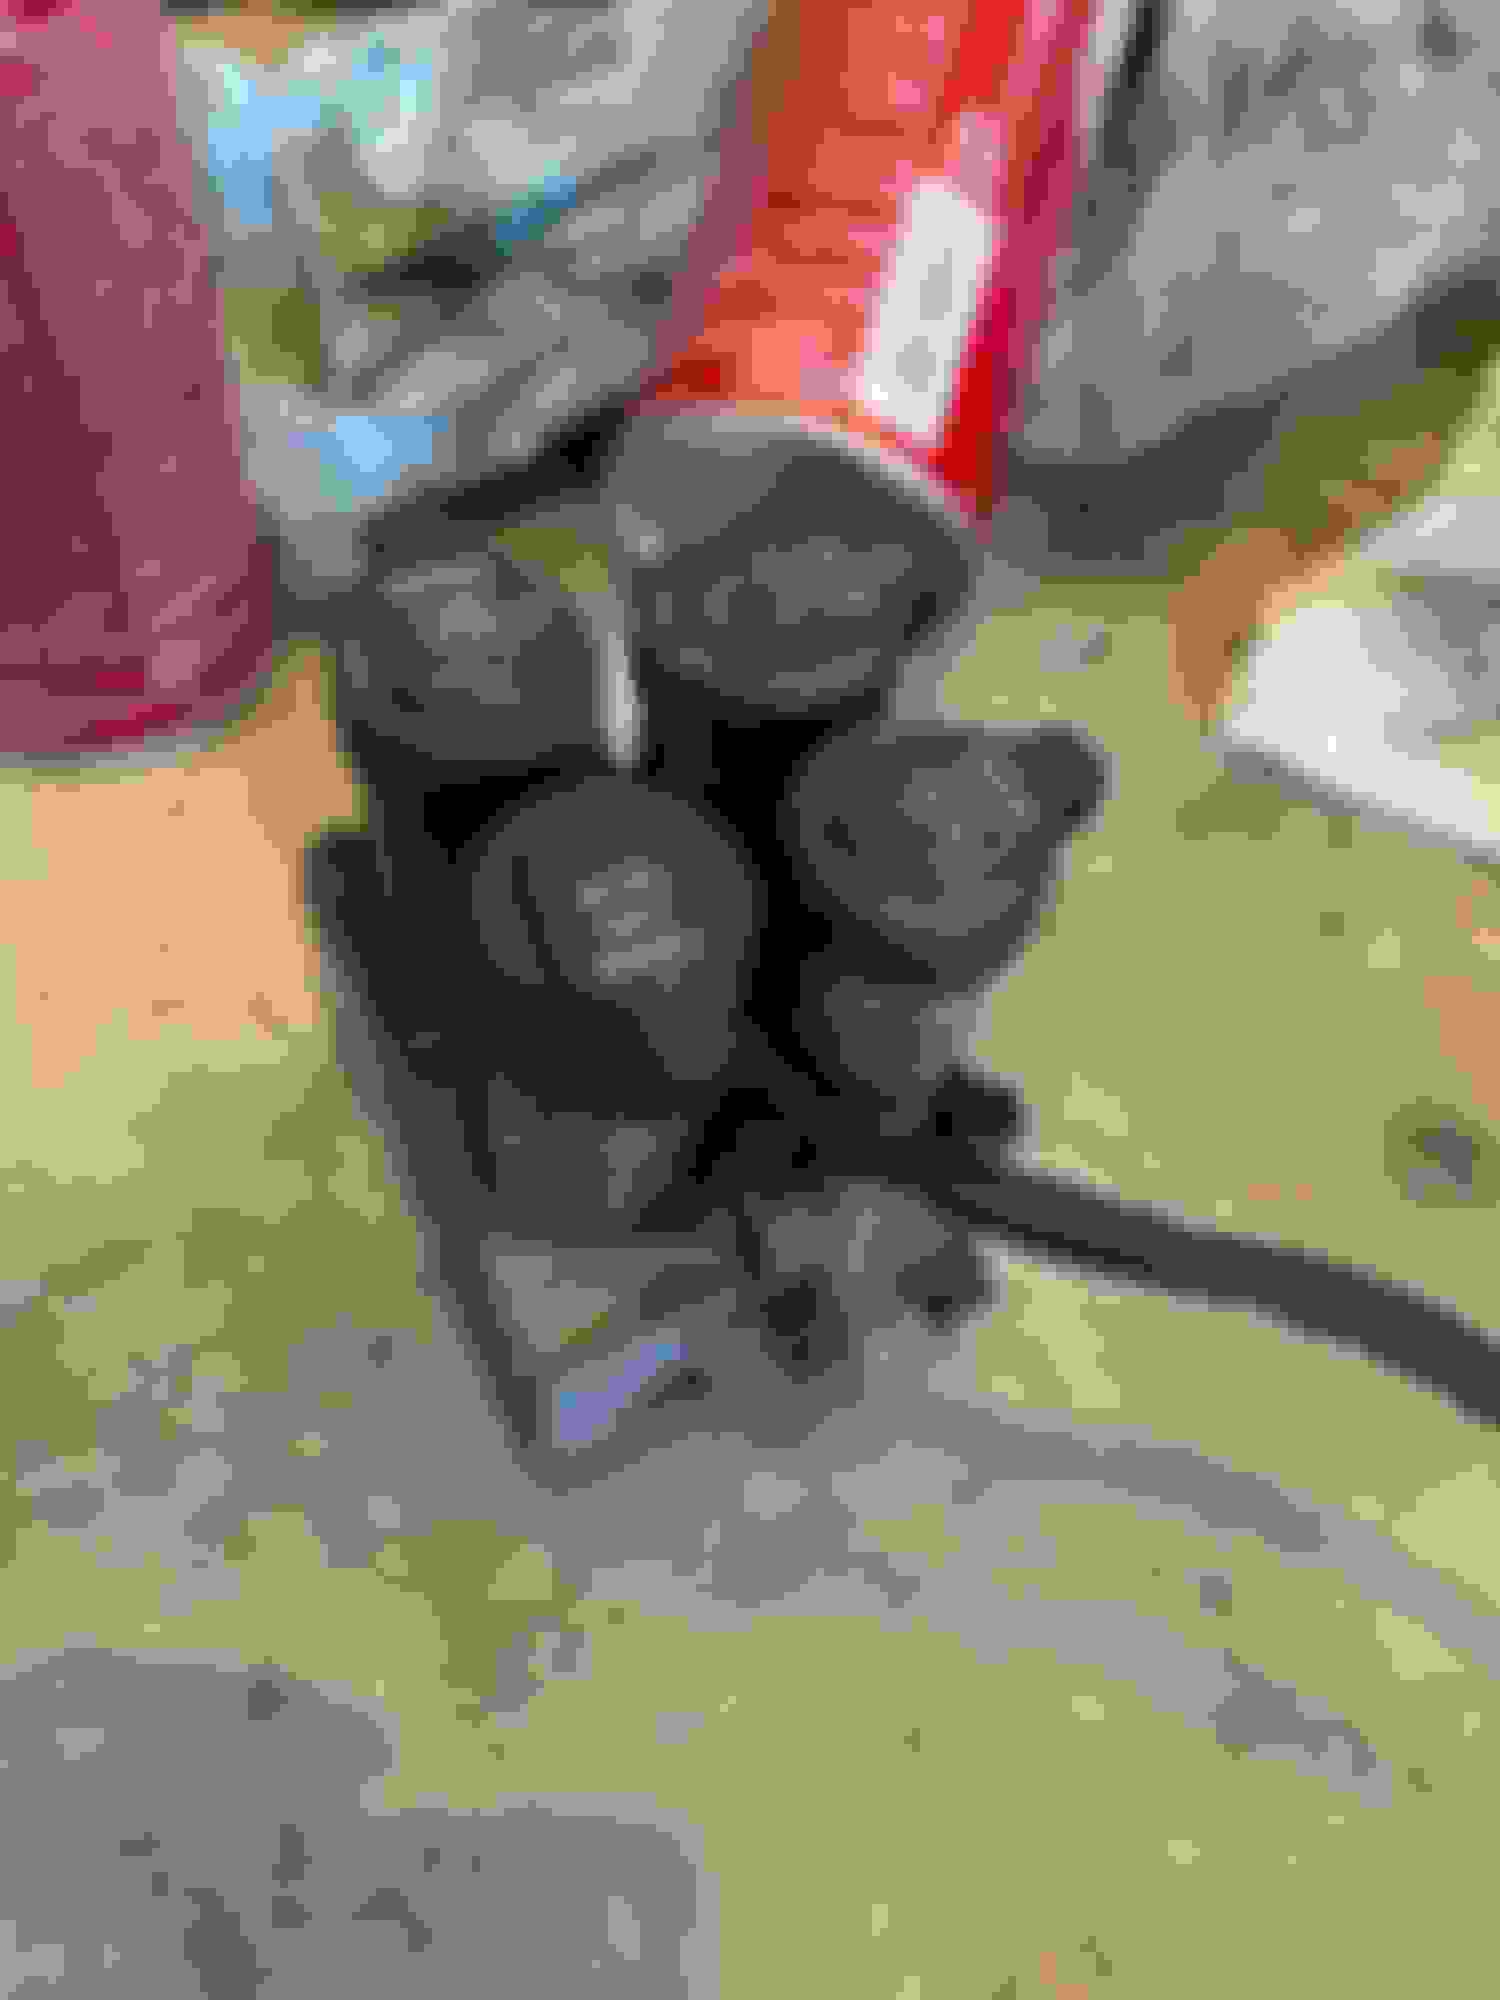
So, MAHunt from here looked at a 99 600 for me in fla, which I purchased on behalf of a friend. In exchange, I gave him my new block, he swapped one solenoid in from his old block, and was good. I reached out to him to see how hard the soldering was, and ended up with his old block and my one dead solenoid. This was kind, as I was able to do the majority of the wiring work without leaving the car lame. When the block arrived, I was astonished -here's how the wiring looked after the fabric was removed:
The "insulation fell off like jimmies. So, I rewired it using silicone insulated wire and heat shrink over the the ends and junctions (2mm 3x shrink, a little big but worked). I also potted the ends near the solenoids in silicone.
A couple things to keep in mind-the solenoids don't care about polarity, yay. The connector is numbered 2-5 for a lead to each solenoid with a common gnd. Trace these manually back to valve and number the solenoid positions - I used a sharpie on a clean block. There are 2 different types of solenoids, keep them straight, and pay attention to orientation. They are oringed in, and I left the oem orings in place as my experience with modern orings is that rubber quality is variable. They don't just pull out, a thin screwdriver to pry helps.
Clean everything with carb cleaner etc. and reassemble. Anti seize on the holddown cap screws.
Removal of the block is straighforward-a bunch of 11 and 12 mm flared hydraulic couplings. Its a ***** though, as you can only move the wrench a quarter turn at a time and there are 7. I didn't open the drain valve as suggested by the ads 2 manual,. as mine was so seized that I would break a line, but just let it drain from the center bottom fitting. Remove the right afm, boot and intake box to access the harness. One tip-to get the rear fitting off it helps to remove the two relief valves in the back first BUT they're not identical and not labeled. I put the hollow one back in at the upper position closer to the center of the car and the gods were with me. Oh, yes it helps immensely to remove the front fender liner on the right. The rebuilt valve ready for install looks like this:
Now for the hard part. Reinstalling the bugger is a serious pita. Don't bolt in firmly to the bracket, just put in the center lower bolt of the three so that it can pivot and do it loosely. It is a real pain to get all of the pipes back in and the the nuts started without cross threading-take your time, be patient and if something doesn't feel right stop. You can't hand thread them more than a couple turns but if the wrench meets resistance don't screw up. More later.
Once its in, buttoned down, and the harness reconnected, lower the car, put minimal weight on the wheels , add a liter of fluid, have another on hand, and start the car and check for leaks as it pumps up. The system will self bleed but it takes a while, if all ok go for a drive. The light may come on as the system bleeds but after a trip you should be ok.
Confession time-thank goodness for MAHunt's block. I was tired, and crossthreaded the front return line (the other front line goes to the pump res return and is no issue. Had I not had another block body I would have been screwed. Let that be a lesson. That particular line takes patience, cursing and hand strength to line up, and even the second time around (after swapping all the electrical parts into my old body) it took a half hour and anxiety to get right.
My "functioning" valve looked not much better than Mike's when out of the car, I'm amazed it still worked. Total time for the project would have been around 12 hrs if I didn't cross thread. The second time around was faster but it was still several hours to remove and reinstall. Well worth the effort though, as when ads is working its pretty amazing-plush ride with decent roll control. Sport mode increases roll at a minor comfort cost. The safety mode is not just sport, its harsher than.
I'm glad I could somewhat return the favor of your "new" (but non-working from the factory) valve body with my original.
I took the opportunity for my valve body swap to replace the slightly seeping O-rings at the top of the front "struts" and even found 1 of the impossible to find body seals that those strut top pipes route through near the strut towers. I also swapped out the big ADS flex hose that snakes around the oil pan to the tandem pump. If this flex hose on your ADS system even looks like it is beginning to have trouble, now would be the time to swap it out while there are new hoses available from the dealership.
There are only 2 flexible hoses on the ADS-II setup and both of mine have been replaced out of necessity. Now would be a good time to check yours.
I didn't have much trouble swapping out the valve body other than the mess. I started all the flare nut fittings by hand before tightening. I also used the opportunity to remove as much front fluid as I could from the system by collapsing each front strut to evacuate the fluid during the O-ring swap out. When a nitrogen sphere pops, all the gas goes into the hydraulic fluid and stays there like a carbonated drink.
It takes a while for the system to auto bleed out completely, but the suspension is the better for it. I've only just bled out the rear system with the factory bleed point, but I wish I had bled more of it out when I replaced the rear "shocks" years ago.
Nice work! I haven't been on the forum in a while. I suffered from bad solenoid wiring as well, except I got lucky with the new block I purchased. It works great. I still have my old block and would be willing to sell it if someone wants to rewire for a spare, etc. All 4 solenoids ohm out good, just has broke wires on one and the rest are weak.
RE: a 'corpse' ADS valve body for --ME I am re-furbishing my'94 sl-600 and trying to assemble/collect critical spares when I can. As a disabled Vietnam VET, funds are very limited but I have time to rebuild some things. HOW MUCH (how little? ) will yo charge me for your old ADS valve?? Keith E Bowers47@gmail.com/message to 8326517576
RE: a 'corpse' ADS valve body for --ME I am re-furbishing my'94 sl-600 and trying to assemble/collect critical spares when I can. As a disabled Vietnam VET, funds are very limited but I have time to rebuild some things. HOW MUCH (how little? ) will yo charge me for your old ADS valve?? Keith E Bowers47@gmail.com/message to 8326517576
Keith,
Sorry to hear of your car's troubles. My car is a 1997, so it uses the ADSII solenoid block. It will not work on your car unfortunately. Hopefully one of the other guys has one to help you out!
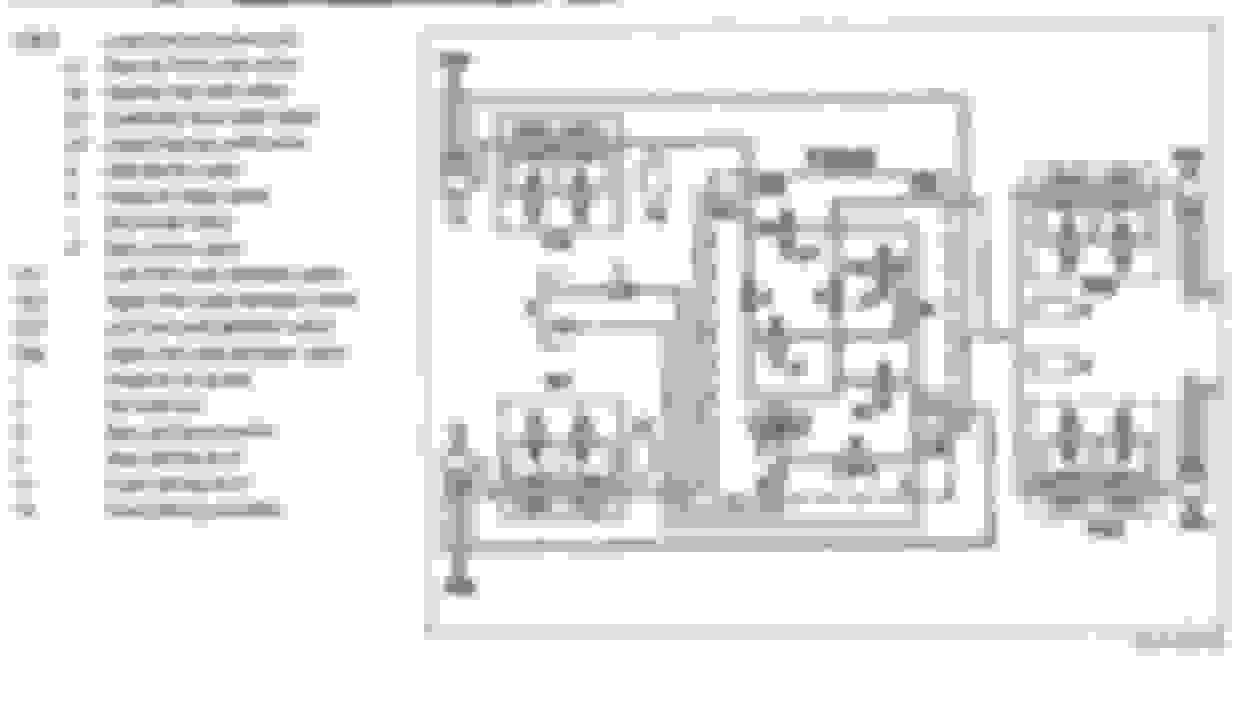
I have the same issue as the OP - just wondering if anyone can help me out with the numbering of the solenoids on the valve block. I bought a new unit from MB and the y1 solenoid is stuck open. I would like to splice in a used solenoid from the old valve block. I'm not 100% sure from the wiring diagram which one is actually y1 one the block.
The bad one on the block I got was the forward passenger side solenoid (I think).
I'll take a look in the morning to be sure.
Apparently, ALL the new ADSII valve blocks from MB have the same solenoid KIA from the factory.
If you need to get a replacement ADSII valve block due to various reasons (most likely failed wiring insulation), then KEEP you old valve block handy because you might be reusing one of the old solenoids. By the way, the block is configured with 2 types of solenoids (NV21 and NV22). Make sure you swap the correct one.
Thanks for the reply. The MB dealer offered to exchange it for me. Should I not even bother? Are they really all defective? It seems like a big production mistake if that�s the case. I just want to make sure I�m splicing in the correct solenoid, if I have to do that. I can�t tell from the wiring diagram which one is which physically on the block. I believe y1 is wire 2.
I believe the bad solenoid will show zero ohms on a meter. Easy enough to check at the dealership. I think I wrote about it somewhere here or on the other website.
The single black wire is the common ground for all the solenoids on the Y6 connector and each each solenoid gets its own control wire.
Negative probe on the ground and move the red probe to each of the 4 other terminals in turn while observing on a multimeter. If you are lucky, the Y6 connector will be labeled 1-4 for the solenoids with 5 or 6 coming in as the ground.
I located my bad solenoid by moving my probe nearer to the solenoid and using straight pins to pierce the insulation.
At the dealership you wouldn't have to locate the specific solenoid just run through the first ohm test. When you find a bad solenoid, move to the next valve block.
In my case, a coil was only low-resistance when it was warm, i.e. around 5 ohms instead of around 12. Everything well below 12 ohms is bad, sometimes heating helps with troubleshooting.
You should ask if service dpt can verify ohms before release to you
I believe it's being drop shipped from Germany. Should be here in a couple days. Hopefully it's functional... if not, I may think long and hard about coil spring conversion.
The dealership will note the same defect between blocks and might let MB Germany know. In the interim, they might be willing to use parts from both to create a good block for you until a correct one can be sourced.
I know of 3 owners who have used a new block and a good NV21 salvaged from an old block.
The ADS system is worth sorting out rather than eliminating.
If you do go down the elimination path, please document the journey if you can so others can better judge the conversion.
For sure I will post my experience once the second new valve block is installed. If it still gives me the error then I'll swap over the old solenoid and hope for the best.
I've already priced out coil conversion with a used W140 power steering pump to eliminate the tandem pump... comes out to about $1400 usd for pump, bilsteins, springs. Hoping to keep the ADS2 since the rest of the car is all original and in good shape....

 04-20-2020, 09:09 PM