When you click on links to various merchants on this site and make a purchase, this can result in this site earning a commission. Affiliate programs and affiliations include, but are not limited to, the eBay Partner Network.
Thanks so much for your kind words, if I am helping people save money and time, I am happy !!
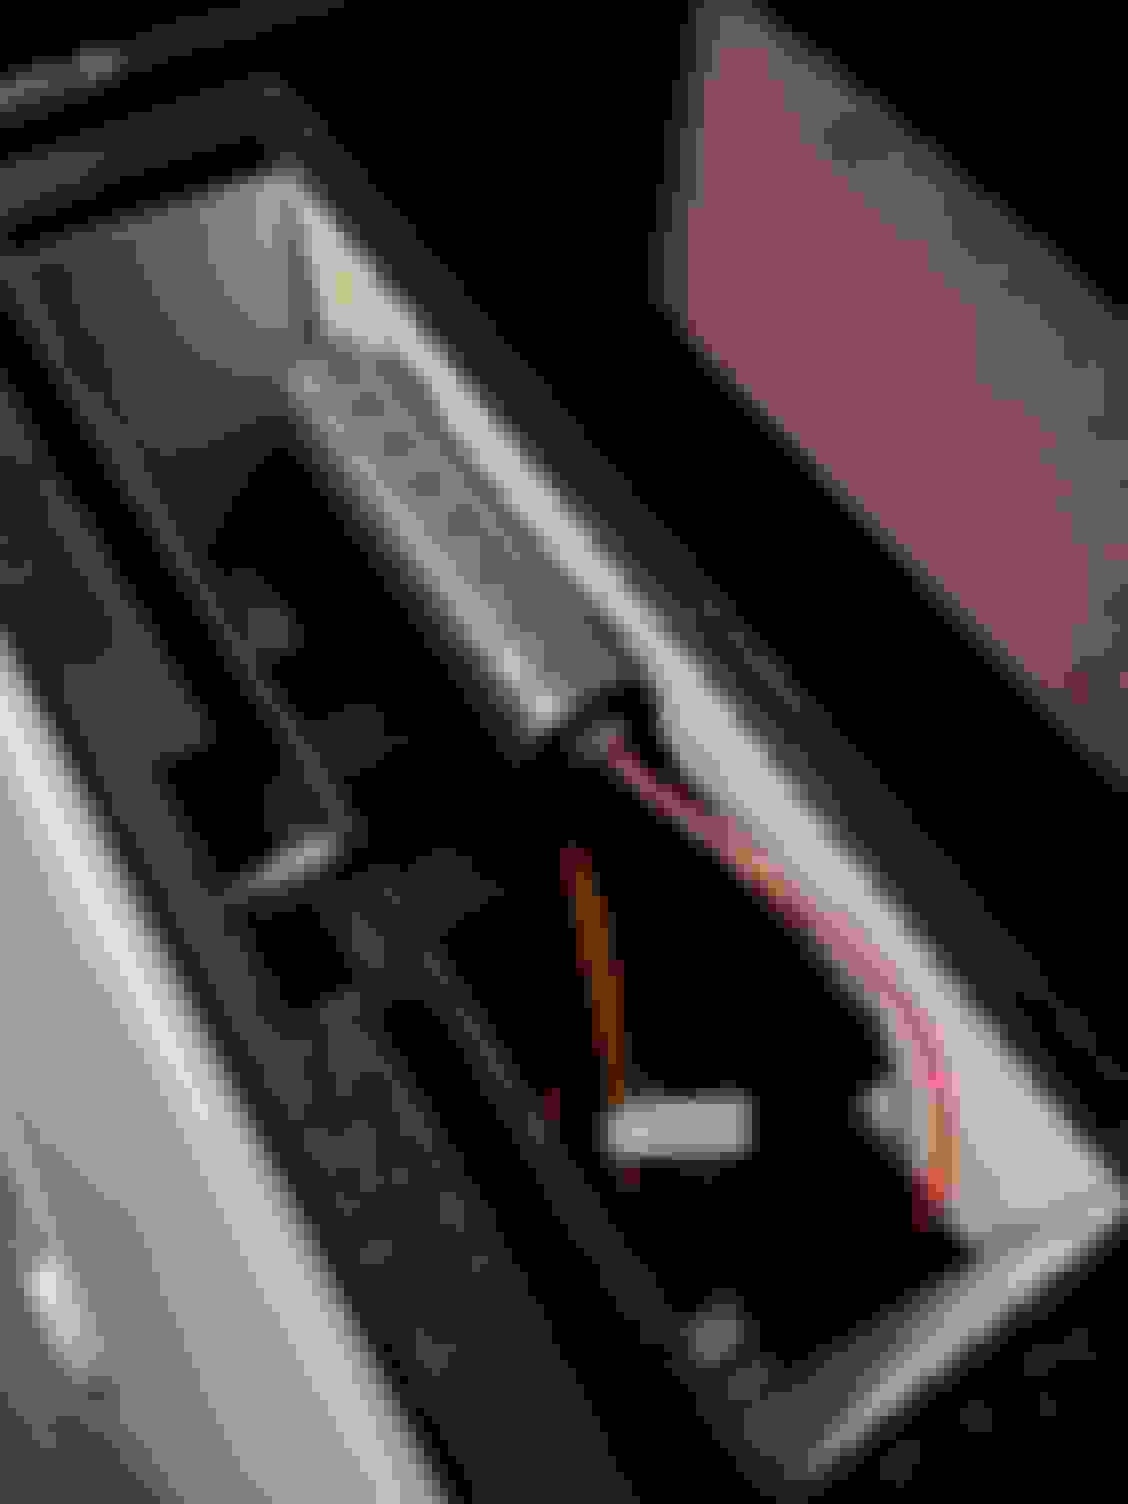
Point 1 above - Yes just find the switched power +12VDC on the harness (yellow and red), think I showed this in my video, then find the neg (brown) or just use any grounding point obviously.
Point 2 above - Absolutely spot on, there are two screws that face the rear on the plastic frame part where you pull the front panel trim off. The metal plate is aluminium so will bend a little, don't worry though you can bend it back into shape easily. the bottom of the plate sits in grooves.
A1EK,
A big thank you!!
I've read lots of threads multiple times on this topic. I even found threads where you were asking some questions before you installed yours. And now you return to the forum after the install to help more people out. Really thank you!!
I've read multiple threads multiple times, and yes what you describe is what I've been reading. This is the solution I've been looking for for a few years now. :-) I typically would like to gather as much info as I can before I get started so I won't get stuck half way through.
Thanks!
You and me both. Very happy to learn this and thanks again to you for the questions and A1EK for the guidance!
I still ask myself 'what's the catch'? Only since Mr 12 volt instructions explain that it should be connected to the head unit and the loop at the CD changer. Why would they do that when this is a vastly simpler solution. What am I missing?
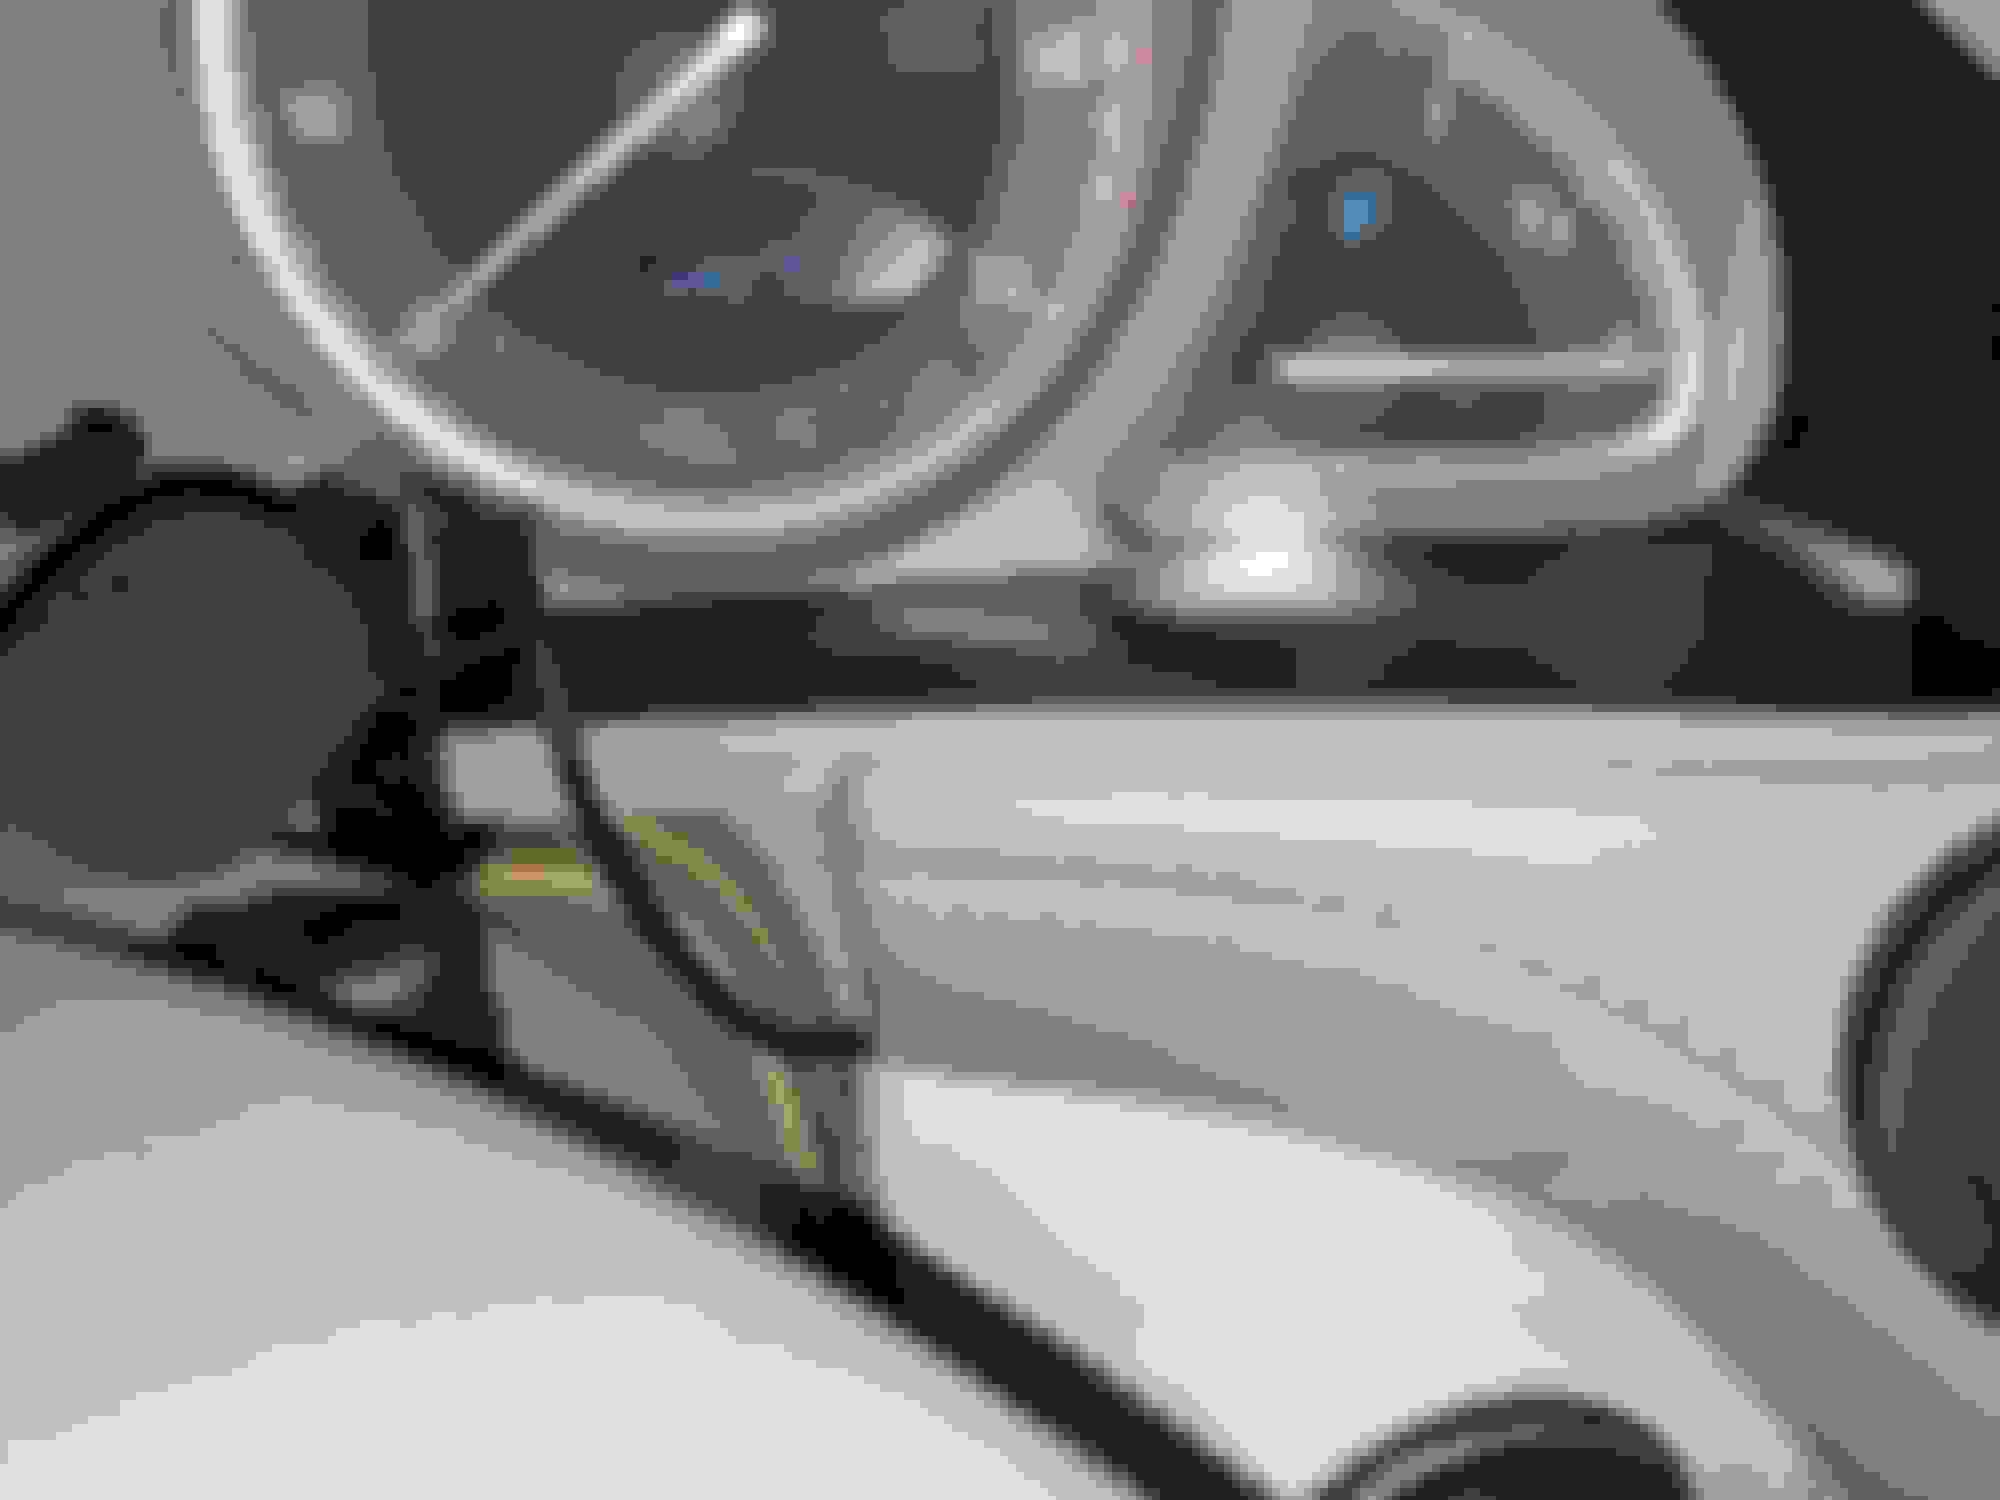
I have had a Mr 12volt in place of my CD changer for years now. I used the 12v power from the CD changer and plugged the optical into the Mr 12 volt. Easy install and it works great. I ran the microphone through the center console to by the instrument cluster. Be careful if you snap the microphone to the bottom of the instrument cluster. If it's directly in the middle it will bind when the steering wheel moves all the way up.
I have had a Mr 12volt in place of my CD changer for years now. I used the 12v power from the CD changer and plugged the optical into the Mr 12 volt. Easy install and it works great. I ran the microphone through the center console to by the instrument cluster. Be careful if you snap the microphone to the bottom of the instrument cluster. If it's directly in the middle it will bind when the steering wheel moves all the way up.
Hi Chad,
Thank you for sharing this!
By the way, do you remember how you ran the microphone wire from the CD changer location through the arm rest to the instrument cluster?
I know the rear arm rest (between the 2 cubby lid) can be easily removed by undoing 2 screws inside the arm rest storage area. How does the wire go through the rear arm rest area through the center arm rest? I think the cable can be hidden behind the side panel that runs the length from the AC controls to somewhere near the convertible top controls, but not sure how it will travel between the rear arm rest and the side panel.
Thanks!!
You can either squeeze the cable through where the little amber light is, or I just drilled a small hole in the plastic liner and pushed the jack end through it.
I removed the center bin and center wood trim to route the microphone cable. I had to get in there for something else anyway. A very easy way to route it would be under the driver side center panel. Each side of the center console snaps off without any tools. You can pry them up a little and slide a wire under them without much effort. I left the Mr 5volt loose in the CD changer pocket so I can reach in and adjust switches or plug in USB etc.
Will be doing this install today as Mr12volt has arrived.
Last and probably stupid question: did you disconnect the battery before splicing to the 12 vt power supply? Did you disconnect the consumer battery in the trunk or both (starter battery too)? And in so doing was it just disconnecting the negative terminal from one and/or both batteries? And if not, was there an order to which wires you spliced (red=power first then black=ground or vice versa)? I will use the same red splice connectors supplied with Mr12volt as chad500sl had done above.
Thanks,
Disconnecting the rear battery would be wise. I ignored my own advise and connected to the CD wires without disconnecting the battery. Just the rear battery is enough as the front battery is only used for starting.
Will be doing this install today as Mr12volt has arrived.
Last and probably stupid question: did you disconnect the battery before splicing to the 12 vt power supply? Did you disconnect the consumer battery in the trunk or both (starter battery too)? And in so doing was it just disconnecting the negative terminal from one and/or both batteries? And if not, was there an order to which wires you spliced (red=power first then black=ground or vice versa)? I will use the same red splice connectors supplied with Mr12volt as chad500sl had done above.
Thanks,
When disconnecting a battery remove the negative terminal first and then the positive terminal. When connecting the battery do it in reverse order, positive terminal first and then negative terminal. This way when you are working on the positive terminal it will prevent your tool from touching the chassis and shorting out the battery.
Please report back with your installation results!
Disconnecting the rear battery would be wise. I ignored my own advise and connected to the CD wires without disconnecting the battery. Just the rear battery is enough as the front battery is only used for starting.
Hi Chad,
Any adverse effects from not disconnecting the battery for the install? I�m guessing no.
I turned on the radio right after hooking up the optical and power. I then proceeded to install the microphone and reassemble the car with Bluetooth streaming from my phone. Probably not wise from a safety perspective, but damn satisfying. No ill effects, but again not particularly wise on my part. It's my toy and I can break it if I want too!
I turned on the radio right after hooking up the optical and power. I then proceeded to install the microphone and reassemble the car with Bluetooth streaming from my phone. Probably not wise from a safety perspective, but damn satisfying. No ill effects, but again not particularly wise on my part. It's my toy and I can break it if I want too!
Hi Chad,
True! Haha! Question is when you were hooking up the optical and splicing the power, what position was the key in the ignition? :-)
Will be doing this install today as Mr12volt has arrived.
Last and probably stupid question: did you disconnect the battery before splicing to the 12 vt power supply? Did you disconnect the consumer battery in the trunk or both (starter battery too)? And in so doing was it just disconnecting the negative terminal from one and/or both batteries? And if not, was there an order to which wires you spliced (red=power first then black=ground or vice versa)? I will use the same red splice connectors supplied with Mr12volt as chad500sl had done above.
Thanks,
Will do it shortly and let you know. I found out I have to remove the panels. I have regular philips round head screws holding the CD changer in place (might also mean someone was in there before), and so I can't remove it the quick way as shown in A1EK's posts and videos. I also have another job that I now plan to do first: I have to change the engine mounts. Stay tuned.
Will do it shortly and let you know. I found out I have to remove the panels. I have regular philips round head screws holding the CD changer in place (might also mean someone was in there before), and so I can't remove it the quick way as shown in A1EK's posts and videos. I also have another job that I now plan to do first: I have to change the engine mounts. Stay tuned.
I got curious so I went ahead and popped the cover plate off the cd changer. Lo and behold, I have 4 round head T20 screws holding the cd changer in place. The outer 2 screws I�m sure I can get to with slim right angle screw driver using the T20 bit. But the inner 2 screws I don�t have the right tools to get to them.
Darn. I knew there was a catch!!
Edit to add I have a T20 low profile wrench on the way.
Last edited by Jimmy325; Aug 18, 2021 at 02:30 AM.
I just finished installation of Mr12volt today. Since I too had round head T20 screws (not phiIlips as I had originally said) I had to remove all the panelling around the back and both sides as well as the rear center armrest (where while I was in there I learned my center console cover strut was shot which'll be my next project).
I connected the wires as shown above by chad500sl (thanks for the pics!). I left the Mr12volt unit like A1EK showed in one of his videos right behind the front panel so I can access it if needed to connect something via USB or AUX. I tested it and via bluetooth it was perfect. Best thing is, I can now listen to Sirius XM from the app on the phone (connected to an account with my other car) so I don't need to subscribe to it in this car, and I also have pandora and tunein radio as other options. Sound quality is great.
By the way I took the risk and didn't disconnect the consumer battery. I made sure to connect the ground wire on Mr12volt first before connecting the power. Everything seems to work fine.
It wasn't a difficult job just time consuming because of all the panels. I caution anyone only to be careful when reinstalling the panels as you want to line everything up correctly.
I want to thank all those on this thread/forum who shared videos, pictures or comments. Without you I would have been taking the center console apart and installing behind the head unit. I think this is a much cleaner and easier method, leaves access to the unit and I can connect cables (USB/Aux) from the back. My CD changer wasn't working (and I wouldn't have used it anyway) so losing it was not a concern.
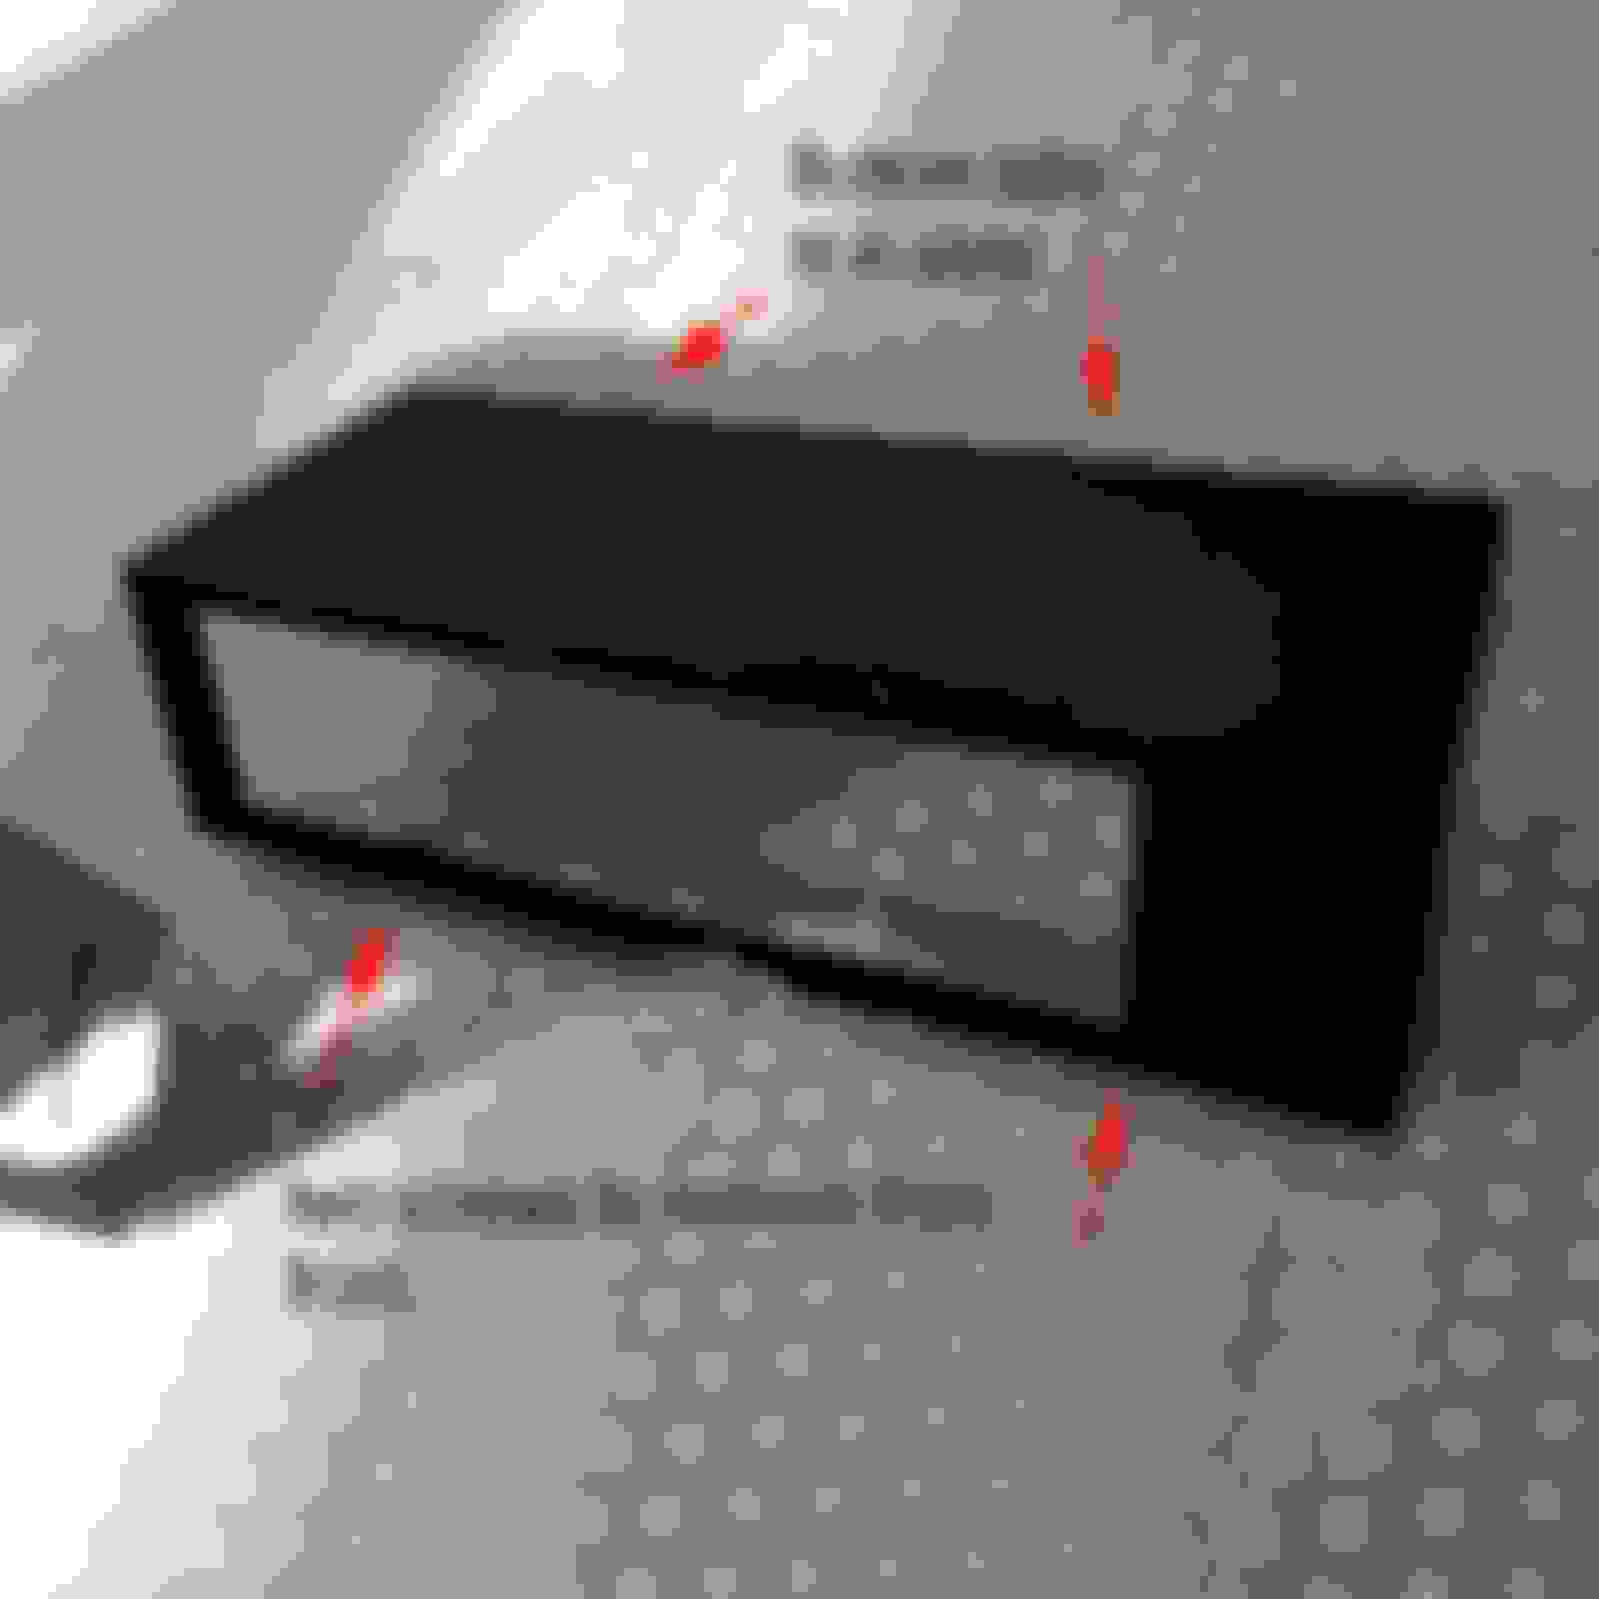
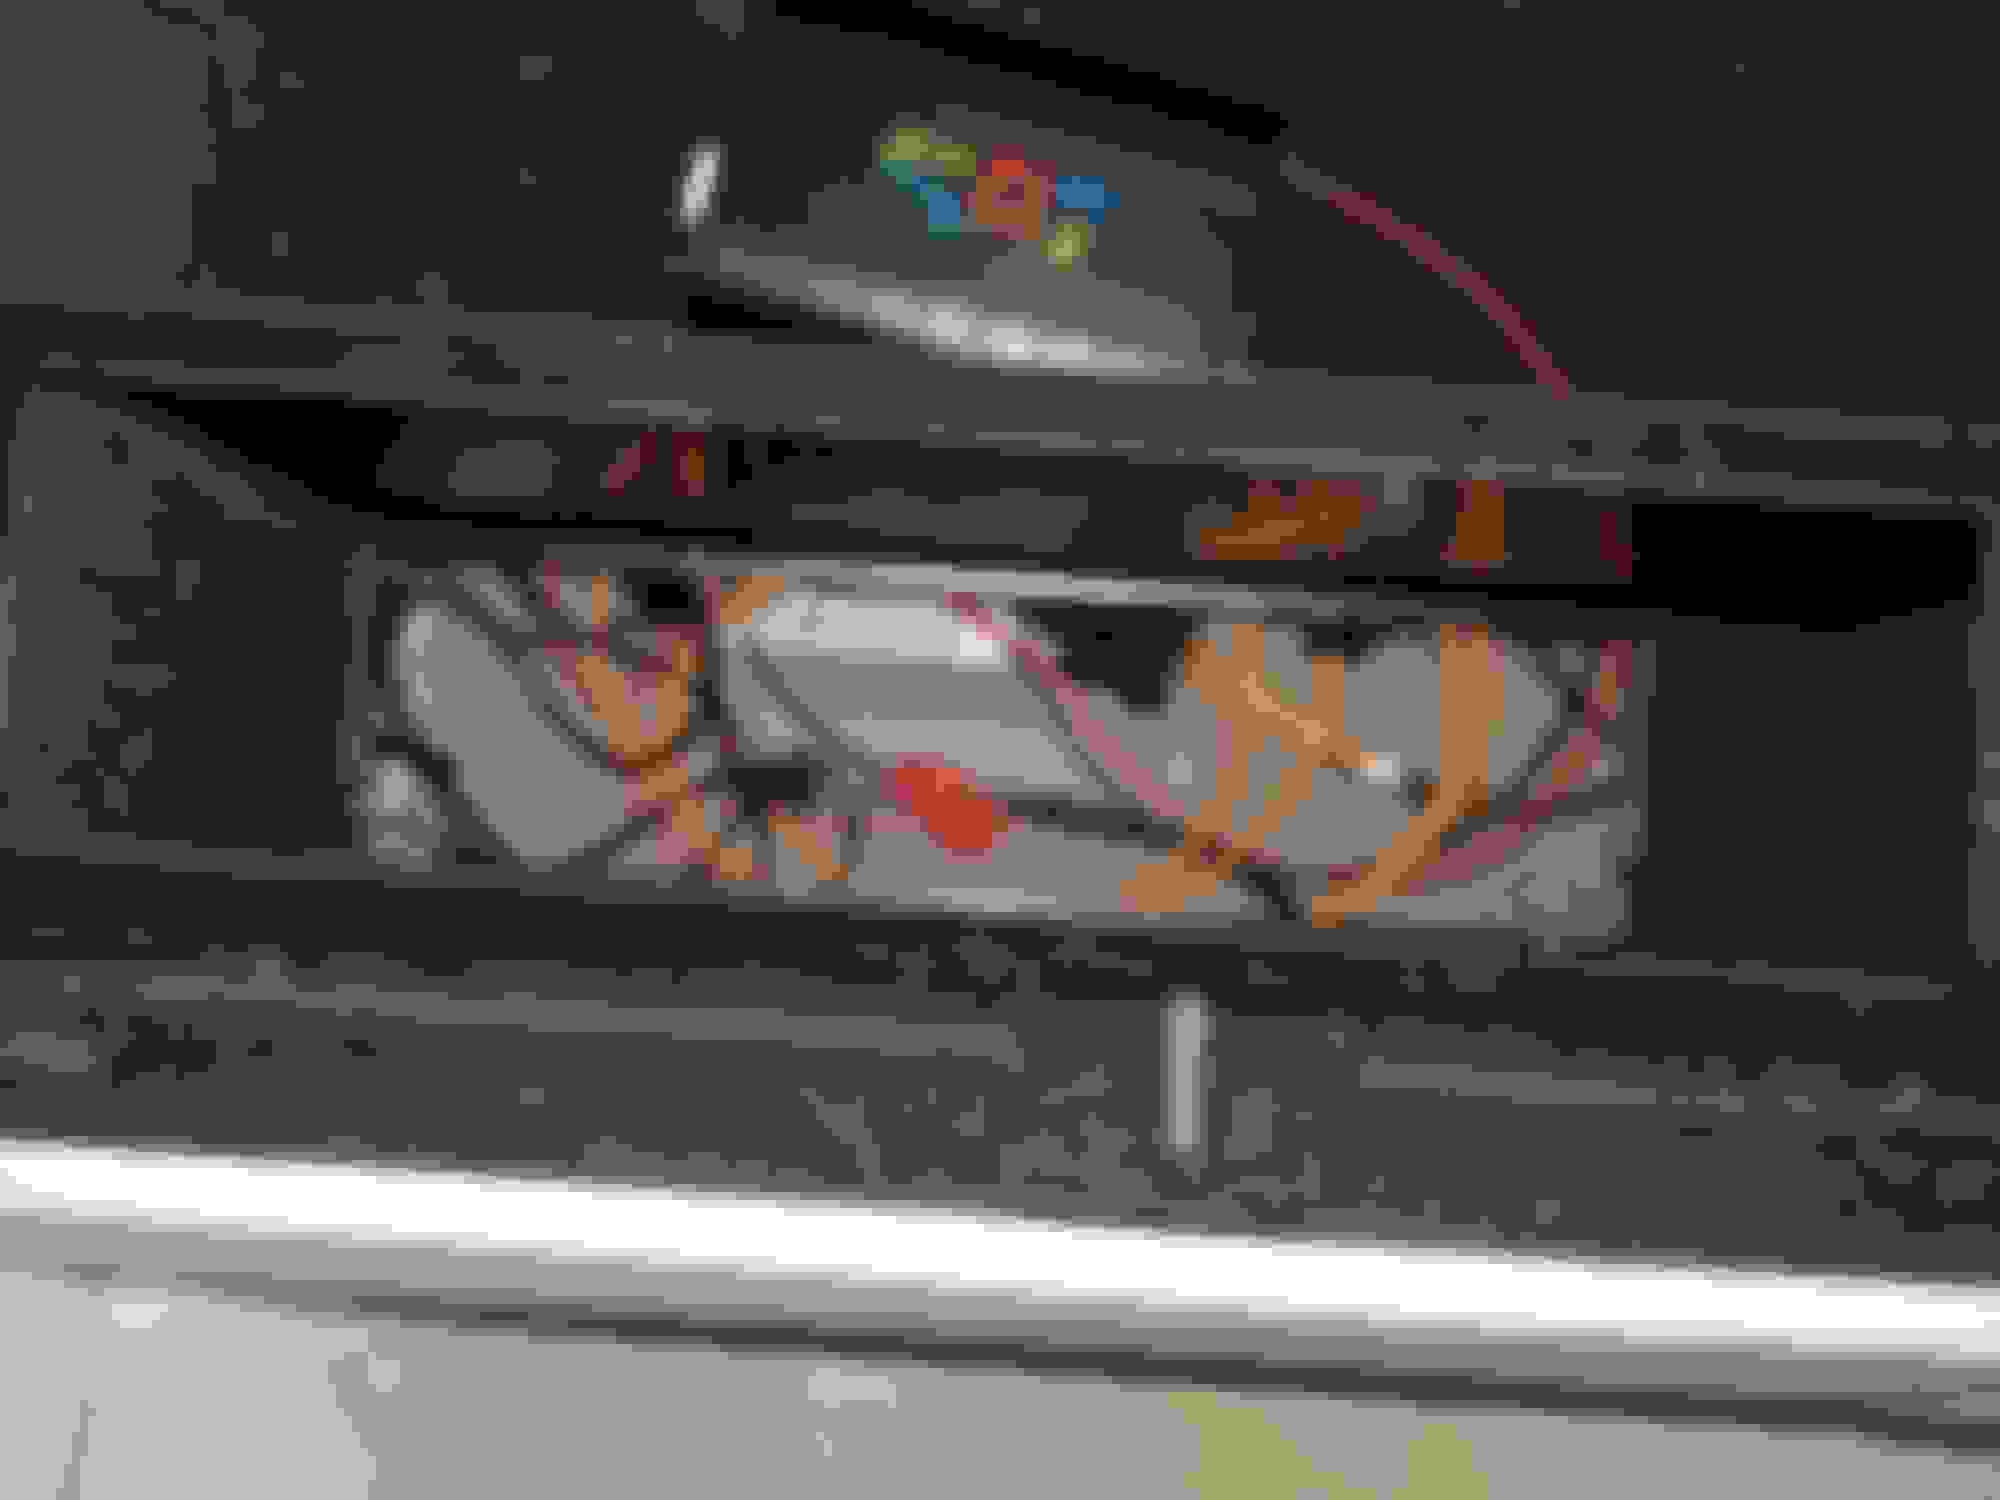
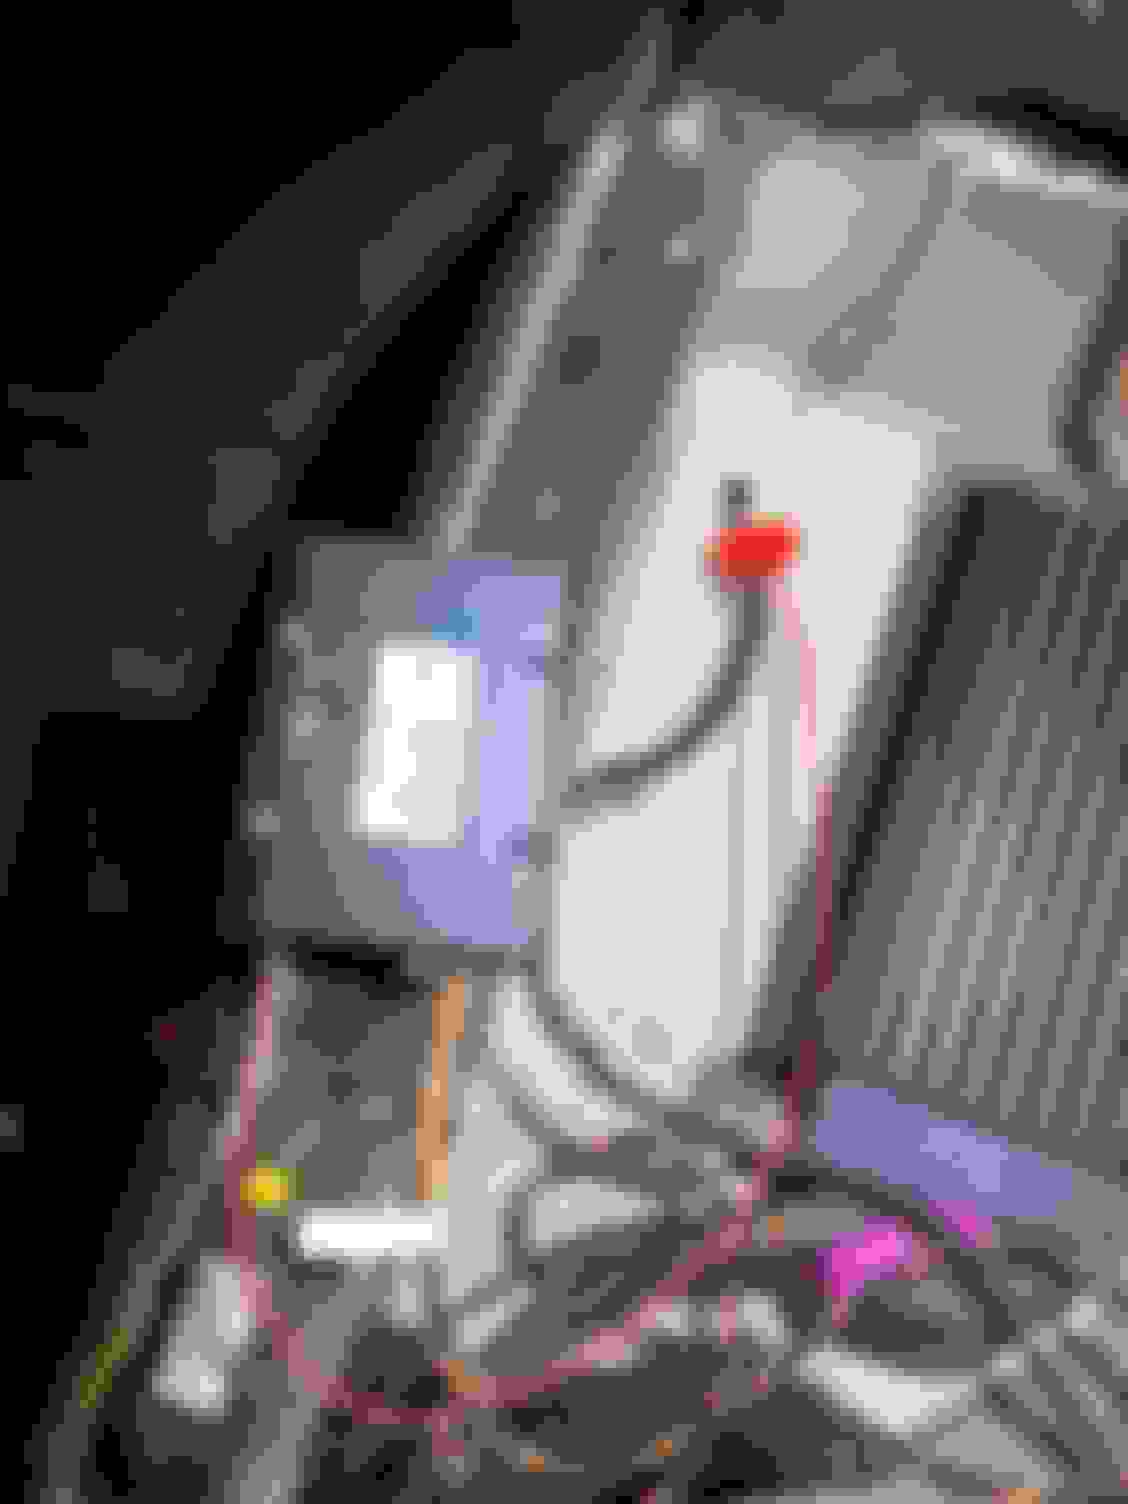
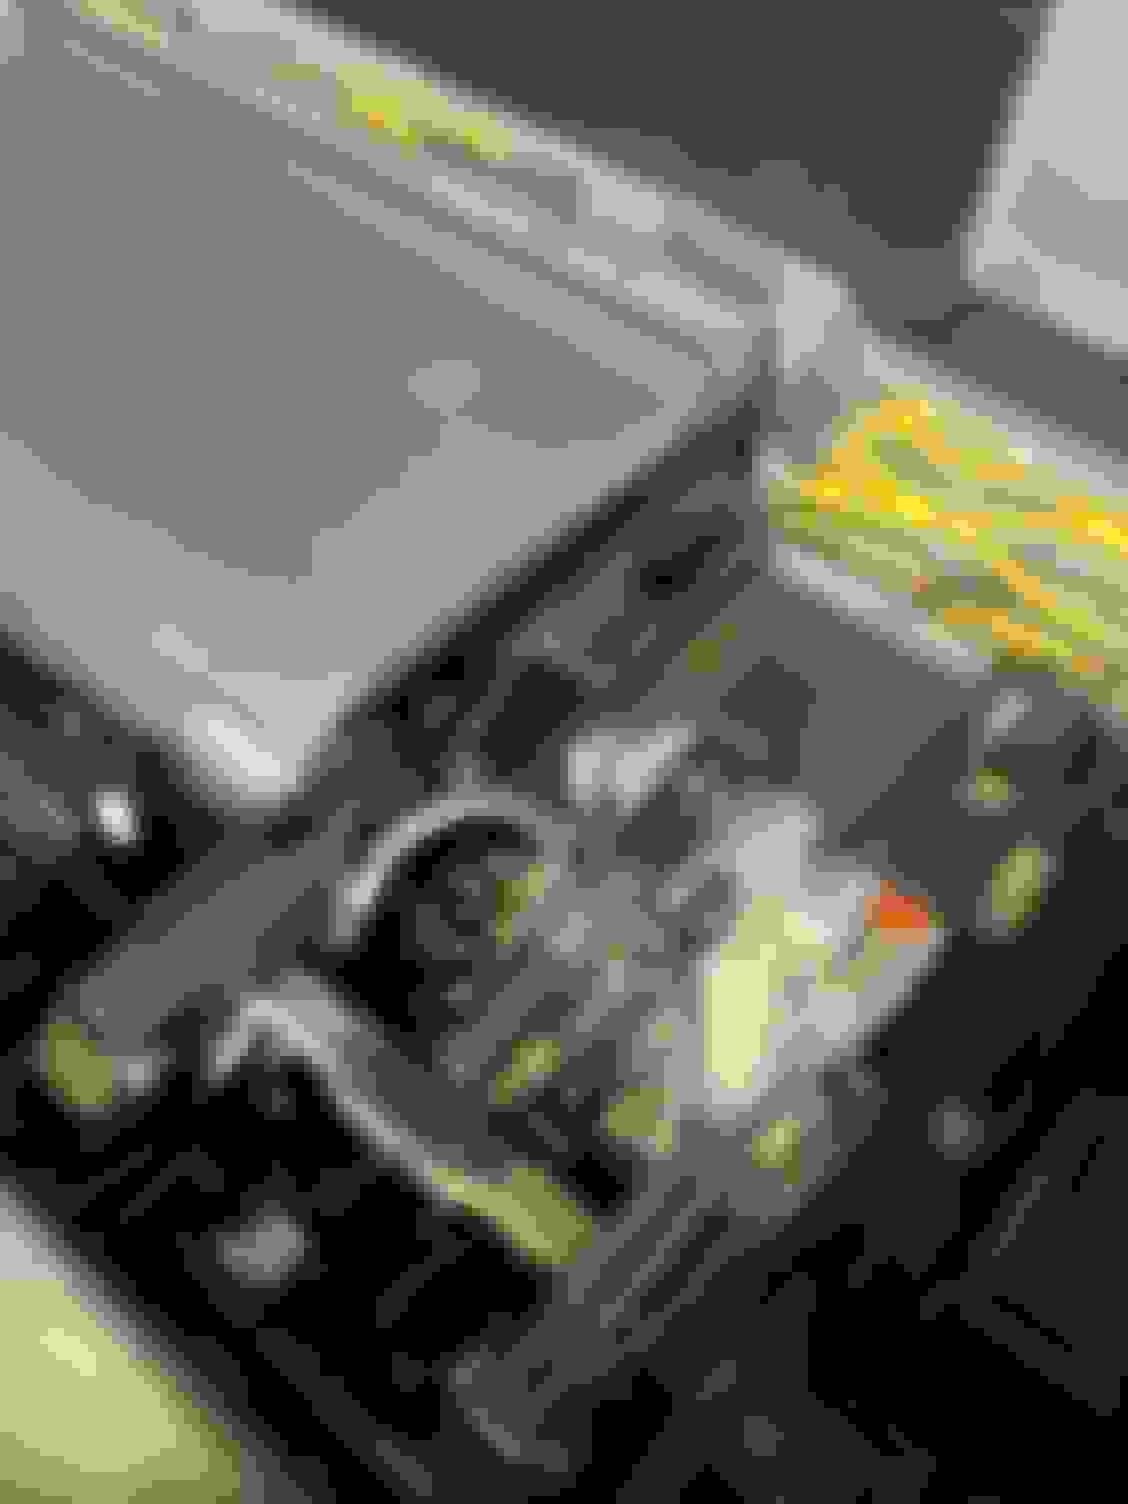
Here are some pics. Some of them are just of the myriad of electronics, hydraulic and vacuum cables that are 'going on' back there. Just crazy! Mr12volt connected All panels removed ready to take CD Changer out Center console strut sprung a leak Driver's side electronics and hydraulics Passenger side
I just finished installation of Mr12volt today. Since I too had round head T20 screws (not phiIlips as I had originally said) I had to remove all the panelling around the back and both sides as well as the rear center armrest (where while I was in there I learned my center console cover strut was shot which'll be my next project).
I connected the wires as shown above by chad500sl (thanks for the pics!). I left the Mr12volt unit like A1EK showed in one of his videos right behind the front panel so I can access it if needed to connect something via USB or AUX. I tested it and via bluetooth it was perfect. Best thing is, I can now listen to Sirius XM from the app on the phone (connected to an account with my other car) so I don't need to subscribe to it in this car, and I also have pandora and tunein radio as other options. Sound quality is great.
By the way I took the risk and didn't disconnect the consumer battery. I made sure to connect the ground wire on Mr12volt first before connecting the power. Everything seems to work fine.
It wasn't a difficult job just time consuming because of all the panels. I caution anyone only to be careful when reinstalling the panels as you want to line everything up correctly.
I want to thank all those on this thread/forum who shared videos, pictures or comments. Without you I would have been taking the center console apart and installing behind the head unit. I think this is a much cleaner and easier method, leaves access to the unit and I can connect cables (USB/Aux) from the back. My CD changer wasn't working (and I wouldn't have used it anyway) so losing it was not a concern.
Here are some pics. Some of them are just of the myriad of electronics, hydraulic and vacuum cables that are 'going on' back there.
Sozo,
Thanks for sharing the process and pictures! Congrats on the successful install!
So like everyone else said factory optical plug that connects to the cd changer plugs right into mr12volt ya? And you have the optical cable from mr12volt and the optical loop both unused right?
Confirmed, yes! Optical plug going into CD Changer goes into Mr12volt, so supplied optical cables (and they provide both) went unused. Only used provided power cable from Mr12volt spliced into the one going into the CD changer.
By the way, there's a video youtube that was great in demonstrating how to remove the necessary panels. I tried to provide the link here and it didn't work but a search in Youtube for this should take you there: "How to Remove Amplifier/CD Changer/Audio Gateway from Mercedes SL500 for Repair."
So I wanted to add a few things to this thread to help out future DYIer's for removing CD changer without taking 5 interior panels out.
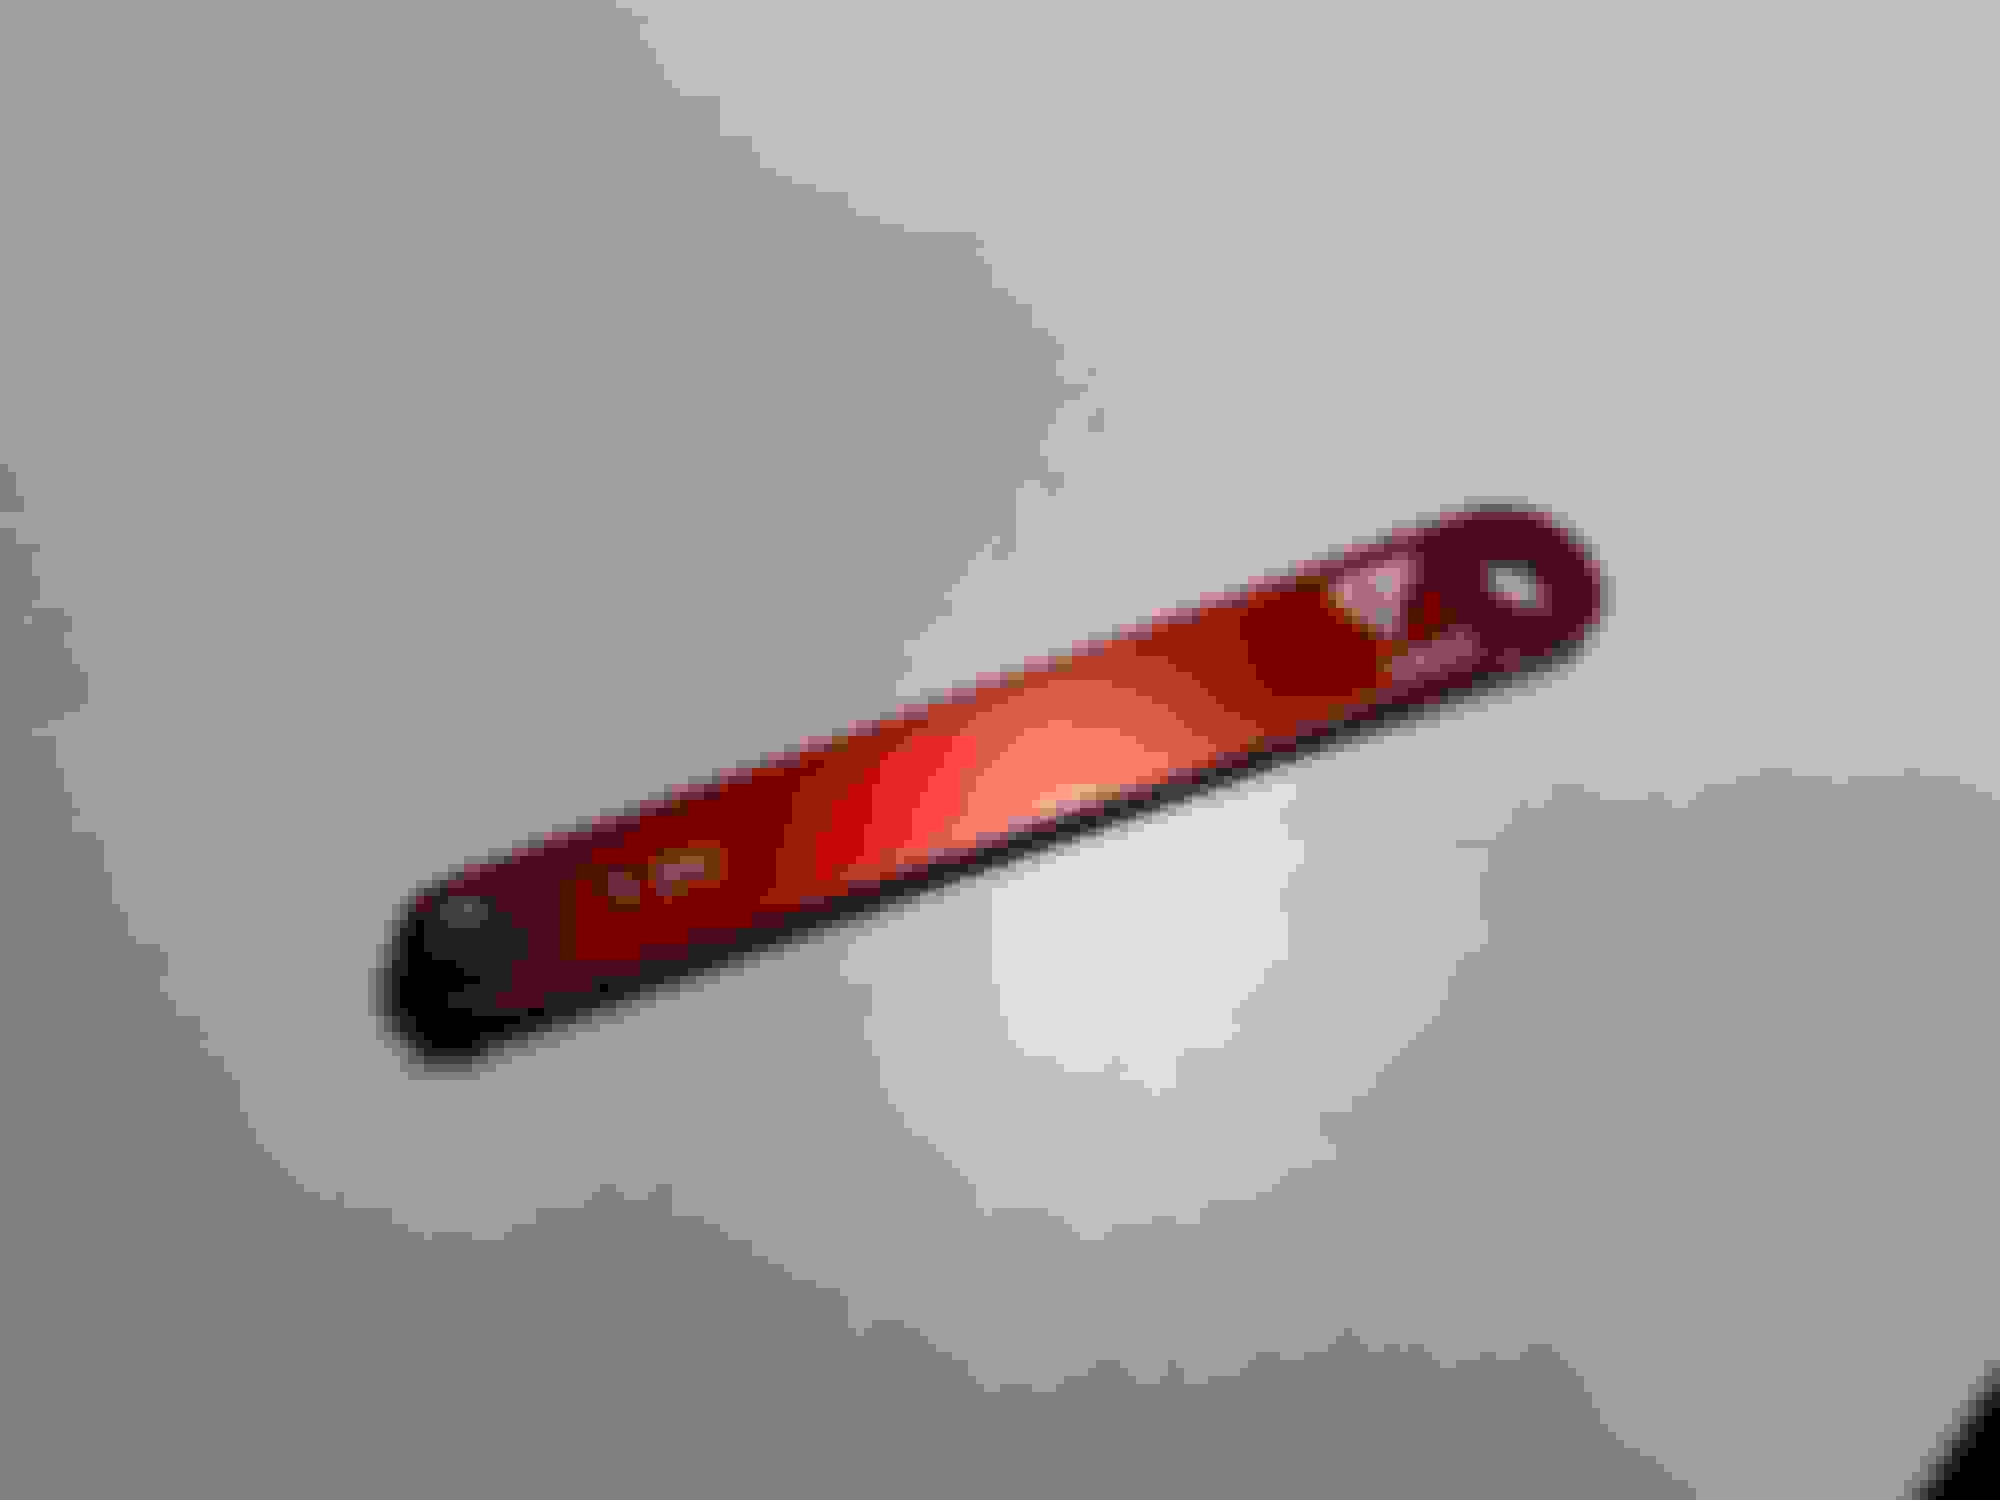
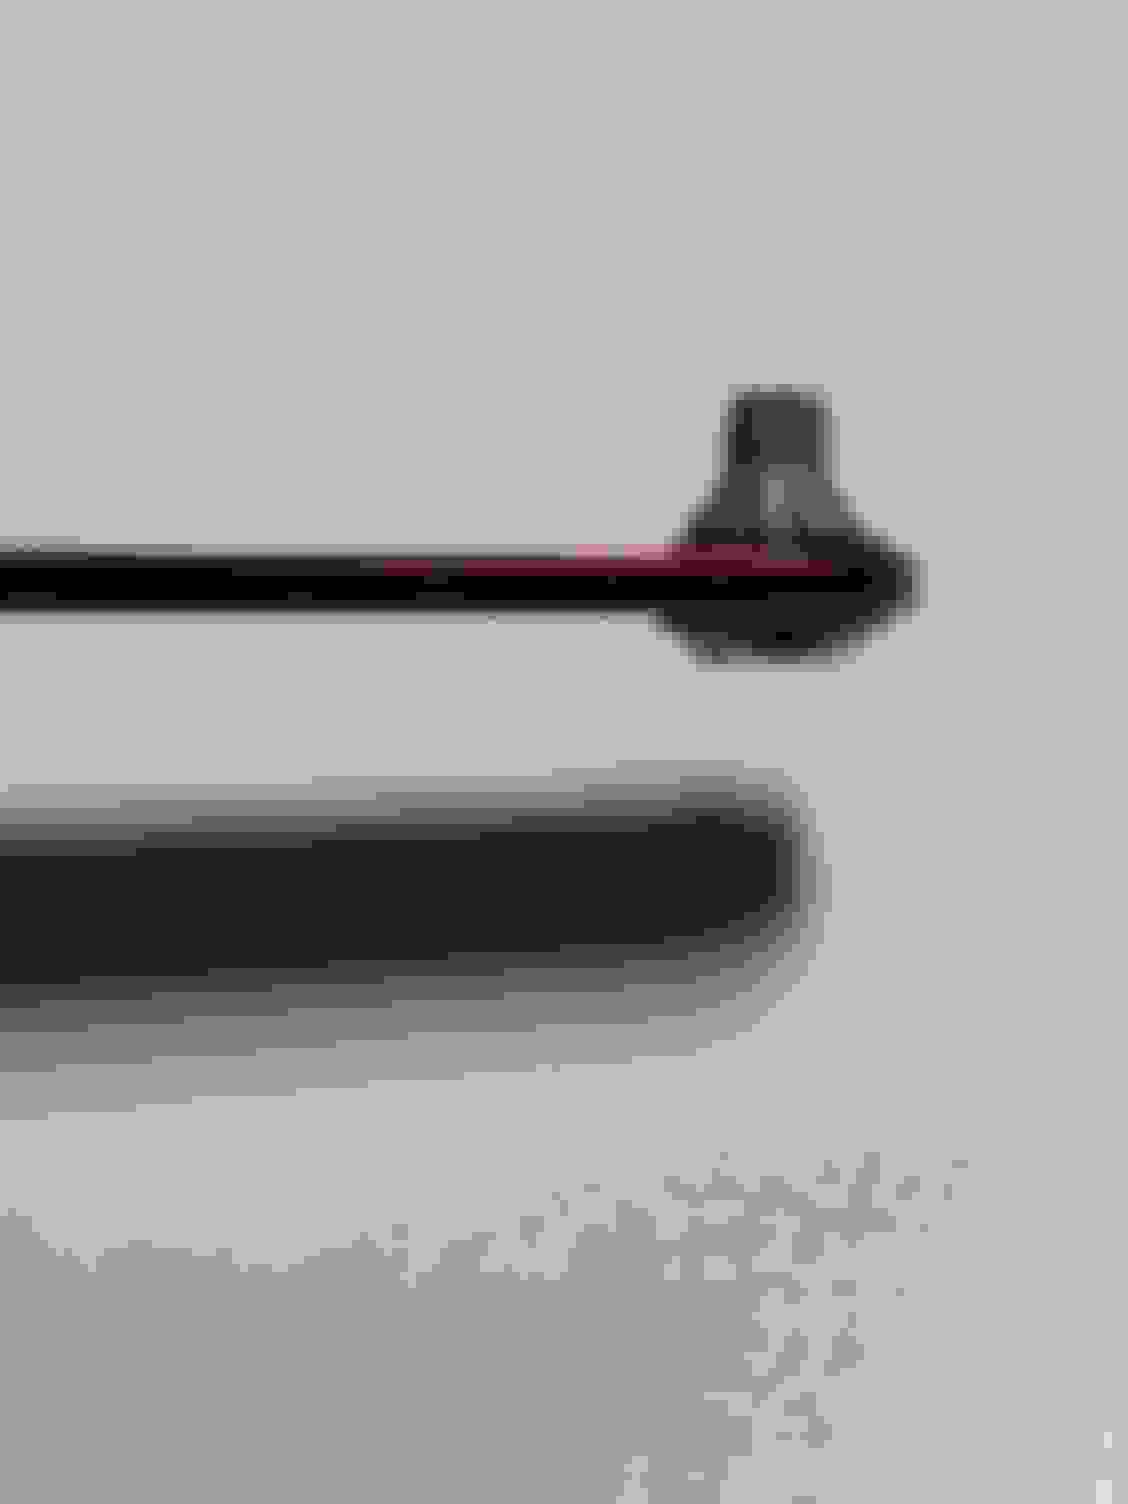
I got this tool, right angle, ultra slim profile, T20 torx, to remove the 4 round head T20 torx screws.
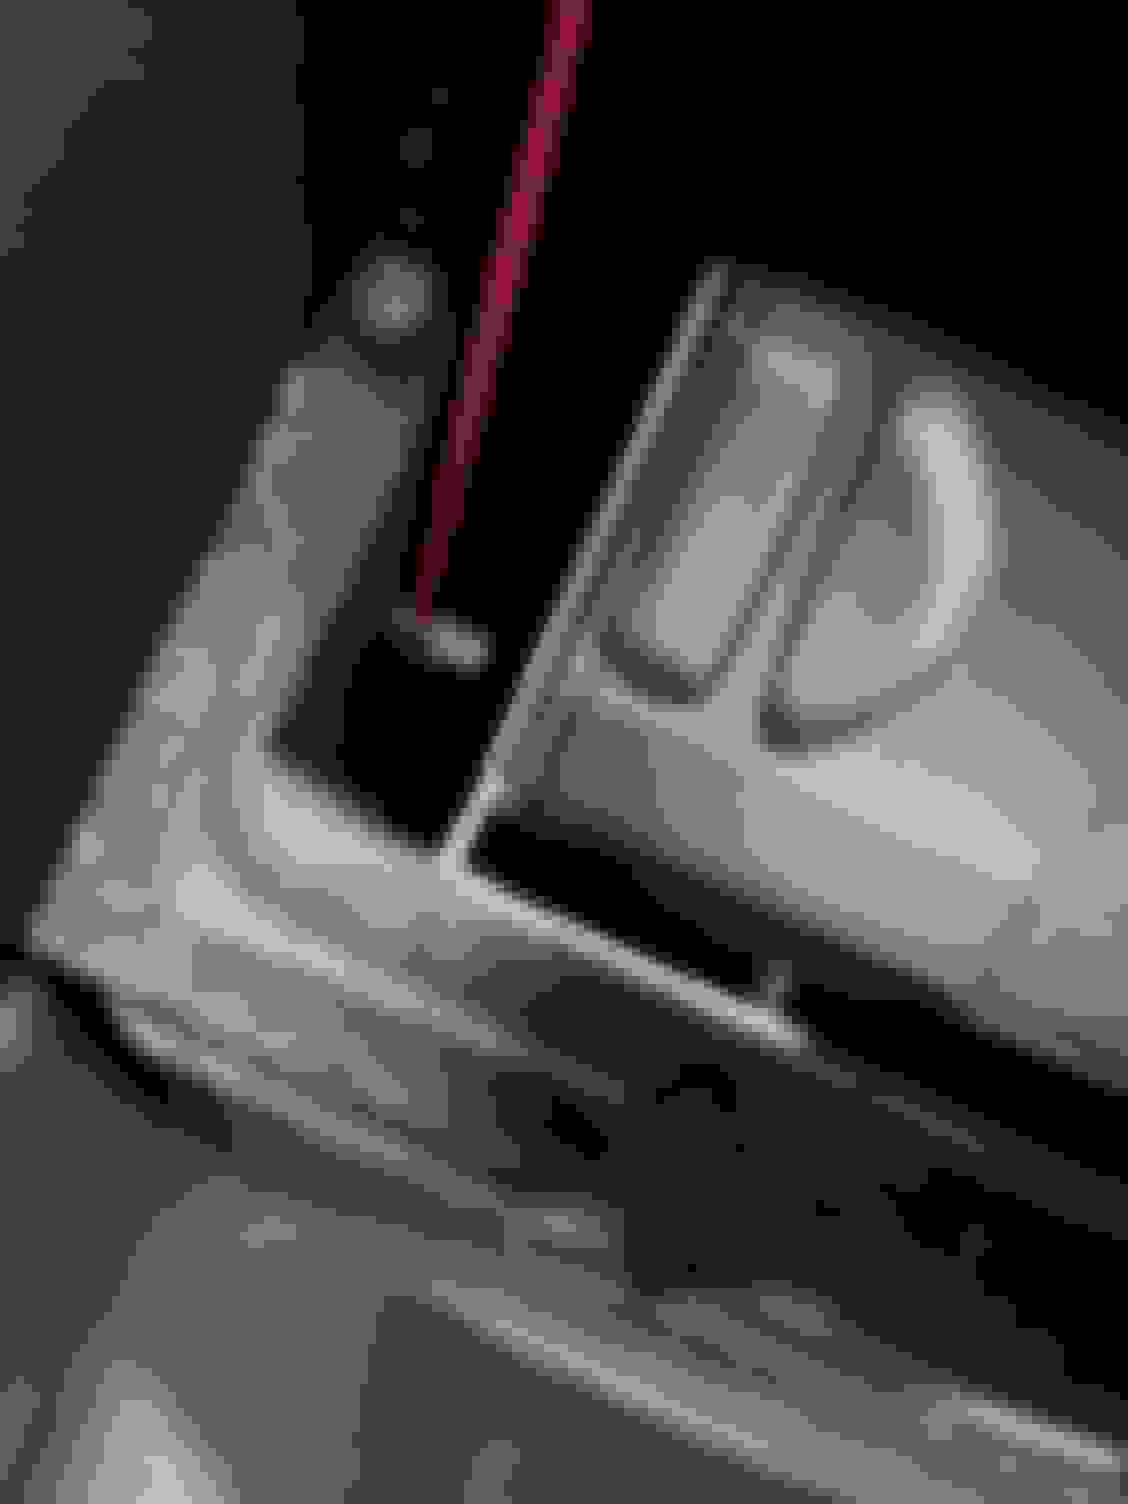
It fits in the narrow side (near the center console / tunnel) but you'll be turning quarter turn each time. As the screw backs out I ran out of space so I wedged a tool between the CD changer and the storage bin to push the CD changer a bit to create space to continue backing out the screw.
And this is the finished product with the Mr12Volt bluetooth box installed. This is an excellent upgrade to the Bose sound system to open the system up to the world of streaming music.
Thank you all for your tips and instructions and recommendations from those who commented in this thread! Appreciate it!
Nicely done Jimmy 325! That's about the slimmest right angle driver I've seen. I should have researched to find it. I have one myself just not 'that' slim so it would not fit. Anyway, thrilled to see you did the install and that you are now discovering the beautiful added option of streaming. It just expands hugely the limits of the Comand system, while still retaining the OEM appearance. I will add that I have a CD slot mounted magnetic phone stand and use my phone as my navigation with Waze. I prefer this combo to installing a new head unit, plus we keep the 'still current and high-end' fiber optic connectivity and sound. Enjoy!
Nicely done Jimmy 325! That's about the slimmest right angle driver I've seen. I should have researched to find it. I have one myself just not 'that' slim so it would not fit. Anyway, thrilled to see you did the install and that you are now discovering the beautiful added option of streaming. It just expands hugely the limits of the Comand system, while still retaining the OEM appearance. I will add that I have a CD slot mounted magnetic phone stand and use my phone as my navigation with Waze. I prefer this combo to installing a new head unit, plus we keep the 'still current and high-end' fiber optic connectivity and sound. Enjoy!
Sozo,
Thanks!! Based on members� feedback in this thread I knew there has to be a way to get the inner screws out from that tight space. I live in a condo and don�t have the private garage space to work on my car taking the panels out.
Now the enjoyment finally begins! And yes I agree on keeping the optical system around. Next on the list replace the Comand screen and the center console strut. I saw your posts in the strut thread. :-)
By the way Sozo, Chad, and A1EK, do you guys notice the Mr12volt box being warm to the touch after continuous usage? Say 20-30 minutes. Mine is warm to the touch after streaming for 20 minutes. Also the 2 rear seat cubby space gets slightly warm inside I�m guessing from the heat generated from the chassis of the car when operational. The cubbies and Mr12volt are all room temperature to the touch after leaving them overnight.