When you click on links to various merchants on this site and make a purchase, this can result in this site earning a commission. Affiliate programs and affiliations include, but are not limited to, the eBay Partner Network.
I have a stuck CD in my 6 CD cartridge. It would not go back in the holder when I tried to change a disk. I tried to eject the CD cartridge yet the Command center now says that there is not CD magazine in system.
Does anyone know:
1. How to free up the CD so it slides back in to the CD holder in the cartridge?
or
2. How to remove the entire CD assembly from the back compartment that holds the CD player assembly.
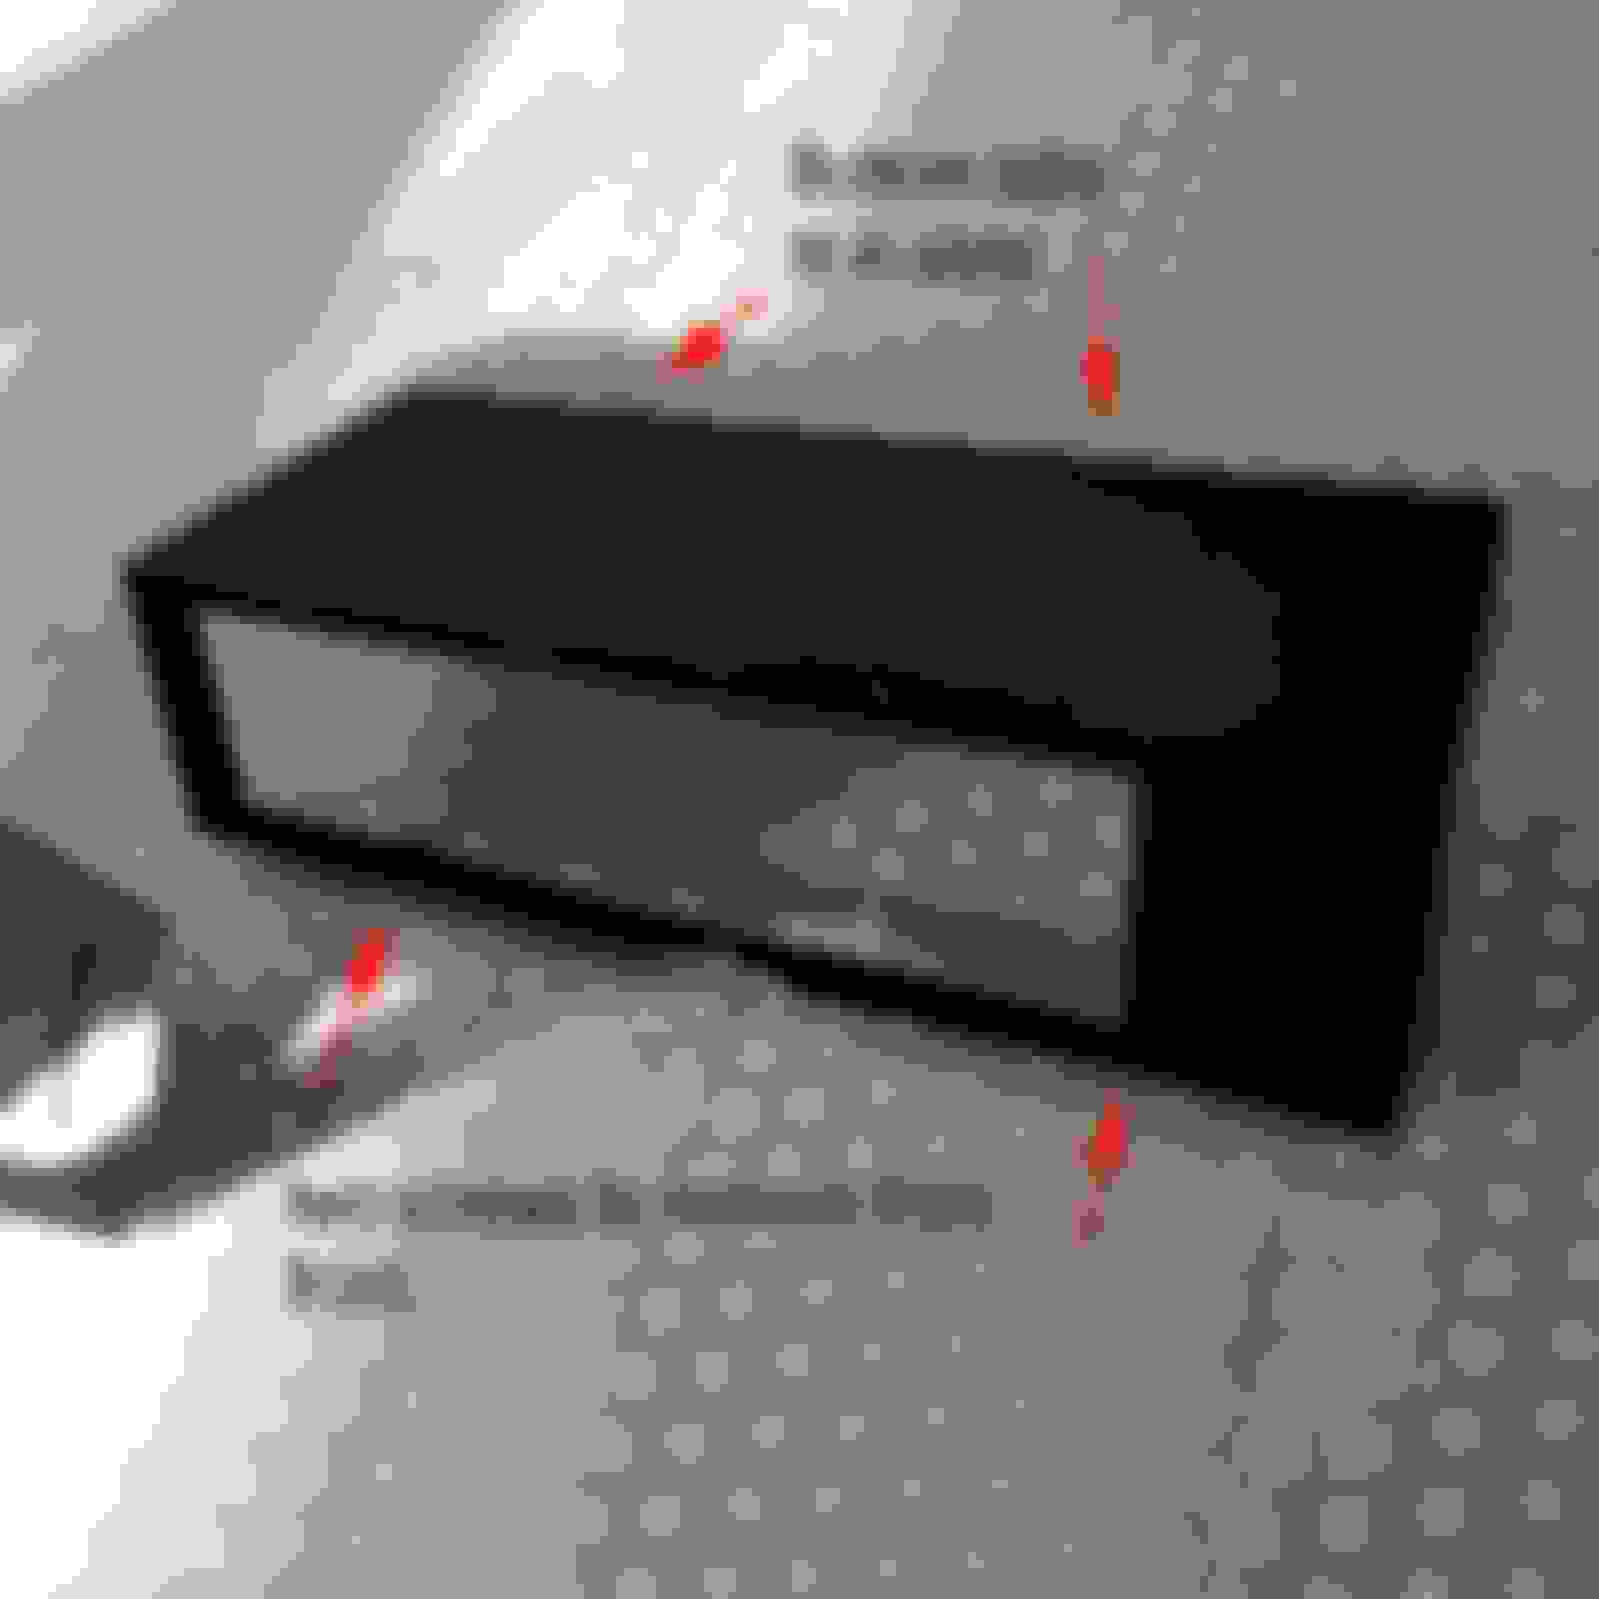
Boy, it looks like a lot of work to take all of the panels off just to remove the changer. Not sure what I am going to do. I can see the CD stuck yet after a lot of wiggling and moving the CD sideways, it still will not slide back in the magazine. I am going to take it to a car audio shop and see if they have any tricks.
Yes, it is a lot of work. First you have to remove the side panels, and the backpanel. Then the luggage boxes and covers before removing the changer itself.
No, not yet. I'm still waiting for the mp3-player to arrive. But I'm going to do it. Taking my time and following the instructions should do it I hope.
I had to get to the bottom of the cd changer to loop the fiber optics to make my cartronics unit work with my iphone 4. It takes time to take out all the panels. The only way to get to the cdc is to pull the whole glove box out.
Here's what i used to do it. It does not show it all but it got me started.
Have you tried it. I saw the pictures of how to remove them and it sounded like I would have screwed it up.
I have done it twice now. The first time I was under the impression that there might be an aux input underneath the CD changer... I was wrong on that one.
It's really not difficult at all, just time consuming. Make sure to watch while loosening bolts to make sure they do not drop into inaccessible places. Also be careful around the hydraulic tubes for the cargo compartment lids. They aren't fragile but mostly just short so the lid won't move far or even out of the way really.
Has anyone here installed any of those MP3 player aftermarket units? I'm thinking about it as the MP3 cds just don't hold enough songs to suit my tastes and the DVD MP3 takes so long to load I forget I have the COMAND unit turned on.
Toby, I was at my dealer today and told the Service Manager about the cd being stuck between the magazine and player. He told me to press the eject button and at the same time quickly use your finger and tap hard on the top of the magazine many times. Keep relegating the process.
Sure enough, the cd went back in the sleeve and the magazine popped out! I am going to burn one cd with all my songs as mg3 format and never need to switch cd's again.
Thanks Stoofpilot - I had started the dismantling process and gave this a try and it took all of 5 seconds. I just pressed the eject button and prodded the cassette quite hard and it just popped out. What did we do before the Internet? Made MB dealers wealthy I think!
A CD sleeve was stuck in the magazine with CDs from our Library. For several days I googled and tried myriad tricks for freeing it up - I was ready to tear the whole contraption out of my car when I came across this forum and saw the tip "hold the eject button and tap hard on the magazine" - it sounded too simple, un-technological, and un-mechanical but was ready to try anything. Out it popped! THANK YOU!!
By the way I read on the Mr12volt site as well as their eBay listing, that if you have the CD changer, then you need to install the optical loop, picture below.
In your video, it sounds like you plugged the optical connector that went into the CD changer directly into the Mr12volt box. Did you have to plug in the optical loop somewhere?
By the way, another quick question. I saw your video on the screen replacement for the comand head unit, thank you for that! Did you notice that after you put in the replacement screen that the text and graphics on the screen appear slightly lower than the original screen?
Thank you!
Hi there
Nope no loop, I did buy one, its not needed though, just unplug your old CD changer optic and plug that into the Mr 12V , you can then run an extension AUX cable, USB cable or microphone of you do not have the Mercedes handsfree to the front.
All the song information when streaming bluetooth or using USB will come up on your Comand unit now, you can use the steering wheel buttons and Comand buttons to skip tracks or go back etc. It will self connect when you have your phones bluetooth on too, I use Deezer and listen to everything in my car, you will not miss your changer trust me !
As for the screen YES ! you are correct, the bottom of the fonts are in line with the plastic Comand surround but only just, in hind site I could have easily moved this up slightly before fastening the screws, but its hardly noticable. on the flip side I see more of the top section now !
A1EK,
Thank you so much for the reply. You have no idea how much you have helped people out all over the world with explanation and short videos related to our beloved R230 SL's. Thank you!
Just a couple more quick things to confirm with you on the install of Mr12Volt.
1. You tapped power from the unswitched power cable that originally plugged into the CD changer right?
2. In order to remove the cover plate that sits flush with the top of the CD changer, you loosened the 2 screws near the top of the CD changer facing the seat back and wiggled the cover plate/piece up and out?
Thank you!!
Thanks so much for your kind words, if I am helping people save money and time, I am happy !!
Point 1 above - Yes just find the switched power +12VDC on the harness (yellow and red), think I showed this in my video, then find the neg (brown) or just use any grounding point obviously.
Point 2 above - Absolutely spot on, there are two screws that face the rear on the plastic frame part where you pull the front panel trim off. The metal plate is aluminium so will bend a little, don't worry though you can bend it back into shape easily. the bottom of the plate sits in grooves.
A1EK and Jimmy325:
I will just chime in with another question as this is a great discussion: from what I see here there is no need to connect anything behind the head unit (as shown in Mr. 12volt instructions) is that right? We only need to plug the CD changer plug into the Mr. 12 volt, feed it power, and it can sit near the CD changer and we can run USB & Aux cables from there? This is vastly simpler than digging behind the head unit. Thanks
Hi Sozo,
I've read multiple threads multiple times, and yes what you describe is what I've been reading. This is the solution I've been looking for for a few years now. :-) I typically would like to gather as much info as I can before I get started so I won't get stuck half way through.
Mercedes SLR McLaren 722 S Is Extremely Rare Example Modified by McLaren
Slideshow: A one-of-one U.S.-spec Mercedes-Benz SLR McLaren Roadster became even rarer after a factory-backed transformation at McLaren's headquarters.