When you click on links to various merchants on this site and make a purchase, this can result in this site earning a commission. Affiliate programs and affiliations include, but are not limited to, the eBay Partner Network.
Mine were detached & since I had to remove it anyways for the replacement of the front hydraulic cylinder repair, I figured
it could be better than factory, which was pretty poor to be honest!
I used 2 part plastic epoxy and #3 screws 1/2" and a 1/16 drill hole. I am pretty sure that will be the end of shake rattle & roll
from this headliner
I just remove my headliner and every single clip that should have been attached was not so I did exactly what you did, are used a two-part Epoxy and then drilled a small hole and backed it up with a small screw to hold it in place. Letting the epoxy cure another day and then put it back together, I�m looking forward to no more rattles
Hi I'm new to this forum. I just recently acquired a 2007 Mercedes SL 550. I also have this issue with the headliner falling because the clips have become detached. Just want to be sure these instructions are accurate for SL 550. I've also read that when the ignition is off and the engine is not running the roof will not stay in this position and hydraulic pump will relax and the roof will start to come down is that what's going to happen. Just want to be sure the proper protocol because I've never done this before but I think I can handle it . Any response is appreciated thank you
Hi I'm new to this forum. I just recently acquired a 2007 Mercedes SL 550. I also have this issue with the headliner falling because the clips have become detached. Just want to be sure these instructions are accurate for SL 550. I've also read that when the ignition is off and the engine is not running the roof will not stay in this position and hydraulic pump will relax and the roof will start to come down is that what's going to happen. Just want to be sure the proper protocol because I've never done this before but I think I can handle it . Any response is appreciated thank you
Yes, these instructions are accurate for all years and trims. Yes, with the engine off, the roof will release hydraulic pressure and lower itself, so you'll want to place something between the top of the windshield and the forward edge of the roof, to support it when the pressure releases. Once you remove the screws on the forward edge, the headliner is easily lowered. With broken clips, it should offer up little to no resistance at all. After removing the screws, you'll have the headliner out in under 30 seconds. It's that easy...
I just remove my headliner and every single clip that should have been attached was not so I did exactly what you did, are used a two-part Epoxy and then drilled a small hole and backed it up with a small screw to hold it in place. Letting the epoxy cure another day and then put it back together, I’m looking forward to no more rattles
Is the part you are gluing /screwing back on a part number I can get? Mine are all unattached but one is missing. I will be reattaching the four I have but I'd like to get all five back in place. Anyone got the part #? The clips that go into the "receiver" I have. It is the "receiver" that attaches to the headliner I'm missing.
This is one of the many "typical" problems with this car. If you don't want to fool around with the top half open (dangerous as it can close at any time on it's own), simply have the top down, open the trunk and you can see the back of the headliner where the clips are and have come loose. I simply sprayed the area with a little water, and squeezed in some Gorilla glue between the plastic headliner and the metal. Gorilla glue works on wet surfaces as the water causes it to expand. Then I cut some foam wedges and placed them between the headliner and the folded portion of the roof to wedge the headliner tight. Let it sit overnight and problem solved. Of course you will never get the headliner off again but who cares, the car is almost worthless by this point anyway. Sorry to be so pessimistic but there is a long line of "typical" design flaws with this car, the headliner issue is one of them but I would not spend a dime or risk losing a finger messing around the the top half open to fix this one.
I didn't find this thread until after I have already removed the headliner and glued all the tabs back on. It was quite a surprise to learn how common an issue this is. But fortunately, it is a very easy fix. Hopefully won't have to worry about it again for the time that I plan on driving my SL550.
I selected to use hot glue to reattach the clips, because it appeared to me that the original glue had a soft texture to it, and reminded me of hot glue, even in the way that it came off of the headliner and clips.
Since I could not find replacements that matched, I soaked the fasteners that go into the rear or the roof, in Aerospace 303 for a few minutes. Hopefully that will keep them from breaking any time soon.
when reinstalling, did you do the clips first then the torx bolts in the front or the other way around?, i'm having difficulty getting the rear clips attached.
when reinstalling, did you do the clips first then the torx bolts in the front or the other way around?, i'm having difficulty getting the rear clips attached.
recently did this repair on my 2005 SL500, and you do the rear clips first then the torx bolts in the front.
Tricky to do it with the roof 90% closed (when the roof top is almost parallel to the ground, and the lining almost sandwiched between the roof top and rear window.
Truth, the lining only goes back in one way, clips first then the torx bolts in the front.
I have the glass roof so I don't have a headliner but the plastic trim piece that goes all the way around it seems to be loose and is definitely rattling. Does anyone know how to remove it so I can if it has broken tabs or something? My gentle tugs in various spots didn't seem to free it and I don't want to make it worse.
I have the glass roof so I don't have a headliner but the plastic trim piece that goes all the way around it seems to be loose and is definitely rattling. Does anyone know how to remove it so I can if it has broken tabs or something? My gentle tugs in various spots didn't seem to free it and I don't want to make it worse.
Finally getting around to working on this since I was gone for a month (yay Mexico) and removed the headliner. Some dumb questions:
There are 2 plastic pieces. One of the flat piece that comes unglued from the headliner and is referred to as a clip (I'll call it #1). The other is a pointy piece (I'll call it clip #2) that goes into the metal roof hole on one side and slides into clip #1 on the other side. When re-installing the headliner do I want clip #2 to already be inserted into the metal roof or to be attached to clip #1 with the headliner? I'm believe it is the former so I can slide the headliner onto clips #2 instead of having to push clips #2 into the metal roof with the headliner attached.
My plan is to screw clip #1 to the headliner upside down and then epoxy around that with the screws holding it in place while the epoxy dries.
So when installing it the pointy #2 clips will already be in the roof and I just slide the headliner's #1 clips up into them. Does this sound correct?
I also read that the roof will stay in the halfway position for 7 min with the ignition on so I'll set a timer for 6:30 and make sure to be out of the way when it goes off if I'm not done.
I appreciate the help! And will post some pics when done.
Both clips are glued to the headliner. Be careful with clip #2 as they are directional. There is a notch that sits across a bump on the headliner. I used two part epoxy, with added screws on clip #1. Also check the rear window and side panels, mine were lose with the same ungluing.
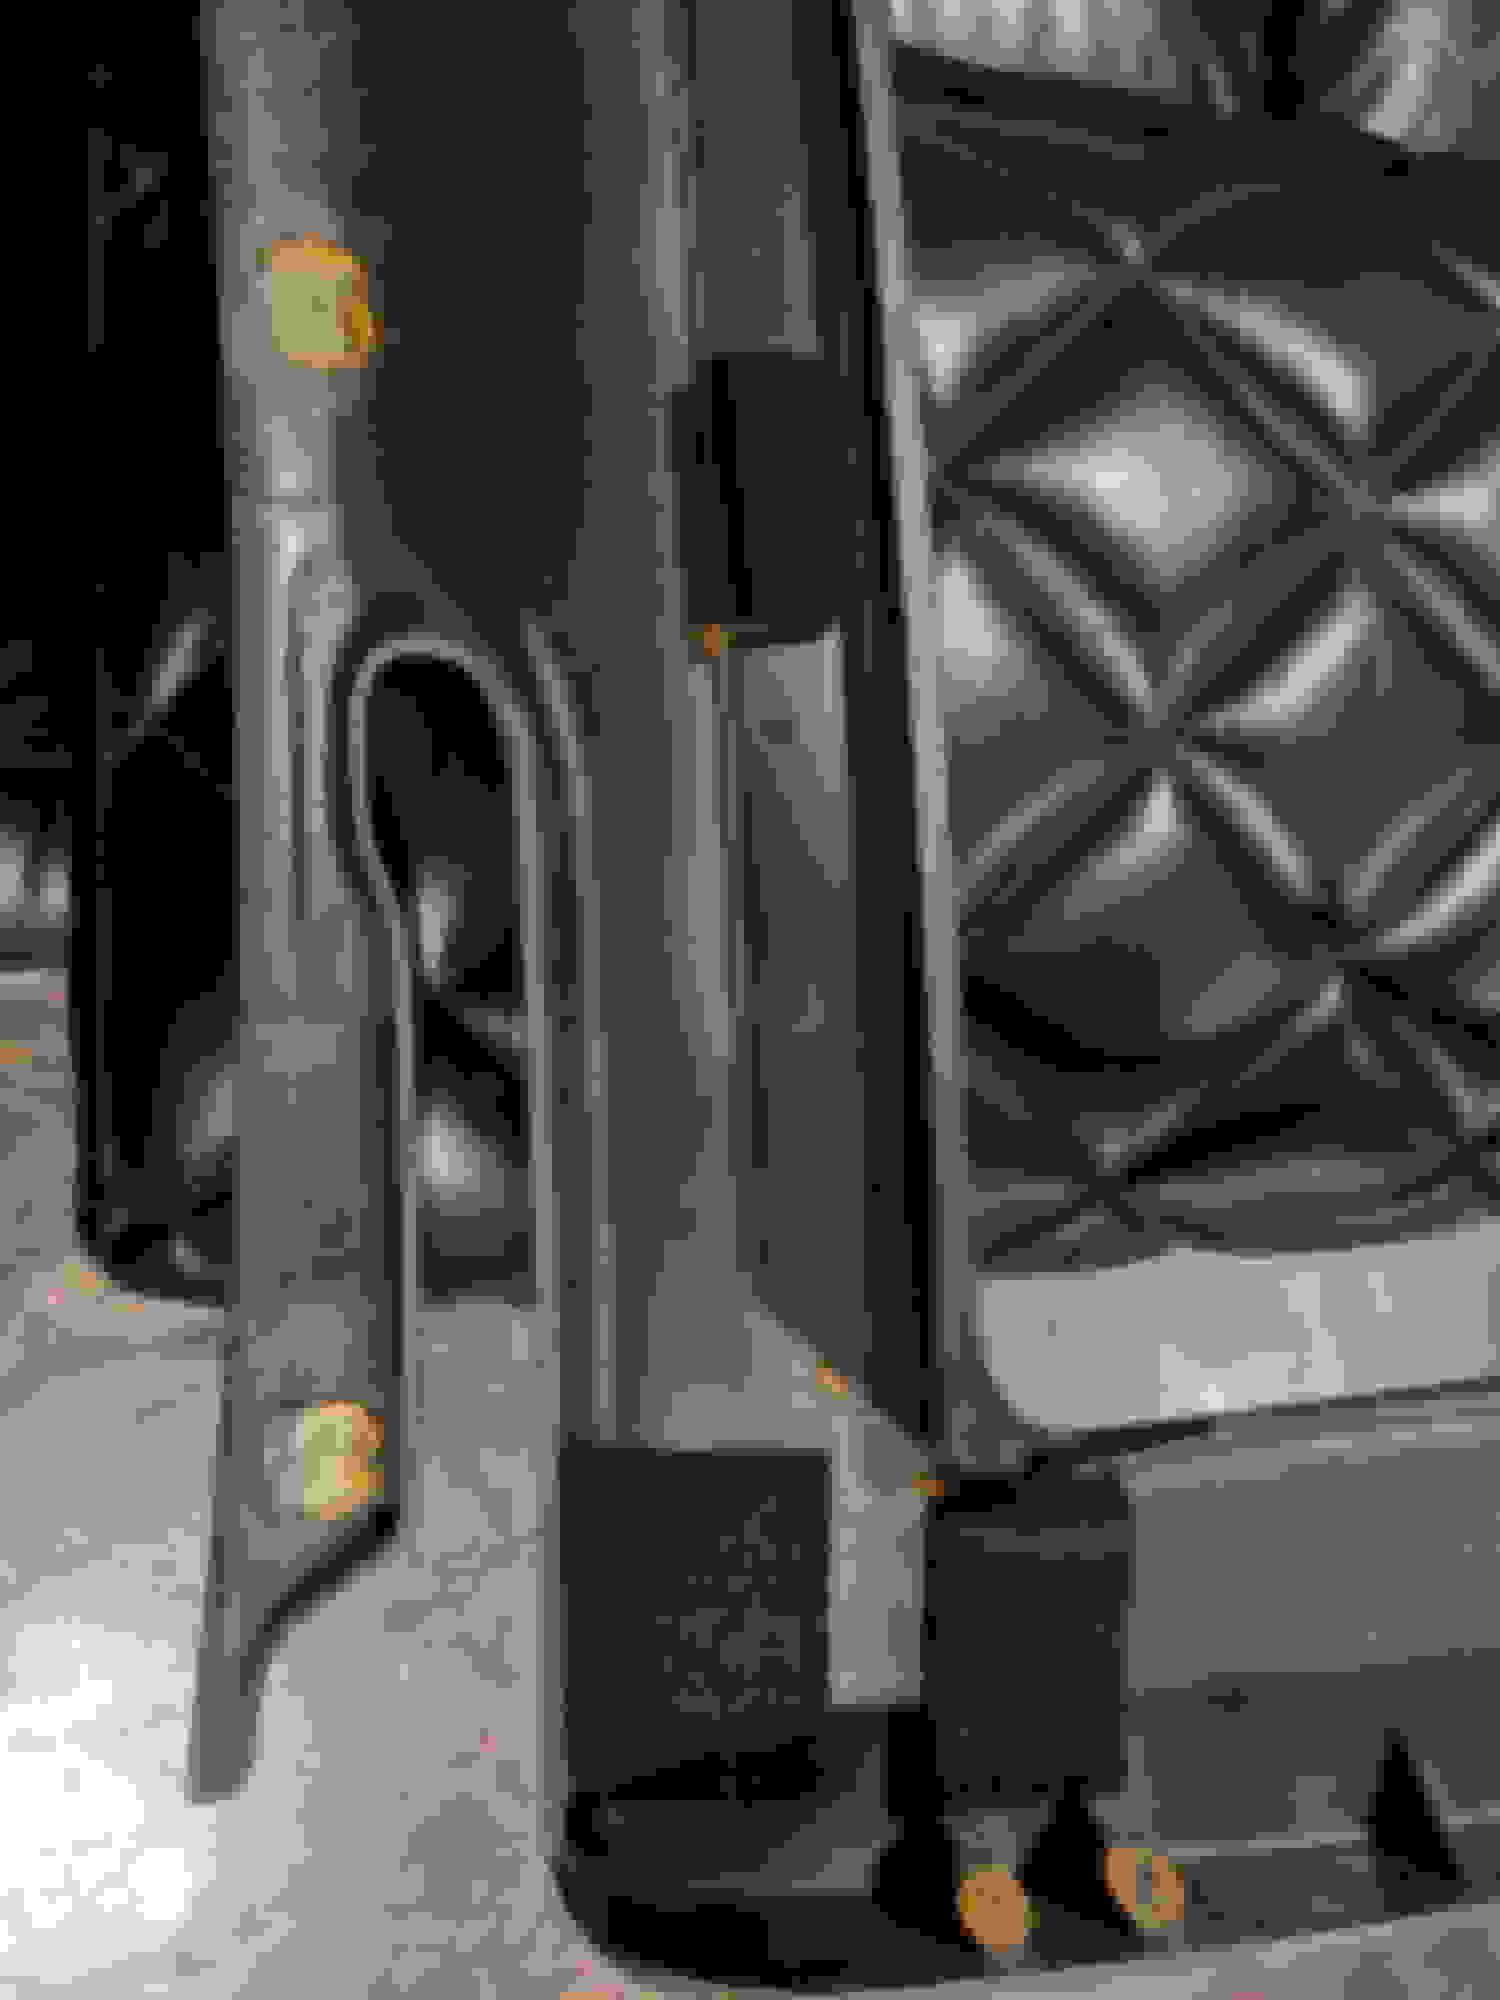
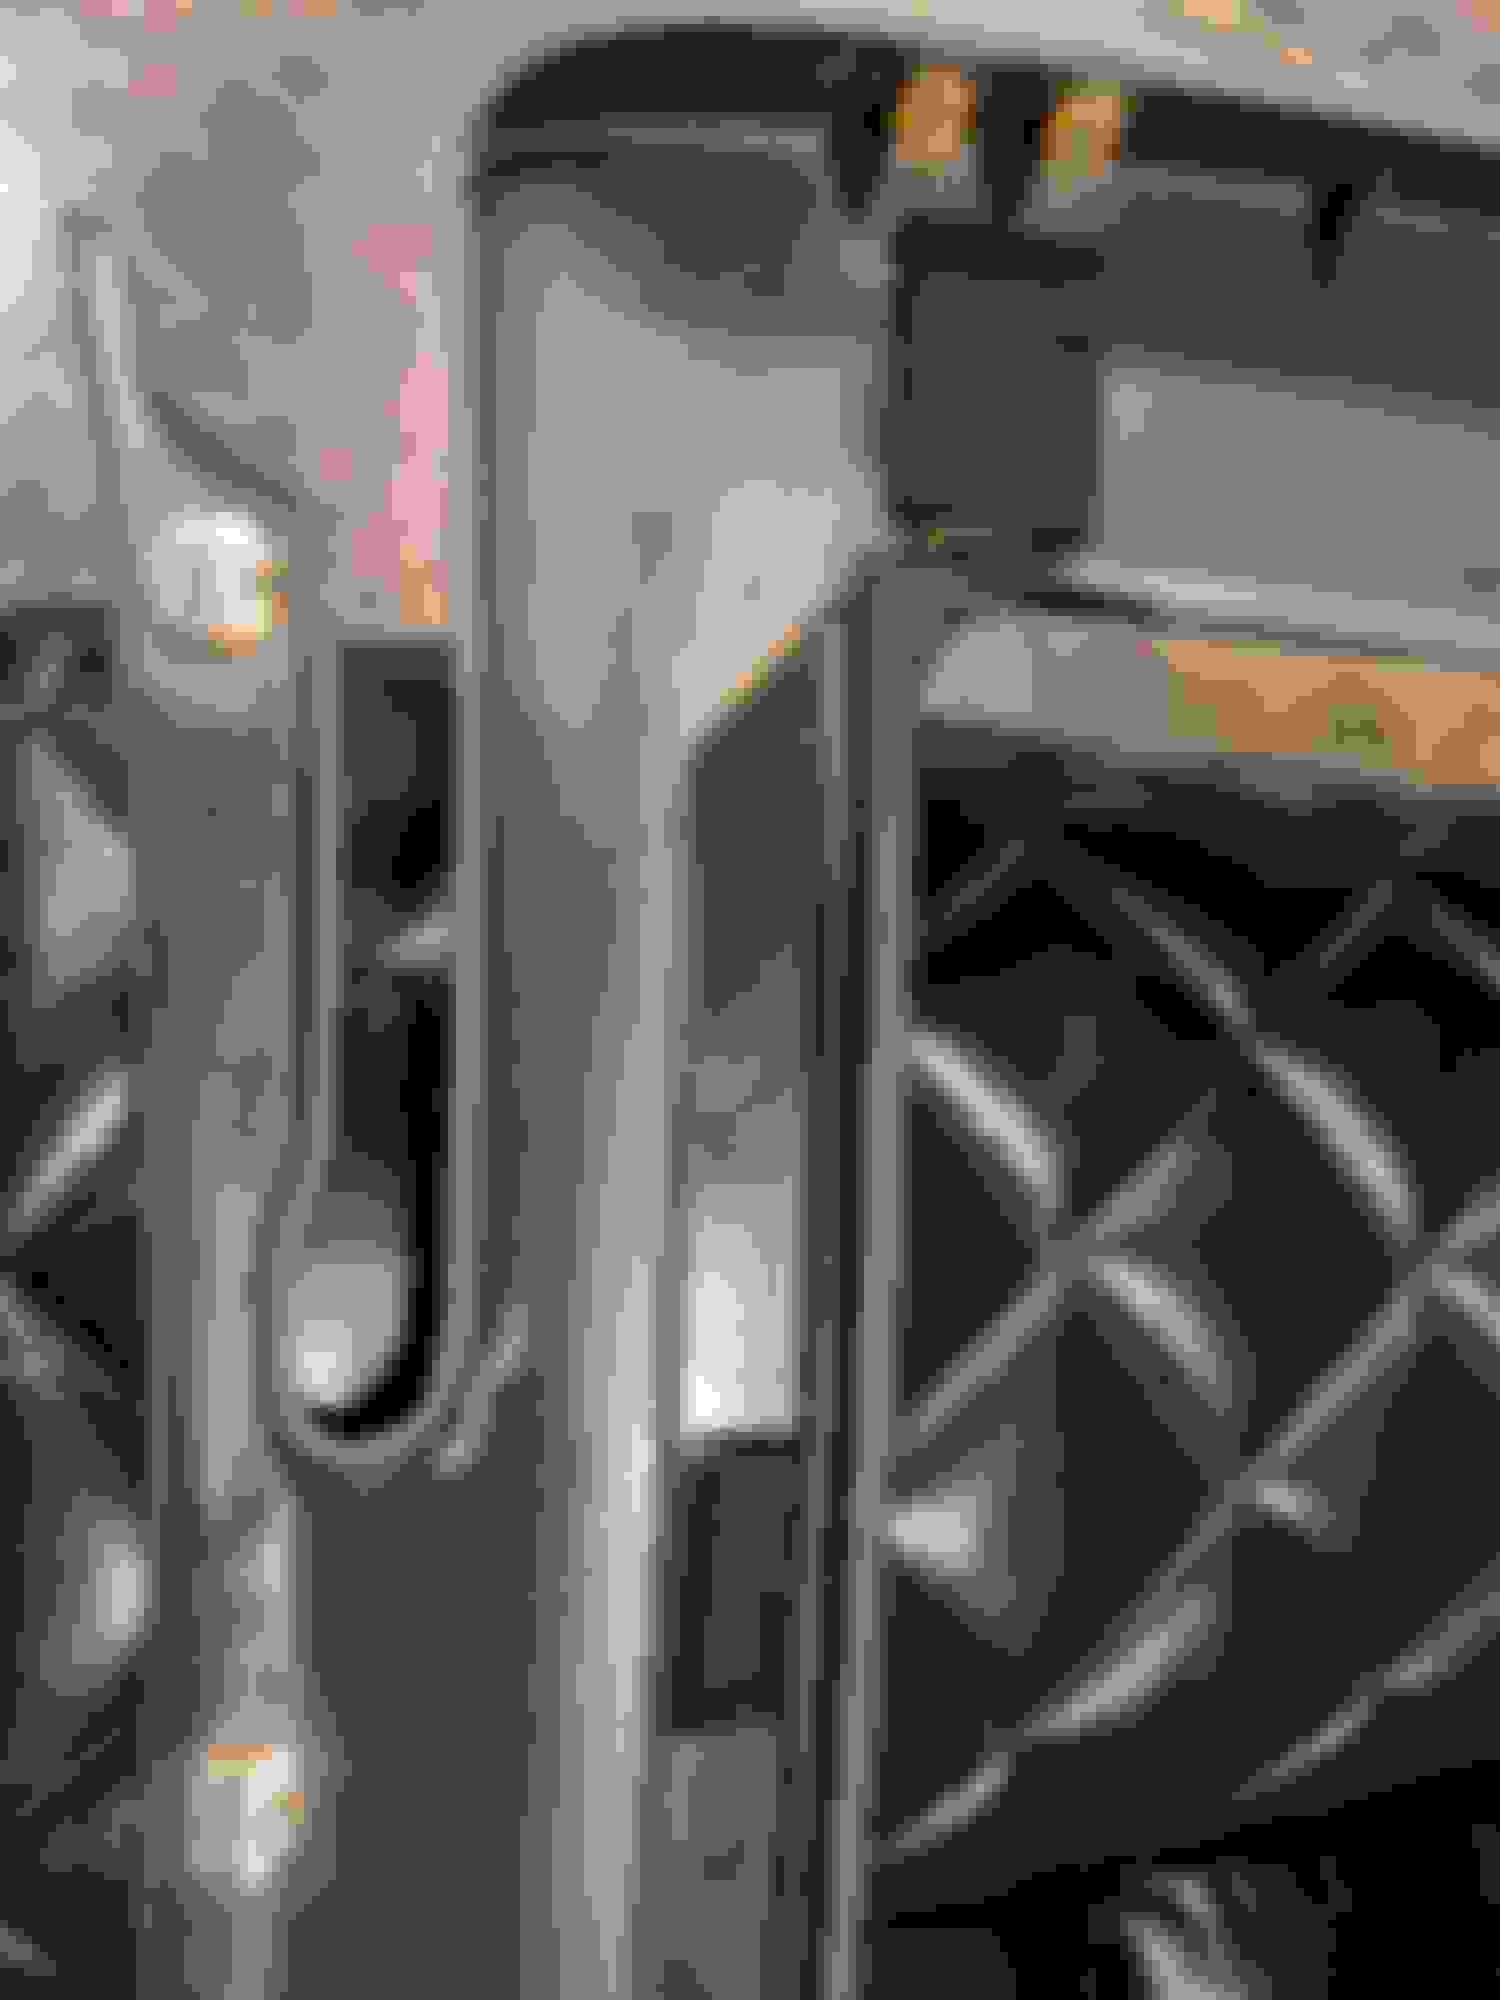
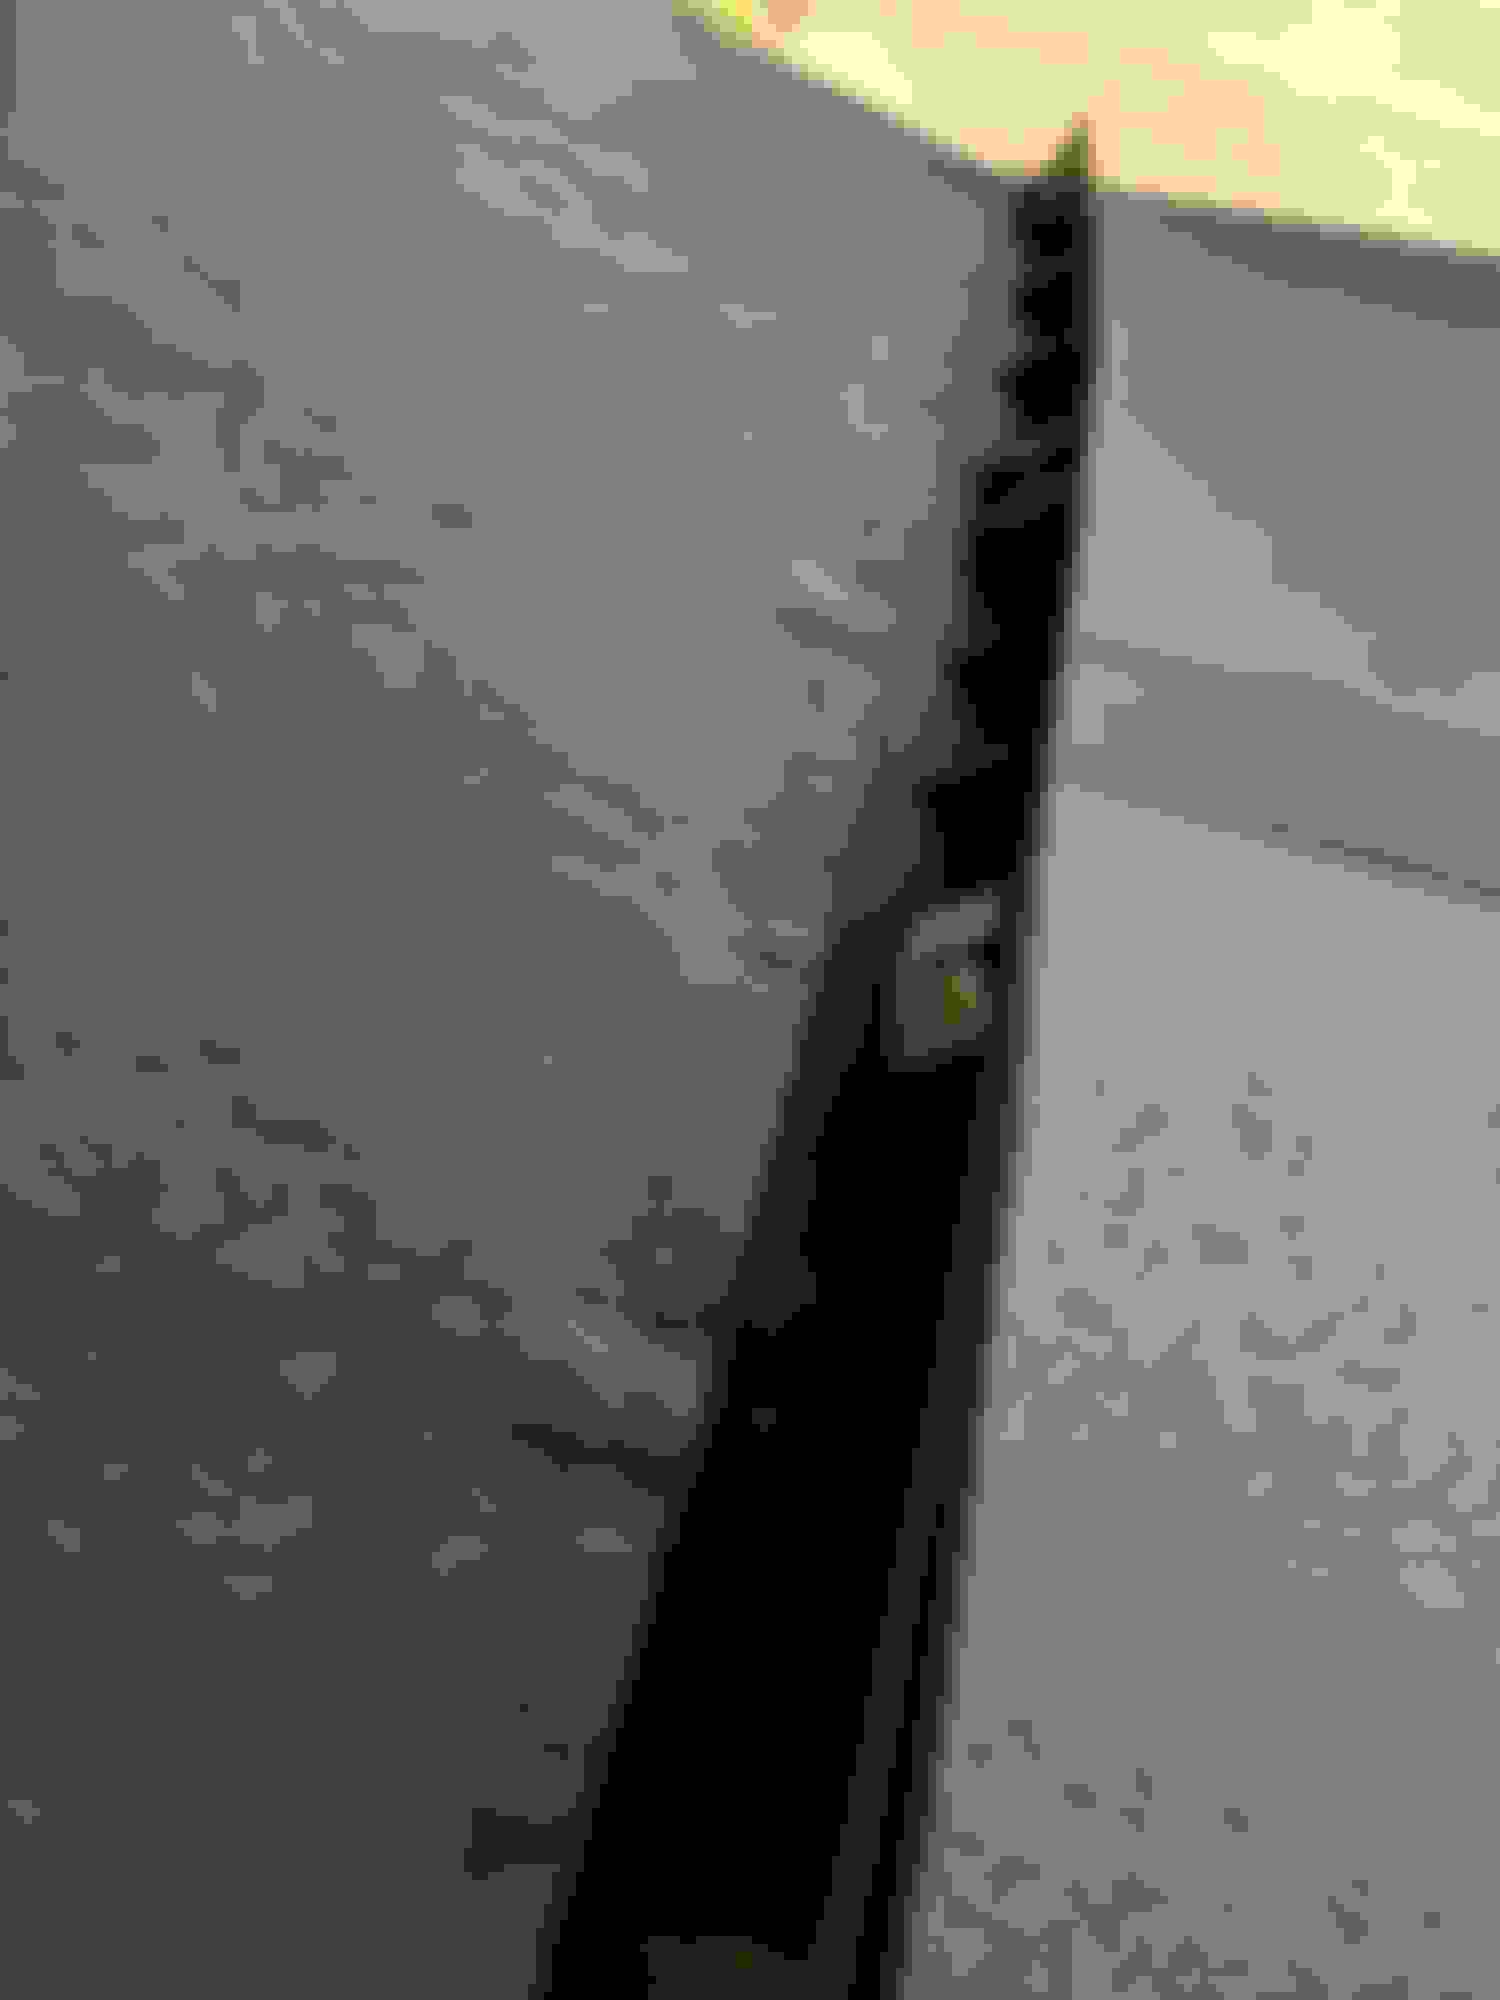
I couldn't get the headliner installed with the re-attached clips by myself so I drove to my indy and had them do it. Screwed in the rear #1 clips upside down as suggested in this thread. Re-epoxied the side clips that were detached. Here are a few pics:
side clips detached
side metal clip came out when removing headliner
headliner after screwing in rear clips and re-epoxying side clips
I really want to keep this car for a long time and appreciate everyone's help!
Last edited by brownboy; 09-25-2020 at 08:59 AM.
Reason: left a word out
While tackling the headliner unglue issue, I found that the rear clips were going to be difficult to get reattached. I
did something that I may regret, but made the liner much easier to install. I installed the back clips upside down. This
allowed me to slide the clips in by pushing the liner up. I used gorilla superglue to reattach the clips along the back and
side. We'll see if it holds up. Many thanks to the members here supplying information, which made this job much easier.
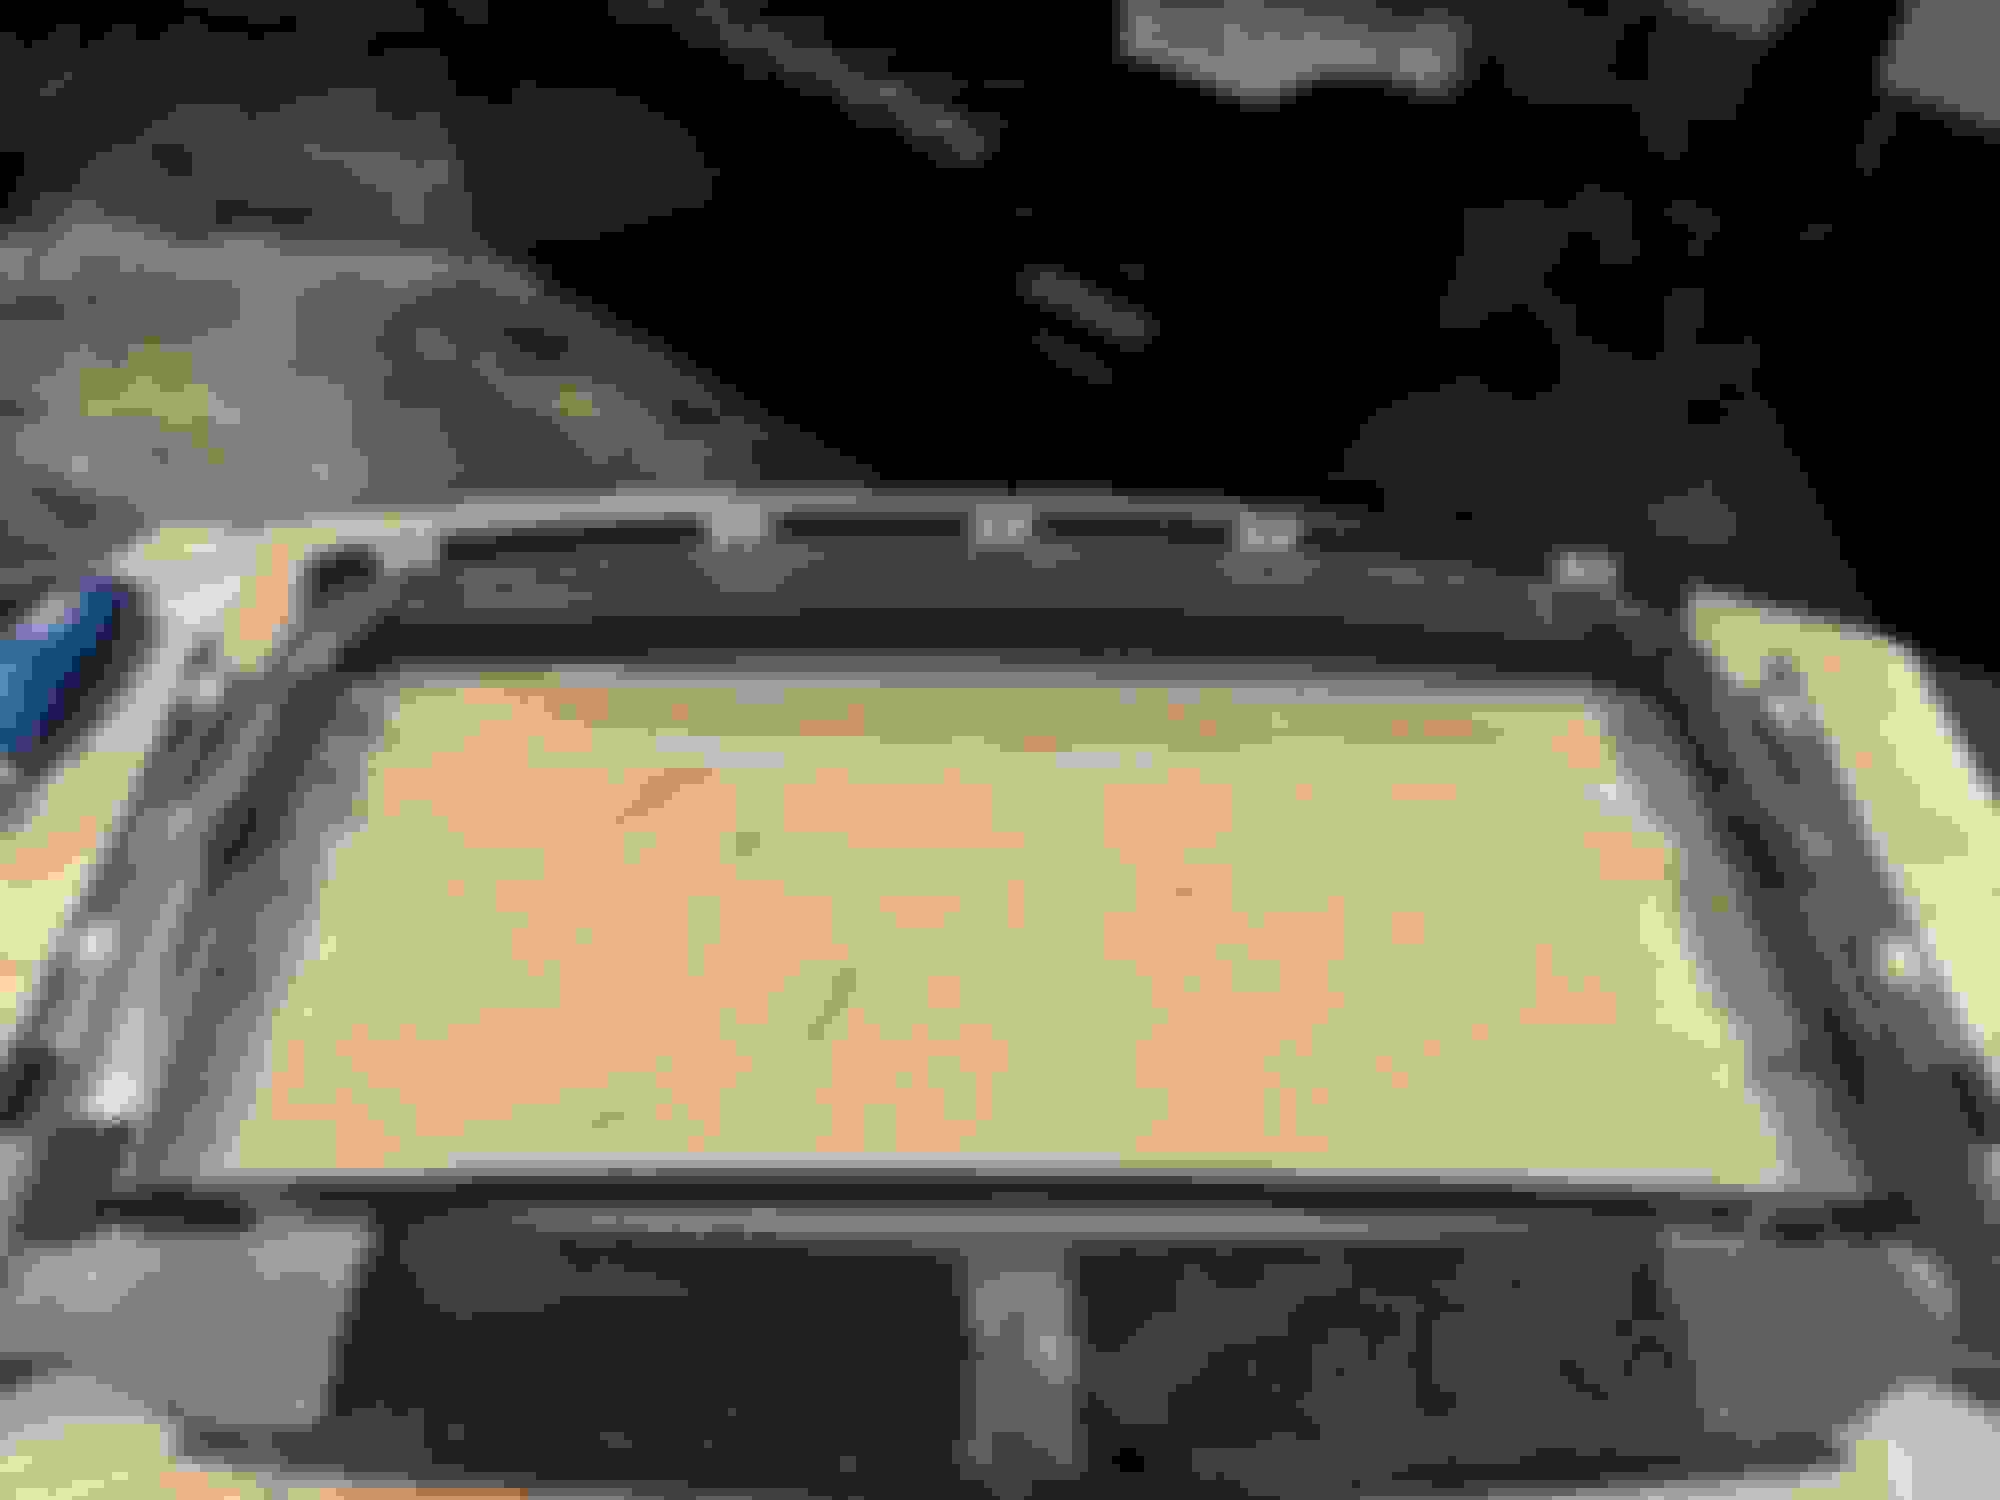
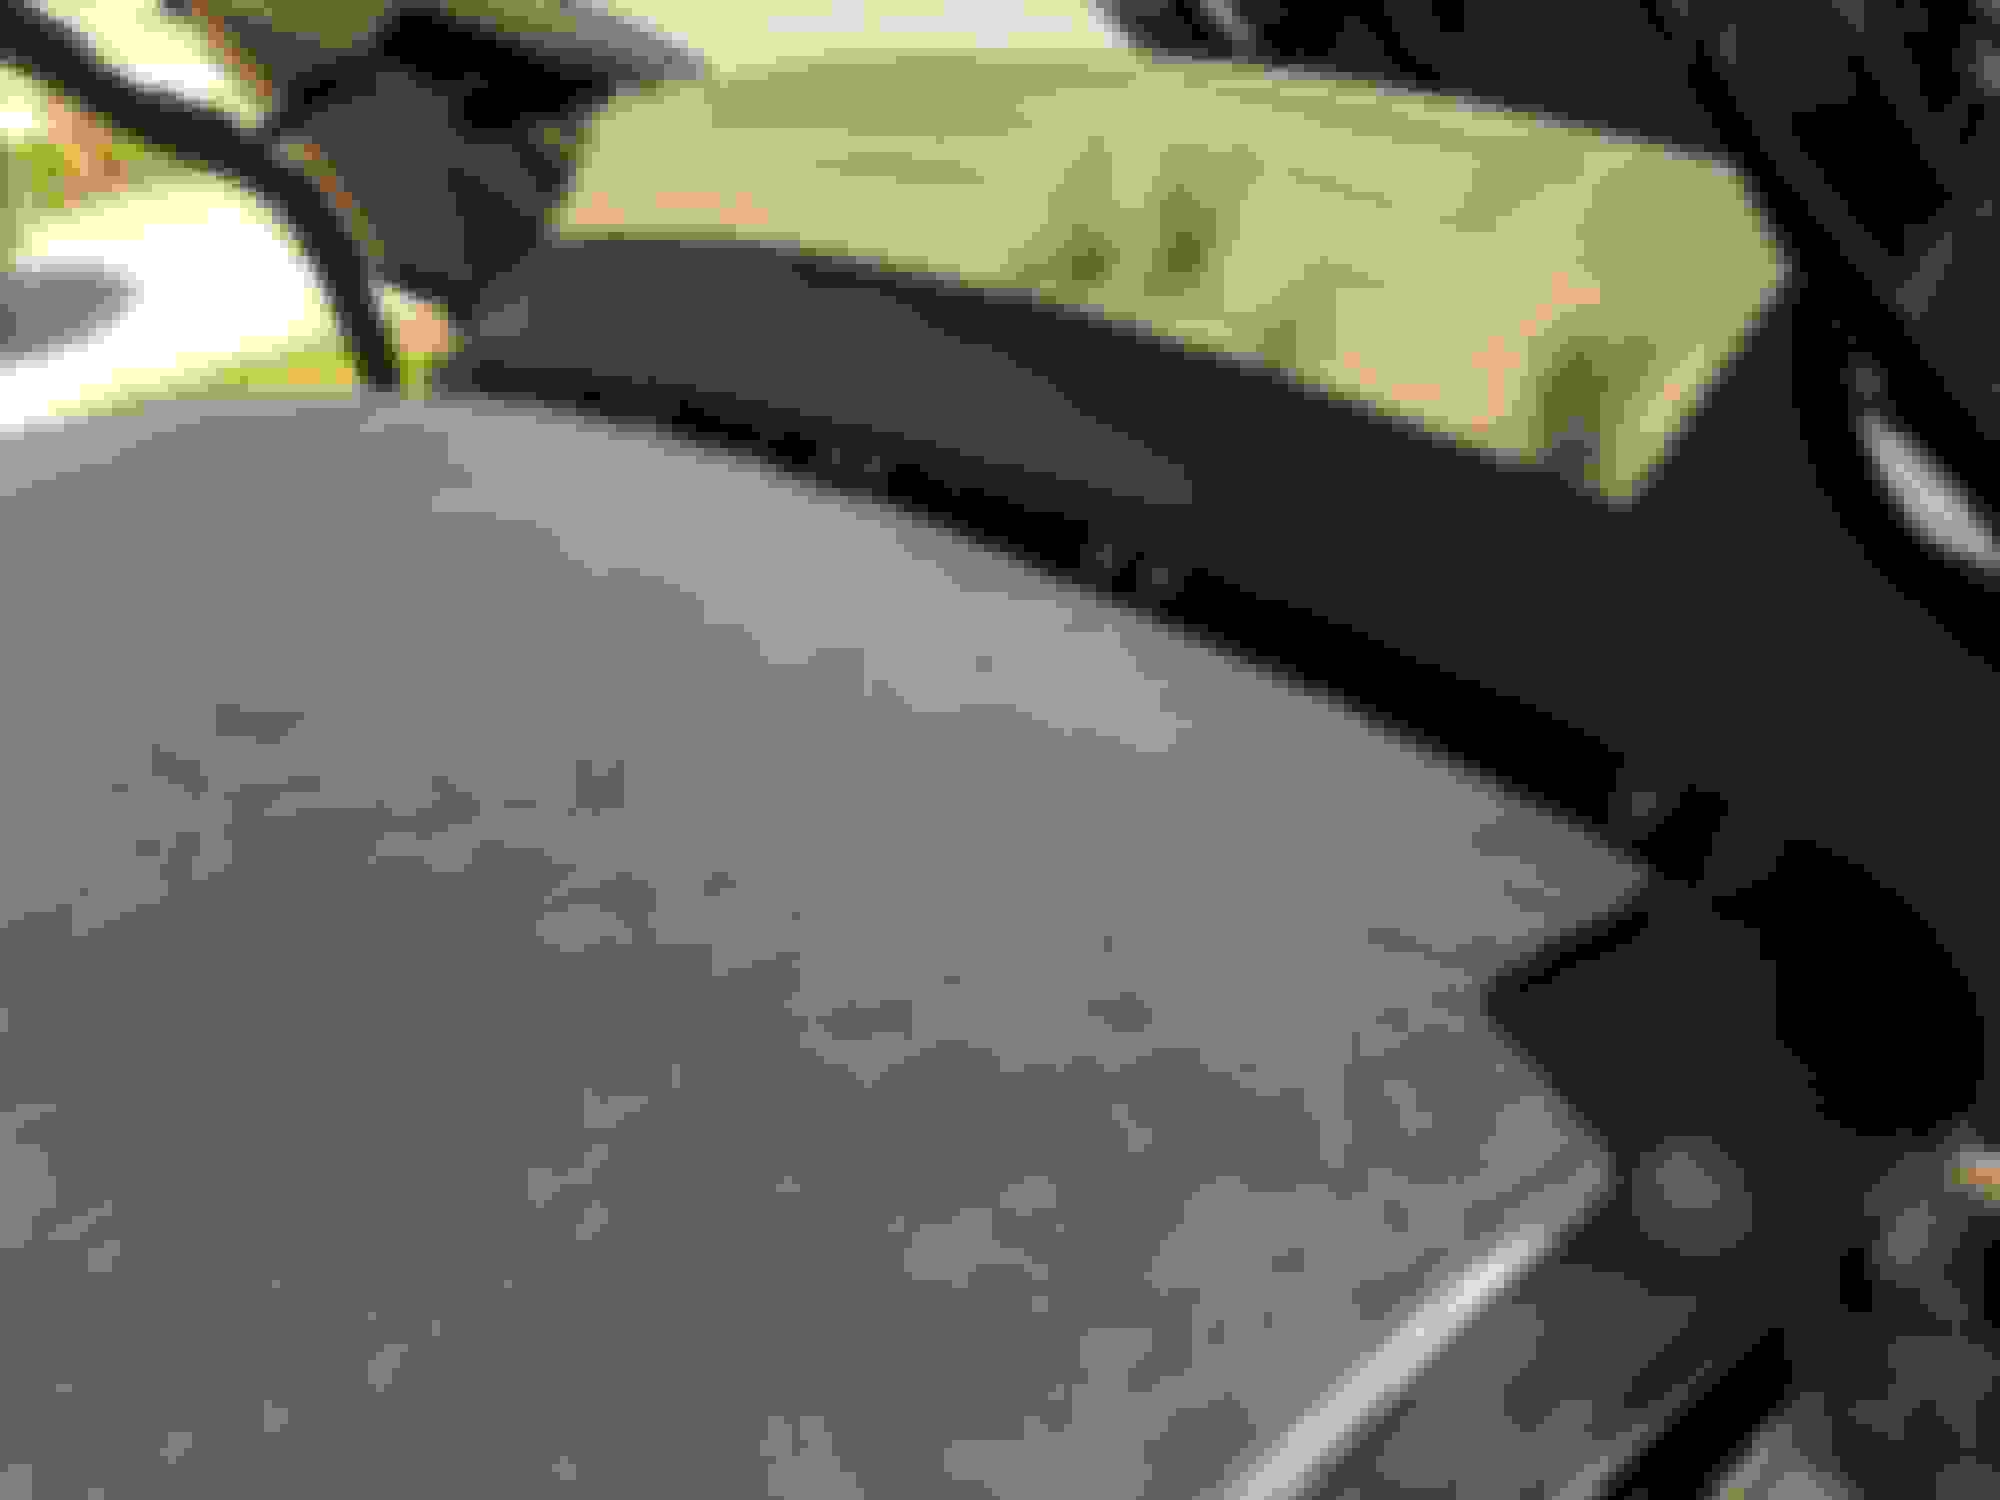
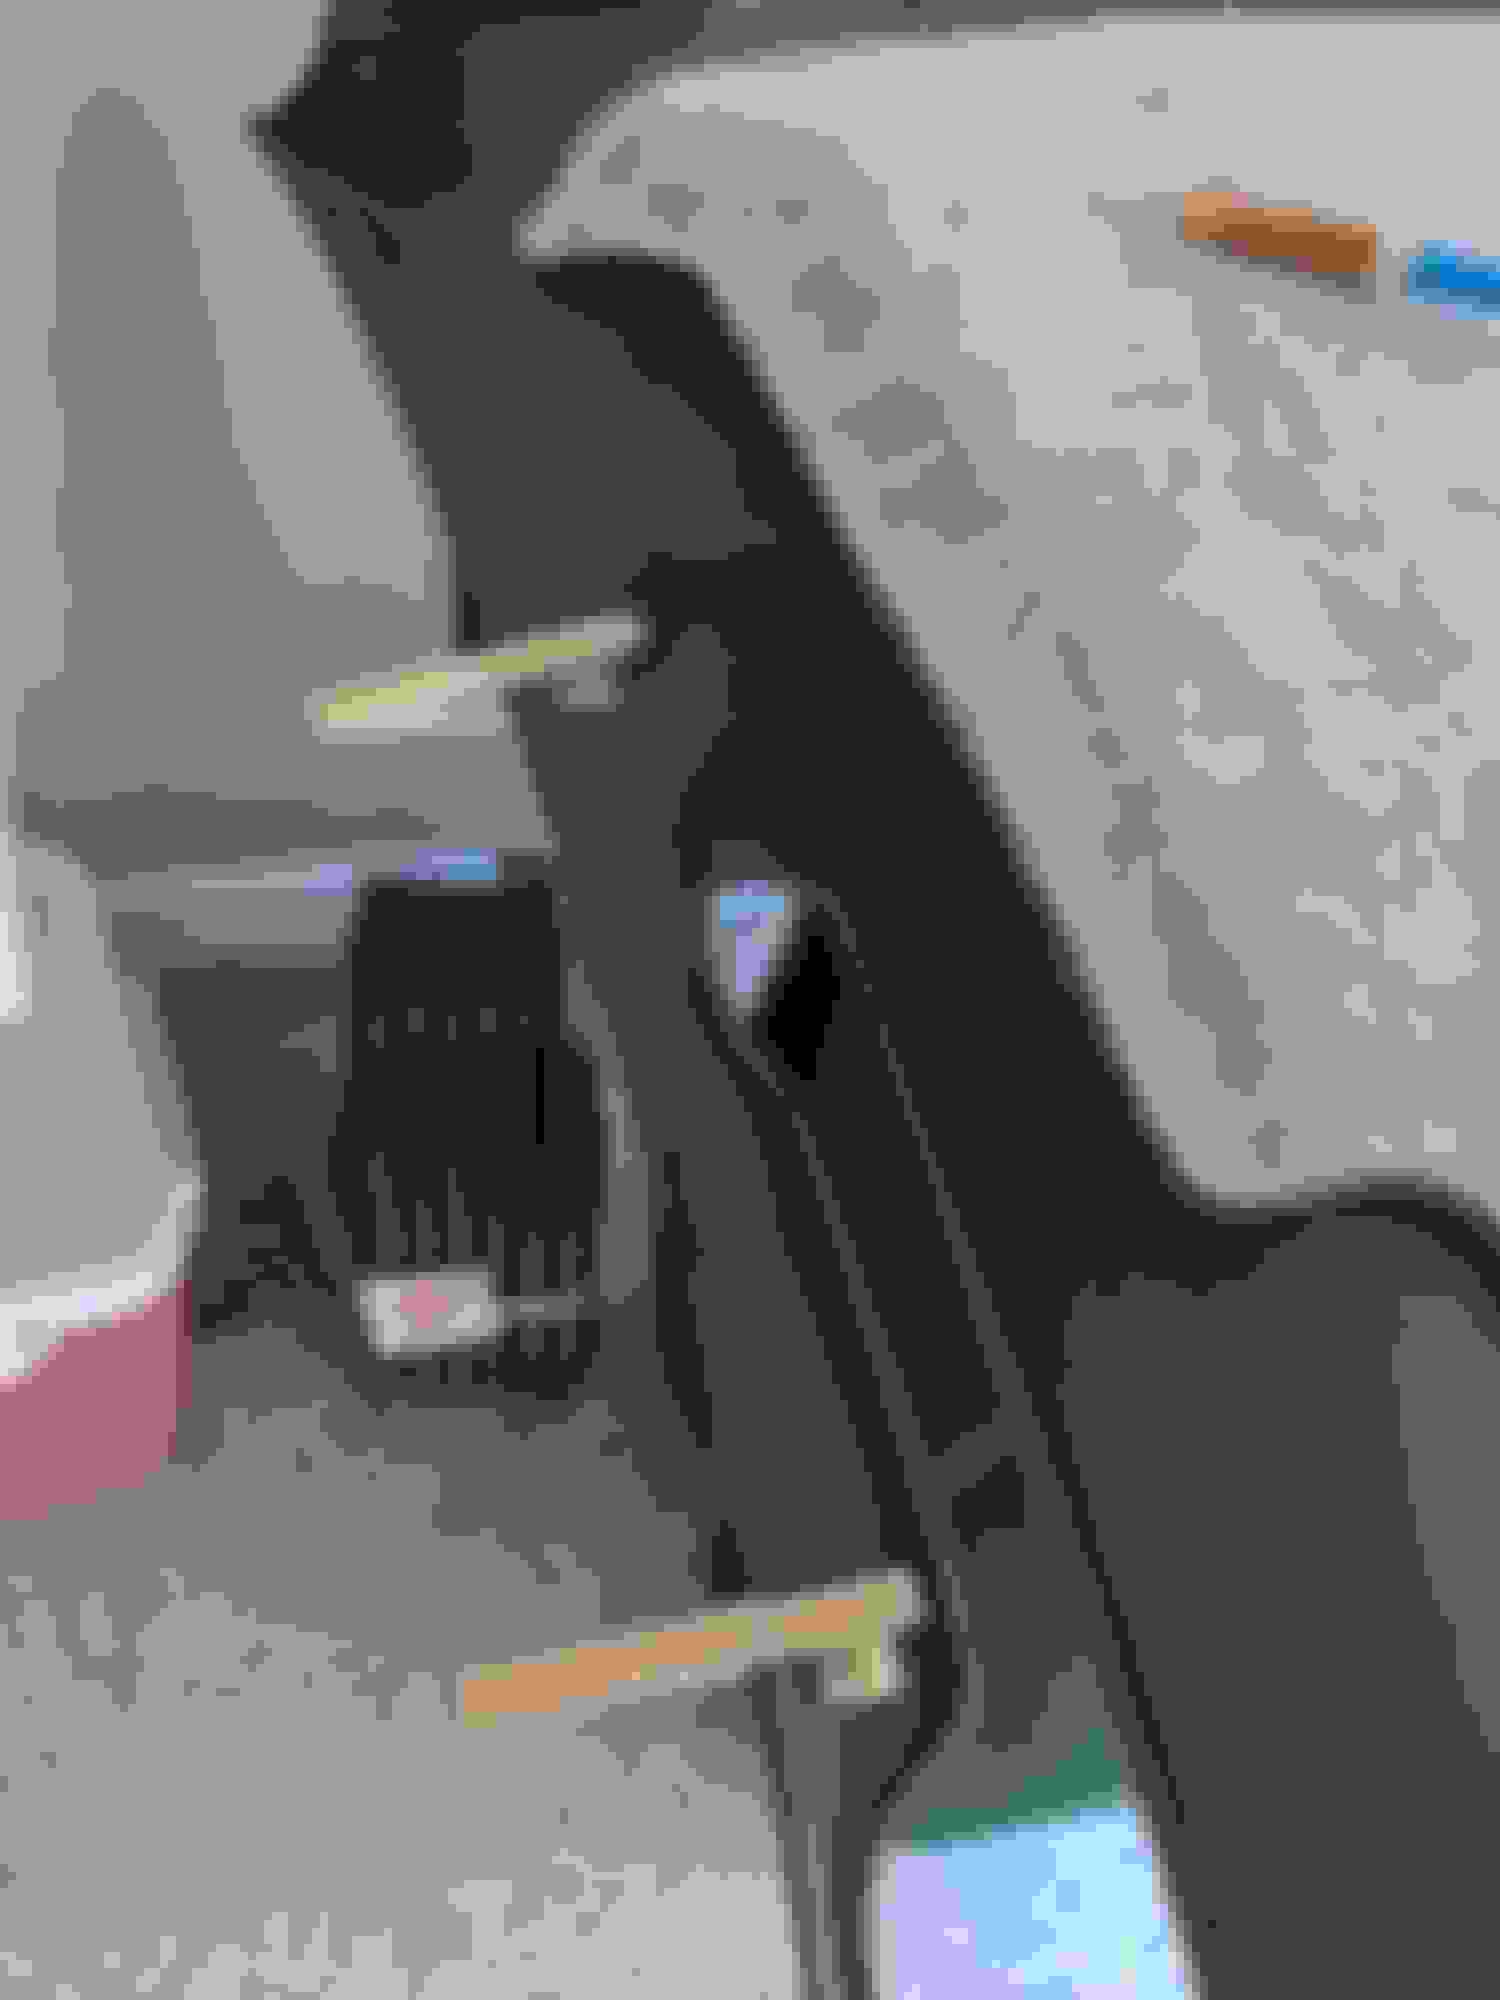
Sadly I didn't get particularly good pictures, but maybe they will help someone.
View of back clips missing. The old glue just gave out
One of the back clips mounted upside down, helped me reinstall
View of the side clips while I wait for the glue to dry
The clip that you are holding down with a clothes pin does anyone know where you can buy them?
Attached is a STL file for the snap plastic clip under the clothes pins above. It worked as a replacement for me when one of the clips shot across the garage never to be seen again.
Last edited by chad500sl; 08-01-2021 at 05:35 PM.
Reason: fix description as I didn't see the upload files
Attached is a STL file for the snap plastic clip under the clothes pins above. It worked as a replacement for me when one of the clips shot across the garage never to be seen again.
Hi Chad!
This is amazing!!! Thank you so much for this!
By the way Chad, do you recall when you tried to snap the rear of the headline (5 rectangular clips with the U facing up) back onto the 5 pointy clips already installed, was it hard to push the U shape over the pointy clips? Or did you have to apply significant force?
Sliding the already clipped "pointy clips" into the U slots didn't require much force at all. It would have been helpful if it took more force as I had trouble keeping them in while I lined up the front. It was a little tedious, but I was able to get it by myself in 5-10min. As I mentioned before, I faced the U up as I don't think I could have gotten it in with the U facing down.
Don't forget about the panels around the back window and sides. Their snaps come unglued too. After fixing all of them I was amazed at how quiet the car was. Add a treatment to the rubber seals and you've got yourself a new roof.
Hi Chad,
Thanks for the reply!
Once the front bolts are back on and the side clips are in and the weather strip in place, any chance the rear U clips would come undone from the pointy clips? I plan to reverse the u clips as well for easier reinstall.
Also, my rear window interior trim is still attached on the sides but the top 2 clips near center line of the car have detached. I don�t see any instructions or videos on how to remove this trim so I�m scared to remove it myself. Can I just pull the trim piece down a little and apply some epoxy glue on the underside of the u clip and hold the trim up for a few minutes for the glue to dry? How did you glue your rear window trim?
My roof panel has never come loose after having the U upside down for 3 years. The window panels are of similar design. Same mixture of clips and U slots, just if different places. Sadly I didn't take any pictures. Prying it off shouldn't be a problem as the worst that should happen is you pop off a U connector that you're going to reglue anyway.
My roof panel has never come loose after having the U upside down for 3 years. The window panels are of similar design. Same mixture of clips and U slots, just if different places. Sadly I didn't take any pictures. Prying it off shouldn't be a problem as the worst that should happen is you pop off a U connector that you're going to reglue anyway.
Hi Chad,
Thanks! The rear window trim shape is a big big U shape. At the tips of the U (bottom of the rear window) it has what looks like a rubber stop with 2 holes in each. Are those 2 holes for 2 screws? Do you recall how that rubber stop looking block with 2 holes was attached to the rear window? I found 2 reference pictures from a listing.
I realize now that I didn't do the middle part you have pictured. I did the covers to the left and right of it that are roughly triangle shaped. Sorry, I have no insights for the middle.
 08-02-2018, 11:07 PM