My 05 SL500 is in need of a new transmission pan. I see lot of places proposes new upgraded part ;
MER-2222700512
where the pan is little deeper to hold even more fluid.
Stand alone or in the maintenance set there is no mention about the bracket that goes around the centre of the pen. That bracket provides support to the centre cover. The screws are still the same. There�s got to be less clearance. Is this normal? Or is there a new taller bracket to compensate for the deeper pan?
Pics to follow soon.
You actually don't need that bracket. It;s used to support the exhaust pipes, but it looks like yours does not have the brackets attached to the pipes, so maybe a custom exhaust?
Hey whats that cross bar under the pan intended for, cause i never put it back on my car, is it just a bump guard or more
Are you talking about the thin metal strip with the two bolt taps clipped onto it? That's a bracket for the exhaust. if you are talking about the heavier cross piece with three bolts on each side, that is a body stiffener is required.
Does anyone know when the upgraded tranny pan was started on the R230? I'm getting ready to do a tranny fluid change on my SL550, and haven't been under it yet to see if I have the upgraded pan. I'd like to order it in advance if I need one.
I think this was changed fairly early in the 722.9's life, sometime in 2006 for MY2005/MY2006 cars I am fairly certain your MY2007 will have the revised pan.
Here is the box with all the goodies and then some;
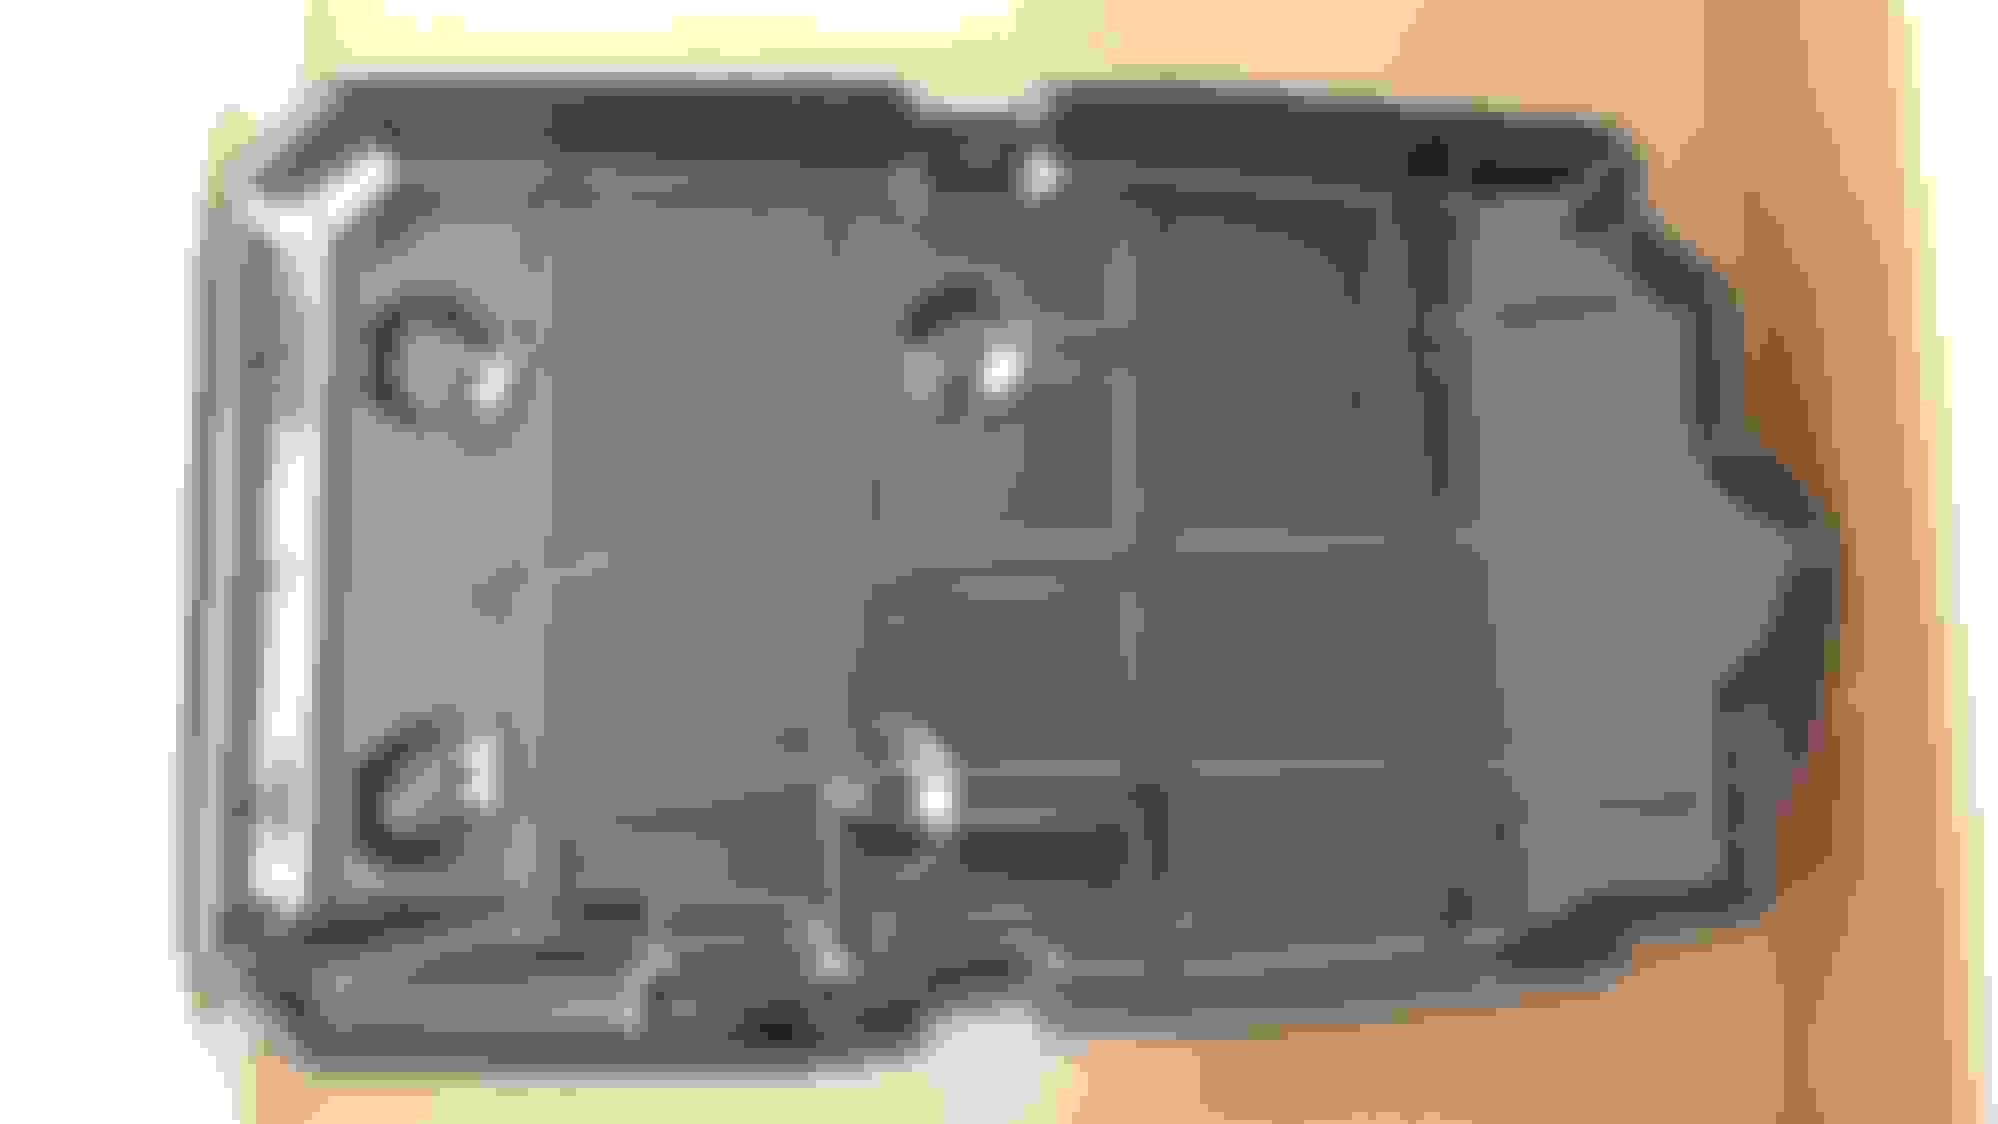
Here are the pics of the upgraded transmission pan and the new bracket to go under.
Notice slightly different shape of the bottom part (slope) and larger dimples. New fill stack (green) is also required but it was included with the pan.
I decided to not install the bracket and the cover as of yet. I like to wait couple of days to make sure all is good and no leeks are present.
Side by side new and old (damaged) bracket;
The sole purpose of this bracket is to provide support point to the underbelly/tranny cover.
Now, I would like to emphasize again the importance of regular inspections � have I not look there I would never notice this leak till it was too late.
In meantime I would appreciate if someone could confirm that the bolts holding the underbelly/tranny cover are all the same. According to the PDF I got they are but maybe there was an update I�m not aware of. They look awful close when installed.
As for the transfer pump in the pic if you are to use it please inspect it carefully that it�s clean.
The one I received had generous amount of lubricant and would definitely contaminate the system.
I decided to build my own �contraption� since it was less time consuming then cleaning of the pump.
All it took is drilling two holes in the oil container lid. It worked quite well, although one need to regulate the supply pressure to max 3 psi.
I completed a full flush, including the transmission cooler. I used 11.5l of the fluid for the procedure.
First warm the engine up (go around the block).
Disconnect the transmission cooler line and attach to the waste container by means of extension. Make sure it�s sturdy as the fluid will come out with quite a force.
A little of a warning here - one need to be quick on the engine stop button. It only took 10 seconds in my case to flush 2l out of the transmission.
The funnel seen in the pics was used only at the beginning to flash the transmission cooler.
Which comes with a deeper pan and newer filter with a green fill tube, I compared the pans and it is in fact slightly taller than mine. However the white fill tube on my stock pan is higher than the green fill tube on the newer pan. Should I be using the green fill tube on the new pan even though it looks like there would be less fluid in the pan compared to the white over flow tube?
I've got everything apart now and don't want to put anything together until I know 100%. IE: Even though the newer pan is slightly deeper one should be using the white overflow fill tube. OR use the green one that came in the FCP kit.
Thanks,
-Nigel
According to attached MB document, green overflow pipe is used with latest updated pan and white pipe is for older pan. I am planning to put new pan with green pipe on my 09 SL550.
Thank you so much. I did use the green overflow tube with the new pan. It was just wierd looking at both and then seeing the green tube shorter than the white I just assumed that there would be less fluid.
As an update though I took out roughly 9qts and I put in 9qts. The fluid was brown coming out and nice and red going in. I used to have a small hard 2nd gear shift/down shift and that is completely gone now. It is very smooth shifting into gears!
Glad I did this and with the help of the how-to's on here went VERY smoothly. I suspect when I have to do this again in 40k miles or so it will be much quicker. This wasn't a hard process but one just has to be aware of things.