When you click on links to various merchants on this site and make a purchase, this can result in this site earning a commission. Affiliate programs and affiliations include, but are not limited to, the eBay Partner Network.
I have had my 2003 SL55 for two and a half years now. I have done a lot of maintenance, TLC, and some repairs. The one thing I wanted to do but could not find good information on is replacing the torn strut boots. I have now completed that task on one corner, the front right. I spent many hours Googling, YouTubing, and forum searching and found limited information. One problem was that there was not a good source for the boots themselves.
I found and purchased a pair of boots from Airsusfat which is on Amazon and Ebay. The plastic material seemed a little stiffer than stock but they turned out to be a very good fit.
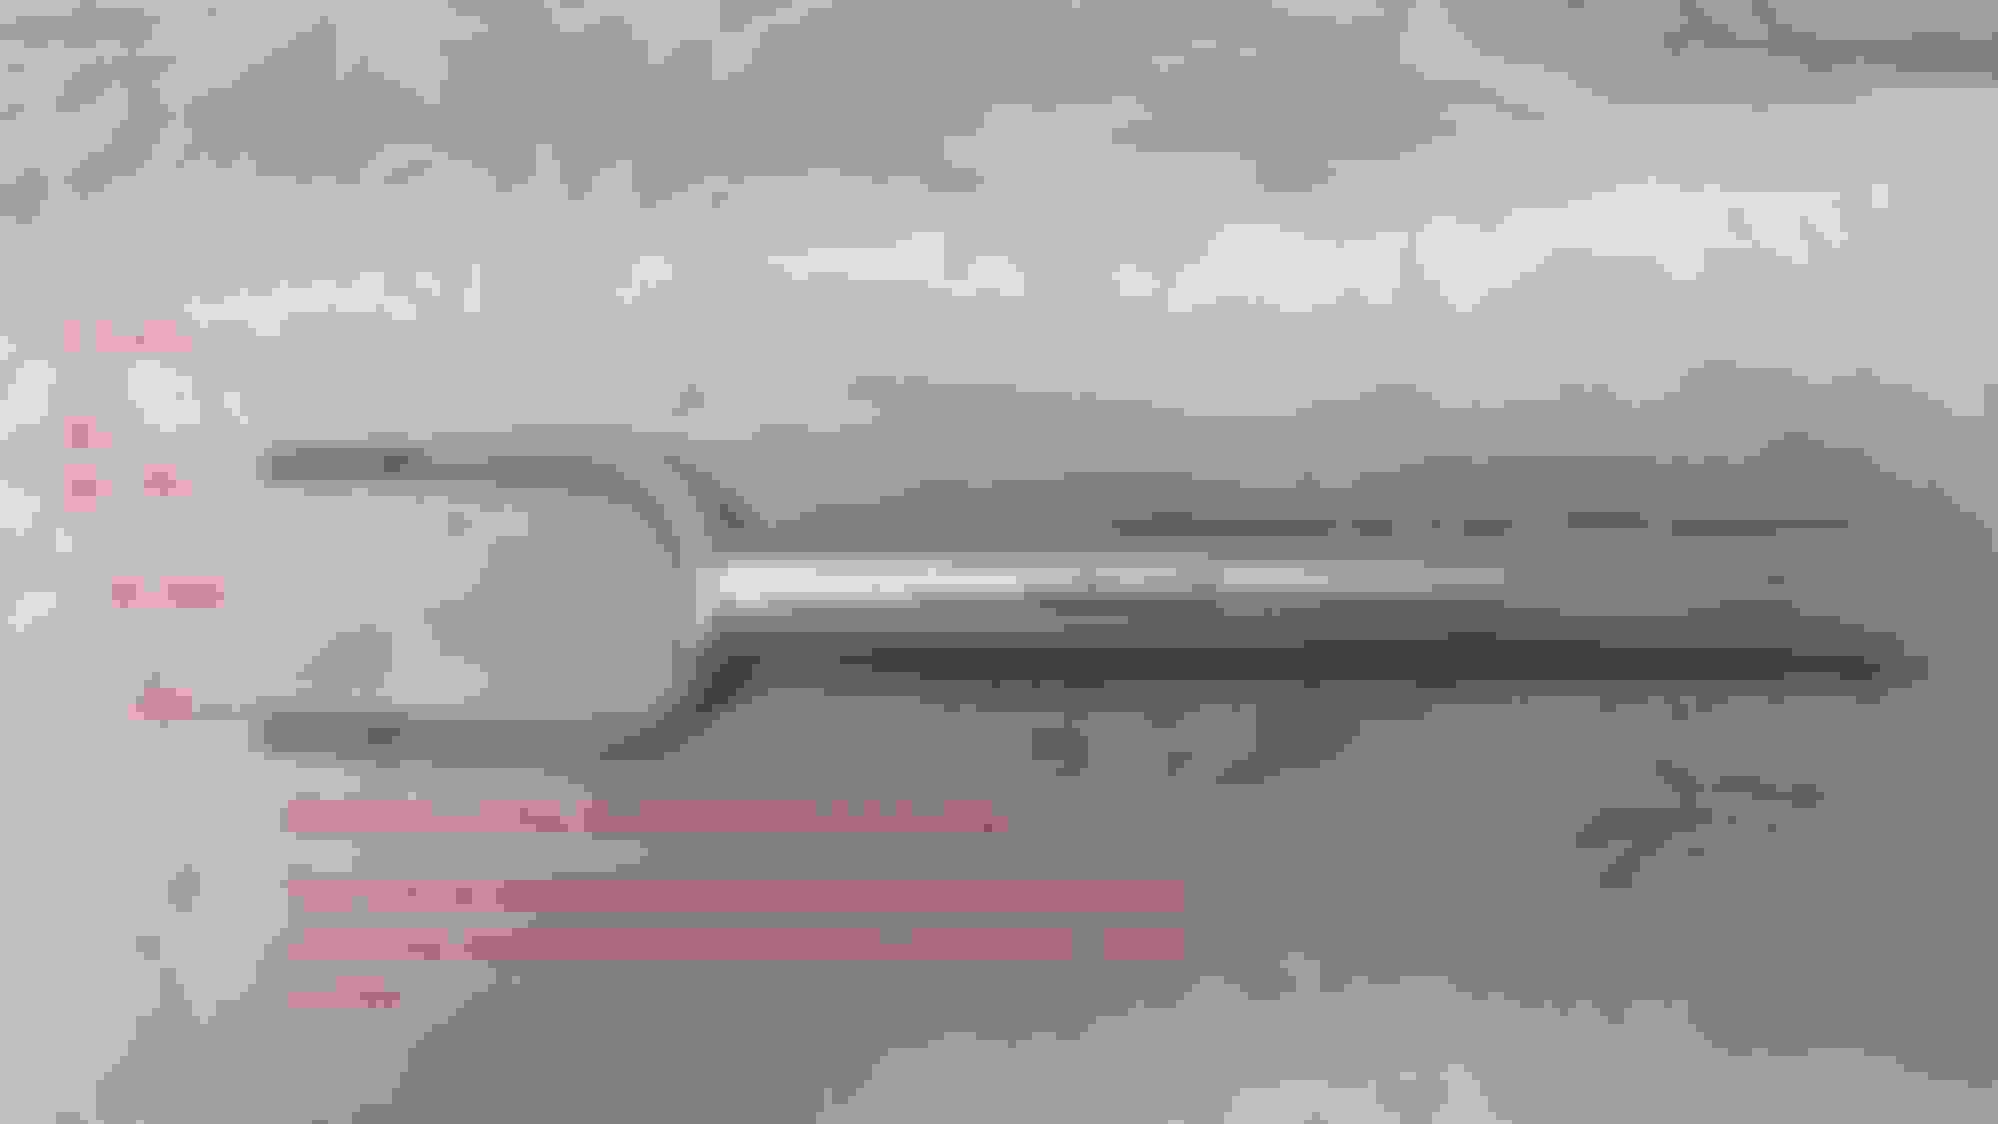
I first raised the suspension to its highest position. Since I recently purchased a used QuickJack, I raised the car about 21" which gave me adequate work space. The first challenge was to release the ball joint at the bottom of the strut. I wanted to use the adjustable separator tool but could not find one that would fit into the tight space provided by the U shaped control arm. After many hours of effort, I finally found what might be the right size pickle fork. It was in a set of 5, sold by Neiko on Amazon, number 20687A for $43. The width of the fork is critical for clearance to the U shape control arm. It is also critical to contact the thin strut mount ring without damaging the grease seal.
EDIT: The thickness of the tip is actually 3 mm. Width is 7.3 as shown.
My hammer was light with not much room to swing it. You should plan ahead for this. I had about 8" of hammer space. I just kept pounding the fork and could see it was moving. Once It was far enough in, I stopped and it soon popped apart after a few minutes. Perhaps the light oil I sprayed around the tapered stud helped. Keep in mind that my 2003 only has 18,000 miles on it and is very clean and free of rust on the chassis.
I then placed a hydraulic floor jack under the strut mount ring to support it. Next, I loosened the upper strut nuts and released the electrical connector so the unit could be moved around while releasing the hydraulic quick connect fitting. I opened the nearby drain fitting to make sure there was no pressure on the female fitting. This was the 2nd most difficult task since there is not much room for my arthritic hands. Removing some of the rubber restraining blocks on that hydraulic line helped. Then, it was a simple matter of lowering the strut with the floor jack. Rotating the steering provided some additional room.
I used a flat screwdriver to loosen the two boot clamps with the hope I could reuse them, then cut away the remains of the old boot. The inside components were not as dirty as I expected so it just needed a quick cleaning. Then, my wife helped me shove the tight fitting boot in place. You should get the bottom opening over the ball joint stud first and then the rest of the way over the ring mount. At first, the boot looks short and you must keep shoving until the lower end hits home. A thin film of oil inside the end probably helped. Look at the other strut to see where the bottom edge of the boot should be above the ring mount. Push and pull until the upper end fits over where the clamp locates. Once in place it stayed there. I had to hammer the pinched area on the boot clamps to flatten it until I could get the clamp to engage. I used a thin zip tie alongside the clamp for additional strength. Yes, the steel clamps may come off some day, in which case I will add another zip tie. I had to use two zips connected to make it long enough for the upper end.
Placing the strut back in place on top of the floor jack was simple enough. I raised it so it was just below the upper mount. Again, the idea was to have as much room as possible for connecting the hydraulic fitting. This was the 1st most difficult task. Again, I made sure there was no pump pressure to the female side. The strut fitting would only go halfway in. After many painful attempts at pulling the lock ring back and trying to push the fitting forward, it was obvious there was a problem. After YouTube watching some nice farm implement people talking about equipment line pressures, I decided to see if there was pressure on the strut side. I used channel locks to gently squeeze the male tip back into the fitting. Wow! There was a lot of fluid under pressure. Fortunately, I was wearing work clothing and safety glasses and had a sheet of plastic on the floor. I wrapped a towel around the fitting and over the pin and released the oil gently until the pressure was relieved. It was quite a bit of oil. It was still difficult to make the connection but I could tell the pin was compressing.
The strut was raised and guided into the upper mount until the lower stud was aligned with the control arm. I tightened the stud nut until it was almost home. The upper mount screws were snugged in place and the connector attached and the floor jack removed.
Then, the moment of truth. With my wife watching and listening from a safe distance, I started the engine. Since I did not hear her yell, I walked to the passenger side and made sure the hydraulic fitting was OK and no leaks. What a great feeling! Then, the ball joint was torqued to 70 ft lb, the oil line rubber mounts replaced, the wheel installed, and the car lowered. As expected, the corner was very low, so I started the engine and cycled the elevation positions. Sure enough, the car leveled. The fluid level will be checked.
This project was a lot of effort but in retrospect it seems straightforward.
Edit: g0rsq reports he was able to do this with the strut in place, without disconnecting the hydraulic fitting.
Last edited by WurlitzBurg; Sep 1, 2023 at 02:44 PM.
Reason: Dimension error.
Having recently done my fronts to replace torn boots, your description is excellent.
I struggled to separate the lower joint, and used a 10 tonne puller, which just about had enough force! I also could not separate the quick release coupling (yes I released the pressure at the bleed screw) so did the boots with them still attached to the car. UK cars tend to suffer from corrosion, so undoing anything takes a little longer than expected, and usually results in something breaking!!!!)
Wurlitz, great description and for sure you have to learn doing. When I removed mine to install the coil overs, I could see that the standard fork wouldn't do the job, so I used my ol' mechanic tricks. This involve loosening the nut, then hammered the living crap of the metal around the conical stud. After that, placed a 1/4" thick piece of brass over the end of the stud, and gave it a solid smacking with a 5 lbs hammer..! Done! As you learned, no matter how many miles are in the vehicle, the calendar will take care of many plastic parts rendering them very brittle..!
g0rsq,
Congratulations on getting the job done with the strut in place. You earned a gold star!
Where did you buy the boots?
I did remove just the bottom ball joint, and to be honest, the boot was easy to replace after this.
I got them from www_abcspecialist_nl but was not 100% happy.
I paid a premium, for what I thought were quality covers (the picture on the website showed the covers shaped at the bottom, like OEM covers). All the Chinese covers are not shaped. However received ones that were not shaped, which are not a great fit, but did the job. They also forgot to put the clips in the package!
So looks like I paid a premium price, for run of the mill covers! (Shipping was also very expensive!)
I bought them a while ago on eBay from Airsusfat as well. They came in a set of 4 (front and rear) for $95 and I still need to install them. Was thinking about the lower ball joint removal without damaging everything. Thank you WurlitzBurg for your good description and finding the correct size pickle fork. by the way g0rsq it seems that mine are not shaped either but it may not be a big issue WurlitzBurg has them from the same vendor and installed them. These replacement boots are not that long available and I think that there is only one manufacturer, maybe Arnott has a different manufacturer but you can't buy just the boots from them.
Mercedes SLR McLaren 722 S Is Extremely Rare Example Modified by McLaren
Slideshow: A one-of-one U.S.-spec Mercedes-Benz SLR McLaren Roadster became even rarer after a factory-backed transformation at McLaren's headquarters.