


SL55/63/65/R230 AMG: Here's the full paint correction write-up from autopia.org on my car
Thread Starter
MBWorld Fanatic!
Joined: Apr 2006
Posts: 8,137
Likes: 26
From: Maryland
Eurocharged 2004 E500, Eurocharged ECU/TCU 2005 SL600, 2010 Caddy SwaggerWagon
Here's the full paint correction write-up from autopia.org on my car
I know I've started a few paint correction threads on my SL600 recently. Here's the full write that my detailer, DJ Mayo at ReflectionsDetailing posted on autopia.org. He's also writes product reviews for DetailersDomian, and used my car to demo products as well. He's asked to use my car in his booth at an upcoming car show to show the type of work he can do on hard ceramic clear coats that are severely damaged.
Anway, cringe at the before(s) and smile at the after(s).
Anway, cringe at the before(s) and smile at the after(s).
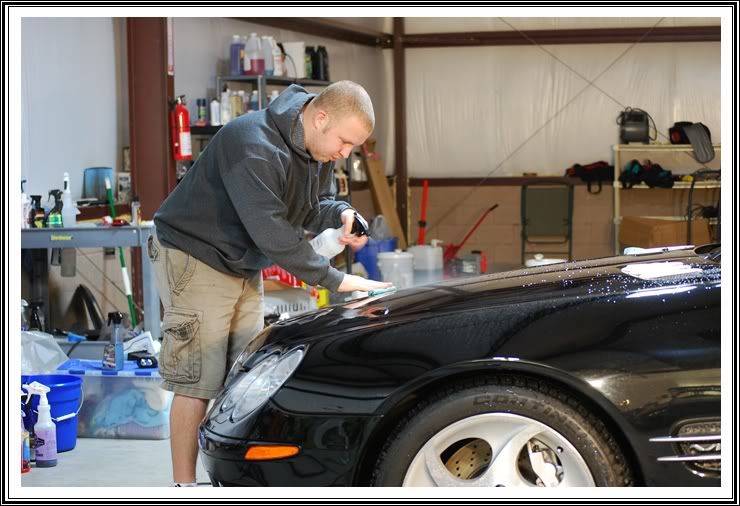
This is the second time I have worked on the car. The first time was right after Christmas when the owner had time to drive 110 miles to drop it off for the week. I knew the paint was pretty rough but you never know what is underneath until you strip off, clay and start to work on the car.
After using Chemical Guys Citrus Wash to strip previous protection, and claying the paint, I could now see the true condition I would be working with. I knew I had my work cut out for me.
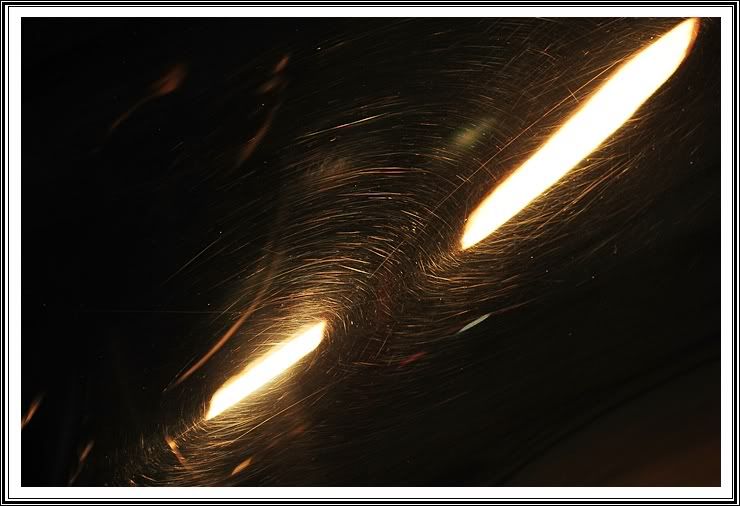
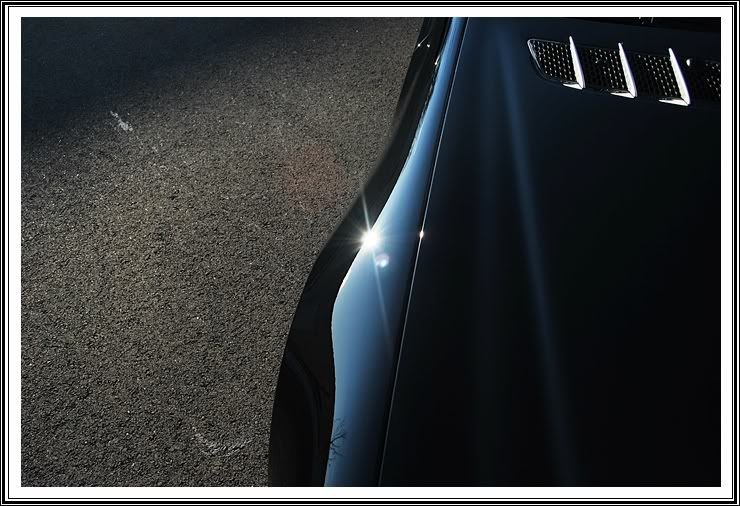
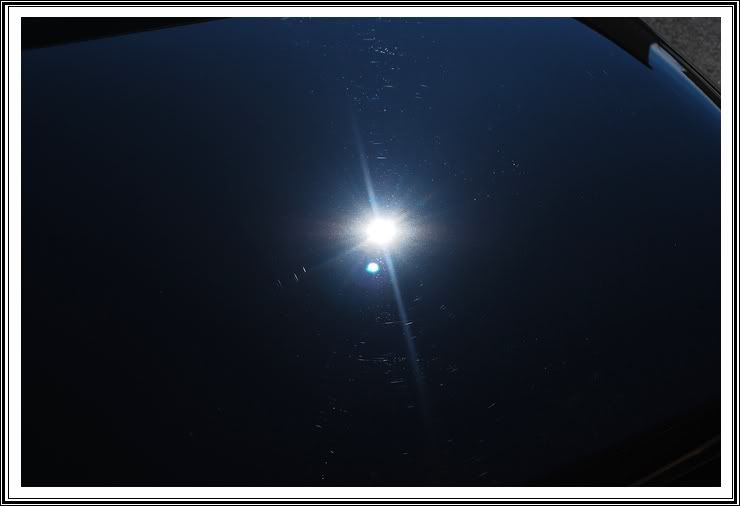
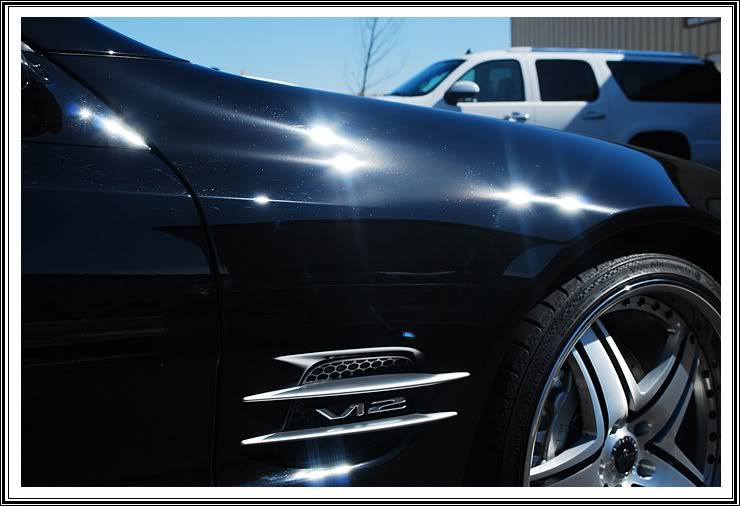
Extremely deep wool pad marks, holograms, and isolated deep scratches kept this car from its potential.
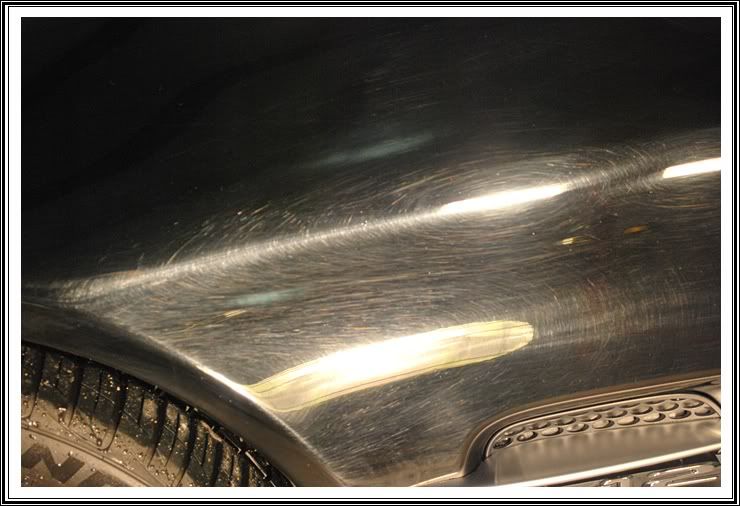
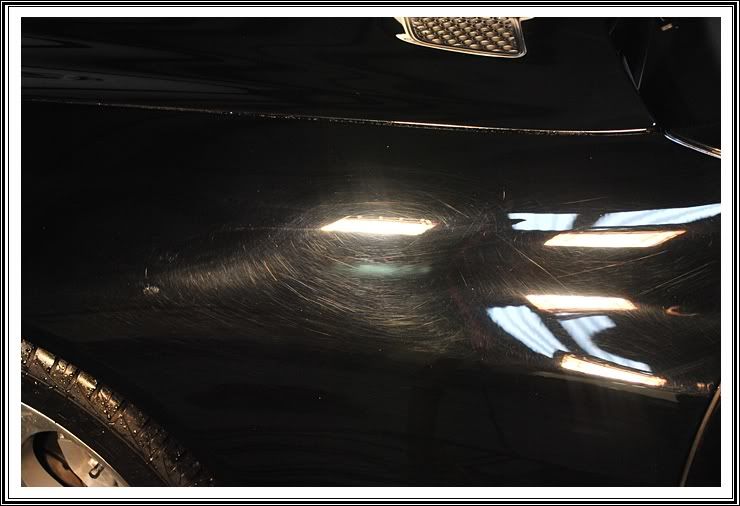
This was a good picture to show the deeper defects underneath the washing and drying induced swirls.
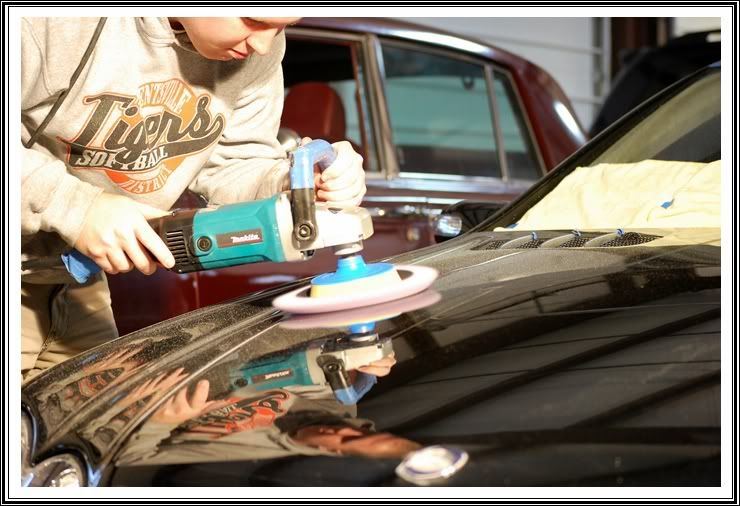
No paint is left unpolished

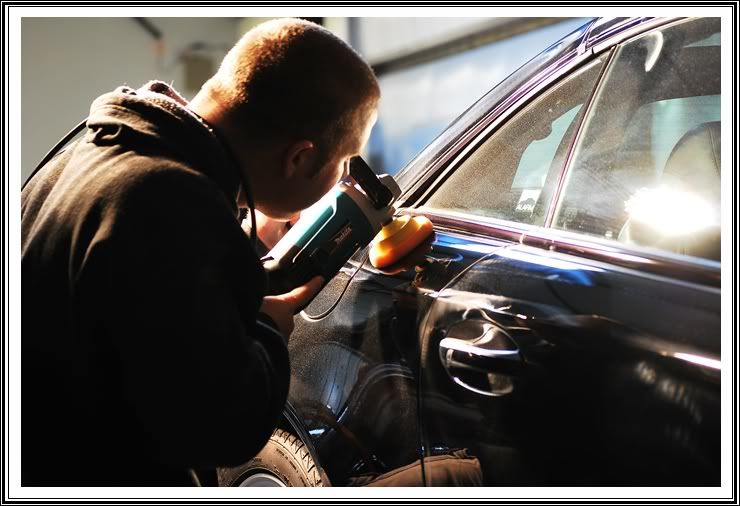
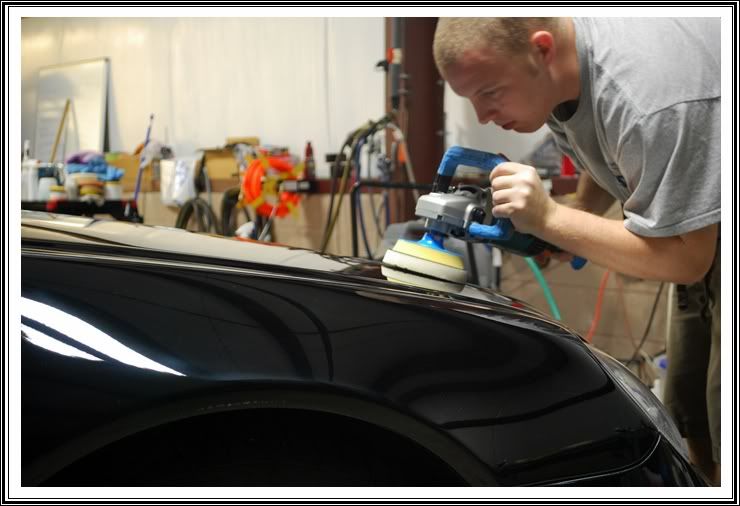
Hey, the paint is level :rofl:

Nearly 20 hours of compounding and polishing and the car was looking like it should. All 640 hp with the V12 Twin Turbo.
After using Chemical Guys Citrus Wash to strip previous protection, and claying the paint, I could now see the true condition I would be working with. I knew I had my work cut out for me.
Extremely deep wool pad marks, holograms, and isolated deep scratches kept this car from its potential.
This was a good picture to show the deeper defects underneath the washing and drying induced swirls.
No paint is left unpolished
Hey, the paint is level :rofl:
Nearly 20 hours of compounding and polishing and the car was looking like it should. All 640 hp with the V12 Twin Turbo.
Thread Starter
MBWorld Fanatic!
Joined: Apr 2006
Posts: 8,137
Likes: 26
From: Maryland
Eurocharged 2004 E500, Eurocharged ECU/TCU 2005 SL600, 2010 Caddy SwaggerWagon
More.....
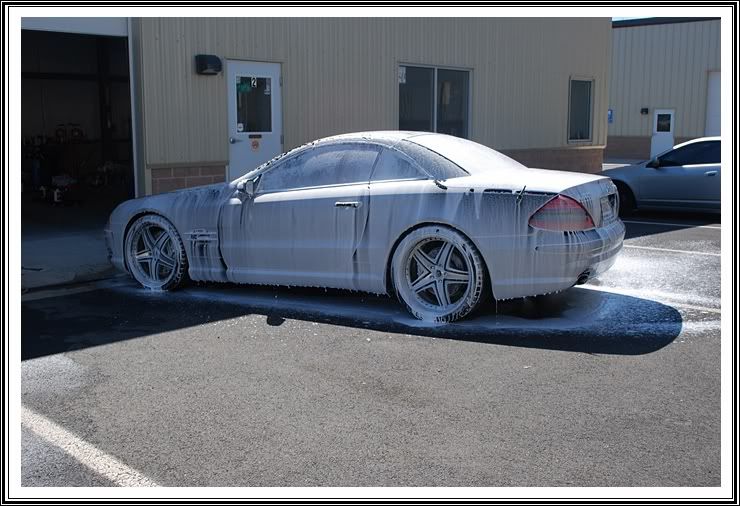
Now let's fast forward to March. The owner took the car to get the windows tinted and upon arrival he seen the guy wiping the car down with a dirty MF towel. After speaking with the owner they agreed to pay to fix the paint so another 110 miles and the owner came back down. This time would only be a 1 step polish and the owner would hangout at the shop for the 6 hours with the distance traveling. I went around the car and checked out what the tint shop did but the owner knew what his car looked like last time and wanted it to look that way again.
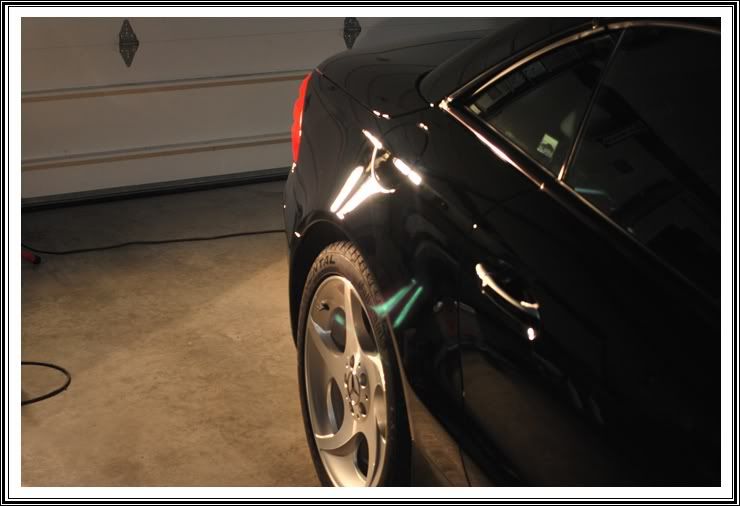
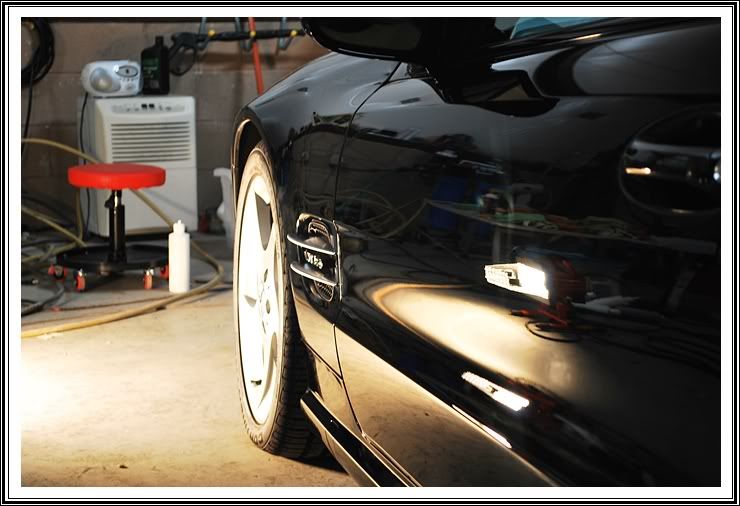
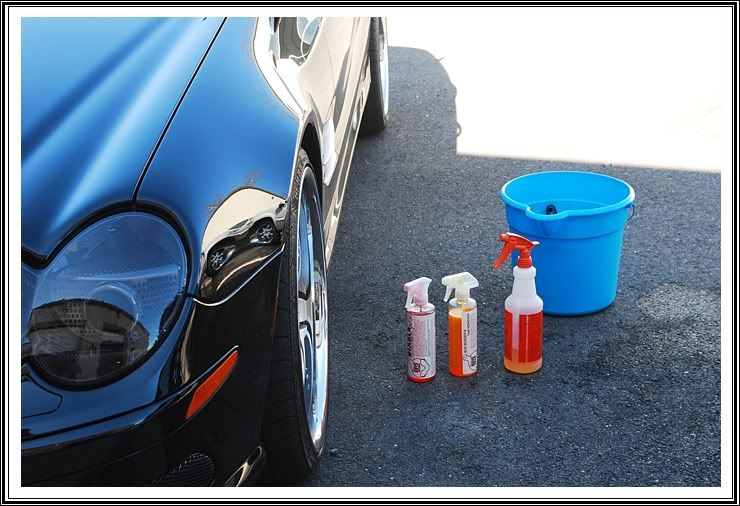
Here is what it looked like the 2nd time around on arrival
The car still looked 1000x better than it did before but the smaller things were now obvious.
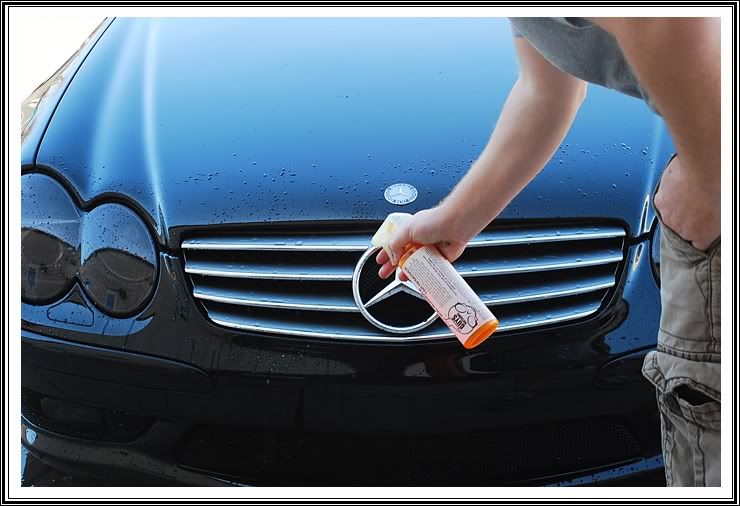
Let's get started with the wheels, tires, and wheel wells. Chemical Guys Diablo was used on the 20inch wheels while Meguiars All Purpose Cleaner Plus on the tires and wells. The CG Bug Bugger and Tar Remove was used on the lower rocker panels and front bumper to loosen and remove anything during the washing phase. Simply spray on and power wash off a minute later and even I was amazed and what came off.
Diablo sitting on the wheel
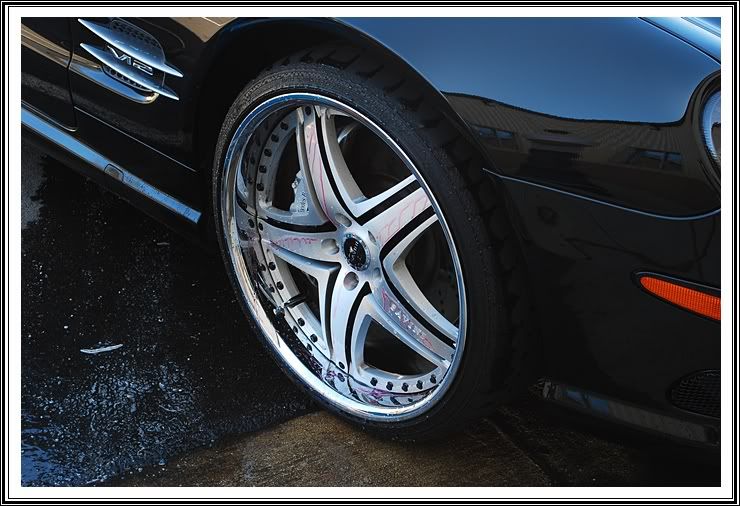
After using a Boar's Hair Wheel Brush
Spraying the CG Bug Bugger
A few random scratches from the owners car cover.

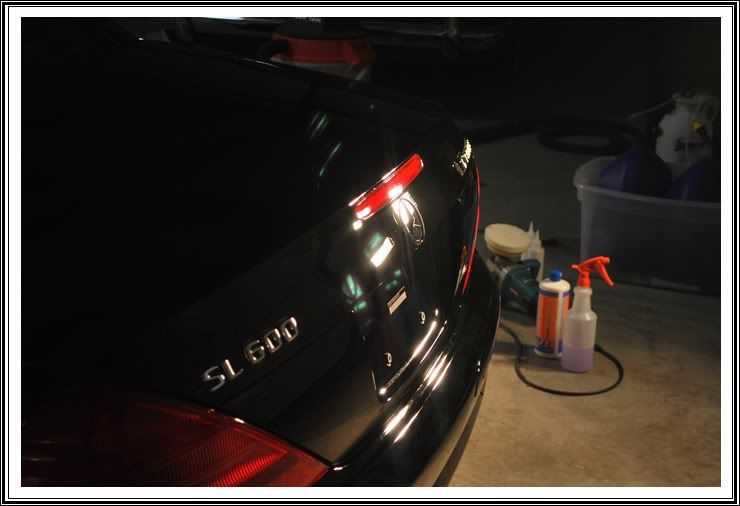
So after 6 hours or so, the paint was polished again using Menzerna Power Finish, and sealed using Menzerna Power Lock. I'll let the afters do the talking.
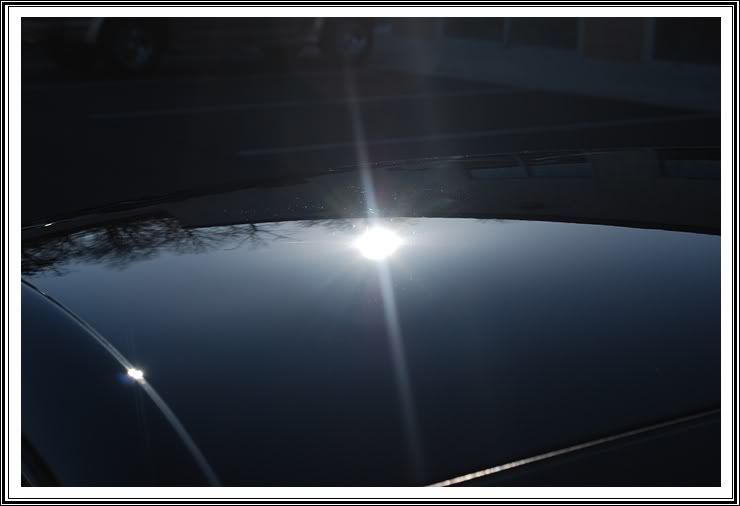
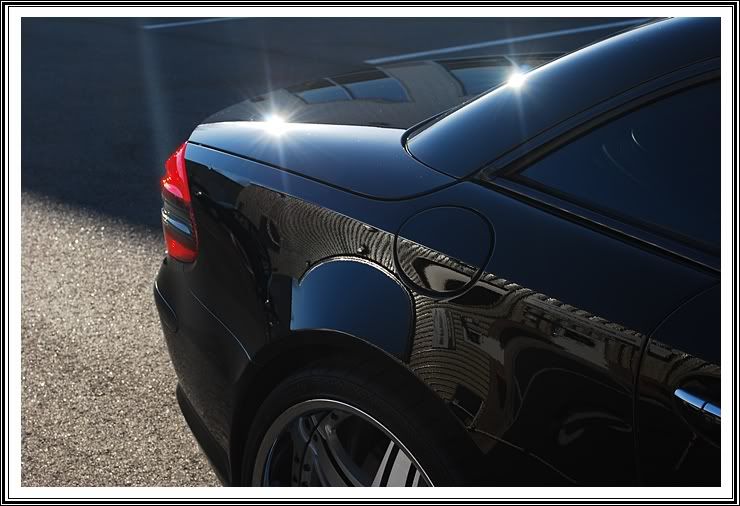
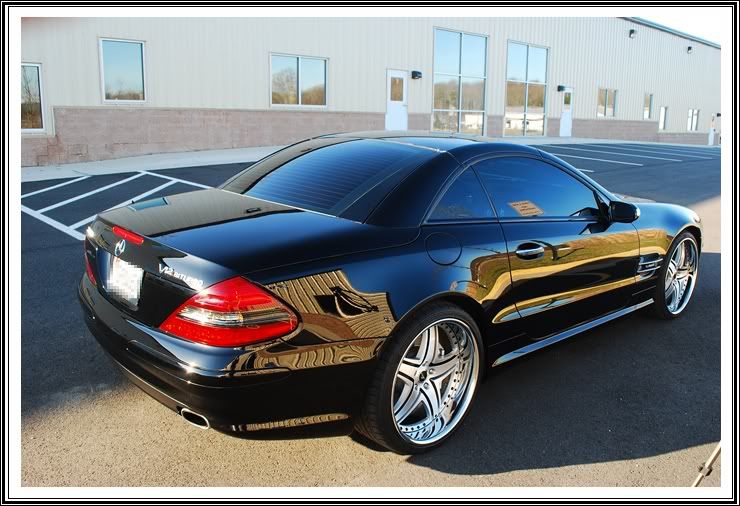


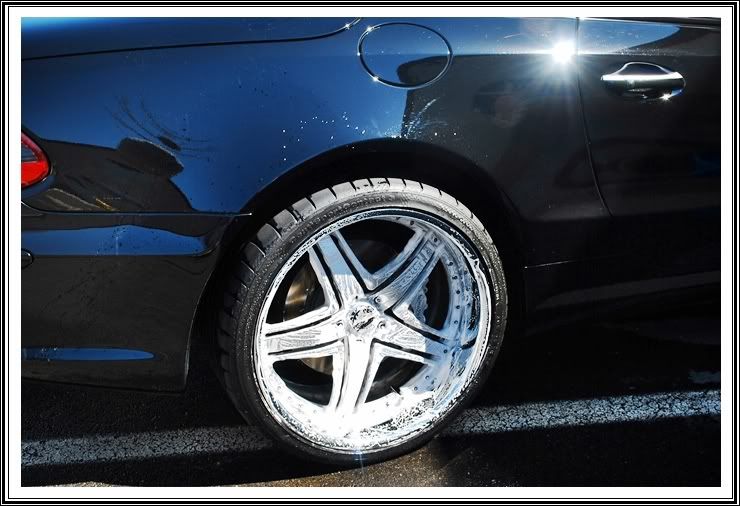
Love the look of Menzerna Polishes topped with their sealant


Wheels were sealed with Opti-Seal

As the owner got ready to leave, we put the top down, snapped another picture and called it a day

Lovely interior as well..

Thank you for taking time to view my work.
Here is what it looked like the 2nd time around on arrival
The car still looked 1000x better than it did before but the smaller things were now obvious.
Let's get started with the wheels, tires, and wheel wells. Chemical Guys Diablo was used on the 20inch wheels while Meguiars All Purpose Cleaner Plus on the tires and wells. The CG Bug Bugger and Tar Remove was used on the lower rocker panels and front bumper to loosen and remove anything during the washing phase. Simply spray on and power wash off a minute later and even I was amazed and what came off.
Diablo sitting on the wheel
After using a Boar's Hair Wheel Brush
Spraying the CG Bug Bugger
A few random scratches from the owners car cover.
So after 6 hours or so, the paint was polished again using Menzerna Power Finish, and sealed using Menzerna Power Lock. I'll let the afters do the talking.
Love the look of Menzerna Polishes topped with their sealant
Wheels were sealed with Opti-Seal
As the owner got ready to leave, we put the top down, snapped another picture and called it a day
Lovely interior as well..
Thank you for taking time to view my work.

MBWorld Fanatic!
Joined: May 2008
Posts: 1,615
Likes: 0
From: Maryland
SL55 AMG
DJ Mayo is the man! Clayton Bro...again amazing looking car man...your attention to detail and methodical approach to keeping a clean car is something many of us envy and it sure makes a difference...well done bro!
Thread Starter
MBWorld Fanatic!
Joined: Apr 2006
Posts: 8,137
Likes: 26
From: Maryland
Eurocharged 2004 E500, Eurocharged ECU/TCU 2005 SL600, 2010 Caddy SwaggerWagon
Well, the first time (1st set of pics), the job booked out at $1200.00, but I was charged 700.00 or 800.00, can't remember. But you can see how damaged the paint was after he stripped away all of the wax and filler that was in there. It needed 4 and 5 steps in some spots. After the tint place jacked up my car, it only needed a 1 step, so that was $350.00, but they paid for that.
Thanks, what a night and day difference.
DJ Mayo is very, VERY good at what he does. I told him to expect a call from you very soon. 
Thanks, what a night and day difference.
Last edited by Benz-O-Rama; Apr 6, 2010 at 01:30 PM.
Trending Topics
MB World Stories
The Best of Mercedes & AMG

6 Mercedes Models That Did NOT Age Well (But Are Somehow Still Cool)
Verdad Gallardo
Manual Mercedes? 6 Times Sindelfingen Let Drivers Have All The Fun
Verdad Gallardo
Mercedes SLR McLaren 722 S Is Extremely Rare Example Modified by McLaren
Verdad Gallardo
8 Classic Boxy Mercedes Designs That Have Aged Like Fine Wine
Verdad Gallardo
Flawlessly Restored Mercedes 190E Evo II Heads to Auction
Verdad Gallardo
Electric Mercedes C-Class Unveiled: 11 Things You Need to Know
Verdad Gallardo
Mercedes EQS Gets A Major Update: Everything You Need to Know
Verdad Gallardo
5 Underrated Mercedes-Benz Models That Don't Get the Love They Deserve
Verdad Gallardo

 Thanks again buddy for making the trip down. I have talked to Sunir and when the car gets back, I'm gonna have my time with it.


