When you click on links to various merchants on this site and make a purchase, this can result in this site earning a commission. Affiliate programs and affiliations include, but are not limited to, the eBay Partner Network.
I would like to know if I did something wrong when I pulled the fan shroud when I did my alternator. That thing was a ***** and a half to get out, mostly becuase I couldn't disconnect my upper radiator hose on the left.
i pretty much have everything short of a lift and pnematics
for alternator, i replaced the wp same time when i was in there and changed the coolant so i did disconnect the hoses, but its a tight squeeze even then
Any ideas as to what I can do to hold the tensioner in place? I don't have another person to help, and I cannot manage to hold the tension down as far as I need to get the newer, slightly smaller belt on. It's pissing me off, something so simple and I can't accomplish. This is has been going on for a day now.
And I have been trying to use things as a wedge to hold the the cheater bar I have on my on wrench.
I don't like how there isn't a slot for a drift like there is for the supercharger belt. Great logic, let's design a lock mechanism on the most accessible pulley on the vehicle but not one on the bottom of the engine. Brilliant! The engineers must have went to community college.
Disregard. I made an extra hand to hold the tensioner while I could use both hands to force the belt into place.. It's running fine now, now on to cleaning this engine bay...
Last edited by zhmorrow13; Mar 20, 2015 at 03:38 PM.
No that's a bar resting on top of the actual cheater bar lol, almost like an elbow except it's not welded so it's EXTREMELY iffy...I had to be really quick and careful because one wrong move and everything is spring loaded so it'll slip right off...
I'm glad I got it on, and yes! s/c belt is replaced. I think I'm going to replace the s/c tensioner pulley bearing soon, it's has a slight squeal to it occasionally
E55 AMG V8 Kompressor 2004 E 55 AMG Type: 5,439 cc (5.439 L; 331.9 cu in) Supercharged V8 Powe
Belt Diagram
Super DIY here is a picture of the belts
picture one SC Belt Purple
Serpentine belt black
Picture 2 SP Belt Red sry did the drawing on my mobile with my little Finger
this helped me a lot the feeling it back took me approx 15 min from up and down W splitted IC TANK mounted even less room was easy but trying to guess your way DON'T just print and use this
start bottom always and finish At the top I always do generator last
START Feed it back over
4 AC Compressor and over 3 Power Steering pump
2: continue over 5 Crank and around 2 belt tensioner - 6 coolant pump.
8 back to top over idler pulley and put on your 17mm pull back and feed it over Generator/Alternator is tight yes is a new belt )
Clean up with Wurth Brake cleaner and dobbelt check belt sits properly on all pulleys, fire up the beast!
Last edited by SuperChargerE55; Feb 26, 2019 at 12:47 AM.
Reason: Correction grammatical error
I noticed you still have the OEM idlers on your car. You may want to upgrade to billet idlers as the OEM bearings fail all the time, and at the worst time. The Gates HD green belt is also a nice upgrade for the supercharger belt. Nice write up and good details.
__________________
E63 Biturbo, UPD Cold Air induction kit, UPD performance crank pulley and UPD adjustable rear suspension with ride height adjustment.
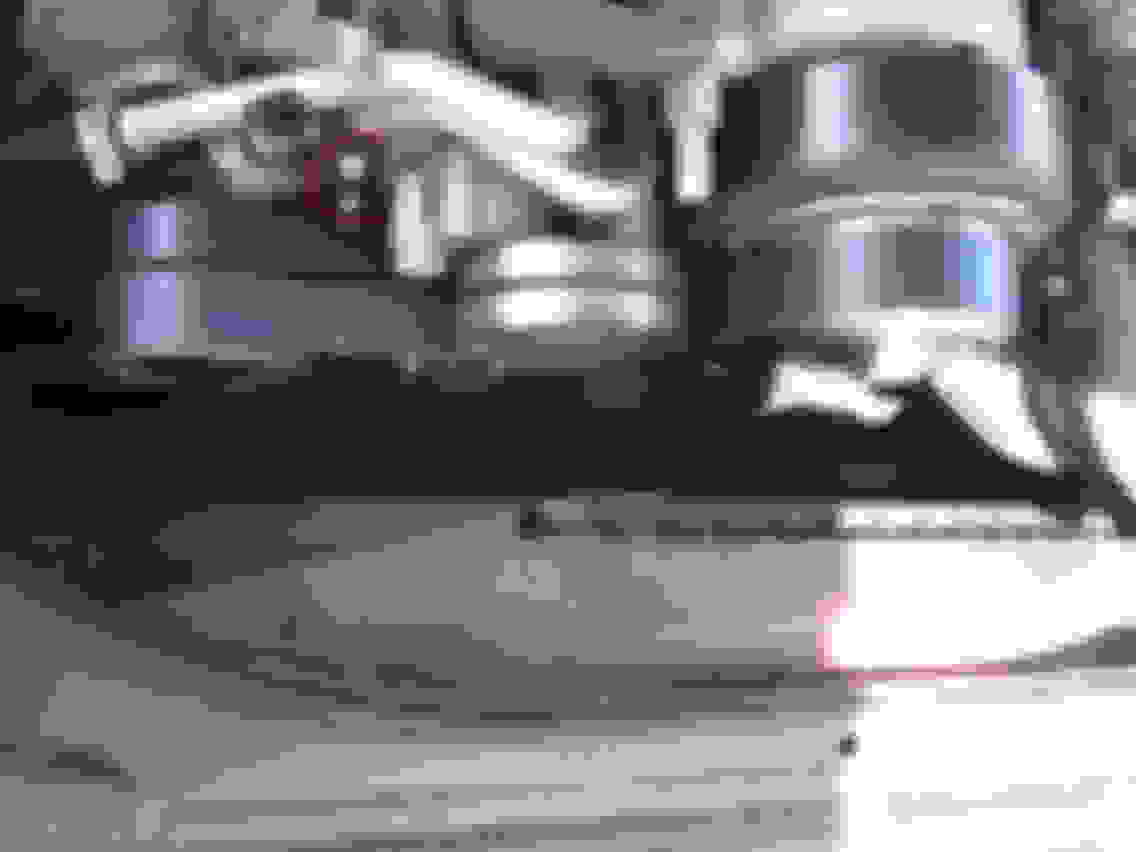
Nice diy & tips for the belts haven't seen many out there. Sorry to hijack but I have been looking for these torx bolts in your pic . Does anyone know a part # for these 2 , I see a lot of cars are missing them the ocd is kicking in lol .
I worked on this today and I want to add this tip:
Remove the fan shroud. Everything gets easier with it out of the way.
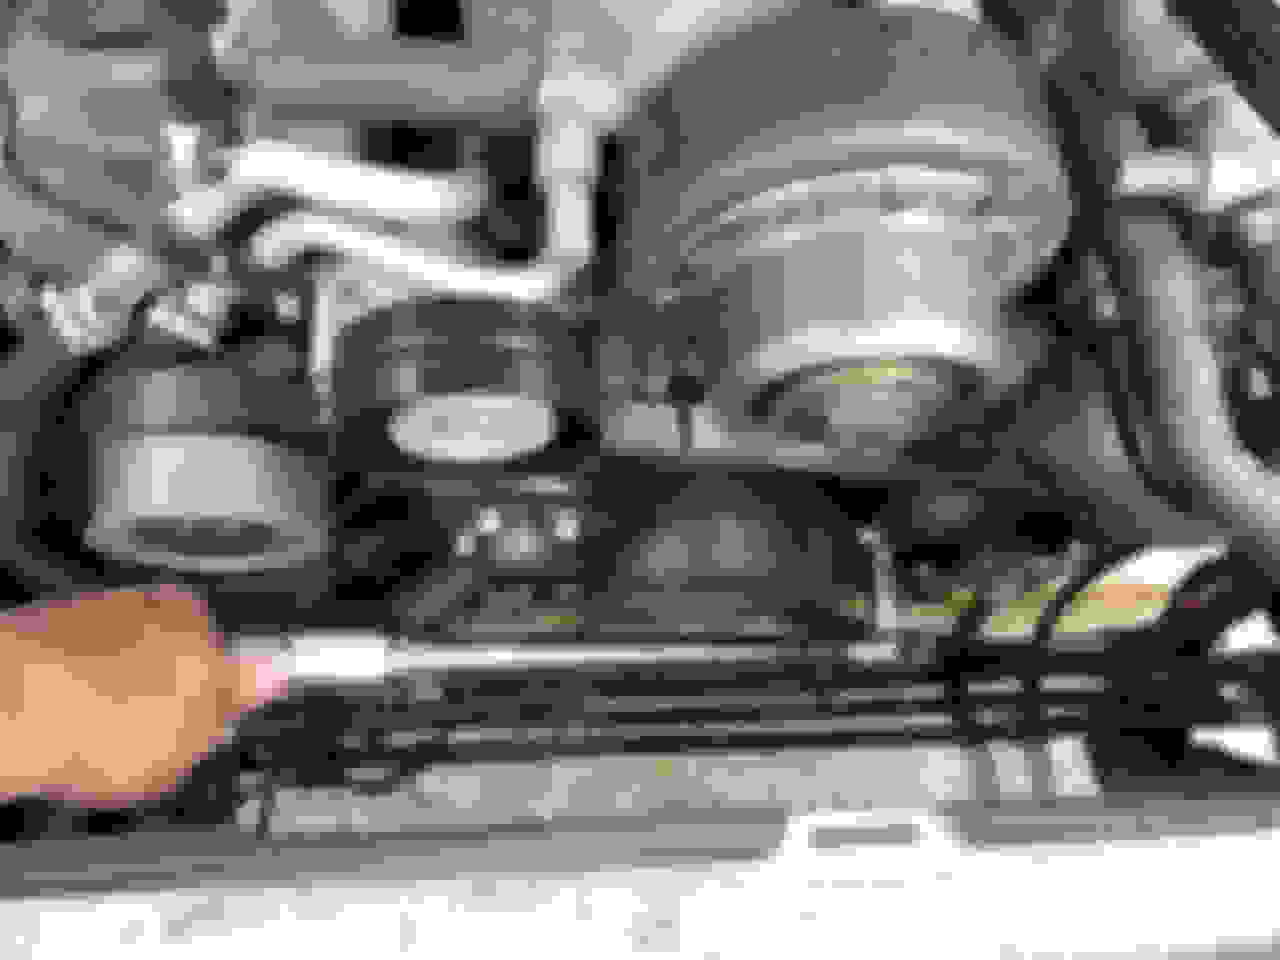
I used a long 17mm attached to a torque wrench that I use for wheels.
The lower tensioner (for the serpentine belt) very easy to do from the top with the left hand holding the bar pressing the tensioner open and the right hand slipping the belt over. VERY EASY.
A breaker bar will work just as well, but this is nice because you can ratchet it up nice and close before starting the push to press the spring in the tensioner.
I'm using new OEM Mercedes AMG belts that were not pre-stretched in any way. I would show how easily my right hand puts the belt over the tensioner, but it's holding the camera.
I had access to it from below (car on jack stands and the tray removed), but it was much much easier to do it like I mention above.
I apologize for bringing up this old thread. I had a similar issue with my vehicle recently; I had a visible crack in my serpentine belt. I get a proper tool for the DIY then follow certain procedure on how to replace it. I came across an in-depth article that may be worth reading.Search for "Mercedes-Benz Serpentine Belt Replacement Guide on YOUCANIC" and you will see an article that goes over common causes and possible fixes. You can read about it yourself. I hope this information can assist someone else with a similar issue.
update to this thread: several days ago my serpentine belt shredded! i merged somewhat aggressively in 1st gear and moments later the battery light comes on, shortly after i notice there's no more power steering
luckily this was moments from my apartment's garage so i was able to drive back without issue just before the coolant temperature started to rise... i ordered a gates K060966 replacement belt (with corresponding supercharger belt to replace too) and installed it yesterday afternoon with some help from a buddy of mine
first off this CAN be done from the top of the engine without removing the fan shroud, expect it to take close to an hour, and i highly recommend first getting the belt onto the power steering pump! this pulley is like way hidden up there, but the good part is that once you get the belt up in there it's essentially held in place nicely for you to thread the rest of the belt... i actually used an old ski pole to help push the belt onto the power steering pump and AC compressor as there's literally no way anyone over 4 or 5 years old can fit their hand between the spaces
if possible i highly recommend doing this with someone else if you go this route, it's helpful just to have someone hold the light lol and to hold the tensioner in place while you make the final adjustments... removing the fan shroud would've made things way easier but i'd rather not risk breaking anything in the process
Mercedes SLR McLaren 722 S Is Extremely Rare Example Modified by McLaren
Slideshow: A one-of-one U.S.-spec Mercedes-Benz SLR McLaren Roadster became even rarer after a factory-backed transformation at McLaren's headquarters.


 Jun 17, 2015, 03:19 PM