When you click on links to various merchants on this site and make a purchase, this can result in this site earning a commission. Affiliate programs and affiliations include, but are not limited to, the eBay Partner Network.
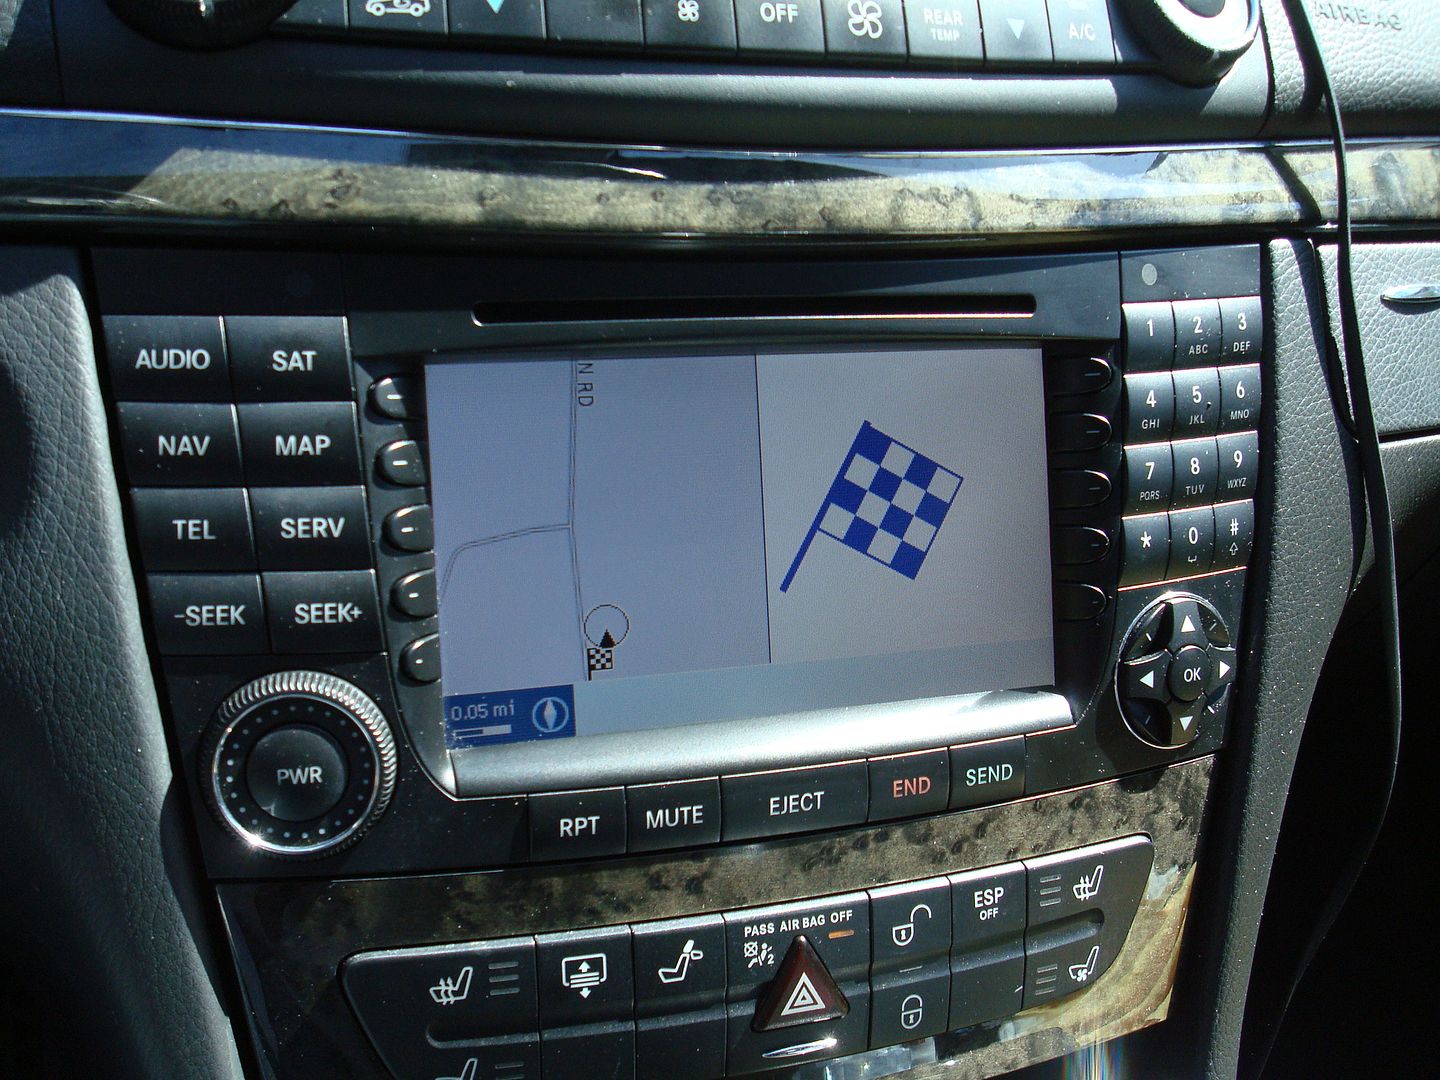
Without the film the display looks better than before already. See the attached pictures.
Thanks Gregg!
Originally Posted by GregMB
The title is somewhat misleading.
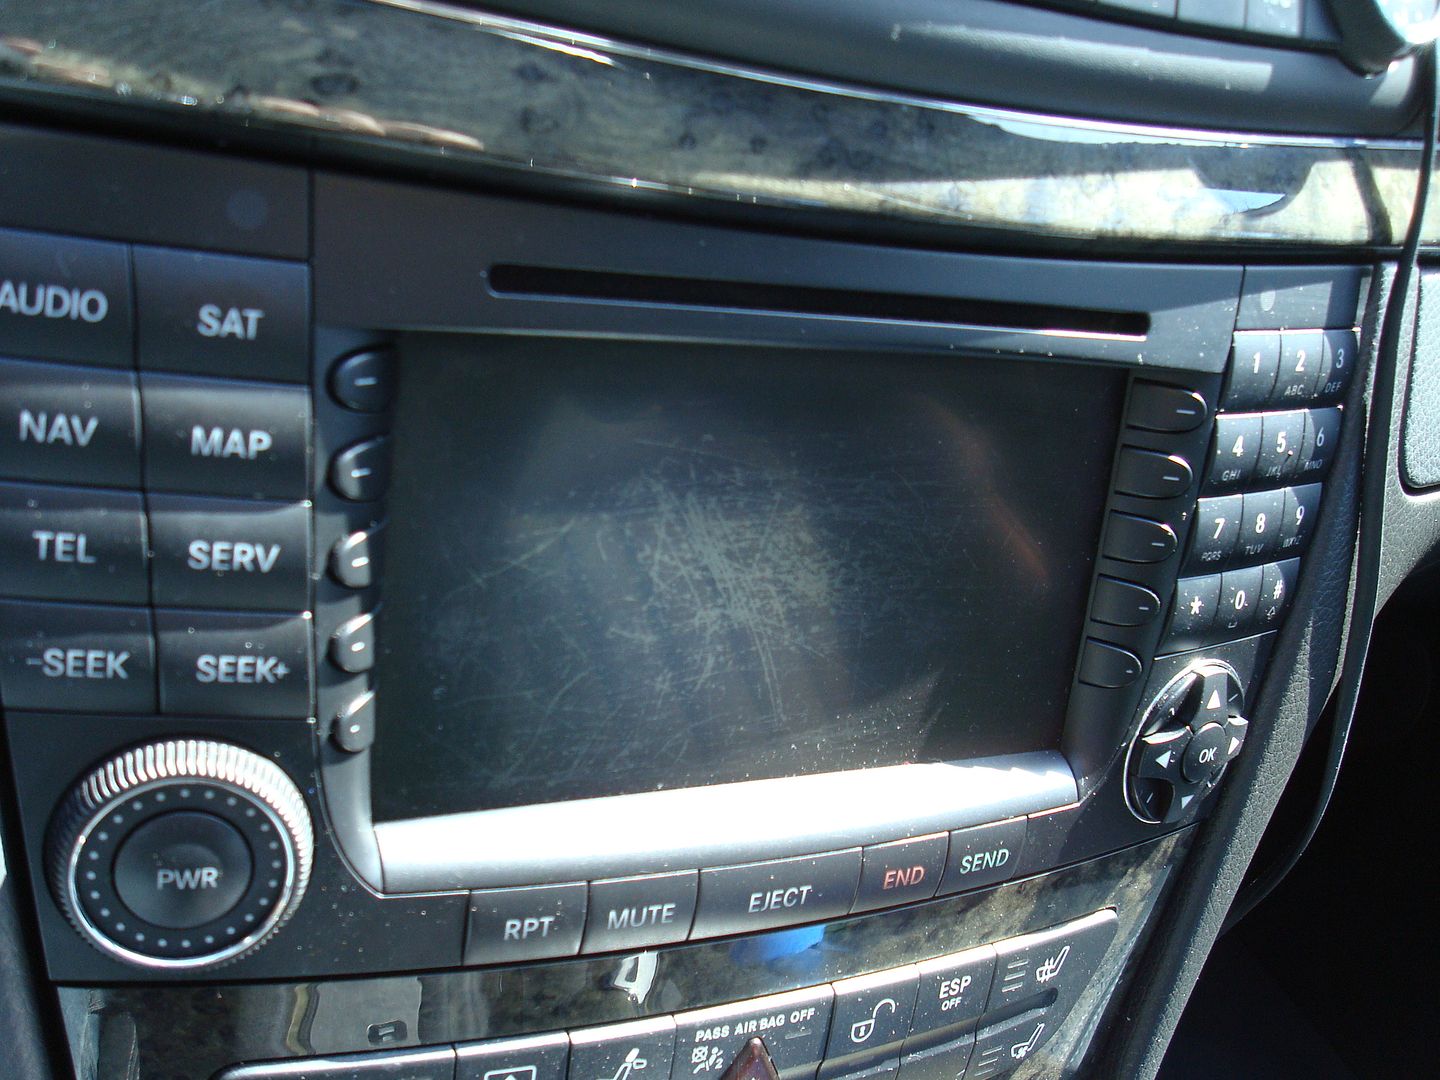
What most people characterize as scratching of the screen is actually a scratching of the anti-glare coating that is applied to the screen.
Either way, a careless P.O. used some sort of abrasive or overly-aggressive cleaner on the screen and the result is a screen that looked like this:
After a few moments spent on this site and the search function, I found a thread that insisted that this fix was dead-simple and easy to do. The concept was simply to find a gentle cleaner that would remove the remainder of the anti-glare coating from the COMAND screen and give it a uniform appearance.
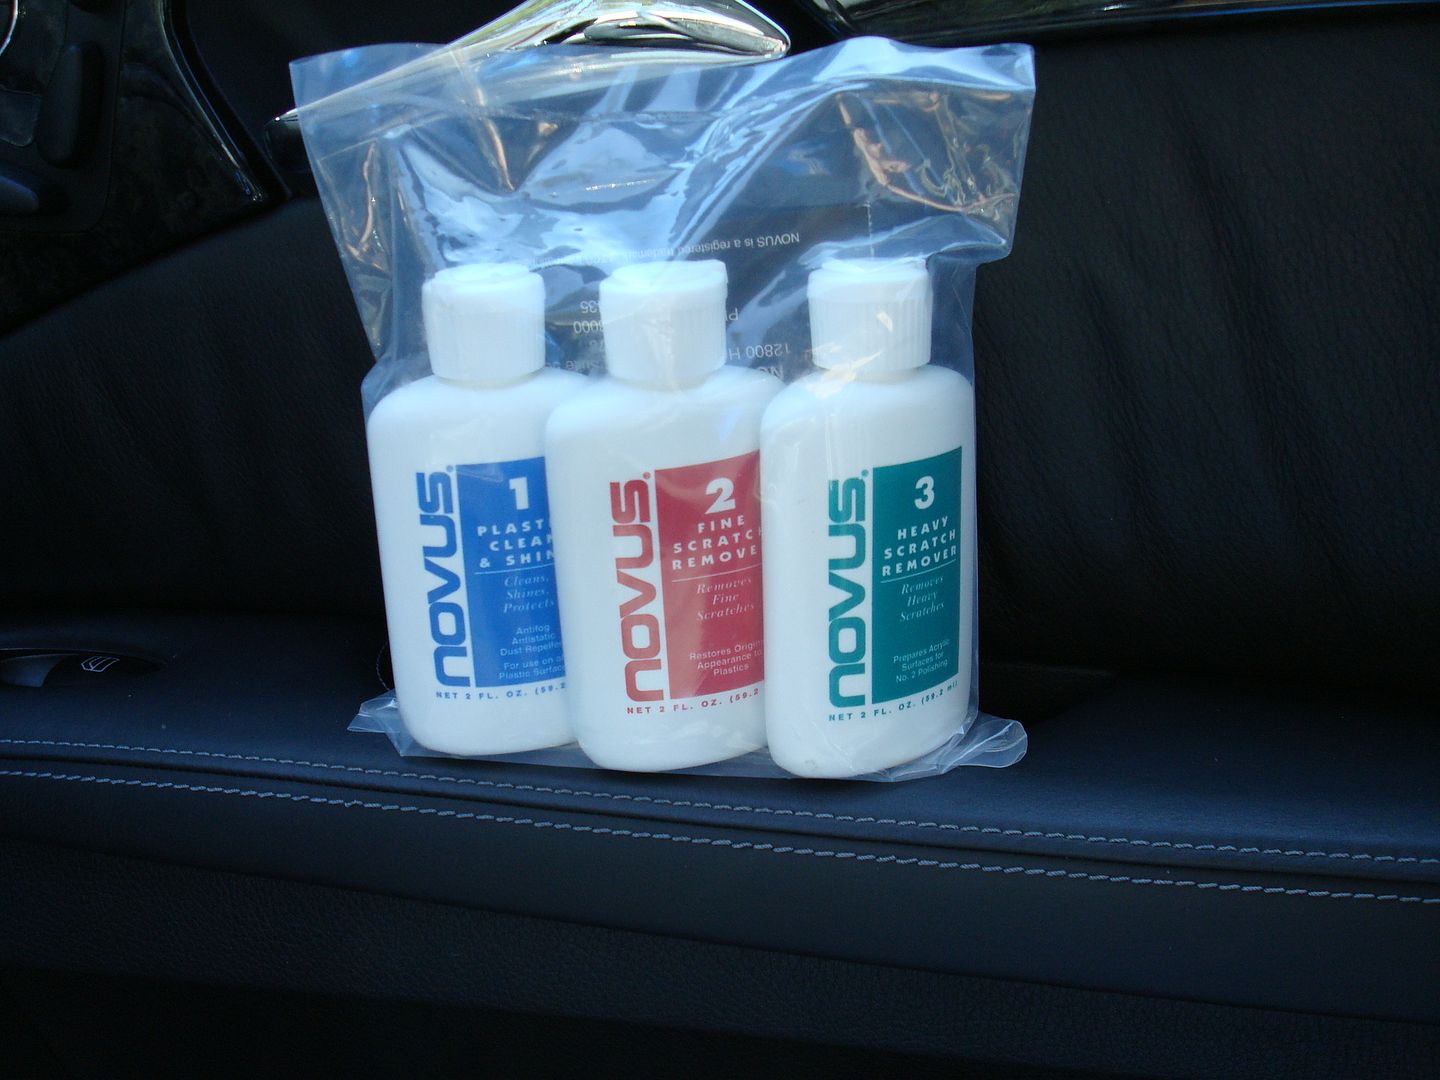
I bought this package for less than $10 from Amazon.com
OK, Let's begin.... this process is quick and you will literally spend less than 15 minutes completing this repair.
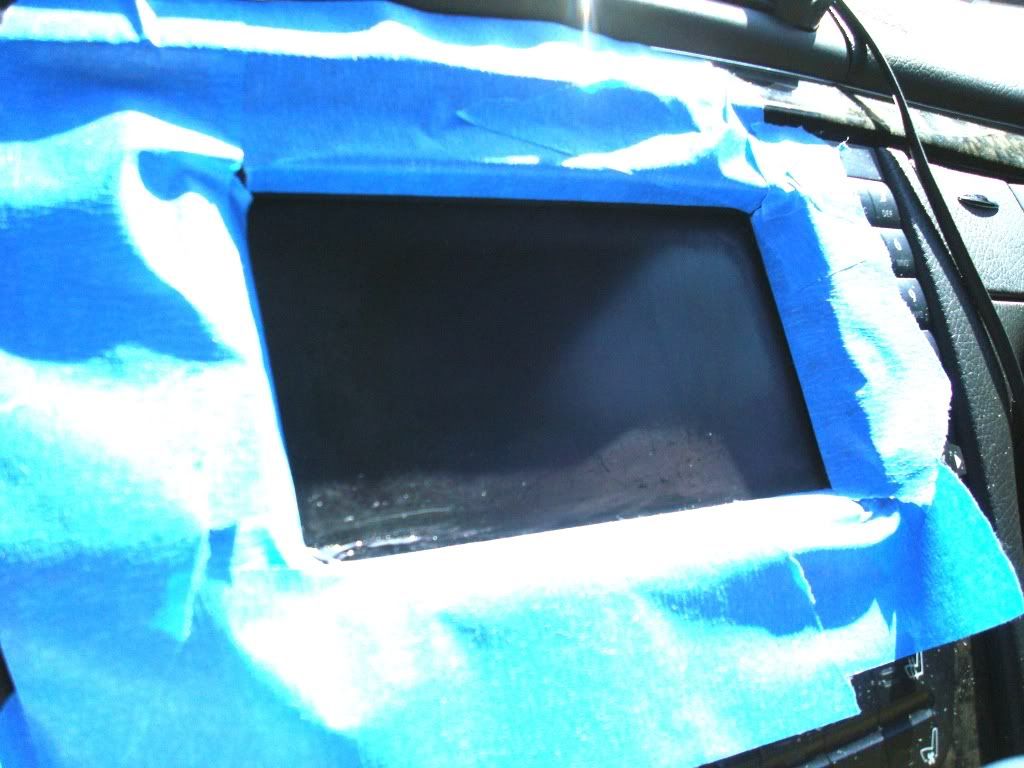
STEP 1: Tape off the surrounding area to prevent getting the cleaners in the crevices where they are not wanted. Start with the #2 Scratch remover...shake well and apply a small dab to a lint-free cloth. The kit I purchased actually included a few cloths with it, but any microfiber cloth would be fine. The smaller the better, so you can get into the small corners, etc.
Polish the screen with gentle pressure, and work your way around the screen until the anti-glare coating is removed completely. Flip the cloth or use a clean corner to clear away the haze as the polish dries...
Here is an "in process" shot....most of the screen has been polished, but you can still see the anti-glare coating in a band across the lower 1" of the screen.
STEP 2: Once you have removed all of the anti-glare coating and polish residue, you can follow up with the #1 Clean & Shine. This one is much more runny and seems to be more like a protective top coat, so most of the real "work" happened in the previous polishing step.
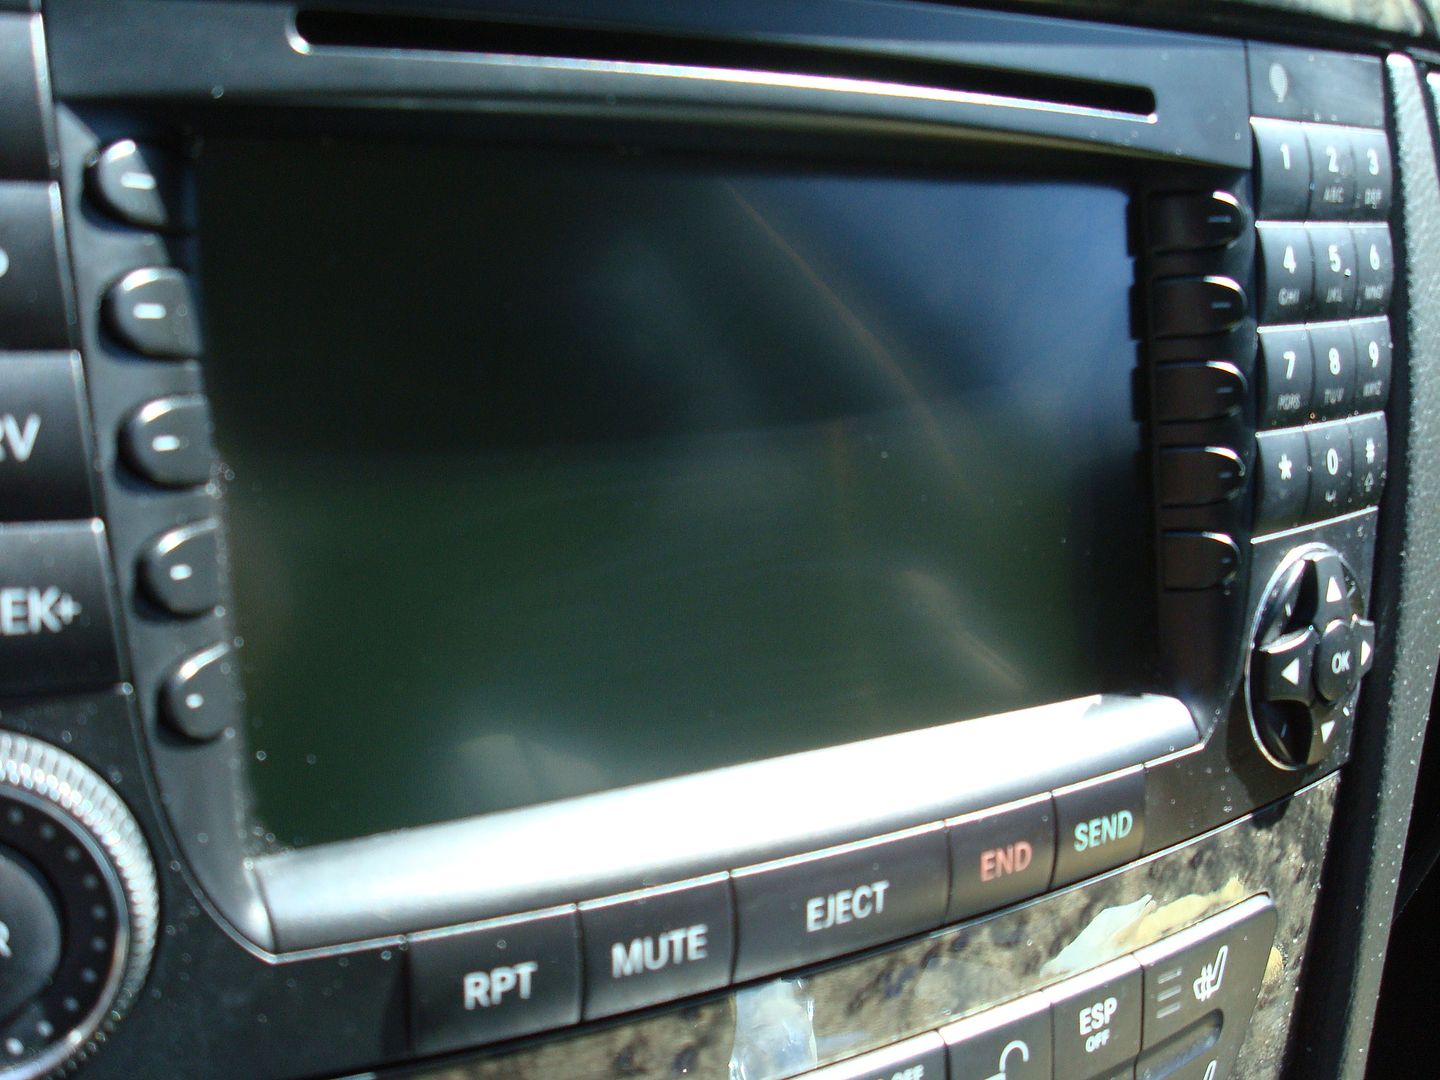
The result is much nicer. All of the scratches are gone, and the screen has a nice uniform look. When powered-up, it seems that the image is noticeably brighter as well. I suppose there may be instances where the screen may be less visible in direct sunlight, but when the COMAND screen is awash with sunlight, no amount of anti-glare coating is going to make it readable.
That's it! This isn't exactly hardcore "tech" but I figured that since this site has already provided me with plenty of answers and information I'd give back in some small way with a project that will probably help a lot of other folks.
It is an easy process to do, and it really helps to freshen-up the look of the screen and keep the interior looking new.
Hi,
I have a 2013 Mercedes C250. Will this fix work on my baby? It just happened today and I've been trying to look everywhere to see if my command center screen is glass underneath. But I couldn't really find a lot of info on it. This is my first car and I would really like to keep it nice. I have been having it hand washed and I didn't notice it until after I had been
home and I decided I needed to go to the store and than I saw the scratches.
So my main question : Is the screen underneath the scratch and "protectant" Glass?
Just wanted to share that I used that Novus product on my 11GL and I am so happy with the results. It went from close to buying a new screen to just spending $10 and $16 on a screen protector. I recommend this to anyone looking to save there screen and the high cost of replacing it.
Same process, now the screen on my 2014 E350 is almost like a mirror, looks great. To remove AR from the corners I used one of those HID cards (the kind used for parking lots and office doors) and wedged it against a microfiber towel and carefully cleaned the corners. Waiting for screen protector to arrive.
Cleaning my car last week, I accidentally touched my Comand screen with a cloth that had Windex on it (I know) and it immediately caused a haze. After much reading, I purchased and used Novus 1 & 2 polishes last night for about an hour. I didn't use a lot of polish but ended up with a screen that became more scratched the more I rubbed. I have attached a picture of the outcome.
The question is, am I scratching the coating and, should keep rubbing/use more product so that I remove it and end up with a clear screen or am I actually scratching the plastic whereby any more rubbing is going to make it significantly worse. I am quite surprised that I didn't get the results which everyone has been posting. Any guidance would be appreciated.
I would now use Brillianze which is a One-Step cleaner & Polish. Next, I would identify the scratches and use Novus 2 again. The key is to use the products with a very soft microfiber
towel. I maintain my screen with Brillianze. I hope this works for you.
Mercedes SLR McLaren 722 S Is Extremely Rare Example Modified by McLaren
Slideshow: A one-of-one U.S.-spec Mercedes-Benz SLR McLaren Roadster became even rarer after a factory-backed transformation at McLaren's headquarters.


 I used the same polish than GregMB suggested and I ordered the film from NuShield. Very nice people.