


 Jun 10, 2015, 12:34 PM
Last edit by: IB Advertising
See related guides and technical advice from our community experts:
- Mercedes-Benz E-Class: Why are My Headlights Dim?
Guide to diagnose trouble and recommended solutions

Factory bixenon headlights SUCK
Super Member
Joined: Jan 2007
Posts: 852
Likes: 3
From: Sleepy Hollow, IL
65 Chevelle Wagon w/ C5 frame, 08 ML63, 04 S600, 04 E55,(sold) 00 ML55,(sold) 98 C43-55K Swap
Great, something else I need to buy for my 220  jk looks nice. I've alwise thought that the headlights could be better. My fogs are almost as bright as my xenon low beams. I assume a 220 uses the same lenses in their bixenons.
jk looks nice. I've alwise thought that the headlights could be better. My fogs are almost as bright as my xenon low beams. I assume a 220 uses the same lenses in their bixenons.
MBWorld Fanatic!
Joined: Apr 2008
Posts: 2,540
Likes: 5
From: Arizona
2004 E55, 1997 E320 "Sold"
Chris
yeah you will have to open the lights but its fairly simple to do and glad i did it. I was more worried about breaking the active headlight motor than anything.
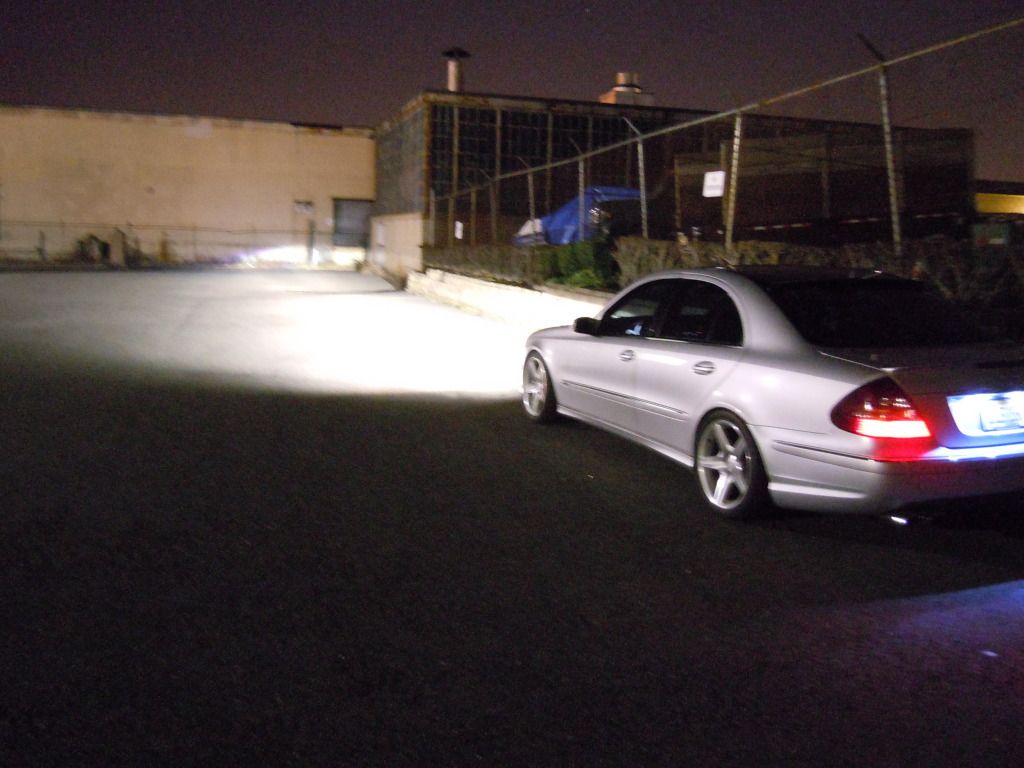
I should have my car back home tomorrow and will try to get some pics up by Thursday of my output with the lens swap and the 5000k Osram Cool Blue Extreme.
now get my CF tubes shipped, i am going nuts waiting on them!!!
Later
H
yeah you will have to open the lights but its fairly simple to do and glad i did it. I was more worried about breaking the active headlight motor than anything.
I should have my car back home tomorrow and will try to get some pics up by Thursday of my output with the lens swap and the 5000k Osram Cool Blue Extreme.
now get my CF tubes shipped, i am going nuts waiting on them!!!
Later
H
 Pictures would be great and the tubes were shipped today from my manufacturer, so I will have them early next week
MBWorld Fanatic!


Joined: Jan 2007
Posts: 2,004
Likes: 241
From: Usa
mgLipGD
sorry been busy with work but will get pics up tonight or tomorrow at the latest.
its been like 6mths since i did it so i will do my best to remember exactly how it goes but the pics and once you start it will make sense.
And Chris thanks for the update on the tubes, I can't wait!
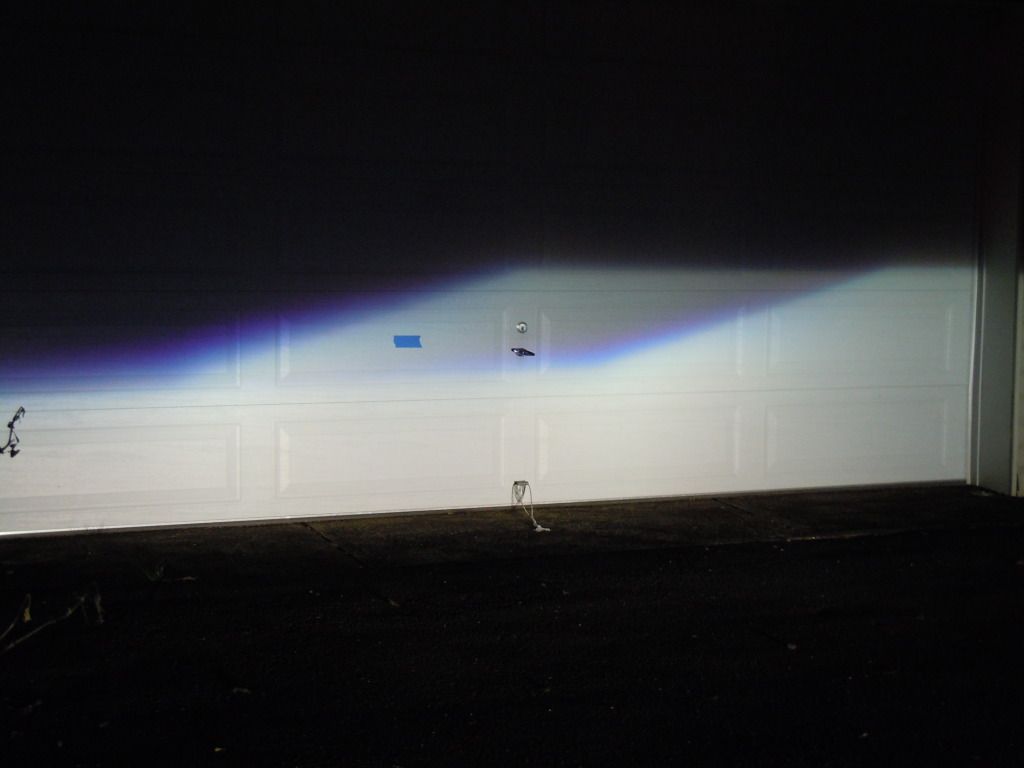
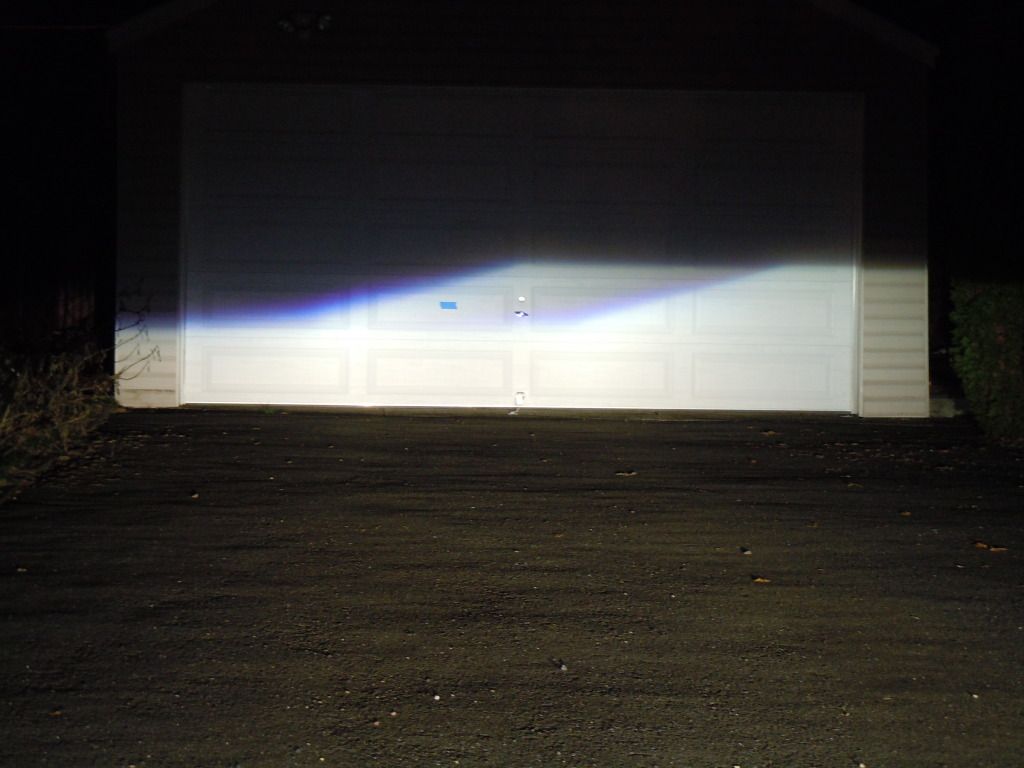
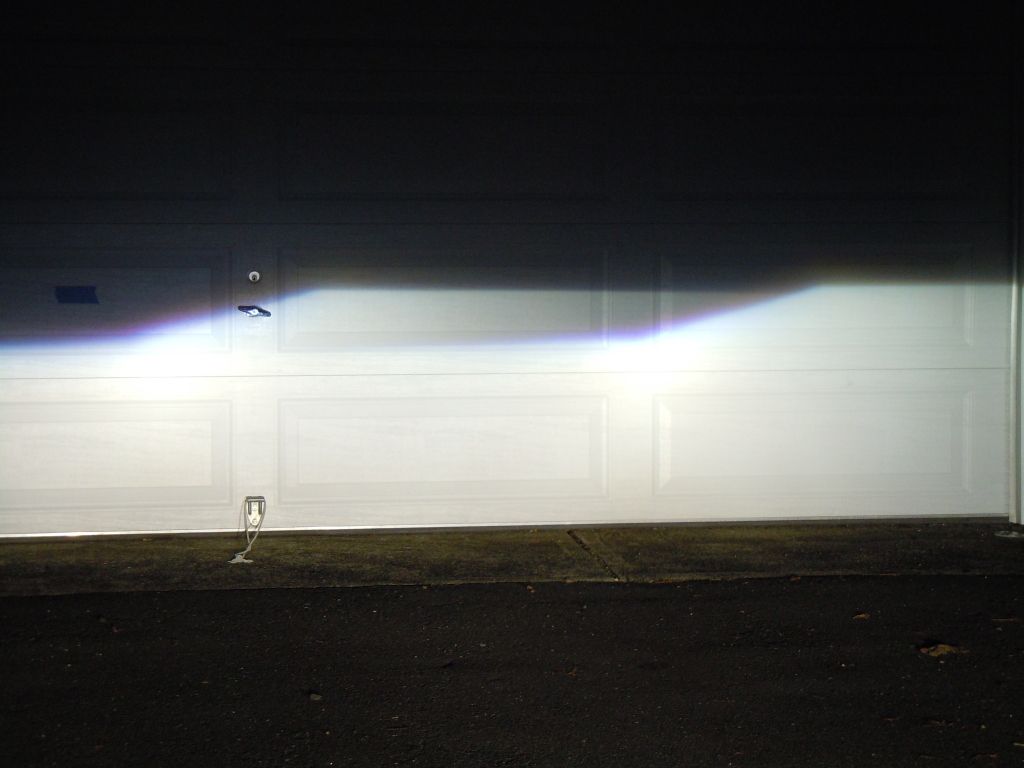
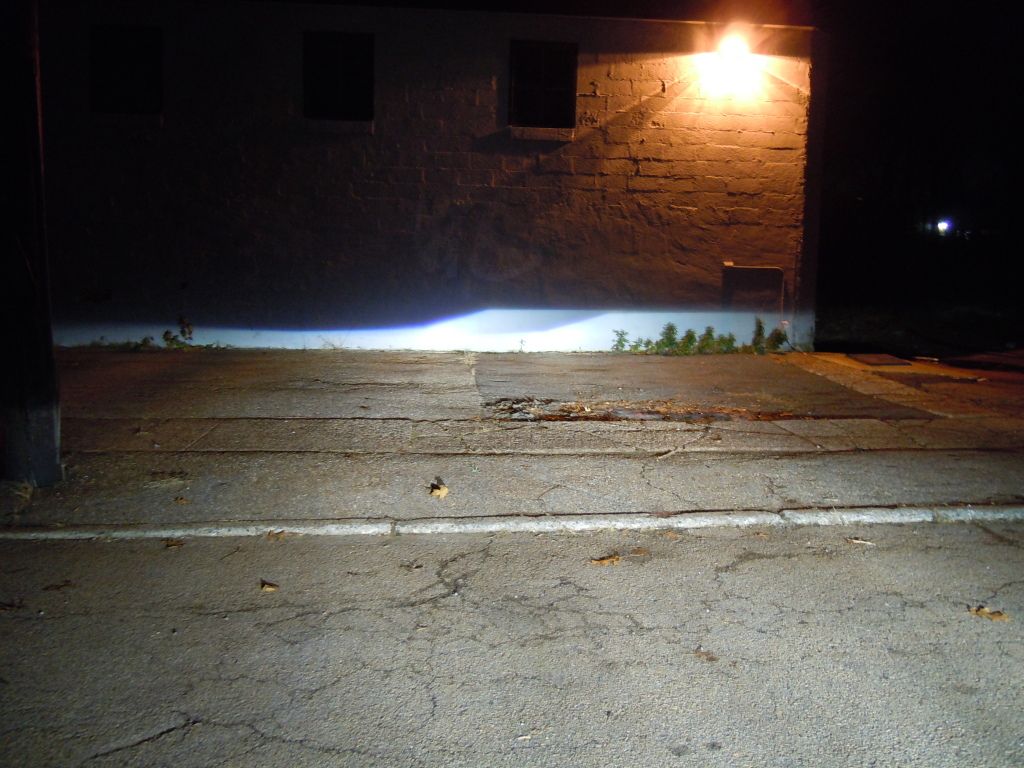
Also I don't have any after pics but it did make a difference. The car won't be back home until about Wednesday next week and then I can get some lens/bulb/cutoff pics for everyone.
its been like 6mths since i did it so i will do my best to remember exactly how it goes but the pics and once you start it will make sense.
And Chris thanks for the update on the tubes, I can't wait!
Also I don't have any after pics but it did make a difference. The car won't be back home until about Wednesday next week and then I can get some lens/bulb/cutoff pics for everyone.
Senior Member
Joined: May 2011
Posts: 353
Likes: 0
2004 E55
Hey where'd you get those yellow fogs at? I had a Lexus before my E55 and that had amazing HID's with yellow fogs. Which IMO is a pretty suite look. How are those? Do you have pics with them and the HID's on?
MBWorld Fanatic!
Joined: Feb 2009
Posts: 6,897
Likes: 85
From: Central WI (BFE)
SL55, ML500 & Acura TL
I had once heard that xenons light spectrum includes infrared and that is why they seem to illuminate road signs the way they do. Can anyone confirm or is this just craziness?
MB World Stories
The Best of Mercedes & AMG

7 Craziest Things AMG Gas Ever Built
Verdad Gallardo
New Electric Mercedes-AMG GT 4-Door Coupe Unveiled: 10 Things You Need to Know
Verdad Gallardo
6 Mercedes Models That Did NOT Age Well (But Are Somehow Still Cool)
Verdad Gallardo
Manual Mercedes? 6 Times Sindelfingen Let Drivers Have All The Fun
Verdad Gallardo
Mercedes SLR McLaren 722 S Is Extremely Rare Example Modified by McLaren
Verdad Gallardo
8 Classic Boxy Mercedes Designs That Have Aged Like Fine Wine
Verdad Gallardo
Flawlessly Restored Mercedes 190E Evo II Heads to Auction
Verdad Gallardo
Electric Mercedes C-Class Unveiled: 11 Things You Need to Know
Verdad Gallardo
Mercedes EQS Gets A Major Update: Everything You Need to Know
Verdad GallardoMBWorld Fanatic!
Joined: Jan 2007
Posts: 2,004
Likes: 241
From: Usa
mgLipGD
Ok as promised a how to on the lens swap. This is with active headlights so if you don't have this you can still use the steps and photos as a guide, you will just be able to skip a few steps which you should be able to figure out.
I did this all by myself, including taking off and reinstalling the bumper. Took me about 3-4 hours taking my time, taking pics, and trying to make sure on the 1st one I did I didn't break the active motor. The 2nd light took me like 30min to complete.
Key points to remember:
DON"T FORGET THE BROWN WIRE INSIDE THE HEADLIGHT THAT CONNECTS TO THE PROJECTOR ITSELF
AND
DON'T FORGET THE LITTLE GREEN WIRE THAT CONNECTS TO THE BULB HARNESS WHEN YOU PUT THEM BACK ON THE CAR.
Parts I used:
Osram Cool Blue Intense D2S (need 2 of these so about $200) they are true 5000k bulbs with 20% more light. Don't go cheap, these are by far the best bulbs I have ever installed on a car!!!
Lens swap to ZKW-R $40
http://www.theretrofitsource.com/pro...roducts_id=136
I have some more pics but these should be enough to get you through this. I will post nighttime pics when my car is back home next week.
PM or reply if you need help, ENJOY!
1.
Remove headlights following this, thanks Steve from Fabtech. This will show you how to remove and open the lights up.
https://mbworld.org/forums/w211-amg/...rojectors.html
2.
Once open and chrome shroud is taken off you will see how to unmount the projector itself. I don't have a pic but its like 3 white thumb screws. Then remove the chrome trim ring.
http://www.flickr.com/photos/44467369@N07/7688637896/http://www.flickr.com/photos/44467369@N07/7688637896/ by http://www.flickr.com/people/44467369@N07/, on Flickr
3.
Once removed you will have this:
http://www.flickr.com/photos/44467369@N07/7688625292/http://www.flickr.com/photos/44467369@N07/7688625292/ by http://www.flickr.com/people/44467369@N07/, on Flickr
4.
Take off black plastic shroud
http://www.flickr.com/photos/44467369@N07/7688624254/http://www.flickr.com/photos/44467369@N07/7688624254/ by http://www.flickr.com/people/44467369@N07/, on Flickr
5.
Remove these 2 top screws and remove the metal clip thing with a flat head screwdriver. I think this only applies to active headlights.
http://www.flickr.com/photos/44467369@N07/7688622200/http://www.flickr.com/photos/44467369@N07/7688622200/ by http://www.flickr.com/people/44467369@N07/, on Flickr
http://www.flickr.com/photos/44467369@N07/7688655864/http://www.flickr.com/photos/44467369@N07/7688655864/ by http://www.flickr.com/people/44467369@N07/, on Flickr
6.
Pry up the metal tabs holding the OEM lens in place
http://www.flickr.com/photos/44467369@N07/7688649524/http://www.flickr.com/photos/44467369@N07/7688649524/ by http://www.flickr.com/people/44467369@N07/, on Flickr
7.
Then remove the metal ring
http://www.flickr.com/photos/44467369@N07/7688647840/http://www.flickr.com/photos/44467369@N07/7688647840/ by http://www.flickr.com/people/44467369@N07/, on Flickr
8.
Then push the lens back and move the black frame forward and slid the lens out
http://www.flickr.com/photos/44467369@N07/7688644772/http://www.flickr.com/photos/44467369@N07/7688644772/ by http://www.flickr.com/people/44467369@N07/, on Flickr
9.
Old lens with ridges
http://www.flickr.com/photos/44467369@N07/7688641338/http://www.flickr.com/photos/44467369@N07/7688641338/ by http://www.flickr.com/people/44467369@N07/, on Flickr
New lens, nice and clear
http://www.flickr.com/photos/44467369@N07/7688642280/http://www.flickr.com/photos/44467369@N07/7688642280/ by http://www.flickr.com/people/44467369@N07/, on Flickr
10.
Slide the new lens in carefully, just as you slide the old one out. And slowly reverse order and put it all back together.
11.
Don't forget this little brown ground wire
http://www.flickr.com/photos/44467369@N07/7688633134/http://www.flickr.com/photos/44467369@N07/7688633134/ by http://www.flickr.com/people/44467369@N07/, on Flickr
It clips here to the projector
http://www.flickr.com/photos/44467369@N07/7688632184/http://www.flickr.com/photos/44467369@N07/7688632184/ by http://www.flickr.com/people/44467369@N07/, on Flickr
12.
Then before sealing all back I suggest putting a bulb in and then plugging it all back in to make sure its all working. Then back in the oven to heat the adhesive, once removed use oven mitts to press it firmly back until it cools back down some, about 3min.
13.
Reinstall headlight and bumper and enjoy!!!
Thread Starter
MBWorld Fanatic!


Joined: Dec 2008
Posts: 2,396
Likes: 38
From: Bay Area, CA
2007 SL55 AMG
one thing is that there is a notch on the clear lens, position it on top them plug in the bulb and test it out. Compare the cutoffs lines of both sides to make sure they're similar. If not, then rotate the lens 45 degrees and try again. This is to make sure the cutoff has the same level of sharpness and color.


MBWorld Fanatic!
Joined: Jan 2007
Posts: 2,004
Likes: 241
From: Usa
mgLipGD

MBWorld Fanatic!
Joined: Sep 2008
Posts: 3,575
Likes: 8
From: BC
Haters crazy
 light output really sucks even with new Phillips ultions... Might have to attempt it
MBWorld Fanatic!
Joined: Jan 2007
Posts: 2,004
Likes: 241
From: Usa
mgLipGD
Do it!!! promise its not that hard, my pics should help you along the way. If not I can give you my number and kinda walk you through as you do it.
Thread Starter
MBWorld Fanatic!
Joined: Dec 2008
Posts: 2,396
Likes: 38
From: Bay Area, CA
2007 SL55 AMG
I did my lens swap and when i had the headlight apart, I decided to paint the bezels. made a mistake because the weather was overcast. turns out it was too humid and the paint turned all hazy. I had to strip all the paint off and a few hour project turned into weeks already. :S


Senior Member
Joined: Jan 2011
Posts: 352
Likes: 1
E55 AMG


