When you click on links to various merchants on this site and make a purchase, this can result in this site earning a commission. Affiliate programs and affiliations include, but are not limited to, the eBay Partner Network.
Mid-project and I could use some HELP! Control arm ball joint
I was hoping I wouldn't have to do this but I'm part way into replacing the lower control arm and I'm stuck again right where I got stuck the last time. I'm hoping this time can be different though and not result in having to throw in the towel and send it to a shop.
The problem I'm having is that I cannot get the control arm to pop off the ball joint at all. I've tried a torch, a big ****ing hammer, Lube, the whole 9 yards...
I'm not working with a lift btw, this is all in the driveway on jackstands so space is semi limited.
Any help here would be awesome because I'm stuck.
Last edited by romeomikehotel; 01-25-2016 at 08:47 AM.
Reason: Easier search
Jack up the knuckle so it is high enough for the socket to fit in the gap (picture below). Once it fits, hold the socket in position (edge of the lip and wedged under the control arm) and drop the jack. The socket should be wedged in there and the knuckle should be elevated if it hasn't popped yet. And if it hasn't popped, kick the knuckle downwards really hard and it should pop. It may take a few tries. The key is to have a socket just tall enough and small enough to stay on the knuckle's lip.
You have to find the sweet spot and it will pop out with a click/ bang. I've done balljoints in 2 hrs/ side in my garage with just a 18mm wrench and a harbor freight balljoint press using this method.
Last edited by desired_speeds; 01-22-2016 at 07:46 PM.
wedge a tiny socket just tall enough to fit between the very edge of the knuckle lip and and lower control arm on the inside of the balljoint (side closer to the inside of the fenderwell). Make sure it stays there on the lip of the knuckle and pushes against the control arm then stick a jack under the knuckle and jack it up as high as you can. Be very careful not smash your hand. You may need to let more air out of the air shock to have it pop out.
You have to find the sweet spot and it will pop out with a click/ bang. I've done balljoints in 2 hrs/ side in my garage with just a 18mm wrench and a harbor freight balljoint press using this method.
I'll have to try this next. I just snapped a ball joint press and had no luck.
Are you using a pickle fork? ("ball joint separator") If not, run down to the nearest auto parts store and borrow/buy one and have a mini-sledge handy. 5-10 good whacks should do the trick.
I used a fork on mine. Works great as long as you are replacing the ball joint since it ruins the rubber boot. I ground the tips shorter on mine so I wouldn't dent the backing plate.
There was a mistake in the instructions....it's been a long day for me.
Jack up the knuckle so it is high enough for the socket to fit in the gap (picture above). Once it fits, hold the socket in position (edge of the lip and wedged under the control arm) and drop the jack. The socket should be wedged in there and the knuckle should be elevated if it hasn't popped yet. And if it hasn't popped, kick the knuckle downwards really hard and it should pop. It may take a few tries. The key is to have a socket just tall enough and small enough to stay on the knuckle's lip.
Last edited by desired_speeds; 01-22-2016 at 07:47 PM.
There was a mistake in the instructions....it's been a long day for me.
Jack up the knuckle so it is high enough for the socket to fit in the gap (picture above). Once it fits, hold the socket in position (edge of the lip and wedged under the control arm) and drop the jack. The socket should be wedged in there and the knuckle should be elevated if it hasn't popped yet. And if it hasn't popped, kick the knuckle downwards really hard and it should pop. It may take a few tries. The key is to have a socket just tall enough and small enough to stay on the knuckle's lip.
Just tried this and it bent the socket and then spit it out. Idk what the problem is here but it's like someone before me put locktight on this damn thing.
Getting those off can be one of the hardest things you'll ever do in automotive maintenance. I've had them stuck so hard that the ball joint stud breaks off and stays stuck in the spindle! At least at that point you can hammer it out.
I say try the pickle fork and a 4lb sledge hammer. Mind your fingers!
One of the first things I tried... No luck. I'm close to breaking out the cutting wheel and hacking the damn thing off at this point.
Have you tried a torch? The aluminum Control arm should expand faster than the steel ball joint shaft. then a good whack with a hammer should separate them.
Put a jack stand under the control arm to support the end and then a 3-4lb ball peen hammer sitting with the ball end down to the b/j. Have the nut just up enough to create a cup for the hammer to sit in. Then take a 5 lb sledge and hit the ball peen hammer's flat side and you will get it loose.
If any or all of this has already been posted , my bad
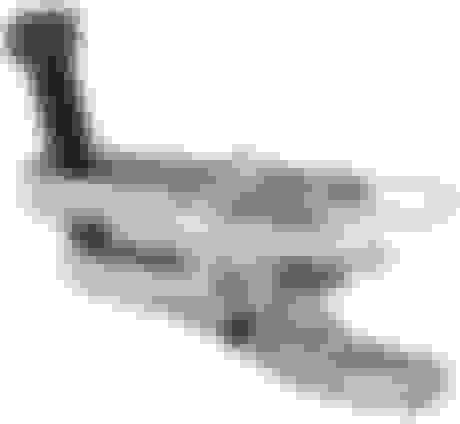
observation, your broken tool looks like a lighter duty version than that shown in post #7 (which I have used successfully on the ball joints of my sl55).
It does take a surprising amount of force to separate these. What I found that works is using the tool shown in post 7 (hand tools with cheater bar to bring it to reasonable preload) along with (at the same time) the old timer method of hitting the control arm (with a mini sledge, with as much force as you can muster while not hitting surrounding components) on its side where the tapered stud passes thru - this will upset the connection of the 2 parts while it attempts to drive the tapered stud out of the tapered hole.
you can alternate with a medium to light tap with the hammer on the top of the tapered stud (actually hitting the part of the tool shown in post 7 that is directly above it).
hope that helps.
Chris
Last edited by latemodel21; 01-24-2016 at 12:25 PM.
Thanks for all the help guys and for jumping in quick with suggestions.
I finally got it off and got the new control arm off. Now I'm off to get an alignment.
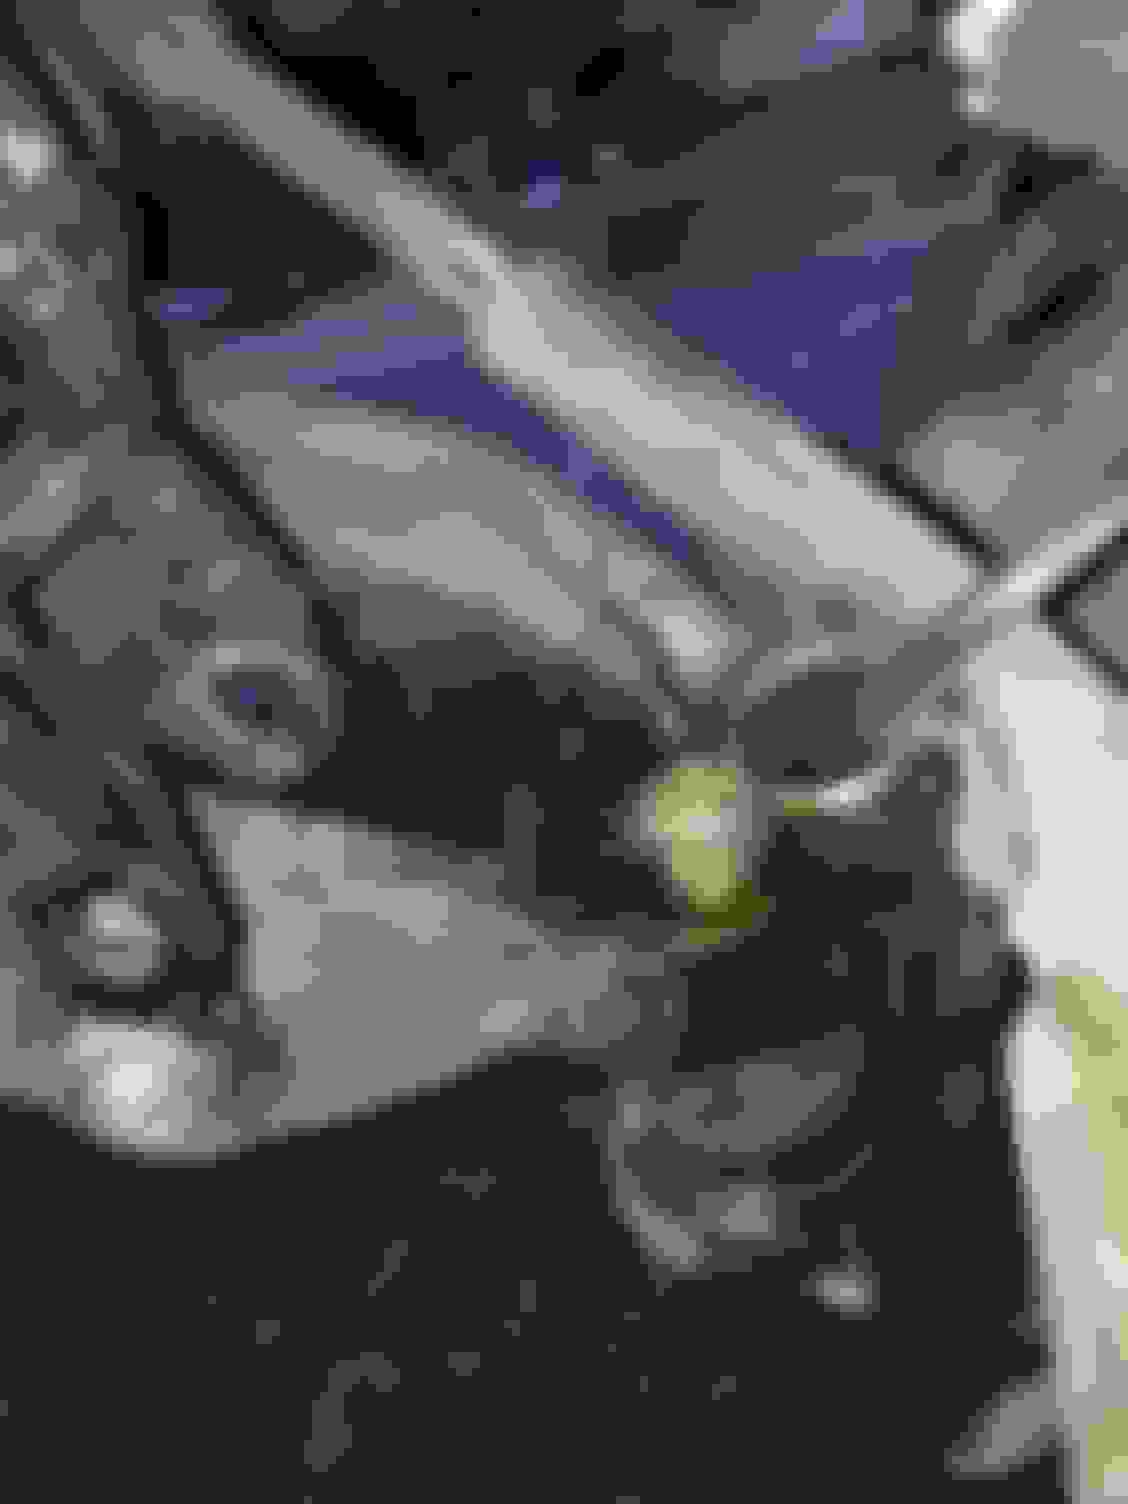
As for what it took to get off... I spent a good amount of time with a cut off wheel and a dremel with a small cut off wheel doing small pie cuts until it weakened enough to pry off. Now I'm waiting on a new ball joint to come in and I'll have to redo some of my work but I need the car running for work tomorrow so nbd. I'll attach some pictures of the carnage.

 01-22-2016, 05:44 PM