When you click on links to various merchants on this site and make a purchase, this can result in this site earning a commission. Affiliate programs and affiliations include, but are not limited to, the eBay Partner Network.
I am changing the rear main seal on my 2007 E63 AMG and I was wondering if there was any other seals that I should change along with it so I don't have to take everything apart again so soon.
When you remove the Tranny, there aren’t any other “Seals” hiding back there other than the Rear Main Seal itself. You’ll want to drill a small hole in the metal ring of the Seal and then screw-in a wood screw and use a lever to pry it out. I put screws on each side. Then you’ll ideally use a OEM Install Tool, but Guess tapping one in could work too? I used some Red Grease on the Crank (inner) side and some MB Sealant on the outer edge and haven’t an issue since. Since you have to remove the Torque Converter from the Flywheel, be may want to get new bolts, I did, but when comparing the new ones with the originals, they protruded past the Flywheel more than the originals, so I reused them! All the other bolts to mount the Tranny can be used again as they are not Torque to Yield (ie-one time use) as most suspension arm bolts in the rear are, for example.
I went whole hog and removed the whole Exhaust, replaced both Driveshaft Discs, as well as the intermediate bearing, all 8 rear Subframe Bushings, Carrier Bushings for the new rear torque Arms, 8 K-Mac OEM Bushings for the rear upper arms, rebuilt AirSprings all around, New rear shocks, Hubs, Brakes, Rotors, LSD & 3.06 Ring & Pinion. I spent a good amount of time on Cleaning the exhaust due to oil having been burned-in because of all the blue smoke resulting from my leaking Rear Main Seal!
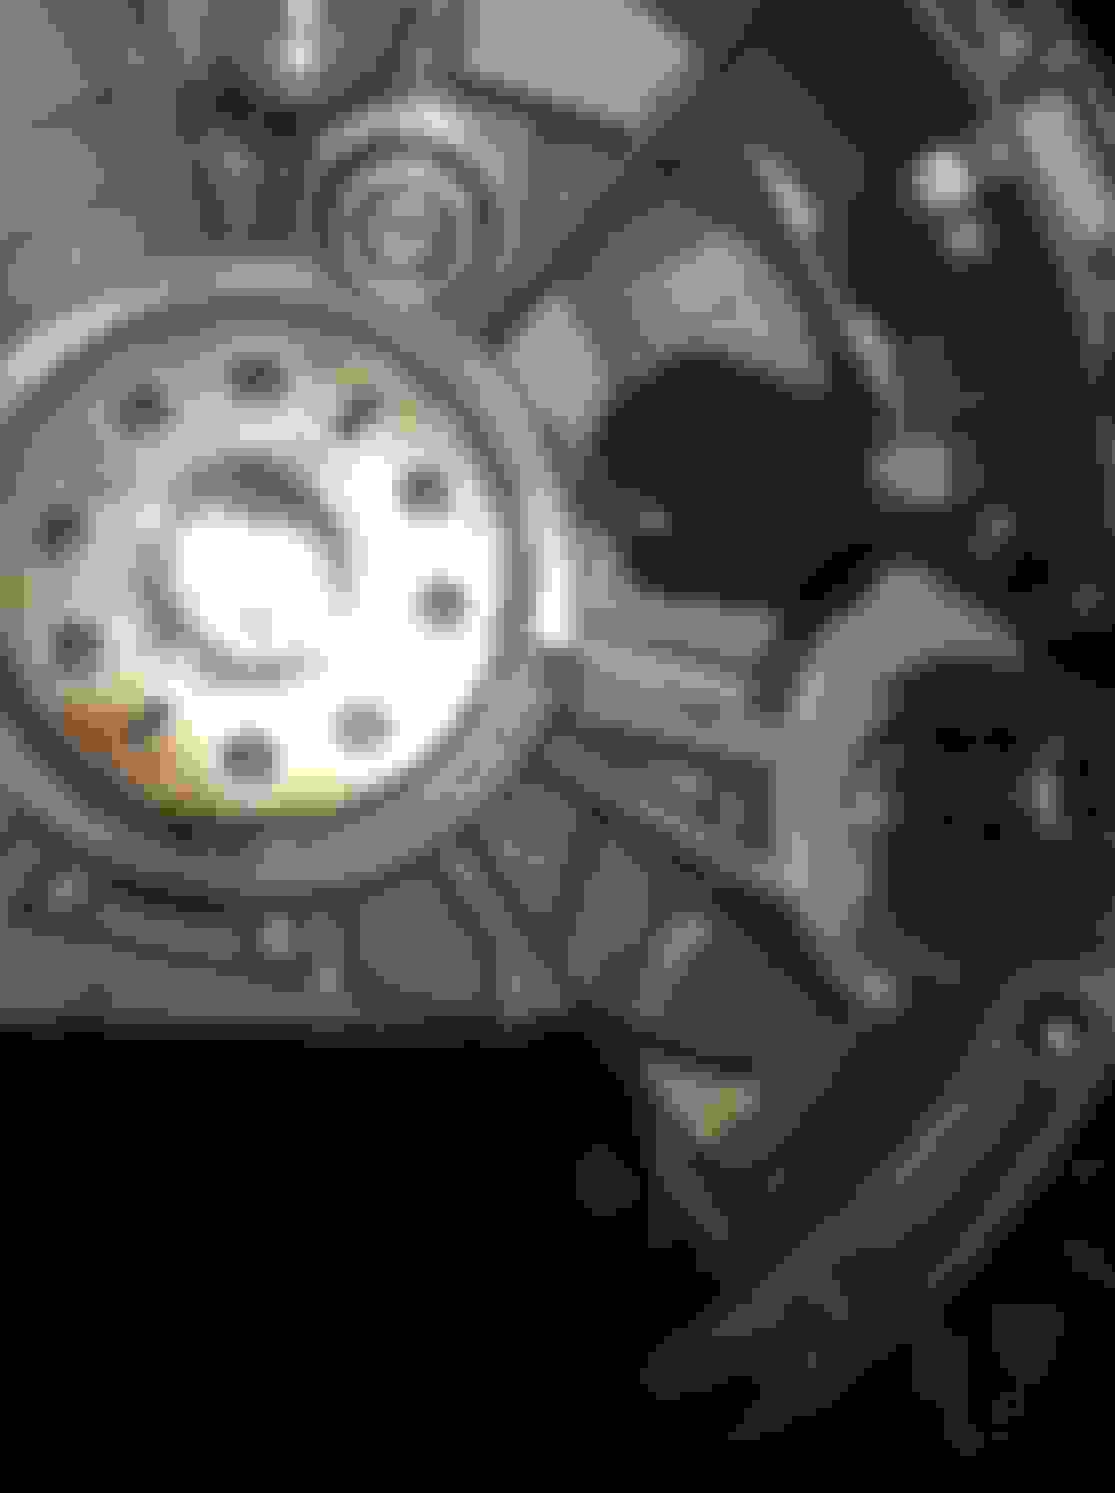
What you won’t find in the WIS is the fact that the Torque Converter is always only filled up halfway as I mysteriously found out that it can drain/leak from what must be some sort of weep hole located inside the inner donut area. I found that out after I had initially drained before removal of the Tranny. Then when I had it out, I manually filled it up before placing it on the Tranny Output shaft, but while I was doing it I was shocked to notice a puddle of oil was forming at my feet. That was when I put 2&2 together and came to the realization that there must be a weep hole obviously with a very tight tolerance to the Tranny Output Shaft to allow for some type of Oil renewal/refresh while driving? It would then make sense that there may always be a very small amount of oil that may get past, which may be why there is that rubber plug with a hole in it where the Tranny mates with the engine? Money Shot! Welded, painted UPD Rear Toe Arm Mount! Clean Pipes! More Clean Pipes! Also, the UPD Driver side Rear Toe Arm Mount and you can just see the new Bushing installed at the rear side of the Diff. I had to Re-Lower the Rear End of the Subframe in order to get a torque wrench to tighten those Diff Bolts (IIRC-180NM!!), otherwise the space between the spare tire tub was too small to allow for a Torx ratchet. With all my weight on my longest breaker bar I maybe managed to tighten to 140-50Nm. This required my putting my Tranny Jack under the Diff to support the Subframe. Pretty tricky! Drive Shaft (Front Side) New Bolts & K-Mac OEM Bushings! I chose to tighten them to speck as you see it propped up by jacks at each corner. Even so, the Poly K-Mac Bushings allowed for smooth up/down movement of the arms, unlike OEM which would have required tightening them under weight of the car because OEM bushings being rubber will keep the arms in place if tightened. How that can be done remains a mystery, but with the K-Mac, one doesn’t have to concern themselves with that requirement. I did retract the wheel carrier with a Jack in order to tighten the Torque Arm at the Carrier Side as the new bushing I installed at the Carrier was OEM. The UPD Toe Arms were of no concern either as there is no rubber to contend with. Installing Upper Rear Subframe Bushing with my DIY Bushing Replacement tool completely sourced from HD and Ace Hardware! For each of the Upper Arms, I carefully measured with a digital Caliper the clearances the bushing shows on each side and tried my best to install the K-Mac in similar fashion. In the end after installation of all the K-Mac’s, while raising the Carrier to check for proper Up/Down alignment, I had to remove a couple of the Arms to adjust positioning to correct the binding that resulted from less than perfect bushing placement. Breaking apart Rear Rotor from Rear Hub! What you don’t see is the 1/2” Breaker Bar with the Handle of my Lift Jack doubled over it to loosen that Rear Axle bolt obviously done with wheels on the ground! Close Up of Rear Main Seal Torque Converter/Flywheel Comparison of the original TC/Flywheel “Cap” bolts (green) with the longer new ones? Transmission Control Module with the TCU permanently installed (see the Siemens VGS2) and above that, the black Speed Sensors below the white Oil Floater.
I am changing the rear main seal on my 2007 E63 AMG and I was wondering if there was any other seals that I should change along with it so I don't have to take everything apart again so soon.
Thank you
You should change the transmission front pump seal.
Mercedes SLR McLaren 722 S Is Extremely Rare Example Modified by McLaren
Slideshow: A one-of-one U.S.-spec Mercedes-Benz SLR McLaren Roadster became even rarer after a factory-backed transformation at McLaren's headquarters.