When you click on links to various merchants on this site and make a purchase, this can result in this site earning a commission. Affiliate programs and affiliations include, but are not limited to, the eBay Partner Network.
Today I am going to start with the passenger side of my '13 63 wagon with the m157. I only have about 54k miles and wanted to get this done if it had not been. There is a slight leak at the cam cover so I figured now is the best time. It has the new timing chain but have been unsure if it had the valve on the left side since its a 13.
Does anyone know the proper torque specs of the tensioner and the cam cover? or do you have the tsb or Wis docs?
Just did this with a friend. by far the hardest part was the getting to pipes both on an off the turbo. they are a very tight fit.
If/when I do it on my car I will be removing the fan assembly to try to get a bit more room.
Whats your engine SN? the TSB posted here is the OLD one, its actually been updated several times. I used to think 2014+ were immune, turns out they are not, they have check valve but the old tensioners.
Likely yours has check valve, but older tensioners.
I actually thought I posted that day but I guess I forgot how to do it correctly.
I got through the procedure, but still have a leak, same one as prior to installing. I abided by the the thin sealer bead but it was too little on the underside of the cover, apparently.
a good two hours on the passenger side.
I did not have a check valve, or new tensioner so the project was worthwhile.
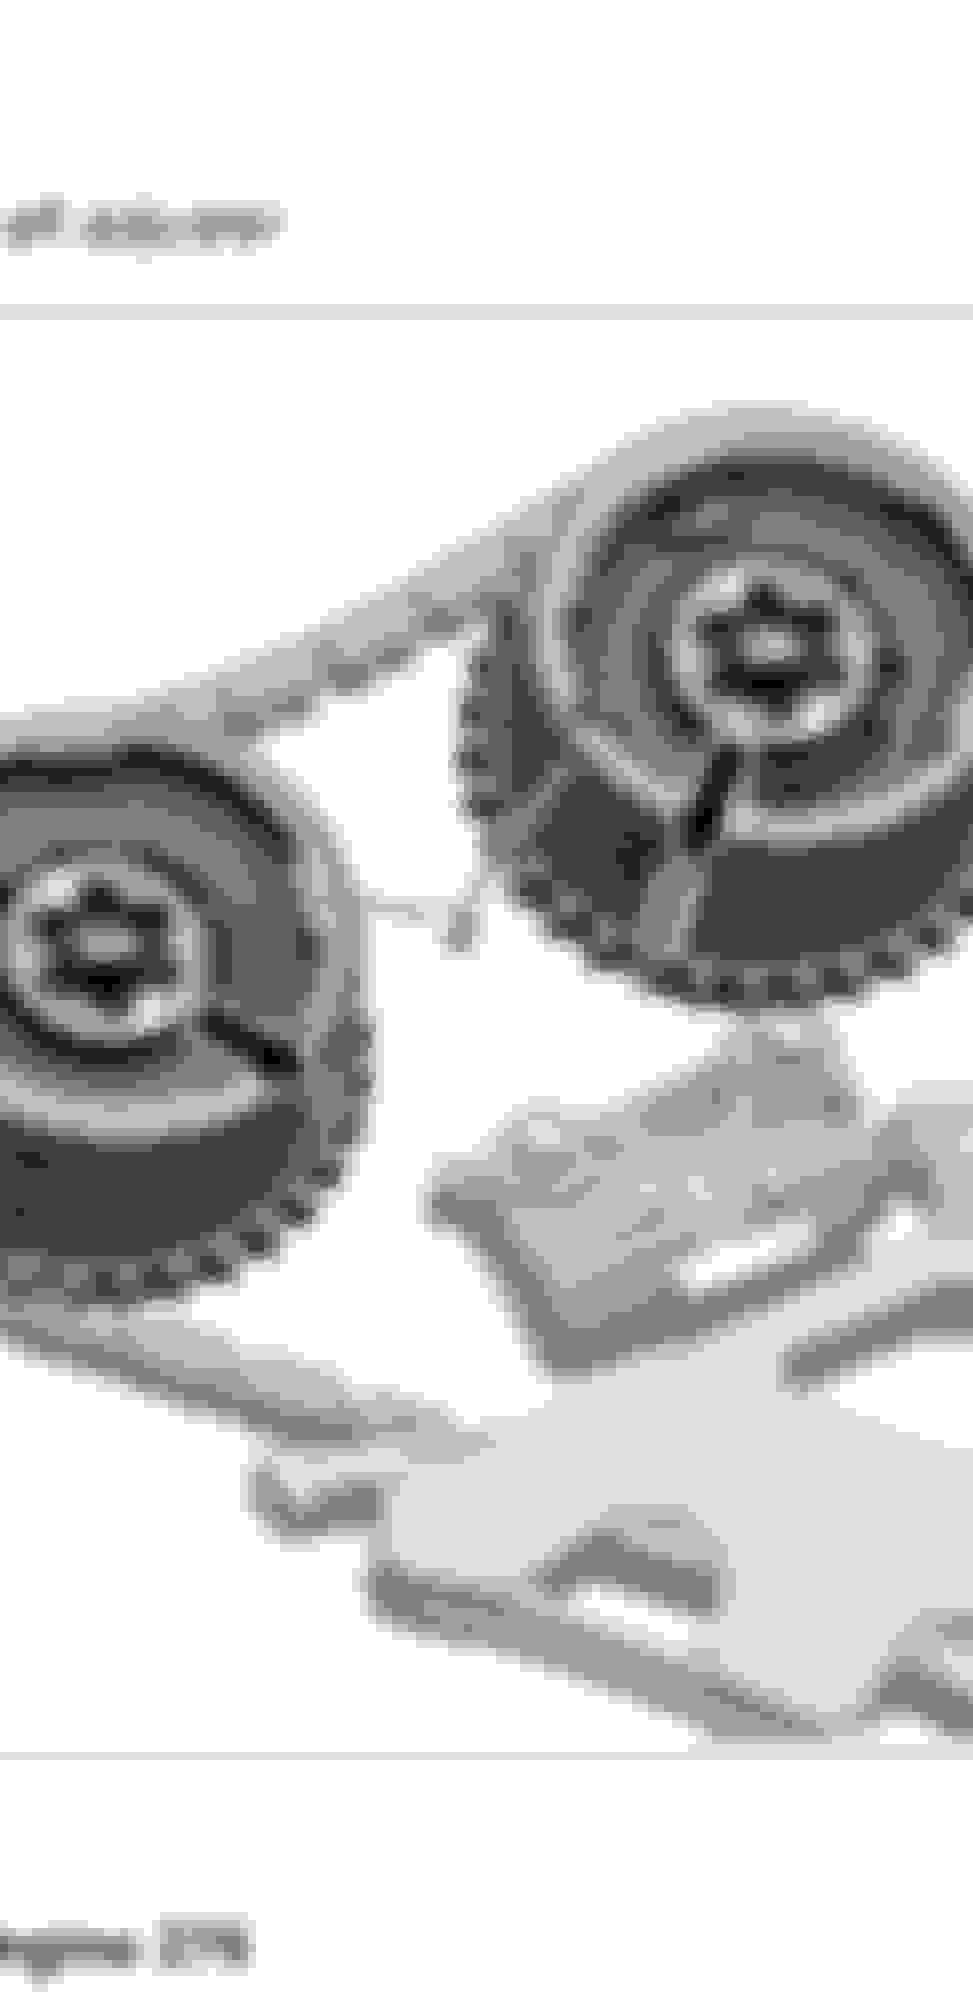
Who will design a solution for the oil. Sometimes I get smoking...which is due to pcv imo. Not too much to remove. The turbo pipes clamps are hard to reach and no type of extension seemed to help, but the tube can wiggle off. The charge pipe was just as hard due to the the type of band clamp used, the type that grab and don�t spin...No coolant pipes needed to be removed. Shove towels everywhere just in case before removing tensioner until replacing with new and pulling pin. No check valve What it looks like before pressing in..
Not too hard but kicking myself for being too careful with the sealant...not the first or last time.
I used the ebay press in tool for the check valve and was very careful. Aluminum is sometimes tricky to judge and this is a tight fit part.
I resealed the passenger side and all is well on that side. In the process of replacing the magnets on that cover one bolt broke and fortunately I was able to get it right out. All new bolts were used for the magnets and cam end caps.
next I decided to attack the driver side (US). In hindsight, start with this side since more plastic tubing and the thermostat will need to be removed and they tend to break. There has been an update to the thermostat which requires a new water pump and these thermostats will break upon removal almost definitely.
So if having to replace turbo coolant hoses and the thermostat and possibly a water pump if you can�t find the old thermostat as new old stock, you will have to remove a lot of the passenger side parts again. I broke both coolant hoses and the thermostat.
The cam cap on the driver side would have been possible to do without removing the oil cooler or any large items if it weren�t for a dowel pin/ bushing. You may choose to remove this bushing to make future repairs a very fast, inexpensive job. Literally will save 500 and about four hours of time, at least.
This side I also broke a new bolt, or two and yes, everything got a proper torque reading. It�s just the nature of the game when dealing with aluminum. That meant this side got pulled also. Thankfully the magnets went on without a hitch.
The orientation and shape of this tensioner is different than the passenger side. Remember the engine must be at 40 past tdc. It WILL NOT install otherwise. The dowel pin that made removal an install a chore As you can see, the cap can not be removed unless that dowel can be removed into the cap.if left In the head, there is not enough clearance. See how the cap touches the turbo on the bottom right. The dowel had to be �captured in the cap� cause if it was on the block side, it could not be removed, at all or from any orientation without turbo disassembly. The sealant from factory may capture this dowel in the block. What a dumb move by Mercedes, truly.
Last edited by Baltistyle; Jun 20, 2021 at 01:52 PM.
Reason: More info
The end of the cap hitting turbo, closer up. I left the dowel in, And since I broke a bolt and had to reseal the side it took quite a while and a mess to get that cap off after installing it. The little plastic clips on the thermostat will break, so make sure you have the correct thermostat for your year and vin.
After getting the cap back on it�s pretty easy to install everything.
I started this job because I didn�t think there would be a way for me to convince my aftermarket warranty company that I needed this repair. The whole repair was not very easy and took me a long time and I needed more parts than I thought I would but what I know is that my engine as a 2013 wagon with split cooling did not have check valves or updated tensioners in either side. So while this took me more energy than I expected, I know it was well worth it as a nice preventive maintenance item for the engine. I only have 54,000 miles and would like it to last as long as possible. I did not have more than a half second of rattle (depending on oil) so this was done truly to prevent issue. I did this entire job on an incline driveway all from the top side without a jack. It can be done. Just go slow and continuously check torque.
For what it�s worth the end of my Vin is DA728971. 2013 model s e63 wagon, US.
Please feel free to ask any questions. I know there are many of us that wonder if this has been done. I know I wondered. I purchased my kit from fcp and the press in tool from eBay (pm me if you�d like to borrow it)
The one question I would ask to the Mercedes Vin number/TSB experts out there, according to the TSB, would this car have fallen in the range?
Last edited by Baltistyle; Jun 20, 2021 at 01:50 PM.
Reason: Spelling
After getting the cap back on it�s pretty easy to install everything.
I started this job because I didn�t think there would be a way for me to convince my aftermarket warranty company that I needed this repair. The whole repair was not very easy and took me a long time and I needed more parts than I thought I would but what I know is that my engine as a 2013 wagon with split cooling did not have check valves or updated tensioners in either side. So while this took me more energy than I expected, I know it was well worth it as a nice preventive maintenance item for the engine. I only have 54,000 miles and would like it to last as long as possible. I did not have more than a half second of rattle (depending on oil) so this was done truly to prevent issue. I did this entire job on an incline driveway all from the top side without a jack. It can be done. Just go slow and continuously check torque.
For what it�s worth the end of my Vin is DA728971. 2013 model s e63 wagon, US.
Please feel free to ask any questions. I know there are many of us that wonder if this has been done. I know I wondered. I purchased my kit from fcp and the press in tool from eBay (pm me if you�d like to borrow it)
The one question I would ask to the Mercedes Vin number/TSB experts out there, according to the TSB, would this car have fallen in the range?
I bought a 2014 because when I researched this issue, the current TSB posted here said my car was exempt. Turns out somebody posted the older version of the TSP It has been updated several times, and now the cutoff line is somewhere in the mid-15 or 16-year model run.
There are actually multiple tensioner designs. Hopefully these newest ones you and I just installed are good to go long term.
That's really disheartening about the driver side. I watched a video of them doing this on a GL550 with the m278 motor, and they were able to remove the cover without taking off the oil filtering housing and coolant lines. I was really disappointed when I saw that you had to remove yours. Not looking forward to having to do the driver side.
You don't think there'll be any way to file down or vise grip that Dow out of there? I mean it's just an alignment down right?
I did consider cutting, or hammering out this pin with a chisel but honestly because I did not know if it was permanently in the head or had to be removed, I opted to �figure it out�. It would not push into the head even a partial millimeter but I could see it was able to wiggle out and that�s when I tried wiggling it into the cap and then levering it off. Taking out the magnets and with no dowel would leave just the oil filter housing hoses to be placed aside and the cap levered out. The wis documents don�t show this dowel either, that I can remember, so maybe they don�t all have it? You can imagine the words that came out of my mouth when after removing all of the auxiliary parts that it still did not come out. I considered towing to my Indy more than once but just repeated to myself that all it takes is time and patience and it was not hard but frustrating.
good luck. It�s a hard job for pm but when I was done, the engine �seems� quieter on start, remembering it was quiet to start with albeit direct injected �quiet�
honestly as a driveway mechanic, this is one of the more involved and satisfying jobs I have done.
Last edited by Baltistyle; Jun 20, 2021 at 09:04 PM.
Fast forward to 15:00 on this video...
he pulls the cover off without removing any coolant or oil parts.. granted, m278, but I assumed it was the same. It appears the dowel stayed in the head.
I will look at the video, and Wish I might have seen it before I started :-)I�m a very skilled �engineering mind� and there was no angle, safe amount of force or ability to not destroy the bushing if the parts were to stay on such as the oil cooler. I only got so far by going one step deeper each time. I did not read the directions and just go. I took it down without directions before reading them once I had to go further.
And to add, it�s very possible that that dowel was 1 mm shorter and that would have done it. Perhaps mine had sealant behind the dowel, though nothing changed once clean.
that they are one man one engine may mean there is variability in this dowel.
btw. Car is running like a champ now, as always.
Last edited by Baltistyle; Jun 21, 2021 at 05:46 PM.
Reason: Looked at the pics
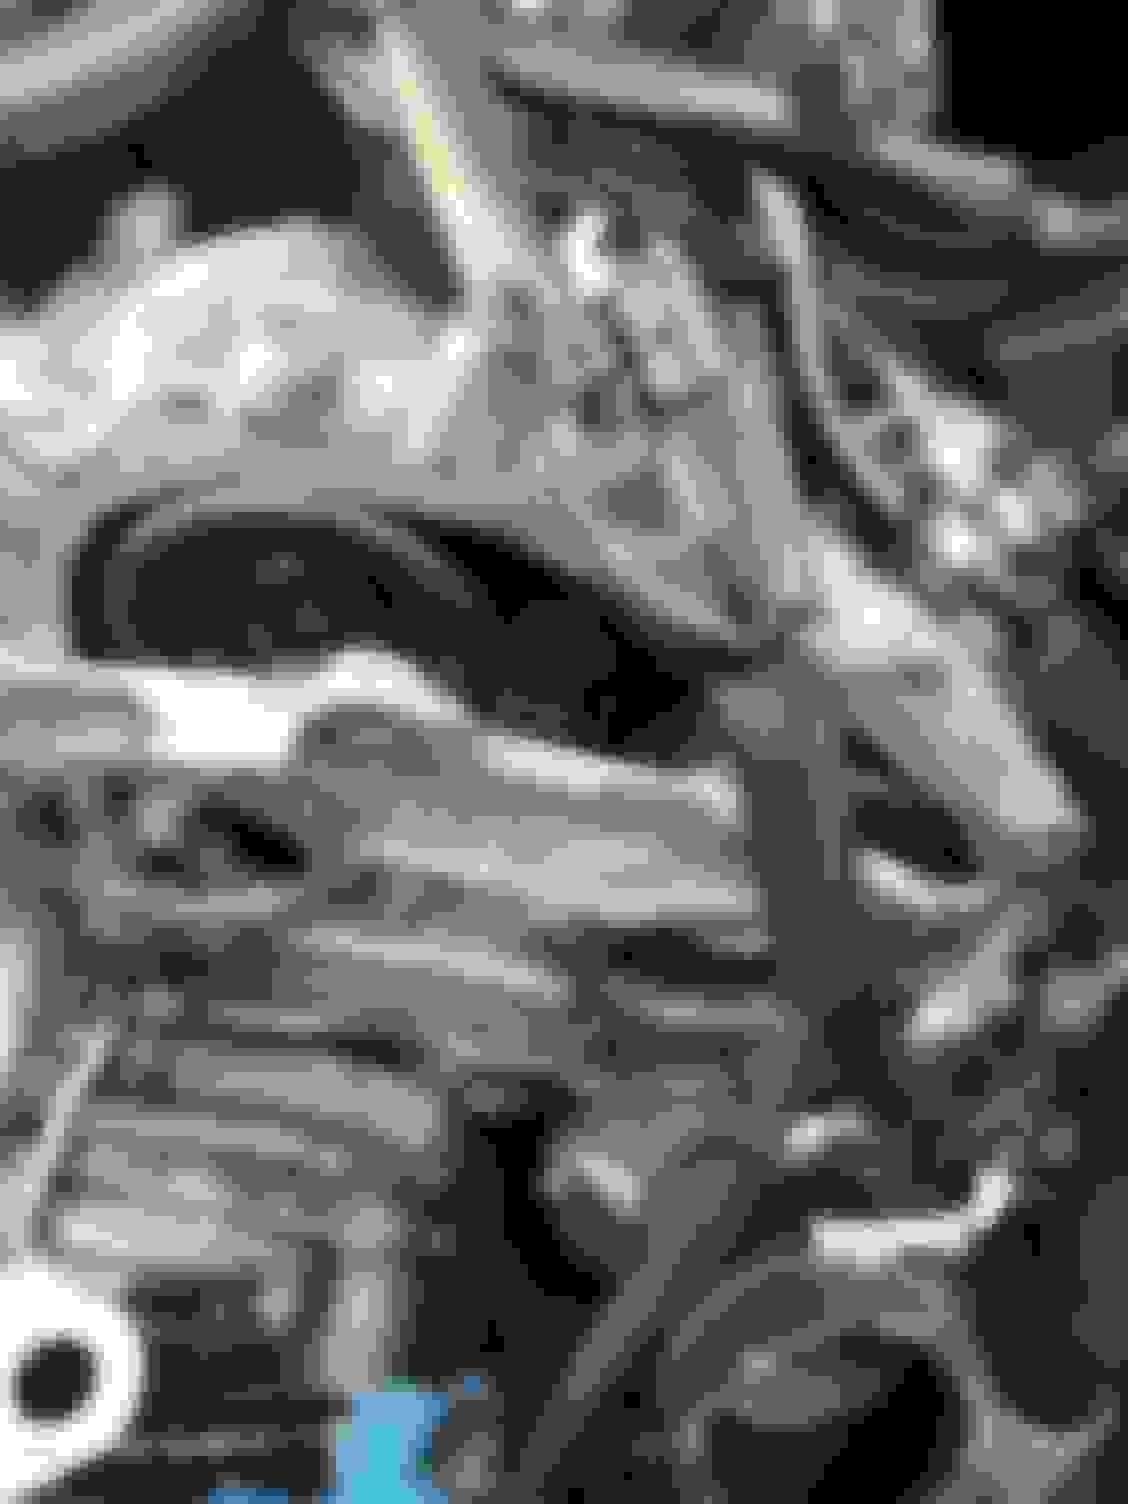
So I hate to be the bearer of bad news but here is the difference between the two.
The oil filter housing is different.
ymmv
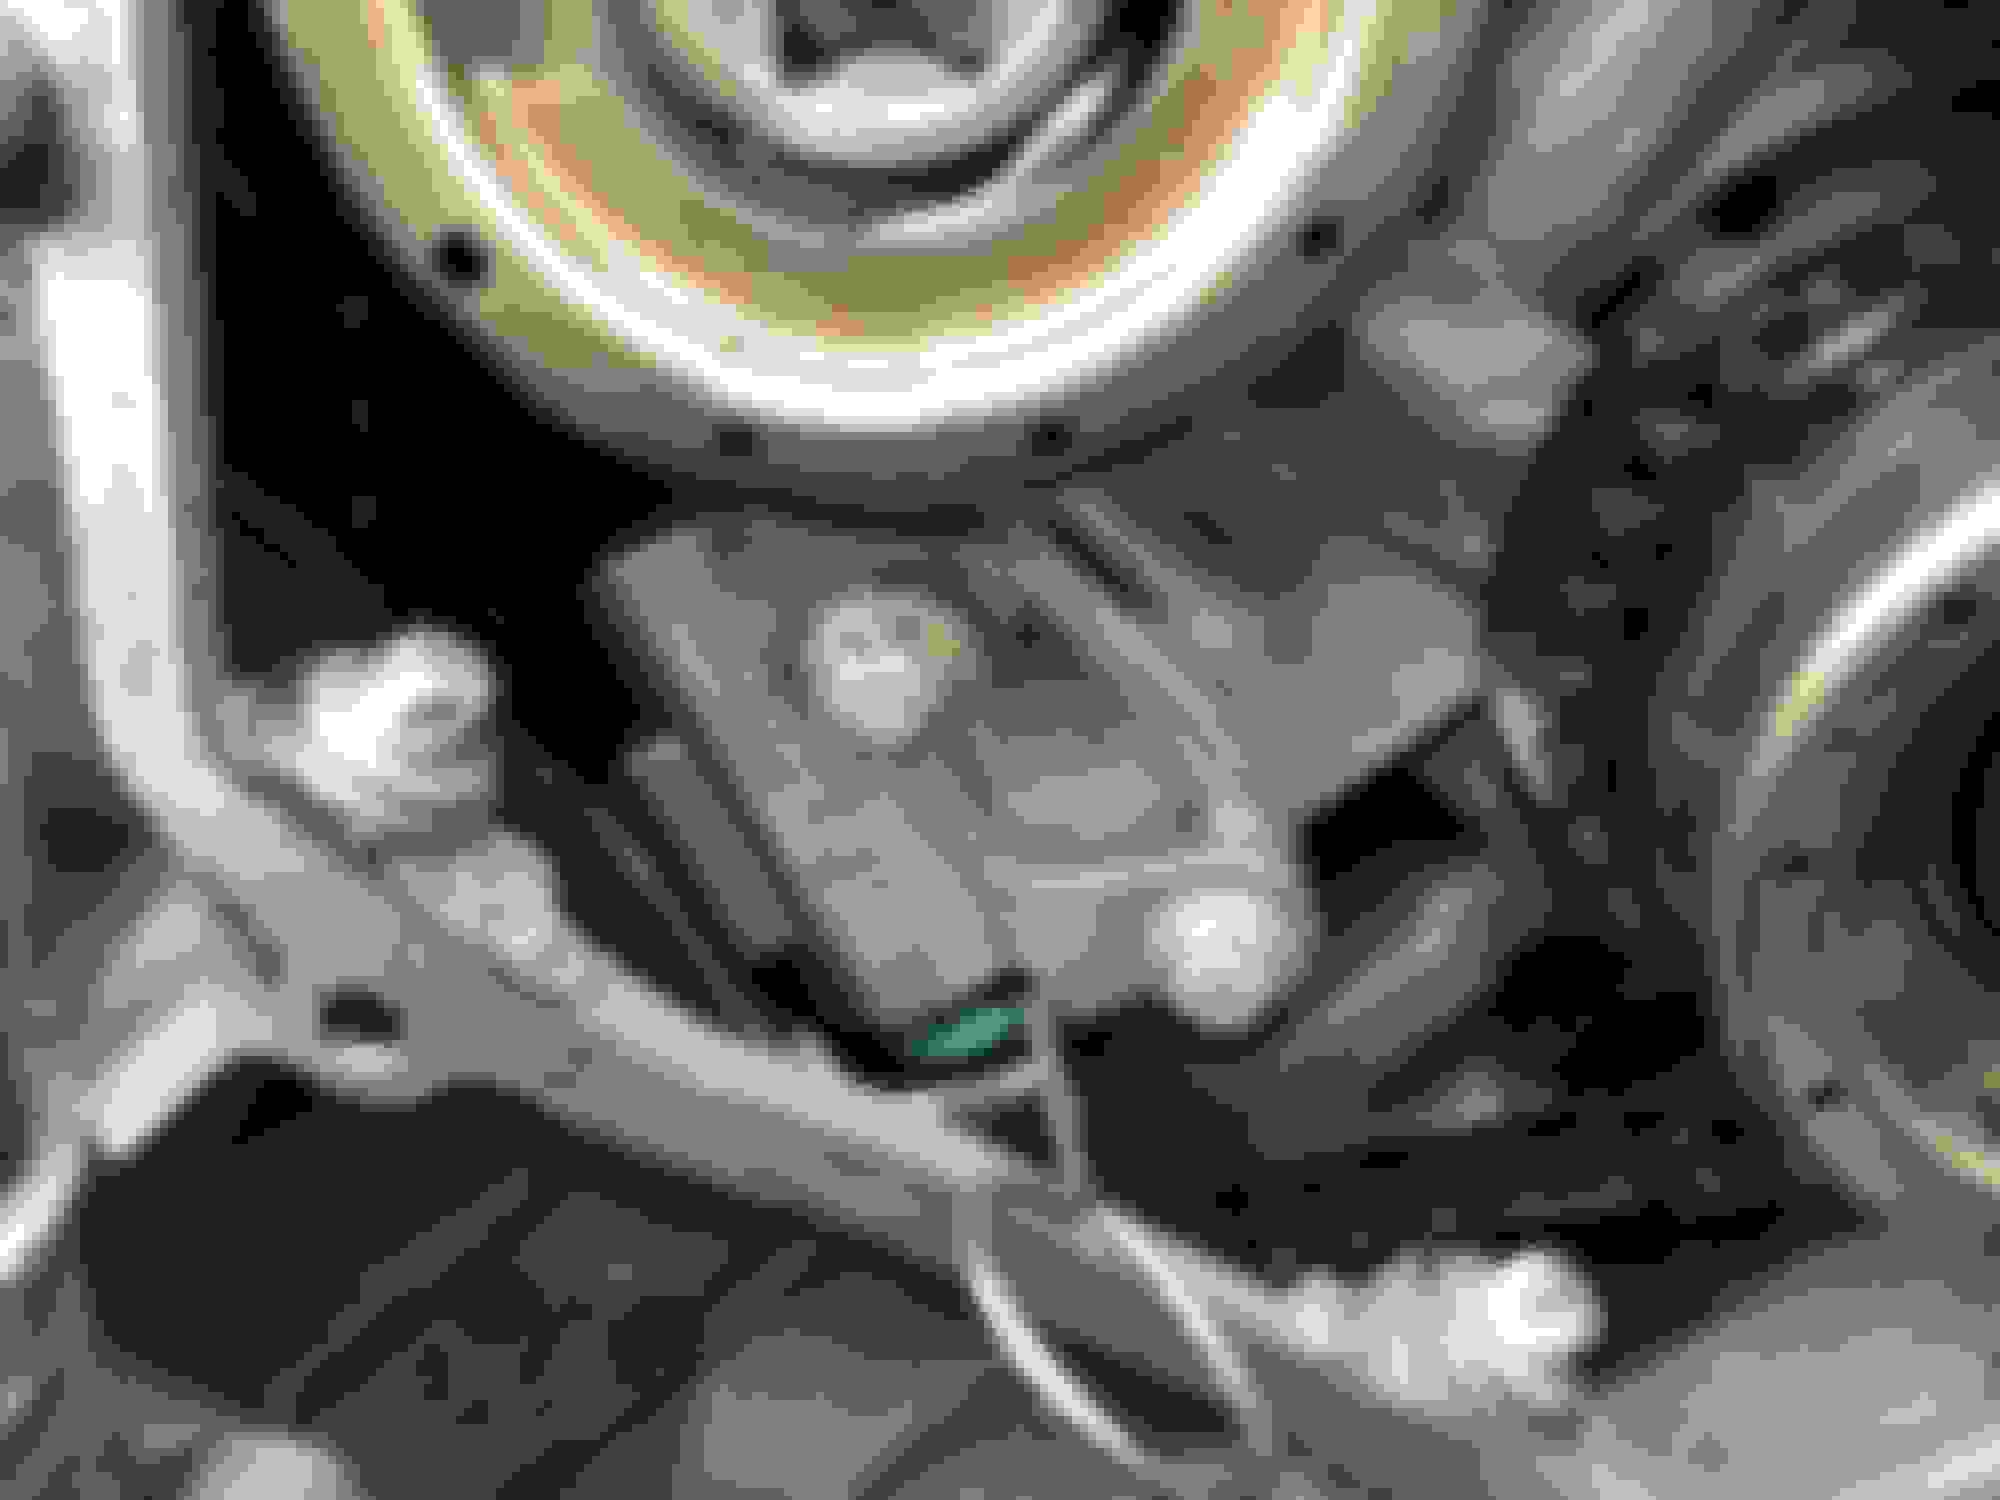
This from the video, note the oil lines from the 63 are absent. These were not visible to me. The wis docs you uploaded are of this oil filter housing. It was a document That got me through but was not exactly correct. This is the 63 housing from the same angle that I just shot.
So based on what I see, you will be able to tell when you look at your engine. The removal as shown in the video was not even close to what would have worked for me. That was tried, literally.
Let us know. This m157 check valve tensioner thread should be valuable to those who want to try this.
Last edited by Baltistyle; Jun 21, 2021 at 06:20 PM.
Reason: Because Apple auto correct isn�t always correct
Hello all, first I would like to thank Baltistyle for this thread.
I've got issues with the rattle as well, just not sure which parts to order. My car weirdly does not fit in any of the named categories. So I'm kind of lost, which tensioner to order. Keep in mind I don't care,
if I need to replace it or not. I want to replace it, with a fresh one. But I have no clue how the check valve will affect the tensioner.
I believe this two are installed in my car. (Yes very old )
- A2780500511 / RIGHT
- A2780500411 / LEFT
Engine 157:
1) From engine number 157 9xx 60 009368 up to engine number 157 9xx 60 017984 install check valves and chain
tensioners
2) From engine number 157 9xx 60 017985 up to engine number 157 9xx 60 022333 (December 2012) install check
valves (optimized tensioners installed in this production range)
My VIN WDD2183741A000370.
My Engine: 157 980 60 000390.
So should I order the old parts, or the replaced ones.? Any idea?
Since the true engine range may be unknown, buy the tensioner and valve kit for the 157 from fcp euro. (My tensioners also had a 278 part number,stock) The kit will come with what you need. Worst case is you dont need the valves. Also remember proper tools (possibly needing the ebay check valve install tool) and gasket maker. Just call them..
Last edited by Baltistyle; Nov 26, 2021 at 09:19 AM.
Since the true engine range may be unknown, buy the tensioner and valve kit for the 157 from fcp euro. (My tensioners also had a 278 part number,stock) The kit will come with what you need. Worst case is you dont need the valves. Also remember proper tools (possibly needing the ebay check valve install tool) and gasket maker. Just call them..
I see it's A2780504700
A2780504800
It's more expensive than in Europe, need to pay tax, costume duty tax. But a nice site for information. Tnx for that!
So you had a rattle, and this fix..., fixed it right? I've heard it yesterday, now I'm eager to fix it.
Hello all, first I would like to thank Baltistyle for this thread.
I've got issues with the rattle as well, just not sure which parts to order. My car weirdly does not fit in any of the named categories. So I'm kind of lost, which tensioner to order. Keep in mind I don't care,
if I need to replace it or not. I want to replace it, with a fresh one. But I have no clue how the check valve will affect the tensioner.
I believe this two are installed in my car. (Yes very old )
- A2780500511 / RIGHT
- A2780500411 / LEFT
Engine 157:
1) From engine number 157 9xx 60 009368 up to engine number 157 9xx 60 017984 install check valves and chain
tensioners
2) From engine number 157 9xx 60 017985 up to engine number 157 9xx 60 022333 (December 2012) install check
valves (optimized tensioners installed in this production range)
My VIN WDD2183741A000370.
My Engine: 157 980 60 000390.
So should I order the old parts, or the replaced ones.? Any idea?
Your looking at the older TSB,
It apparently took a ~few tries~ for MB to fix this lol. it now includes m157 even in 2015 models. There are several older version of the tensioners, it was like they kept trying them until they got it right.
Here is the latest:
Engine 157: Up to engine 1579xx 60 022333, install chain tensioners and check valves. From engine 1579xx 60 022334 to engine 1579xx 60 047752, install chain tensioners only
pn A 278 050 33 00/A 278 050 40 00
Any idea which one of the 2 different check valves I need to install? Or do I need to measure the diameter of the oil bore to figure it out?
This kind of clues that I need the A2780504000 one.
A 2780503300 Non-return valve (check valve) 2, Installed in factory. Only for cylinder heads with staged bore - larger outside diameter (8 mm)
I spoke to a tech the other day about this, short story he said order both types, since you never know.
Cheaper to look and order after haha. Thx all for help! Hope it goes away. Darn it can't drive my car again
Sorry but no it�s not cheaper to look and order after. If you order the wrong valve it will fit but not be right and you won�t know because you can�t compare. And if you do this wrong, it might be rather expensive.
yes I had the rattle for a year and a half of my ownership (ten k miles) and this solved it. Oils or additives did not work long term.
I mean if I check this Larger outside diameter (8 mm)
You'll need the next gen. chain tensioners too, otherwise the rattle is still there.
I have the check valves installed.
No rattle on cold starts but app. 2 or 3 sec. when engine is still warm and sits longer than 30 min.
MB bulletin says it's purely cosmetic and causes no harm.
I decided to just live with it.
Alright! I hope I have the same fix as you. Don't want it to get more expensive.
Btw found this, I hope someone finds it useful. I sure will!
I spoke to a tech the other day about this, short story he said order both types, since you never know.
@kennyd hey brother - old thread but where do you find the engine SN on the M157? My timing chain rattle seems to be getting noisier on my 2015 e63S and am trying to read the TSB to determine if my car already has the updated tensioners? Since its a 2015 it has the updated timing chain and i assume the check valve installed but I havent taken the timing cover off to actually check those.
@kennyd hey brother - old thread but where do you find the engine SN on the M157? My timing chain rattle seems to be getting noisier on my 2015 e63S and am trying to read the TSB to determine if my car already has the updated tensioners? Since its a 2015 it has the updated timing chain and i assume the check valve installed but I havent taken the timing cover off to actually check those.
thx in advance !
the tsb (technical service bulletin) is included in the post..
the tsb (technical service bulletin) is included in the post..
yup got the TSB doc but for the life of me cannot find where the actual engine Serial Number to my car is located? Its printed on the engine? or in the dash menu somewhere????
yup got the TSB doc but for the life of me cannot find where the actual engine Serial Number to my car is located? Its printed on the engine? or in the dash menu somewhere????


 )
)


