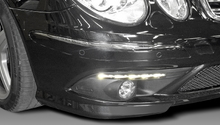
Mercedes-Benz C-Class and C-Class AMG: How to Install HID Fog Lights
Normal fog lights offer a limited sense of visibility. However, you can upgrade to brighter, more efficient HID lights which are more suited for a evening field of view. This article explains the simple process of upgrading to HID fog lights on your C-Class or C-Class AMG.
This article applies to the Mercedes-Benz C-Class and C-Class AMG (2007-2014).
Fog lights are commonly seen as one of the simplest but best optional accessory to upgrade on a vehicle. Not only do HIDs function as a better way to illuminate foggy or darker roads, they also add value to the vehicle; not to mention, they look pretty cool. Their installation requires removal of the bumper along with some basic wiring. Read this article to learn how to correctly install HID fog lights onto your Mercedes-Benz C-Class or C-Class AMG.

Materials Needed
- Jack and jack stands
- New HID fog light bulbs
- Torx screws (T20, T25, T40)
- Torx driver
- Drill
- 7/8" drill bit
- Pliers
- Flat head screwdriver
- 1 1/2" plastic cap
- H7 Adapter
Note
Provided the keys aren't in the ignition, you shouldn't have to disconnect the battery.
Step 1 – Raise and support the car
- Use a jack to raise the vehicle.
- Position jack stands under the support point on the chassis.
- Remove the front bumper cover.
The bumper is held in place by several screws and clips located through several mounting locations such as under the wheel wells and hood. The clips require their middle prong to be released before each one can come off. Depending on your model of C-Class, there may also be 8mm bolts/screws securing the bumper.
(Related Article: How to Jack Up Your C-Class - MBWorld.org)
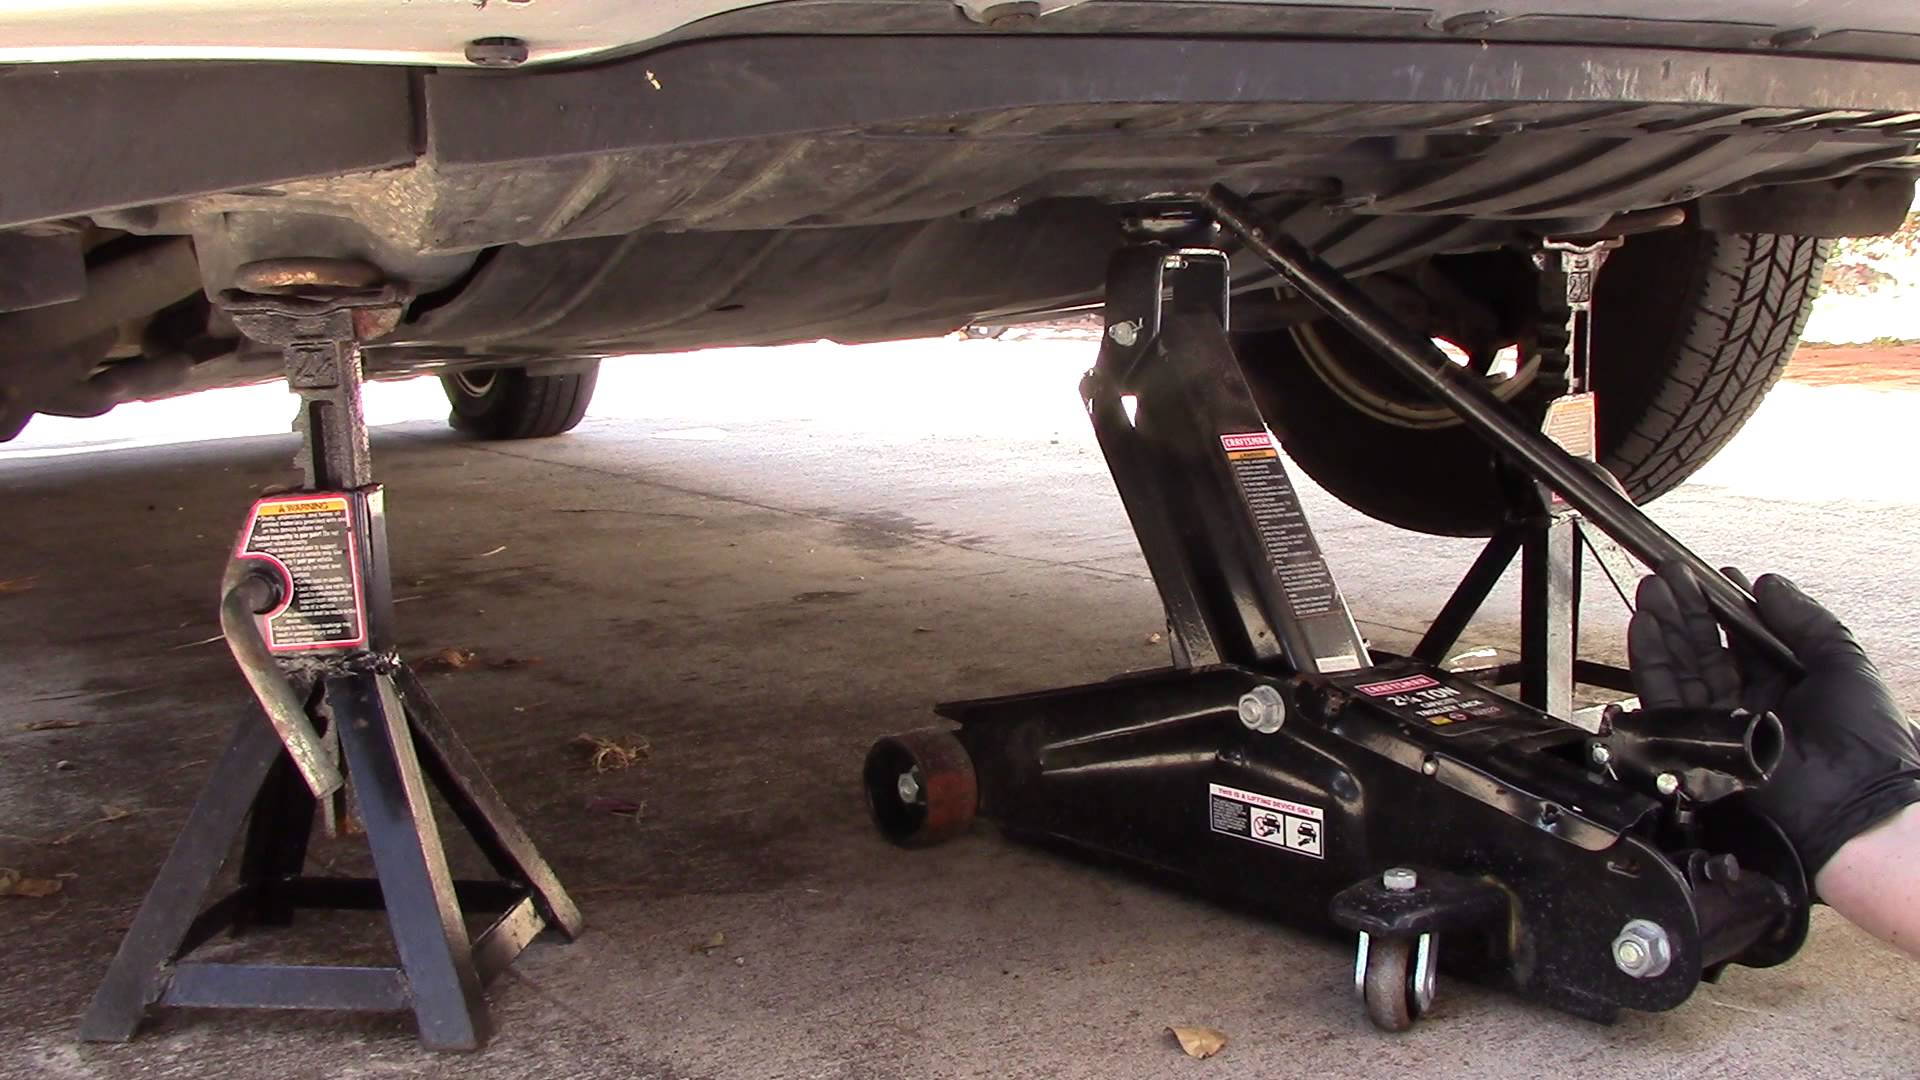
Figure 1. Raise and support the car.
Pro Tip
Removing the bumper allows for more space while installing the fog lights.
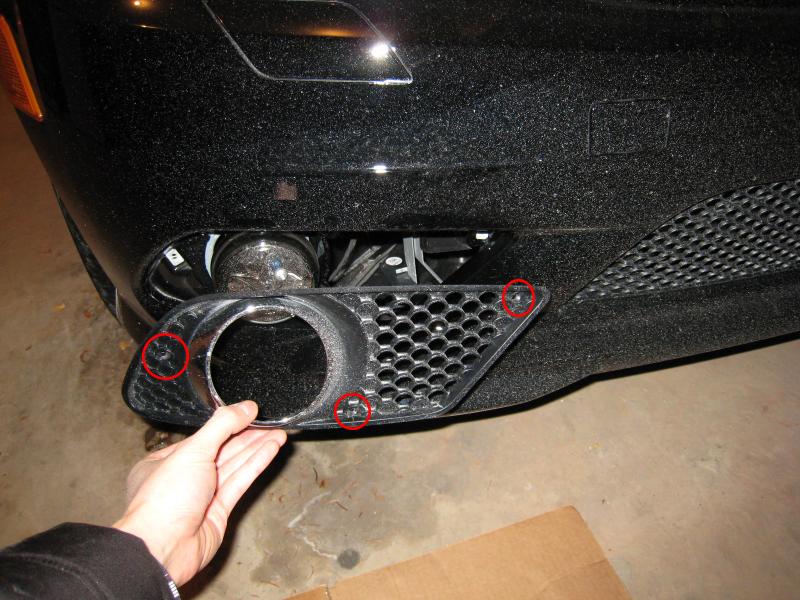
Step 2 – Remove the fog light housing
The fog light housing is held in place, inside the bumper. There are Torx screws located on the front and back of the housing.
- Loosen the front Torx screws and remove the cover.
- Loosen the rear Torx screws and remove the rear cover.
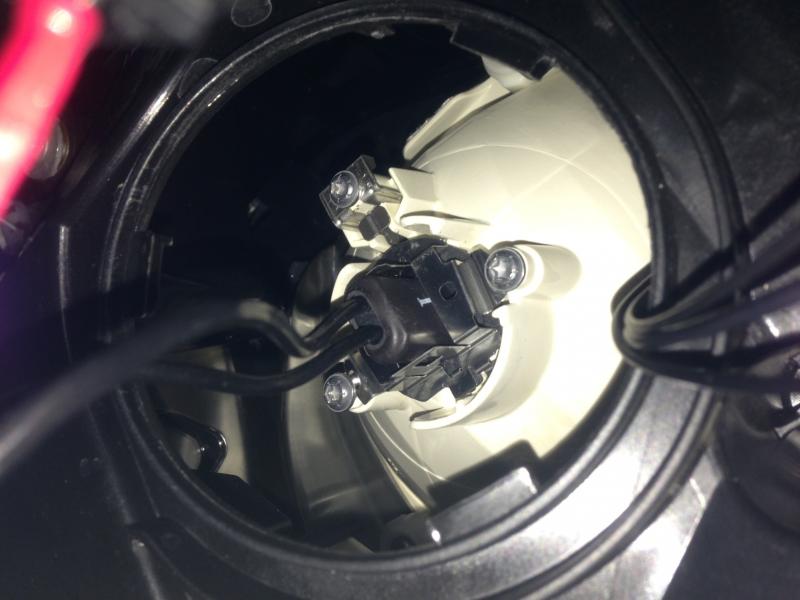
Step 3 – Install the HID bulb
Use an H7 spacer, which is a special clip that allows you to install the bulb directly onto the stock connector. Once the H7 adapter is fitted, install the new HID bulb.
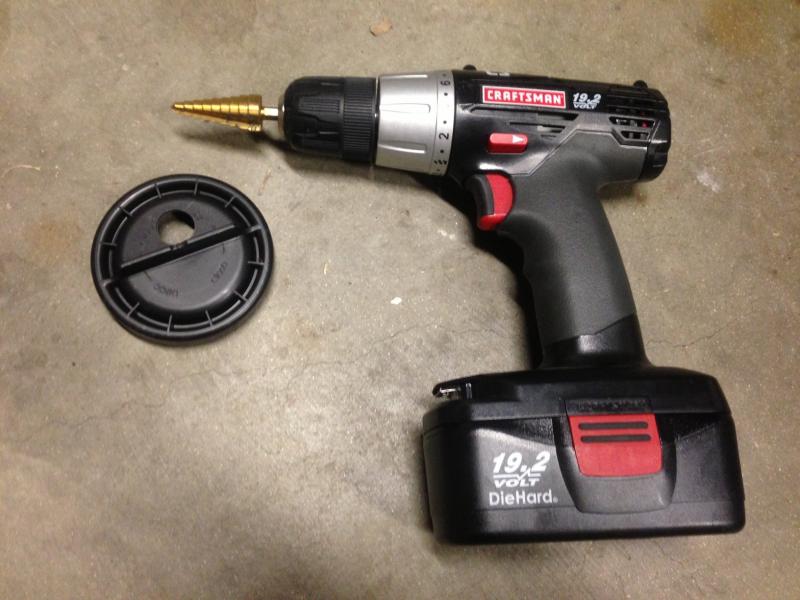
Step 4 – Drill a hole into the new cap
The cap will be used as the new fog light's rear cover.
- Use the 7/8" drill to make a hole on the cap.
- Use a rubber grommet to fill the hole.
Step 5 – Install the wiring for the fog lights
- Mount the fog light assembly into the bumper using the previously removed Torx screws.
- The plug for the fog lights may not directly clip into the existing harness. If that is the case, grab the spade connector and plug it into the stock bulb holder.
- Then, connect the stock bulb holder to the OEM harness assembly.
- Strap the ballast to the radiator support or other suitable mounting location.
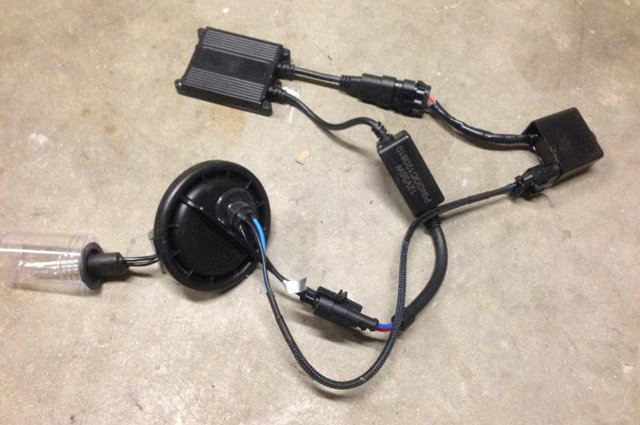
Figure 5. HID fog light wire harness. 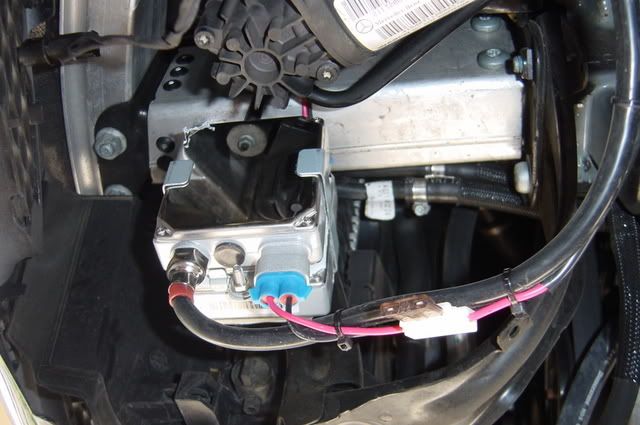
Figure 6. Ballast installed.
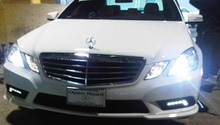
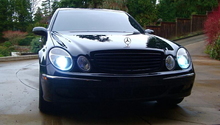
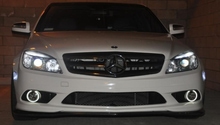
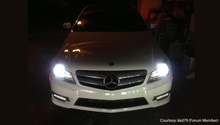
Step 6 – Test the lights
- Re-install the bumper and turn on the car to test the fog lights.
Related Discussions
- DIY - HID Fog Light Installation - MBWorld.org
- Broken Fog Light Replacement - MBWorld.org
- HID, Fog Lights, Headlight Install Guide - MBWorld.org