Mercedes-Benz E-Class and E-Class AMG: How to Install Car Stereo
Installing a car stereo is one of the most common changes made to a car, but it can also be challenging. Don't be discouraged. This guide will show you how to install a new stereo in your E-Class.
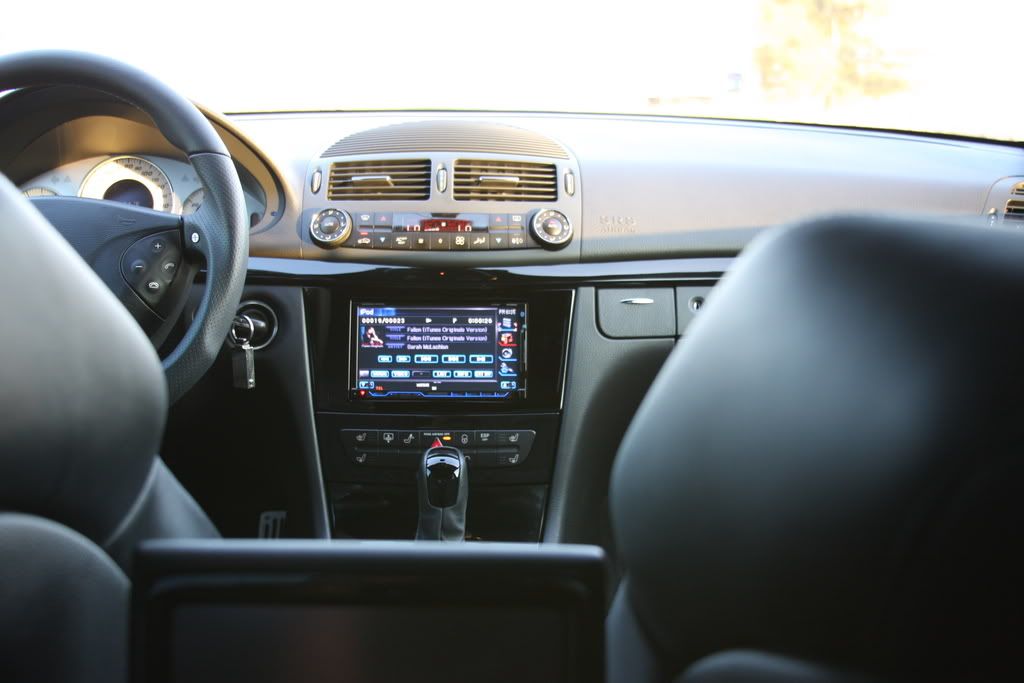
This article applies to the Mercedes-Benz E-Class and E-Class AMG (2002-2009).
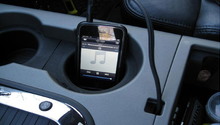
A factory stereo is boring when compared to all the options of aftermarket stereos. You can even upgrade to one with touch screen navigation and many other features. Keep in mind that most aftermarket stereos won't be compatible with the Mercedes-Benz E-Class because it uses a fiber optic audio system. There are plenty of ways to get around this and set up your dream stereo. Simply follow the instructions below.

Materials Needed
- Aftermarket stereo kit
- Dash kit (same size as stereo)
- Steering wheel control interface
- Radio wiring harness adapter
- RCA cable
- T20 Torx screwdriver
- Electrical tape
Step 1 – Remove the shifter panel and ashtray
Open the ashtray. Then pull up on the shifter panel to pop it up. Slide it forward and out. Then pull the shifter all the way back, and let the panel sit. To remove the ashtray, simply pull it out. Disconnect the cable then set the ashtray aside.
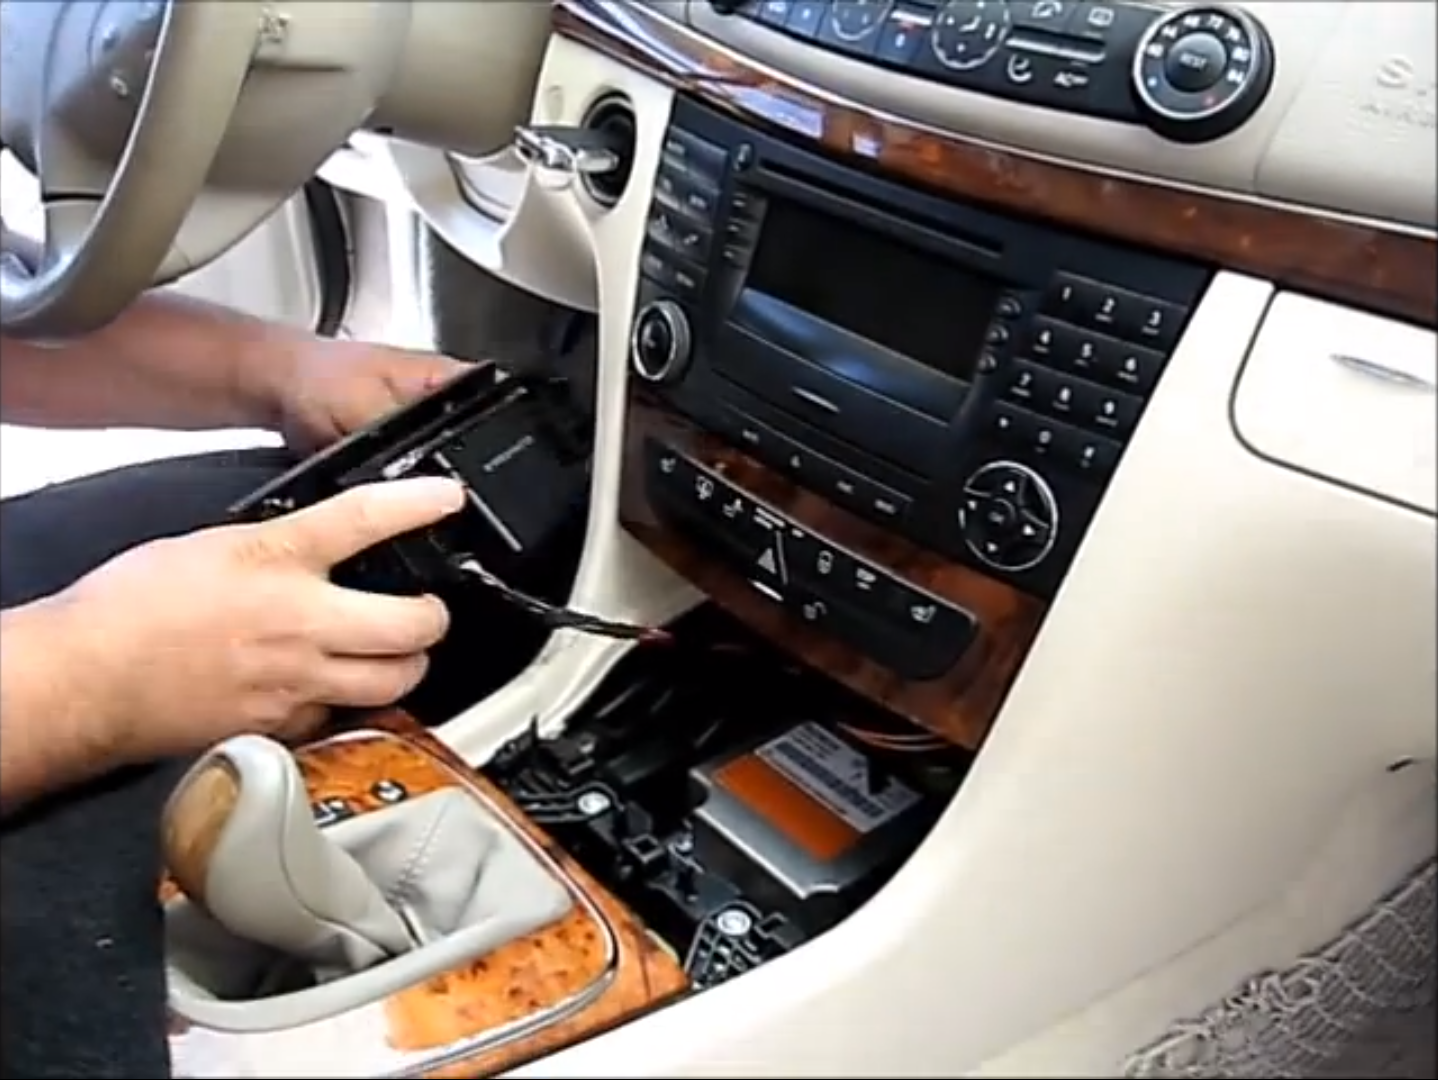
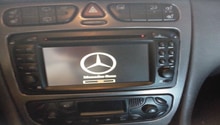
Step 2 – Remove the factory stereo
Unscrew the two Torx screws at the bottom corners of the HVAC unit then pull it out a little. Unplug the three cables connected to the HVAC unit then slide it all the way out. There are two more Torx screws underneath the stereo head unit. Unscrew these and slide it out slowly. Disconnect the two plugs for the stereo, then remove it completely.
Warning
Be careful handling the orange fiber optic cables. A single crimp could disrupt the whole system.
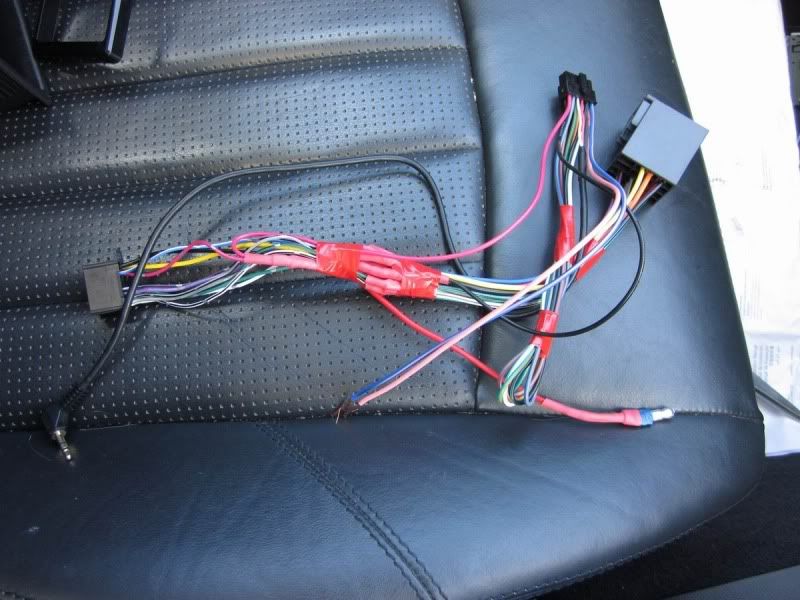
Step 3 – Install wiring harness adapter
In order to install your new stereo, you're going to have to install a harness adapter to the fiber optic system. Find the audio gateway module in the trunk of your car. It controls the entire audio system. Once you've found it, unplug the speakers, power, antenna, and fiber optic cables. Connect all of these cables to the harness.

Pro Tip
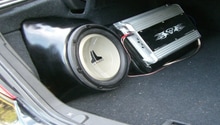
If you install aftermarket speakers, amps, or subwoofers, you will have to route these through the harness as well.
Step 4 – Connect the wiring to the head unit
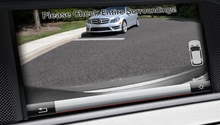
You'll need to connect cables for the audio, radio antenna, and the CANBUS. For head units with navigation, you'll also need to connect the GPS antenna, video cables, and rear view camera. Lastly, connect the steering wheel interface to the CANBUS to give you control of the stereo from the steering wheel.
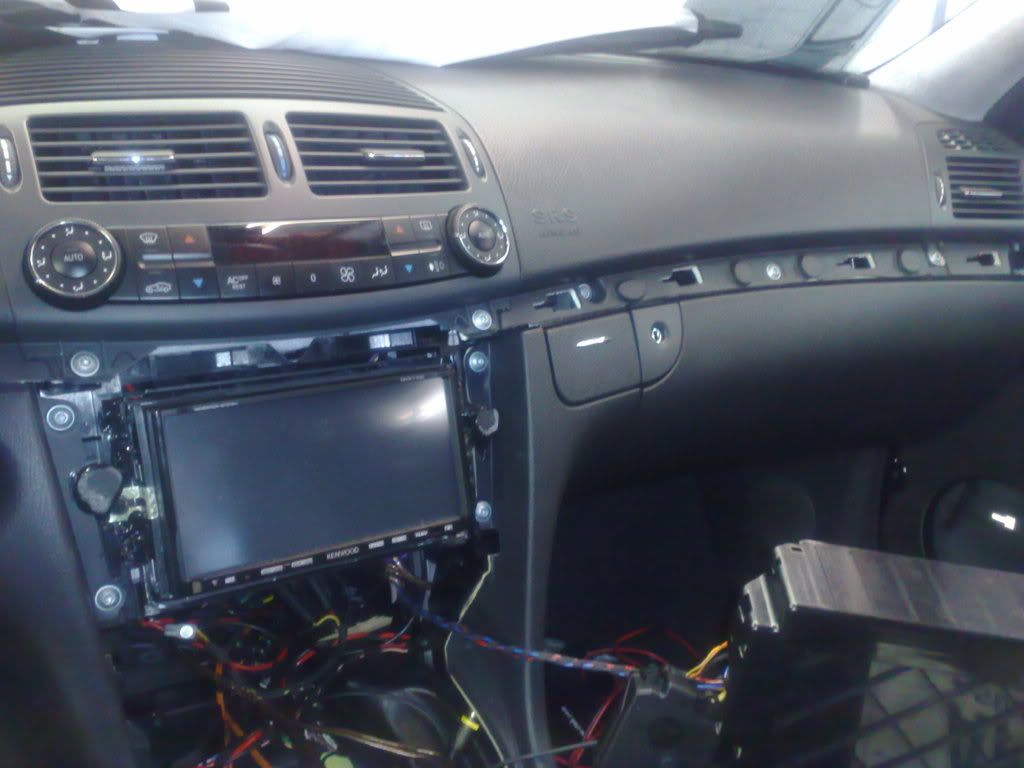
Step 5 – Install dash kit and clean up
When you have all your wiring in place, connect the new head unit to the power, slide it into the tray, and give it a test. Most problems can be resolved by checking and fixing the connections. After you're finished testing, tighten the screws and return the HVAC unit. Then return the ashtray and the shifter trim.
Featured Video: How to remove Radio/Navigation/CD Player from Mercedes-Benz E-Class
Related Discussions
- Head Unit w211 Upgrade - MBWorld.org
- Install Aftermarket Stereo, Instructions for E Class W210 - MBWorld.org
- Moron's Guide to Aftermarket Head Unit Installation - MBWorld.org