Mercedes-Benz E-Class: How to Replace Front Shocks
Mercedes engineered the E-Class model to offer ride comfort, not to win at Lime Rock, but all is not lost. Changing to sport or heavy-duty shocks can improve your handling performance!
This article applies to the Mercedes-Benz E-Class (2002-2009).
The handling bug seems to have bitten everyone from the truly performance-inclined all the way down to the minivan-driving soccer mom. It seems everyone wants better handling and quicker steering response, which is why we see even the most mundane forms of transportation sporting taller wheels paired with short-sidewall performance radials and stiffer suspension components. What good is your Chrysler Town & Country if it can’t burn through the turns of Germany’s Nürburgring road course in under 8 minutes?
This is why many owners of the W211 E-Class series' vehicles seem concerned about the engineered-in “floaty” feeling they observe while driving. The car will still out-handle a Toyota Sienna, but they’re looking for tighter suspension and handling. The good news is, there are performance shocks available for these cars. While it won’t take all of the floatiness away, it will definitely enhance the way the car handles tight corners, quick lane changes and high-speed chases from your local police (if so inclined). Keep reading to learn how to replace the front shocks on the E-Class.

Materials Needed
- Hydraulic floor jack
- Jack stands
- 3/8” rachet
- 16mm metric deep socket (or US 5/8” deep will work)
- 3” and 6” socket extensions
- 16mm open end wrench
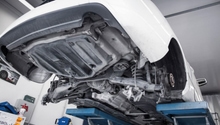
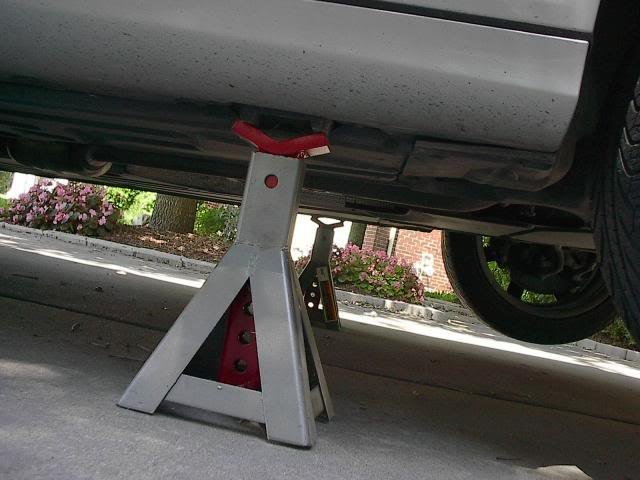
Step 1 – Jack up and secure the car, then remove front wheels
Break the lug nuts slightly so it will be easier to remove them as you take off the wheels. Jack up the car and place jack stands on mounting points behind the wheel wells. Lower the car onto the jack stands, then remove the front wheels.
(Related Article - How to Jack Up Your E-Class - MBWorld.org)
Warning
Be sure to put chocks behind your rear tires before jacking up the front end.
Step 2 – Jack up the A arm slightly to relieve weight
Place the floor jack under the outer side of the lower control arm (or “A arm”) on the side you will be working on. Raise the arm up just enough to support the A-arm after you’ve removed the strut.
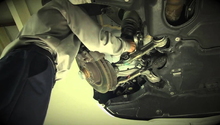
Step 3 – Remove top nuts from the shock tower
Remove the top nut(s) in the engine bay. (There will be a plastic dust cover over the shaft assembly at the top.) Use a metric allen wrench to keep the strut shaft from turning while you loosen and remove the nut. Once loosened, you can use the 16mm deep socket to remove the 2 top nuts.

Pro Tip
Don't attempt to remove both nuts at the same time.
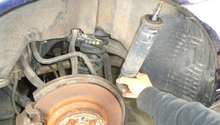
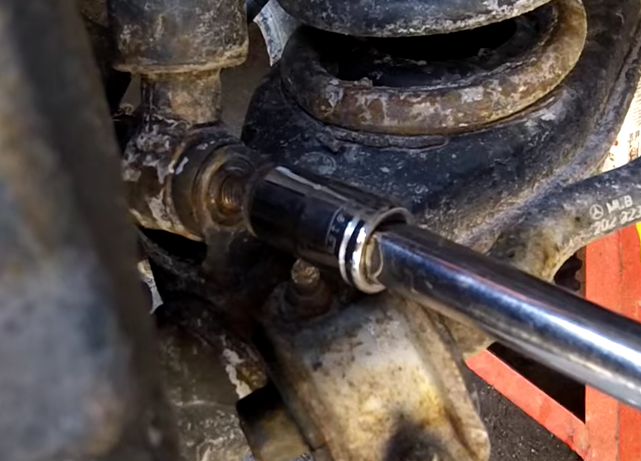
Step 4 – Remove lower bolt
Swing the brake/rotor assembly left or right as needed to allow access to the lower bolt. Remove the lower bolt with the 16mm socket. Slide the lower part of the shock away and out. Once it’s cleared the bottom A-arm, lower the shock to clear the top rod from the strut tower.
Pro Tip
While working on the upper nut removal, you may want to have the lower nut soaking in penetrating oil for easier removal.
Step 5 – Install new shock at lower A-arm
Slide the new shock into place, making sure the top is properly positioned through the upper mounting opening. Using a torque wrench, torque the lower bolt to 45-lb-ft.
Step 6 – Fasten top nuts
At the top of the shock tower, be sure to fit the new rubber grommet and wide metal washer onto the shaft before torquing the upper shaft nut to only 15-lbs. The 2nd locking nut will be added to the shaft and torqued against the lower nut at 35-lbs. Be sure to use a 16mm open end wrench to stop the bottom nut from tightening.
Pro Tip
Be certain to use the new rubber grommet and washer. The old grommet will have some dry rot from weather and engine heat.
Related Discussion
- Best Way to Replace Springs/Shocks E350 - MBWorld.org
- Replacing Front Air Shocks - MBWorld.org
- Front Shock Issue - MBWorld.org
- W211 Shock Absorbers - MBWorld.org