Transmission Leak Fixed, Bank Not Broken: Project 190 E

Don’t give up on your transmission just yet. Here’s how to fix fluid leaks and hard shifting on the cheap.
As I lay on my back, oil-mixed sweat dripping past my safety goggles, I begin to wonder why I even bothered trying to do this at home. Access to a lift was now a reality for me, but no. I chose to do this right in my garage on jack stands to represent what tools and equipment most folks have at their disposal. If this job is something you’re planning on tackling on at home, you’ll want to read this.
Tools You’ll Need
- 8mm socket
- 13mm socket
- 27mm socket
- Which ever ratchet drive suits your needs for each socket
- 1/4 inch drive torque wrench
- Spark plug removal socket
- 5mm bit driver
- Floor jack
- Two jack stands
- Drip pan
- Patience
- Two crappy T-shirts
In the ECS tuning service kit you’ll get all-original Mercedes components.
- Nine quarts of ATF
- OEM filter, pan gasket, pan plugs (2x), copper washer (pan), aluminum washer (torque converter) and OEM transmission dip stick lock pin
After delivery of the Mercedes-Benz OEM transmission service kit from ECS Tuning, I decided to pick the least miserable day of the week to begin this repair for Project 190 E. That “good” day registered at 83 degrees with humidity levels deep into the 90-percent range. Regardless, you’ll want to start with getting the front of the car up in the air and securing it on jack stands. I highly recommend doing this job when the car is cool, as fluids and components can cause serious burns.
Enjoying Chapter Five of our Project 190 E Saga?
See the First Four Chapters Here
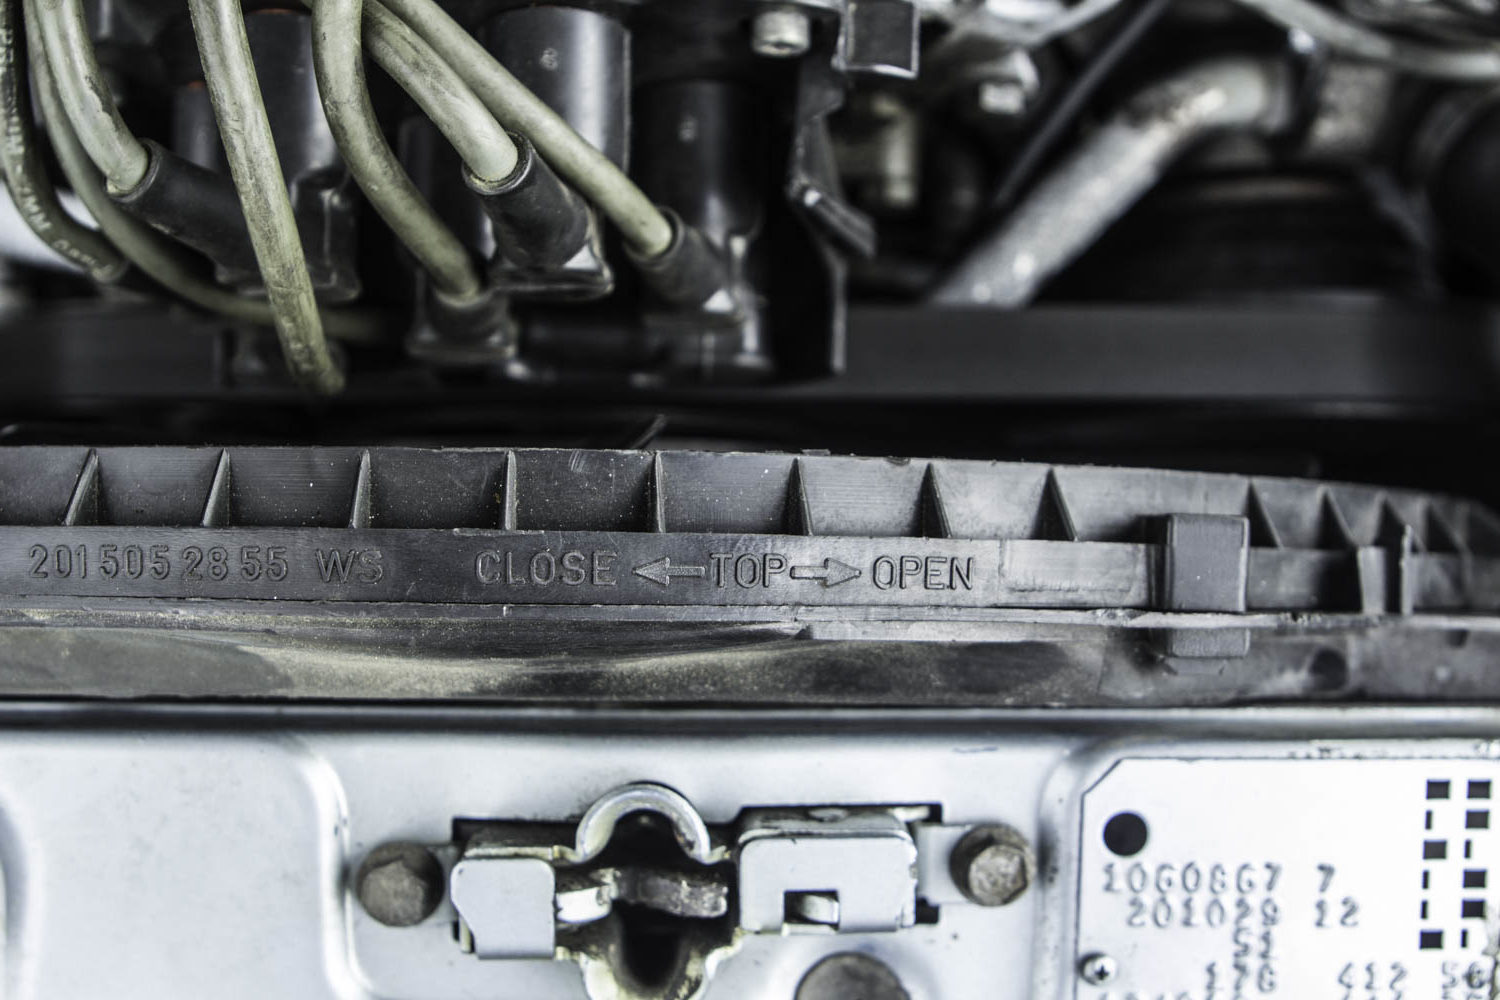
Next, you’ll be doing some prep work. Take off the lower splash shield under the engine. It should be secured with six 8mm screws, although mine was missing three. Take off the front wheels as well. This isn’t a necessary step, but I found it to create a bit more room in my new oily office. You’ll also want to undo the spark plugs and the fan shroud. For the shroud, you’ll have clips at the top that are easy to remove, and then a shroud that’ll probably cut your hand a few times. The two-piece shroud actually turns and locks both pieces together, as you’ll see printed on the outside.
With the shroud out of the way, you will have just enough room to slip a 27mm shallow socket onto the crank. There’s little room in there, so it’s all by feel. Good luck.
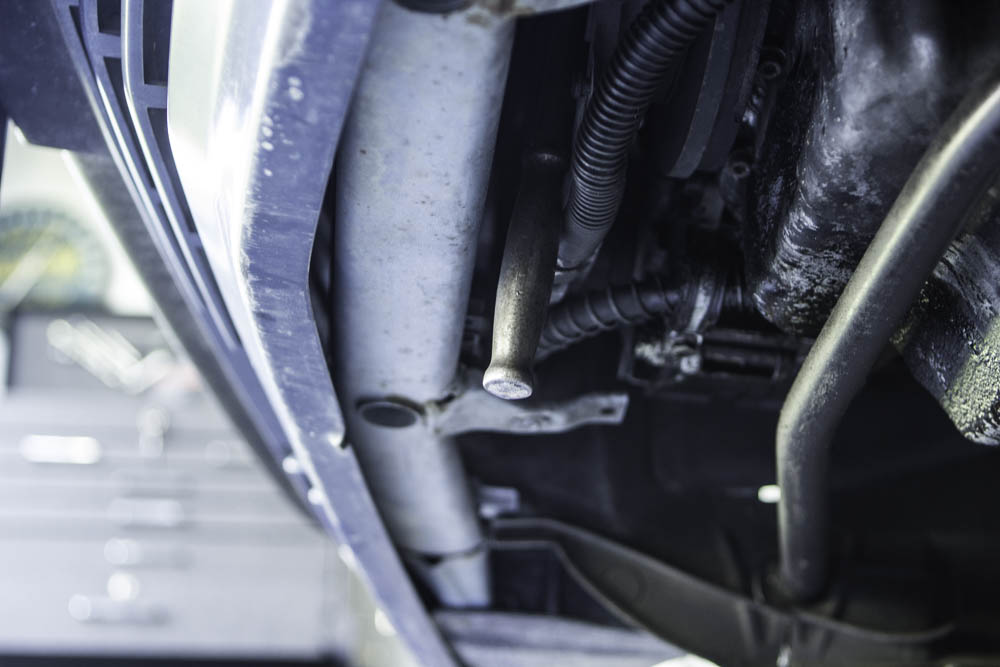
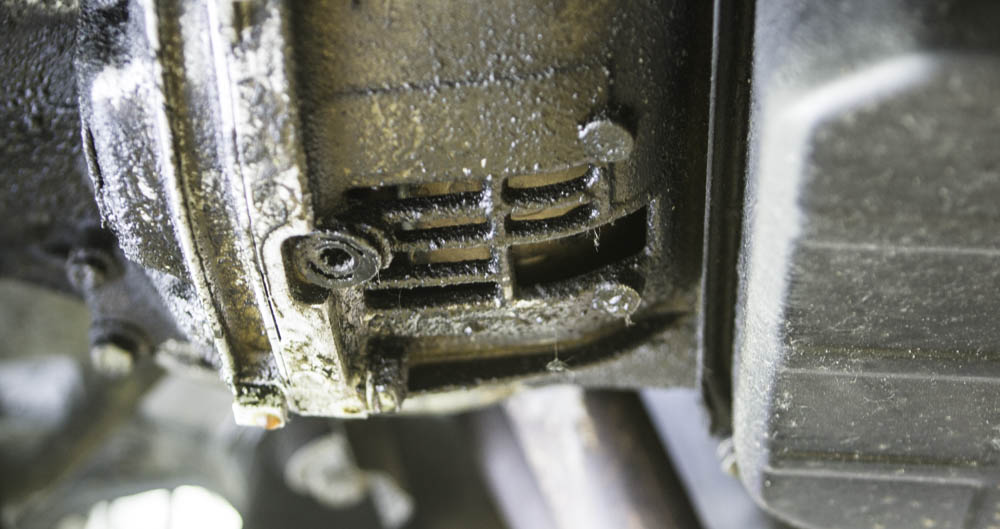
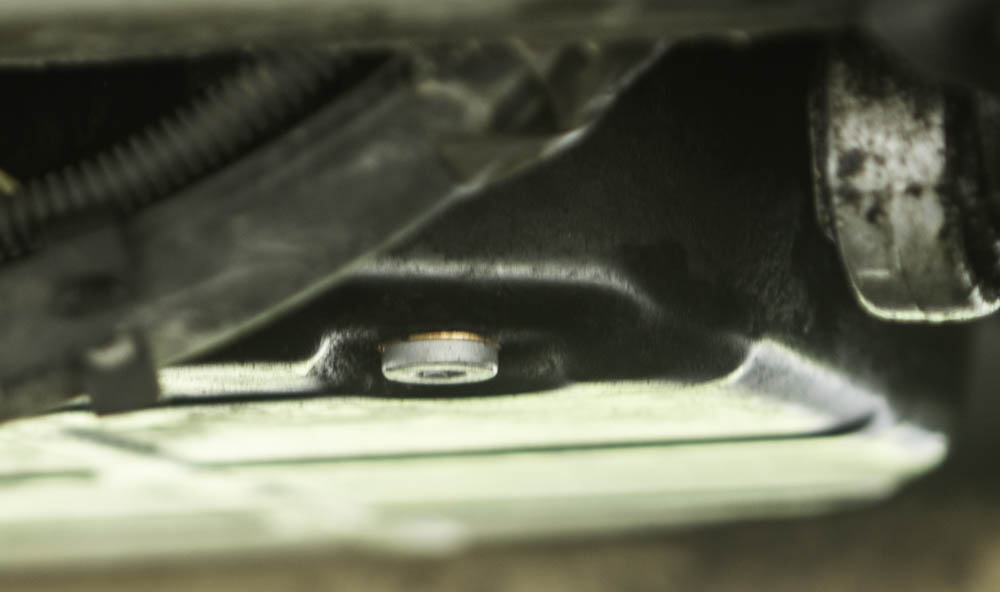
Spark plug removal makes for an easy job of turning the crank, which will also turn the torque converter. On the underside of the bell housing, there’s a little access square to remove the drain plug from the torque converter. Turn the crank with that 27mm socket so you can access the plug, but don’t remove it yet.
Now that you have the torque converter drain accessible, slide in a large drip pan. Seriously, make sure it’s large: The kit from ECS Tuning includes a whopping nine quarts of ATF. Expect to collect all of that in whichever pan you use.
Don’t bother with using a hex key on the 5mm drain plugs. If your car is anything like mine, they’ll have been over-tightened. A 5mm bit-driver on a ratchet is far more preferred. It will work on both the pan and the torque converter. Because the pan was the lowest of the two plugs, I worked that one loose first. At this point, you can complain about the weather and get some water, as it takes a bit of time to drain all the nooks and crannies out. Tackle the torque converter next, and further your complaints about how sweaty and smelly you are.
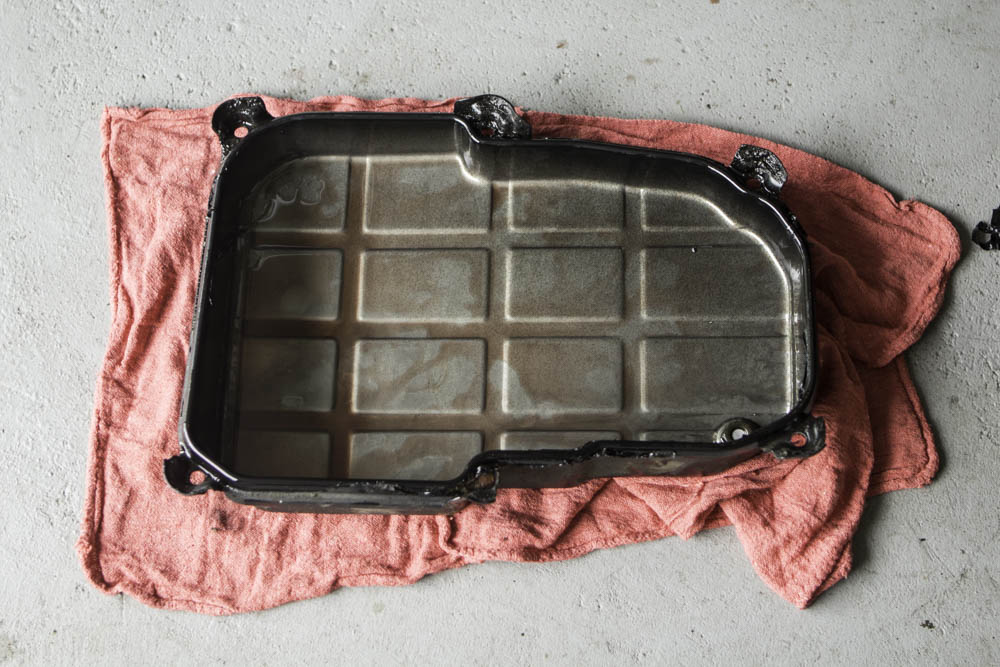
Once those drain plugs are out, a total of six bolts on the outside of the pan are now ready to be removed. If you aren’t wearing safety goggles by now, this would be a good time to get some on. Leftover transmission fluid is almost surely going to cover your mug. With the pan off, you’ll see three Phillips screws holding the filter in place. Remove it, make sure the seating surfaces don’t have any gunk on them and slap the new one on. The same goes for the pan gasket. It’s a molded plastic gasket and simply gets placed on the pan, but make sure any old gasket gunk is scraped off. Carefully tighten pan bolts to 18 lb-ft, as you can easily over-tighten them and squish the pan gasket.
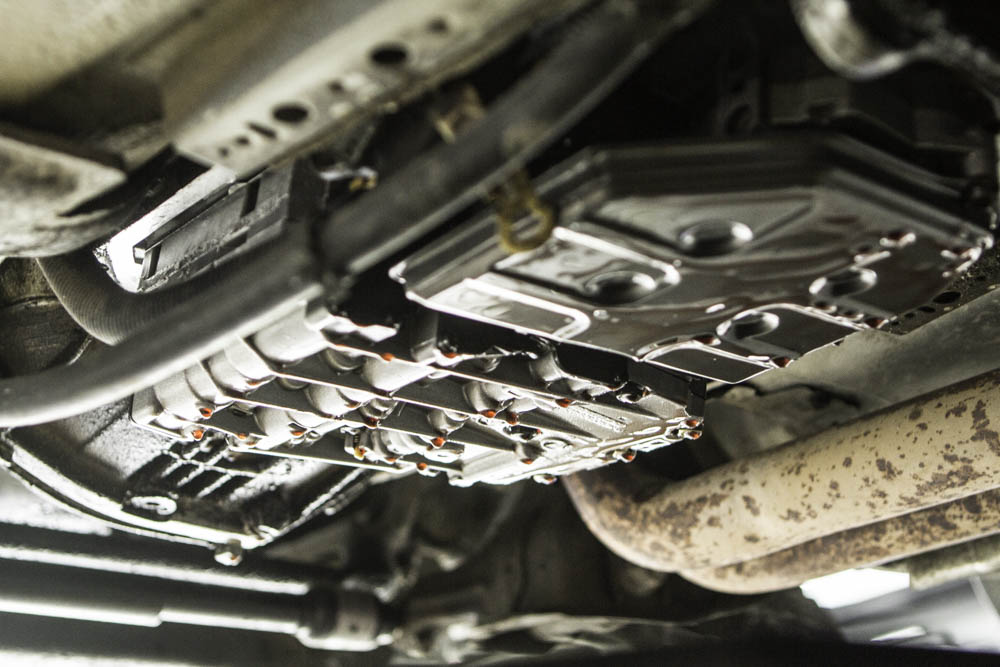
When I was taking things apart, I noticed that both the plug on the torque converter and the pan had an aluminum washer. Because the kit came with an aluminum washer and a copper washer, a slight rush of panic washed over me as I had no idea which washer belonged in which location. Thankfully, a quick bit of telephone work got the answer from a local Mercedes dealer. Copper goes on the pan, and aluminum goes on the torque converter. Torque both to about 10 lb-ft.
With everything buttoned up, it was time to fill things back up. Honestly, nine quarts of ATF that come in the ECS kit might be a bit of overkill, but if you manage to spill any or forget a drain plug, you’ll be thankful you have extra. After filling the initial four bottles, I did use a full bottle (one quart) of transmission stop-leak. I figured if any additional leaks were to pop up from the front or rear main seals, this could conveniently delay any work I’d have to perform in the future. I used the remaining bottles till it showed full on the dipstick. By the way, the ECS kit came with a dipstick lock pin, which I did not need to use on my car based on the dipstick design.
With everything back together, including plugs and that front shroud, start the car, hold the brake, and run it through all the gears. This is just to make sure all the ATF reaches every component before you set off for your first test drive.
CHECK OUT: Latest on What MBWorld Forum Has to Say About Project 190 E
One of the things I did not have to adjust or tinker with was the vacuum modulator. This modulator essentially tells the transmission how smoothly to shift. If you happen to feel the shifts are happening too sudden, or if it feels like it’s slipping between gears, this might be your culprit. It’s also another area prone to leaking.
Because mine required no adjusting, I’ll refrain from going into too much detail, but the modulator is a very sensitive component. Vacuum levels for this modulator have to be exactly spot-on for the transmission to feel correct. That’s complicated by the fact that not all 722.4 transmissions have the same setting for the modulator. To ensure the modulator is correctly adjusted (if you need to adjust it) it’s best to fuss with it on its own, with no other variables.
Thankfully my test drive went well. I can add that as of writing, the car has gone a few days with absolutely no leaks. In fact, the transmission shifts much smoother than before. So if you’re ready to get a little dirty, try the transmission service first. If you still experience rough shifting, don’t give up on a transmission quite yet. Just remember it’s easy for that modulator to go out of whack.
You must be logged in to post a comment.